Embed Size (px)
Citation preview
Introduction to Microsoft Excel
Excel Basics
Lesson 1, 2
Objectives Define the terms used in the lesson. Identify the parts of the worksheet. Move the highlight in the worksheet. Select cells and enter data in the worksheet. Edit cells. Find and replace data. Zoom in and out in a worksheet. Save a worksheet. Print a worksheet.
What Is Excel? Excel is a spreadsheet application of the officexp
programs. A spreadsheet is a grid of rows and columns
containing numbers, text, and formulas. The purpose of a spreadsheet is to solve
problems that involve numbers. Ex) calculate a grade, prepare a budget.
In Excel, a worksheet is a computerized spreadsheet. A workbook is a collection of related worksheets.
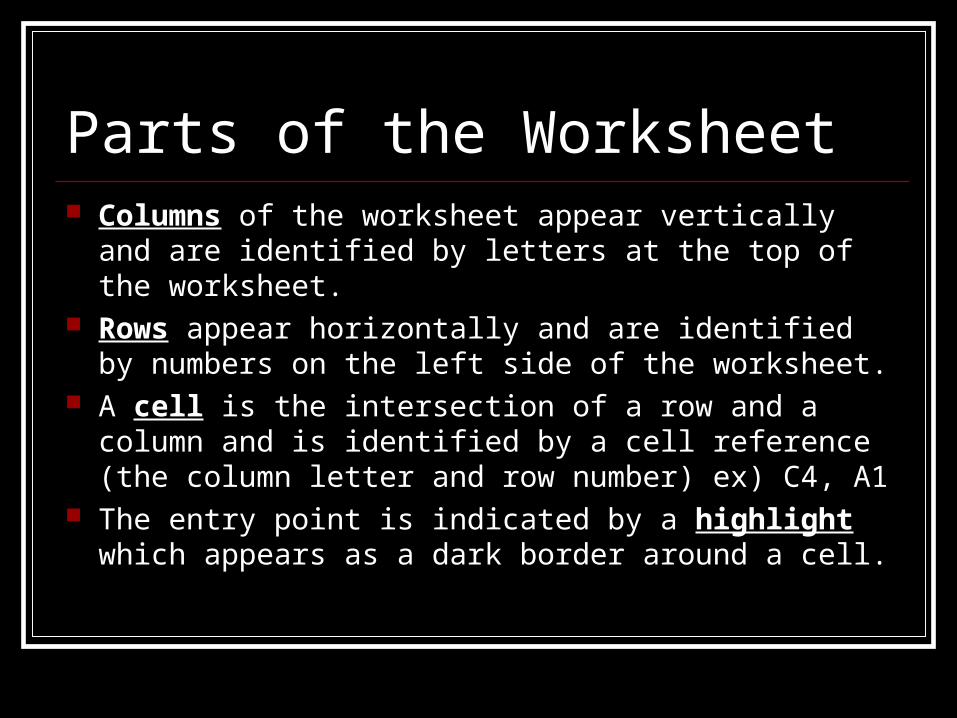
Parts of the Worksheet Columns of the worksheet appear vertically and are
identified by letters at the top of the worksheet. Rows appear horizontally and are identified by numbers
on the left side of the worksheet. A cell is the intersection of a row and a column and is
identified by a cell reference (the column letter and row number) ex) C4, A1
The entry point is indicated by a highlight which appears as a dark border around a cell.
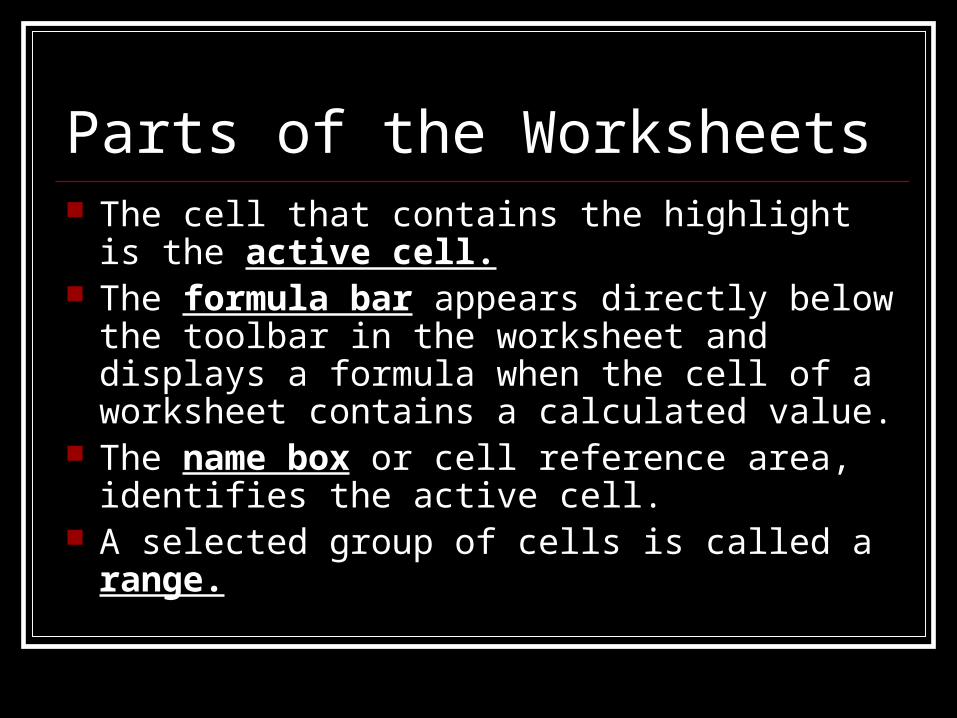
Parts of the Worksheets The cell that contains the highlight is the active
cell. The formula bar appears directly below the
toolbar in the worksheet and displays a formula when the cell of a worksheet contains a calculated value.
The name box or cell reference area, identifies the active cell.
A selected group of cells is called a range.
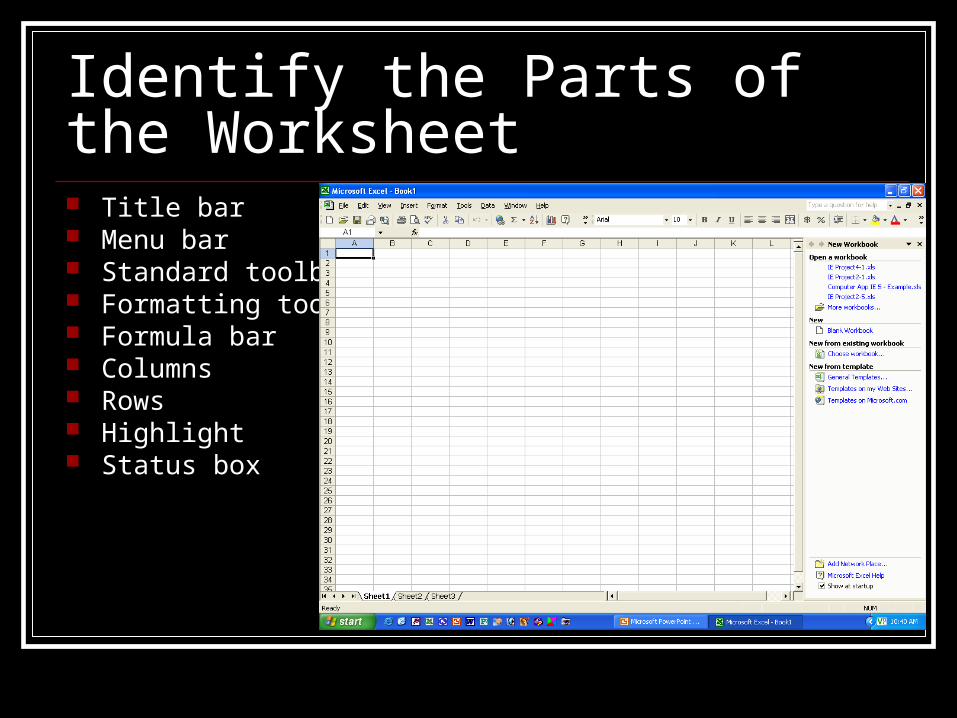
Identify the Parts of the Worksheet Title bar Menu bar Standard toolbar Formatting toolbar Formula bar Columns Rows Highlight Status box
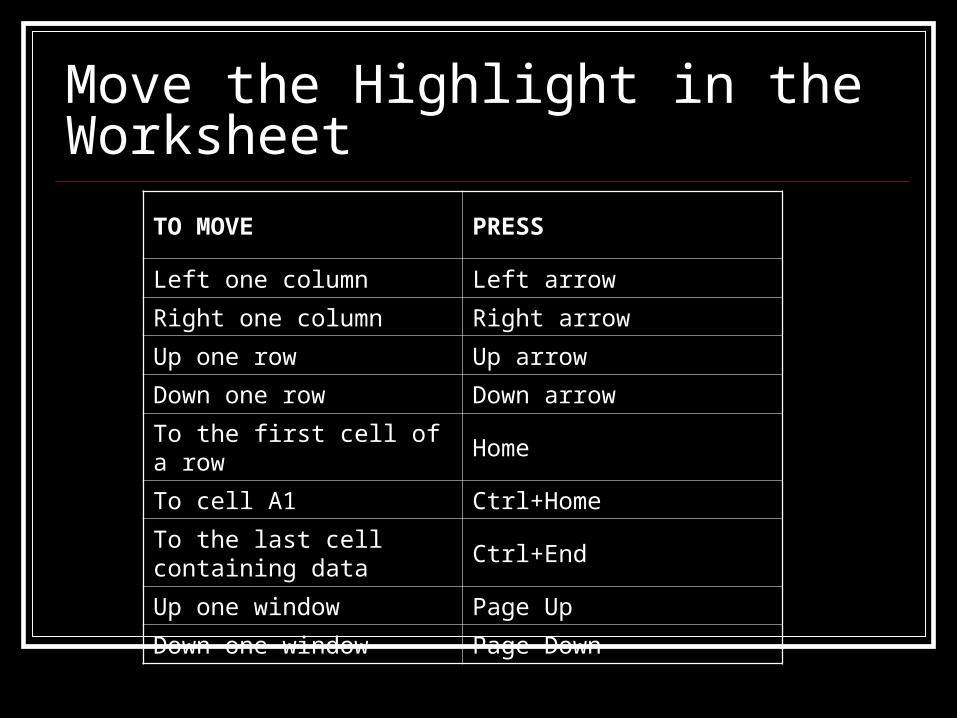
Move the Highlight in the Worksheet
TO MOVE PRESS
Left one column Left arrow
Right one column Right arrow
Up one row Up arrow
Down one row Down arrow
To the first cell of a row Home
To cell A1 Ctrl+Home
To the last cell containing data
Ctrl+End
Up one window Page Up
Down one window Page Down
Move the Highlight in the Worksheet
The fastest way to move to an off-screen cell is to choose Go To on the Edit menu
Pressing the shortcut key F5 will also access the Go To dialog box.
Select Cells and Enter Data Enter data by keying text or numbers in a
cell and pressing Enter. If you choose not to enter the data you
have keyed, press Esc and the keyed data will not be entered.
Click the Undo button on the Standard toolbar to reverse the last entry.
Edit Cells
Data is edited in the Formula bar by pressing F2 and making changes at the insertion point.
To replace cell contents, key the new data, and press Enter.
To clear an active cell press Delete.
Find and Replace Data The Find command locates specific words
or numbers in a worksheet. Replace substitutes new data for data
found.
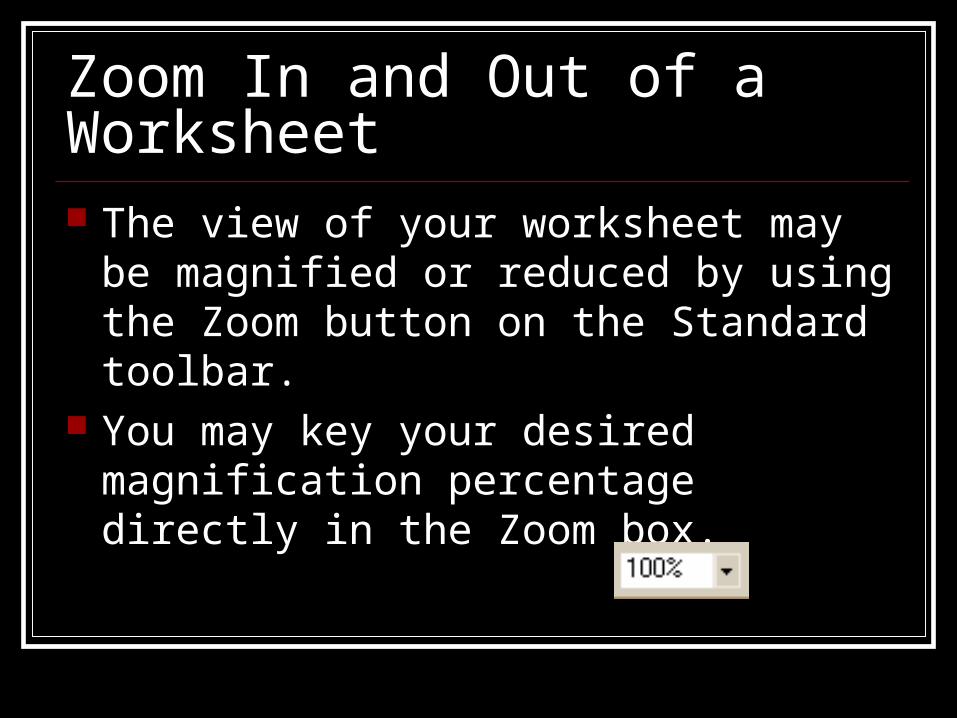
Zoom In and Out of a Worksheet The view of your worksheet may be
magnified or reduced by using the Zoom button on the Standard toolbar.
You may key your desired magnification percentage directly in the Zoom box.
Summary The purpose of a spreadsheet is to solve
problems involving numbers. A worksheet consists of columns and rows
intersecting to form cells, which are identified by cell references.
You can move to different cells of the worksheet by clicking on the cell with the mouse pointer, using a series of keystrokes, or by scrolling with the mouse.
Summary Both text and numerical data may be
entered in the worksheet. You can alter data by editing, replacing, or
deleting. You can search for specific characters in a
worksheet and replace data with other characters.
Summary The Zoom box enlarges or reduces the
view of a worksheet on the screen. Changes in a worksheet are saved using
the Save command on the File menu. A worksheet may be printed to provide a
hard copy.
Lesson 2 Objectives Change column width and row height. Position text within a cell by wrapping, rotating,
indenting, and aligning. Change the appearance of cells using fonts,
styles, colors, and borders. Designate the format of a cell to accommodate
different kinds of text and numerical data. Apply and paint formats.
Create and use styles. Find and replace cell formats.
Terms Used in This Lesson AutoFormat- A collection of fonts, patterns, and
alignments that can be applied to a range of data. Indented text- Can help distinguish categories or
set apart text. Rotated text- Allows you to display text at any
angle. Style- A combination of formatting characteristics
such as alignment, font, border, or pattern. Wrapped text- Begins a new line within the cell,
moves text to a new line when it is longer than the width of the cell.
Change Column Width and Row Height
When placing the mouse pointer on the right edge of a column or top of a row it will change to a double-headed arrow.
Widen a column or row by dragging the double-headed arrow.
Why Change Column Width?
A series of number signs is displayed (####)
Data is cut off (right portion is not displayed)
Data runs outside of the column Data is converted to a different numerical
form
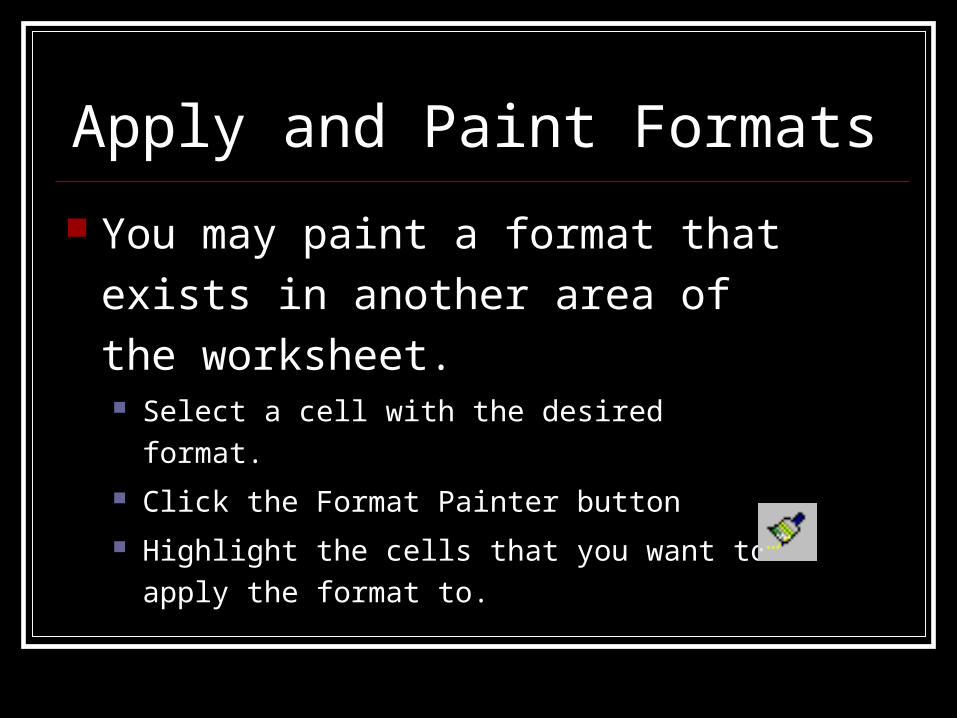
Apply and Paint Formats
You may paint a format that exists
in another area of the worksheet. Select a cell with the desired format.
Click the Format Painter button
Highlight the cells that you want to apply the
format to.

Create and Use Styles
A style is a combination of formatting characteristics such as alignment, font, border, or pattern.
You may apply a style that has already been created in Excel.
Find and Replace Cell Formats
You may also find specific formats in a workbook and replace the format with another format.
For example, you may replace all italicized text with bolded text.
Summary Worksheet columns and rows may be
widened to accommodate data that is too large to fit in the cell.
You can wrap, rotate, indent, or align the position of text within the cells.
The appearance of cell data may be altered by changing the font, font size, and style (bolding, italicizing, and underlining), as well as adding color and borders.
Summary A cell may be changed to accommodate
data in a variety of numerical formats. Formatting characteristics such as
alignment, font, border, or pattern may be applied by using the Styles command.
Format painting copies the format of a worksheet cell without copying the contents of the cell.
Summary
Various collections of fonts, patterns, and alignments can be applied to a range of data by using the AutoFormat command.
The Find and Replace command may be used to change cell formats.