Embed Size (px)
Citation preview

Introduction to Linux
Part 1
Content
1. Basic overview of Linux
2. The Linux ‘terminal’ and structure of commands
3. Everyday Linux commands and working with files and directories
4. The Linux survival ‘cheat-sheet’
5. Simple exercises

What is Linux?
• Simply an operating system, e.g.– Windows ?– Mac OS X
• Controls a computer system’s resources
• Allows us to use those resources while making it difficult enough to ‘break’ things
Why Linux? (Computing Perspective)
• FREE - can be downloaded in its entirety• Portable to almost any hardware platform• Made to keep running for years• Secure, versatile, scalable• Very few bugs and loopholes (if any) survive
more than a few hours
In this case, free = better quality
Why Linux? (Bioinformatics Perspective)
• Software developed first for Linux/Unix
• Convenient built-in system utilities that can be strung together for doing complex analyses
• Security + Scalability
• The ‘command line’ – best bioinformatics software first released without fancy interfaces
• Control + Flexibility
• Automation - easy to ‘pipeline’ processes

The Linux Filesystem
Just like with any window-based systems, you MUST make sub-directories in your home directory to organise your work

The ‘commandline’• One of 2 user interfaces (other is the GUI)
• Textual ‘shell’ for issuing commands to the system and for viewing/capturing outputs
• Very powerful way of getting exactly what you want
• Working remotely on a server is typically via a command line shell
• Bit of a learning curve, but once it ‘clicks’ you rarely want to click anymore

Commands• General structure of Linux commands:
$ command -options targets
• Can automatically save to a file:$ command -options targets > output_file
• Can let multiple commands ‘play tag’$ command -options targets | command2 | command3 > output_file
NOTES: • Spaces are NOT optional• RARELY do we view or grab things from non-text formatted files
‘pwd’ & ‘ls’
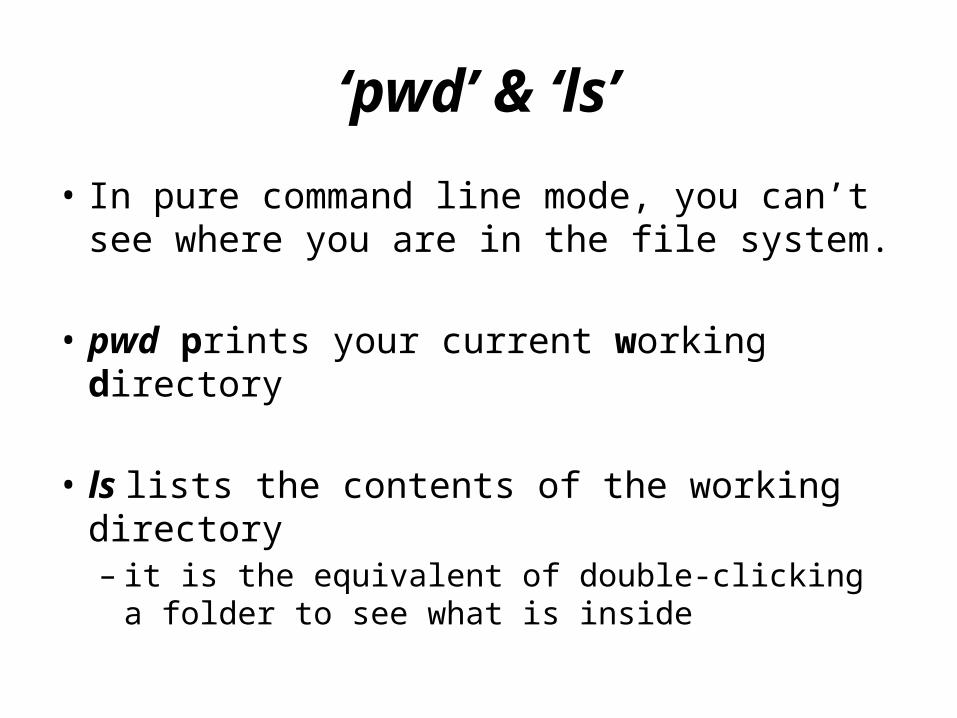
• In pure command line mode, you can’t see where you are in the file system.
• pwd prints your current working directory
• ls lists the contents of the working directory– it is the equivalent of double-clicking a folder to
see what is inside

rm
• removes a file from the computer
• Typing rm myfile removes the file called ‘myfile’
• NOTE: there is no ‘Trash’ or ‘Recycle Bin’, so once a file is gone, its gone for good.
• Very rarely will you need to do rm * , which deletes ALL files in the current folder, so always try to convince yourself NOT to
Getting information about directories
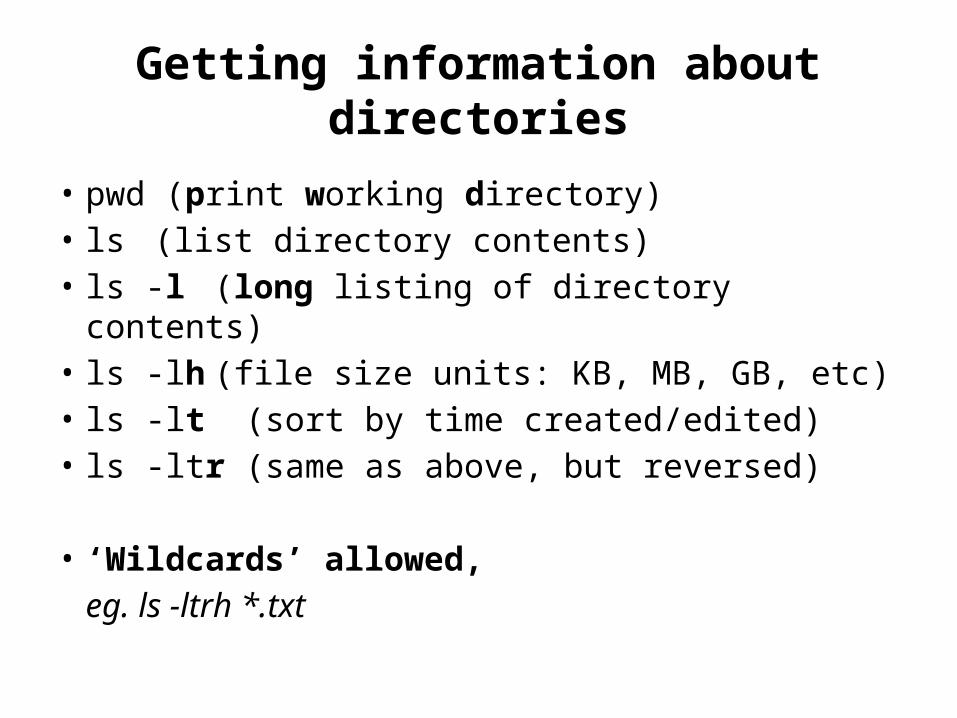
• pwd (print working directory)• ls (list directory contents)• ls -l (long listing of directory contents)• ls -lh (file size units: KB, MB, GB, etc)• ls -lt (sort by time created/edited)• ls -ltr (same as above, but reversed)
• ‘Wildcards’ allowed, eg. ls -ltrh *.txt

Getting basic information about files
• wc counts the number of characters, words and lines in a file
• If used without extra options it reports all 3
• For specific parts only, use:– wc -c filename (characters)– wc -w filename (words)– wc -l filename (lines)
(We’ll see examples in the practical)

Creating, renaming, moving and deleting directories
• mkdir directory (creates a new directory)
• mv directory_name new_name– renames if new_name doesn’t exist– moves directory into new_name if new_name
exists (NB: Will not ask first)
• rmdir directory_name (deletes directory ONLY if empty)

Navigating the directory structure
• ‘/’ is the root of the directory tree• cd directory (changes your current working
directory to the new directory)– cd / takes you to the root directory– cd takes you home– cd .. takes you one step ‘up’ (closer to root)– cd full-path-to-directory will take you to that
directory regardless of where you currently are
• eg. cd /home/john/music/jack_parow/

Navigation tips
• Use ‘pwd’ a LOT to get your bearings
• A plain ‘cd’ will always take you home
• ‘cd -’ (minus) takes you to the previous directory you were working in
• Use ‘cd ..’ a lot to become used to navigating from memory • eg. cd ../../microrarray_data/affymetrix/

Copying
• cp source-file(s) destination, where destination is:– another directory, eg. copying files from an
archive to a working directory– a new filename, eg. cp mainfile workingfile
• Copying entire directories also possible– cp -fr exome1/ exome1_Mar2012/ (identical)
Working with files
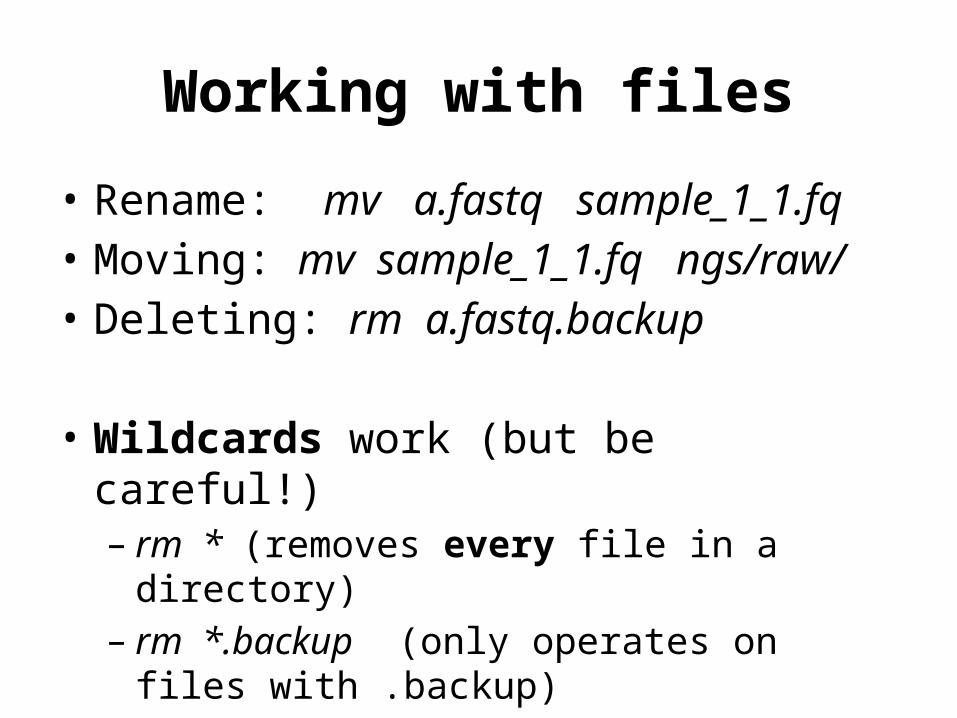
• Rename: mv a.fastq sample_1_1.fq• Moving: mv sample_1_1.fq ngs/raw/• Deleting: rm a.fastq.backup
• Wildcards work (but be careful!)– rm * (removes every file in a directory)– rm *.backup (only operates on files with .backup)– mv *.fastq.backup ngs/backups/

Viewing (text) file contents
• cat – Short for concatenate
– displays contents of file(s) one after the other
– writes file contents to terminal (screen)
• ‘Problem’: if files are bigger than 1 screen’s worth, text just goes flying past and you don’t get to see anything useful

Viewing (text) file contents (2)
• more– like a cat with pause
– still writes to the screen, but in seqments• more 1.fasta
– has a pattern finding facility, which enables you to jump to first occurrence of the search string• sequence: more 1.fasta <enter>, /string <enter>,
<enter> for next hit
Viewing (text) file contents (3)
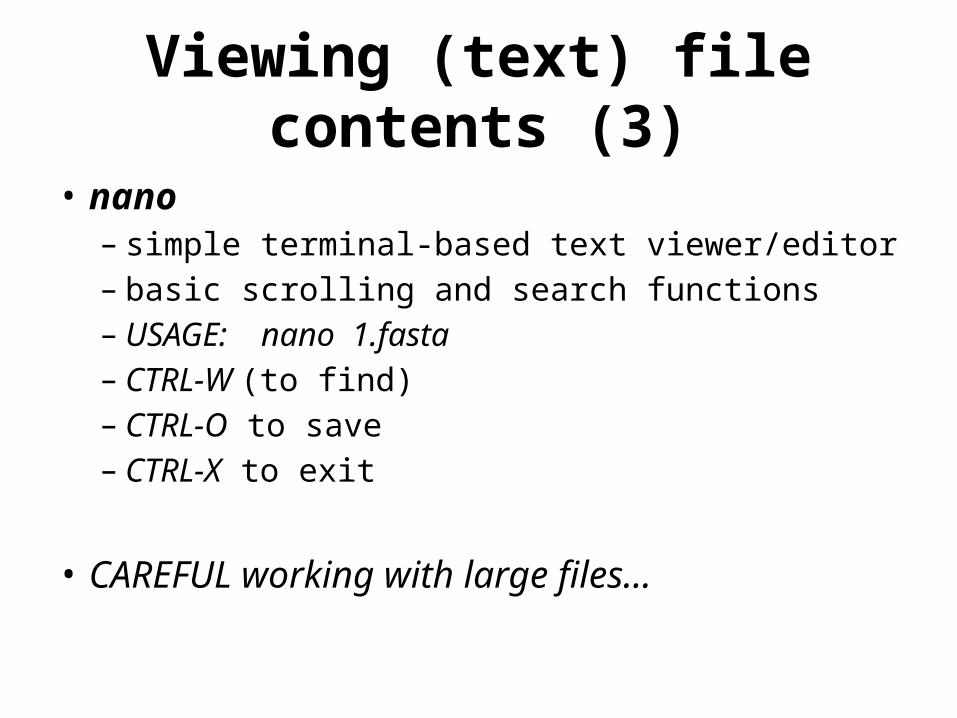
• nano– simple terminal-based text viewer/editor– basic scrolling and search functions– USAGE: nano 1.fasta– CTRL-W (to find)– CTRL-O to save– CTRL-X to exit
• CAREFUL working with large files…

Cheat sheets
• http://files.fosswire.com/2007/08/fwunixref.pdf
• This covers everyday Linux commands, but…
• The best cheatsheet is the one you create and keep adding to as you learn new ‘tricks’
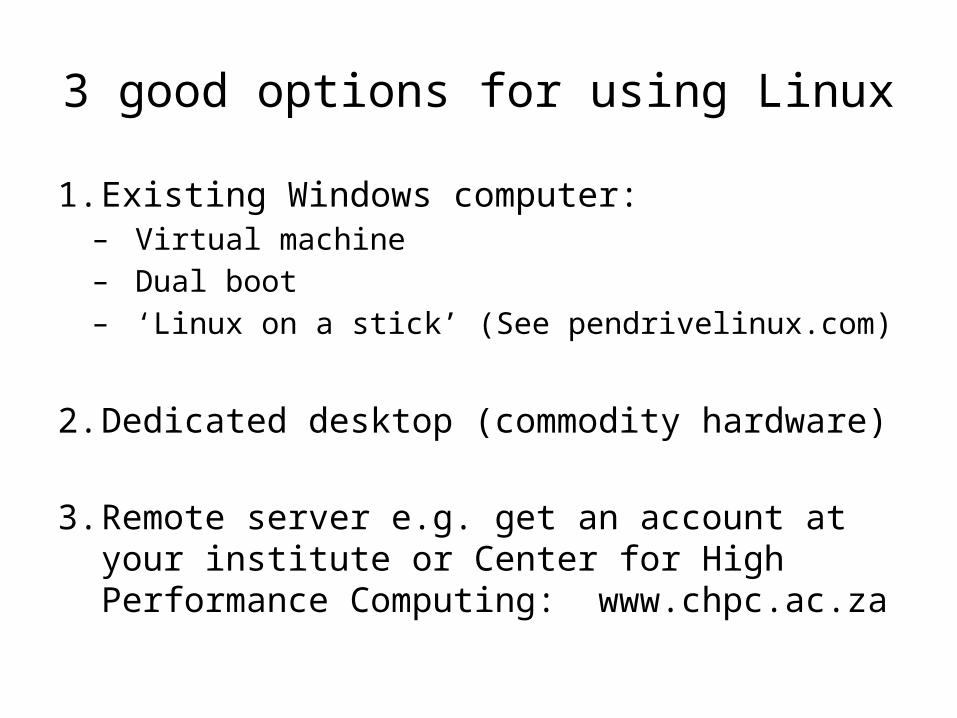
3 good options for using Linux
1. Existing Windows computer:– Virtual machine– Dual boot– ‘Linux on a stick’ (See pendrivelinux.com)
2. Dedicated desktop (commodity hardware)
3. Remote server e.g. get an account at your institute or Center for High Performance Computing: www.chpc.ac.za

Accessing a remote server
• Assumes you have an account on said machine
• Requires a ‘client’ to talk to remote machine
• Linux and Mac – simply use terminal
• Windows – download a special program– PuTTY is a good option: – www.chiark.greenend.org.uk/~sgtatham/putty/

ssh
• Network protocol for secure data communication between two computers that connects, via a secure channel over an insecure network
• Connection is between a SSH server and a SSH client
• Perfect for shell account access
• Replaces telnet (never use) which sends passwords in plaintext that can be intercepted
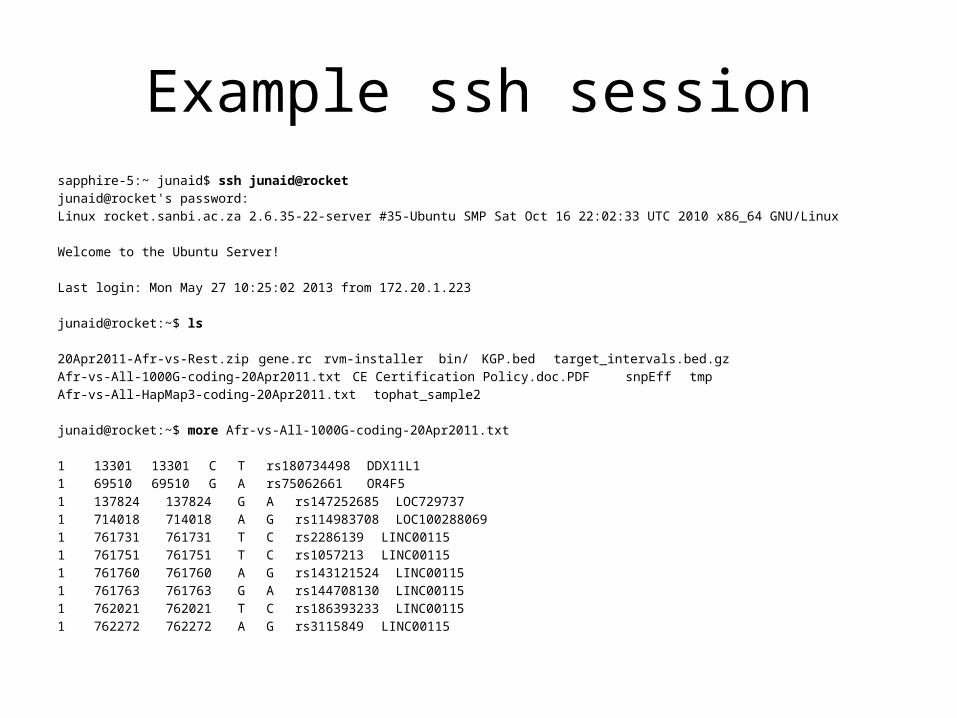
Example ssh sessionsapphire-5:~ junaid$ ssh junaid@rocketjunaid@rocket's password: Linux rocket.sanbi.ac.za 2.6.35-22-server #35-Ubuntu SMP Sat Oct 16 22:02:33 UTC 2010 x86_64 GNU/Linux
Welcome to the Ubuntu Server!
Last login: Mon May 27 10:25:02 2013 from 172.20.1.223
junaid@rocket:~$ ls
20Apr2011-Afr-vs-Rest.zip gene.rc rvm-installer bin/ KGP.bed target_intervals.bed.gzAfr-vs-All-1000G-coding-20Apr2011.txt CE Certification Policy.doc.PDF snpEff tmpAfr-vs-All-HapMap3-coding-20Apr2011.txt tophat_sample2
junaid@rocket:~$ more Afr-vs-All-1000G-coding-20Apr2011.txt
1 13301 13301 C T rs180734498 DDX11L11 69510 69510 G A rs75062661 OR4F51 137824 137824 G A rs147252685 LOC7297371 714018 714018 A G rs114983708 LOC1002880691 761731 761731 T C rs2286139 LINC001151 761751 761751 T C rs1057213 LINC001151 761760 761760 A G rs143121524 LINC001151 761763 761763 G A rs144708130 LINC001151 762021 762021 T C rs186393233 LINC001151 762272 762272 A G rs3115849 LINC00115
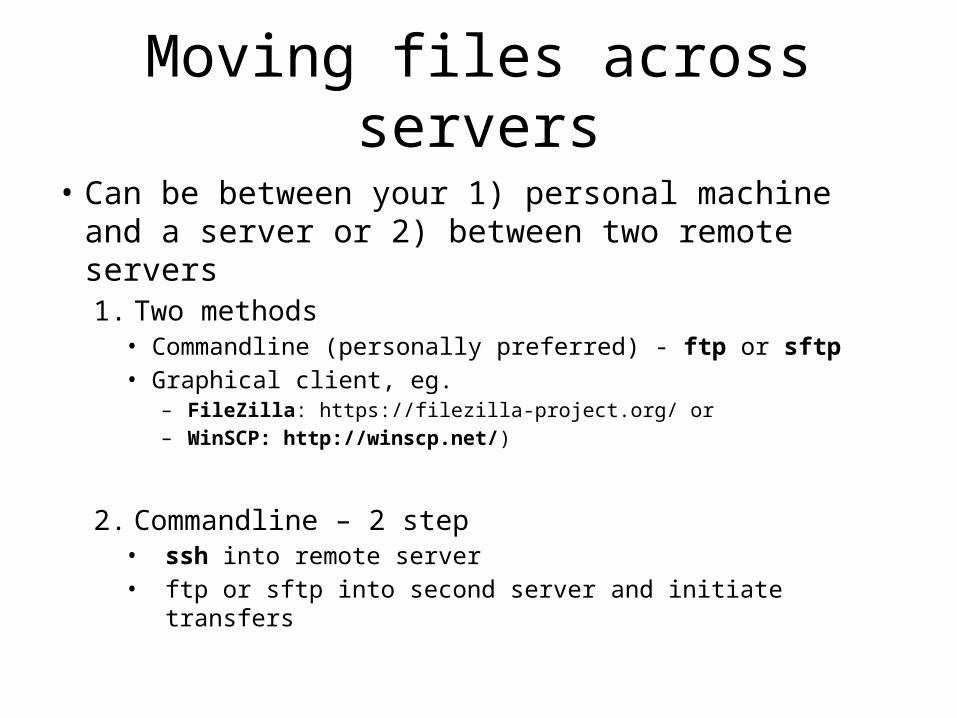
Moving files across servers
• Can be between your 1) personal machine and a server or 2) between two remote servers1. Two methods• Commandline (personally preferred) - ftp or sftp• Graphical client, eg.
– FileZilla: https://filezilla-project.org/ or – WinSCP: http://winscp.net/)
2. Commandline – 2 step• ssh into remote server• ftp or sftp into second server and initiate transfers

Exercise
(Use your notes and ‘cheatsheet’)1. Open a terminal2. Check that you are in your home directory3. Create a directory called ‘exercises’4. Can you move this directory to the same
level as your home directory?5. Copy testfiles.zip into the new folder

6. Go into exercises (change working directory ) and uncompress the file called ‘testfiles.zip’– $ unzip testdata.zip
7. Do a directory listing to see what happened8. Notice a new directory? Go into it.
9. Do the following and note the differences: cat gene_expression.diff.txt more gene_expression.diff.txt (hit ENTER a few times, then hit the
SPACEBAR) nano gene_expression.diff.txt
NOTE: copy testfiles.zip into ‘exercises’
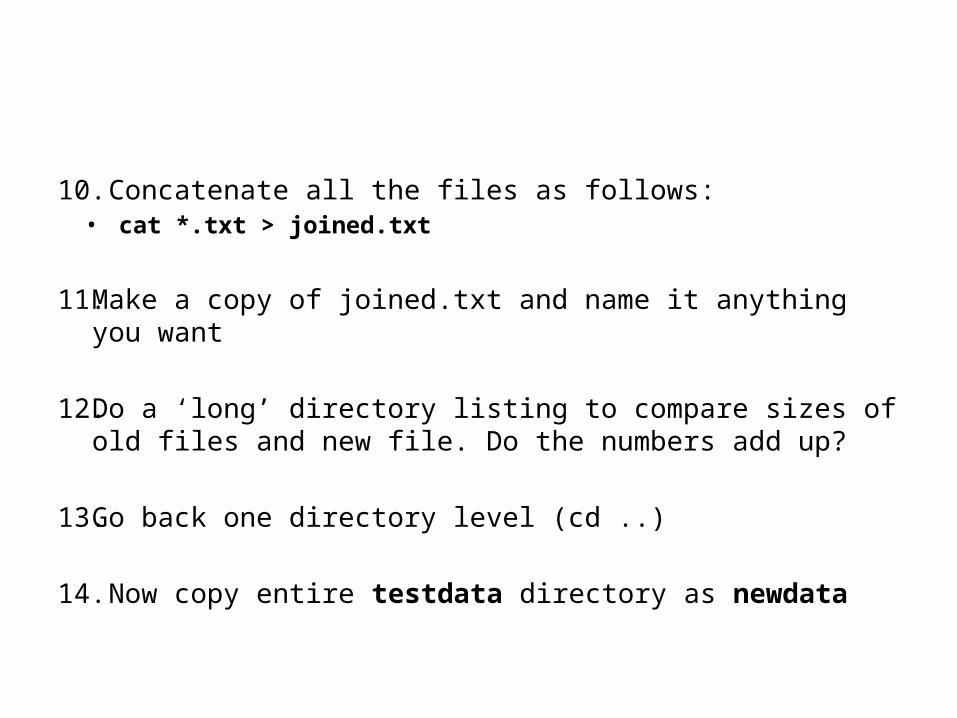
10. Concatenate all the files as follows:• cat *.txt > joined.txt
11. Make a copy of joined.txt and name it anything you want
12. Do a ‘long’ directory listing to compare sizes of old files and new file. Do the numbers add up?
13. Go back one directory level (cd ..)
14. Now copy entire testdata directory as newdata

15.Compare contents of newdata and testdata
16.Try to delete testdata using rmdir – what happens? Make it work.
17.Let’s ‘walk’ through the filesystem a bit. Go into: – newdata– then straight into the root directory (single command)– then back to your home directory (single command)