Embed Size (px)
Citation preview

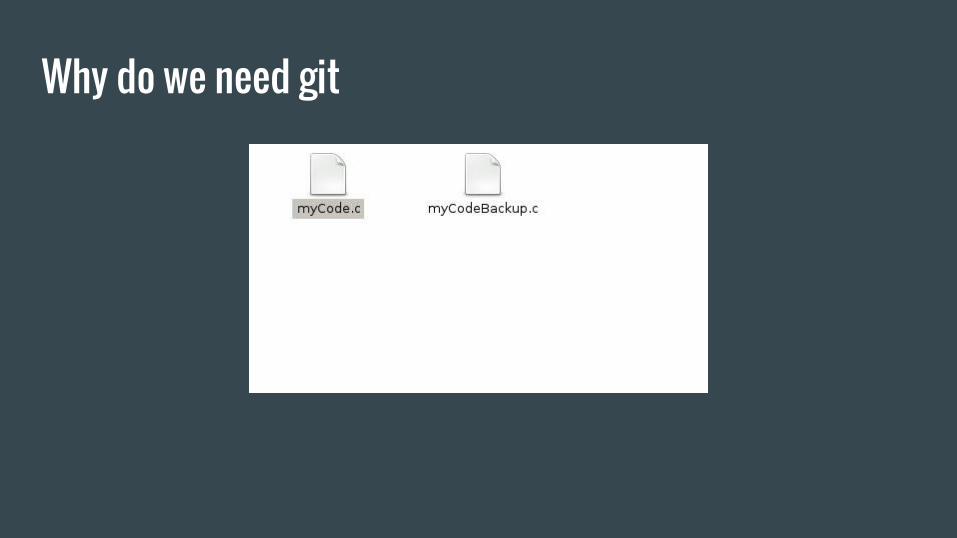
Why do we need git
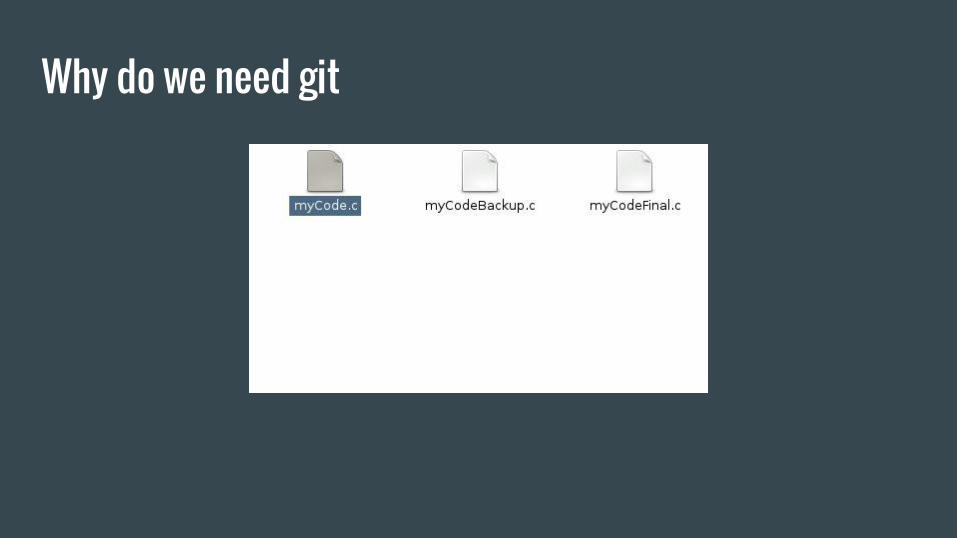
Why do we need git
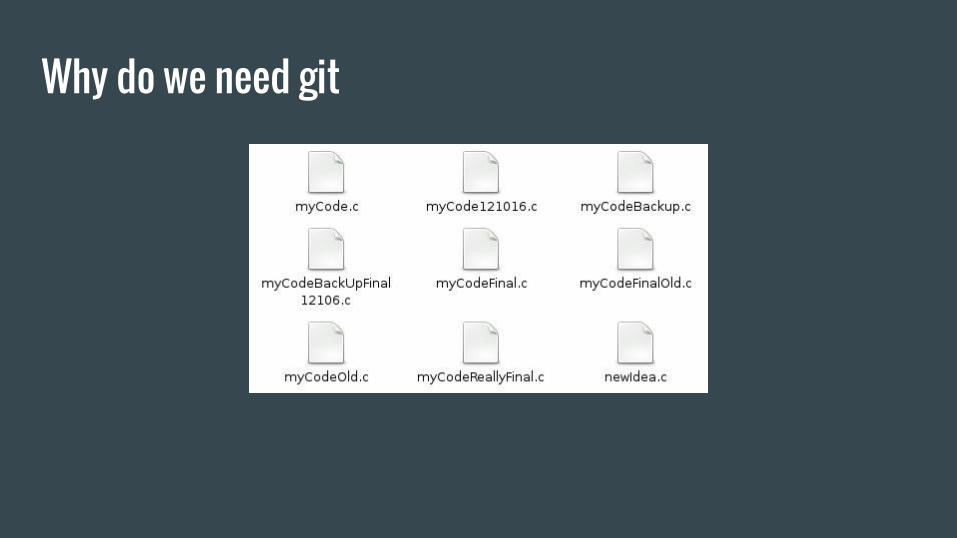
Why do we need git
Why do we need git

Why do we need git
Why do you need git● Your future employer probably works with git
● Most common tool for open source development
● To manage your own projects/assignments
● Usage will be mandatory in future modules
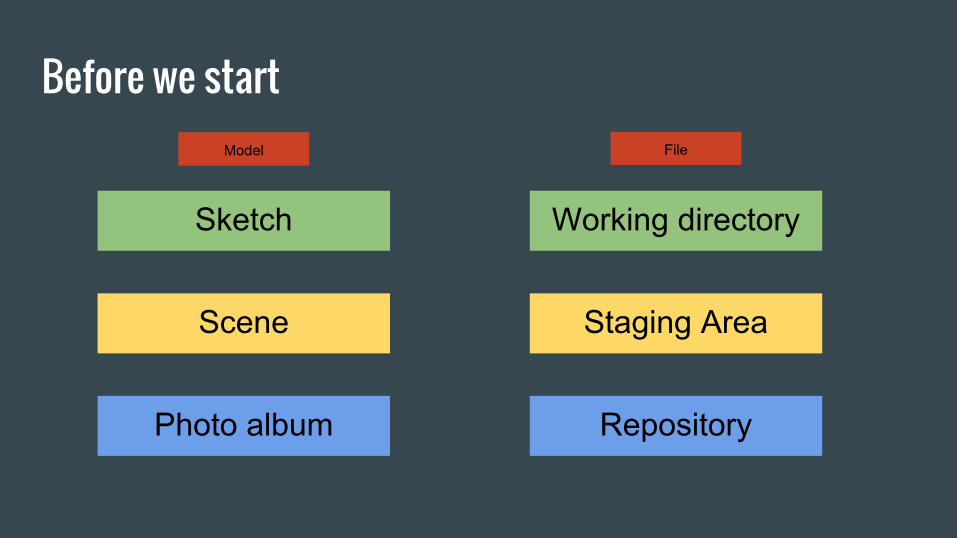
Before we start
Working directory
Staging Area
Repository
Sketch
Scene
Photo album
Model File
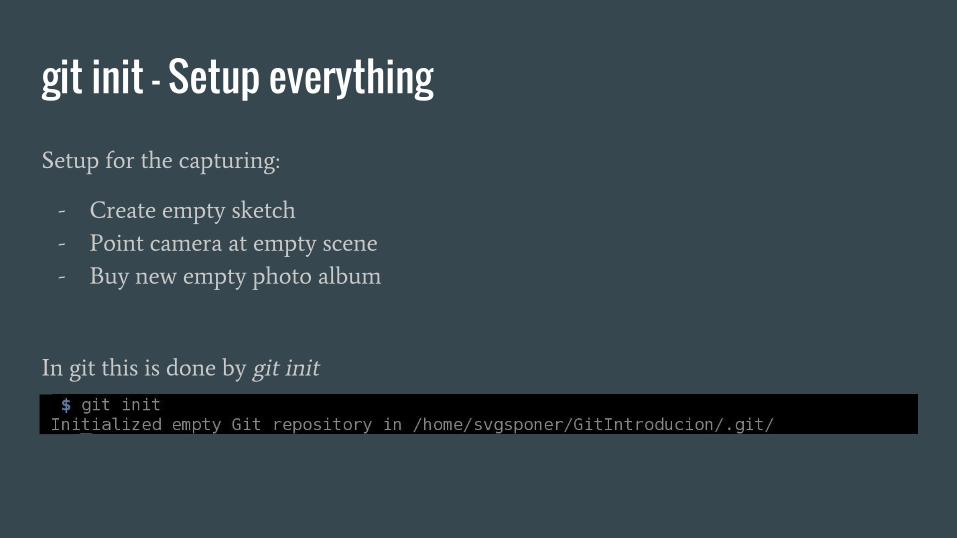
git init - Setup everything
In git this is done by git init
Setup for the capturing:
- Create empty sketch
- Point camera at empty scene
- Buy new empty photo album
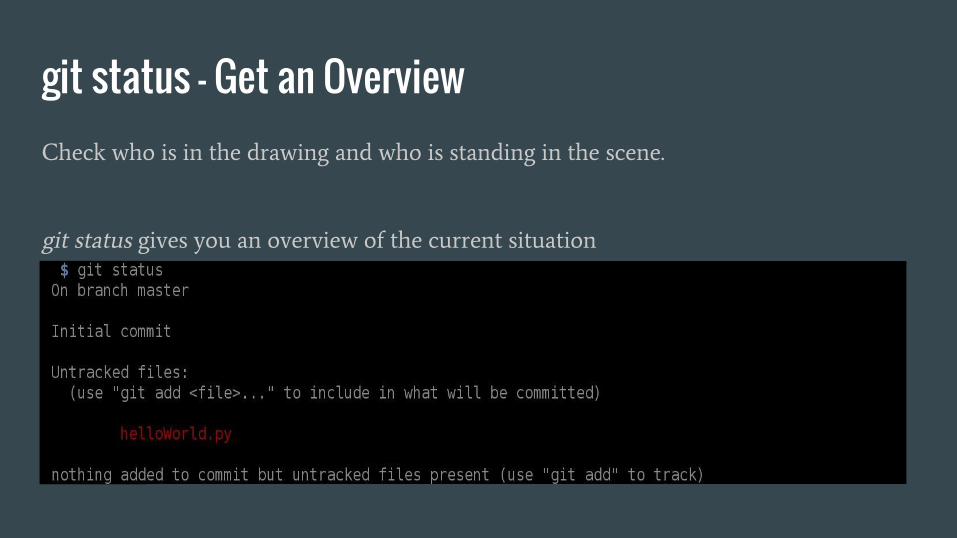
git status gives you an overview of the current situation
git status - Get an OverviewCheck who is in the drawing and who is standing in the scene.
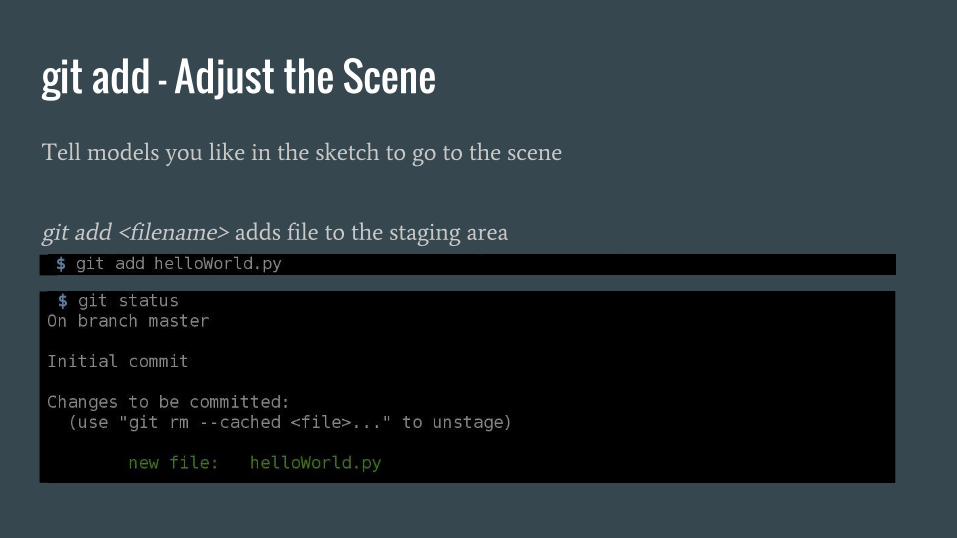
git add - Adjust the Scene
git add <filename> adds file to the staging area
Tell models you like in the sketch to go to the scene

git commit - Take the Photo
git commit saves files in the repository
Take the photo and glue it into our album together with a description.

Make some changes
git status shows us that helloWorld.py changed
After drawing get an overview by looking at the scene and drawing
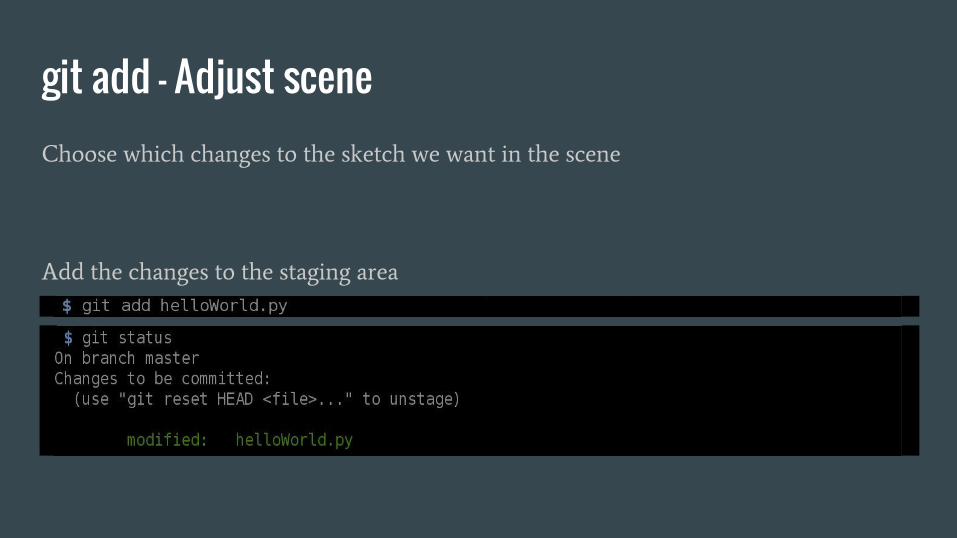
git add - Adjust scene
Add the changes to the staging area
Choose which changes to the sketch we want in the scene
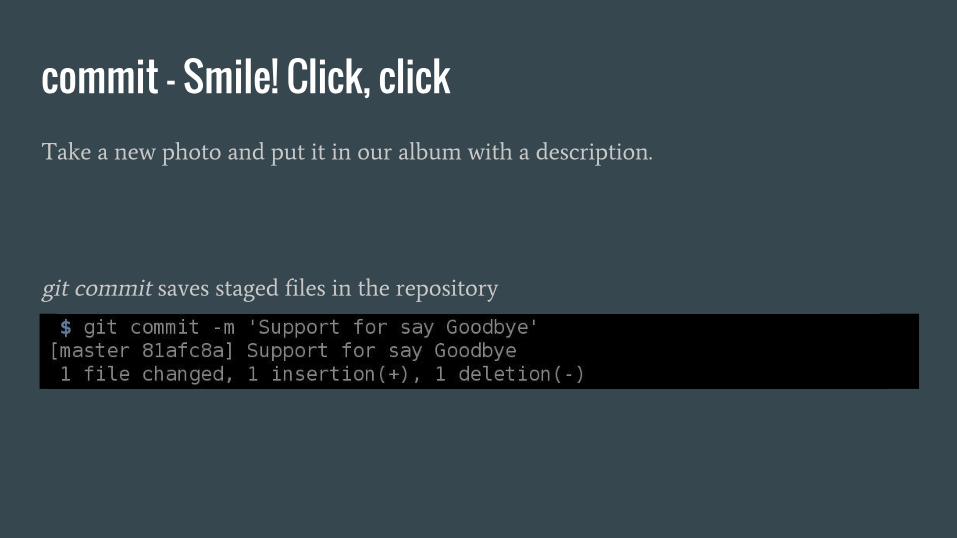
commit - Smile! Click, click
git commit saves staged files in the repository
Take a new photo and put it in our album with a description.
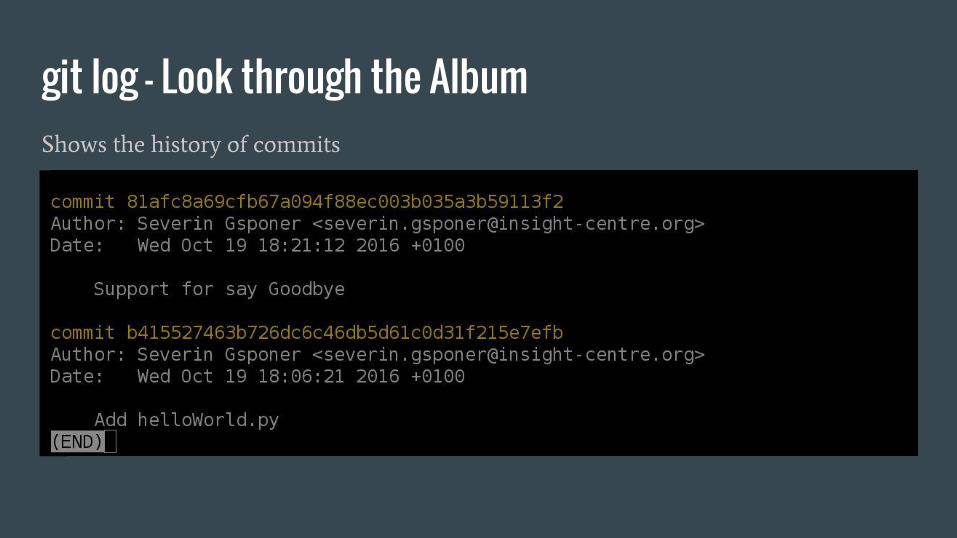
git log - Look through the AlbumShows the history of commits
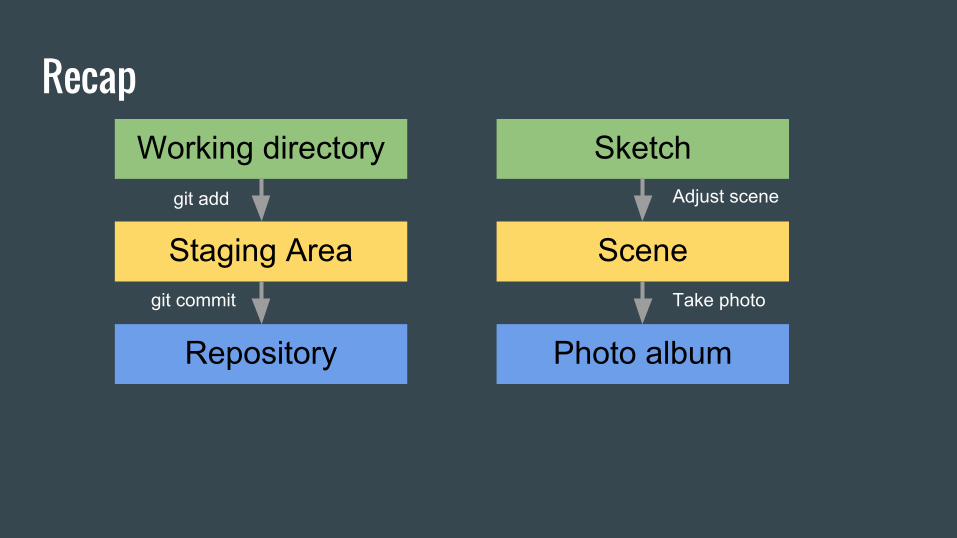
RecapWorking directory
Staging Area
Repository
Sketch
Scene
Photo album
git add
git commit
Adjust scene
Take photo
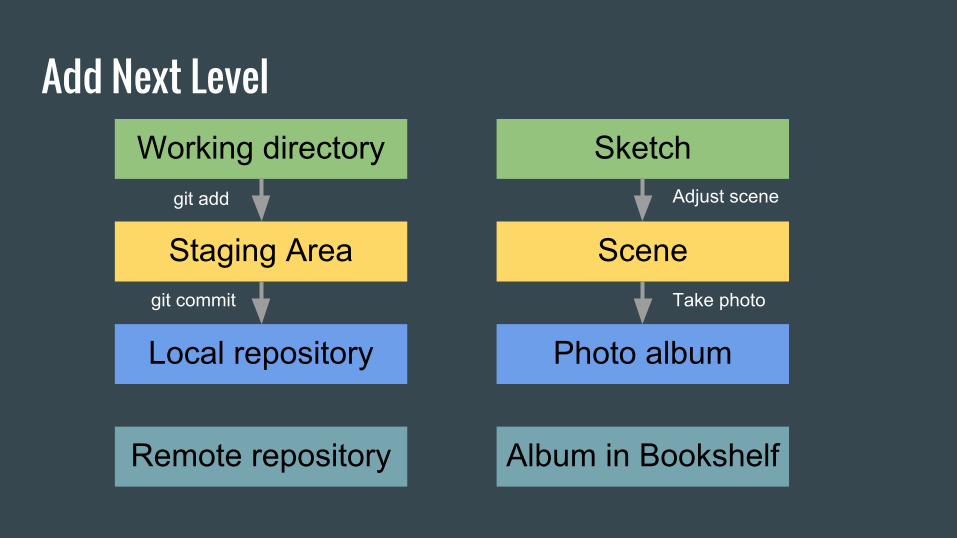
Add Next LevelWorking directory
Staging Area
Local repository
Sketch
Scene
Photo album
git add
git commit
Remote repository Album in Bookshelf
Adjust scene
Take photo
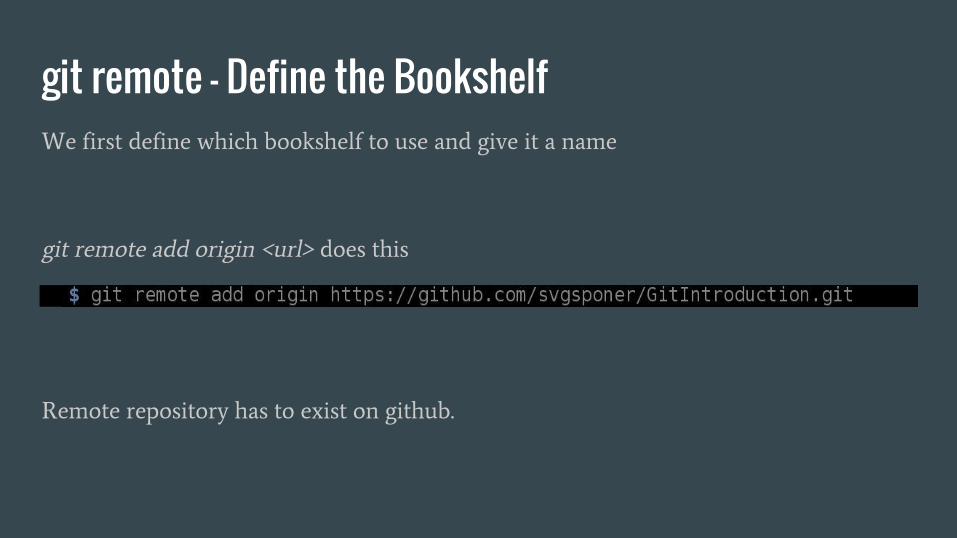
git remote - Define the BookshelfWe first define which bookshelf to use and give it a name
git remote add origin <url> does this
Remote repository has to exist on github.
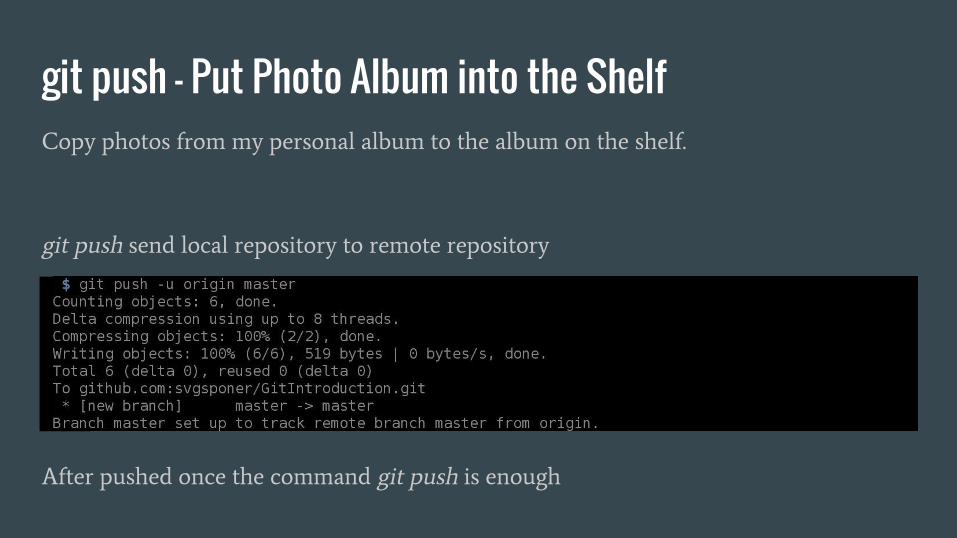
git push - Put Photo Album into the ShelfCopy photos from my personal album to the album on the shelf.
git push send local repository to remote repository
After pushed once the command git push is enough
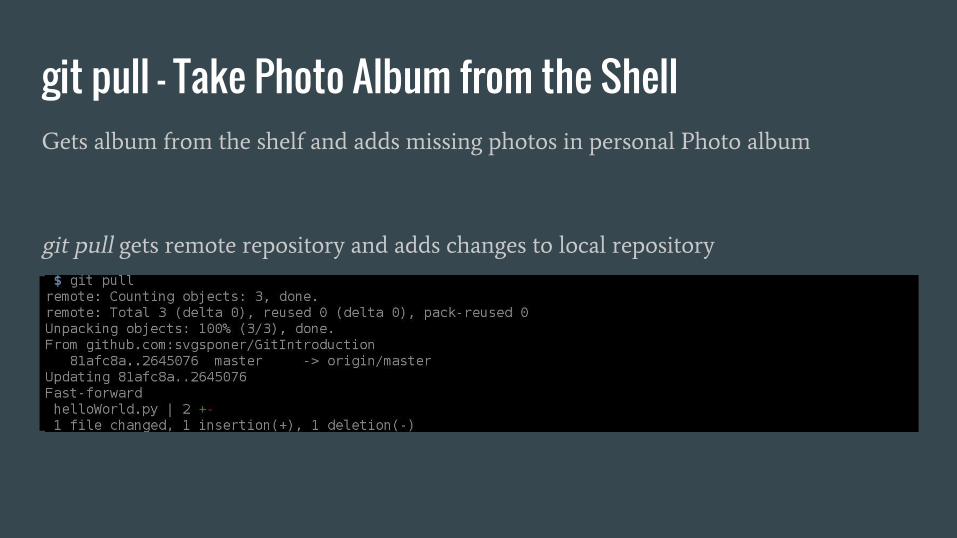
git pull - Take Photo Album from the ShellGets album from the shelf and adds missing photos in personal Photo album
git pull gets remote repository and adds changes to local repository
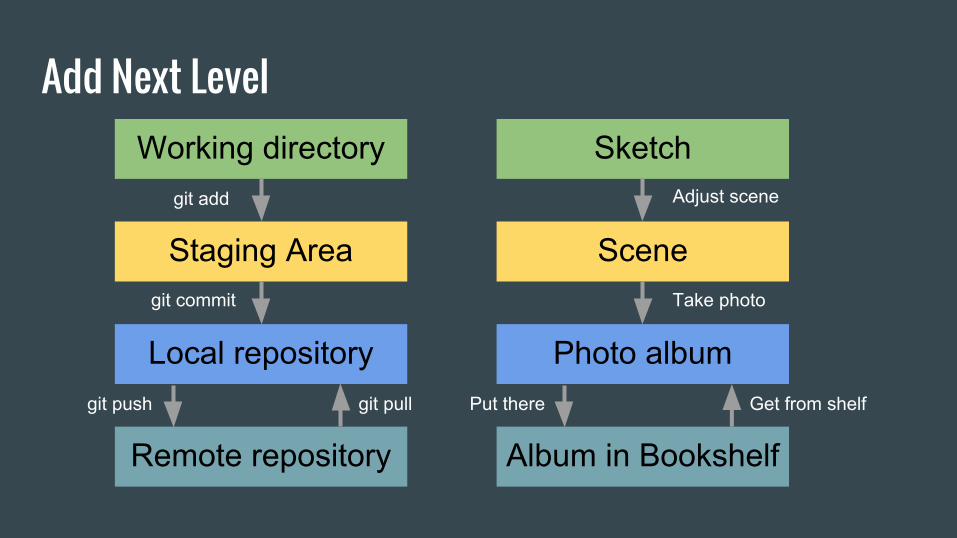
Add Next LevelWorking directory
Staging Area
Local repository
Sketch
Scene
Photo album
git add
git commit
Remote repository Album in Bookshelf
Adjust scene
Take photo
git push git pull Put there Get from shelf
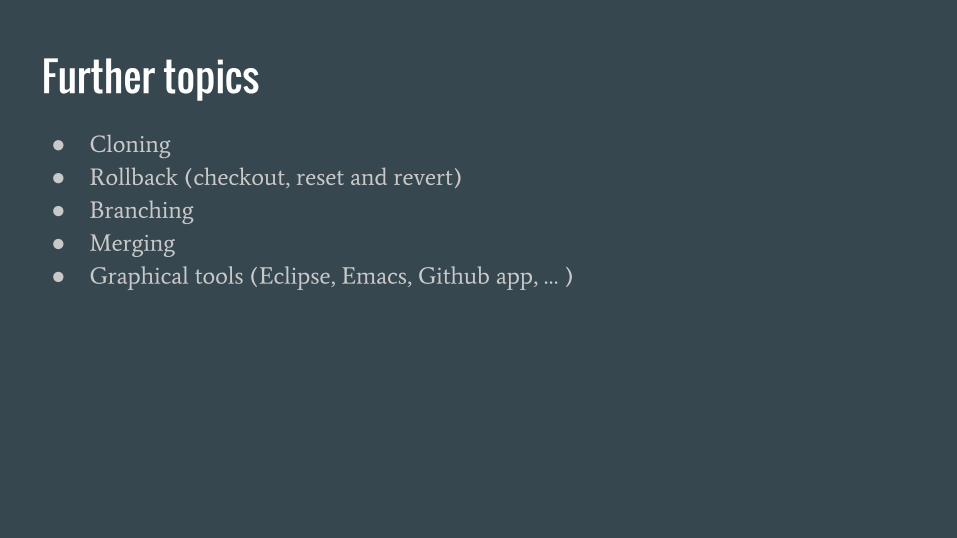
Further topics● Cloning
● Rollback (checkout, reset and revert)
● Branching
● Merging
● Graphical tools (Eclipse, Emacs, Github app, … )

More material● https://try.github.io (interactive tutorial)
● https://git-scm.com (official documentation)
● https://www.atlassian.com/git/tutorials/what-is-version-control (tutorial)
● http://git.io/git-tips (collection of useful command)
● https://guides.github.com/activities/hello-world/ (tutorial)
● http://ndpsoftware.com/git-cheatsheet.html (interactive cheatsheet)
● http://justinhileman.info/article/git-pretty/git-pretty.png (panic graph)
● https://www.youtube.com/watch?v=ZDR433b0HJY (more technical introduction)
● https://www.youtube.com/watch?v=MYP56QJpDr4 (advanced git and internals)
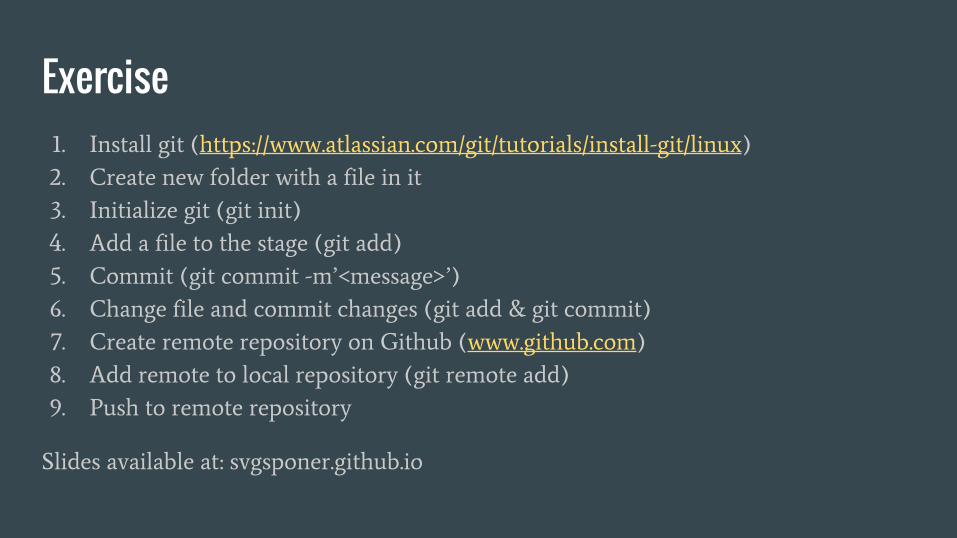
Exercise1. Install git (https://www.atlassian.com/git/tutorials/install-git/linux)
2. Create new folder with a file in it
3. Initialize git (git init)
4. Add a file to the stage (git add)
5. Commit (git commit -m’<message>’)
6. Change file and commit changes (git add & git commit)
7. Create remote repository on Github (www.github.com)
8. Add remote to local repository (git remote add)
9. Push to remote repository
Slides available at: svgsponer.github.io


![Lab 1: Git - Hanyang · 2020. 3. 26. · 1. git init 2. git remote add [repoName] [url] 3. git pull [repoName] [branch(e.g. master)] 4. Working… 5. git add * 6. git commit –m](https://img.pdfslide.us/doc/110x75/5ff18f05f6668f333e2be74f/lab-1-git-hanyang-2020-3-26-1-git-init-2-git-remote-add-reponame-url.jpg)