Embed Size (px)
Citation preview
Introduction to Foundations of Reading (Phonics Level 1)
Our “learning to read” program is based upon the Orton-Gillingham approach to phonics. We use the Bible to teach phonics, combining it with the latest research to provide your younger students with a firm foundation in reading. Our method is multisensory (sight, sound, and touch), and phonics concepts are taught in a logical, sequential way. Each lesson builds upon the previous lesson, but Mom remains in charge — helping her child move as quickly or slowly as needed. We believe in teaching “phonograms” so that no guessing is involved. Order and the beauty of language will be emphasized, with lots of opportunity for review and practice each day.
Topics Covered Reference our Sequence Chart to see the order in which we teach letter sounds and phonograms.
Each lesson includes the following activities: Flashcard Review – Student sees letter or phonogram and tells you the sound.
Then you’ll reshuffle the cards. Now you’ll say the sound, and student will spell and write it.
Practice Reading Blends and Words – Student begins with simple blends and progresses to words. Finally, he will read sentences. We transition to reading from Scripture as soon as possible.
New Sounds – You’ll teach new phonograms to the student, who will write them, spell them, and read them.
Practice Sounds – Student will use magnetic letters to spell words. Dictate Words – You’ll dictate words to the student, who will repeat them,
spell them, and write them. Dictate Sentences – As student’s reading proficiency increases, you will dictate
sentences to the student, who will repeat them and write them. Games – You will end each lesson with a fun activity. Stickers – As student masters a sound, he can add a sticker to his Sequence
Sticker Chart so that he can see his progress.

UNIT FORMAT The lesson plans are set up in “units” rather than daily plans. We want you to help your child master a set of skills before moving on to the next unit, so we purposely kept the units short and without daily numbers.
Practice, practice, practice — this is what makes a confident reader! We strongly recommend that you pace the instruction to the needs of your child rather than simply trying to complete the next lesson as rapidly as possible. Children mature at a variety of rates. Take as much time as your child needs!
LESSON ATMOSPHERE Try to have your daily reading, writing, and spelling lessons at the same time and place each day. The room should be orderly, uncluttered, and without too many distractions. A predictable daily routine has been shown to create a state of mind that is conducive to learning.
(Maybe this would be a good time to have babies and toddlers spend a few minutes playing safely by themselves in a playpen or gated room. Older siblings could take turns supervising other younger children. Try to make it possible to have 15-20 minutes of uninterrupted time with your beginning reader.)
Have your child face in the same direction each day, working at a comfortable table. This will help orient your child in space and in the awareness of left-right directionality.
LESSON PLAN FORMAT The lessons include a “Teacher’s Manual” and “Student Worksheets” that are designed to be printed and inserted into 3-ring binders.
In addition, we include charts that can be printed on standard 8 1/2″ x 11″ paper. You may print them with color or black-and-white ink. We recommend inserting the charts into plastic sheet protectors or taking them to a local office-supply store to

be laminated. You may wish to hang the charts on the wall, or Mom can keep them handy in her “Teacher’s Manual” binder.
We also include “writing paper” that you can print. If it would be less expensive to purchase writing paper at a store near you, be sure to get the right size. Have your child write his name on an unlined piece of paper, then select the writing-paper size that provides a close fit to his spontaneous writing. Bigger is better. (Here is an example from Amazon, but you can probably find something much cheaper at a local store.)
Members may download writing paper here >> http://homeschoolingtorah.com/wp-content/uploads/Writing-Paper.pdf SUPPLIES NEEDED The child will need a pencil with an attached eraser, never a pen or crayon.
3″ x 5″ unlined index cards. Mom will use these to make a set of phonetic sound cards. If you’d like, you may use white cards for consonants and another color for vowels.
A small box to hold the index cards and dividers to keep everything organized. Markers for making the cards: black for consonants, red for vowels, blue for
phonics markings. Plastic sheet protectors for charts. (You could also laminate them.) Small dry-erase board for student. We prefer one that is lined on one side and
blank on the other. Dry-erase markers. Magnetic letters. Stickers.
If money is tight, be creative with what you have on hand! AGES This curriculum is intended primarily for children ages 4-8 who are first learning to read. You may easily use it with older children (or adults) to teach remedial reading, but you will probably be able to move much more quickly through the lessons.

Are these phonics lessons too easy for your student? We welcome you to customize the lessons for your child. Here’s how: Look at the “Phonics Sticker Chart” on the next pages. What sounds does your
child already read easily?
Do the Review Tests in Lesson 16: https://homeschoolingtorah.com/unit-16-review
If your student can easily do Lesson 16, continue on to Lesson 17 in Level 1: https://homeschoolingtorah.com/phonics-1
Or consider beginning with Level 2: https://homeschoolingtorah.com/phonics-2
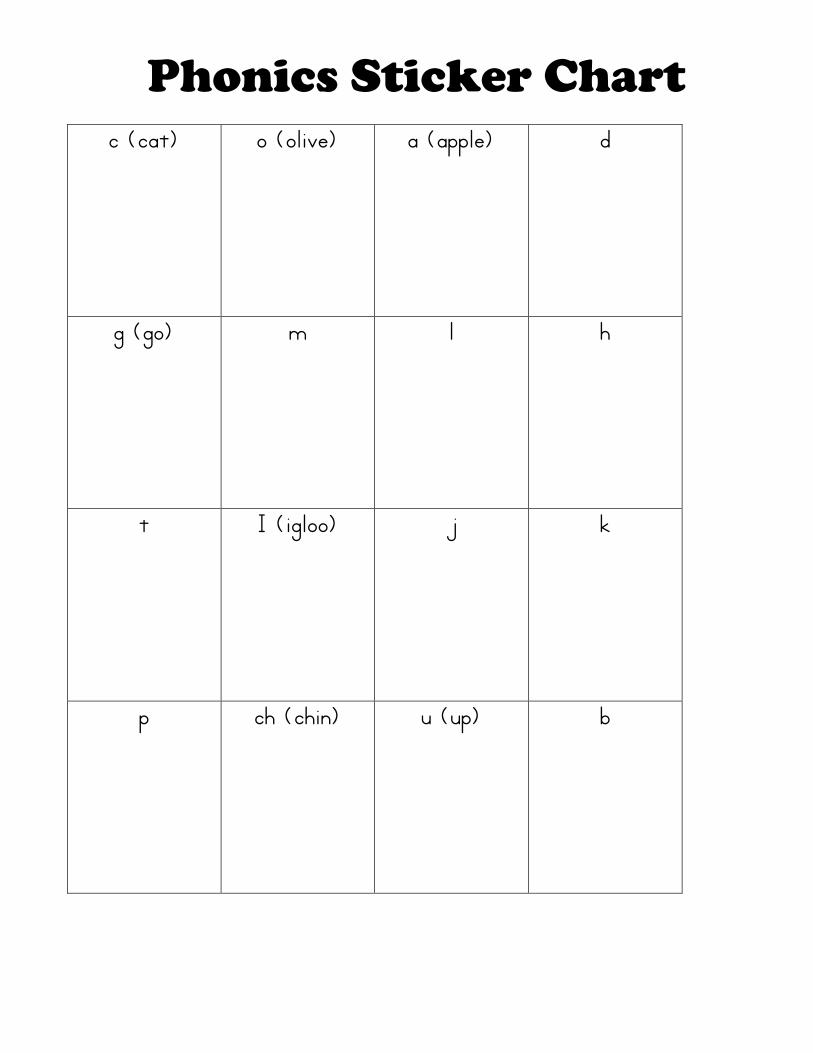
Phonics Sticker Chart
c (cat) o (olive) a (apple) d
g (go) m l h
t I (igloo) j k
p ch (chin) u (up) b
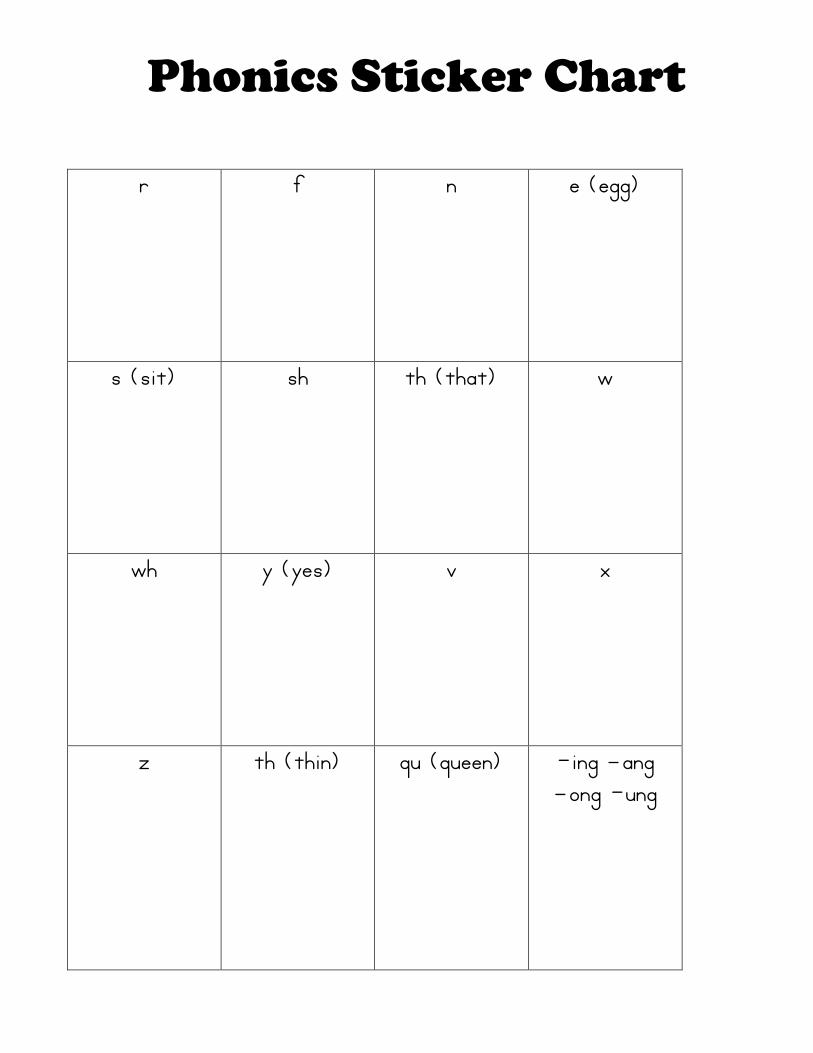
Phonics Sticker Chart
r f n e (egg)
s (sit) sh th (that) w
wh y (yes) v x
z th (thin) qu (queen) -ing –ang –ong -ung
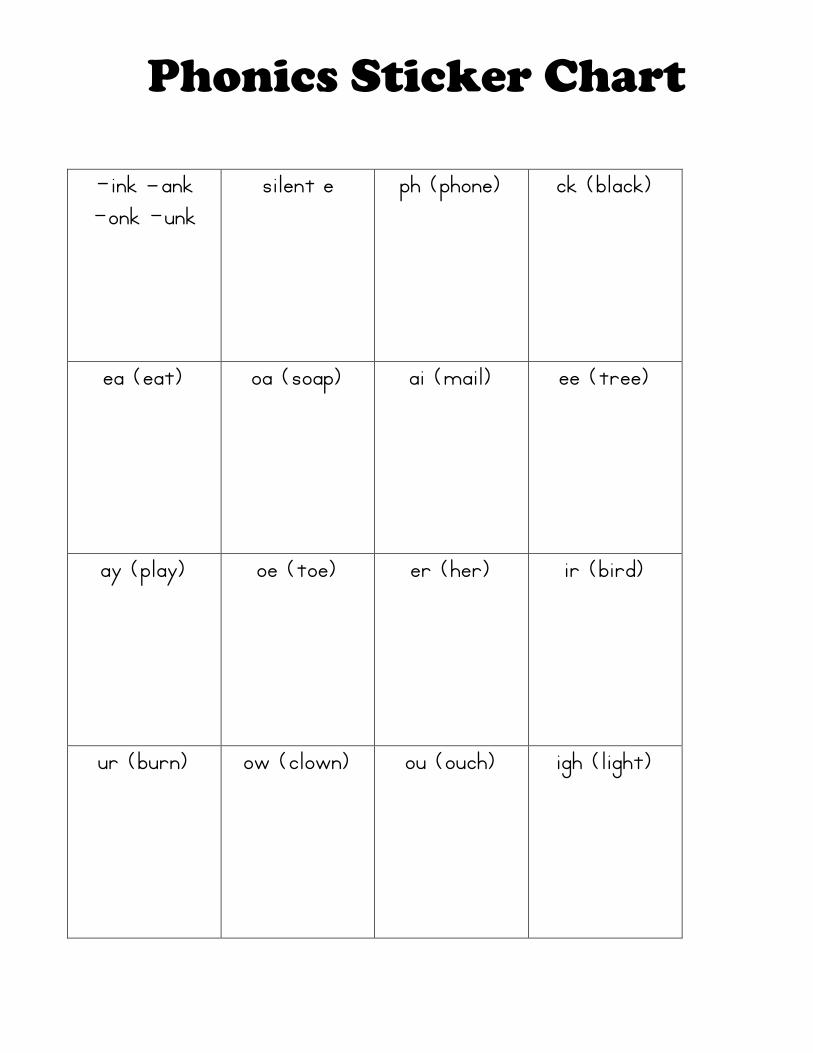
Phonics Sticker Chart
-ink –ank -onk -unk
silent e ph (phone) ck (black)
ea (eat) oa (soap) ai (mail) ee (tree)
ay (play) oe (toe) er (her) ir (bird)
ur (burn) ow (clown) ou (ouch) igh (light)
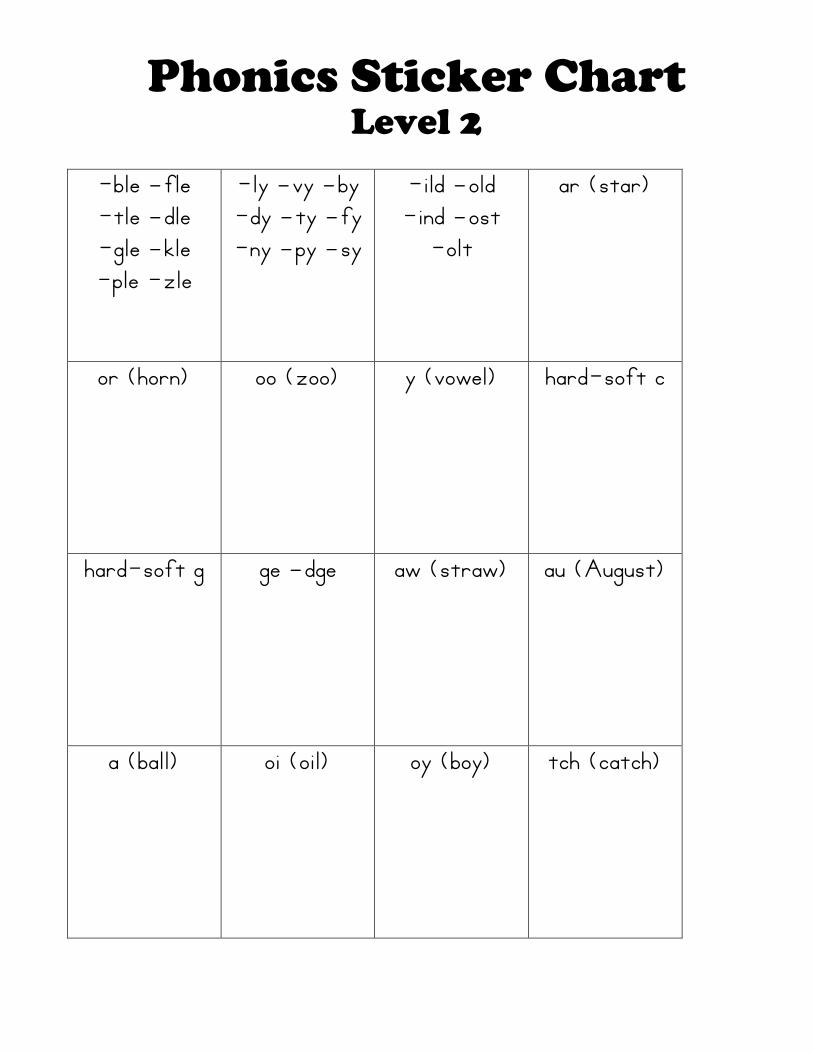
Phonics Sticker Chart
-ble –fle -tle –dle -gle –kle -ple -zle
-ly –vy –by -dy –ty –fy -ny –py –sy
-ild –old -ind –ost
-olt
ar (star)
or (horn) oo (zoo) y (vowel) hard-soft c
hard-soft g ge –dge aw (straw) au (August)
a (ball) oi (oil) oy (boy) tch (catch)
Level 2
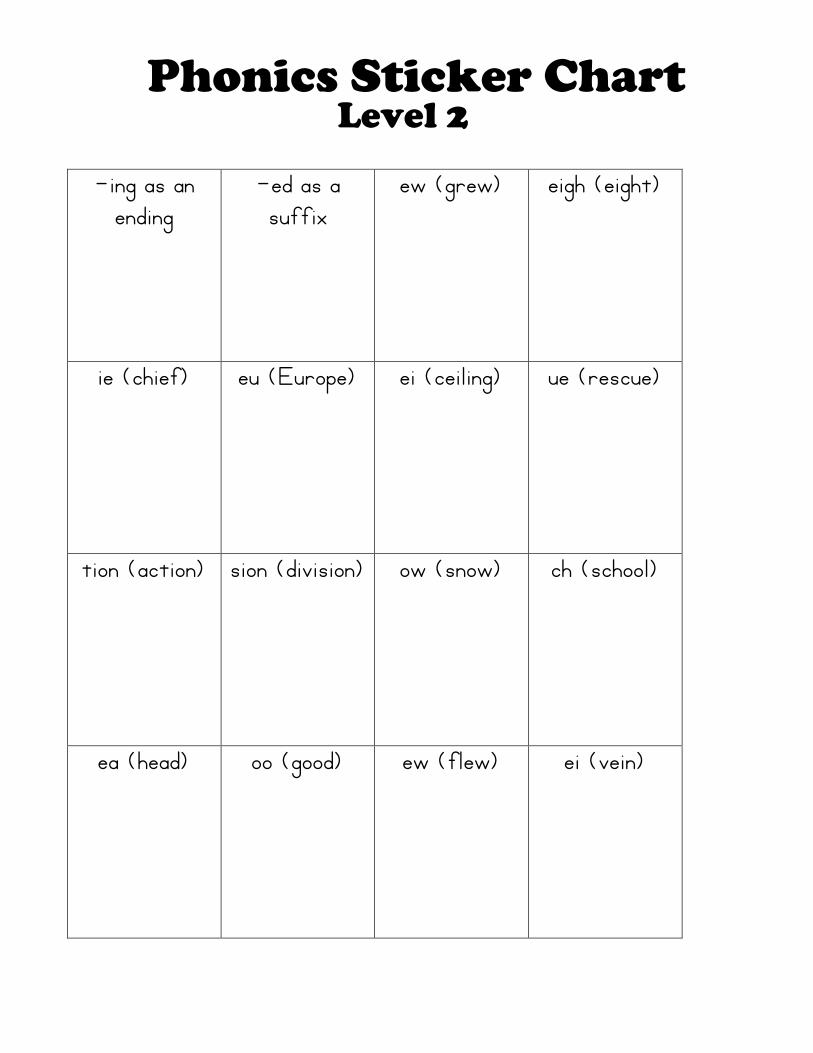
Phonics Sticker Chart
-ing as an ending
-ed as a suffix
ew (grew) eigh (eight)
ie (chief) eu (Europe) ei (ceiling) ue (rescue)
tion (action) sion (division) ow (snow) ch (school)
ea (head) oo (good) ew (flew) ei (vein)
Level 2
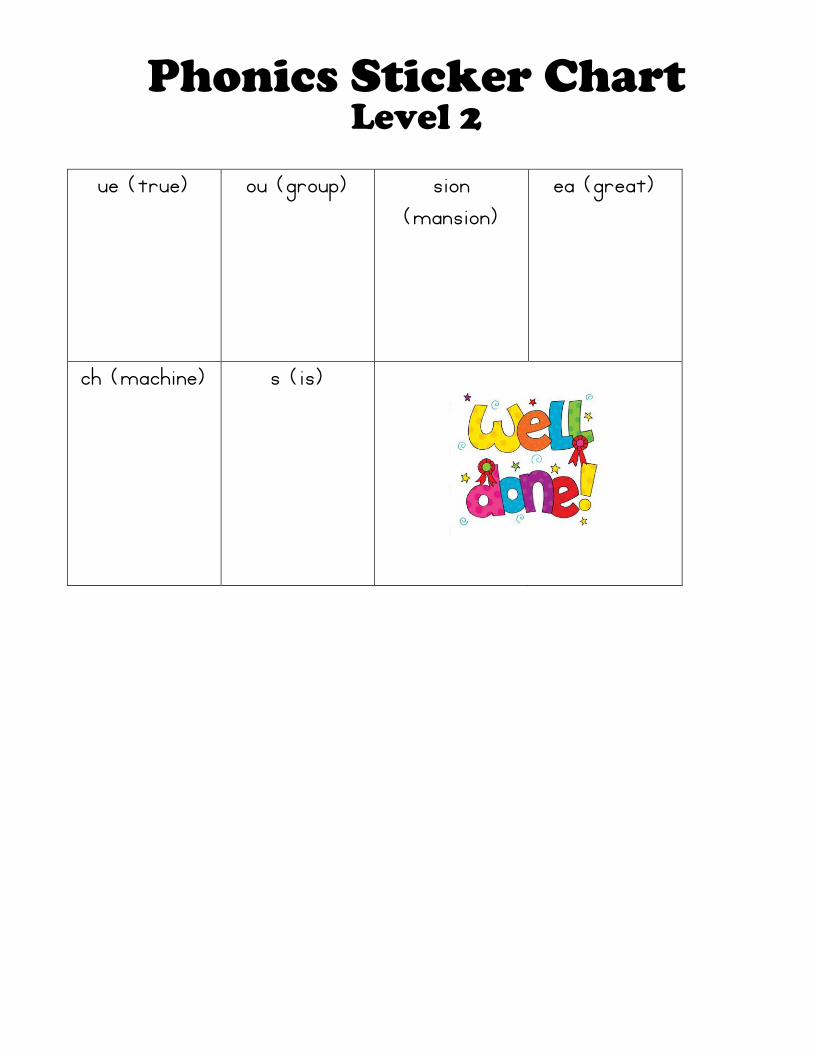
Phonics Sticker Chart
ue (true) ou (group) sion (mansion)
ea (great)
ch (machine) s (is)
Level 2

Learning to Read - Unit 1 C (cat) O (olive)
Mom’s Notes Make a flashcard for the letter c. Using black ink on a white card, write c on the
front and “cat” on the back (for your reference). Make a flashcard for the letter o. Using red ink on a colored card, write o on the
front and “olive” on the back (for your reference).
Activities
New Sound c (cat) - Teach your child that “C says /c/ in cat.” Can you think of any other words that start with /c/?
cab cake etc. can coat cup cone cut cute
Teach child to write the letter c in both manuscript and cursive. (Student book, p. 2-3)
Note: We start with letters that are formed by going around the circle to the left (c, o, a, d, and g).
New Sound
o (olive) - Teach your child that “O says /o/ in olive.” Can you think of any other words that start with /o/?
ostrich ox odd opposite Teach child to write the letter o in both manuscript and cursive. (Student
book, p. 4-5)
Practice Blending Mom, write oc on the white board in large letters. Point under the o and say /o/. Slide your finger under the c and say /c/. Now start again, and slide your finger quickly under first the o and then the c.
Say / oc /.
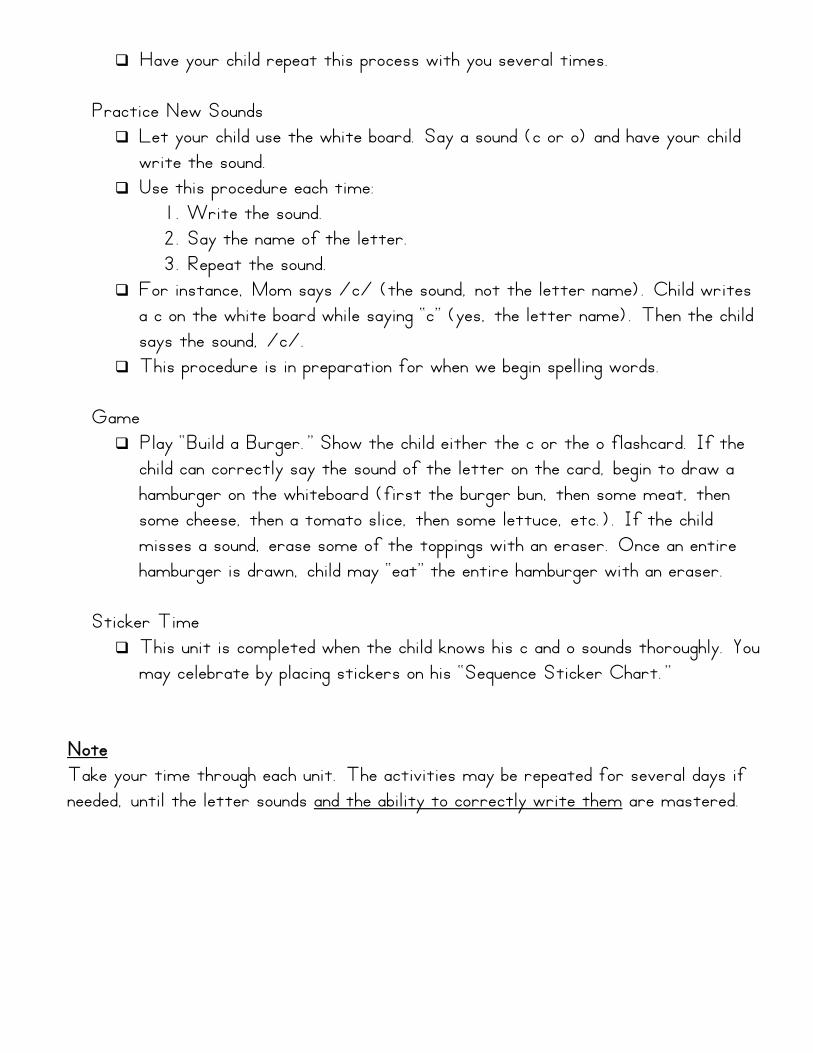
Have your child repeat this process with you several times. Practice New Sounds
Let your child use the white board. Say a sound (c or o) and have your child write the sound.
Use this procedure each time: 1. Write the sound. 2. Say the name of the letter. 3. Repeat the sound.
For instance, Mom says /c/ (the sound, not the letter name). Child writes a c on the white board while saying “c” (yes, the letter name). Then the child says the sound, /c/.
This procedure is in preparation for when we begin spelling words. Game
Play “Build a Burger.” Show the child either the c or the o flashcard. If the child can correctly say the sound of the letter on the card, begin to draw a hamburger on the whiteboard (first the burger bun, then some meat, then some cheese, then a tomato slice, then some lettuce, etc.). If the child misses a sound, erase some of the toppings with an eraser. Once an entire hamburger is drawn, child may “eat” the entire hamburger with an eraser.
Sticker Time
This unit is completed when the child knows his c and o sounds thoroughly. You may celebrate by placing stickers on his “Sequence Sticker Chart.”
Note Take your time through each unit. The activities may be repeated for several days if needed, until the letter sounds and the ability to correctly write them are mastered.
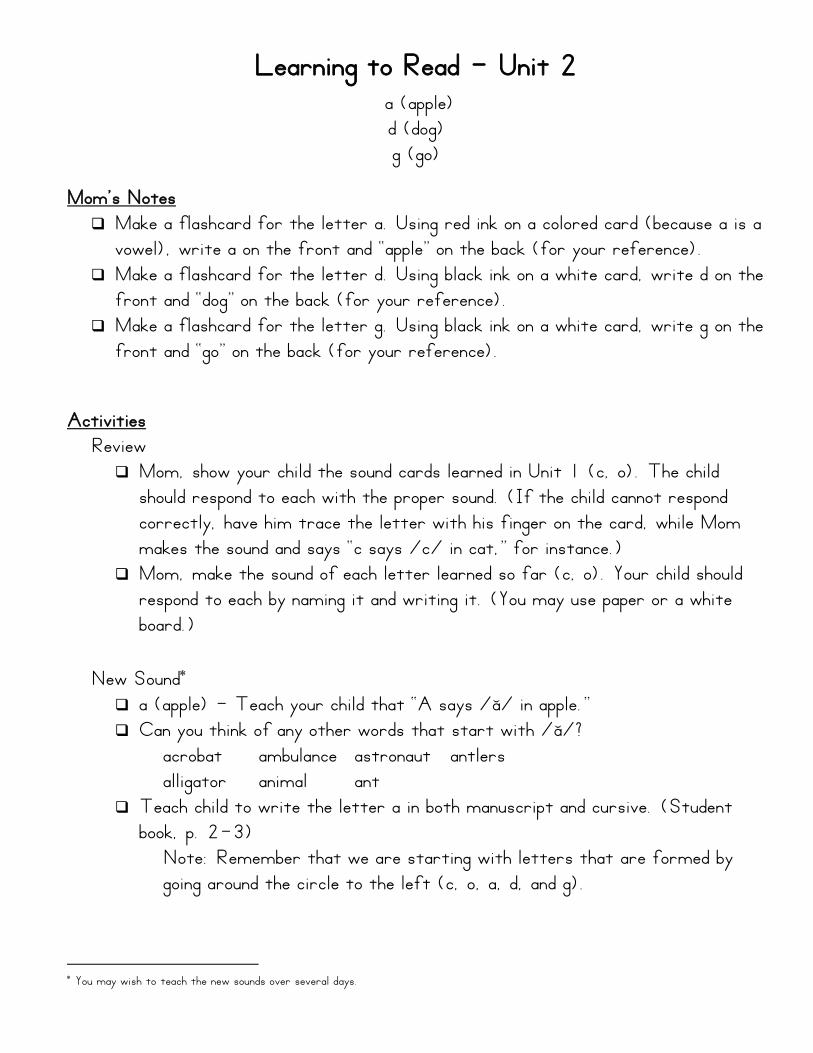
Learning to Read - Unit 2 a (apple) d (dog) g (go)
Mom’s Notes Make a flashcard for the letter a. Using red ink on a colored card (because a is a
vowel), write a on the front and “apple” on the back (for your reference). Make a flashcard for the letter d. Using black ink on a white card, write d on the
front and “dog” on the back (for your reference). Make a flashcard for the letter g. Using black ink on a white card, write g on the
front and “go” on the back (for your reference).
Activities
Review Mom, show your child the sound cards learned in Unit 1 (c, o). The child
should respond to each with the proper sound. (If the child cannot respond correctly, have him trace the letter with his finger on the card, while Mom makes the sound and says “c says /c/ in cat,” for instance.)
Mom, make the sound of each letter learned so far (c, o). Your child should respond to each by naming it and writing it. (You may use paper or a white board.)
New Sound a (apple) - Teach your child that “A says /a/ in apple.” Can you think of any other words that start with /a/?
acrobat ambulance astronaut antlers alligator animal ant
Teach child to write the letter a in both manuscript and cursive. (Student book, p. 2-3)
Note: Remember that we are starting with letters that are formed by going around the circle to the left (c, o, a, d, and g).
You may wish to teach the new sounds over several days.
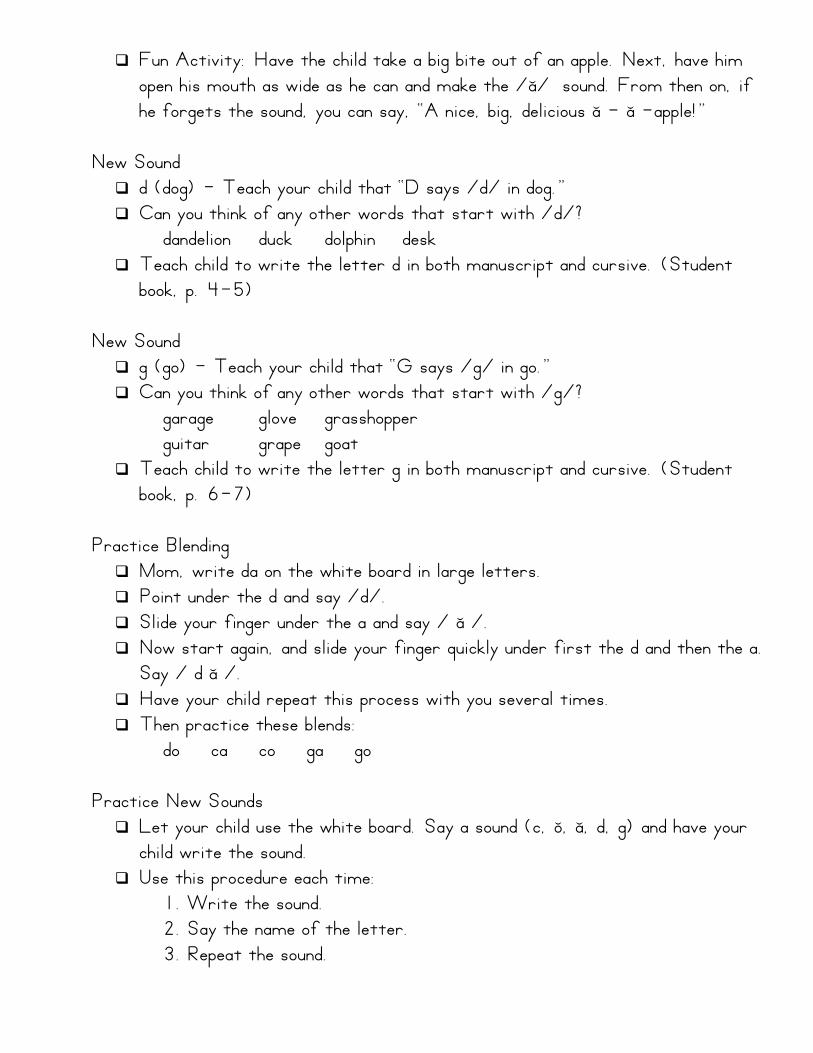
Fun Activity: Have the child take a big bite out of an apple. Next, have him open his mouth as wide as he can and make the /a/ sound. From then on, if he forgets the sound, you can say, “A nice, big, delicious a - a -apple!”
New Sound
d (dog) - Teach your child that “D says /d/ in dog.” Can you think of any other words that start with /d/?
dandelion duck dolphin desk Teach child to write the letter d in both manuscript and cursive. (Student
book, p. 4-5)
New Sound g (go) - Teach your child that “G says /g/ in go.” Can you think of any other words that start with /g/?
garage glove grasshopper guitar grape goat
Teach child to write the letter g in both manuscript and cursive. (Student book, p. 6-7)
Practice Blending
Mom, write da on the white board in large letters. Point under the d and say /d/. Slide your finger under the a and say / a /. Now start again, and slide your finger quickly under first the d and then the a.
Say / d a /. Have your child repeat this process with you several times. Then practice these blends:
do ca co ga go Practice New Sounds
Let your child use the white board. Say a sound (c, o, a, d, g) and have your child write the sound.
Use this procedure each time: 1. Write the sound. 2. Say the name of the letter. 3. Repeat the sound.
For instance, Mom says /a/ (the sound, not the letter name). Child writes an a on the white board while saying “a” (yes, the letter name). Then the child says the sound, /a/.
This procedure is in preparation for when we begin spelling words. Games and Activities
Use sidewalk chalk (or water and a paint brush) to draw the letters on cement outside.
Make the letter shapes with play-dough. (Always say the sound when forming a letter.)
Sticker Time
This unit is completed when the child knows his a, d, and g sounds thoroughly. You may celebrate by placing stickers on his “Sequence Sticker Chart.”
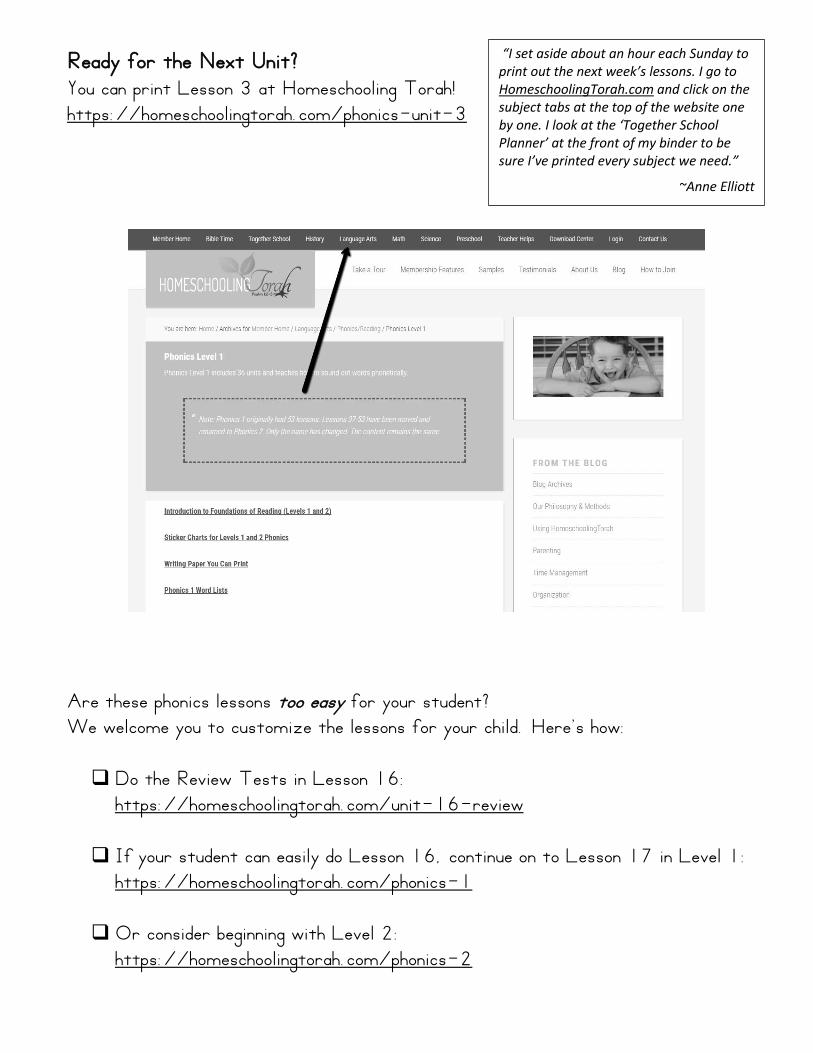
Ready for the Next Unit? You can print Lesson 3 at Homeschooling Torah! https://homeschoolingtorah.com/phonics-unit-3
Are these phonics lessons too easy for your student? We welcome you to customize the lessons for your child. Here’s how: Do the Review Tests in Lesson 16:
https://homeschoolingtorah.com/unit-16-review
If your student can easily do Lesson 16, continue on to Lesson 17 in Level 1: https://homeschoolingtorah.com/phonics-1
Or consider beginning with Level 2: https://homeschoolingtorah.com/phonics-2
“I set aside about an hour each Sunday to print out the next week’s lessons. I go to HomeschoolingTorah.com and click on the subject tabs at the top of the website one by one. I look at the ‘Together School Planner’ at the front of my binder to be sure I’ve printed every subject we need.”
~Anne Elliott