Embed Size (px)
Citation preview

Introduction to Android Development
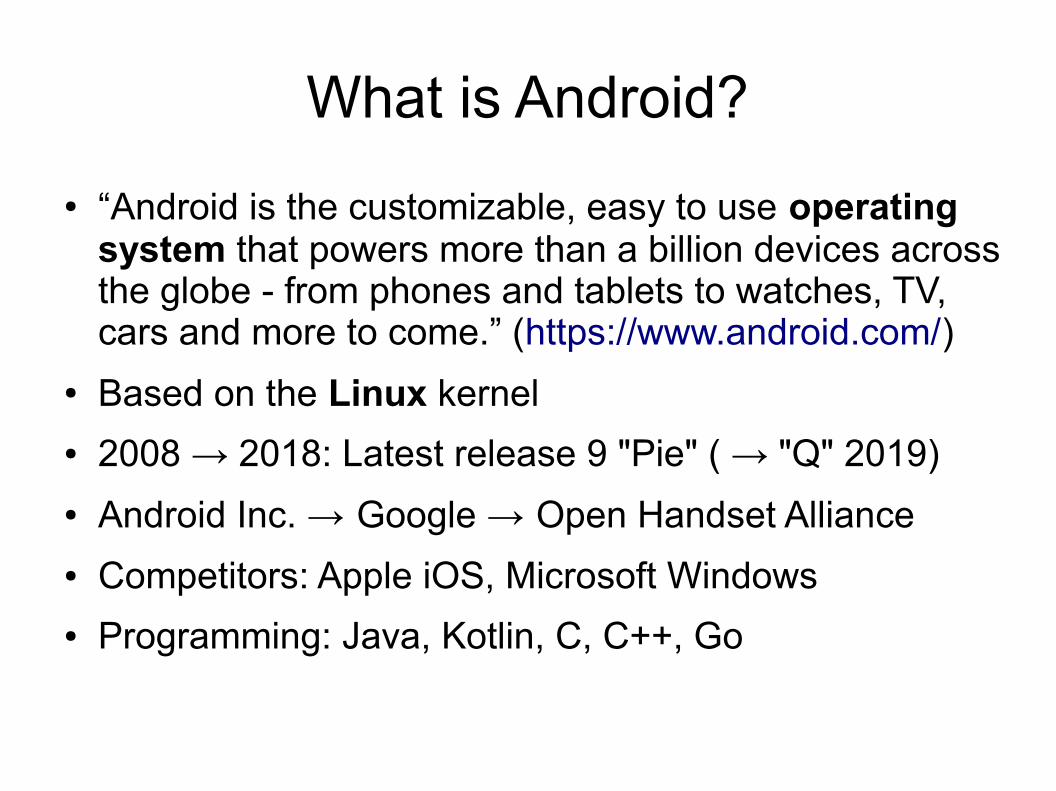
What is Android?
● “Android is the customizable, easy to use operating system that powers more than a billion devices across the globe - from phones and tablets to watches, TV, cars and more to come.” (https://www.android.com/)
● Based on the Linux kernel
● 2008 → 2018: Latest release 9 "Pie" ( → "Q" 2019)
● Android Inc. → Google → Open Handset Alliance
● Competitors: Apple iOS, Microsoft Windows
● Programming: Java, Kotlin, C, C++, Go
Java Applications on Android
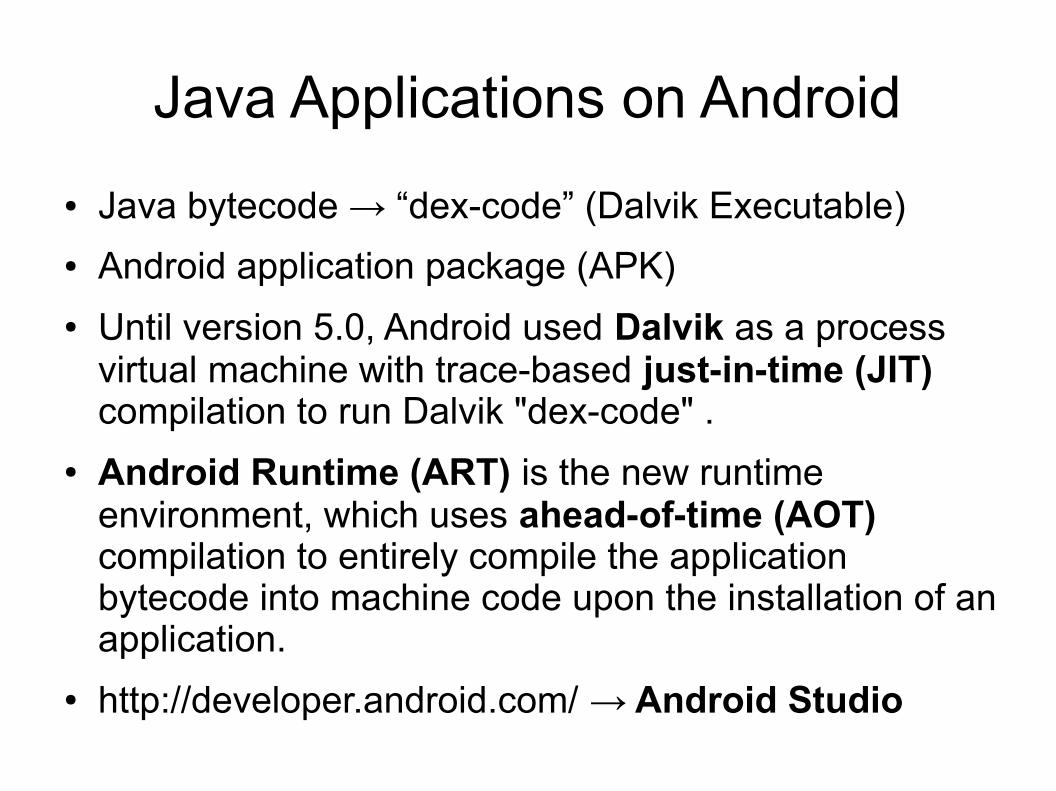
● Java bytecode → “dex-code” (Dalvik Executable)
● Android application package (APK)
● Until version 5.0, Android used Dalvik as a process virtual machine with trace-based just-in-time (JIT) compilation to run Dalvik "dex-code" .
● Android Runtime (ART) is the new runtime environment, which uses ahead-of-time (AOT) compilation to entirely compile the application bytecode into machine code upon the installation of an application.
● http://developer.android.com/ → Android Studio

The Main Components● Activity
An email application might have one activity that shows a list of new emails, another activity to compose an email, and another activity for reading emails
● ServiceA service might play music in the background while the user is in a different application, or it might fetch data over the network without blocking user interaction.
● Content Provider (file system, SQLite, ...)For example, the Android system provides a content provider that manages the user’s contact information
● Broadcast ReceiverFor example, a broadcast announcing that the screen has turned off, the battery is low, or a picture was captured.
Create a Project with Android Studio
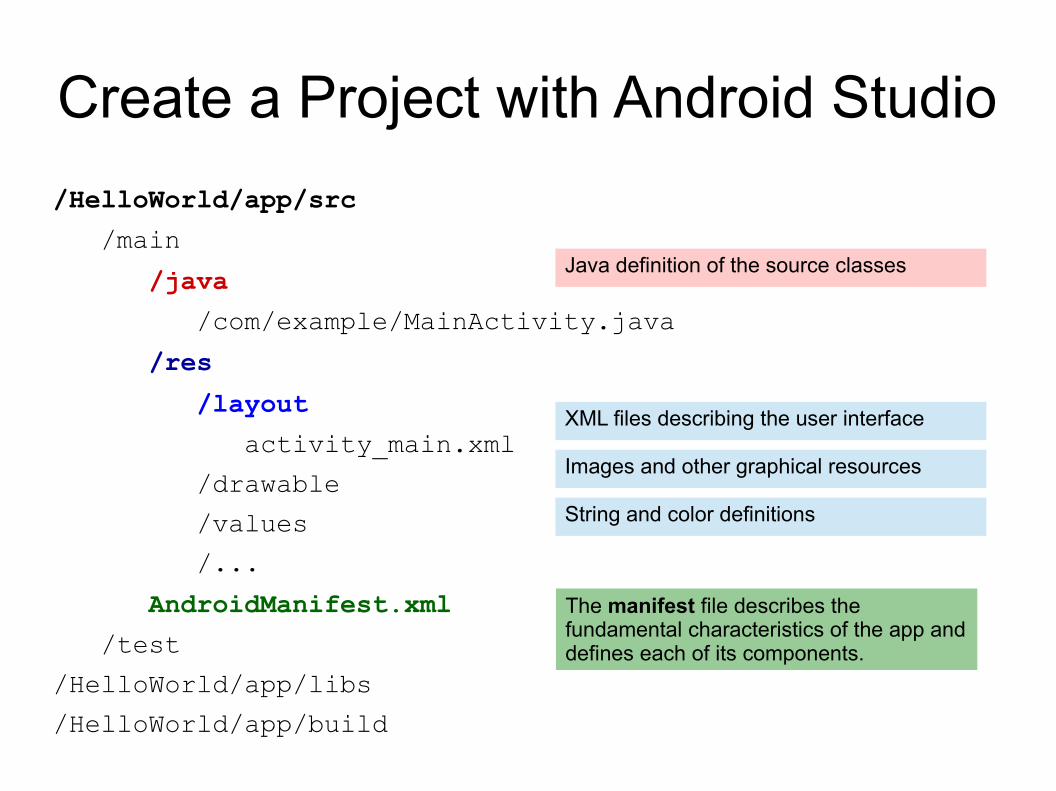
/HelloWorld/app/src
/main
/java
/com/example/MainActivity.java
/res
/layout
activity_main.xml
/drawable
/values
/...
AndroidManifest.xml
/test
/HelloWorld/app/libs
/HelloWorld/app/build
The manifest file describes the fundamental characteristics of the app and defines each of its components.
XML files describing the user interface
Images and other graphical resources
String and color definitions
Java definition of the source classes
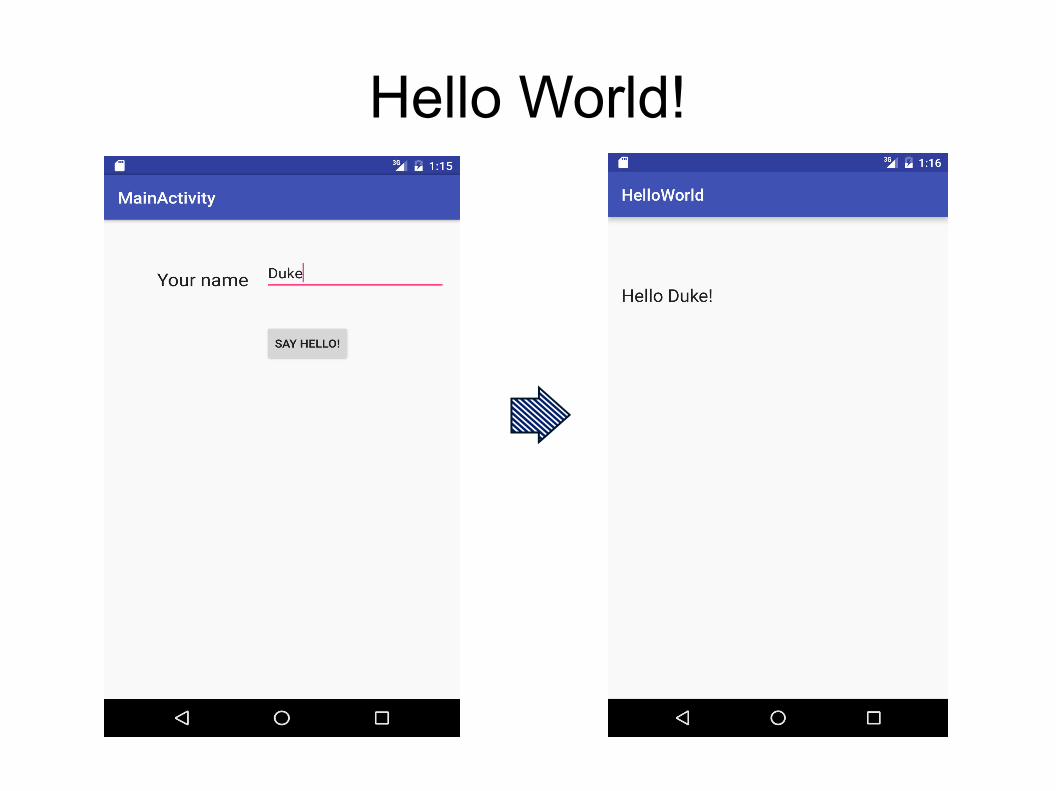
Hello World!
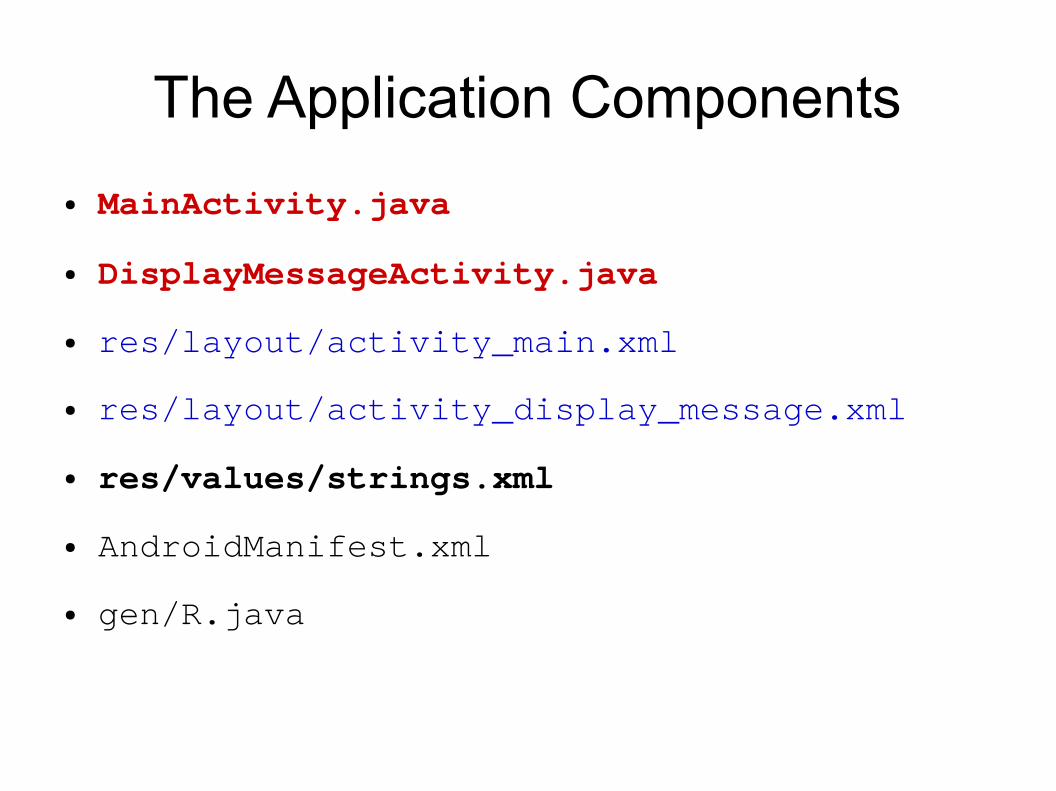
The Application Components
● MainActivity.java
● DisplayMessageActivity.java
● res/layout/activity_main.xml
● res/layout/activity_display_message.xml
● res/values/strings.xml
● AndroidManifest.xml
● gen/R.java
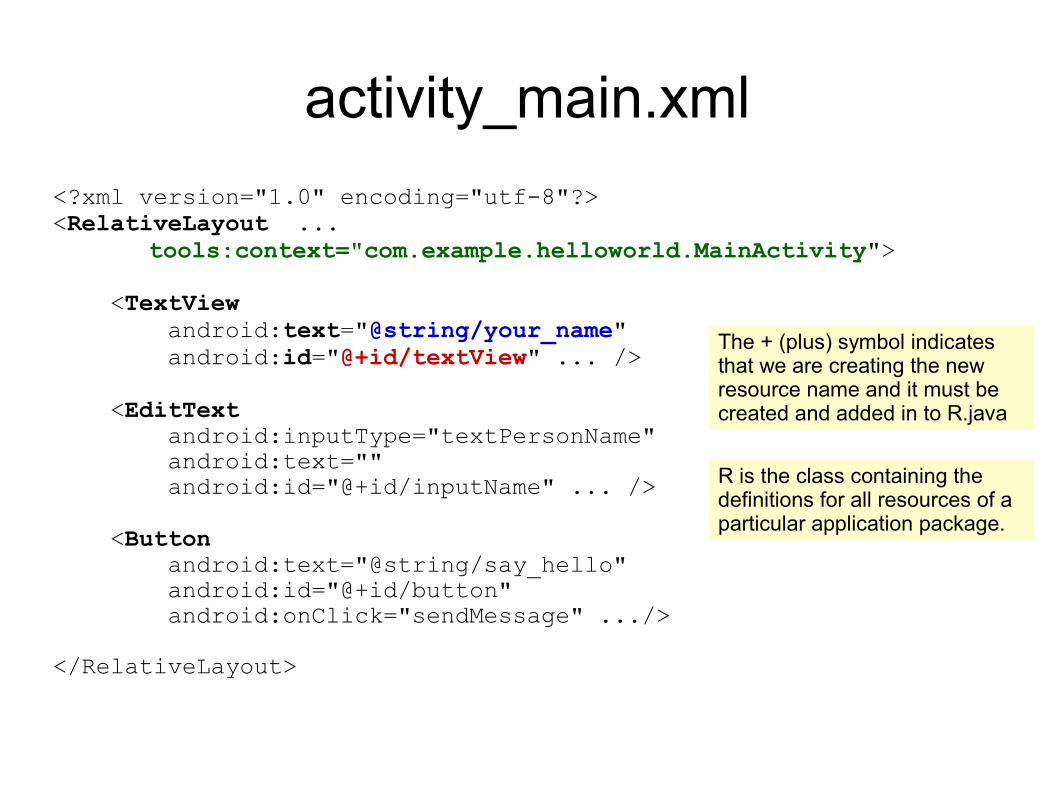
activity_main.xml
<?xml version="1.0" encoding="utf-8"?><RelativeLayout ... tools:context="com.example.helloworld.MainActivity">
<TextView android:text="@string/your_name" android:id="@+id/textView" ... />
<EditText android:inputType="textPersonName" android:text="" android:id="@+id/inputName" ... />
<Button android:text="@string/say_hello" android:id="@+id/button" android:onClick="sendMessage" .../>
</RelativeLayout>
The + (plus) symbol indicates that we are creating the new resource name and it must be created and added in to R.java
R is the class containing the definitions for all resources of a particular application package.
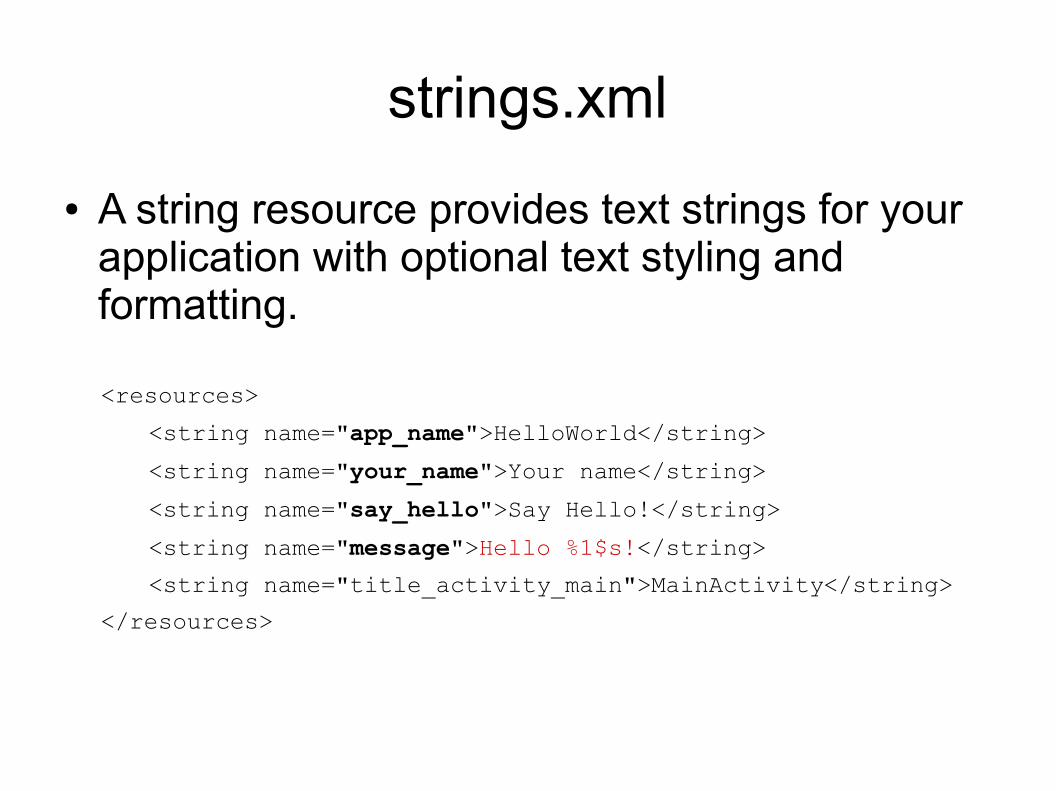
strings.xml
● A string resource provides text strings for your application with optional text styling and formatting.
<resources>
<string name="app_name">HelloWorld</string>
<string name="your_name">Your name</string>
<string name="say_hello">Say Hello!</string>
<string name="message">Hello %1$s!</string>
<string name="title_activity_main">MainActivity</string>
</resources>
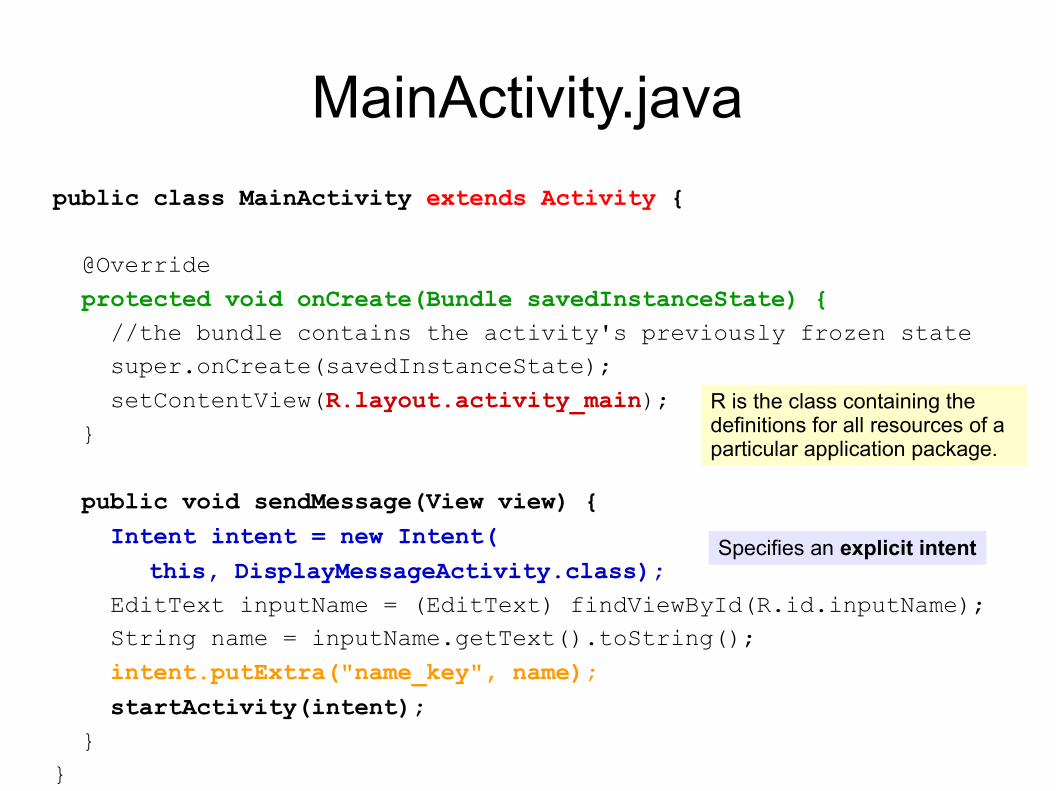
MainActivity.java
public class MainActivity extends Activity {
@Override
protected void onCreate(Bundle savedInstanceState) { //the bundle contains the activity's previously frozen state super.onCreate(savedInstanceState);
setContentView(R.layout.activity_main); }
public void sendMessage(View view) {
Intent intent = new Intent(
this, DisplayMessageActivity.class); EditText inputName = (EditText) findViewById(R.id.inputName); String name = inputName.getText().toString();
intent.putExtra("name_key", name);
startActivity(intent); }}
R is the class containing the definitions for all resources of a particular application package.
Specifies an explicit intent
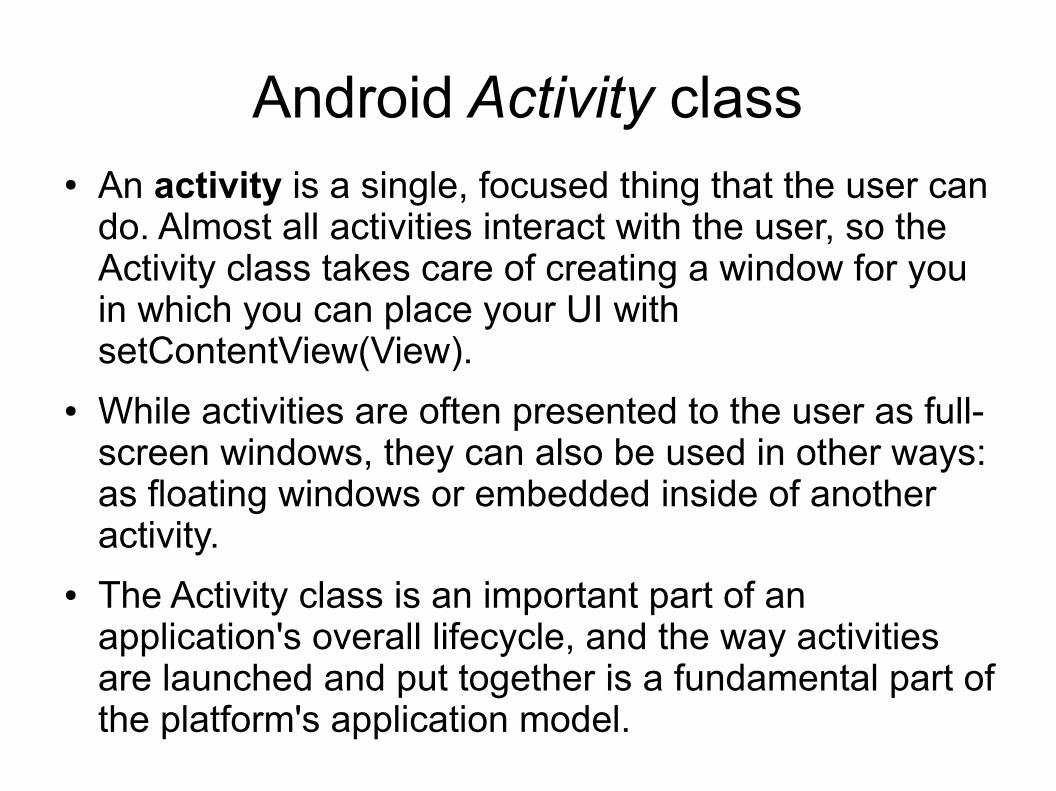
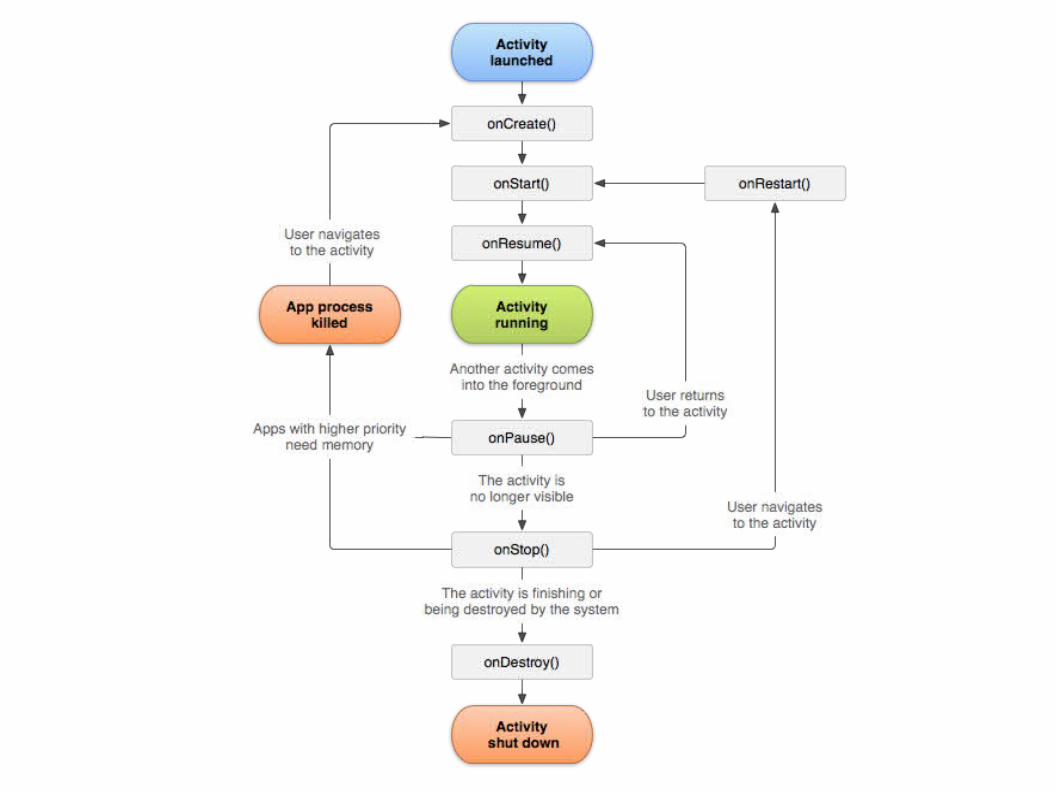
Android Activity class● An activity is a single, focused thing that the user can
do. Almost all activities interact with the user, so the Activity class takes care of creating a window for you in which you can place your UI with setContentView(View).
● While activities are often presented to the user as full-screen windows, they can also be used in other ways: as floating windows or embedded inside of another activity.
● The Activity class is an important part of an application's overall lifecycle, and the way activities are launched and put together is a fundamental part of the platform's application model.
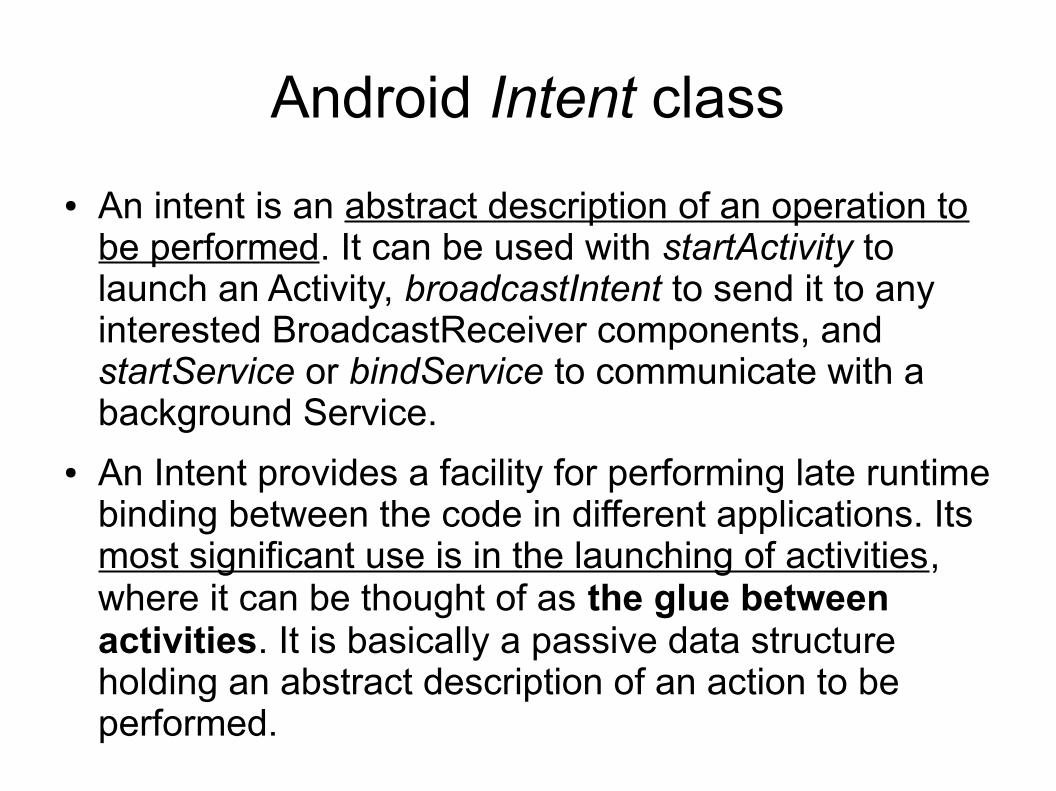
Android Intent class
● An intent is an abstract description of an operation to be performed. It can be used with startActivity to launch an Activity, broadcastIntent to send it to any interested BroadcastReceiver components, and startService or bindService to communicate with a background Service.
● An Intent provides a facility for performing late runtime binding between the code in different applications. Its most significant use is in the launching of activities, where it can be thought of as the glue between activities. It is basically a passive data structure holding an abstract description of an action to be performed.
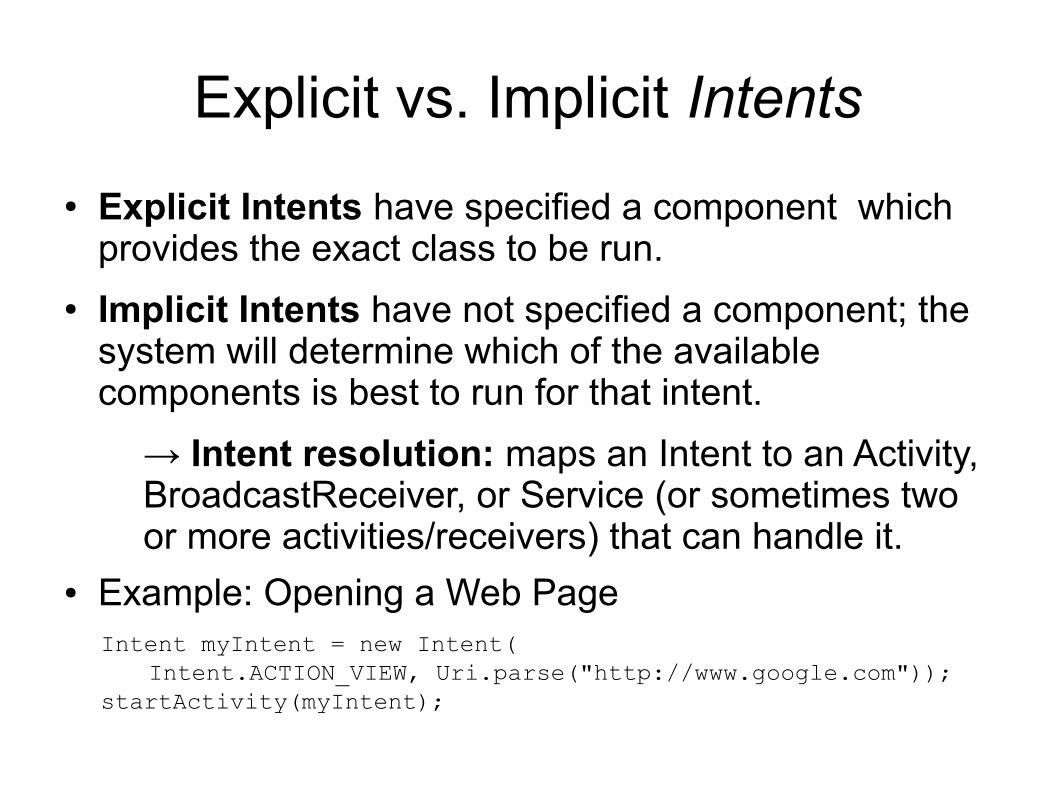
Explicit vs. Implicit Intents
● Explicit Intents have specified a component which provides the exact class to be run.
● Implicit Intents have not specified a component; the system will determine which of the available components is best to run for that intent.
→ Intent resolution: maps an Intent to an Activity, BroadcastReceiver, or Service (or sometimes two or more activities/receivers) that can handle it.
● Example: Opening a Web Page Intent myIntent = new Intent( Intent.ACTION_VIEW, Uri.parse("http://www.google.com")); startActivity(myIntent);
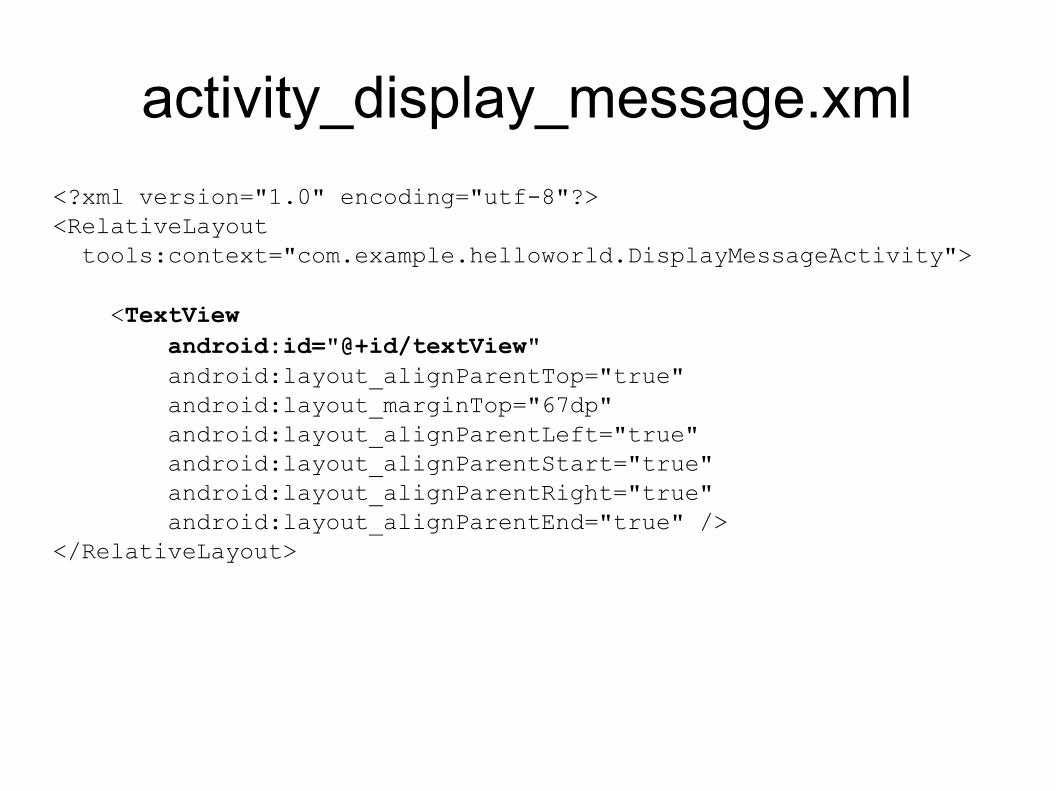
activity_display_message.xml
<?xml version="1.0" encoding="utf-8"?><RelativeLayout tools:context="com.example.helloworld.DisplayMessageActivity">
<TextView android:id="@+id/textView" android:layout_alignParentTop="true" android:layout_marginTop="67dp" android:layout_alignParentLeft="true" android:layout_alignParentStart="true" android:layout_alignParentRight="true" android:layout_alignParentEnd="true" /></RelativeLayout>
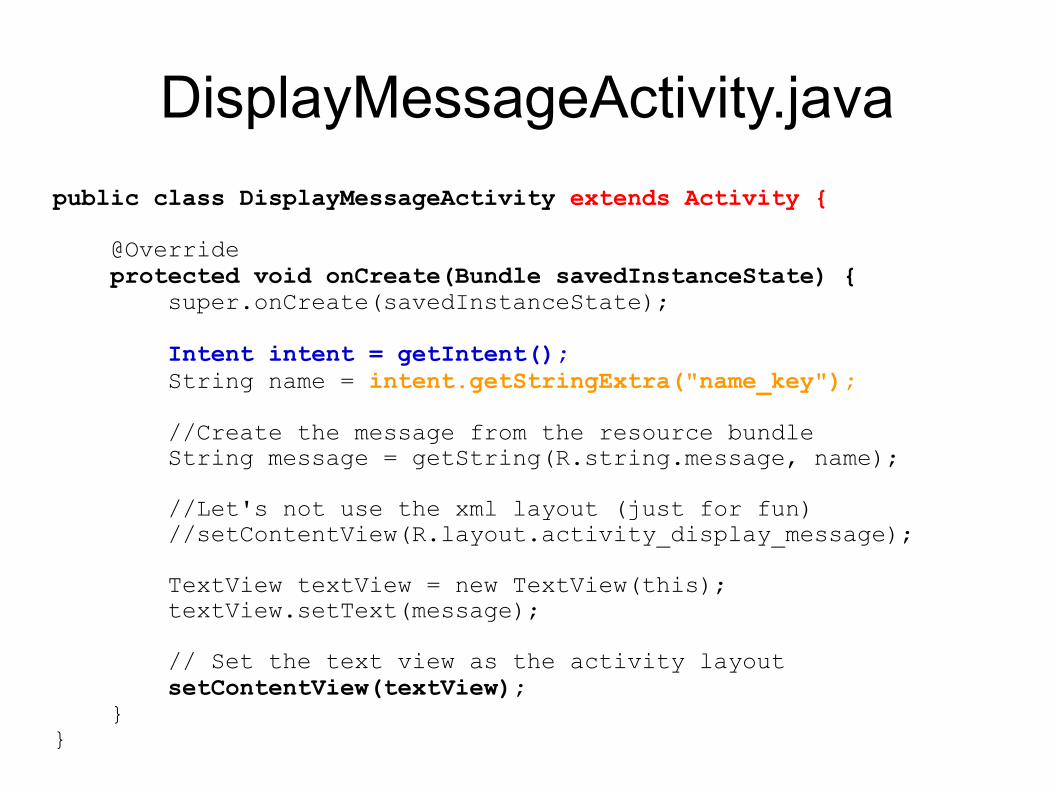
DisplayMessageActivity.java
public class DisplayMessageActivity extends Activity {
@Override protected void onCreate(Bundle savedInstanceState) { super.onCreate(savedInstanceState);
Intent intent = getIntent(); String name = intent.getStringExtra("name_key");
//Create the message from the resource bundle String message = getString(R.string.message, name);
//Let's not use the xml layout (just for fun) //setContentView(R.layout.activity_display_message);
TextView textView = new TextView(this); textView.setText(message);
// Set the text view as the activity layout setContentView(textView); }}

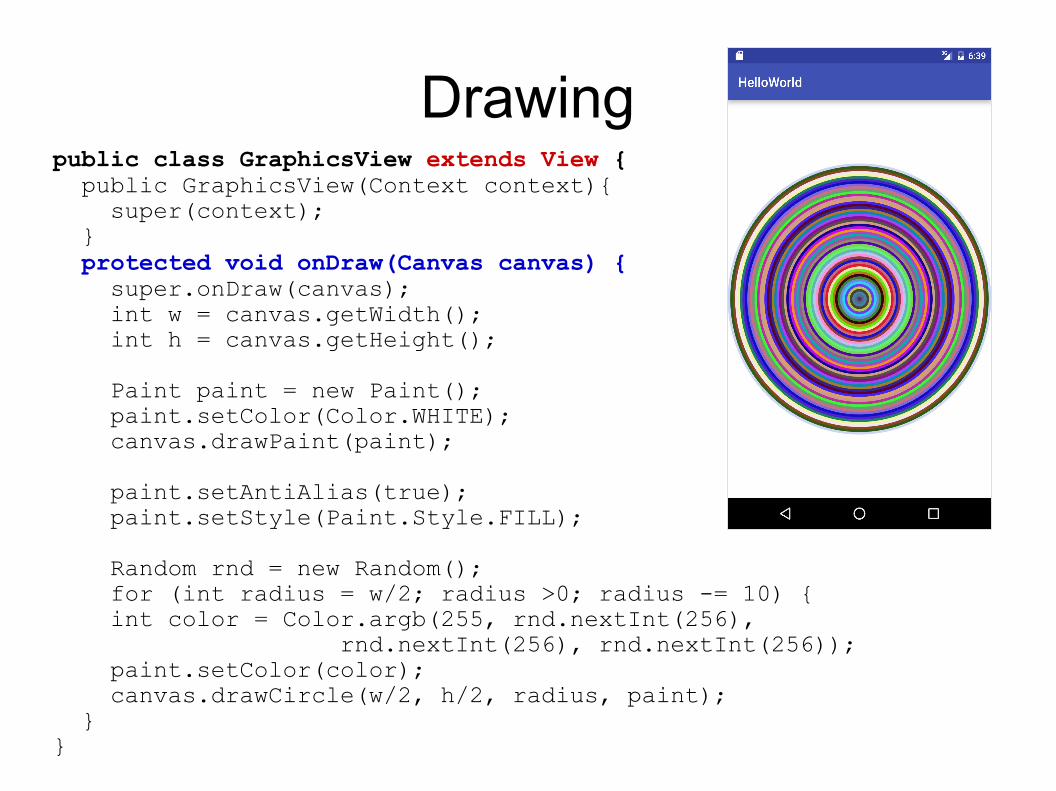
Drawingpublic class GraphicsView extends View { public GraphicsView(Context context){ super(context); } protected void onDraw(Canvas canvas) { super.onDraw(canvas); int w = canvas.getWidth(); int h = canvas.getHeight(); Paint paint = new Paint(); paint.setColor(Color.WHITE); canvas.drawPaint(paint);
paint.setAntiAlias(true); paint.setStyle(Paint.Style.FILL);
Random rnd = new Random(); for (int radius = w/2; radius >0; radius -= 10) { int color = Color.argb(255, rnd.nextInt(256), rnd.nextInt(256), rnd.nextInt(256)); paint.setColor(color); canvas.drawCircle(w/2, h/2, radius, paint); }}

androidManifest.xml<?xml version="1.0" encoding="utf-8"?><manifest xmlns:android="http://schemas.android.com/apk/res/android" package="com.example.helloworld"> <application android:allowBackup="true" android:icon="@mipmap/ic_launcher" android:label="@string/app_name" android:supportsRtl="true" android:theme="@style/AppTheme"> <activity android:name=".MainActivity" android:label="@string/title_activity_main" android:exported="true" android:theme="@style/AppTheme.NoActionBar"> <intent-filter> <action android:name="android.intent.action.MAIN" /> <category android:name = "android.intent.category.LAUNCHER" /> </intent-filter> </activity> <activity android:name=".DisplayMessageActivity" /> <activity android:name=".GraphicsActivity"></activity> </application></manifest>
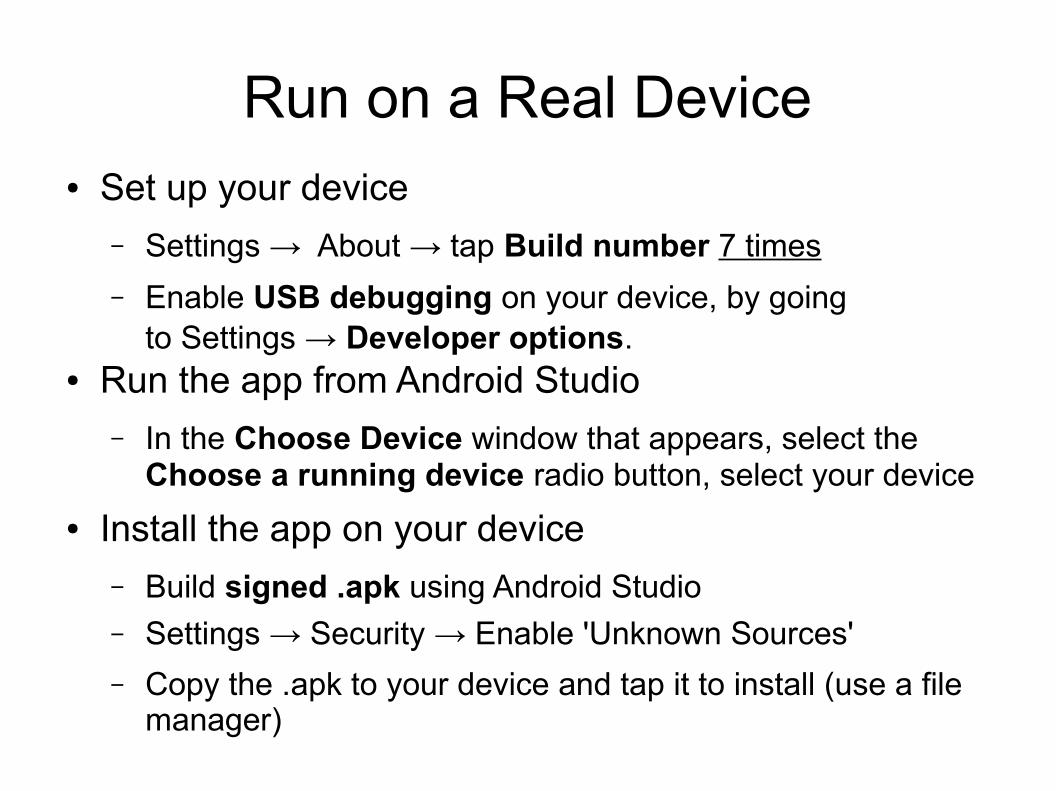
Run on a Real Device● Set up your device
– Settings → About → tap Build number 7 times
– Enable USB debugging on your device, by goingto Settings → Developer options.
● Run the app from Android Studio
– In the Choose Device window that appears, select the Choose a running device radio button, select your device
● Install the app on your device
– Build signed .apk using Android Studio– Settings → Security → Enable 'Unknown Sources'
– Copy the .apk to your device and tap it to install (use a file manager)
Next Steps...
● User Interface● Resources● Animation and Graphics (OpenGL)● Computation (Renderscript)● Media and Camera● Location and Sensors● Connectivity● Text and Input● Data Storage ,etc.