Embed Size (px)
Citation preview
1
ACATESTPREP.COM AFTER EFFECTS CC 17 CC LICENSE BY-NC-SA
Freely use, modify, and copy this worksheet with this footer intact- and get more goodies at brainbuffet.com
Introduction to Adobe After Effects CC ACA Test Prep You don’t know how excited we are to introduce you to Adobe After Effects CC. As someone that has been editing digital
video for over 20 years, this application is like playing with magic. Having a basic understanding of After Effects is now an
essential part of any video editors resume. This course is designed to give you a solid foundation so that you can easily
use all the great tutorials on Video Copilot, Youtube or Lynda.com to add a little special FX or motion graphics to your
next film or video project.
We placed the review at the end of the course so it will be the last thing you do before taking the exam but I wanted to
encourage you to explore it anytime that makes sense to you.
We have uploaded all the example files to Google Drive. Please download the files and distribute them to your students.
Pacing Guide Title Estimated Class Time Individual Activities Project 1: Basic Transformations 5 hours Blinker – Opacity
Quote – Scale Mt. Outfitters – Rotation Mt. Baker – Position Credits – Anchor Point
Project 2: Effects and Expressions 3 hours Travel Map
Project 3: Working with 3D *You may need to change this from hands-on to watch only if your computers struggle
2 – 4 hours 3D Text 3D Logo 2.5D Photograph
Project 4: Tracking and Time Remapping 5 hours Stabilization Motion Tracking Time Remapping
Project 5: Working with Transparency 5 hours Blend Modes Stencils and Track Mattes Keylight (green screen) Masking
Project 6: Working with Audio 2 hours Audio Spectrum Speaker
Project 7: Puppet Tool 2 hours Animated Mascot
Review 3 hours Tools Panels & Buttons Animation Principles
*Building in additional time for the challenge projects and a personal project at the end will easily fill in the 90 hours for
a one semester course. **The review project is at the end but feel free to use any of the lessons when you need them!
Challenge Projects: This is your students chance to be creative and practice the techniques, shortcuts and work flow. Encourage them to use
their own images and try combining techniques from each of the lessons. These projects will be the videos that they can
add to their portfolio/Demo Reel because they will be unique and persona.
If you have the time at the end of the semester, build in at least one project that students plan and
execute by themselves. It would be especially cool if this could be for a client!
2
ACATESTPREP.COM AFTER EFFECTS CC 17 CC LICENSE BY-NC-SA
Freely use, modify, and copy this worksheet with this footer intact- and get more goodies at brainbuffet.com
Study Tools: The primary purpose of this course is to prepare for the After Effects ACA exam so make sure to use the following study
guides to ensure students have mastered the key concepts covered on the exam.
Quizzes: We encourage you to have students start by taking the quiz before you do any of the lessons. Once you have
finished the project take the quiz again and reviewing your areas of weakness until you can earn 100%.
Quizlets: These tools are great as study tools when students have a little time before class starts, at the end of class or
sitting on the bus. They can use them with a friend or by themselves.
Kahoot Games: These are fun tools to get the whole class involved in studying. If you notice that a bunch of people are
getting a specific question wrong, then focus on that area. In fact, we would be interested in knowing if there is an area
that needs clearer instruction or more exercise. Contact Us
Scoring Guide Title Individual Activities Points
Project 1: Basic Transformations 50 pts total
Blinker – Opacity 10 pts
Quote – Scale 10 pts
Mt. Outfitters – Rotation 10 pts
Mt. Baker – Position 10 pts
Credits – Anchor Point 10 pts
Project 2: Effects and Expressions 30 pts total
Travel Map 30 pts
Project 3: Working with 3D 0-30 pts total *This project might not work on your computers! View Only
3D Text 10 pts
3D Logo 20 pts
Project 4: Tracking and Time Remapping 35 pts total
Stabilization N/A
Motion Tracking 15 pts
Time Remapping 20 pts
Project 5: Working with Transparency 35 pts total
Blend Modes 5 pts
Keylight (green screen) 10 pts
Masking 20 pts
Project 6: Working with Audio 10 pts total
Audio Spectrum 5 pts
Speaker 5 pts
Project 7: Puppet Tool 10 pts total
Animated Mascot 10 pts
Project 8: Review
Tools N/A
Panels N/A
Animation Principles Optional – note taking
200-230 pts grand total

3
ACATESTPREP.COM AFTER EFFECTS CC 17 CC LICENSE BY-NC-SA
Freely use, modify, and copy this worksheet with this footer intact- and get more goodies at brainbuffet.com
Project 1 Scenario: Five Second Commercials In this unit, students will complete several small projects that are designed to introduce them to the basic After Effects
interface, keyframing transformation properties and the motion graphics work flow. Each project will be a 3-5 second
commercial for a client to be used on their social media channel.
Project Goal: Students will learn the basics of how to set up After Effects and the basic animation work flow.
Project Timeline: 5 hours *If you are tight for time you can complete this in as little as 4-5 hours. However, we encourage you to have your students create at least one challenge per project! That would stretch this out to 10 hours or approximately two weeks.
Media Brainbuffet-logo.png, ford.jpg, landscape.jpg, MtBaker.jpg, logo_mtout.ai, sticky-notes.jpg
*.png files have transparency, .ai files are layered Illustrator files.
ACA Objectives 1.1 Identify the purpose, audience, and audience needs for preparing video.
1.3 Determine the type of copyright, permissions, and licensing required to use specific content.
1.4 Demonstrate an understanding of key terminology related to digital video.
2.1 Create a new project with appropriate settings for video.
2.2 Navigate, organize, and customize the application workspace.
2.3 Use non-visible design tools in the interface to aid in video workflow.
2.4 Import assets into a project.
3.1 Use timeline panel to manage layers.
3.2 Modify layer visibility using opacity, blending modes, and masks.
4.1 Use core tools and features to create compositions.
4.2 Create shapes using a variety of tools
4.2 Add and manipulate titles using appropriate typographic settings
4.3 Trim footage for use in compositions.
4.4 Transform digital media within a project.
4.5 Use basic reconstruction and editing techniques to manipulate digital audio and video.
4.6 Add and modify effects and transitions.
4.7 Create and modify keyframes for motion graphics.
5.1 Prepare project for publishing to web, screen, and other digital devices.
5.2 Export digital video to various file formats.
4
ACATESTPREP.COM AFTER EFFECTS CC 17 CC LICENSE BY-NC-SA
Freely use, modify, and copy this worksheet with this footer intact- and get more goodies at brainbuffet.com
Lesson Descriptions:
Length: 1 hour
Activity 0: After Effect Tour In this project, you will take a quick tour of the After Effects interface and get all the media for this unit organized into bins. Lessons:
• Introduction to After Effects
• File management
• Copyright
• Interface Overview
• Import and organize media (layered file options – psd/ai)
• Project panel/Bins/Organization
• Preferences
• Compositions – dimensions, durations, background
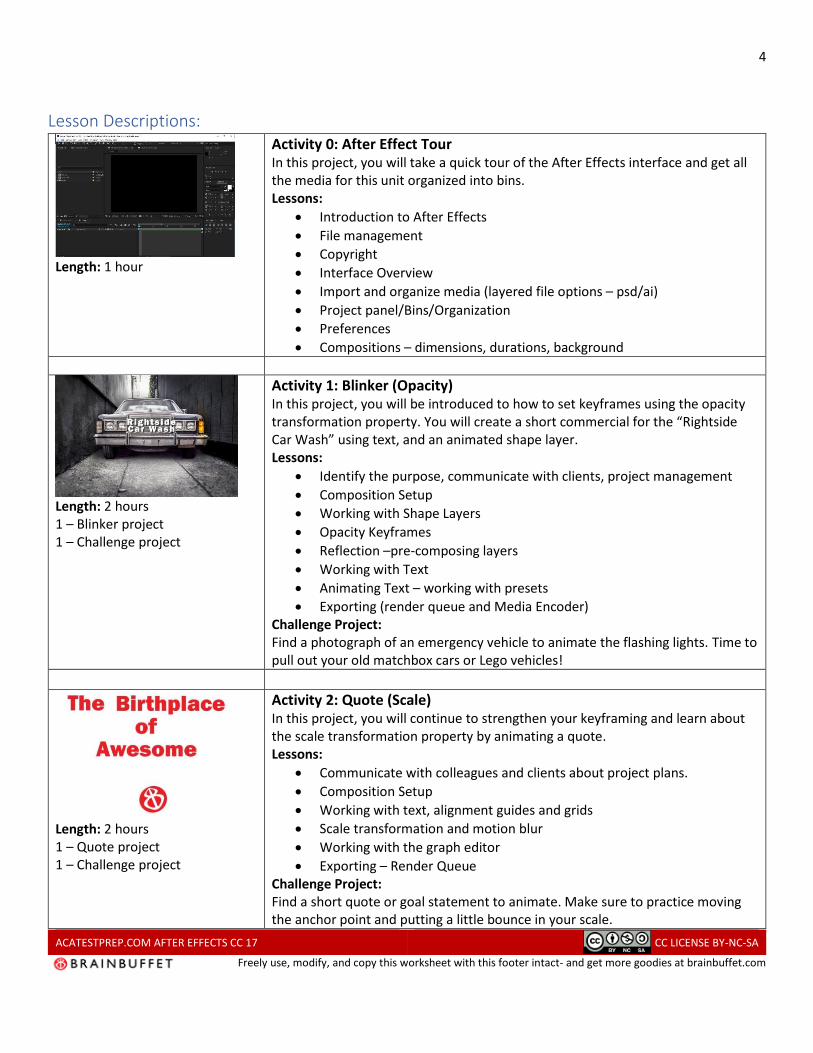
Length: 2 hours 1 – Blinker project 1 – Challenge project
Activity 1: Blinker (Opacity) In this project, you will be introduced to how to set keyframes using the opacity transformation property. You will create a short commercial for the “Rightside Car Wash” using text, and an animated shape layer. Lessons:
• Identify the purpose, communicate with clients, project management
• Composition Setup
• Working with Shape Layers
• Opacity Keyframes
• Reflection –pre-composing layers
• Working with Text
• Animating Text – working with presets
• Exporting (render queue and Media Encoder) Challenge Project: Find a photograph of an emergency vehicle to animate the flashing lights. Time to pull out your old matchbox cars or Lego vehicles!
Length: 2 hours 1 – Quote project 1 – Challenge project
Activity 2: Quote (Scale) In this project, you will continue to strengthen your keyframing and learn about the scale transformation property by animating a quote. Lessons:
• Communicate with colleagues and clients about project plans.
• Composition Setup
• Working with text, alignment guides and grids
• Scale transformation and motion blur
• Working with the graph editor
• Exporting – Render Queue Challenge Project: Find a short quote or goal statement to animate. Make sure to practice moving the anchor point and putting a little bounce in your scale.

5
ACATESTPREP.COM AFTER EFFECTS CC 17 CC LICENSE BY-NC-SA
Freely use, modify, and copy this worksheet with this footer intact- and get more goodies at brainbuffet.com
Length: 2 hours 1 – Mountain Outfitters project 1 – Challenge project
Activity 3: Mountain Outfitters (Rotation) In this project, you will learn about the rotation transformation property and introduced to parenting your animations. Lessons:
• Composition Setup, placing and resizing media (Transform/fit width)
• Converting vectors to shape layers
• Rotation transformations and motion blur
• Parenting animations
• Exporting – Media Encoder Challenge Project: Take a photograph of your favorite club, sport or class to use as the background for this challenge project. Then animate some text or a logo onto the background using rotation and at least one other transformation property.
Length: 2 hours 1 – Mountain Outfitters project 1 – Challenge project
Activity 4: Mt Baker (Position) In this project, you will learn about the position transformation property and introduced to track mattes. Lessons:
• Composition Setup, placing and resizing media (Transform/fit width)
• Typography and Guides
• Position transformation – special interpolation
• Mt Baker Position animation
• Track matte
• Exporting – Adobe dynamic link Challenge Project: Take a selfie or use a great photograph of yourself as the background. Then animate your name onto the project using a track matte and position keyframes.
Length: 2 hours 1 – Mountain Outfitters project 1 – Challenge project
Activity 5: Sticky Notes Credits (Anchor Point) In this project, you will learn about animating the anchor point instead of position transformation properties for certain animations. Lessons:
• Storyboarding
• Composition Setup, placing media
• Creating and saving a new workspace
• Working with text and pre-composing
• Scale and anchor animation
• Adjusting the motion path and easing
• Using preset animations
• Exporting – combine all commercials into one Challenge Project: Find or take a photograph of a large group of objects, people or other things. This really helps if you start with a high-resolution image. Then zoom in/out of several locations using the anchor point and scale.

6
ACATESTPREP.COM AFTER EFFECTS CC 17 CC LICENSE BY-NC-SA
Freely use, modify, and copy this worksheet with this footer intact- and get more goodies at brainbuffet.com
Project 2 Scenario: Travel Map In this unit, students will create a short-animated travel map just like the scenes from my favorite film, Raiders of the
Lost Ark. They will learn how to use the pen tool to create a path and then stroke the path. This unit will introduce them
to animating effects and using expression controls to change multiple elements at once.
Project Goal: Students will learn the basics of how to animate effects and use expressions.
Project Timeline: 5 hours
Media airliner.png, travel map.jpg, car.png, bus.png. map-storyboard.jpg (print this to draw your path and labels)
ACA Objectives 1.1 Identify the purpose, audience, and audience needs for preparing video.
1.2 Communicate with colleagues and clients about project plans
1.3 Determine the type of copyright, permissions, and licensing required to use specific content.
1.4 Demonstrate an understanding of key terminology related to digital video.
1.5 Demonstrate knowledge of basic motion graphics principles and best practices in the video industry.
2.1 Create a new project with appropriate settings for video.
2.2 Navigate, organize, and customize the application workspace.
2.4 Import assets into a project.
3.1 Use timeline panel to manage layers.
3.2 Modify layer visibility using opacity, blending modes, and masks.
4.1 Use core tools and features to create compositions.
4.2 Add and manipulate titles using appropriate typographic settings
4.4 Transform digital media within a project.
4.6 Add and modify effects and transitions.
4.7 Create and modify keyframes for motion graphics.
5.1 Prepare project for publishing to web, screen, and other digital devices.
5.2 Export digital video to various file formats.

7
ACATESTPREP.COM AFTER EFFECTS CC 17 CC LICENSE BY-NC-SA
Freely use, modify, and copy this worksheet with this footer intact- and get more goodies at brainbuffet.com
Lesson Descriptions:
Length: 8 hours 5 – Travel Map 4 – School Map
Activity 1: Travel Map In this project, you will be introduced to how to animate effects and using expressions. Lessons:
• Identify the purpose
• Composition Setup and Label cities
• New solid and using the pen tool to create a path
• Stroking the path and animating an effect
• Adding and animating a star shape
• Using an expression controller and connecting it to shape and path
• Duplicating common elements
• Adjustment Layers
• Exporting (render queue or Media Encoder)
• Working with a client
Challenge Project Ideas: This is your chance to be creative and practice the techniques, shortcuts and work flow. Use your own images and try
combining techniques for each of the lessons. This projects will be the videos that you can add to your portfolio because
they will be unique and personal so let unleash your creative beast!
Option 1: Use your school map to create an animated clip that illustrates the emergency exit routes. You could also twist
this into designing parking routes or bus flows. I bet your old elementary school would love one! Example
Option 2: Design a treasure map and then animate at least 4 steps.
*Remember, these challenge projects will help you build a portfolio and examples for real clients always stand out!
Study Tools: The primary purpose of this course is to prepare for the After Effects ACA exam so make sure to use the following study
guides to ensure you have mastered the key concepts covered on the exam.
8
ACATESTPREP.COM AFTER EFFECTS CC 17 CC LICENSE BY-NC-SA
Freely use, modify, and copy this worksheet with this footer intact- and get more goodies at brainbuffet.com
Project 3 Scenario: Working with 3 In this unit, students will explore After Effects 3D capabilities by animating 3D text and converting a 2D logo into a 3D
animated logo.
*Warning* This unit might give older/slower computers some trouble. If it does, I would have your students watch
the lessons and just take notes.
Project Goal: Students will learn the basics of how to work with 3D space in After Effects.
Project Timeline: 2-4 hours
Media Logo_mtflat.ai, MtBaker.jpg
ACA Objectives 1.1 Identify the purpose, audience, and audience needs for preparing video.
1.4 Demonstrate an understanding of key terminology related to digital video.
1.5 Demonstrate knowledge of basic motion graphics principles and best practices in the video industry.
2.1 Create a new project with appropriate settings for video.
2.2 Navigate, organize, and customize the application workspace.
2.3 Use non-visible design tools in the interface to aid in video workflow.
2.4 Import assets into a project.
3.1 Use timeline panel to manage layers.
4.1 Use core tools and features to create compositions.
4.2 Add and manipulate titles using appropriate typographic settings
4.4 Transform digital media within a project.
4.5 Use basic reconstruction and editing techniques to manipulate digital audio and video.
4.6 Add and modify effects and transitions.
4.7 Create and modify keyframes for motion graphics.
5.1 Prepare project for publishing to web, screen, and other digital devices.
5.2 Export digital video to various file formats.
Lesson Descriptions:
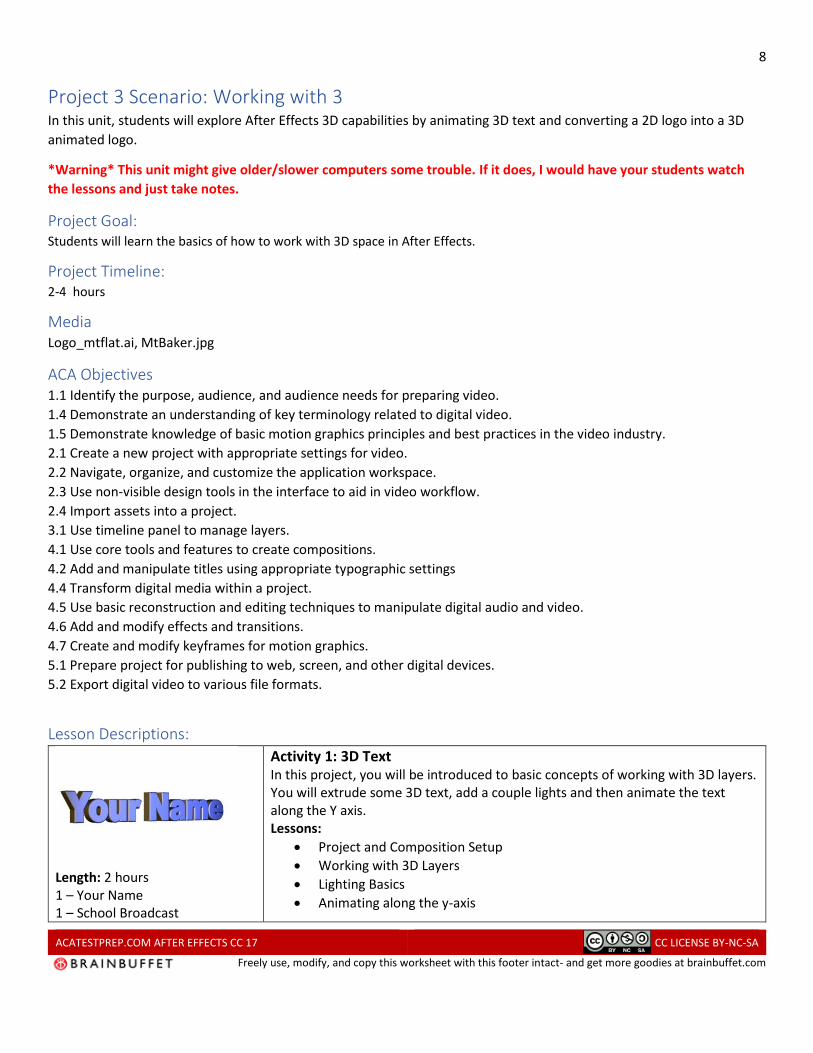
Length: 2 hours 1 – Your Name 1 – School Broadcast
Activity 1: 3D Text In this project, you will be introduced to basic concepts of working with 3D layers. You will extrude some 3D text, add a couple lights and then animate the text along the Y axis. Lessons:
• Project and Composition Setup
• Working with 3D Layers
• Lighting Basics
• Animating along the y-axis
9
ACATESTPREP.COM AFTER EFFECTS CC 17 CC LICENSE BY-NC-SA
Freely use, modify, and copy this worksheet with this footer intact- and get more goodies at brainbuffet.com
Challenge Project: Create an animated 3D title for a film, your school broadcast or other project.
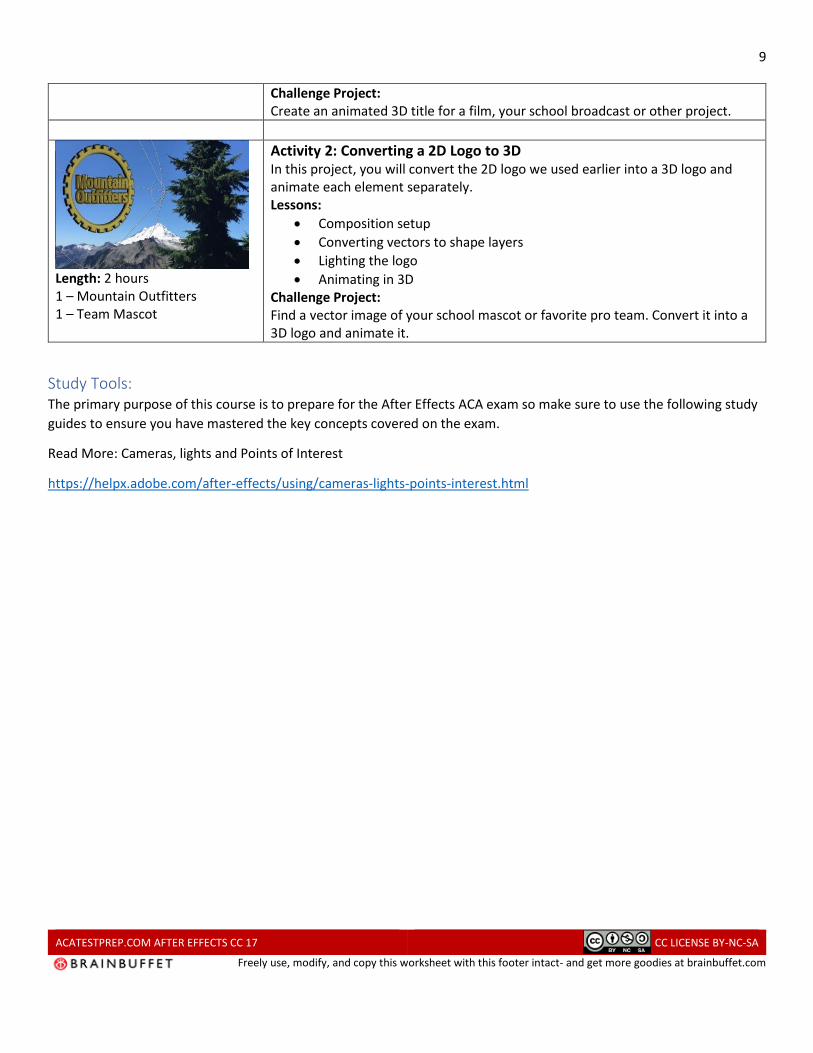
Length: 2 hours 1 – Mountain Outfitters 1 – Team Mascot
Activity 2: Converting a 2D Logo to 3D In this project, you will convert the 2D logo we used earlier into a 3D logo and animate each element separately. Lessons:
• Composition setup
• Converting vectors to shape layers
• Lighting the logo
• Animating in 3D Challenge Project: Find a vector image of your school mascot or favorite pro team. Convert it into a 3D logo and animate it.
Study Tools: The primary purpose of this course is to prepare for the After Effects ACA exam so make sure to use the following study
guides to ensure you have mastered the key concepts covered on the exam.
Read More: Cameras, lights and Points of Interest
https://helpx.adobe.com/after-effects/using/cameras-lights-points-interest.html
10
ACATESTPREP.COM AFTER EFFECTS CC 17 CC LICENSE BY-NC-SA
Freely use, modify, and copy this worksheet with this footer intact- and get more goodies at brainbuffet.com
Project 4 Scenario: Motion Tracking and Time Remapping In this unit, students will learn a variety of cool techniques such as motion tracking, time remapping and how to stabilize
shaky footage.
*Warning* This unit might give older/slower computers some trouble.
Project Goal: Students will learn the basics of how to control the speed of playback, how to track an object so you can animate things to its movement and how to smooth out the shake of hand held shots.
Project Timeline: 5 hours
Media
Helmet.mp4, jump.mp4, straight.mp4, inkdrop.mp4
ACA Objectives 1.4 Demonstrate an understanding of key terminology related to digital video.
1.5 Demonstrate knowledge of basic motion graphics principles and best practices in the video industry.
2.1 Create a new project with appropriate settings for video.
2.2 Navigate, organize, and customize the application workspace.
2.4 Import assets into a project.
3.1 Use timeline panel to manage layers.
4.1 Use core tools and features to create compositions.
4.3 Trim footage for use in compositions.
4.4 Transform digital media within a project.
4.5 Use basic reconstruction and editing techniques to manipulate digital audio and video.
4.6 Add and modify effects and transitions.
4.7 Create and modify keyframes for motion graphics.
5.1 Prepare project for publishing to web, screen, and other digital devices.
5.2 Export digital video to various file formats.
Lesson Descriptions:
Length: 15 minutes
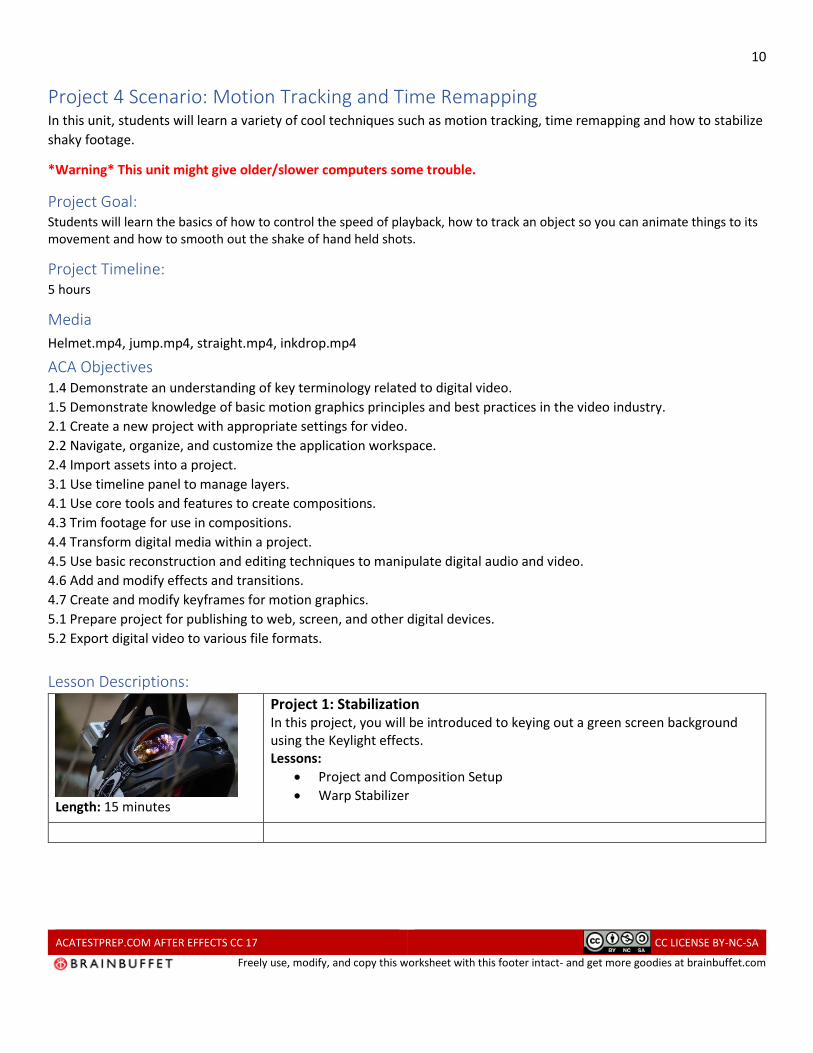
Project 1: Stabilization In this project, you will be introduced to keying out a green screen background using the Keylight effects. Lessons:
• Project and Composition Setup
• Warp Stabilizer
11
ACATESTPREP.COM AFTER EFFECTS CC 17 CC LICENSE BY-NC-SA
Freely use, modify, and copy this worksheet with this footer intact- and get more goodies at brainbuffet.com
Length: 2 hours
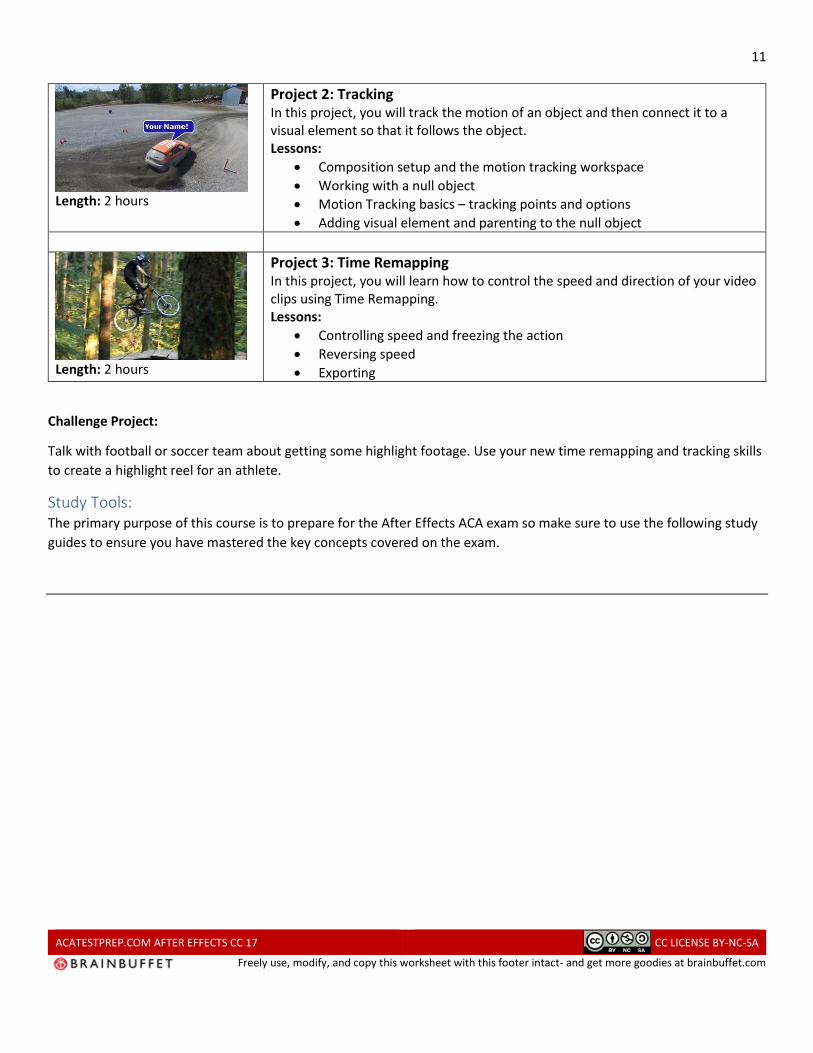
Project 2: Tracking In this project, you will track the motion of an object and then connect it to a visual element so that it follows the object. Lessons:
• Composition setup and the motion tracking workspace
• Working with a null object
• Motion Tracking basics – tracking points and options
• Adding visual element and parenting to the null object
Length: 2 hours
Project 3: Time Remapping In this project, you will learn how to control the speed and direction of your video clips using Time Remapping. Lessons:
• Controlling speed and freezing the action
• Reversing speed
• Exporting
Challenge Project:
Talk with football or soccer team about getting some highlight footage. Use your new time remapping and tracking skills
to create a highlight reel for an athlete.
Study Tools: The primary purpose of this course is to prepare for the After Effects ACA exam so make sure to use the following study
guides to ensure you have mastered the key concepts covered on the exam.
12
ACATESTPREP.COM AFTER EFFECTS CC 17 CC LICENSE BY-NC-SA
Freely use, modify, and copy this worksheet with this footer intact- and get more goodies at brainbuffet.com
Project 5 Scenario: Working with Transparency In this unit, students will explore working with transparency in After Effects. They will learn how to use blend modes,
masks, mattes and the Keylight effect to control the visibility of parts or all of a layer.
*Warning* This unit might give older/slower computers some trouble.
Project Goal: Students will learn the basics of how to control the transparency of a layer.
Project Timeline: 5 hours
Media
CU-PowerUp.mp4, CU-side.mp4, full-mask.mp4, powerUp.mp4, laser.jpg,
ACA Objectives 1.1 Identify the purpose, audience, and audience needs for preparing video.
1.4 Demonstrate an understanding of key terminology related to digital video.
1.5 Demonstrate knowledge of basic motion graphics principles and best practices in the video industry.
2.1 Create a new project with appropriate settings for video.
2.2 Navigate, organize, and customize the application workspace.
2.4 Import assets into a project.
3.1 Use timeline panel to manage layers.
3.2 Modify layer visibility using opacity, blending modes, and masks.
4.1 Use core tools and features to create compositions.
4.3 Trim footage for use in compositions.
4.4 Transform digital media within a project.
4.6 Add and modify effects and transitions.
4.7 Create and modify keyframes for motion graphics.
5.1 Prepare project for publishing to web, screen, and other digital devices.
5.2 Export digital video to various file formats.
Lesson Descriptions:
Length: 1 hour
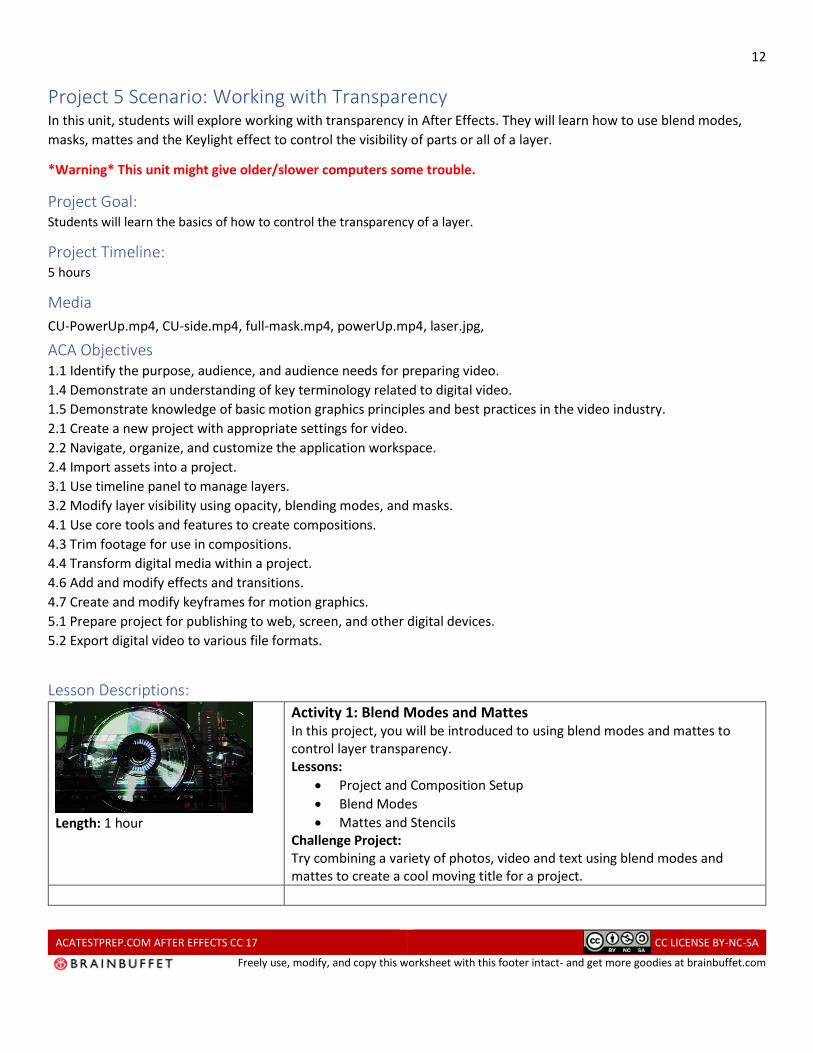
Activity 1: Blend Modes and Mattes In this project, you will be introduced to using blend modes and mattes to control layer transparency. Lessons:
• Project and Composition Setup
• Blend Modes
• Mattes and Stencils Challenge Project: Try combining a variety of photos, video and text using blend modes and mattes to create a cool moving title for a project.

13
ACATESTPREP.COM AFTER EFFECTS CC 17 CC LICENSE BY-NC-SA
Freely use, modify, and copy this worksheet with this footer intact- and get more goodies at brainbuffet.com
Length: 1-3 hours 1 – DJ Key 1 – School Broadcast
Activity 2: Keylight In this project, you will be introduced to keying out a green screen background using the Keylight effects. Lessons:
• Composition Setup
• Keylight
• Shooting tips Challenge Project: Shoot your own green screen footage and practice using Keylight to replace the background.
Length: 1 hours
Activity 3: Mastering Masks In this project, you will learn how to create and manipulate masks. Lessons:
• Comp Setup
• Masking tools and techniques
• Masking options and editing a mask
• Animating a mask Challenge Project: Use the blink video clip, but this time replace the entire eye ball with your own video clip or photograph of something interesting.

14
ACATESTPREP.COM AFTER EFFECTS CC 17 CC LICENSE BY-NC-SA
Freely use, modify, and copy this worksheet with this footer intact- and get more goodies at brainbuffet.com
Project 6 Scenario: Working with Audio In this unit, students will learn just a few ways to work with audio in After Effects. First they learn to animate text on a
path and then use an audio track to control an effect, Finally, they will convert the audio to keyframes and use an
expression to control additional effects.
Project Goal: Students will learn a few ways to animate to an audio track in After Effects.
Project Timeline: 2 hours
Media
music.mp3, speaker.jpg
ACA Objectives 1.4 Demonstrate an understanding of key terminology related to digital video.
2.1 Create a new project with appropriate settings for video.
4.1 Use core tools and features to create compositions.
4.4 Transform digital media within a project.
4.6 Add and modify effects and transitions.
4.7 Create and modify keyframes for motion graphics.
5.2 Export digital video to various file formats.
Lesson Descriptions:
Length: 2 hours
Project 1: Sounds Awesome In this project, you will connect an effect to an audio track. Lessons:
• Animating Text on a path
• Audio spectrum effect
• Converting audio to keyframes
• Using an expression to animate an effect to the audio keyframes
• Using Adobe Media Encoder to add meta data to your exports Challenge Project: Create a 10 second intro for your school television broadcast that includes at least one thing that is connected to the music. Try the audio waves effect and make sure to animate a little text on a path.

15
ACATESTPREP.COM AFTER EFFECTS CC 17 CC LICENSE BY-NC-SA
Freely use, modify, and copy this worksheet with this footer intact- and get more goodies at brainbuffet.com
Project 7 Scenario: Working with the Puppet Tool In this unit, you will explore the puppet tool. This can be way too much fun!
*I hope you have the chance to explore the new Character Animator software. It is a free beta software from Adobe that
will replace the need for the puppet tool.
Project Goal: Students will learn the basics of how to setup and animate an image using the puppet tool.
Project Timeline: 2 hours
Media
Background.jpg, cow.png
ACA Objectives 1.4 Demonstrate an understanding of key terminology related to digital video.
1.5 Demonstrate knowledge of basic motion graphics principles and best practices in the video industry.
2.1 Create a new project with appropriate settings for video.
2.2 Navigate, organize, and customize the application workspace.
2.4 Import assets into a project.
3.1 Use timeline panel to manage layers.
4.1 Use core tools and features to create compositions.
4.3 Trim footage for use in compositions.
4.4 Transform digital media within a project.
4.6 Add and modify effects and transitions.
4.7 Create and modify keyframes for motion graphics.
5.1 Prepare project for publishing to web, screen, and other digital devices.
5.2 Export digital video to various file formats.
Lesson Descriptions:
Length: 1-2 hours 1 – Cow 1 – School Mascot or selfie
Project 1: Puppet Tool In this project, you will be introduced to using the puppet tool to animate an image. Lessons:
• Project and Composition Setup and image prep
• Pin Tool
• Starch Tool
• Overlap Tool
• Animating using the puppet tool
Challenge Project: Find a photo of your favorite actor or cartoon character and use Photoshop to cut them out. Save the file as a .png file with a transparent background. Then use the puppet tool to animate the image.
16
ACATESTPREP.COM AFTER EFFECTS CC 17 CC LICENSE BY-NC-SA
Freely use, modify, and copy this worksheet with this footer intact- and get more goodies at brainbuffet.com
Review In this unit, we will do a quick review of tools, panels, buttons in After Effects. I will also include a lesson on the
principles of animation. Even through this is located at the end of the course, feel free to dive in anytime you want to
learn more about a specific thing.
Project Goal: Students will make sure we have covered all the tools, panels and the basic animation principles.
Project Timeline: 2 hours
Lesson Descriptions: Length: 1 hour
Project 1: Interface Review In this series of lessons, you will go over all the basic tools and panels in After Effects Lessons:
• Panel Review
• Project Panel details
• Timeline panel details
• Comp panel details
• Tool Review
Length: 1 hours
Project 2: Animation Principles In this project, you will complete a couple simple exercise that cover a few of the animation principles. Lessons:
• Animation principles review

17
ACATESTPREP.COM AFTER EFFECTS CC 17 CC LICENSE BY-NC-SA
Freely use, modify, and copy this worksheet with this footer intact- and get more goodies at brainbuffet.com
References Adobe After Effects Keyboard shortcuts:
https://helpx.adobe.com/after-effects/using/keyboard-shortcuts-reference.html
Media: Pixabay: https://pixabay.com This is a fantastic resource for educators. If you choose to use more than a few images
make sure to support them with a donation!
• Ford: https://pixabay.com/en/ford-classic-car-automobile-car-498244/
• Landscape: https://pixabay.com/en/landscape-scenic-whistler-mountain-1744370/
• Map: https://pixabay.com/en/usa-map-united-states-of-america-35713/
• Parchment Paper: https://pixabay.com/en/background-parchment-paper-2116978/
• Car Sprite: https://pixabay.com/en/blank-car-game-game-sprite-racing-1299404/
• Bus: https://pixabay.com/en/bus-transport-travel-vehicle-310766/
• Laser Lights: https://pixabay.com/en/laser-show-laser-show-colorful-288611/
• Sticky Notes: https://pixabay.com/en/sticky-notes-project-management-1455911/
• Speaker: https://pixabay.com/en/music-sound-fun-bass-speaker-546063/
• Airliner: https://pixabay.com/en/airplane-plane-jumbo-boeing-travel-303639/
Creative Commons: https://creativecommons.org/
Teaching Copyright: https://www.teachingcopyright.org/curriculum/hs.html
The Dockery Family
I would like to thank my daughter Jewell for modeling or filming me when I needed some bit of media.
Inspiration & Learning Here is a collection of my favorite resources when I want to learn a little more After Effects:
• Video Copilot: http://www.videocopilot.net/
• Lynda: https://www.lynda.com/
• Surfaced Studio: https://www.youtube.com/user/SurfacedStudio
• Film Riot: https://www.youtube.com/user/filmriot
• Adobe Tutorials: https://helpx.adobe.com/after-effects/tutorials.html
• Adobe Education Exchange: https://edex.adobe.com/
• After Effects Apprentice by Trish and Chris Meyer 4th Edition Version CC
Study Tools
Quizlets Kahoot Games Quiz Study Guide


