Embed Size (px)
Citation preview

Part 3Unix Introduction

More Unix Commandscat
more head tail

Working with files
Now that you can navigate directories and move files around, you need to be able to work with the files and directories themselves.

cat - ‘concatenate’ to link together
This command will let you view the contents of a file.
$ cat filename
cat - ‘concatenate’ to link together
View the contents of final.paper (in dir2).
$ cat final.paper
Practice:

more - ‘view more’
The command more will let you view the contents of a file, one page at a time.
$ more filename
However, on large files the contents will fly by too quickly to read when you use cat.

more - ‘view more’
Press the ‘spacebar’ to go forward one screen.
Press the ‘b’ key to go back one screen.
Press the ‘q’ key to return to the shell prompt.
more - ‘view more’
View the contents of history.txt (in dir2).
$ more history.txt
Practice:

head - ‘view head of file’
Using head you can view the top ten lines in a file, which can often give you a good idea of what is in the file.
$ head filename
tail - ‘view tail of file’
Similar to head, tail will show you the last ten lines of a file.
$ tail filename

head / tail
View the beginning and end of the file shrodinger (in dir1).
$ head shrodinger
$ tail shrodinger
Practice:
file - ‘file type’
In Unix it is not immediately apparent what type of file you have (HTML files, ASCII text, images, etc.)
Type file, then the file name.
$ file filename
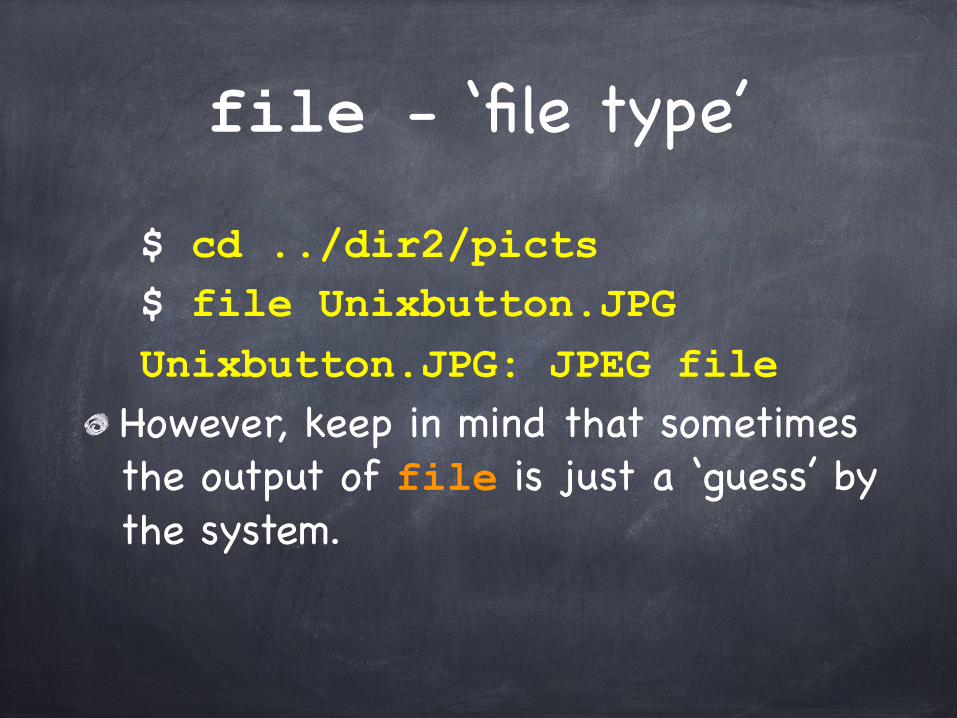
file - ‘file type’
However, keep in mind that sometimes the output of file is just a ‘guess’ by the system.
$ cd ../dir2/picts $ file Unixbutton.JPG Unixbutton.JPG: JPEG file
file - ‘file type’
What is the file type of final.paper?
Practice:
What is the file type of cats in dir2?

Review More Unix Commands
cat – view the contents of a text file
more – use to view files a screen at a time
head – see the first few lines of a file
tail – see the last few lines of a file
file filename – ask Unix to try to determine the file type

Review More Unix Commands
Remember to check the man pages for each of the new
commands as well.
Archiving and Compressing Data

Archiving with tar

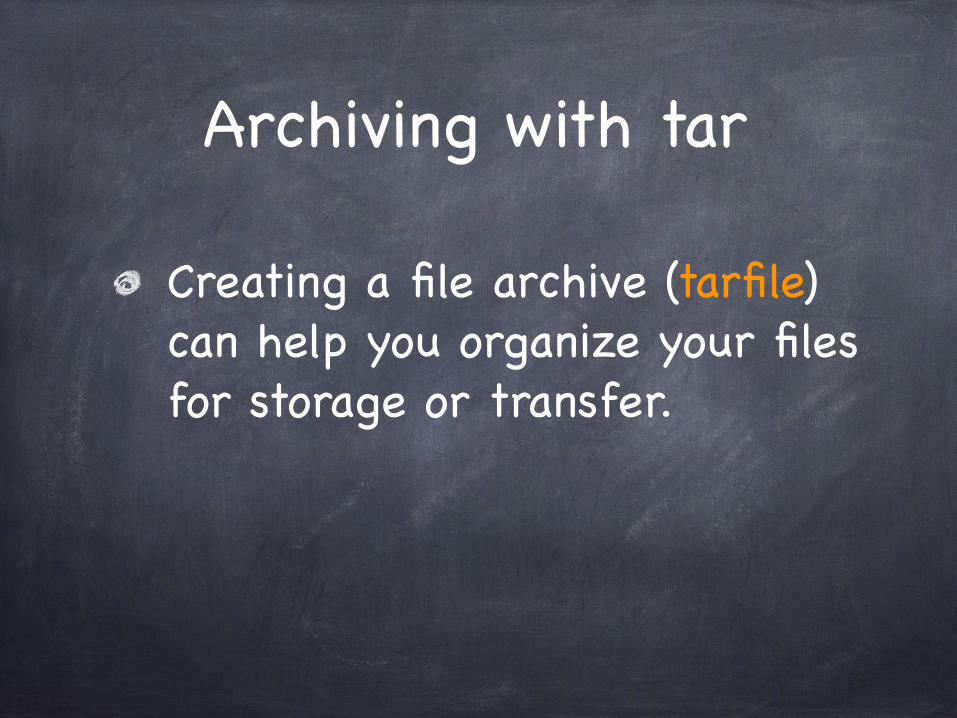
Archiving with tarThis subject can fall into the general “housekeeping” of your files.
You can put all of your related files and store them as one larger separate file called a “tarfile.”
Archiving with tar
Creating a file archive (tarfile) can help you organize your files for storage or transfer.
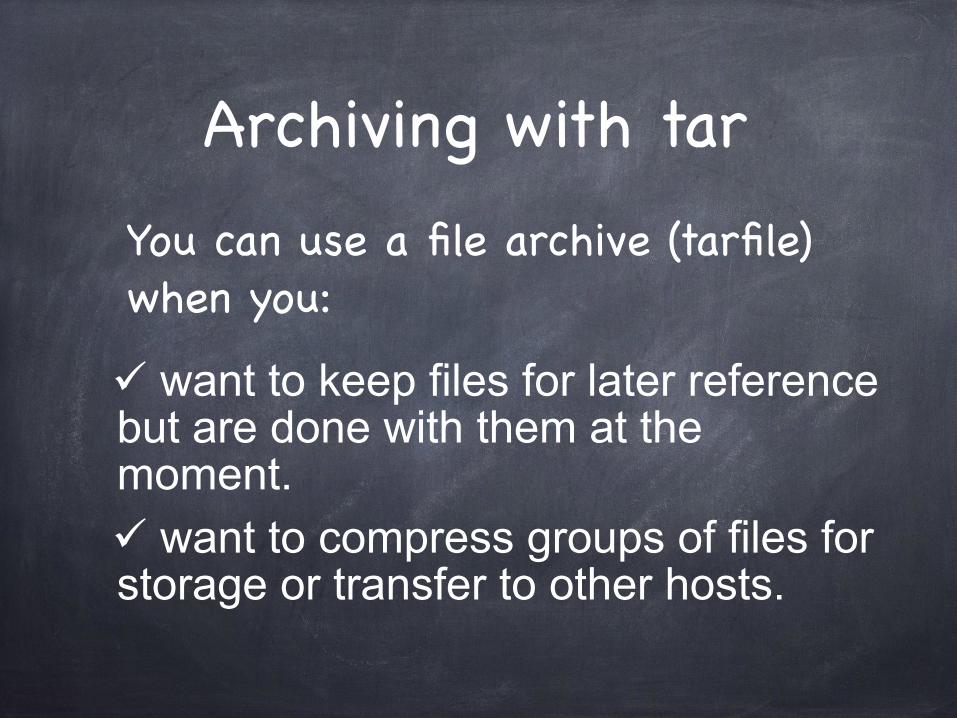
Archiving with tarYou can use a file archive (tarfile) when you:
! want to keep files for later reference but are done with them at the moment.! want to compress groups of files for storage or transfer to other hosts.

Archiving with tar
Tar (tape archive) is one Unix command we use to accomplish this. Tar can also send files directly to a magnetic tape but for our purposes we will use it to make file archives.
We used this the first day to extract your Unix_class subdirectory structure.

Archiving with tar
Creating a tarfile
Suppose we want to archive a directory. Let’s take dir2 from our Unix_class examples.
It is always a good idea to verify the name of the directory you want to archive.

tar PracticeStart by moving into your Unix_class subdirectory.
$ ls –l
drwxrwxr-x 2 userid userid 512 Jun 28 17:52 Animal
drwxrwxr-x 2 userid userid 512 Jun 18 21:31 Shakespeare
drwxrwxr-x 2 userid userid 512 Jun 18 20:10 Wildcards
drwxrwxr-x 2 userid userid 512 Jun 24 15:38 dir1
drwxrwxr-x 4 userid userid 512 Jun 24 13:55 dir2
drwxrwxr-x 4 userid userid 512 Jun 28 15:19 dir3We will keep the example simple and create the archive
file in the same directory.
tar Practice
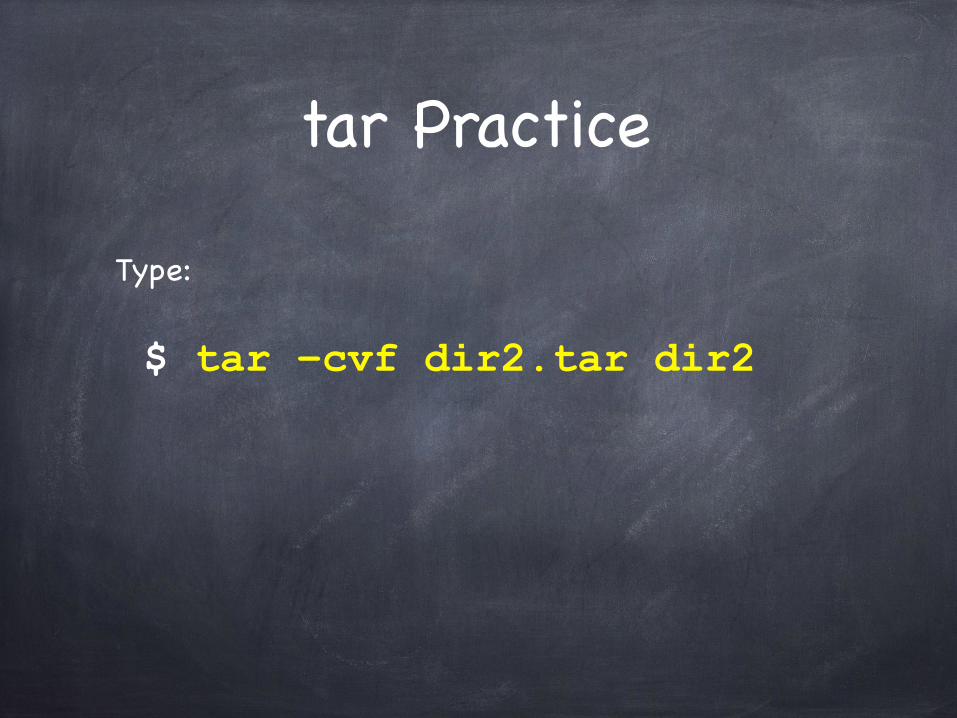
Type:
$ tar –cvf dir2.tar dir2

tar Practicedir2/ 0K dir2/.DS_Store 7K dir2/address_list 1K dir2/final.paper 1K dir2/history.txt 7K dir2/picts/ 0K dir2/picts/Unixbutton.JPG 24K dir2/cats/ 0K dir2/cats/catsup/ 0K dir2/cats/cathode/ 0K dir2/cats/caterpillar/ 0K dir2/cats/caterpillar/butterfly 1K dir2/cats/caterpillar/larva 1K dir2/cats/catalyst 1K

tar Practice
If we list our directory we should see the dir2.tar at the same level in hierarchy as dir2.
$ ls –l
drwxrwxr-x 2 userid userid 512 Jun 28 17:52 Animal
drwxrwxr-x 2 userid userid 512 Jun 18 21:31 Shakespeare
drwxrwxr-x 2 userid userid 512 Jun 18 20:10 Wildcards
drwxrwxr-x 2 userid userid 512 Jun 24 15:38 dir1
drwxrwxr-x 4 userid userid 512 Jun 24 13:55 dir2
-rw-rw-r-- 1 userid userid 49664 Ju1 8 16:28 dir2.tar
drwxrwxr-x 4 userid userid 512 Jun 28 15:19 dir3
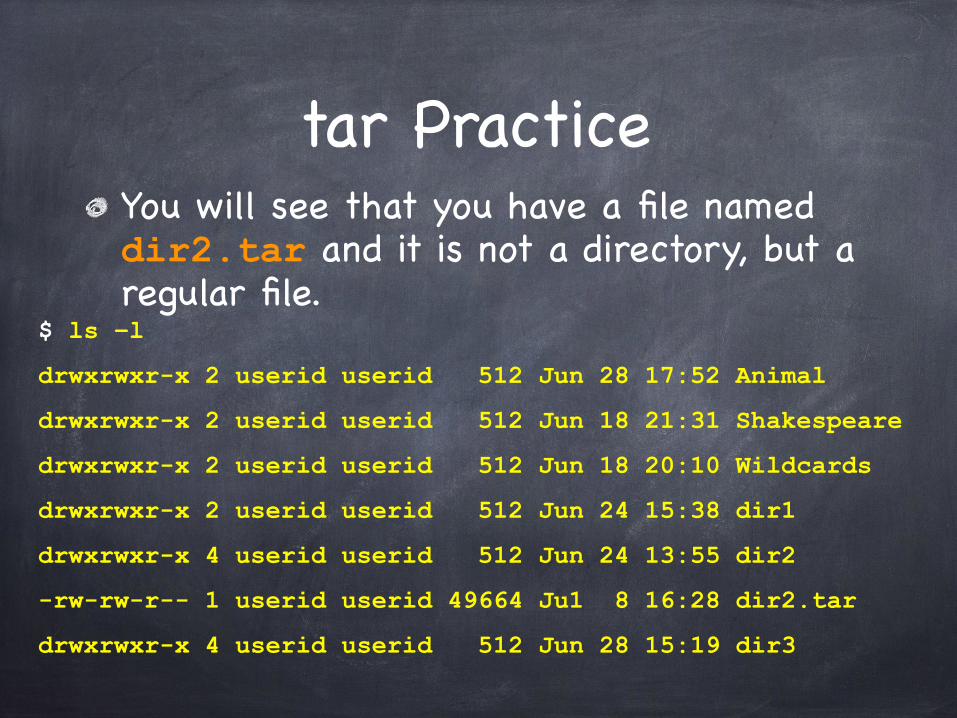
tar PracticeYou will see that you have a file named dir2.tar and it is not a directory, but a regular file.
$ ls –l
drwxrwxr-x 2 userid userid 512 Jun 28 17:52 Animal
drwxrwxr-x 2 userid userid 512 Jun 18 21:31 Shakespeare
drwxrwxr-x 2 userid userid 512 Jun 18 20:10 Wildcards
drwxrwxr-x 2 userid userid 512 Jun 24 15:38 dir1
drwxrwxr-x 4 userid userid 512 Jun 24 13:55 dir2
-rw-rw-r-- 1 userid userid 49664 Ju1 8 16:28 dir2.tar
drwxrwxr-x 4 userid userid 512 Jun 28 15:19 dir3

Archiving with tar
What we did here is create a tarfile called dir2.tar which is a file archive of all the files and directories under dir2.
Lets look at tar more closely. There are many options and different ways to use the command, but we will focus on the ones you will use most often.
Archiving with tar
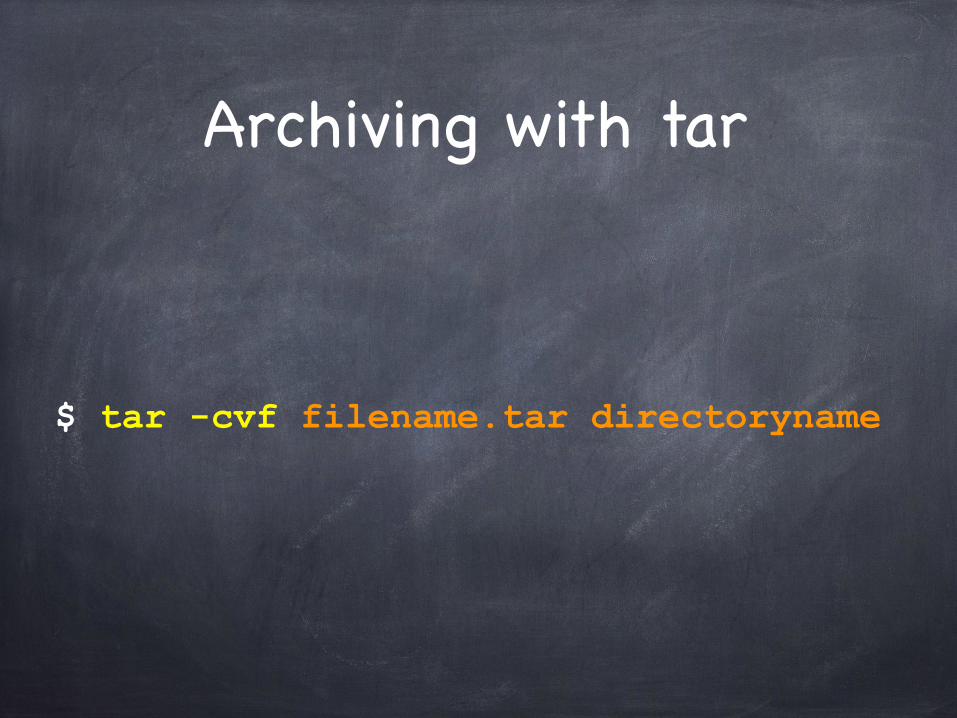
$ tar -cvf filename.tar directoryname
Archiving with tar
$ tar –cvf filename.tar directoryname
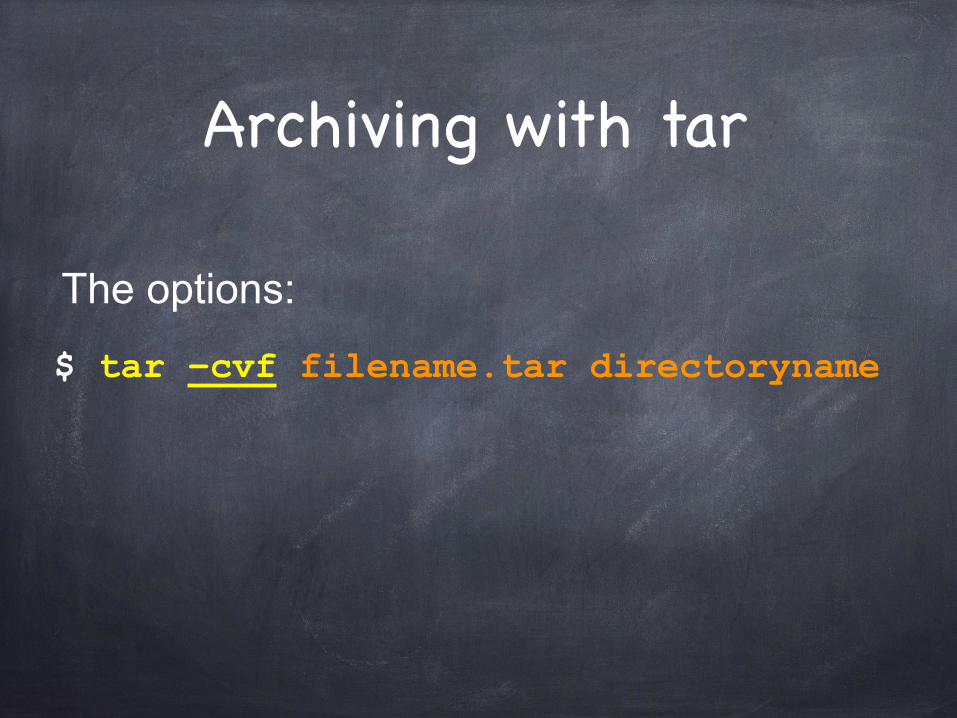
The options:

Archiving with tarThe options:
-c tells tar to “create”
$ tar –cvf filename.tar directoryname

Archiving with tar
$ tar –cvf filename.tar directoryname
The options:
-v tells tar to be verbose in the output it provides. This is not necessary, but it is helpful to see what is going on. It tells you what you are doing (appending or extracting) and the file names and sizes.
Archiving with tar
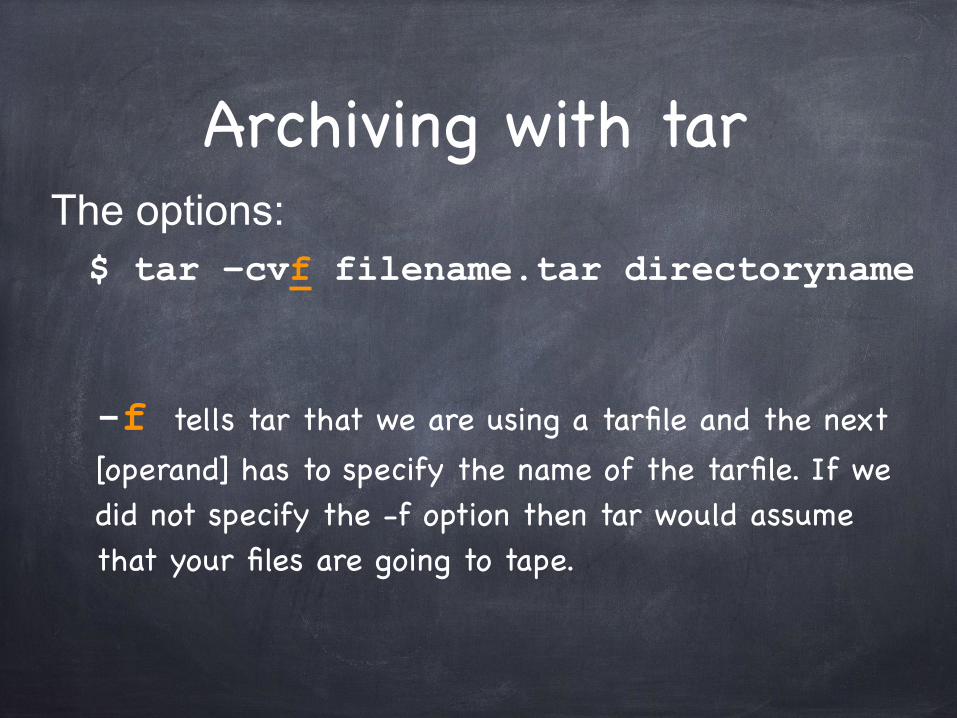
$ tar –cvf filename.tar directorynameThe options:
-f tells tar that we are using a tarfile and the next [operand] has to specify the name of the tarfile. If we did not specify the -f option then tar would assume that your files are going to tape.
Archiving with tar
$ tar –cvf filename.tar directoryname
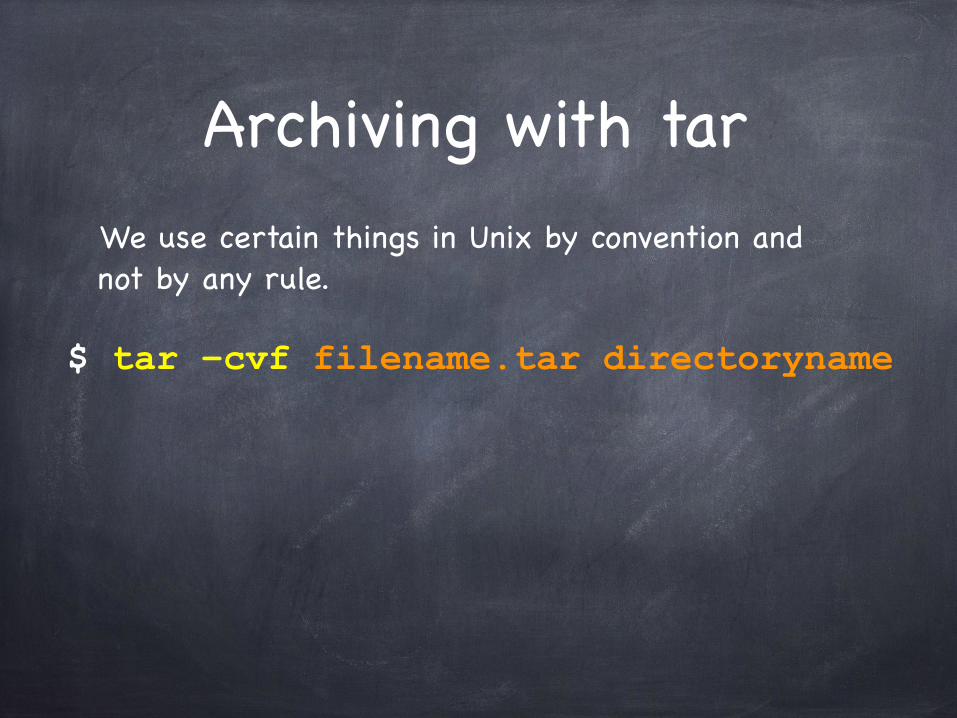
We use certain things in Unix by convention and not by any rule.
Archiving with tar
$ tar –cvf filename.tar directoryname
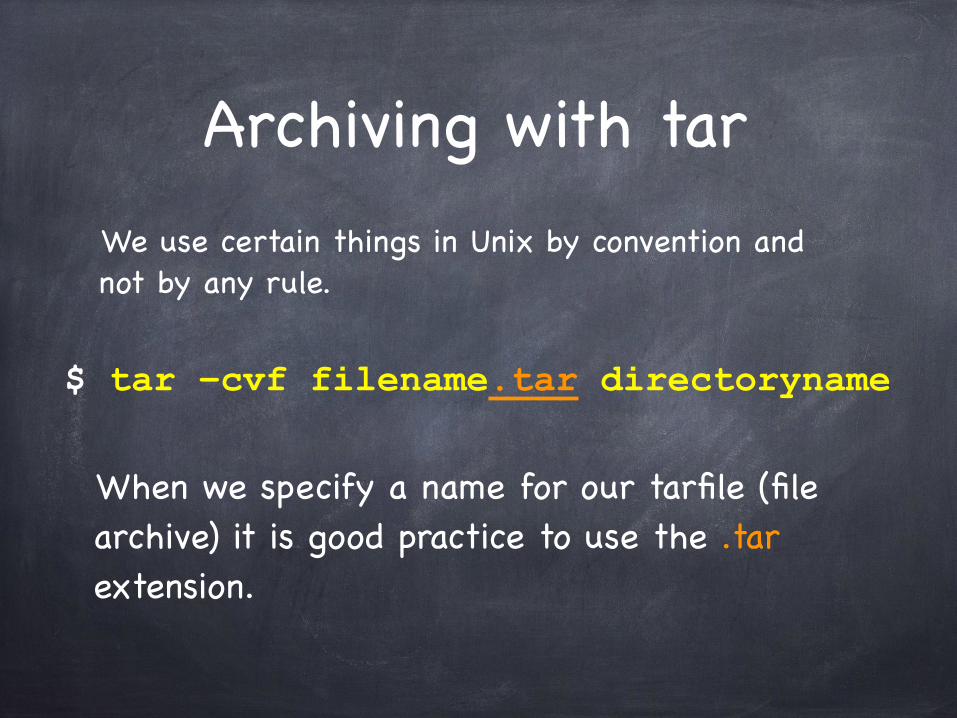
We use certain things in Unix by convention and not by any rule.
When we specify a name for our tarfile (file archive) it is good practice to use the .tar extension.

Archiving with tar
$ tar –cvf filename.tar directoryname
We use certain things in Unix by convention and not by any rule.
I also recommend, if you are tarring a whole directory as in our example, to have the new filename be the same as the original directory name.
Archiving with tar
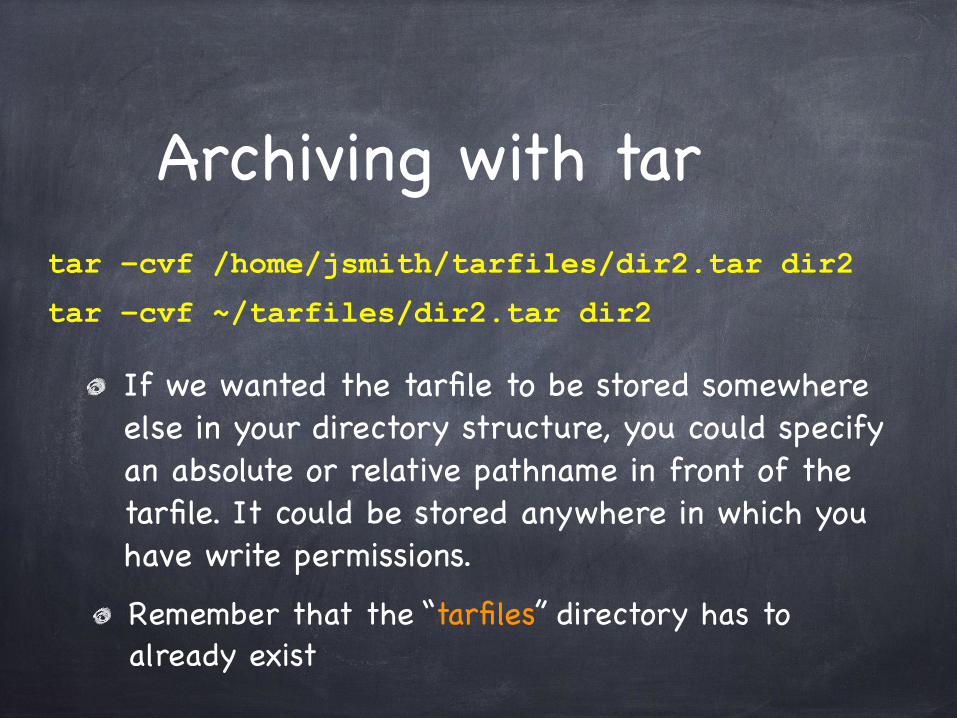
If we wanted the tarfile to be stored somewhere else in your directory structure, you could specify an absolute or relative pathname in front of the tarfile. It could be stored anywhere in which you have write permissions.
tar –cvf /home/jsmith/tarfiles/dir2.tar dir2
tar –cvf ~/tarfiles/dir2.tar dir2
Remember that the “tarfiles” directory has to already exist

Archiving with tartar –cvf /home/jsmith/tarfiles/dir2.tar dir2
pathname tarfile original directory
If we wanted the tarfile to be stored somewhere else in your directory structure, you could specify an absolute or relative pathname in front of the tarfile. It could be stored anywhere in which you have write permissions.
Extracting with tar
Extracting a tarfile:
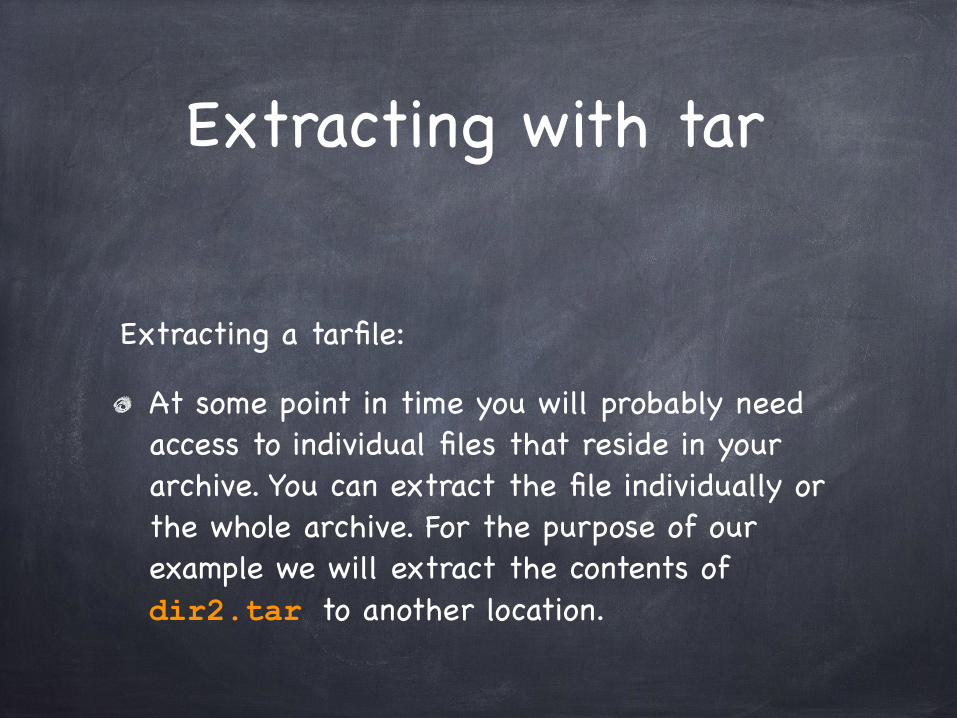
At some point in time you will probably need access to individual files that reside in your archive. You can extract the file individually or the whole archive. For the purpose of our example we will extract the contents of dir2.tar to another location.

Extracting with tar
First, from our home directory, let’s do a listing of our Unix_class directory.
$ cd (takes us to the top of our home directory)
$ ls -l Unix_class

Extracting with tar
We want to extract the tarfile to a different location. In this case, the top of our home directory.
$ cd
$ ls –l Unix_class
drwxrwxr-x 2 userid userid 512 Jun 28 17:52 Animal
drwxrwxr-x 2 userid userid 512 Jun 18 21:31 Shakespeare
drwxrwxr-x 2 userid userid 512 Jun 18 20:10 Wildcards
drwxrwxr-x 2 userid userid 512 Jun 24 15:38 dir1
drwxrwxr-x 4 userid userid 512 Jun 24 13:55 dir2
-rw-rw-r-- 1 userid userid 49664 Ju1 8 16:28 dir2.tar
drwxrwxr-x 4 userid userid 512 Jun 28 15:19 dir3
Extracting with tar
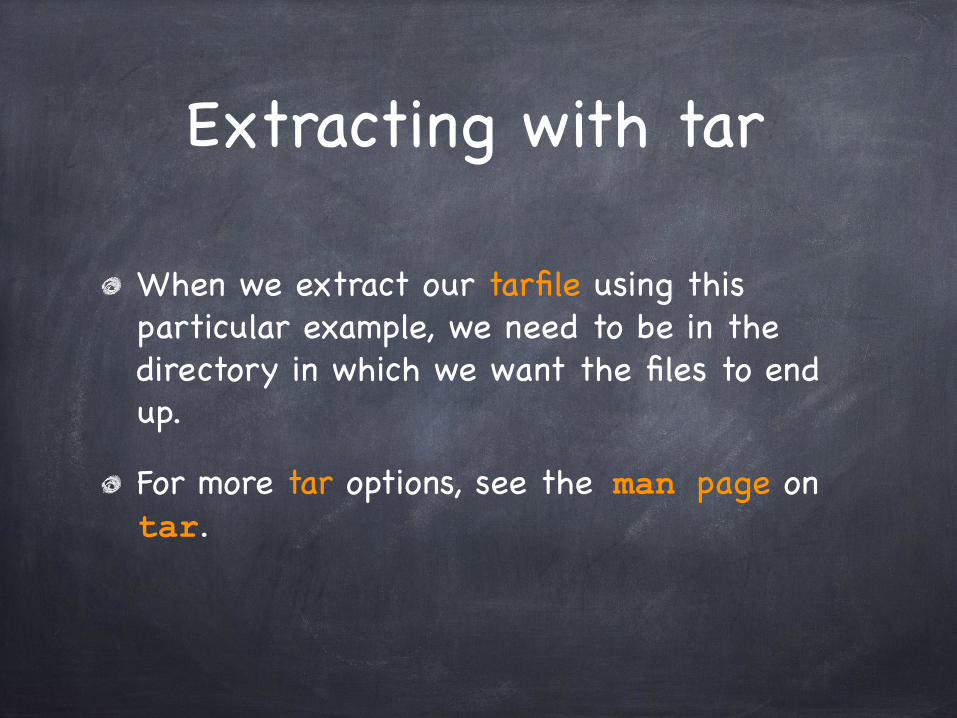
When we extract our tarfile using this particular example, we need to be in the directory in which we want the files to end up.
For more tar options, see the man page on tar.

Extracting with tar
Make sure you are in your home directory (not in Unix_class).
$ pwd (always a good habit to get into)
Extracting with tar
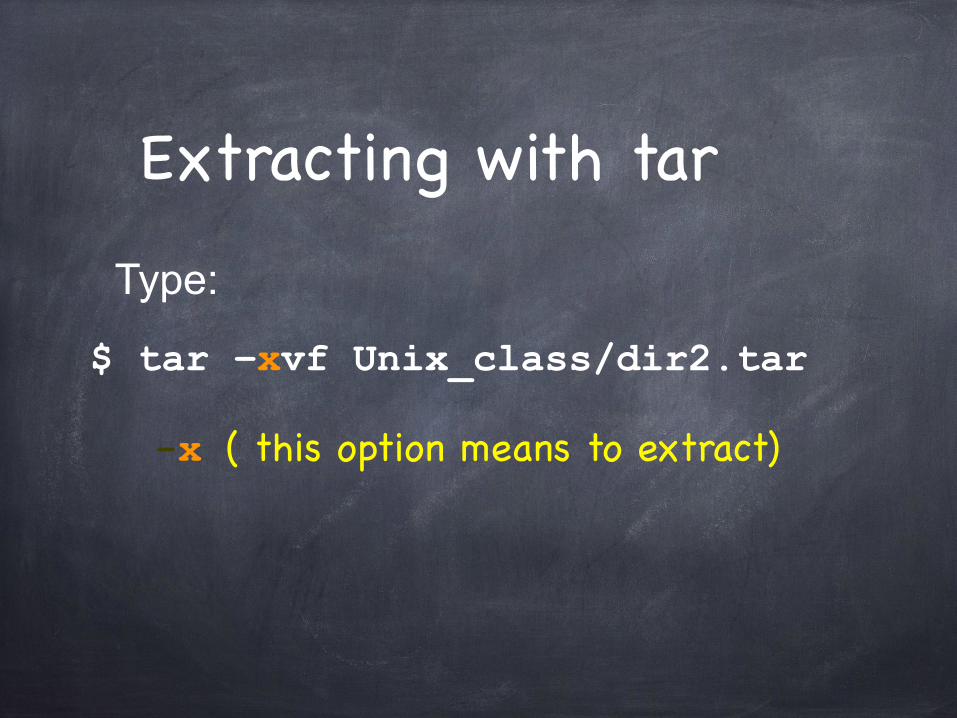
$ tar –xvf Unix_class/dir2.tar
Type:
-x ( this option means to extract)
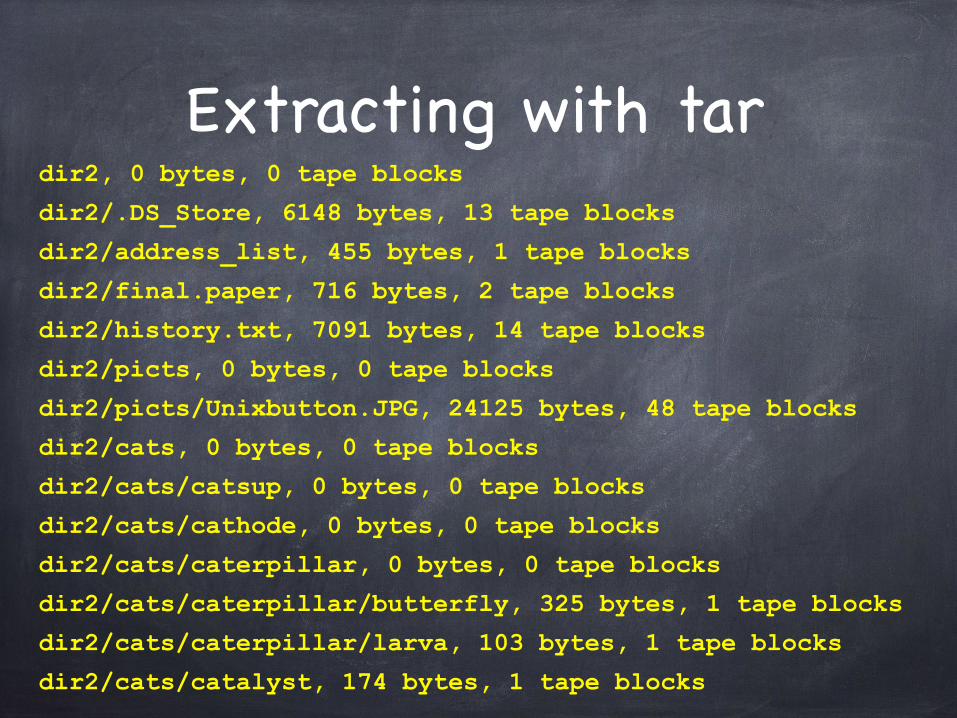
Extracting with tardir2, 0 bytes, 0 tape blocks
dir2/.DS_Store, 6148 bytes, 13 tape blocks
dir2/address_list, 455 bytes, 1 tape blocks
dir2/final.paper, 716 bytes, 2 tape blocks
dir2/history.txt, 7091 bytes, 14 tape blocks
dir2/picts, 0 bytes, 0 tape blocks
dir2/picts/Unixbutton.JPG, 24125 bytes, 48 tape blocks
dir2/cats, 0 bytes, 0 tape blocks
dir2/cats/catsup, 0 bytes, 0 tape blocks
dir2/cats/cathode, 0 bytes, 0 tape blocks
dir2/cats/caterpillar, 0 bytes, 0 tape blocks
dir2/cats/caterpillar/butterfly, 325 bytes, 1 tape blocks
dir2/cats/caterpillar/larva, 103 bytes, 1 tape blocks
dir2/cats/catalyst, 174 bytes, 1 tape blocks
Extracting with tar
The verbose output tells you that it is extracting (the “x” at the beginning) and lists the file names and sizes.
Extracting with tar
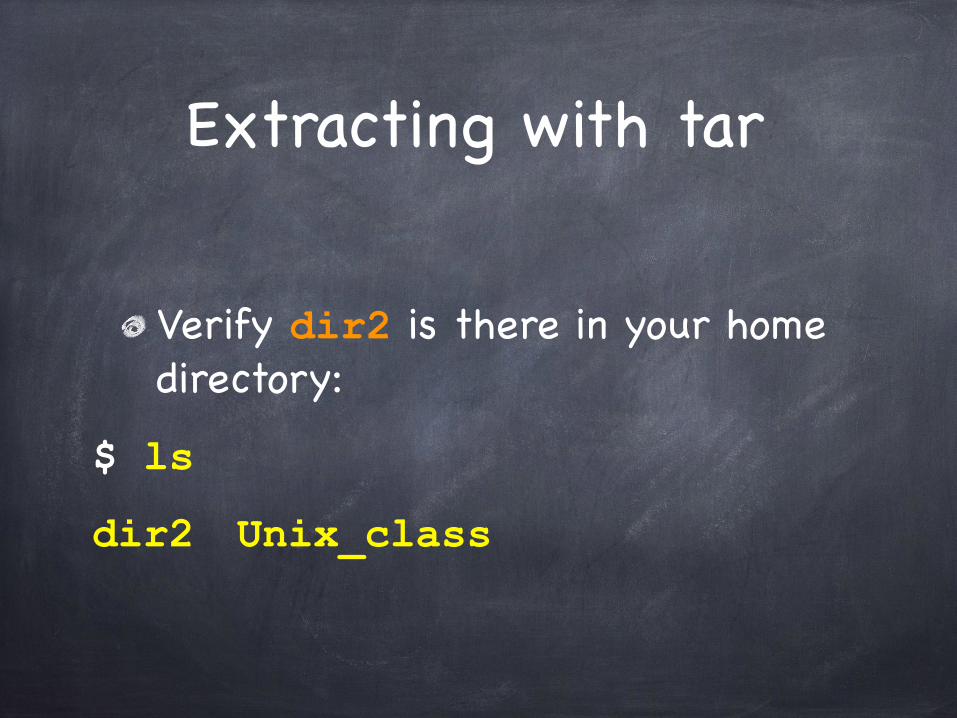
Verify dir2 is there in your home directory:
$ ls
dir2 Unix_class

Extracting with tar
Remember that when you extract, your original tarfile is still there where you put it in the first place. You can extract it as many times as you like to any other locations in which you have write permissions.

Compressing and Uncompressing

Compressing and Uncompressing
Compressing reduces the file size using a special encoding.
Tarring files and compressing often go hand in hand.
You can compress a whole tarfile without having to compress each individual file.
Compressing and Uncompressing
This will be helpful if you have large directories that you’ve tarred and will not need for some time and you want to save some disk space.

Compressing and Uncompressing
As you could imagine, it will also save on upload/download times with ‘sftp’ if your file is compressed before sending it to another host.
Compressing and Uncompressing
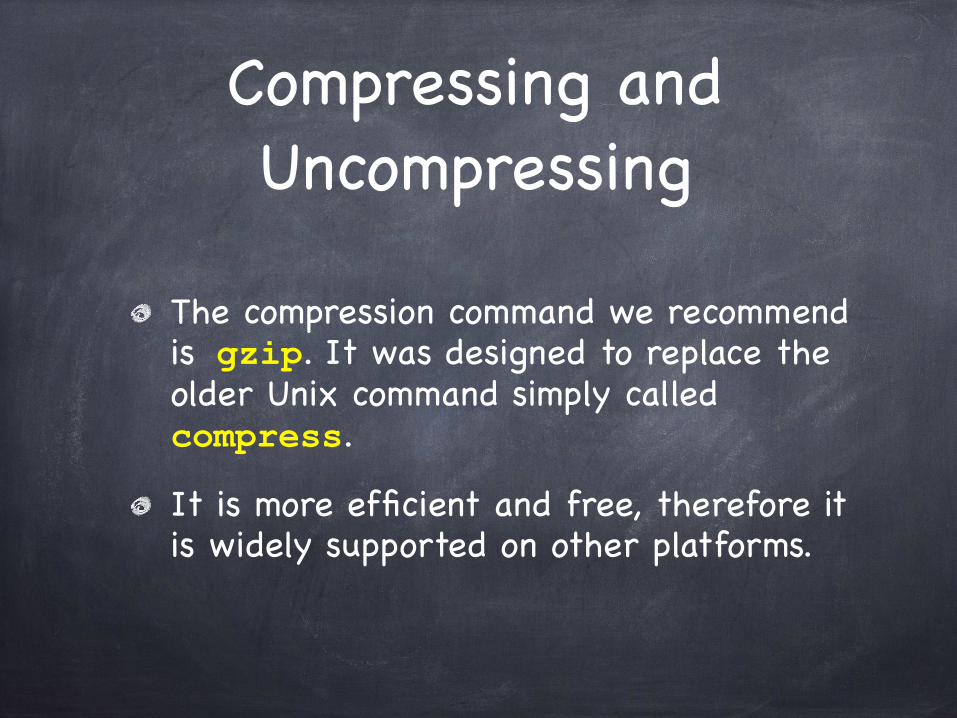
The compression command we recommend is gzip. It was designed to replace the older Unix command simply called compress.
It is more efficient and free, therefore it is widely supported on other platforms.
Compressing and Uncompressing
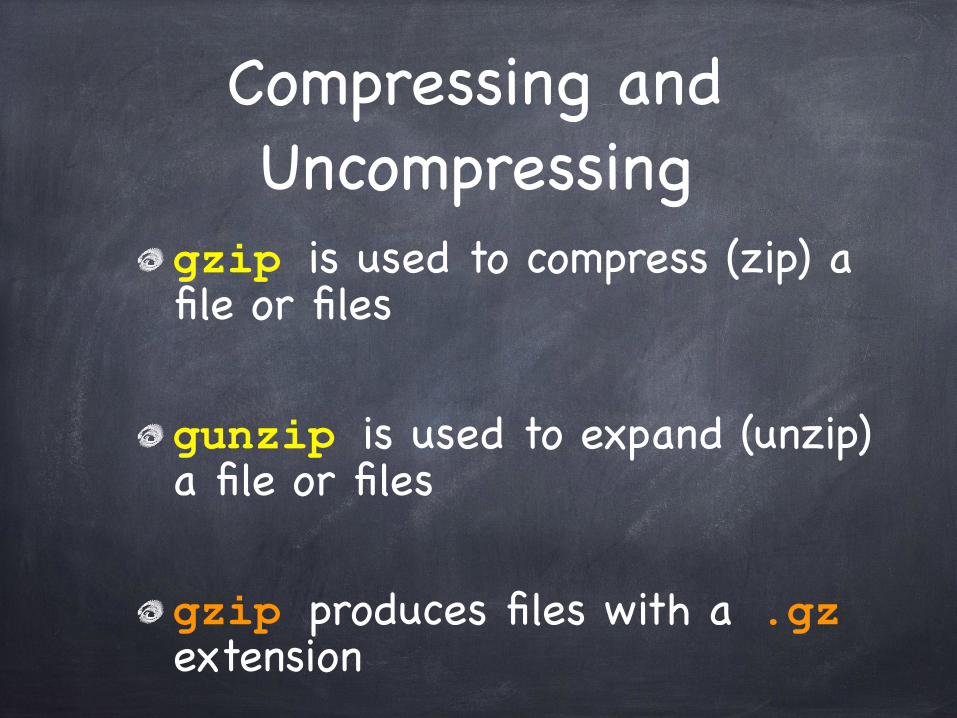
gzip is used to compress (zip) a file or files
gunzip is used to expand (unzip) a file or files
gzip produces files with a .gz extension
Compressing and Uncompressing
Using gzip to compress a file.

Compressing PracticeLet’s find our previous tarfile (dir2.tar) that should reside at the top of your Unix_class directory and try this handy utility.
$ cd Unix_class
$ ls -l

Compressing Practice
$ cd Unix_class
$ ls –l
drwxrwxr-x 2 userid userid 512 Jun 28 17:52 Animal
drwxrwxr-x 2 userid userid 512 Jun 18 21:31 Shakespeare
drwxrwxr-x 2 userid userid 512 Jun 18 20:10 Wildcards
drwxrwxr-x 2 userid userid 512 Jun 24 15:38 dir1
drwxrwxr-x 4 userid userid 512 Jun 24 13:55 dir2
-rw-rw-r-- 1 userid userid 49664 Ju1 8 16:28 dir2.tar
drwxrwxr-x 4 userid userid 512 Jun 28 15:19 dir3

Compressing Practice
Type:
$ gzip dir2.tar
Let’s take a look at what we did.

Compressing Practice
$ gzip dir2.tar
$ ls –l
drwxrwxr-x 2 userid userid 512 Jun 28 17:52 Animal
drwxrwxr-x 2 userid userid 512 Jun 18 21:31 Shakespeare
drwxrwxr-x 2 userid userid 512 Jun 18 20:10 Wildcards
drwxrwxr-x 2 userid userid 512 Jun 24 15:38 dir1
drwxrwxr-x 4 userid userid 512 Jun 24 13:55 dir2
-rw-rw-r-- 1 userid userid 29601 Ju1 8 16:28 dir2.tar.gz
drwxrwxr-x 4 userid userid 512 Jun 28 15:19 dir3
Compressing and Uncompressing
$ gzip filename
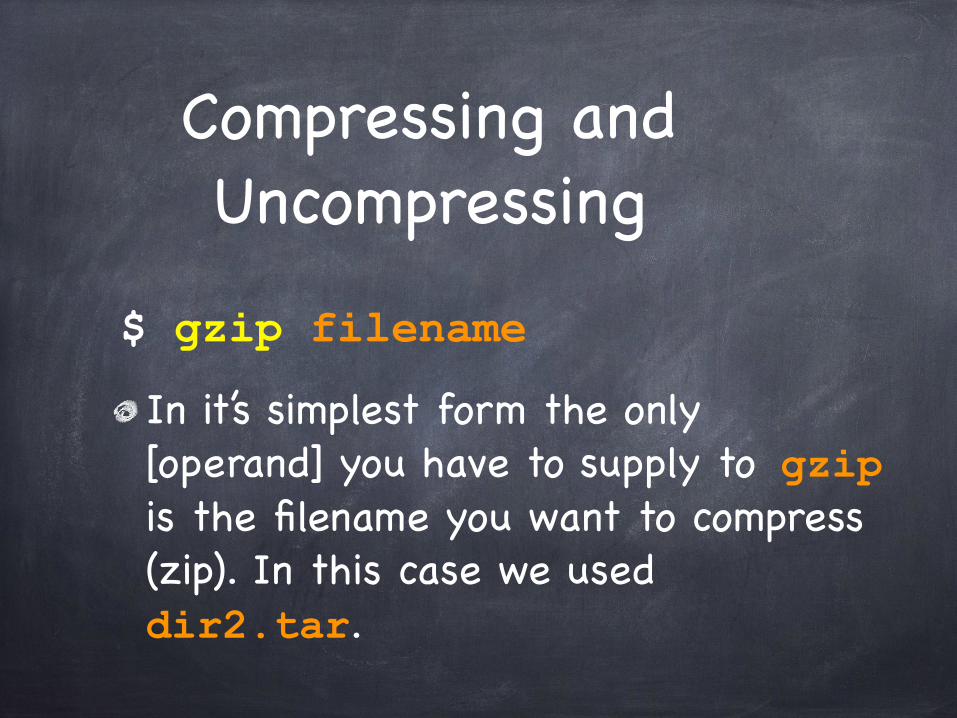
In it’s simplest form the only [operand] you have to supply to gzip is the filename you want to compress (zip). In this case we used dir2.tar.
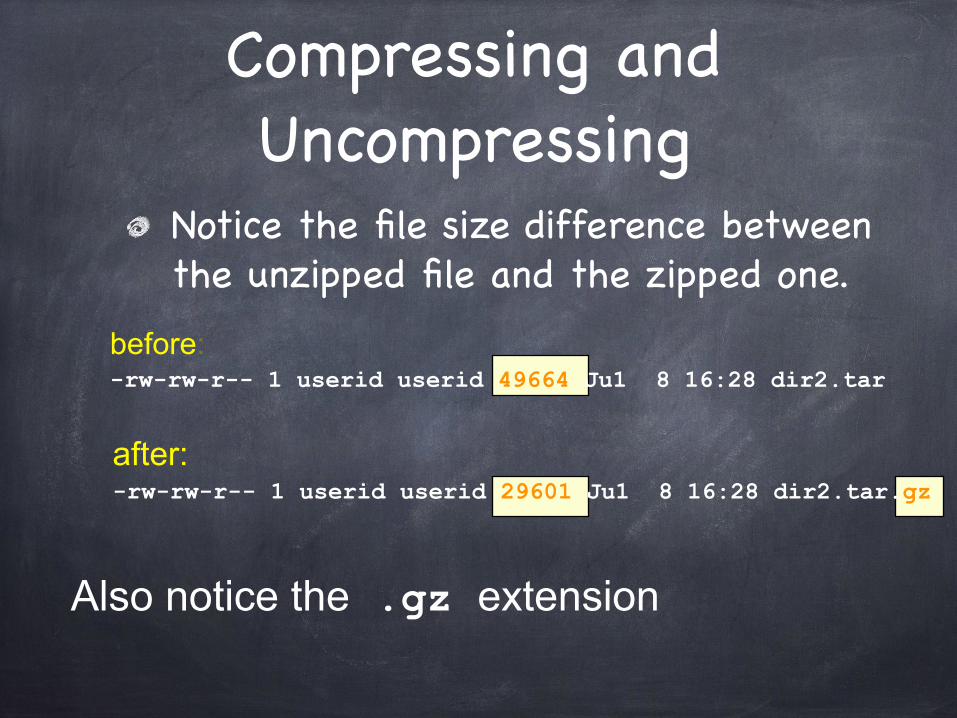
Notice the file size difference between the unzipped file and the zipped one.
before: -rw-rw-r-- 1 userid userid 49664 Ju1 8 16:28 dir2.tar
Compressing and Uncompressing
after: -rw-rw-r-- 1 userid userid 29601 Ju1 8 16:28 dir2.tar.gz
Also notice the .gz extension

Compressing and Uncompressing
Using gunzip to uncompress a file.

Compressing and Uncompressing
Here again, the command can be very simple. Always look to the man page for more options.
The basic usage of the gunzip command is to reverse the operation of the gzip command.
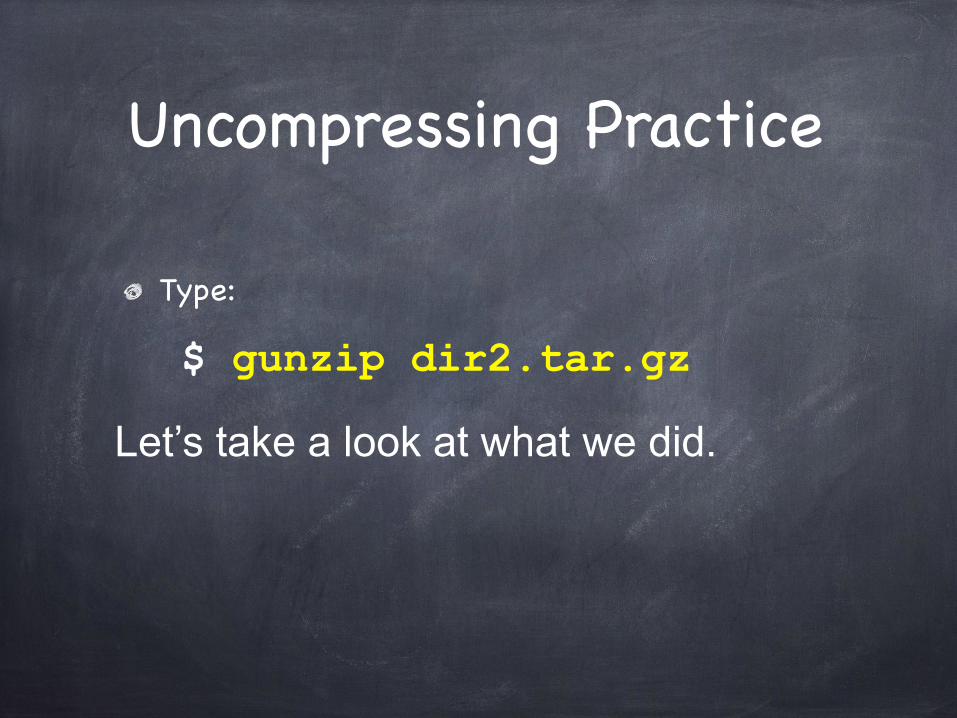
Uncompressing Practice
Type:
$ gunzip dir2.tar.gz
Let’s take a look at what we did.
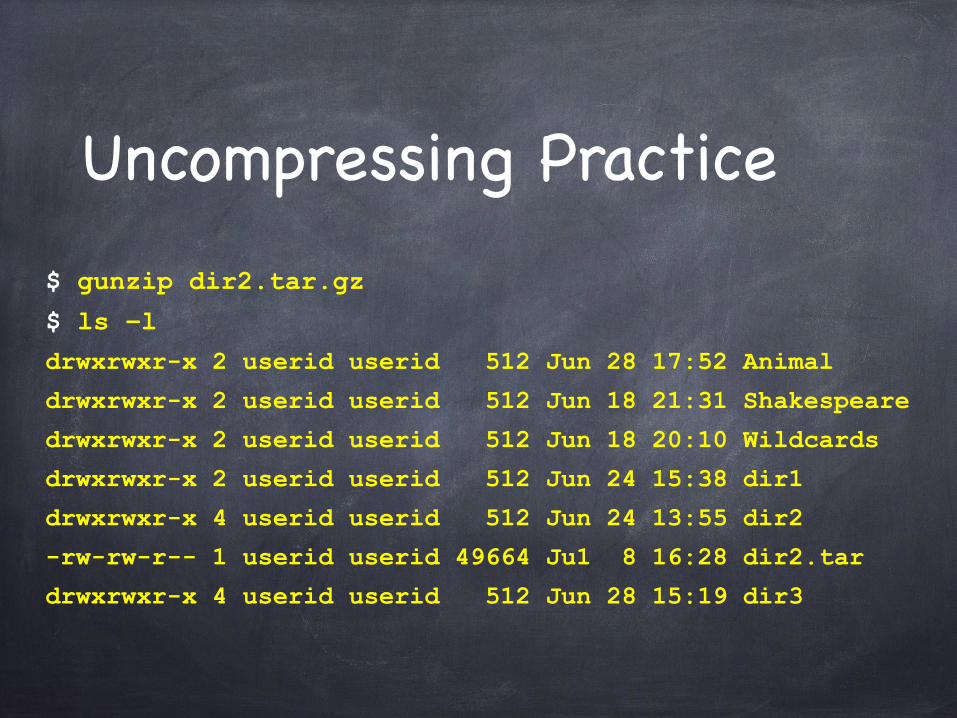
Uncompressing Practice$ gunzip dir2.tar.gz
$ ls –l
drwxrwxr-x 2 userid userid 512 Jun 28 17:52 Animal
drwxrwxr-x 2 userid userid 512 Jun 18 21:31 Shakespeare
drwxrwxr-x 2 userid userid 512 Jun 18 20:10 Wildcards
drwxrwxr-x 2 userid userid 512 Jun 24 15:38 dir1
drwxrwxr-x 4 userid userid 512 Jun 24 13:55 dir2
-rw-rw-r-- 1 userid userid 49664 Ju1 8 16:28 dir2.tar
drwxrwxr-x 4 userid userid 512 Jun 28 15:19 dir3

Uncompressing Practice
Now we are back to our original file size and gunzip removed the extension .gz for us. Simple!

Permissions

Permissions
In Unix there are many attributes associated with every file or directory. Permission settings are another attribute associated with each file and directory. These permissions determine who is allowed to see the file, search through the directory, modify the file, delete the directory, etc.

PermissionsEach file has three different sets of permissions:
One for the Owner or User - this is usually the person who created the file or directory
One for the Group - a file can be assigned to a group if a team of people need access to the same set of files or directories
One for Everyone else or Others
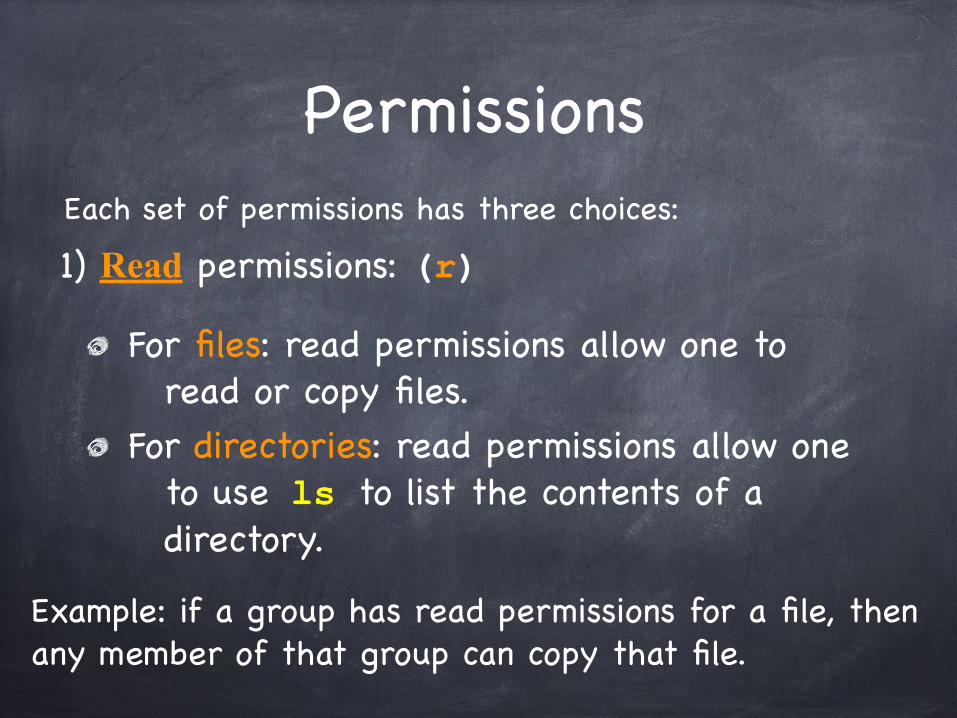
PermissionsEach set of permissions has three choices:
1) Read permissions: (r)
For files: read permissions allow one to read or copy files.
For directories: read permissions allow one to use ls to list the contents of a directory.
Example: if a group has read permissions for a file, then any member of that group can copy that file.

PermissionsEach set of permissions has three choices:
2) Write permissions: (w)For files: write permissions allow one to
modify or delete files.
For directories: write permissions allow one to modify or delete directories. This includes files within that directory.
Example: if 'others' do not have write permissions for a file, then they cannot make any changes to that file.

PermissionsEach set of permissions has three choices:
3) Execute permissions: (x)For files: execute permissions allow one to
run the file as a program (if it is a program).
For directories: execute permissions allow one to cd to move through a directory.
Example: if the group does not have execute permissions for a directory, then members of that group cannot cd to a subdirectory under that directory.

Permissions
You can find out what permissions are assigned to a file by typing ls -l in the parent directory.
Using ls -l is called 'Long Format Listing'

Long Format Listing

Long Form Listing
If you type ls -l at the prompt (in Unix_class), you will see something similar to the following:
$ ls -l
drwxrwxr-x 4 jsmith jsmith 512 Sep 24 19:53 Animal
drwxrwxr-x 2 jsmith jsmith 512 Jun 18 21:31 Shakesp..
drwxrwxr-x 2 jsmith jsmith 512 Jun 18 20:10 Wildcards
drwxrwxr-x 2 jsmith jsmith 512 Jun 24 15:38 dir1
drwxrwxr-x 4 jsmith jsmith 512 Sep 24 19:19 dir2
drwxrwxr-x 3 jsmith jsmith 512 Oct 1 19:18 dir3
drwxrwxr-x 4 jsmith jsmith 512 Oct 1 11:34 house
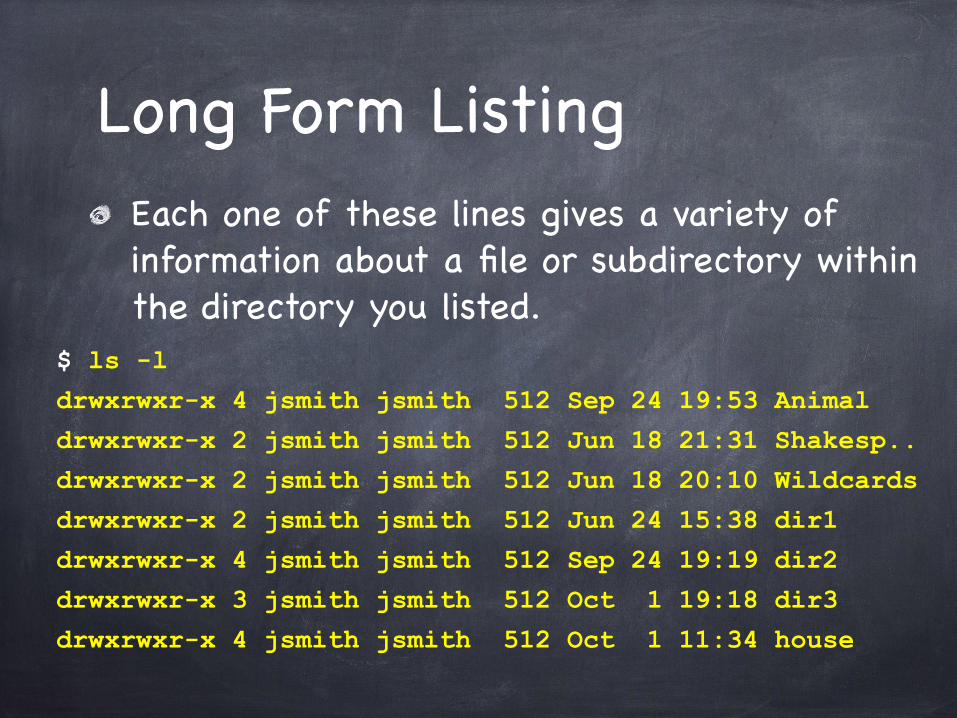
Long Form ListingEach one of these lines gives a variety of information about a file or subdirectory within the directory you listed.
$ ls -l
drwxrwxr-x 4 jsmith jsmith 512 Sep 24 19:53 Animal
drwxrwxr-x 2 jsmith jsmith 512 Jun 18 21:31 Shakesp..
drwxrwxr-x 2 jsmith jsmith 512 Jun 18 20:10 Wildcards
drwxrwxr-x 2 jsmith jsmith 512 Jun 24 15:38 dir1
drwxrwxr-x 4 jsmith jsmith 512 Sep 24 19:19 dir2
drwxrwxr-x 3 jsmith jsmith 512 Oct 1 19:18 dir3
drwxrwxr-x 4 jsmith jsmith 512 Oct 1 11:34 house

$ ls -l
drwxrwxr-x 2 jsmith jsmith 512 Jun 18 21:31 Shakesp..
drwxrwxr-x 2 jsmith jsmith 512 Jun 18 20:10 Wildcards
drwxrwxr-x 2 jsmith jsmith 512 Jun 24 15:38 dir1
drwxrwxr-x 4 jsmith jsmith 512 Sep 24 19:19 dir2
drwxrwxr-x 3 jsmith jsmith 512 Oct 1 19:18 dir3
drwxrwxr-x 4 jsmith jsmith 512 Oct 1 11:34 house
Long Form Listing
Each line is actually made of 16 “fields” of information that tells you something about that file or directory.
drwxrwxr-x 4 jsmith jsmith 512 Sep 24 19:53 Animal

Long Form Listing
12345678910 11 12 13 14 15 16
The Sixteen Fieldsdrwxrwxr-x 4 jsmith jsmith 512 Sep 24 19:53 Animal

• 1st field in the line:
(-) hyphen: it is a file
(d) letter d: it is a directory
-

• The next three fields (2, 3, and 4) refer to the owner’s permissions (usually the person who created the file).
-rw-

• 2nd field in the line:
(r) letter r: the owner has read permission (can read or copy the file or list the files in the directory)
(-) hyphen: the owner does not have read permission
-r

• 3rd field in the line:
(w) letter w: the owner has write permission (can modify or delete the file or directory)
(-) hyphen: the owner does not have write permission
-rw
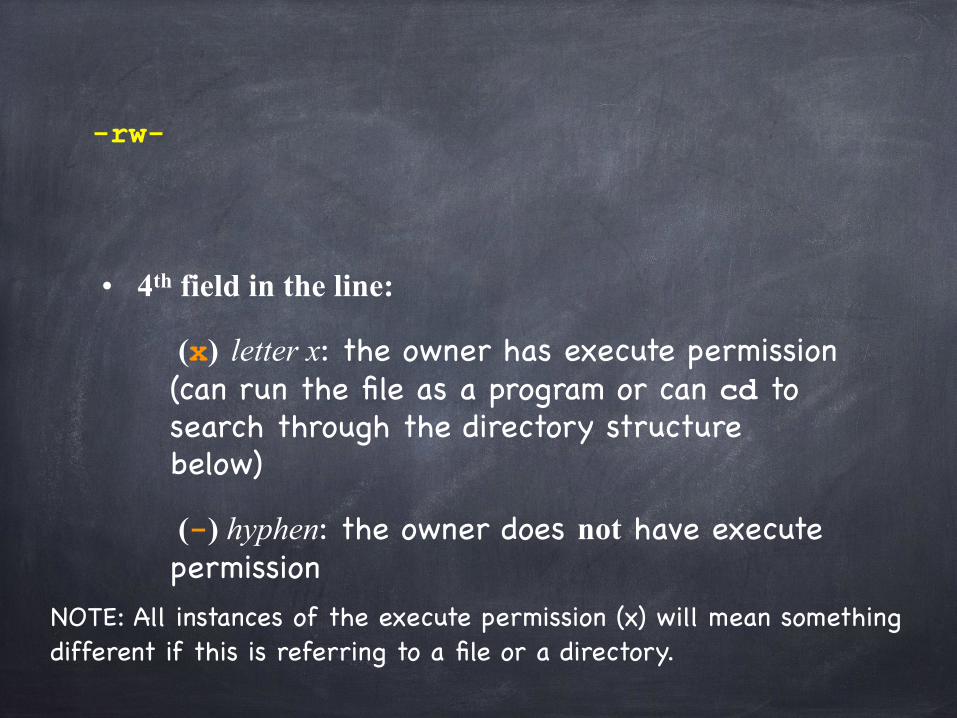
• 4th field in the line:
(x) letter x: the owner has execute permission (can run the file as a program or can cd to search through the directory structure below)
(-) hyphen: the owner does not have execute permission
NOTE: All instances of the execute permission (x) will mean something different if this is referring to a file or a directory.
-rw-

For example, $ ls -l
-rw-r--r-- 1 rneil rneil 2151 Jun 29 12...
• This is a file, and the owner has read permission and write permission, but does not have execute permission.
-rw-

• The next three fields (5, 6, and 7) refer to the group’s permissions (the members of a group who need to have access to the same files).
-rw-r--

5th field in the line:
(r) letter r: the group has read permission
(-) hyphen: the group does not have read permission
-rw-r

6th field in the line
(w) letter w: the group has write permission
(-) hyphen: the group does not have write permission
-rw-r-

7th field in the line
(x) letter x: the group has execute permission
(-) hyphen: the group does not have execute permission
-rw-r--
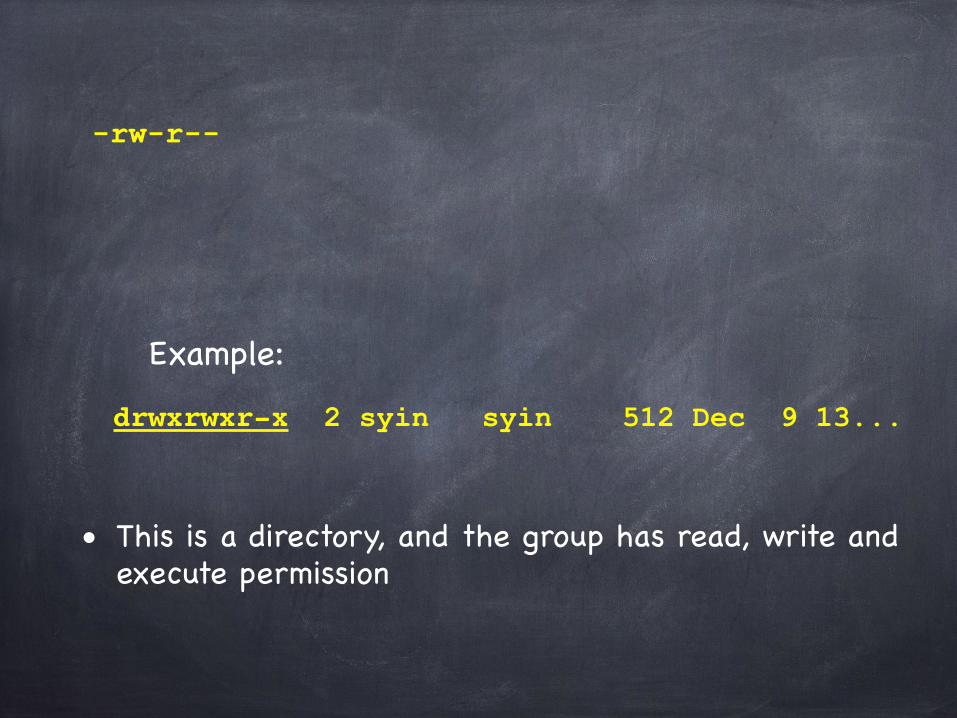
Example:
drwxrwxr-x 2 syin syin 512 Dec 9 13...
• This is a directory, and the group has read, write and execute permission
-rw-r--

• The next three fields (8, 9, and 10) refer to the permissions given to everyone else.
-rw-r--r--
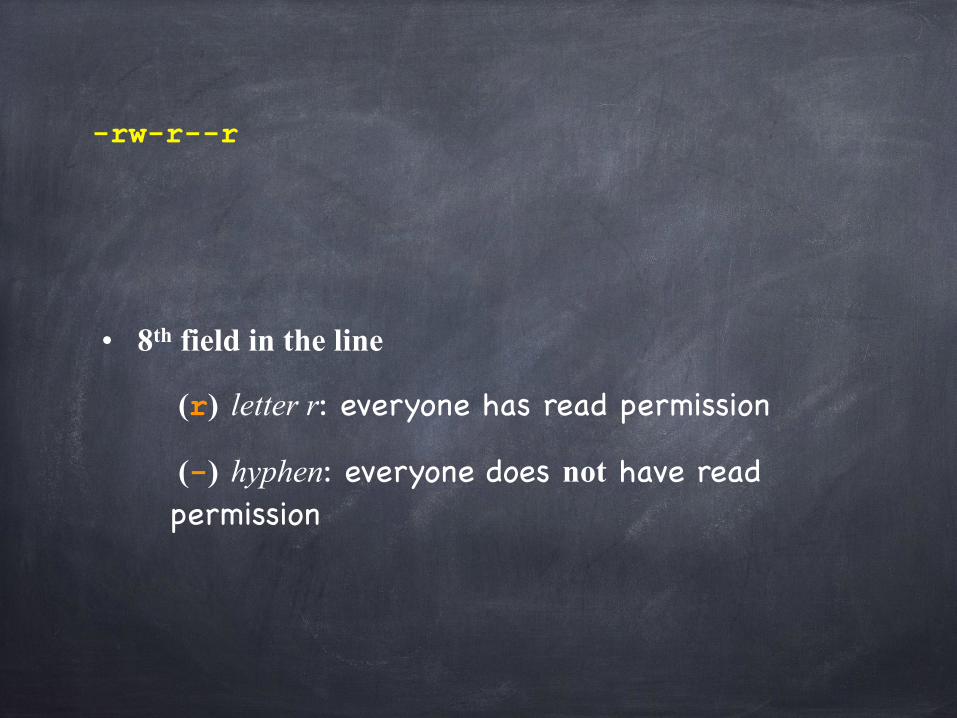
• 8th field in the line
(r) letter r: everyone has read permission
(-) hyphen: everyone does not have read permission
-rw-r--r
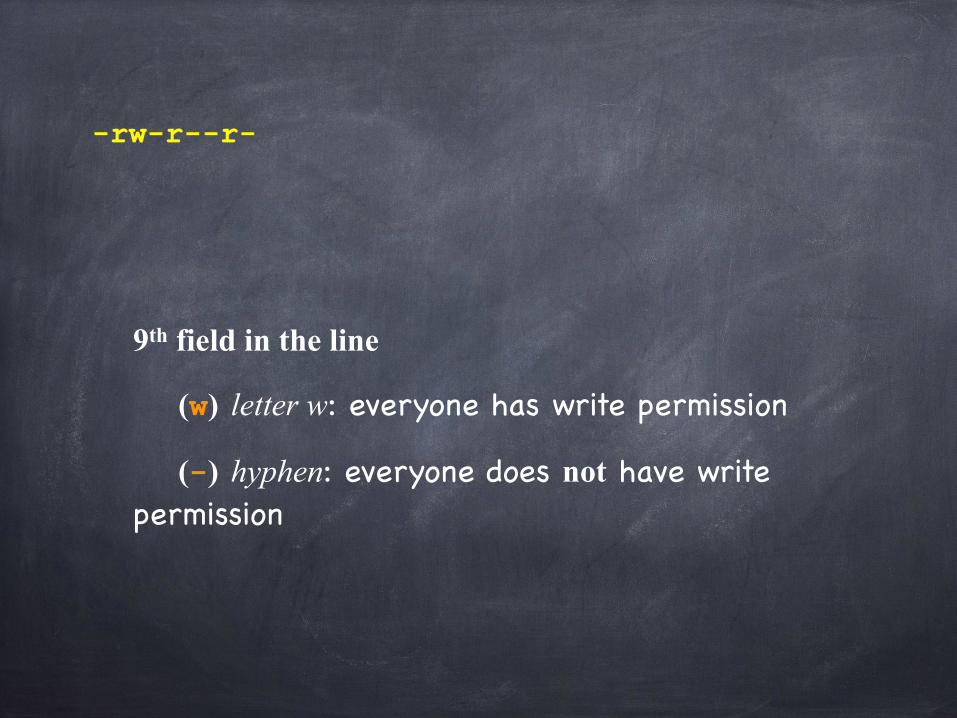
9th field in the line
(w) letter w: everyone has write permission
(-) hyphen: everyone does not have write permission
-rw-r--r-
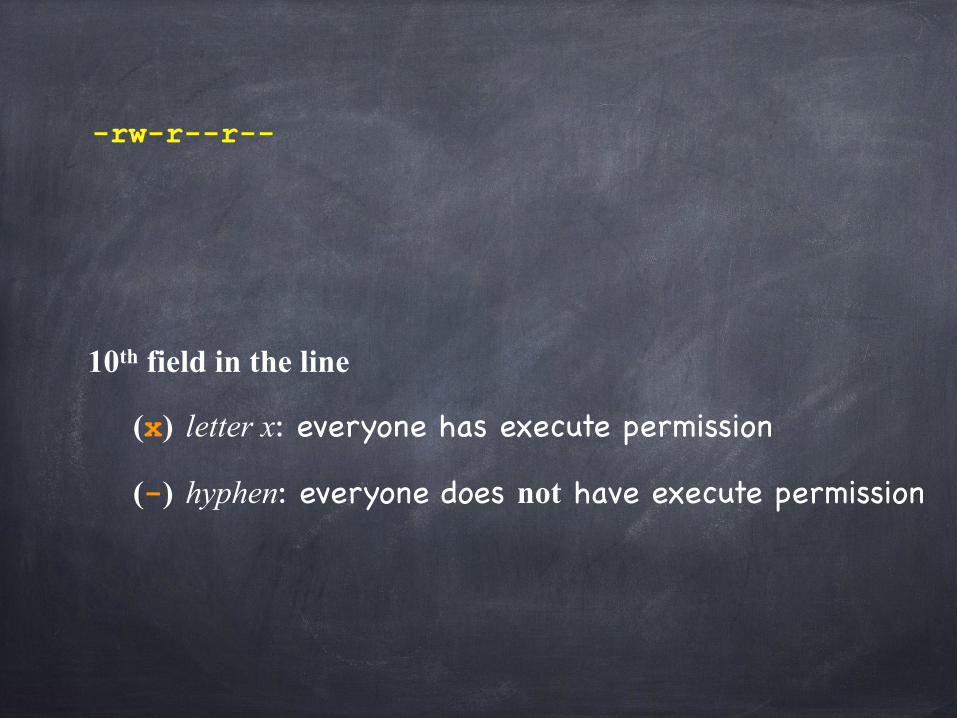
10th field in the line
(x) letter x: everyone has execute permission
(-) hyphen: everyone does not have execute permission
-rw-r--r--
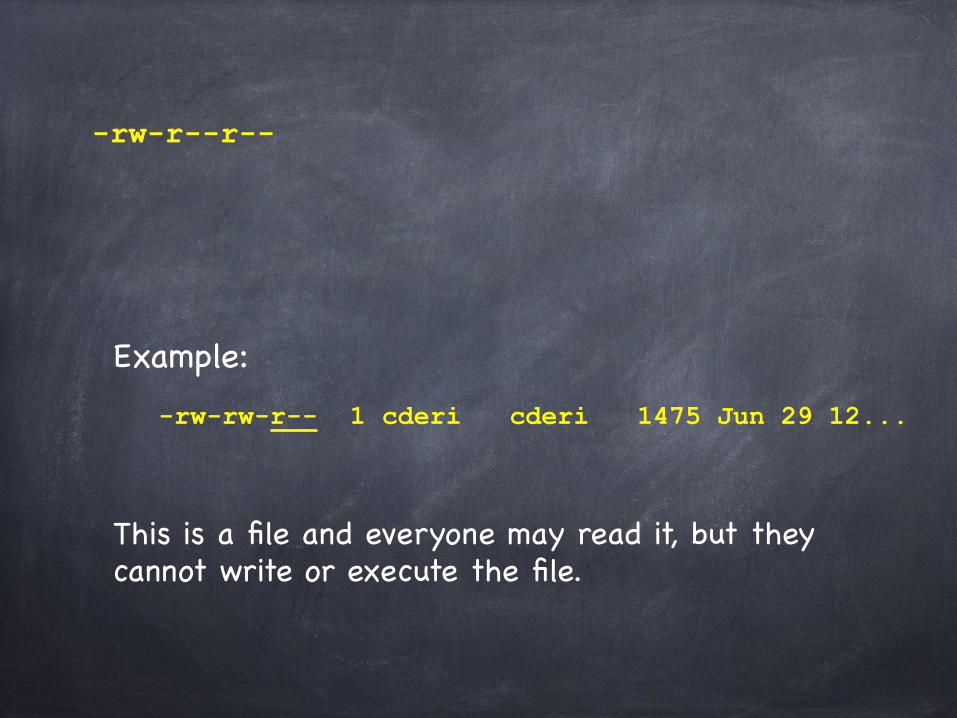
Example: -rw-rw-r-- 1 cderi cderi 1475 Jun 29 12...
This is a file and everyone may read it, but they cannot write or execute the file.
-rw-r--r--

11th field in the line
Link Count
• for files: how many links or names this file has.
• for directories: this has information on the file and directory counts recursively.
-rw-r--r-- 1

Example:
-rw-rw-r-- 1 jsmith jsmith 4567 Jun 17 12...
This file has no other names associated with it.
-rw-r--r-- 1

• 12th field in the line
The owner of the file or directory
-rw-r--r-- 1 jsmith

13th field in the line
The group to which the file or directory belongs (the permissions given in fields 5, 6, and 7 only refer to the group mentioned here)
-rw-r--r-- 1 jsmith jsmith

Example:
-rw-rw-r-- 1 sjones acctng 1475 Feb 3 12...
The owner is sjones and the group is acctng.
-rw-r--r-- 1 jsmith jsmith
Other members of the acctng group have read and write permission, but do not have execute permission.

• At ILS, the default group that your files belong to is the same as your userid (you belong to your own group). This is called your “primary group”.
• At some point in time you will most likely belong to similar groups that need to share information (staff, sales, designers, etc.) These will be “secondary groups”
-rw-r--r-- 1 jsmith jsmith
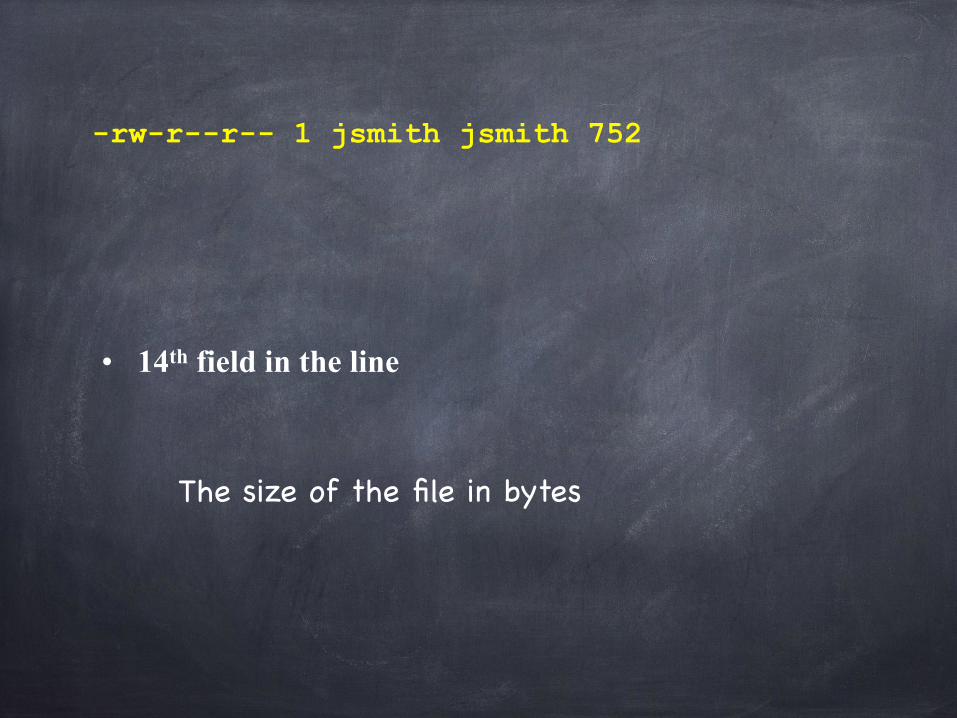
• 14th field in the line
The size of the file in bytes
-rw-r--r-- 1 jsmith jsmith 752
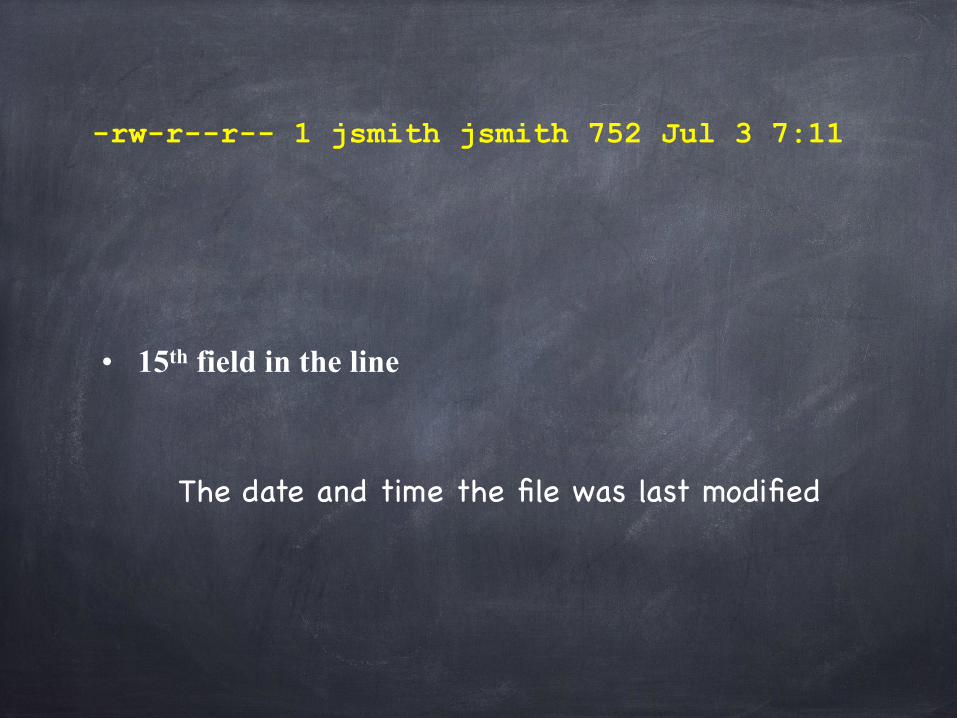
• 15th field in the line
The date and time the file was last modified
-rw-r--r-- 1 jsmith jsmith 752 Jul 3 7:11

Example:
…x 2 lbrin lbrin 1024 Jun 29 13:06 other
• This file contains 1024 bytes (1k), and was last modified on June 29th at 13:06 hours (1:06 p.m.)
-rw-r--r-- 1 jsmith jsmith 752 Jul 3 7:11

-rw-r--r-- 1 jsmith jsmith 752 Jul 3 7:11 list
• 16th field in the line
The name of the file
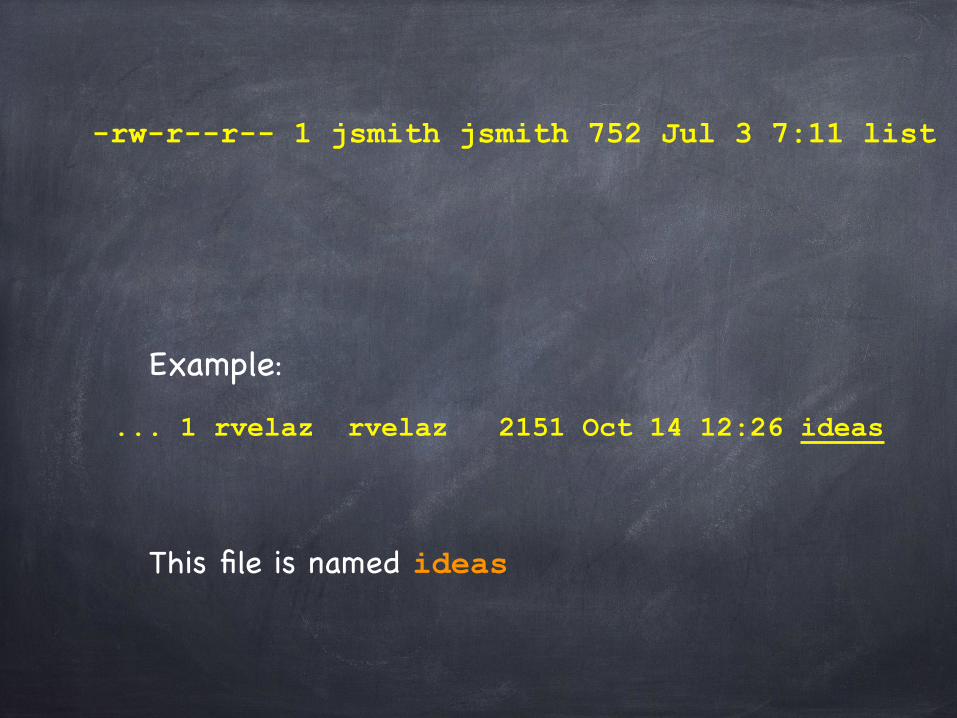
Example:
... 1 rvelaz rvelaz 2151 Oct 14 12:26 ideas
This file is named ideas
-rw-r--r-- 1 jsmith jsmith 752 Jul 3 7:11 list

Long Form Listing - Practice Go to directory dir2 and type ls
How many regular files are in this directory?
3
How many subdirectories?
2

Long Form Listing - Practice
• What group does the file history.txt belong to?
your primary group
• What permissions does that group have?
read only

Long Form Listing - Practice
• When was the subdirectory picts last modified?
Feb 9 2003
• How large is address_list?
455 bytes
Long Form Listing
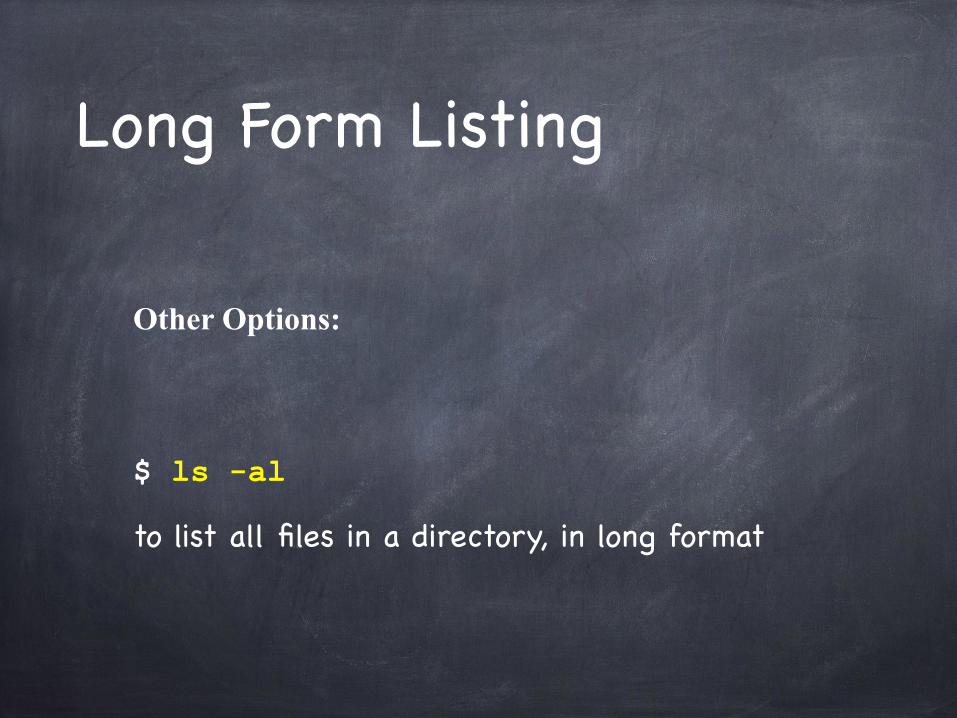
Other Options:
$ ls -al
to list all files in a directory, in long format
Numeric Permissions(absolute permissions)
see handout

Numeric Permissions
• The text permissions, rwx rwx rwx, can also be written as a three-digit number.

Numeric Permissions
• The important numbers to remember are:
4 = Read
2 = Write
1 = Execute

Numeric Permissions• All other numbers are simply an addition of
permissions:
Number Permissions Allowed
0 (---) None
1 (--x) Execute only
2 (-w-) Write only
3 (-wx) Write and Execute (1+2)
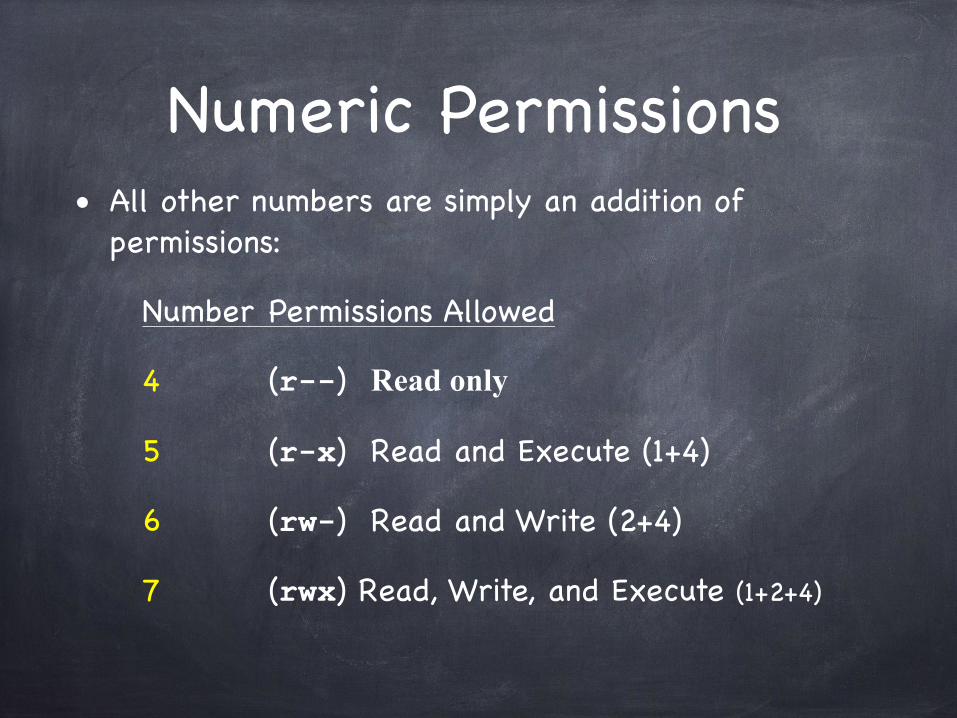
Numeric Permissions• All other numbers are simply an addition of
permissions:
Number Permissions Allowed
4 (r--) Read only
5 (r-x) Read and Execute (1+4)
6 (rw-) Read and Write (2+4)
7 (rwx) Read, Write, and Execute (1+2+4)

Numeric Permissions
• The permissions are written as a 3-digit number.
740
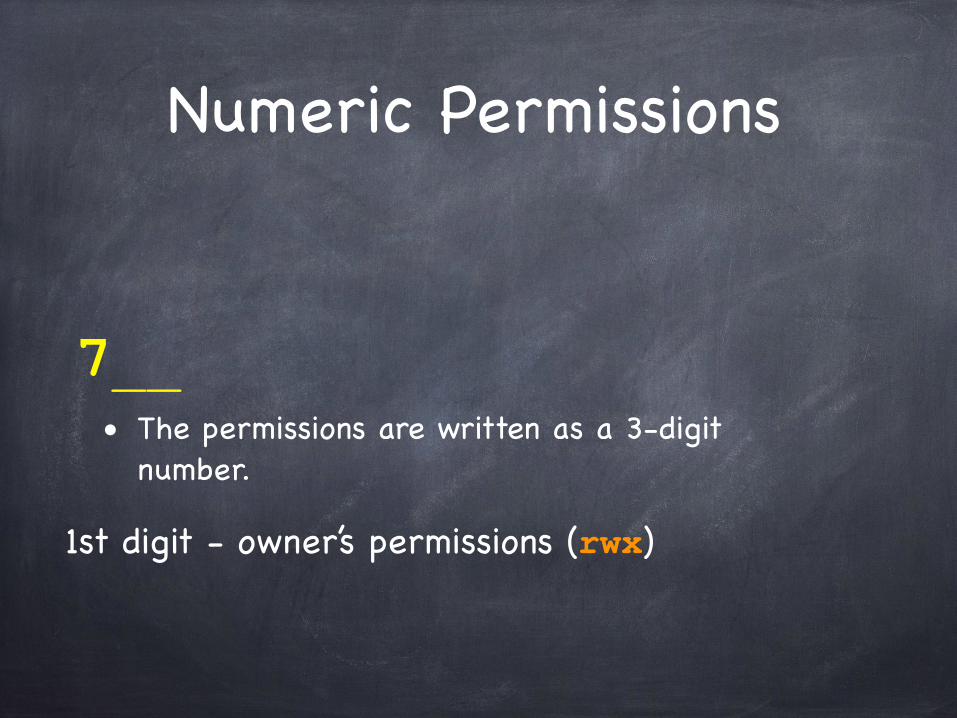
Numeric Permissions
• The permissions are written as a 3-digit number.
7__
1st digit - owner’s permissions (rwx)
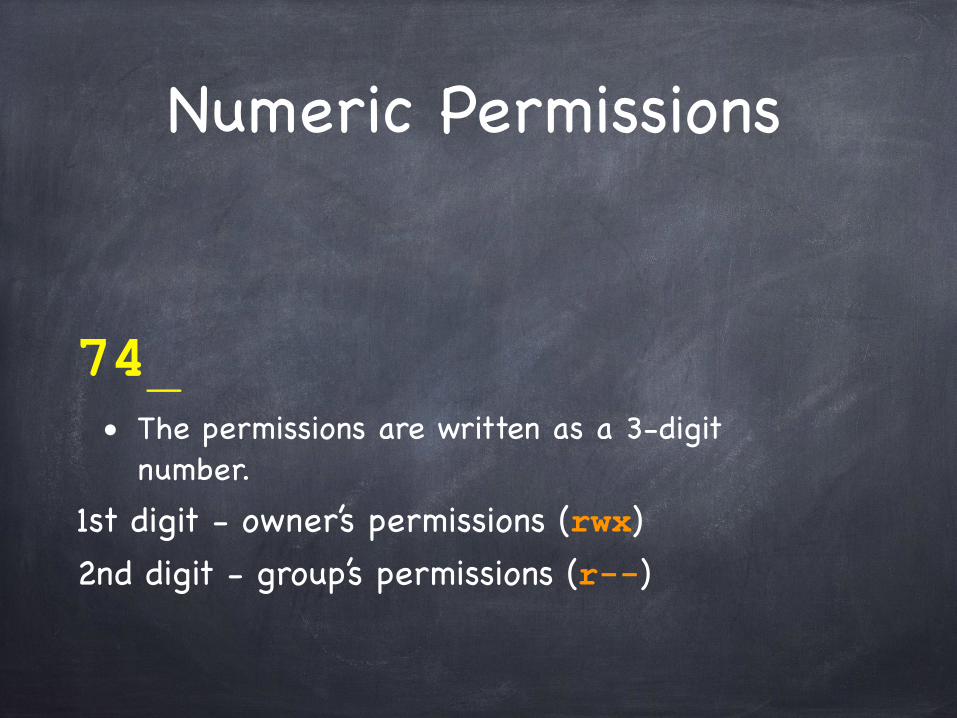
Numeric Permissions
• The permissions are written as a 3-digit number.
74_
1st digit - owner’s permissions (rwx) 2nd digit - group’s permissions (r--)

Numeric Permissions
• The permissions are written as a 3-digit number.
740
1st digit - owner’s permissions (rwx) 2nd digit - group’s permissions (r--) 3rd digit - everyone’s permissions (---)

Numeric Permissions - Practice
• What would the Numeric Permission be for:
• Owner: Read & Write (rw-)
• Group: Read (r--)
• Others: None (---)
What do these permissions allow? 660 744
640
Owner & Group: read & write / Others: noneOwner: read, write & execute / Group & Others: read
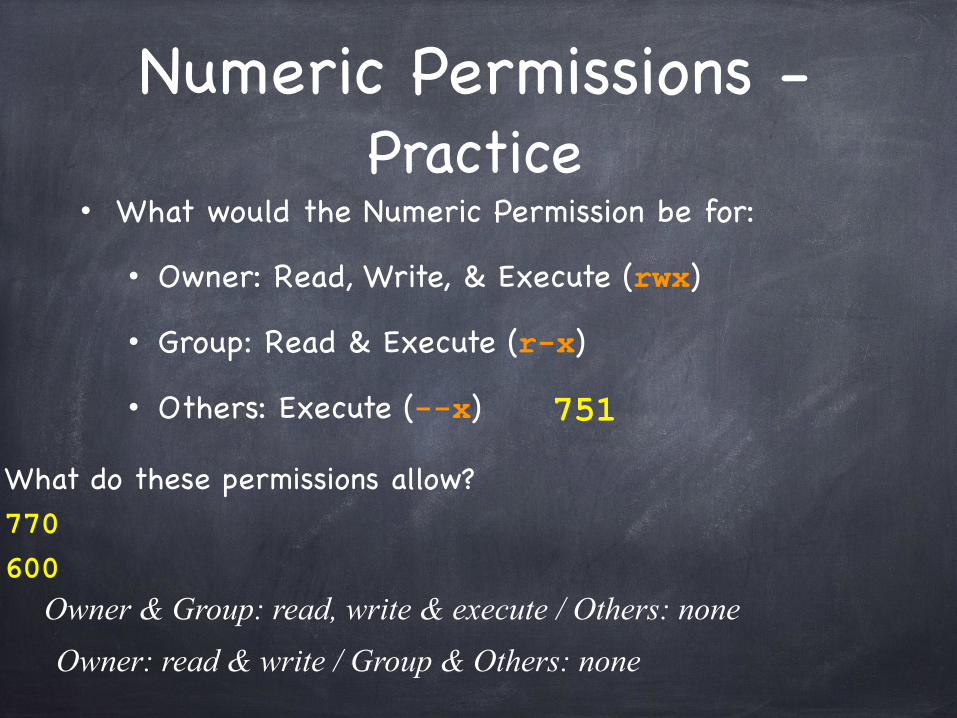
Numeric Permissions - Practice
• What would the Numeric Permission be for:
• Owner: Read, Write, & Execute (rwx)
• Group: Read & Execute (r-x)
• Others: Execute (--x)
What do these permissions allow? 770 600
751
Owner & Group: read, write & execute / Others: noneOwner: read & write / Group & Others: none
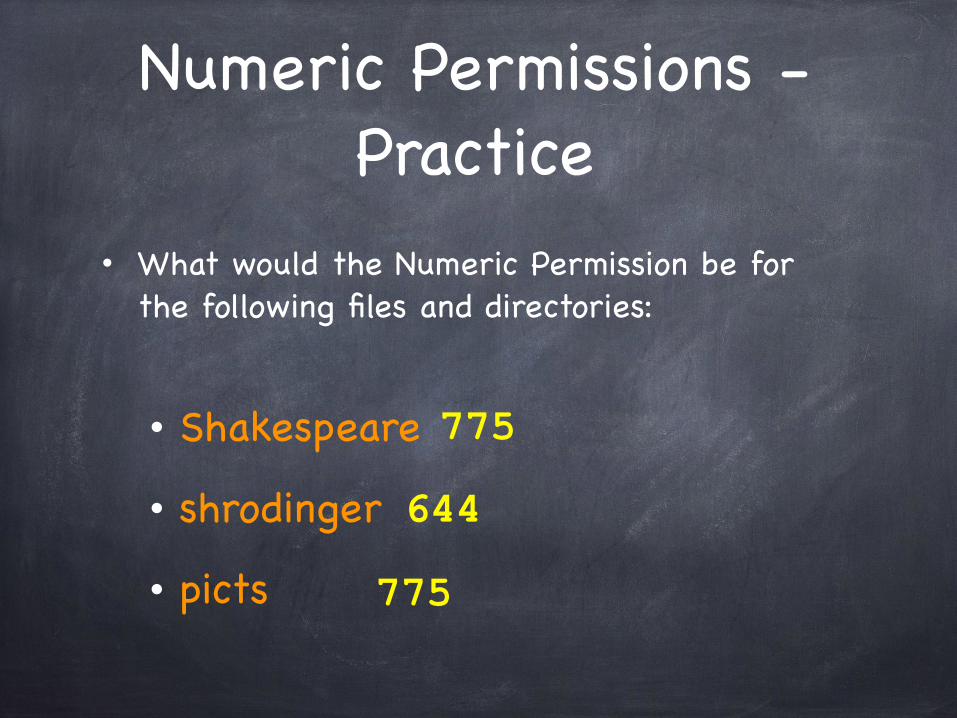
Numeric Permissions - Practice
• What would the Numeric Permission be for the following files and directories:
• Shakespeare
• shrodinger
• picts
775
644
775

Changing PermissionsChanging
rwxr----- or 740
see handout

Changing Permissions
• Now that you can use ls -l to identify what permissions are allowed for a given file, you can also change those permissions.
ONLY the OWNER can change permissions for a file or directory.

$ chmod
“change mode” - the command to change permissions.
• You supply: • The numeric permission you want to change to
• The name of the file or directory

Changing PermissionsExamples:
$ chmod 750 add_hours.sh (program) Owner has full access, group can read and
execute, everyone else has no access.
$ chmod 644 finances Don’t let anyone but the user change the file,
others can only read.

Changing Permissions - Practice
• Change the permissions for the file grp.txt (in dir1) to allow the group to write and read, but not give others any permissions at all.
$ chmod 660 grp.txt

Changing Permission
• You can also use chmod with mnemonic (rwx) permissions.

Changing Permissions
• Suppose you have a file called test, but now you do not want your group to be able to modify or delete this file (you don’t want them to have write permission).

$ chmod“change mode” - the command to change permissions.
Follow this with: whose permission u - for user (file’s owner) g - for group o - for other (everyone else) a - for all three

$ chmod g
You are going to change the permissions assigned to the group for this file.
Follow this with: what to do to the permission
+ - ‘add,’ or ‘allow’ this permission
- - ‘subtract’ or ‘don’t let them’
= - to explicitly state what permissions you are allowing

$ chmod g-You are going to remove a permission that was previously given to that group.
Follow this with: what permission to change r - read permissions w - write permissions x - execute permissions
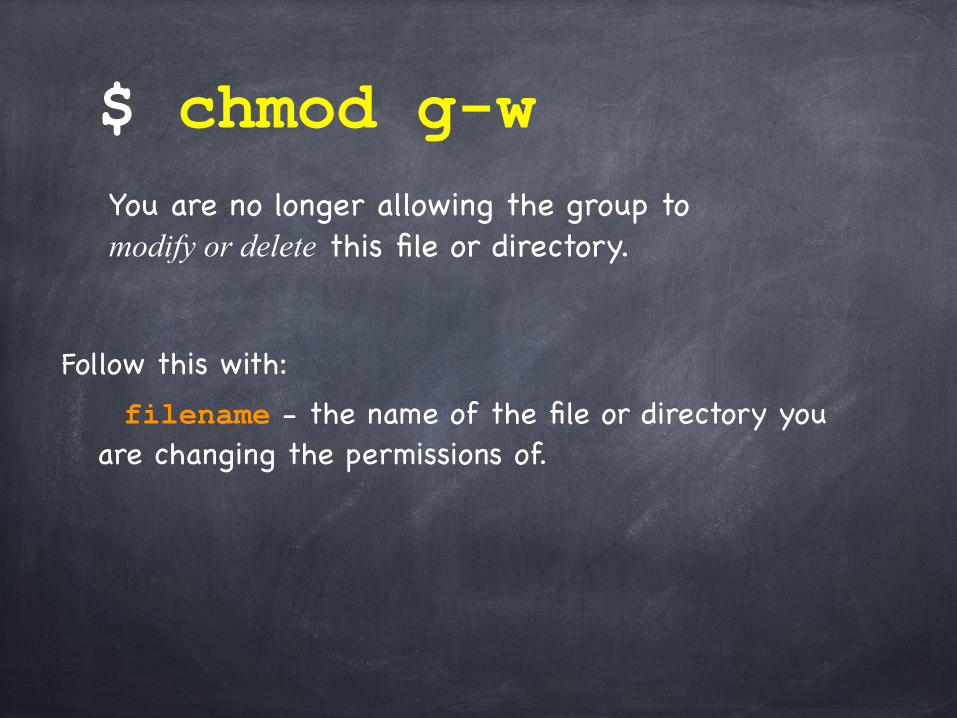
$ chmod g-wYou are no longer allowing the group to modify or delete this file or directory.
Follow this with: filename - the name of the file or directory you
are changing the permissions of.

$ chmod g-w testYou are no longer allowing the group to modify or delete the file test.
EXCEPTION: If your file’s parent directory is group writable, regardless of permissions on the file, your file could still be deleted by members of that group. This will only happen to group directories, not your home directories. This is because you are your own group.

Changing PermissionsExamples
$ chmod g+r finances
• Allows the group to read the finances file
$ chmod go-w finances
• Doesn’t let anyone but the user change the file
$ chmod g=rwx finances
• The group can read, write, and execute

Changing Permissions - Practice
What do the following examples change?
$ chmod o-w finances
$ chmod a=rwx finances
$ chmod g=rw finances
• No longer allows others to modify or delete.
• States that everyone can read, write & execute
• The group can read & write

Changing Permissions - Practice
• Change the permissions for the Wildcards directory to not allow ‘others’ any access at all (so only the owner and group members can cd into the directory).
$ chmod o-rx Wildcards

Changing AccessChanging the owner
Changing groups
Changing the owner
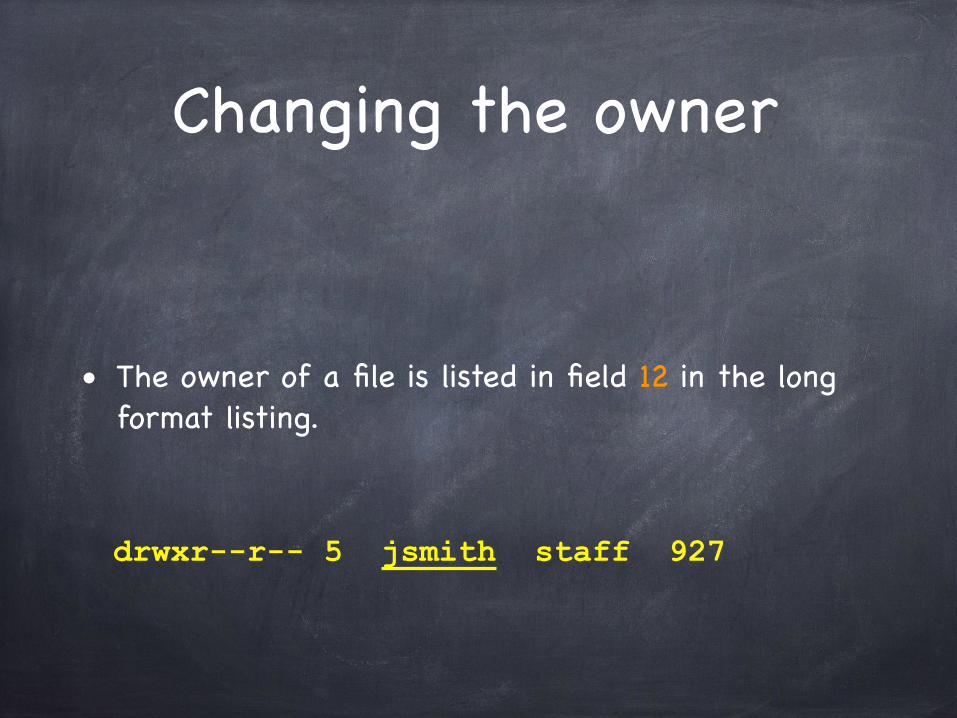
• The owner of a file is listed in field 12 in the long format listing.
drwxr--r-- 5 jsmith staff 927

Changing the owner
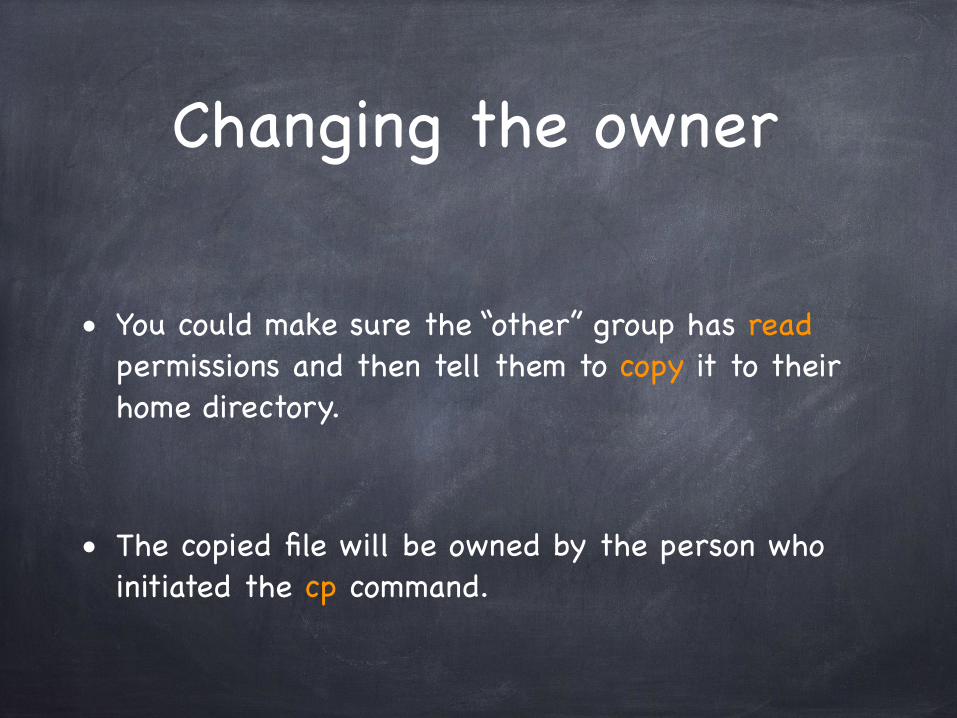
• At ILS you will not be permitted to change the ownership of your files.
• If you wanted someone else to have a file of yours but want them to own that file what could you do?
Changing the owner
• You could make sure the “other” group has read permissions and then tell them to copy it to their home directory.
• The copied file will be owned by the person who initiated the cp command.

Groups
• The group which a file or directory is assigned to, is listed in field 13 in the long format listing.
‘Groups’ give a team of people the same permissions to use a set of files.

Groups
• Using groups are a handy feature if you are working with other students in a class on a
group project and you want them to have access to certain files in your directory, but you do not want to allow everyone access.

Groups• However, you cannot change the group that a file
belongs to if the group does not already exist.
• You cannot ‘create’ a new group. Only your system administrators can create
accounts and groups.

Changing the group• The command for changing the group is:
$ chgrp newgroup filename
or
$ chgrp newgroup directoryname
Remember: • ONLY the OWNER can change group ownership of a file
or directory. At ILS you are permitted to change the group ownership of your files assuming you have membership.
Changing the group
• Suppose the file called store_plan, belongs to the group architects, but now you want this file to belong to the builders group.
$ chgrp builders store_plan
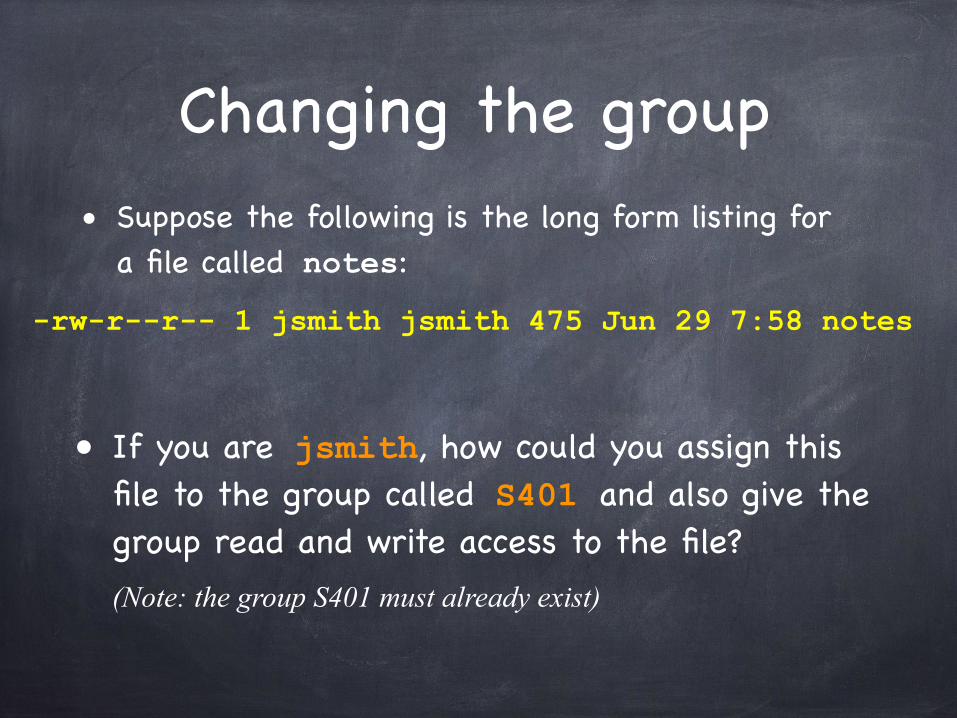
Changing the group• Suppose the following is the long form listing for
a file called notes:
-rw-r--r-- 1 jsmith jsmith 475 Jun 29 7:58 notes
• If you are jsmith, how could you assign this file to the group called S401 and also give the group read and write access to the file?
(Note: the group S401 must already exist)

Changing the group
-rw-r--r-- 1 jsmith jsmith 475 Jun 29 7:58 notes
$ chgrp S401 notes
$ chmod g+w notes
or $ chmod 664 notes

Changing the group• Now the long form listing for notes would
resemble the following:
-rw-rw-r-- 1 jsmith S401 475 Jun 29 7:58 notes
• Notice the group is now S401 and the group now has write permissions to the file.

Groups
• To see what groups you belong to, type:
$ groups

Pipes and Redirects

stdin, stdout, stderror
Before we can talk about pipes and redirects we need to look briefly into where Unix expects to see input and where it sends the output.
Each command (program) requires input and then produces output.

stdin
stdin – Standard Input
By default Unix looks to your keyboard for input (the commands that you type in). Alternately, it can look for input via a pipe. We will talk about this more soon.
stdout
stdout – Standard Output
By default, Unix sends the output (the results) of your command to your terminal screen. Alternately, you can make this information go elsewhere, i.e. to a file or to another program.

stderr
Stderr – Standard Error
By default, Unix also sends error information to the screen. But just like everything else you can have some control over where this information is sent. You might want all of your error messages to go to file. You will learn this more later if you ever get involved in the shell as a scripting language.

PipesCombining Commands

Pipes
Pipes are used to join commands. This is accomplished by sending the output of one command directly to the input of the next command.
Pipes
This is one way to redirect the output of your program. Instead of sending the results to your terminal screen, you can send the output directly to another command for processing.
Pipes
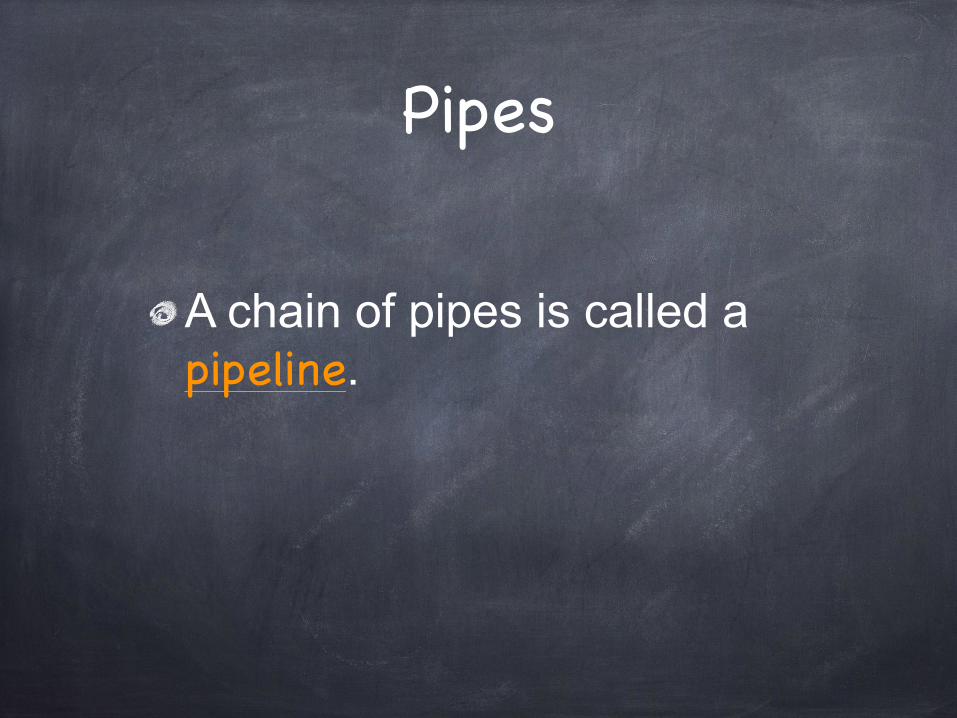
A chain of pipes is called a pipeline.

Pipes
A pipe symbol looks like this: | a vertical bar (shift+backslash)
It is one of the metacharacters we mentioned earlier as having a special meaning to the operating system.

Pipes
A simple but useful example of a pipe:
Let’s say that you want to list all of the contents in your directory in long format.

Pipes
However, when you type
$ ls -l
your contents scroll off of your screen too fast for you to read them.

Pipes
In this case, try:
$ ls –l | more
This will display a page at a time and pause so you are able to view your files.

Pipes
$ ls –l | more
This is a simple pipe you will probably use often.

Pipes
You can combine many commands together with pipes.

Pipes Practice
You want to see who is logged in to the system.$ who

Pipes Practice
This might output a lot of lines for a large multiuser system, so again we pipe it through “more”.
$ who | more

Pipes Practice
Maybe we don’t care about the usernames of who is logged in, but just how many people are logged in.
$ who
• This counts all of the lines outputted by the who command.
| wc –l

Pipes Practice
This is nice but maybe you’d rather see all of the names, but in some kind of order. How about alphabetically?
$ who
The Unix command sort, in its simplest form, just rearranges the output in alphabetical order.
| sort | more
Pipes
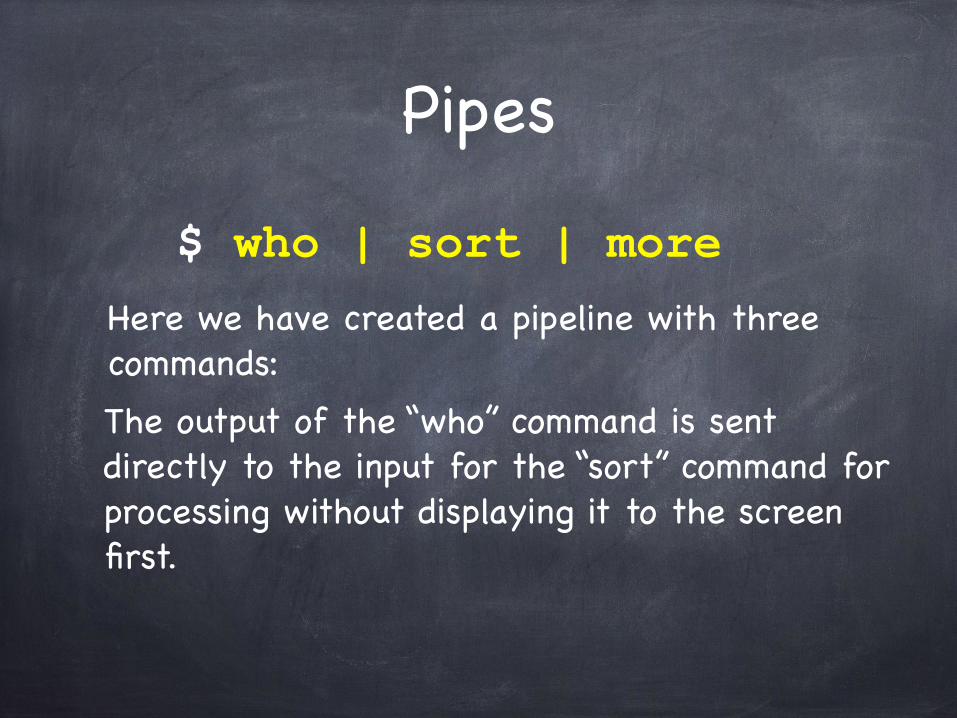
Here we have created a pipeline with three commands:
$ who | sort | more
The output of the “who” command is sent directly to the input for the “sort” command for processing without displaying it to the screen first.

Pipes
Here we have created a pipeline with three commands:
$ who | sort | more
Then the output of the “sort” command is sent directly to the input of the “more” command, which then prints your sorted who output to your terminal screen one screen at a time.

Pipes
So why is piping very useful to us?
Take the previous example. The “who” command has no flags/options for sorting alphabetically and displaying your output one screenful at a time. You can combine the power of many simple Unix commands by creating pipelines to do almost anything you want.

Pipes PracticeHow many people are logged into ella right now?
$ who | wc -l
List the contents of dir2 in long format, sorted into files and directories.
$ cd dir2
$ ls -l | sort
Pipes Practice
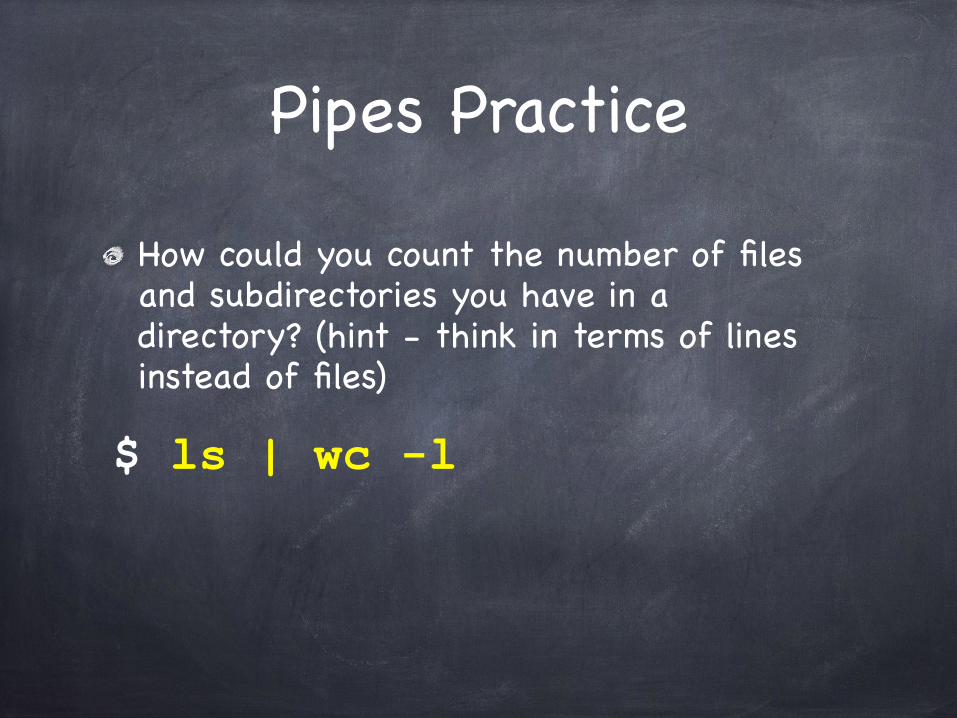
How could you count the number of files and subdirectories you have in a directory? (hint - think in terms of lines instead of files)
$ ls | wc -l

Pipes Practice
Search the file address.list (in dir1) for phone numbers that end in an 8.
Sort that list alphabetically.
$ grep '8$' address.list | sort

Pipes PracticeSearch the file address.list (in dir1) for phone numbers that end in an 8.
Sort that list alphabetically.
$ grep '8$' address.list | sort
Ashley McNara 608 Redbud Ave. 555-8058 Jean Bordeaux 91 Willow Rd. 555-9688 Jennifer Rose 143 Willow Rd. 555-2948 Mike Noon 113 Pine Blvd. 555-9218 Sam Jackson 76 Birch St. 555-4648

Pipes
Pipes are one thing that make Unix much more flexible and powerful. You can join commands and run them in sequence so you aren’t relying on one single command to complete your task.

Pipes
You can join as many commands as you like in order to get your desired results - with the output of each acting as the input to the next.
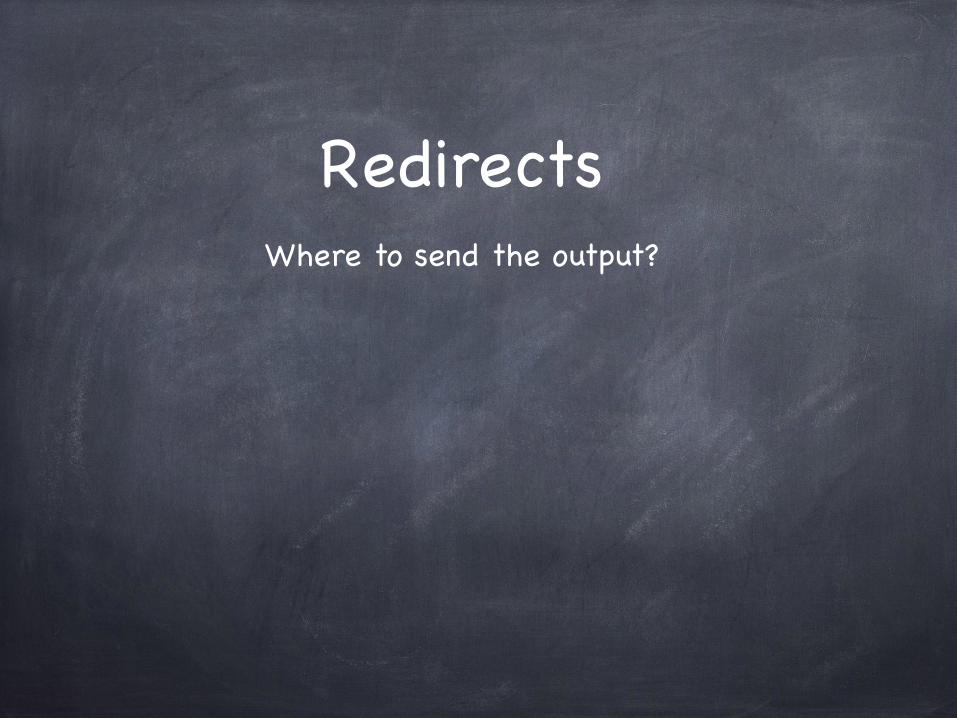
RedirectsWhere to send the output?

Redirects
By default, Unix “directs” the output of your command to your terminal screen. As you can see, you can make this information go elsewhere; you can “redirect” it to another program.
Redirects
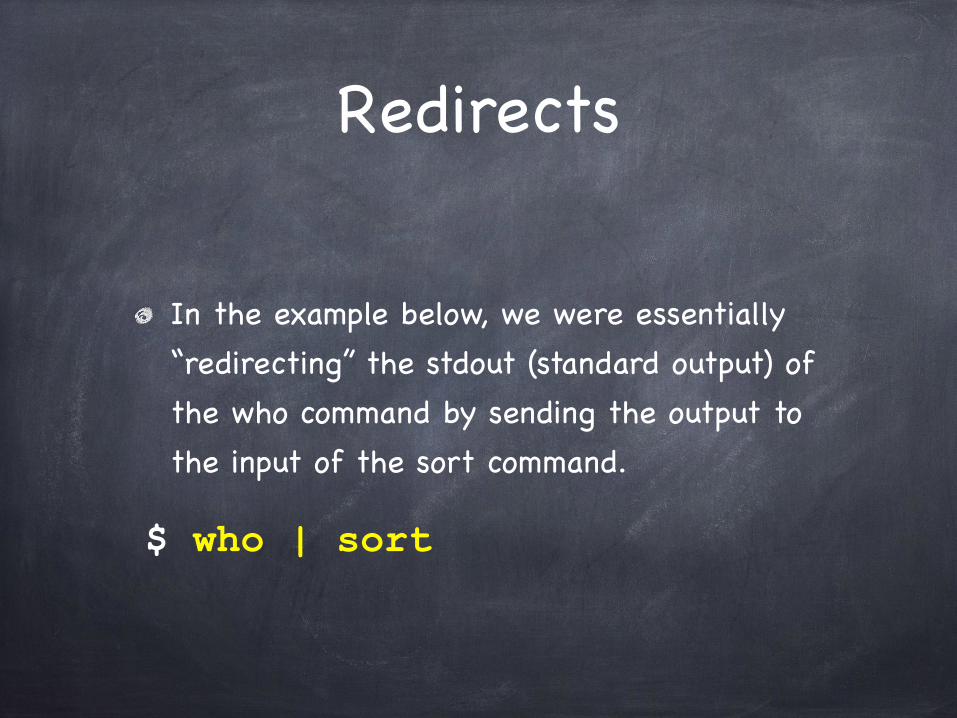
In the example below, we were essentially “redirecting” the stdout (standard output) of the who command by sending the output to the input of the sort command.
$ who | sort

Redirects
Another way to redirect the output is to use another metacharacter, >, the greater-than symbol.
Using this device for redirecting you can send the output directly to a filename.
Redirects
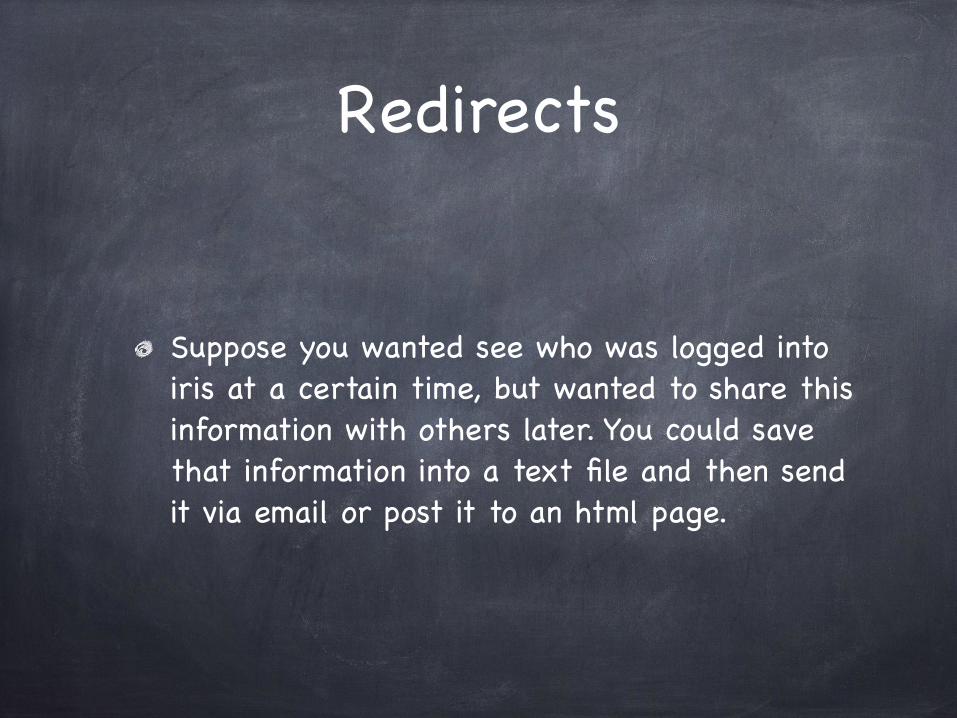
Suppose you wanted see who was logged into iris at a certain time, but wanted to share this information with others later. You could save that information into a text file and then send it via email or post it to an html page.

Redirects
$ who > iris_users.txt
This command would save the output of the “who” command to a file called iris_users.txt.

Redirects
Another example:
$ history > hist_friday.txt
This would save your session history into a file for future review.
Redirects
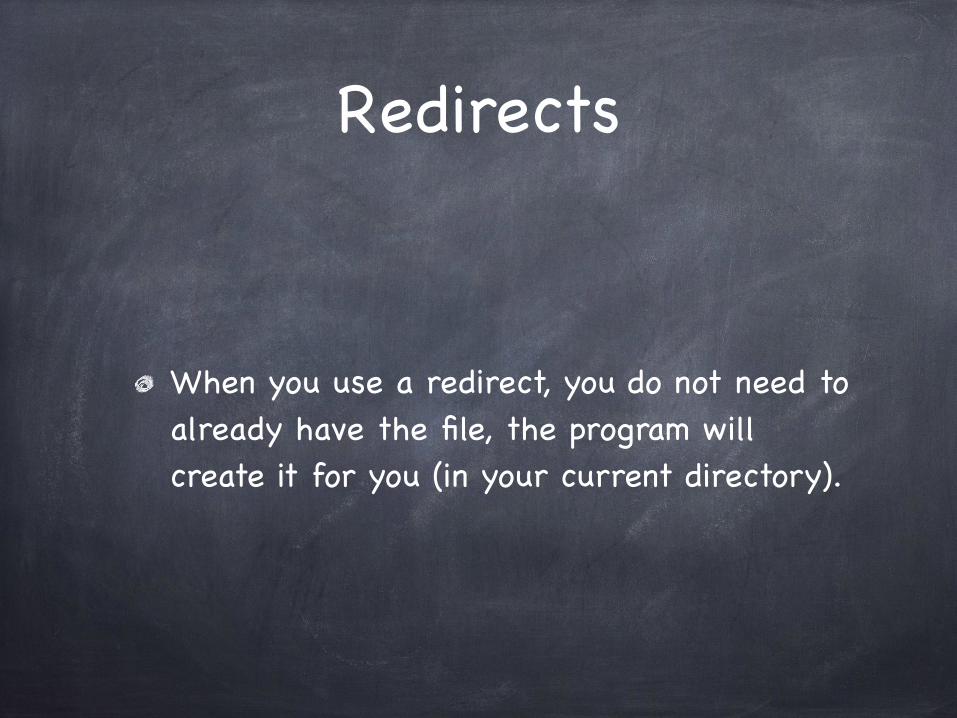
When you use a redirect, you do not need to already have the file, the program will create it for you (in your current directory).

Redirects
So, if you are in dir2 and you use the command:
$ ls -a > all_files.txt
This will create a file called all_files.txt in the dir2 directory.

Redirects Practice
View who is logged on to iris now and save the information to a file called iris_who.txt in dir1.
Make dir1 your current directory. Then type: $ who > iris_who.txt

Redirects $ who > iris_who.txt
• We have successfully redirected standard output to a file.
• What if you wanted to send the contents of a file to the stdin (Standard Input) of a program?
Redirects
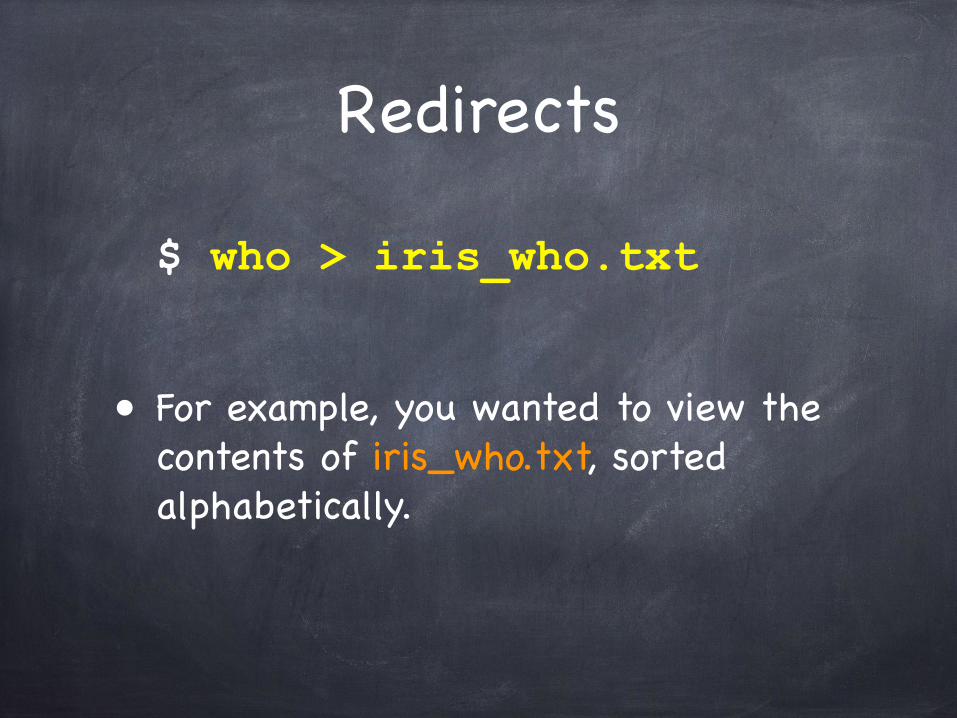
$ who > iris_who.txt
• For example, you wanted to view the contents of iris_who.txt, sorted alphabetically.
Redirects
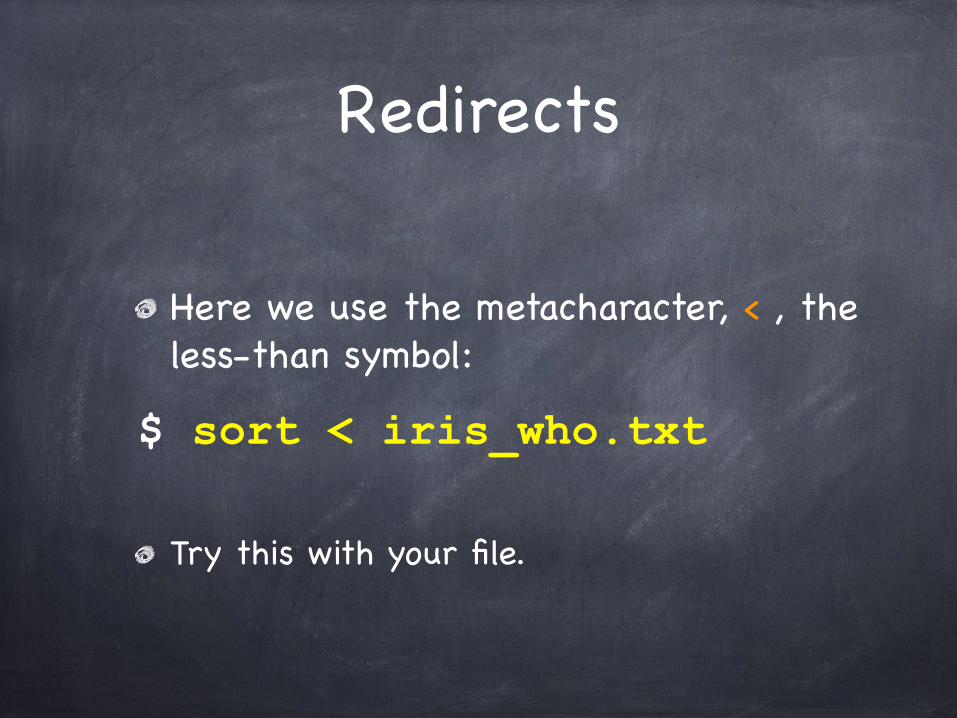
Here we use the metacharacter, < , the less-than symbol:
$ sort < iris_who.txt
Try this with your file.
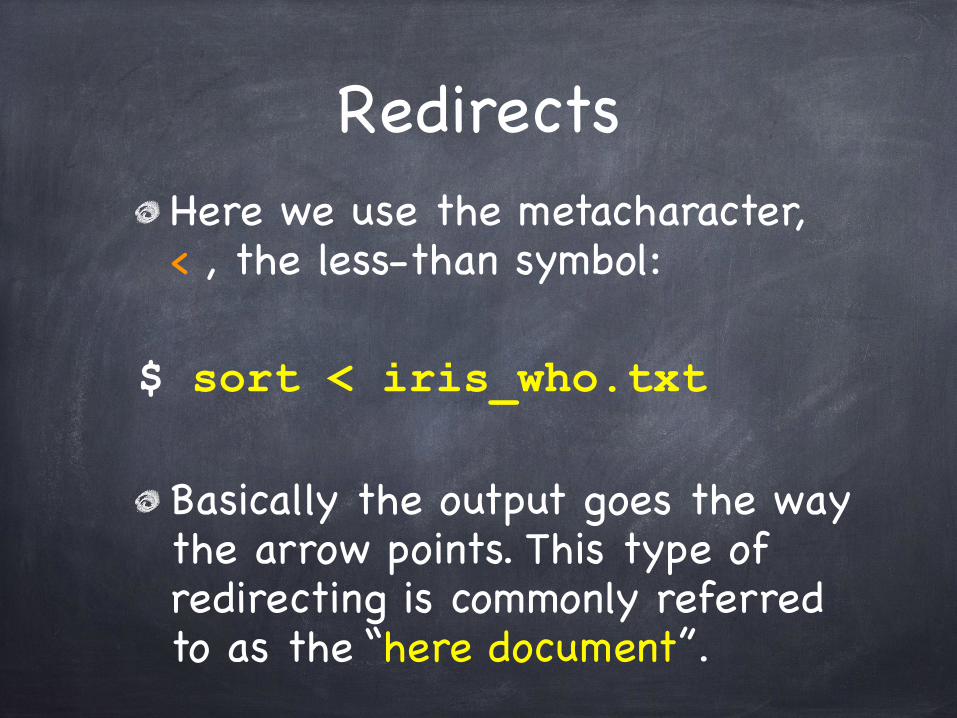
RedirectsHere we use the metacharacter, < , the less-than symbol:
$ sort < iris_who.txt
Basically the output goes the way the arrow points. This type of redirecting is commonly referred to as the “here document”.

Redirects
$ sort < iris_who.txt
We could get the same results by using this command line:
$ cat iris_who.txt | sort
There are many ways to get the same results in Unix.

Redirects Practice
Send the contents of the file address.list to the program “sort” using the less-than symbol.
address.list is in dir1 • Type: $ sort < address.list

Redirects and Appends
You can also redirect the output of a program to the end of a file that already exists (append it to the file).

Redirects and Appends
Here we will use the double greater-than signs (>>).
Instead of creating a file, it will add to the end of a file you already have.

Redirects and Appends
Suppose you are logged into iris every evening at midnight and want to know how many other people are logged in at the same time every night (only the number of people).
$ who | wc –l >> nightowls.txt

Redirects and Appends
This would append to the file with a number on each line indicating how many people are logged into iris. If you execute this line every evening at midnight you could see a trend of how many late night users there are over a course of time.
$ who | wc –l >> nightowls.txt

Redirects Practice
Make a file in the Shakespeare directory called sweet.txt which contains all the lines that use the word “sweet.”
$ grep sweet * > sweet.txt
$ cd ../Shakespeare

Redirects Practice
Add the contents of Sonnet8 to the end of sonnet3.
$ cat Sonnet8 >> sonnet3
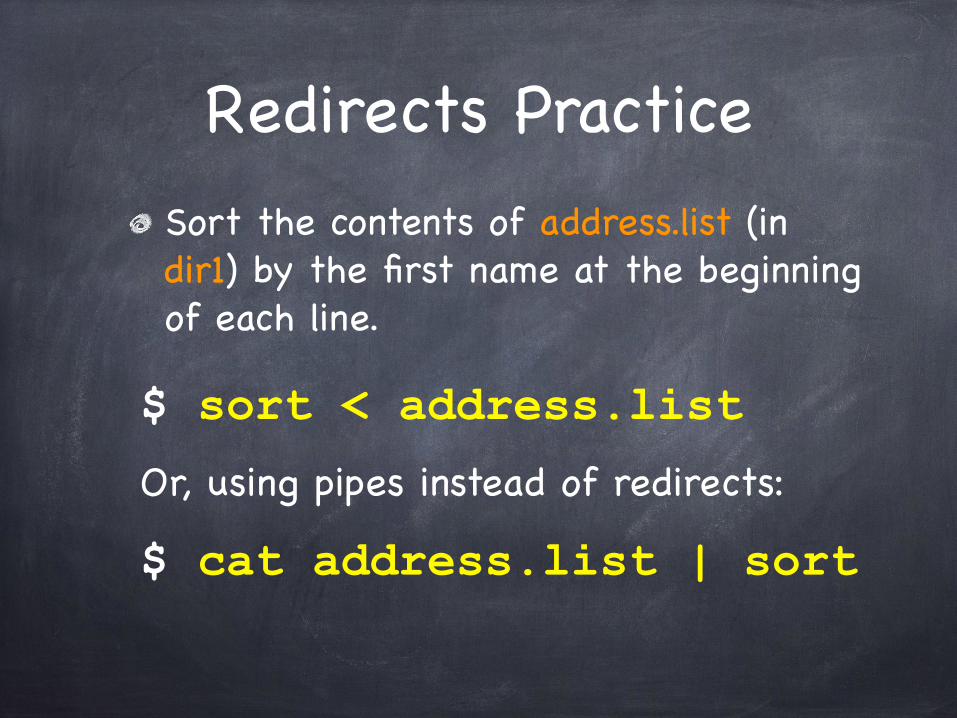
Redirects PracticeSort the contents of address.list (in dir1) by the first name at the beginning of each line.
$ sort < address.list
Or, using pipes instead of redirects:
$ cat address.list | sort

Redirects Practice
Make a file called directory_list which contains a list of the contents of Wildcards in long format, sorted alphabetically.
$ ls -l
In the Wildcards directory:
> directory_list| sort

Common Mistakes in Unix
Caps Lock Key
• When you attempt to log in at a terminal make sure the caps lock key is not turned on or the terminal will not recognize your login.

Type Commands Correctly
Check the spelling of every command, filename and directory name.
command_name [option] [operand]
Make sure you have spaces between the command name, options and operands.

When using cp and mv make sure you always type the source first and the destination second.
Make sure all capitalization is correct. Always remember that command line syntax is unforgiving.
Type Commands Correctly

Work in the Correct Directory
Every so often, type pwd to make sure you are in the right place. We include the path in your prompt but do not rely on it being there for every Unix server.
Remember to use cd to return to your home directory if you get lost.

Always Keep Backup Copies
At ILS we perform an incremental backup of your home directories. However, if you are modifying a file or files often, then it is recommended that you have another copy of your data. This could be backed up via a flash drive or storing non-sensitive data in a cloud.

Use the Correct Commands or Options
Always check the man pages to verify that the option or command you want to use is supported by the system.

Keep Your Files Organized
Make directories often
Use directory names and file names that make sense so be descriptive.
Use tar and gzip to organize and ‘clean up’ old directories.

Remember to Logout
Do not forget to logout of your terminal window.
Do not forget to logout of your workstation.

Your Future with Unix
• If you find that learning about the Unix operating system would be beneficial to you, there are some intermediate and advanced books available and I also teach a summer Unix workshop (S603-Unix Intermediate) here at ILS.