Embed Size (px)
Citation preview
Intel Smart Connect Setup Guide
System requirements
1. Confirm whether your motherboard supports this feature. For the H61 series motherboards,
please refer to the webpage below (Update the motherboard’s BIOS to the latest version):
http://www.asrock.com/news/events/2012H61/
2. Windows 7 32bit or 64bit operating system.
3. Set the SATA mode to AHCI. If Windows 7 is already installed under IDE mode, directly
changing the SATA mode to AHCI may cause Windows 7 to crash while booting, please refer here
to switch to AHCI mode.
4. Download ASRock Smart Connect utility on ASRock’s official website. For example, 1.0.6
version: http://download.asrock.com/utility/Intel/SmartConnect(v1.0.6).zip
5. Download Intel Smart Connect driver on ASRock’s official website. For example, 2.0.1083.0
version:
http://download.asrock.com/drivers/Intel/SATA/SmartConnect_Win7‐64_Win7(v2.0.1083.0).zip
Setup
Installing and configuring Intel Smart Connect driver
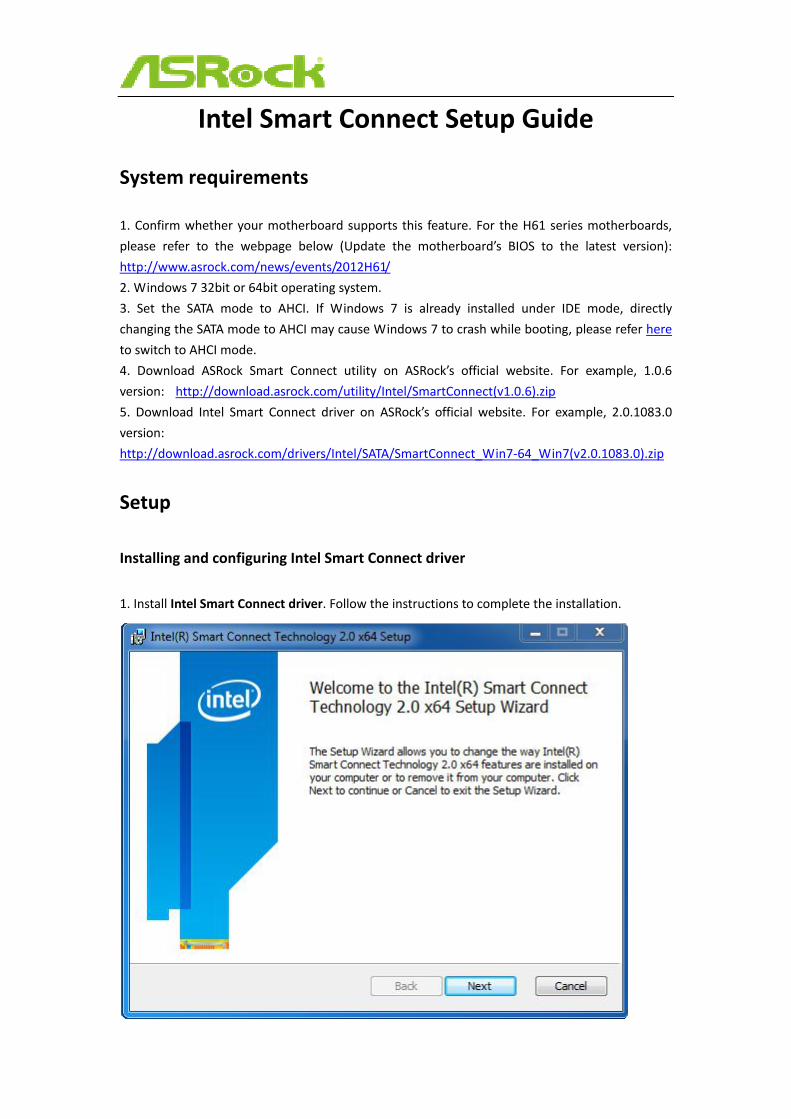
1. Install Intel Smart Connect driver. Follow the instructions to complete the installation.

2. Restart your computer when prompted after the installation.
3. Execute Intel Smart Connect Technology Configuration from Windows Start ‐> All Programs ‐>
Intel and click the Enable Updating button.
4. Drag the icon to configure the time. When the system is in sleep state, it will connect to the
internet and refresh updates in intervals based on your settings.
Installing and configuring ASRock Smart Connect utility
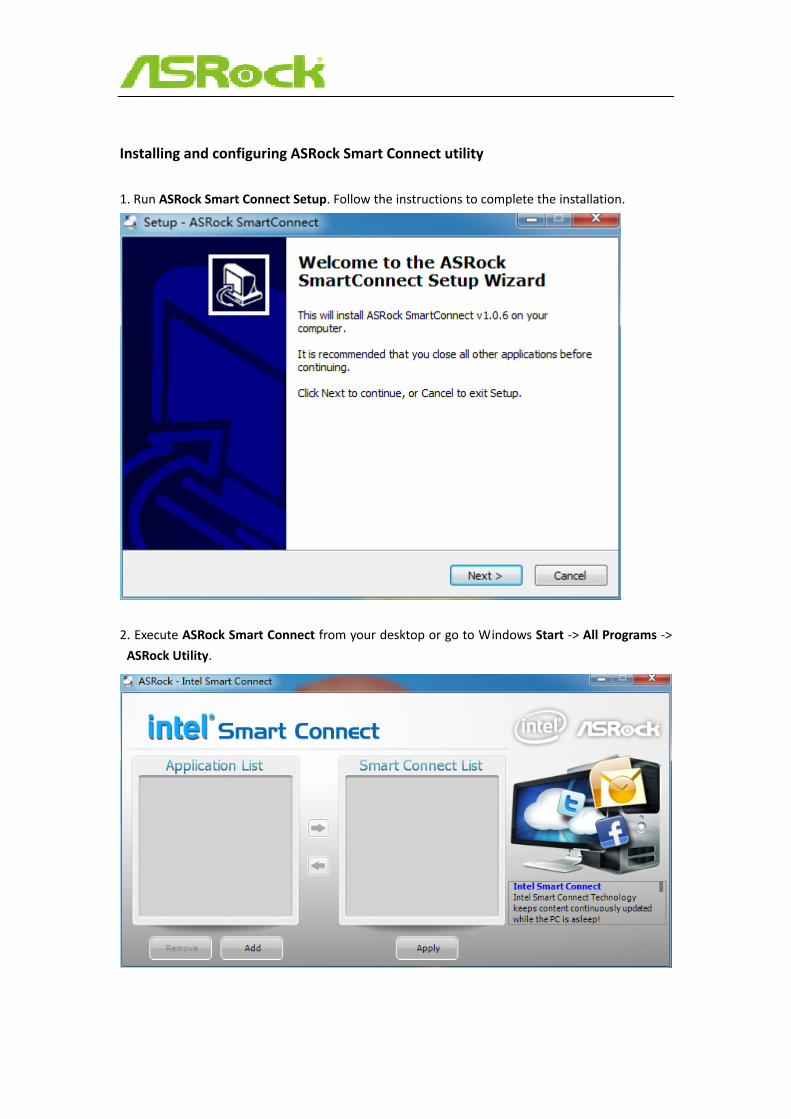
1. Run ASRock Smart Connect Setup. Follow the instructions to complete the installation.
2. Execute ASRock Smart Connect from your desktop or go to Windows Start ‐> All Programs ‐>
ASRock Utility.
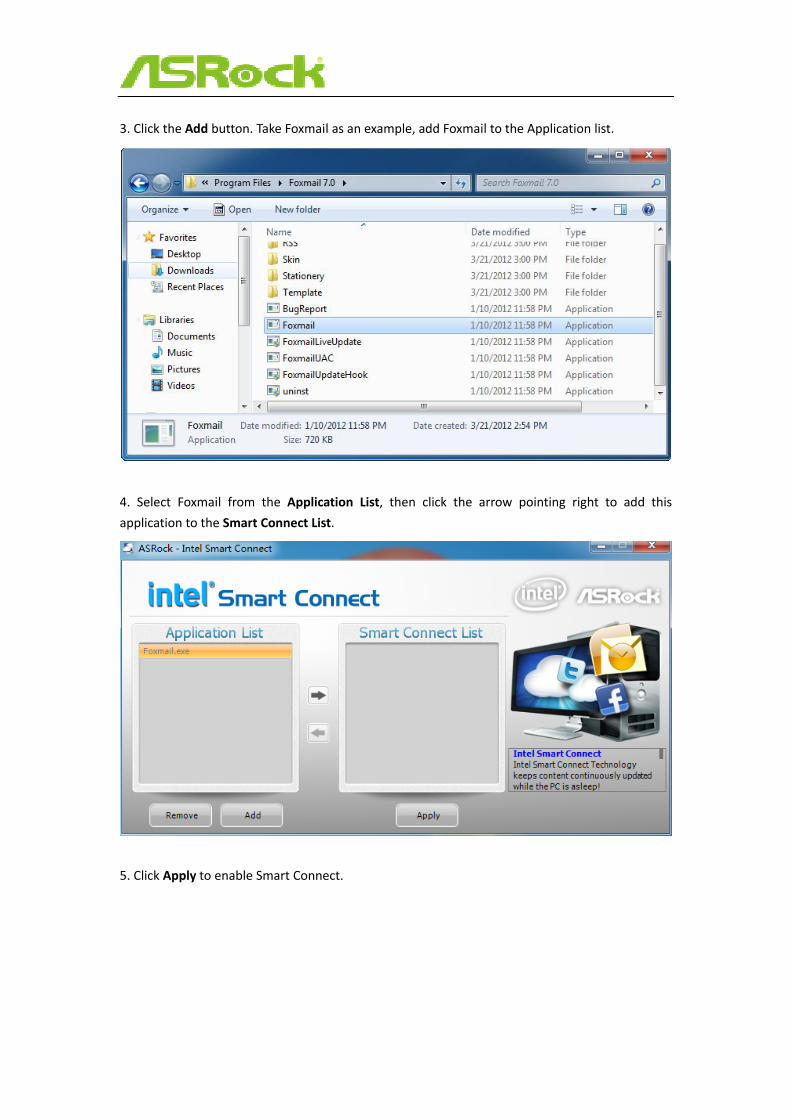
3. Click the Add button. Take Foxmail as an example, add Foxmail to the Application list.
4. Select Foxmail from the Application List, then click the arrow pointing right to add this
application to the Smart Connect List.
5. Click Apply to enable Smart Connect.
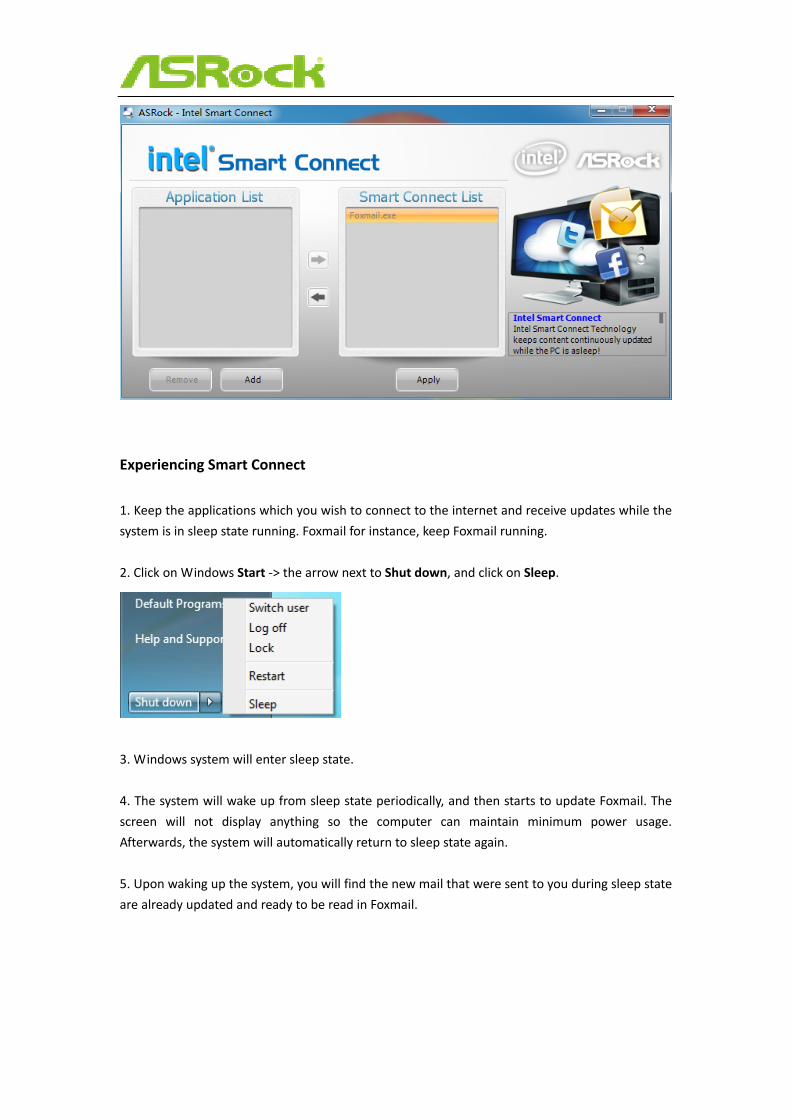
Experiencing Smart Connect
1. Keep the applications which you wish to connect to the internet and receive updates while the
system is in sleep state running. Foxmail for instance, keep Foxmail running.
2. Click on Windows Start ‐> the arrow next to Shut down, and click on Sleep.
3. Windows system will enter sleep state.
4. The system will wake up from sleep state periodically, and then starts to update Foxmail. The
screen will not display anything so the computer can maintain minimum power usage.
Afterwards, the system will automatically return to sleep state again.
5. Upon waking up the system, you will find the new mail that were sent to you during sleep state
are already updated and ready to be read in Foxmail.

Appendix: How to turn an IDE mode Windows 7 into AHCI mode
Note: There are certain risks. Please backup any important data before operating to avoid loss.
1. Press Win + R simultaneously in Windows 7, type Regedit into the word box then click OK.
2. Enter into HKEY_LOCAL_MACHINE\SYSTEM\CurrentControlSet\services\msahci in Windows
Registry Editor. Double click on the value Start and change the value from 3 into 0. Click on OK.
3. Exit the Registry Editor window and restart the computer.
4. Press F2 to enter BIOS, then go to Advanced ‐> Storage Configuration and change SATA Mode
to AHCI. Press F10 to save changes and exit.
5. Enter Windows 7. Windows will discover the new device and install AHCI drivers automatically.