Embed Size (px)
Citation preview

ENDURO 96 HORIZONTAL GEL BOXESUser Manual
Lit M00203 May 2012
E1010-9611E1010-9611.5E1010-9621
E1010-9621.5

Contents:- Page
1) Safety Instructions 1 2) Packing Lists 2 3) Usage Guidance and restrictions 3 4) Care and Maintenance 3 5) Setting Up 4 6) Gel Preparation 5 7) Gel Pouring 6 8) Gel Running 7 9) Gel Staining 810) Solutions 911) Combs 912) Symbols & Conventions 1013) Equipment Disposal 1014) Declaration of Conformity 1115) Warranty 13
Lit M00203 May 2012

SAFETY PRECAUTION
WHEN USED CORRECTLY, THESE UNITS POSE NO HEALTH RISK.HOWEVER, THESE UNITS CAN DELIVER DANGEROUS LEVELS OF
ELECTRICITY AND ARE TO BE OPERATED ONLY BY QUALIFIED PERSONNEL FOLLOWING THE GUIDELINES LAID OUT IN THIS INSTRUCTION MANUAL.
ANYONE INTENDING TO USE THIS EQUIPMENT SHOULD READ THE COMPLETE MANUAL THOROUGHLY.
THE UNIT MUST NEVER BE USED WITHOUT THE SAFETY LID CORRECTLY IN POSITION.
THE UNIT SHOULD NOT BE USED IF THERE IS ANY SIGN OF DAMAGE TO THE EXTERNAL TANK OR LID.
THESE UNITS COMPLY WITH THE STATUTORY CE SAFETY DIRECTIVES:73/23/EEC: LOW VOLTAGE DIRECTIVE: IEC 1010-1:1990 plus AMENDMENT
1:1992EN 61010-1:1993/BS EN 61010-1:1993
1

PACKING LISTS:
E1010-9611, E1010-9611.5, E1010-9621, E1010-9621.5Units include tank, lid and electrodes and include the following accessories:-
Cat no. Tray Tray Dams
Combs and comb block
Cables
E1010-9611 E1010-96T 10 x 12cm (W x L)
E1010-CDPack of 2 E1010-9611-CB E1107-EP
E1010-9611.5 E1010-96T 10 x 12cm (W x L)
E1010-CDPack of 2 E1010-9611.5-CB E1107-EP
E1010-9621 E1010-96T 10 x 12cm (W x L)
E1010-CDPack of 2 E1010-9621-CB E1107-EP
E1010-9621.5 E1010-96T 10 x 12cm (W x L)
E1010-CDPack of 2 E1010-9621.5-CB E1107-EP
The packing lists should be referred to as soon as the units are received to ensure that all components have been included. The
unit should be checked for damage when received.Please contact your supplier if there are any problems or missing
items.
2
Usage Guidance and restrictions:
• Maximum altitude 2,000m.• Temperature range between 4°C and 65°C.• Maximum relative humidity 80% for temperatures up to 31OC decreasing linearly to 50% relative humidity at 40OC.• Not for outdoor Use.
This apparatus is rated POLLUTION DEGREE 2 in accordance with IEC 664.POLLUTION DEGREE 2, states that: “Normally only non-conductive pollution occurs.Occasionally, however, a temporary conductivity caused by condensation must be expected”.Care and Maintenance:-Cleaning Horizontal UnitsUnits are best cleaned using warm water and a mild detergent. Water at temperatures above 600 C can cause damage to the unit and components.The tank should be thoroughly rinsed with warm water or distilled water to prevent build up of salts but care should be taken not to damage the enclosed electrode and vigorous cleaning is not necessary or advised.Air drying is preferably before use.The units should only be cleaned with the following:-Warm water with a mild concentration of soap or other mild detergent.Compatible detergents include dishwashing liquid, Hexane and Aliphatic hydrocarbonsThe units should not be left to in detergents for more than 30 minutes. The units should never come into contact with the following cleaning agents, these will cause irreversible and accumulative damage:-
3

Acetone, Phenol, Chloroform, Carbon tetrachloride, Methanol, Ethanol, Isopropyl alcoholAlkalis.Rnase DecontaminationThis can be performed using the following protocol:-Clean the units with a mild detergent as described above.Wash with 3% hydrogen peroxide (H2O2) for 10 minutes. Rinsed with 0.1% DEPC- (diethyl pyrocarbonate) treated distilled water, Caution: DEPC is a suspected carcinogen. Always take the necessary precautions when using.
RNaseZAP™ (Ambion) can also be used. Please consult the instructions for use with acrylic gel tanks.
Setting up the Horizontal Gel Tanks:-
Instructions for fitting Electrode Cables
1. Note the position of the lid on the unit. This shows the correct polarity and the correct orientation of the cables, black is negative and red positive.
2. Remove the lid from the unit. Note if the lid is not removed, fitting the cables may result in un-tightening of the gold plug and damage to the electrode.
3. Screw the cables into the tapped holes as fully as possible so that there is no gap between the lid and the leading edge of the cable fitting.
4. Refit the lid.
4

Instructions for fitting Loading Guides
These can be fitted to enhance visibility of the wells if desired. They can be fitted to the white vinyl platform sheet or to the unit itself. 1. Seat the tray in the unit and note the position of the comb grooves.
The samples run black to red but the trays can be used frontward or backwards so ensure that the comb grooves closest to the black electrode are marked.
2. Remove the tray.3. Peel the back off of the loading guide and carefully apply the
loading guide directly to the gel platform. The unit is now ready to be used.
Gel Preparation:-1. Table 1 below shows the volume of agarose solution required to make the desired agarose gel for each unit tray size. For a standard 0.7% agarose gel, add 0.7 grammes of agarose to 100 ml of 1x TAE or TBE solution. The same 1 x solution should be used in the tank buffer solution.
E1010-9611 & E1010-9611.5Gel volume for a 5mm thick gel
60ml
2. Add the agarose powder to a conical flask.3. Add the appropriate amount of 1x TAE or TBE solution from the table above. To prevent evaporation during the dissolving steps below, the conical flask should be covered with parafilm.4. Dissolve the agarose powder by heating the agarose either on a magnetic hot plate with stirring bar or in a microwave oven. If using the
5

microwave method, the microwave should be set at around a 400 watt or medium setting and the flask swirled every minute. The solution should be heated until all crystals are dissolved. This is best viewed against a light background. Crystals appear as translucent crystals. These will interfere with sample migration if not completely dissolved.The gel must be cooled to between 50°C and 60°C degrees before
pouring.
Gel Pouring:-The range of units allows three different methods of gel casting:-Casting DamsFlexicasterTraditional Tape
Using trays with Casting Dams:1. Fit the casting dams over each end of the tray and place onto a
level surface. The dams should be fitted so that there is no gap between the sides of the tray and the groove in the dams. This will ensure that there is no possibility of gel leakage.
2. Place the comb(s) in the grooves. Each tray has more than one comb grove so that multiple combs can be used. Using multiple combs increases sample number available per gel but decreases run length and care must be taken to ensure that samples from the first wells do not migrate into the lanes of the second comb wells.
3. Pour in the agarose carefully so as not to generate bubbles. Any bubbles that do occur can be smoothed to the edge of the gel and dispersed using a pipette tip.
4. Allow the agarose to set, ensuring that the gel remains undisturbed.
5. Carefully remove the gel casting gates and comb and transfer the gel including tray to the main tank.
6

Using Traditional tape method:-1. Autoclave or plastic backed general tape should be used. A length
5cm longer than the width of each end of the tray should be cut. One length should be placed over one end of the tray and stuck 1cm in from the tray edge. This should then be folded and the edges sealed securely. Repeat for the other end and place onto a level surface for gel pouring.
2. Place the comb(s) in the grooves. Each tray has more than one comb grove so that multiple combs can be used. Using multiple combs increases sample number available per gel but decreases run length and care must be taken to ensure that samples from the first wells do not migrate into the lanes of the second comb wells.
3. Pour in the agarose carefully so as not to generate bubbles. Any bubbles that do occur can be smoothed to the edge of the gel and dispersed using a pipette tip.
4. Allow the agarose to set, ensuring that the gel remains undisturbed.
5. Carefully remove the gel casting gates and comb and transfer the gel including tray to the main tank.
Running the Gel:-
1. Mix the sample to be loaded with sample buffer – see solutions for common sample buffers. Usually 3ul of sample buffer is adequate but less may be used with sample volumes of less than 10ul.2. Fill the unit with enough buffer so that it will just cover the gels when they are immersed. This will give the fastest resolution times. For enhanced quality of resolution of sample, fill the unit to 5mm above the gel.
7

3. On the bench surface, load a small amount of running buffer to flood the wells. Load the samples into the wells using a pipette. Multi-channel pipettes can be used for loading samples into wells formed by MC compatible combs, see listing in accessories for identification of these.4. Once loaded, gently immerse the gels within the buffer, stacking them carefully on top of each other. Replace lid and connect unit to the power supply using cables.5. Typically gels are run at between 90 and 150 volts. However, maximum voltages are indicated on the serial badge of each unit. It should be noted that higher voltages generally give faster but poorer quality sample resolution.
Gel Staining and Viewing:-
The Multi Sub trays and the Mini Fast unit allow staining to be performed without removing the gel from the tray if this is preferred. 1. Transfer the gel to a vessel containing the appropriate volume of 0.5 µg/ml ethidium bromide stain for 15–30 minutes, see solutions for stock stain concentration and adjust to the volume used accordingly. The entire gel should be covered.NOTE:- Ethidium bromide is a suspected carcinogen and the necessary safety precautions should be undertaken.2. De-stain the gel for 10–30 minutes in distilled water again ensuring the gel is completely immersed. 3. Rinse the gel twice for a couple of seconds with distilled water.4. Transfer the gel to a UV Transilluminator.5. The samples will often appear as brighter, clearer bands when photographed or viewed using a gel documentation system. However if the gel bands are too faint then the staining procedure should be adjusted so that there is less de-staining. If there is too much background then the staining procedure should be adjusted so that there is more de-staining. References
8
1. Sambrook, Fritsch, and Maniatis, Molecular Cloning A Laboratory Manual, Second Edition,Cold Spring Harbor Laboratory Press, 1989.
2. Current Protocols in Molecular Biology, Greene Publishing Associates and Wiley-Interscience,1989.Solutions:-
1x TAE 40 mM tris (pH 7.6), 20 mM acetic acid, 1 mM EDTA.50x (1L) dissolve in 750 ml distilled water:242 g tris base (FW = 121)57.1 ml glacial acetic acid100 ml 0.5 M EDTA (pH 8.0).Fill to 1 litre with distilled water.
1x TBE 89 mM tris (pH 7.6), 89 mM boric acid, 2 mM EDTA10x (1L) dissolve in 750 ml distilled water:108 g tris base (FW = 121)55 g boric acid (FW = 61.8)40 ml 0.5 M EDTA (pH 8.0)Fill to 1 litre with distilled water.
Sample Loading Dye10x sample buffer stock consists of 50% glycerol, 0.25% bromophenol blue, and0.25% xylene cyanole FF in 1x TAE buffer. Only 1–10 ml of the 10x loading dye should be prepared.
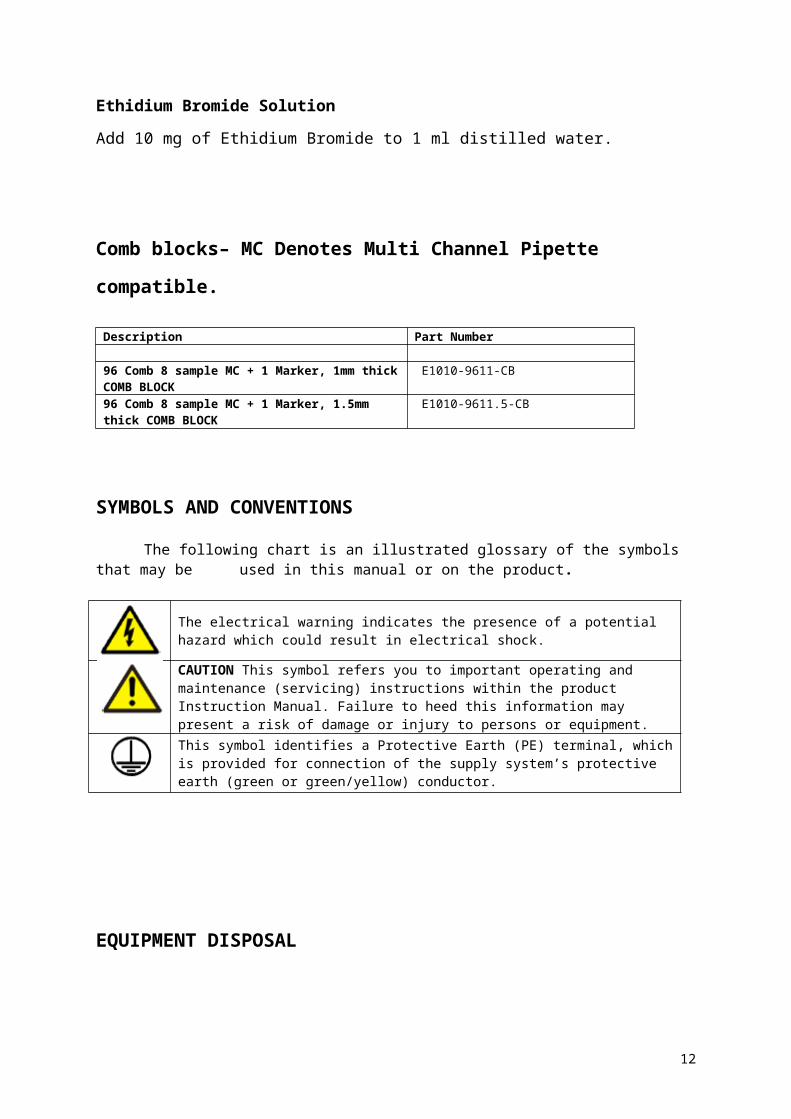
Ethidium Bromide SolutionAdd 10 mg of Ethidium Bromide to 1 ml distilled water.
9

Comb blocks– MC Denotes Multi Channel Pipette compatible.
Description Part Number
96 Comb 8 sample MC + 1 Marker, 1mm thick COMB BLOCK
E1010-9611-CB
96 Comb 8 sample MC + 1 Marker, 1.5mm thick COMB BLOCK
E1010-9611.5-CB
SYMBOLS AND CONVENTIONSThe following chart is an illustrated glossary of the symbols that may be used in this manual or on the product.
The electrical warning indicates the presence of a potential hazard which could result in electrical shock.
CAUTION This symbol refers you to important operating and maintenance (servicing) instructions within the product Instruction Manual. Failure to heed this information may present a risk of damage or injury to persons or equipment.This symbol identifies a Protective Earth (PE) terminal, which is provided for connection of the supply system’s protective earth (green or green/yellow) conductor.
EQUIPMENT DISPOSAL
This equipment is marked with the crossed out wheeled bin symbol to indicate that this equipment must not be disposed of with unsorted waste.
Instead it’s your responsibility to correctly dispose of your equipment at lifecycle-end by handing it over to an authorized facility for separate collection and recycling. It’s also you responsibility to decontaminate the equipment in case of biological, chemical and/or radiological contamination, so as to protect from health hazards the persons involved in the disposal and recycling of the equipment.
10
For more information about where you can drop off your waste equipment, please contact your local dealer from whom you originally purchased this equipment.
By doing so, you will help to conserve natural and environmental resources and you will ensure that your equipment is recycled in a manner that protects human health.
Thank you
11
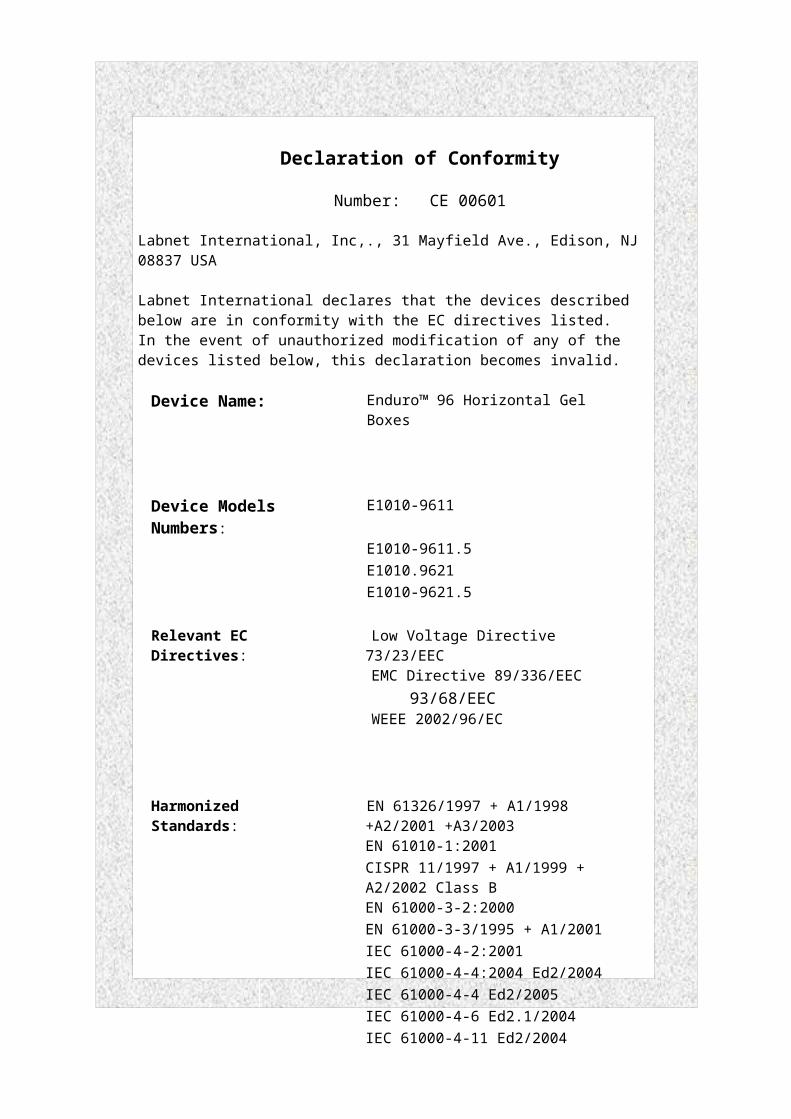
Declaration of ConformityNumber: CE 00601
Labnet International, Inc,., 31 Mayfield Ave., Edison, NJ 08837 USA
Labnet International declares that the devices described below are in conformity with the EC directives listed. In the event of unauthorized modification of any of the devices listed below, this declaration becomes invalid.
Device Name: Enduro™ 96 Horizontal Gel Boxes
Device Models Numbers:
E1010-9611
E1010-9611.5E1010.9621E1010-9621.5
Relevant EC Directives:
Low Voltage Directive 73/23/EEC
EMC Directive 89/336/EEC 93/68/EECWEEE 2002/96/EC
Harmonized Standards:
EN 61326/1997 + A1/1998 +A2/2001 +A3/2003EN 61010-1:2001CISPR 11/1997 + A1/1999 + A2/2002 Class BEN 61000-3-2:2000EN 61000-3-3/1995 + A1/2001IEC 61000-4-2:2001IEC 61000-4-4:2004 Ed2/2004IEC 61000-4-4 Ed2/2005IEC 61000-4-6 Ed2.1/2004IEC 61000-4-11 Ed2/2004
Date:
______________________________
Ira AugenzuckerProduct Line Manager
NOTES
Limited Warranty
Labnet International, Inc. warrants that this product will be free from defects in material and workmanship for a period of one (1) years from date of purchase. This warranty is valid only if the product is used for its intended purpose and within the guidelines specified in the supplied instruction manual.
Should this product require service, contact Labnet International, Inc.’s Service department at 732-417-0700 to receive a return authorization number and shipping instructions. Products received without proper authorization will be returned. All items returned for service should be sent postage prepaid in the original packaging or other suitable carton, padded to avoid damage. Labnet International, Inc. will not be responsible for damage incurred by improper packaging. Labnet International, Inc. may elect for onsite service for larger equipment.
This warranty does not cover damage caused by accident, neglect, misuse, improper service, natural forces or other causes not arising from defects in original material or workmanship. This warranty does not cover motor brushes, fuses, light bulbs, batteries or damage to paint or finish. Claims for transit damage should be filed with the transportation carrier.
ALL WARRANTIES INCLUDING THE IMPLIED WARRANTY OF MERCHANTABILITY AND FITNESS FOR A PARTICULAR PURPOSE ARE LIMITED IN DURATION OF 12 MONTHS FROM THE ORIGINAL DATE OF PURCHASE.
LABNET INTERNATIONAL, INC.’S SOLE OBLIGATION UNDER THIS WARRANTY IS LIMITED TO THE REPAIR OR REPLACEMENT, AT LABNET INTERNATIONAL, INC. DISCRETION, OF A DEFECTIVE PRODUCT. LABNET INTERNATIONAL, INC. IS NOT LIABLE FOR INCIDENTAL OR CONSEQUENTIAL DAMAGE, COMMERCIAL LOSS OR ANY OTHER DAMAGES RESULTING FROM THE USE OF THIS PRODUCT.
Some states do not allow limitation on the length of implied warranties or the exclusion or limitation of incidental or consequential damages. This warranty gives you specific legal rights. You may have other rights which vary from state to state.
No individual may accept for, or on behalf of Labnet International, Inc., any other obligation of liability, or extend the period of this warranty.
cut along the dotted line
To validate the warranty, complete and return this card within 10 days.
Model ____________________________________________________________________________
Serial No. ______________________________ Date Tested________________________________
Date Rec’d _____________________________ PO#______________________________________
Name/Title ________________________________________________________________________
Phone ___________________________________________________________________________
Institution _________________________________________________________________________
Address __________________________________________________________________________
City ______________ State _____ Zip/Postal Code ____________ Country __________________
Purchased from (distributor) __________________________________________________________
How would you rate the quality of this product? Excellent Good Fair Poor
What feature(s) on this product made you purchase it? ____________________________________
What feature(s) would you change to improve the performance of this product? __________________
______________________________________________________________________________
Mail Warranty Registration to : or Register online at
Labnet International, Inc. www.labnetinternational.com31 Mayfield Ave.Edison, NJ 08837
31 Mayfield Avenue. Edison.NJ.08837 (p) 732.417.0700 (f) 732.417.1750)