Embed Size (px)
Citation preview
Claremont House and Home Limited www.ClaremontHouseAndHome.co.uk
Free Phone 0800 644 1964
www.ClaremontHouseAndHome.co.uk Free Phone - 0800 644 1964
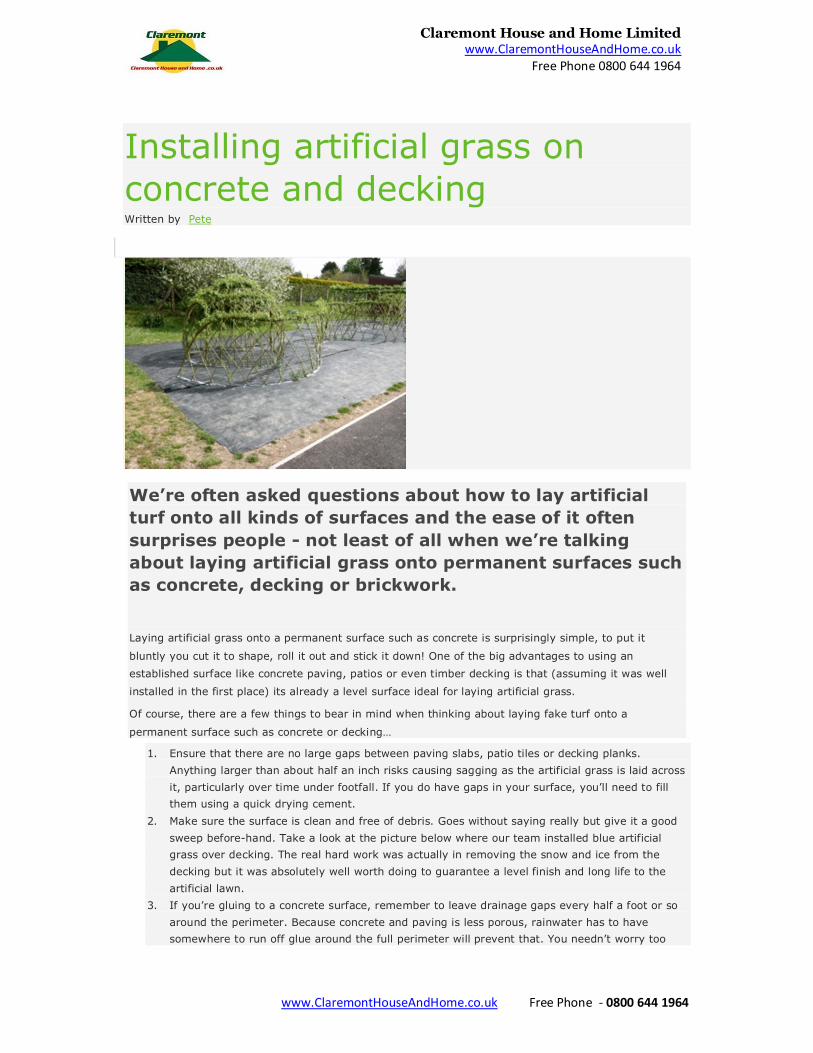
Installing artificial grass on concrete and decking Written by Pete
We’re often asked questions about how to lay artificial turf onto all kinds of surfaces and the ease of it often surprises people - not least of all when we’re talking about laying artificial grass onto permanent surfaces such as concrete, decking or brickwork. Laying artificial grass onto a permanent surface such as concrete is surprisingly simple, to put it
bluntly you cut it to shape, roll it out and stick it down! One of the big advantages to using an established surface like concrete paving, patios or even timber decking is that (assuming it was well
installed in the first place) its already a level surface ideal for laying artificial grass.
Of course, there are a few things to bear in mind when thinking about laying fake turf onto a
permanent surface such as concrete or decking…
1. Ensure that there are no large gaps between paving slabs, patio tiles or decking planks. Anything larger than about half an inch risks causing sagging as the artificial grass is laid across it, particularly over time under footfall. If you do have gaps in your surface, you’ll need to fill them using a quick drying cement.
2. Make sure the surface is clean and free of debris. Goes without saying really but give it a good sweep before-hand. Take a look at the picture below where our team installed blue artificial grass over decking. The real hard work was actually in removing the snow and ice from the decking but it was absolutely well worth doing to guarantee a level finish and long life to the artificial lawn.
3. If you’re gluing to a concrete surface, remember to leave drainage gaps every half a foot or so around the perimeter. Because concrete and paving is less porous, rainwater has to have somewhere to run off glue around the full perimeter will prevent that. You needn’t worry too
Claremont House and Home Limited www.ClaremontHouseAndHome.co.uk
Free Phone 0800 644 1964
www.ClaremontHouseAndHome.co.uk Free Phone - 0800 644 1964
much though, the fake grass will actually slow down drainage significantly, holding water in the matting (without waterlogging) so only a few drainage gaps in the glue will be necessary.
4. If you’re laying your own concrete base, remember to apply an ever so slight gradient to the area to allow water to drain. Bearing in mind the point above, leave the drainage gaps in the glue on the appropriate side.
5. Lastly, consider trip hazards if you’re laying artificial grass partially onto a driveway, patio, path or similar. Depending on your chosen synthetic turf you will find the grass is raised 15 – 40mm above the surface of the area. Simply adding diminishing strips to the area will prevent trips, or if you have the time and inclination, a simple border can be added to the fake grass area.
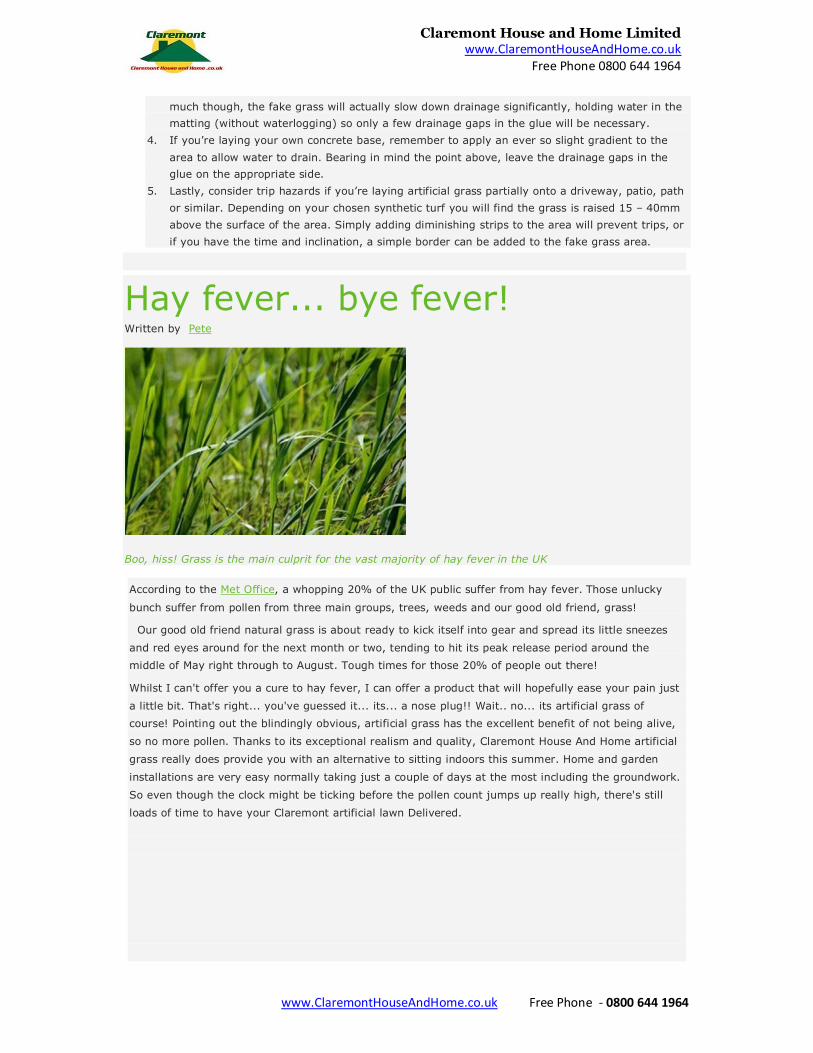
Hay fever... bye fever! Written by Pete
Boo, hiss! Grass is the main culprit for the vast majority of hay fever in the UK
According to the Met Office, a whopping 20% of the UK public suffer from hay fever. Those unlucky
bunch suffer from pollen from three main groups, trees, weeds and our good old friend, grass!
Our good old friend natural grass is about ready to kick itself into gear and spread its little sneezes
and red eyes around for the next month or two, tending to hit its peak release period around the middle of May right through to August. Tough times for those 20% of people out there!
Whilst I can't offer you a cure to hay fever, I can offer a product that will hopefully ease your pain just
a little bit. That's right... you've guessed it... its... a nose plug!! Wait.. no... its artificial grass of course! Pointing out the blindingly obvious, artificial grass has the excellent benefit of not being alive,
so no more pollen. Thanks to its exceptional realism and quality, Claremont House And Home artificial
grass really does provide you with an alternative to sitting indoors this summer. Home and garden
installations are very easy normally taking just a couple of days at the most including the groundwork.
So even though the clock might be ticking before the pollen count jumps up really high, there's still
loads of time to have your Claremont artificial lawn Delivered.
Claremont House and Home Limited www.ClaremontHouseAndHome.co.uk
Free Phone 0800 644 1964
www.ClaremontHouseAndHome.co.uk Free Phone - 0800 644 1964
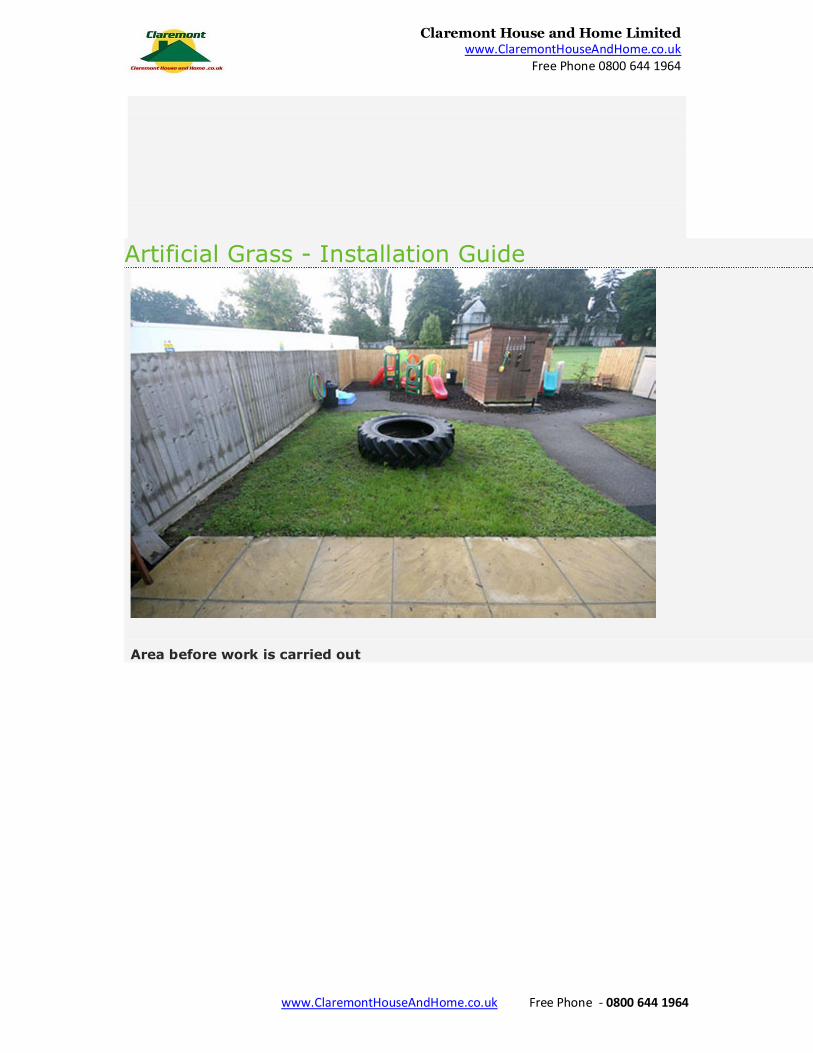
Artificial Grass - Installation Guide
Area before work is carried out
Claremont House and Home Limited www.ClaremontHouseAndHome.co.uk
Free Phone 0800 644 1964
www.ClaremontHouseAndHome.co.uk Free Phone - 0800 644 1964
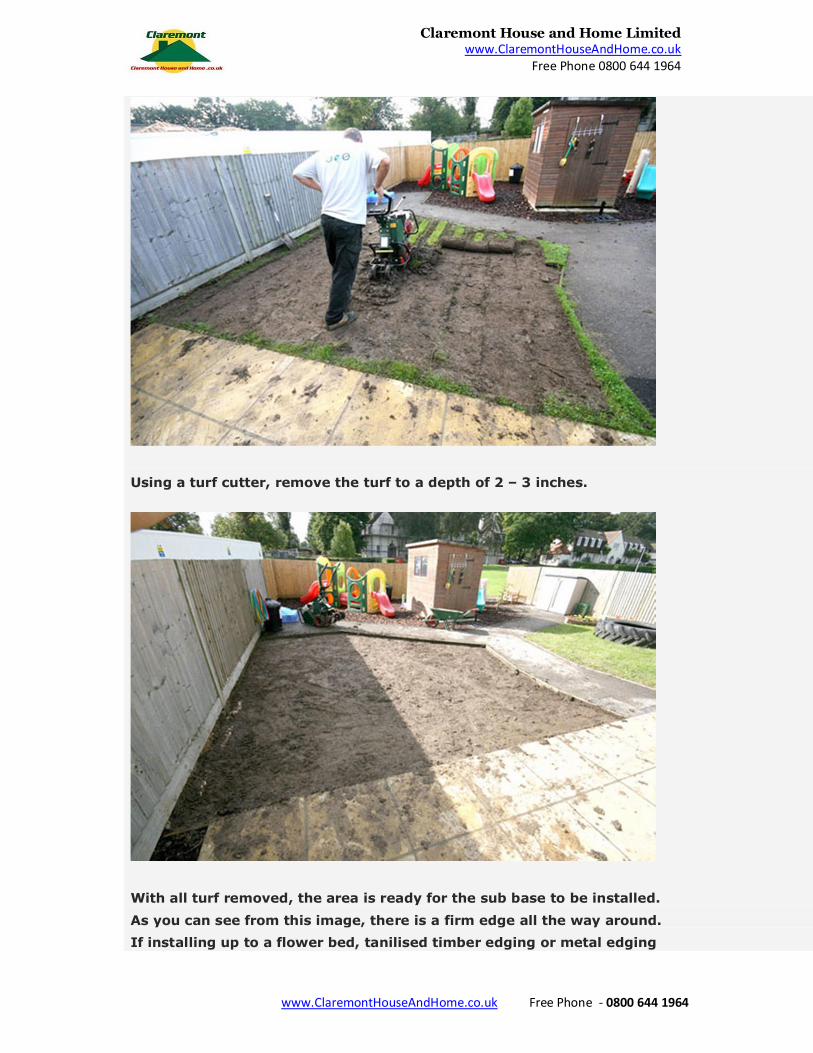
Using a turf cutter, remove the turf to a depth of 2 – 3 inches.
With all turf removed, the area is ready for the sub base to be installed. As you can see from this image, there is a firm edge all the way around. If installing up to a flower bed, tanilised timber edging or metal edging
Claremont House and Home Limited www.ClaremontHouseAndHome.co.uk
Free Phone 0800 644 1964
www.ClaremontHouseAndHome.co.uk Free Phone - 0800 644 1964
should be installed.
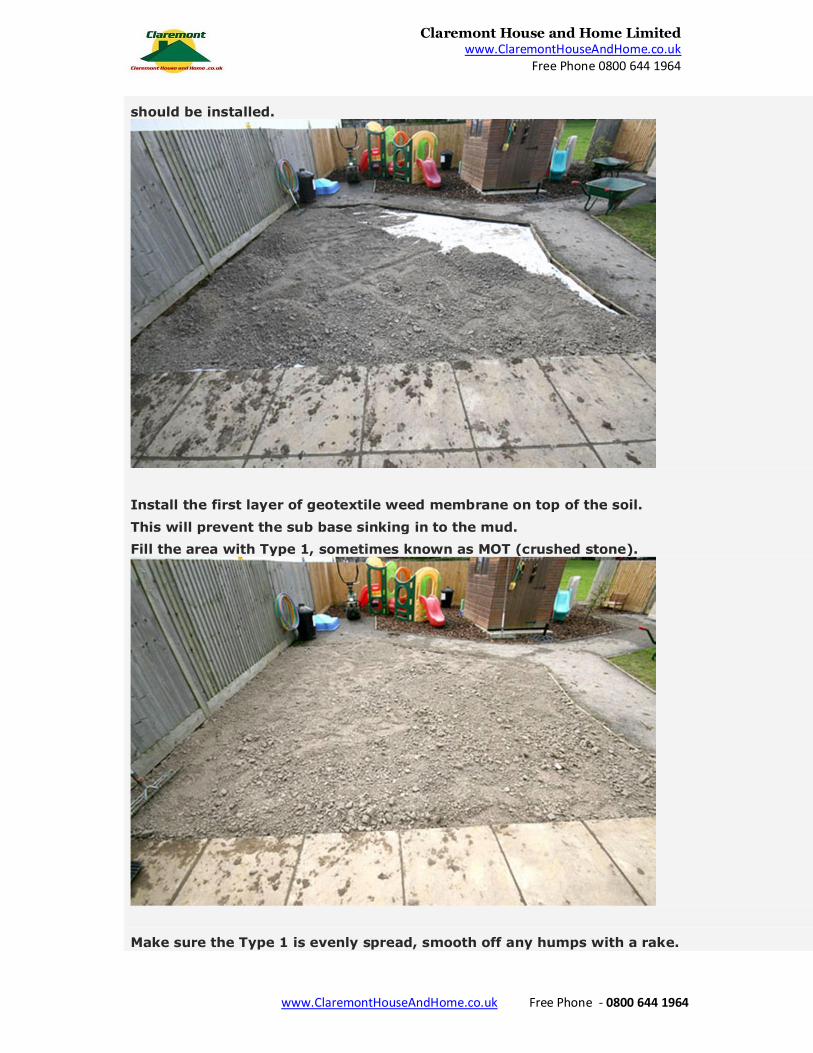
Install the first layer of geotextile weed membrane on top of the soil. This will prevent the sub base sinking in to the mud. Fill the area with Type 1, sometimes known as MOT (crushed stone).
Make sure the Type 1 is evenly spread, smooth off any humps with a rake.
Claremont House and Home Limited www.ClaremontHouseAndHome.co.uk
Free Phone 0800 644 1964
www.ClaremontHouseAndHome.co.uk Free Phone - 0800 644 1964
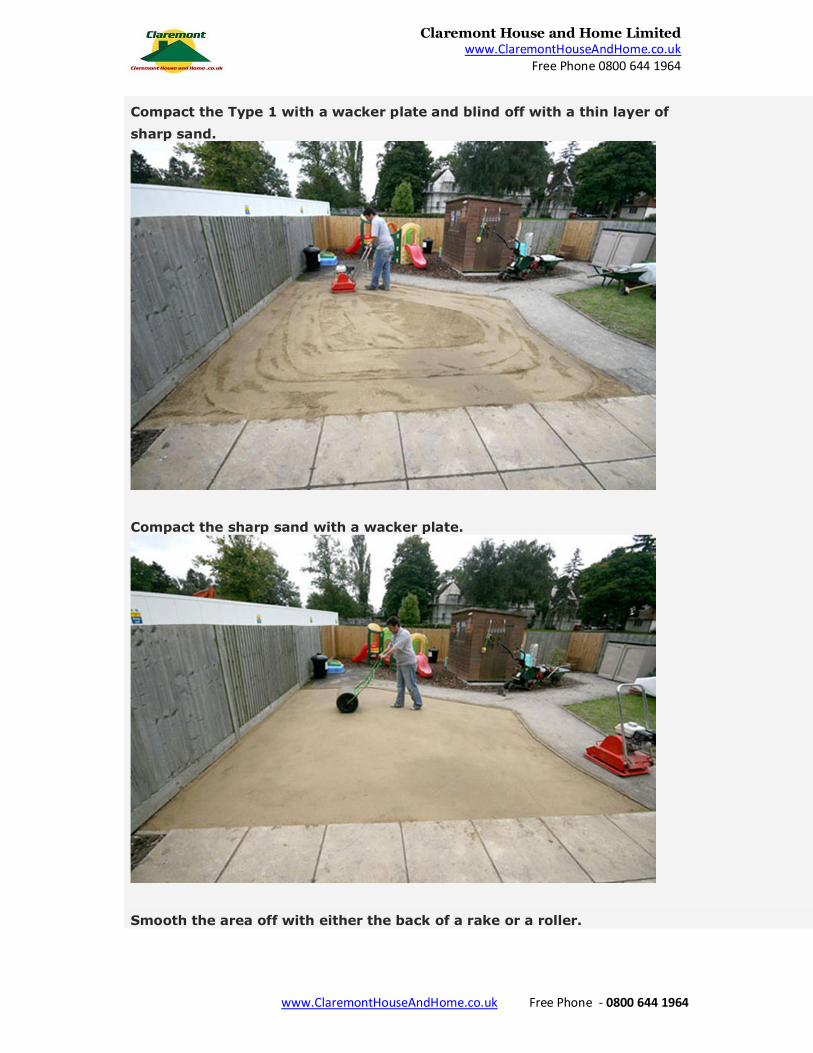
Compact the Type 1 with a wacker plate and blind off with a thin layer of sharp sand.
Compact the sharp sand with a wacker plate.
Smooth the area off with either the back of a rake or a roller.
Claremont House and Home Limited www.ClaremontHouseAndHome.co.uk
Free Phone 0800 644 1964
www.ClaremontHouseAndHome.co.uk Free Phone - 0800 644 1964
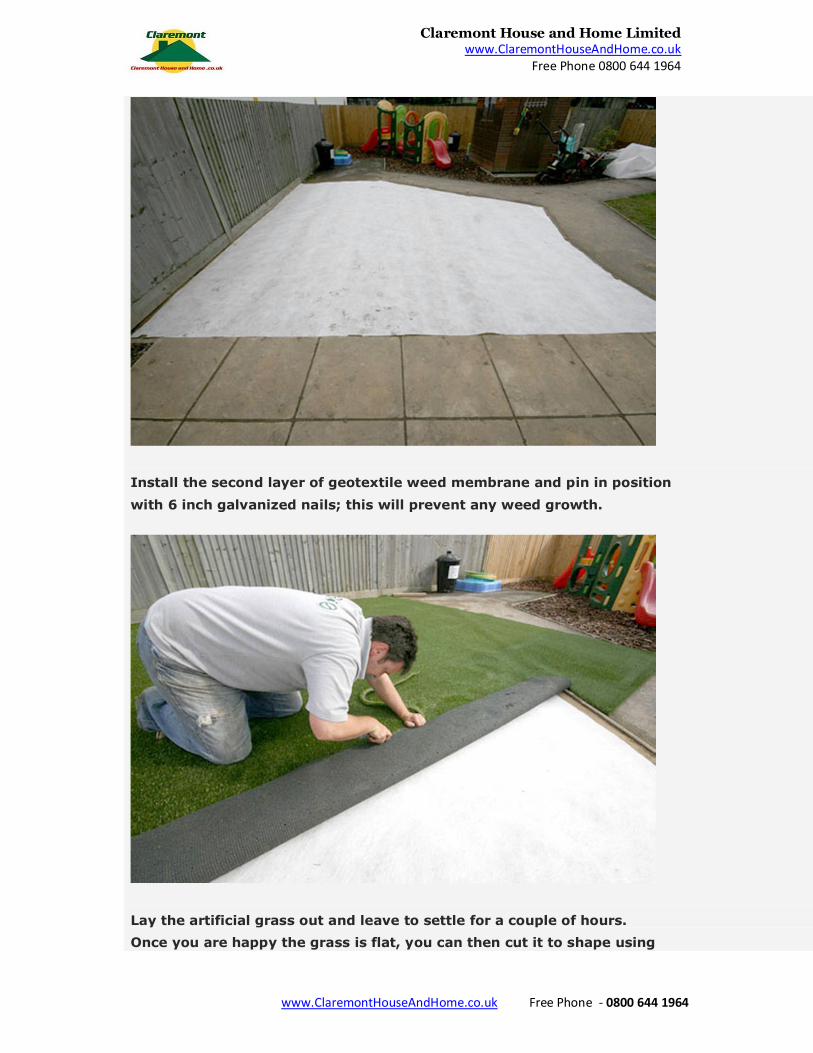
Install the second layer of geotextile weed membrane and pin in position with 6 inch galvanized nails; this will prevent any weed growth.
Lay the artificial grass out and leave to settle for a couple of hours. Once you are happy the grass is flat, you can then cut it to shape using
Claremont House and Home Limited www.ClaremontHouseAndHome.co.uk
Free Phone 0800 644 1964
www.ClaremontHouseAndHome.co.uk Free Phone - 0800 644 1964
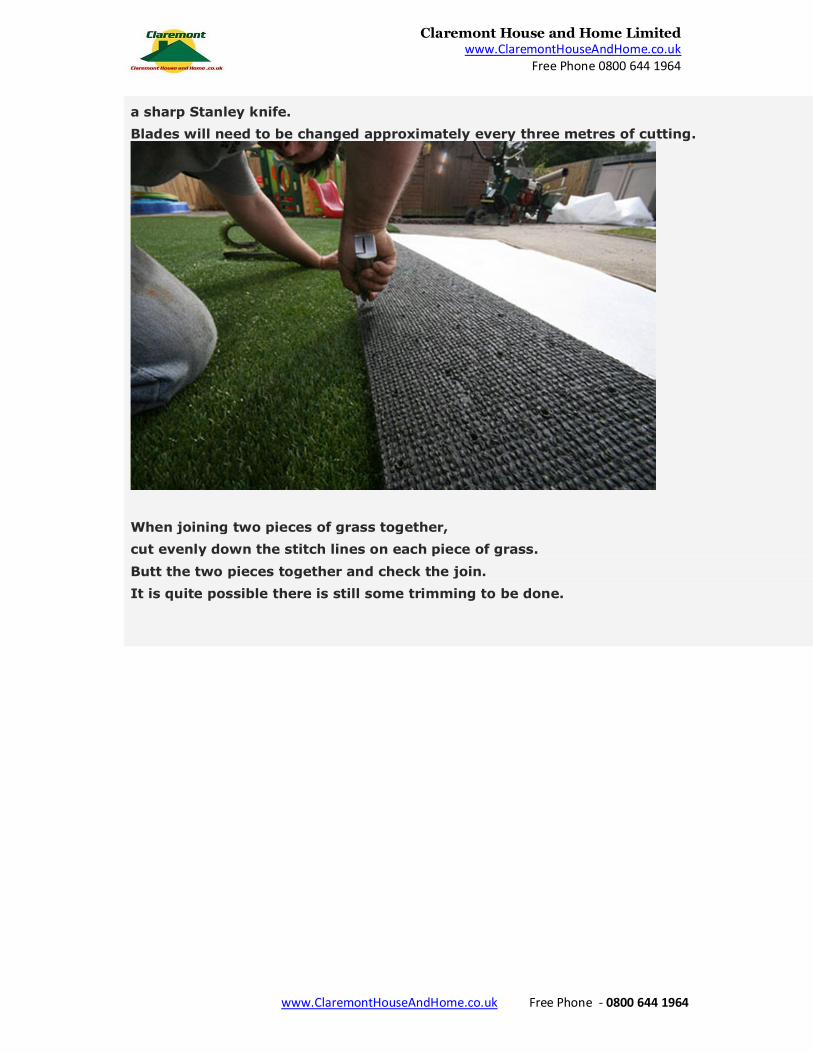
a sharp Stanley knife. Blades will need to be changed approximately every three metres of cutting.
When joining two pieces of grass together, cut evenly down the stitch lines on each piece of grass. Butt the two pieces together and check the join. It is quite possible there is still some trimming to be done.
Claremont House and Home Limited www.ClaremontHouseAndHome.co.uk
Free Phone 0800 644 1964
www.ClaremontHouseAndHome.co.uk Free Phone - 0800 644 1964
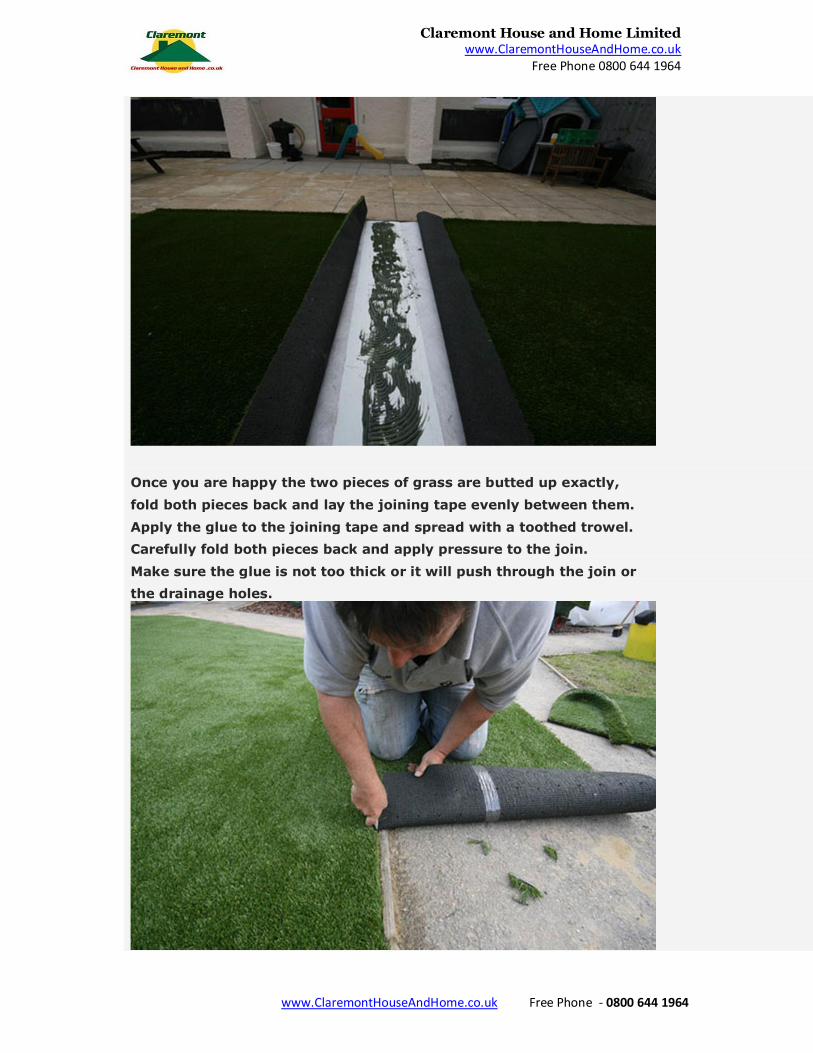
Once you are happy the two pieces of grass are butted up exactly, fold both pieces back and lay the joining tape evenly between them. Apply the glue to the joining tape and spread with a toothed trowel. Carefully fold both pieces back and apply pressure to the join. Make sure the glue is not too thick or it will push through the join or the drainage holes.
Claremont House and Home Limited www.ClaremontHouseAndHome.co.uk
Free Phone 0800 644 1964
www.ClaremontHouseAndHome.co.uk Free Phone - 0800 644 1964
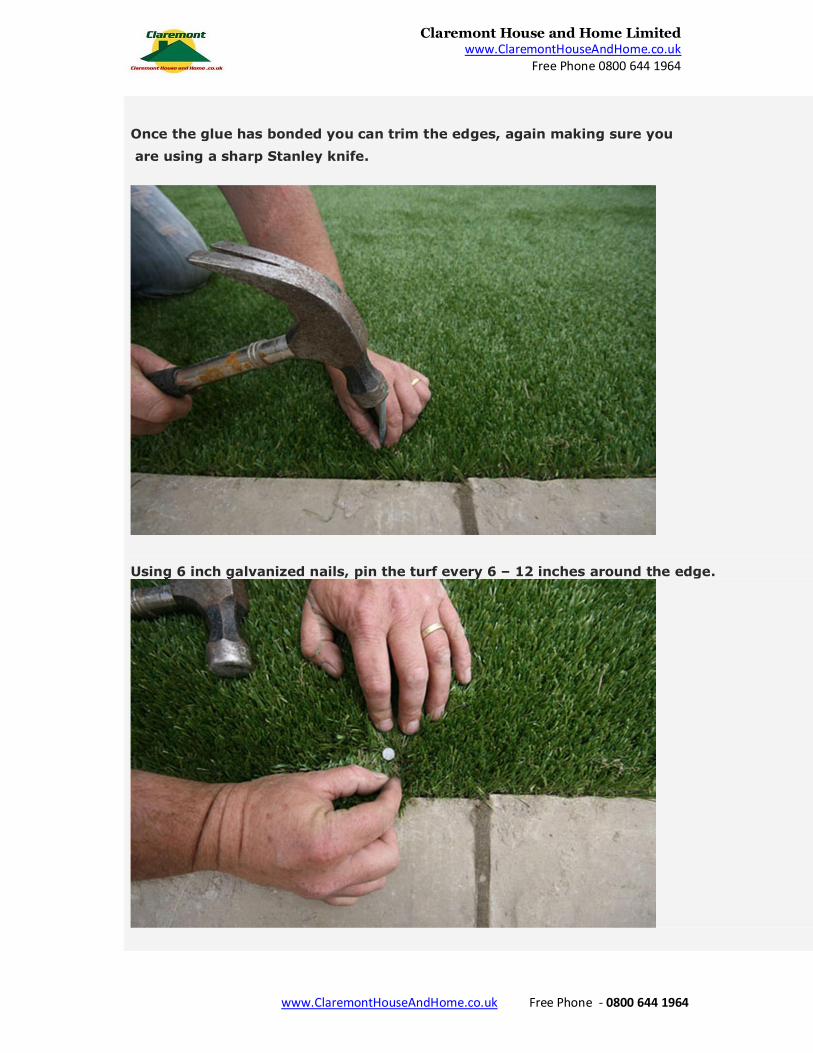
Once the glue has bonded you can trim the edges, again making sure you are using a sharp Stanley knife.
Using 6 inch galvanized nails, pin the turf every 6 – 12 inches around the edge.
Claremont House and Home Limited www.ClaremontHouseAndHome.co.uk
Free Phone 0800 644 1964
www.ClaremontHouseAndHome.co.uk Free Phone - 0800 644 1964
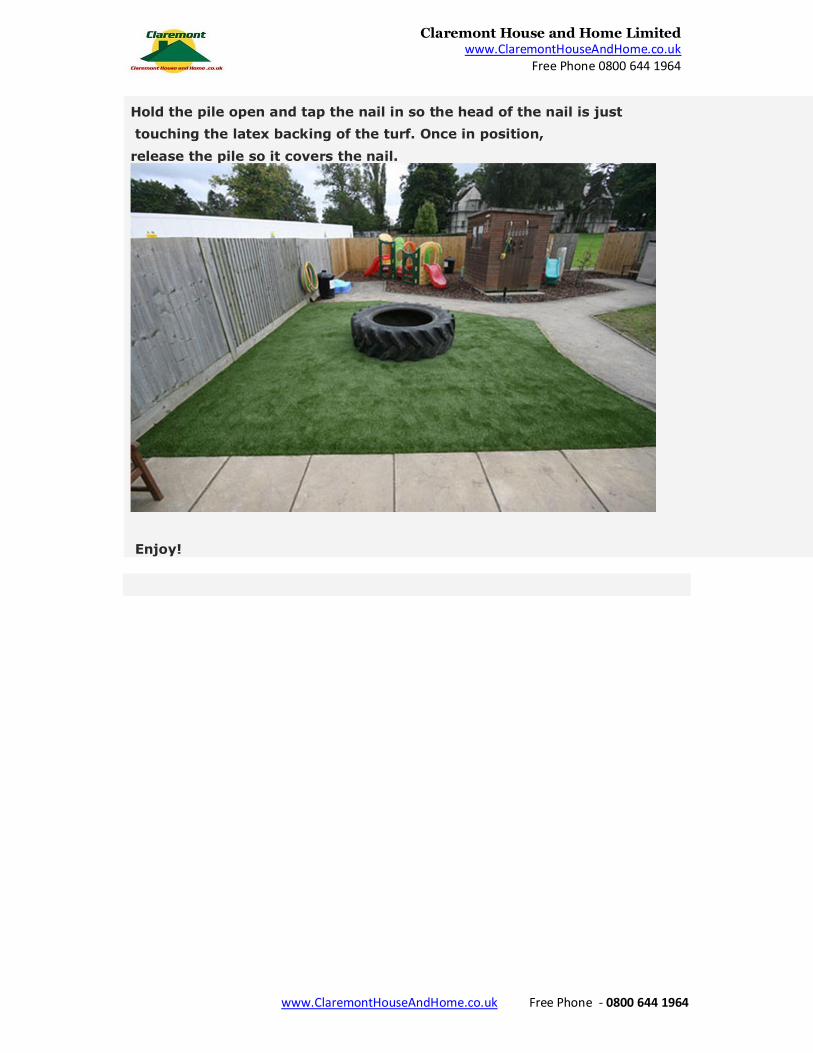
Hold the pile open and tap the nail in so the head of the nail is just touching the latex backing of the turf. Once in position, release the pile so it covers the nail.
Enjoy!