Embed Size (px)
Citation preview
Installation Instructions for SAS®
Enterprise Miner™ and Text
Miner™ Workstation 12.3 on
Windows.

1. Before you begin installing the SAS software, ensure that there are no antivirus or firewall services
running on the machine. Check Windows Services by doing the following:
Select Start ► Run and type services.msc. For Windows 7, type services.msc in the Search programs
and files search box.
Look for any antivirus software that is in a started state. Stop the services by clicking Stop in the
upper left corner.
Some of the antivirus software programs that you might see under the Services window include but
are not limited to Norton, Symantec, McAfee, Trend, Microsoft, VIPRE, Kaspersky, and AVG.
Here is an example of what you might see in the Services window. Note that there is usually one
antivirus service that you are unable to stop. That is fine. The problem is if you cannot stop any of
the services. In that case, contact your IT department to stop these for you while you are performing
the installation. Alternatively, have an Administrator log on and do the installation for you.
2. SAS Deployment Wizard manages the SAS Enterprise Miner Workstation Deployment.
To start, Browse to your SAS depot folder and Right click on setup.exe. Then click on “Run as
administrator”.
3. Select your preferred language for the SAS Deployment Wizard.
)
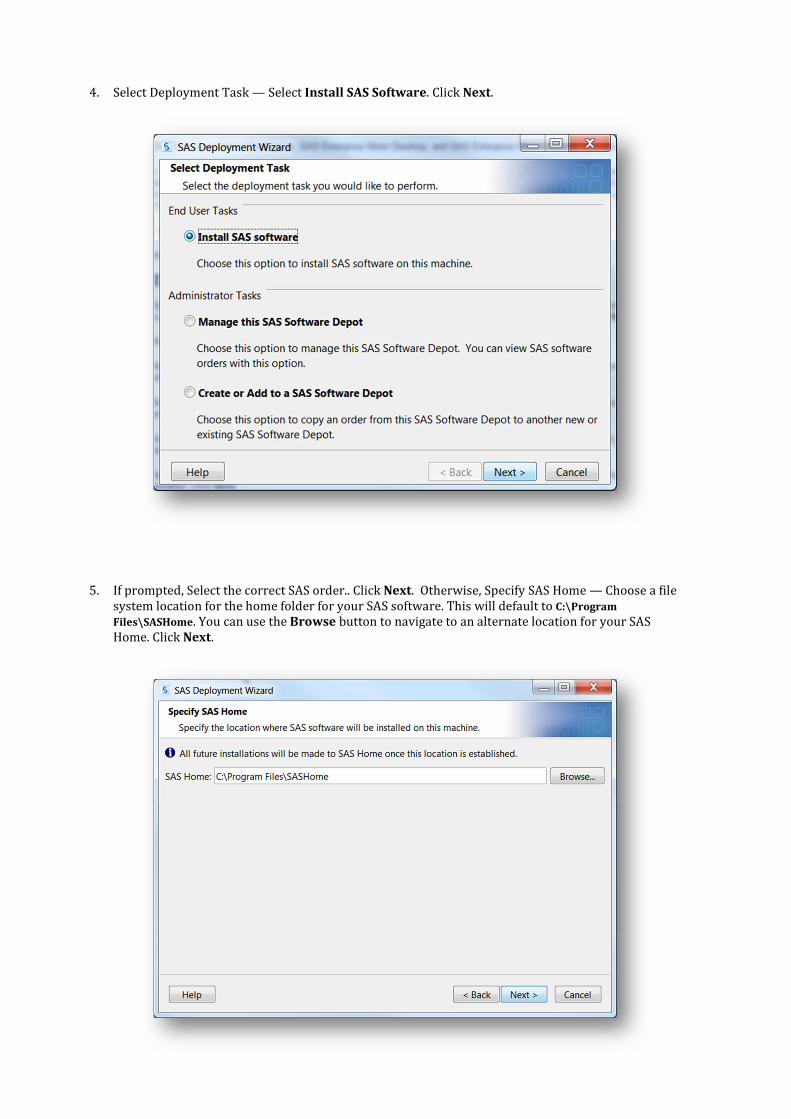
4. Select Deployment Task — Select Install SAS Software. Click Next.
5. If prompted, Select the correct SAS order.. Click Next. Otherwise, Specify SAS Home — Choose a file
system location for the home folder for your SAS software. This will default to C:\Program
Files\SASHome. You can use the Browse button to navigate to an alternate location for your SAS
Home. Click Next.
)
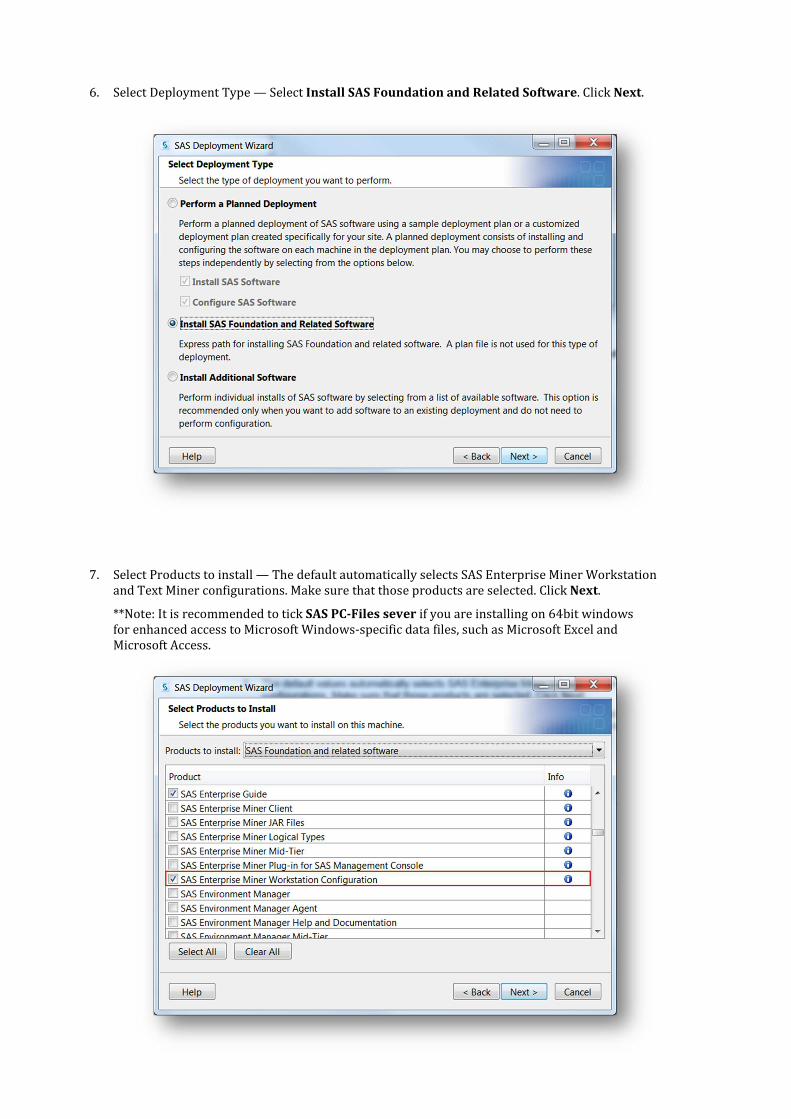
6. Select Deployment Type — Select Install SAS Foundation and Related Software. Click Next.
7. Select Products to install — The default automatically selects SAS Enterprise Miner Workstation
and Text Miner configurations. Make sure that those products are selected. Click Next.
**Note: It is recommended to tick SAS PC-Files sever if you are installing on 64bit windows
for enhanced access to Microsoft Windows-specific data files, such as Microsoft Excel and
Microsoft Access.

)
8. Select SAS Foundation Products — The defaults that are selected are all of the SAS Foundation
products in your order. Generally, you will want all of the products in your order. Click Next.
9. Specify SAS Installation Data File — This is the path to your SID file. By default, the SID file is
located in the sid_files folder of your SAS Software Depot. If necessary, click Browse to navigate to
this file. Click Browse.
)
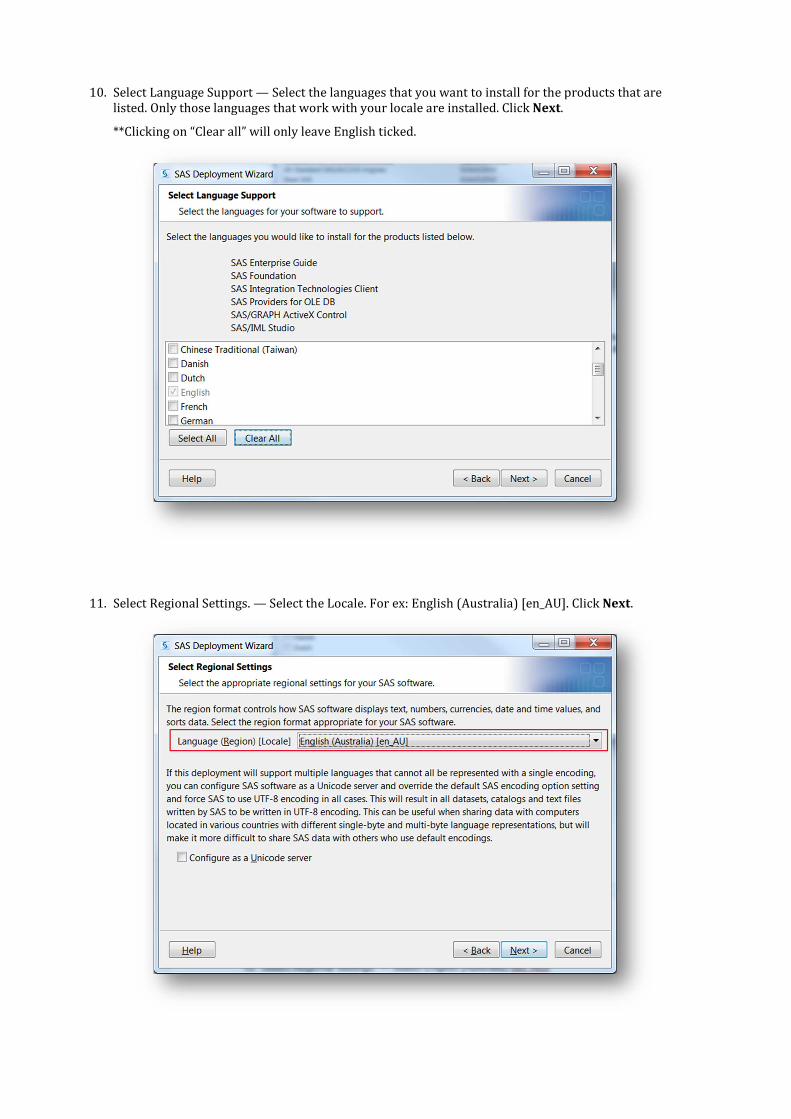
10. Select Language Support — Select the languages that you want to install for the products that are
listed. Only those languages that work with your locale are installed. Click Next.
**Clicking on “Clear all” will only leave English ticked.
11. Select Regional Settings. — Select the Locale. For ex: English (Australia) [en_AU]. Click Next.
)
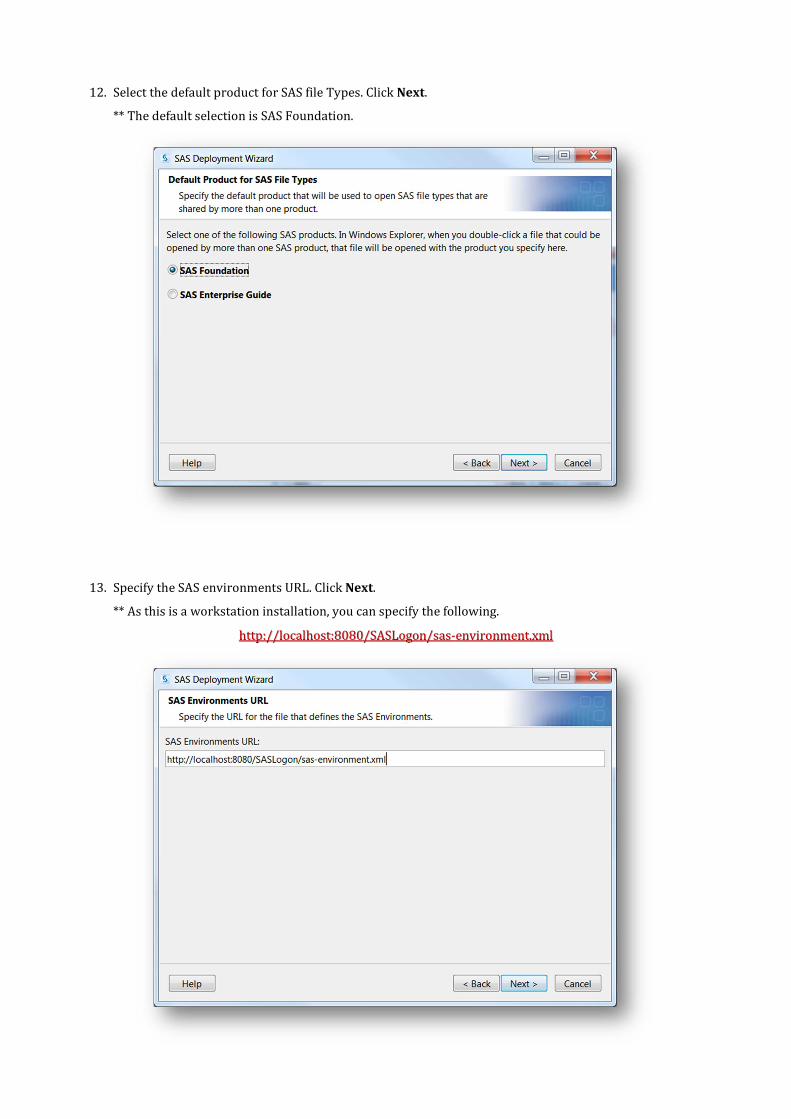
12. Select the default product for SAS file Types. Click Next.
** The default selection is SAS Foundation.
13. Specify the SAS environments URL. Click Next.
** As this is a workstation installation, you can specify the following.
http://localhost:8080/SASLogon/sas-environment.xml
)
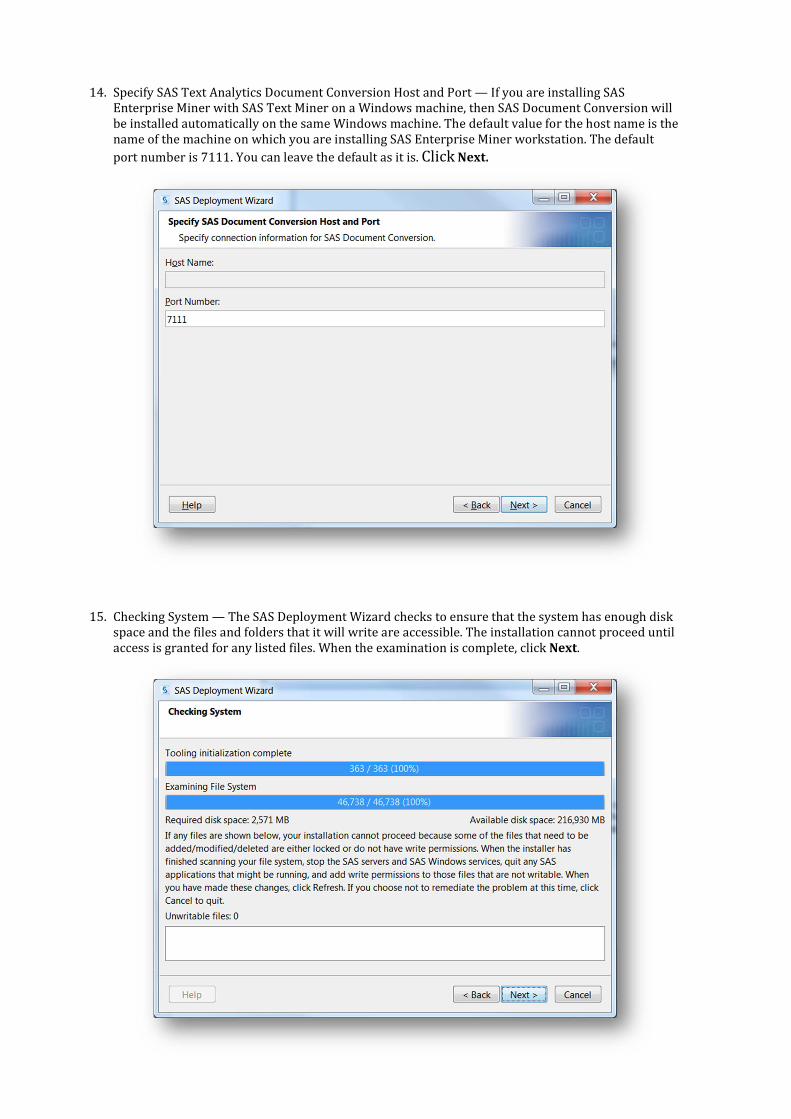
14. Specify SAS Text Analytics Document Conversion Host and Port — If you are installing SAS
Enterprise Miner with SAS Text Miner on a Windows machine, then SAS Document Conversion will
be installed automatically on the same Windows machine. The default value for the host name is the
name of the machine on which you are installing SAS Enterprise Miner workstation. The default
port number is 7111. You can leave the default as it is. Click Next.
15. Checking System — The SAS Deployment Wizard checks to ensure that the system has enough disk
space and the files and folders that it will write are accessible. The installation cannot proceed until
access is granted for any listed files. When the examination is complete, click Next.
)
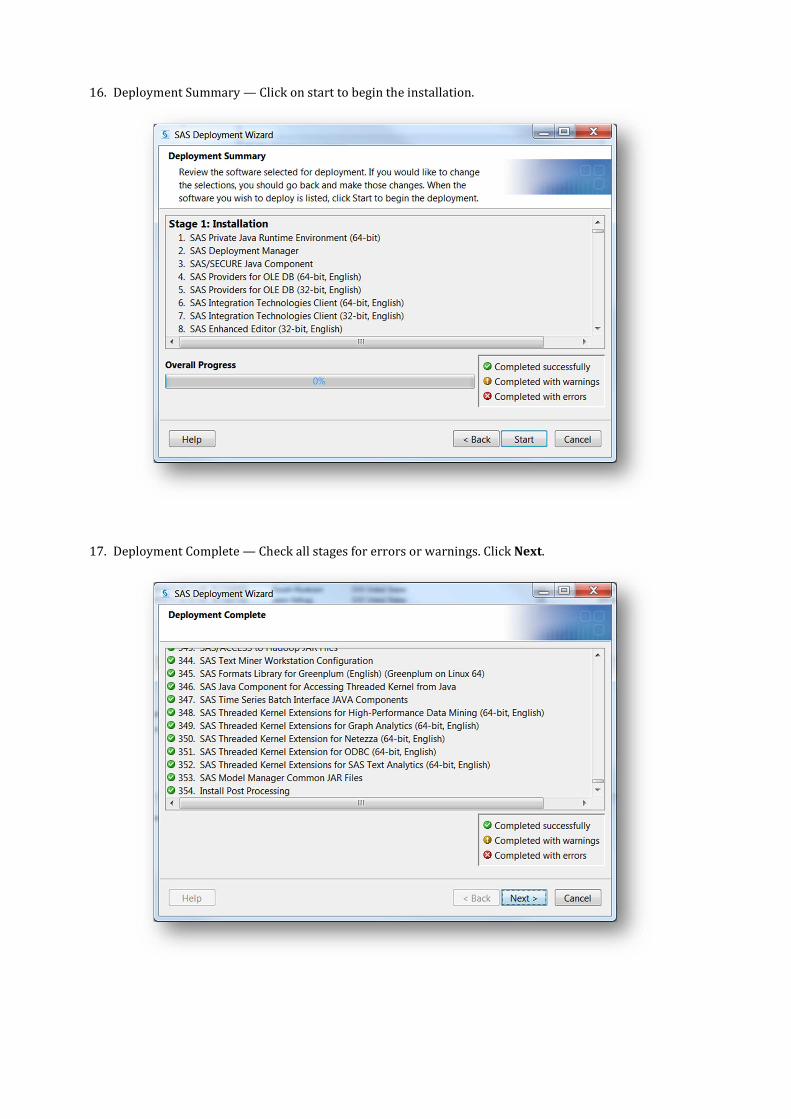
16. Deployment Summary — Click on start to begin the installation.
17. Deployment Complete — Check all stages for errors or warnings. Click Next.
)
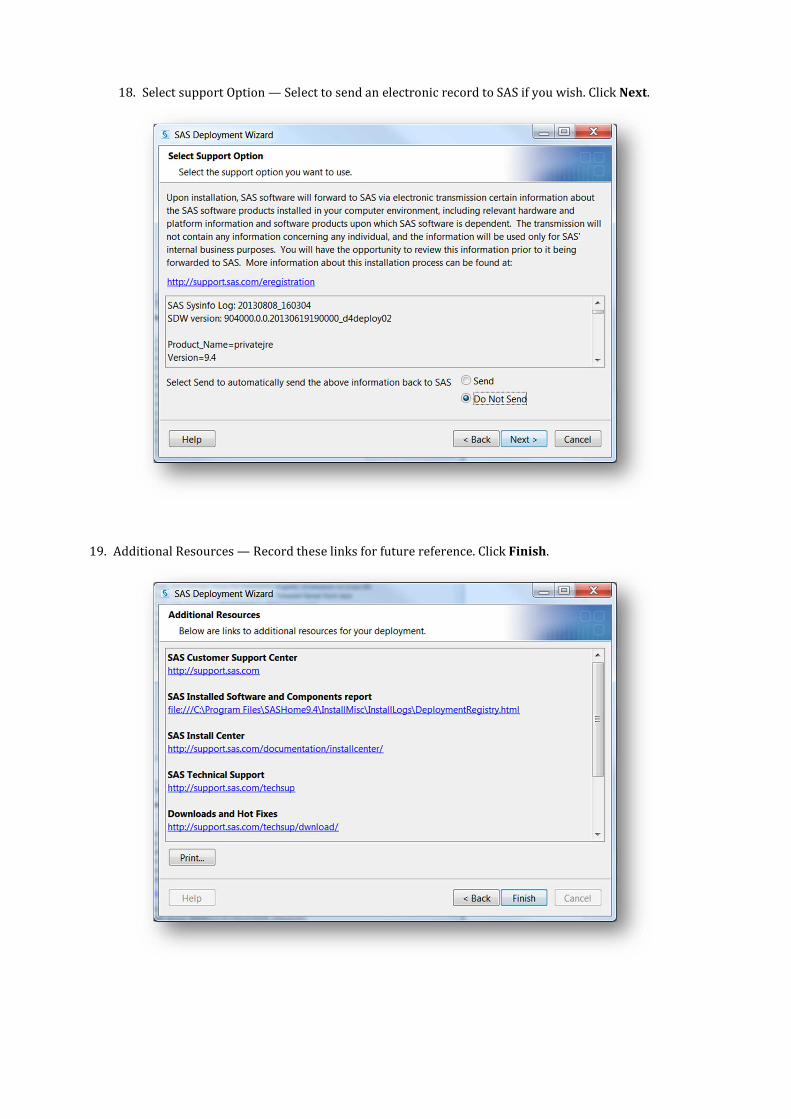
18. Select support Option — Select to send an electronic record to SAS if you wish. Click Next.
19. Additional Resources — Record these links for future reference. Click Finish.
)
If you have any technical issues, You can contact SAS Australia Technical support through the
channels below.
CONTACT INFORMATION
• http://support.sas.com/ctx/supportform/createForm
• Australia
Phone: +61-2 9428 0444
Fax: +61-2 9418 7299
8.30am to 5.30pm (EST)
BE PREPARED!
Please provide us with the following:
• Site Number
• Operating System
• Current Software Release
• Full details of any error message and SAS log.