Embed Size (px)
Citation preview
Perceptive Accounts Payable Invoice eForm Installation and Setup Guide
Version: 11.0.x Compatible with ImageNow Versions:6.5.1.149 to 7.0.x
Written by: Product Documentation, R&D Date: August 2016

© 2013 Perceptive Software. All rights reserved
Perceptive Software is a trademark of Lexmark International Technology S.A., registered in the U.S. and other countries. All other brands and product names mentioned in this document are trademarks or registered trademarks of their respective owners. No part of this publication may be reproduced, stored in a retrieval system, or transmitted in any form or by any means, electronic, mechanical, photocopying, recording, or any other media embodiments now known or hereafter to become known without the prior written permission of Lexmark.
P e r c e p t i v e A c c o u n ts P a y a b l e I n v o i c e e F o r m I n s ta l l a t i o n a n d S e t u p G u i d e
Page 3 of 22
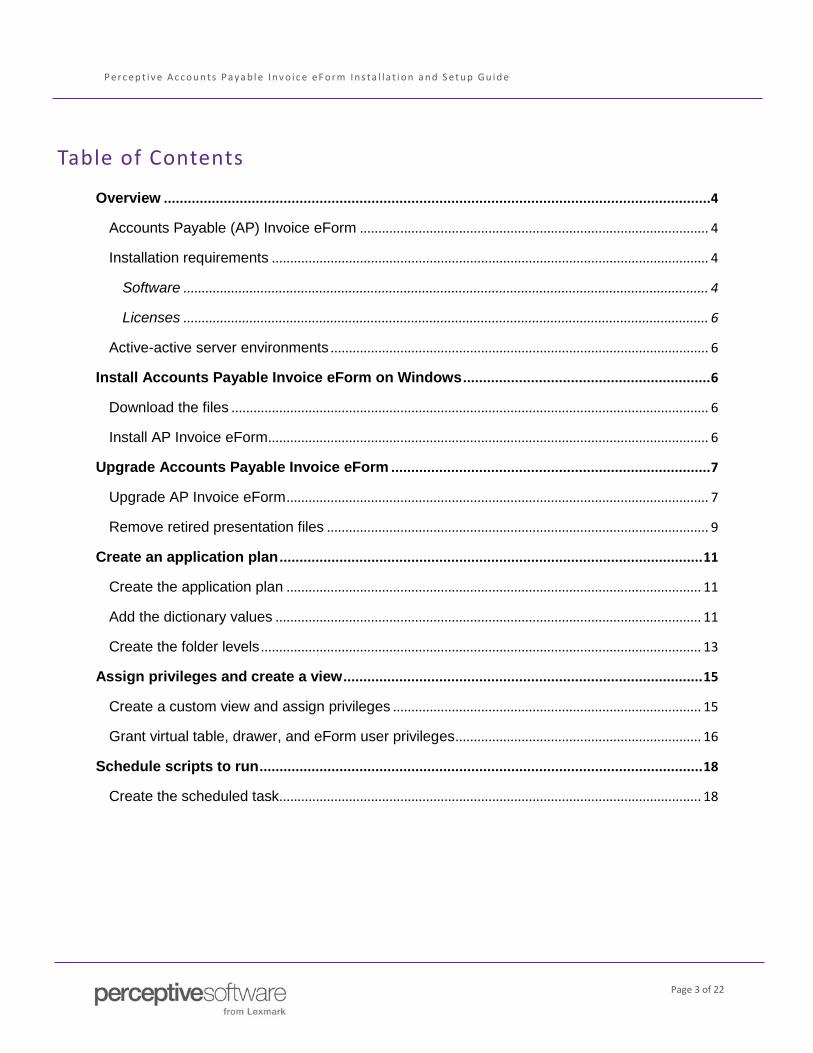
Table of Contents
Overview ......................................................................................................................................... 4
Accounts Payable (AP) Invoice eForm ............................................................................................... 4
Installation requirements ....................................................................................................................... 4
Software ............................................................................................................................................... 4
Licenses ............................................................................................................................................... 6
Active-active server environments ....................................................................................................... 6
Install Accounts Payable Invoice eForm on Windows .............................................................. 6
Download the files .................................................................................................................................. 6
Install AP Invoice eForm ........................................................................................................................ 6
Upgrade Accounts Payable Invoice eForm ................................................................................ 7
Upgrade AP Invoice eForm ................................................................................................................... 7
Remove retired presentation files ........................................................................................................ 9
Create an application plan .......................................................................................................... 11
Create the application plan ................................................................................................................. 11
Add the dictionary values .................................................................................................................... 11
Create the folder levels ........................................................................................................................ 13
Assign privileges and create a view .......................................................................................... 15
Create a custom view and assign privileges .................................................................................... 15
Grant virtual table, drawer, and eForm user privileges ................................................................... 16
Schedule scripts to run ............................................................................................................... 18
Create the scheduled task................................................................................................................... 18
P e r c e p t i v e A c c o u n ts P a y a b l e I n v o i c e e F o r m I n s ta l l a t i o n a n d S e t u p G u i d e
Page 4 of 22
Overview
Accounts Payable (AP) Invoice eForm
The Perceptive Accounts Payable (AP) Invoice eForm solution provides a flexible, ready-to-use form for processing and approving invoices for payment. This guide explains how to install the eForm on ImageNow. After completing the installation, you must configure the eForm to work in your environment.
AP Invoice eForm integrates efficiently with Enterprise Resource Planning (ERP) applications such as Lawson, PeopleSoft, SAP, and Oracle EBS. However, you can use the eForm for virtually any business application that is used to process invoices for payments.
This guide explains how to install AP Invoice eForm in ImageNow. After completing the installation, you configure the eForm for your invoice processing needs. For more information on eForm configuration, including the following topics, refer to the Perceptive AP Invoice eForm Supplemental Guide.
• Virtual tables
• Custom logic
• Validation
• Value added tax (VAT)
• Goods receipts
• Add on costs (AOC)
• Globalization
The supplemental guide, and other AP Invoice eForm and ImageNow guides, are available in the Perceptive Software Customer Portal, on the Product Documentation tab.
Installation requirements
Before you install AP Invoice eForm, you must install and have access to each of the following programs on the target network.
Software
• ImageNow Server and Client 6.5.1.149 or higher
Notes
• For an active-active server environment, use ImageNow version 6.7.0.2717 or higher.
P e r c e p t i v e A c c o u n ts P a y a b l e I n v o i c e e F o r m I n s ta l l a t i o n a n d S e t u p G u i d e
Page 5 of 22
• If you are running previous versions of ImageNow, please contact Product Management for more information on installing the AP Invoice eForm.
• ImageNow on mobile devices does not support AP Invoice eForm.
• Internet Explorer, version 8 or higher
P e r c e p t i v e A c c o u n ts P a y a b l e I n v o i c e e F o r m I n s ta l l a t i o n a n d S e t u p G u i d e
Page 6 of 22
Licenses
AP Invoice eForm requires the following ImageNow licenses.
• Uploaded Forms or Worksheets license
• Uploaded iScript license
For assistance with licenses, contact your Perceptive Software representative.
Active-active server environments
AP Invoice eForm supports ImageNow instances installed in active-active server environments. An active-active server environment has at least two active instances running at the same time: a primary instance and a secondary instance. However, each instance of the ImageNow Server runs independently of the other. You only install AP Invoice eForm on the primary server instance.
For more information about active-active environments, refer to the ImageNow High Availability Overview Technical Guide and the ImageNow Server and Client Installation and Setup Guide.
Install Accounts Payable Invoice eForm on Windows To install the AP Invoice eForm, complete the following procedures.
Download the files
1. Go to the Perceptive Software website at www.perceptivesoftware.com and log in to the Customer Portal.
2. In the Product Downloads page, search for the Perceptive AP Invoice eForm file specific to your ERP.
3. Download the relevant files to a temporary directory on your computer.
Install AP Invoice eForm
To install AP Invoice eForm, use the ZIP file you previously downloaded from the Customer Portal. In an active-active server environment, install the AP Invoice eForm on the primary server node.
To upgrade AP Invoice eForm from an earlier version, refer to the Upgrade Accounts Payable Invoice eForm section of this document.
Complete the following steps.
1. Navigate to the AP Invoice eForm ZIP file you previously downloaded.
2. Extract the AP Invoice eForm <version>\inserver6\temp folder to [drive:]\inserver6.
P e r c e p t i v e A c c o u n ts P a y a b l e I n v o i c e e F o r m I n s ta l l a t i o n a n d S e t u p G u i d e
Page 7 of 22
Note If prompted to merge folders, click Yes.
3. In [drive:]\inserver6\temp\apef_install, run the apef_install.bat file.
4. Optional. To review the installer log file, navigate to [drive:]\inserver6\log and open AP_Invoice_eForm_Installer_<date>.log.
Note The eForm installation process sets up the necessary custom properties, document types, virtual tables, and the eForm. To complete the AP Invoice eForm installation, continue to the Create an applicaton plan section.
Upgrade Accounts Payable Invoice eForm If upgrading AP Invoice eForm from a version prior to 10.5.x, review the following procedures and complete any as necessary.
• To upgrade the AP Invoice eForm from any version prior to 10.3.x, complete the Upgrade AP Invoice eForm and Remove retired presentation files procedures.
• Installations with ImageNow 6.7.x require an external-type application plan. If you do not have this application plan, refer to the Create an application plan section.
• Review your existing process for generating CSV files to verify that the virtual tables and columns required for your solution exist. For information on the tables and columns, refer to the Perceptive AP Invoice eForm Supplemental Guide.
• Purge all virtual table data from the system and re-import your CSV files to populate the tables.
• In ImageNow, verify that the Z_APW All Projects or Z_APW All Folders view, or another custom view, exists. To create this view, refer to the Create a custom view and assign privileges section.
Upgrade AP Invoice eForm
Before you begin an AP Invoice eForm upgrade, we recommend creating a back up of your existing AP Invoice eForm files.
To upgrade AP Invoice eForm, complete the following steps.
1. Navigate to the AP Invoice eForm ZIP file you previously downloaded.
2. Extract the AP Invoice eForm <version>\inserver6\temp folder to [drive:]\inserver6.
3. In [drive:]\inserver6\temp\apef_install, run the apef_install.bat file.
4. After the batch file runs, to validate your configuration settings, compare the previous eForm configuration files, stored in [drive:]\inserver6\temp\apef_install\converted_configs, with the new configuration files, stored in [drive:]\inserver6\etc\ap, and complete the following substeps.
P e r c e p t i v e A c c o u n ts P a y a b l e I n v o i c e e F o r m I n s ta l l a t i o n a n d S e t u p G u i d e
Page 8 of 22
• Adjust the new configuration files to retain any previously configured settings.
• Check the CSV files and verify them against the required columns for each table, as detailed in the Perceptive AP Invoice eForm Supplemental Guide.
Note If you install AP Invoice eForm in an active-active server environment, you can find the new configuration files stored in [shared path]\inserver6\etc\ap, rather than on the local drive.
P e r c e p t i v e A c c o u n ts P a y a b l e I n v o i c e e F o r m I n s ta l l a t i o n a n d S e t u p G u i d e
Page 9 of 22
Remove retired presentation files
To upgrade AP Invoice eForm from a version prior to 10.3.x, you must review and remove specific presentation files for AP Invoice eForm. Complete the following steps.
1. In Management Console, in the left pane, click Forms > Manage Form Components.
2. In the Manage Form Components window, in the left pane, click Presentations.
3. In the Presentations Name column, click AP Invoice > Modify.
4. In the Presentation window, in the left column, click Files.
5. In the File Name column, find each of the following files, if they exist, and click Remove.
• AP_GetGLCodes_Client.js
• AP_GetVendors_Client.js
• AP_SkinHandler.js
• AP_Validation_Client.js
• AutoComplete.css
• bg_bizinfo.gif
• bg_invoiceinfo.gif
• close.gif
• cookies.js
• DIV_FLOATING.js
• find_down.gif
• find_over.gif
• psi.jpg
• row_add.gif
• row_add_down.gif
• row_add_over.gif
• roww_remove.gif
• row_remove_down.gif
• row_remove_over.gif

P e r c e p t i v e A c c o u n ts P a y a b l e I n v o i c e e F o r m I n s ta l l a t i o n a n d S e t u p G u i d e
Page 10 of 22
• start_search_over.gif
P e r c e p t i v e A c c o u n ts P a y a b l e I n v o i c e e F o r m I n s ta l l a t i o n a n d S e t u p G u i d e
Page 11 of 22
Create an application plan To use AP Invoice eForm with ImageNow 6.7.x, you must create an application plan to load data into the virtual tables. To continue installing AP Invoice eForm on an ImageNow version prior to 6.7.x, proceed to the Assign privileges and create a view section of this document.
To create an external-type application plan for use with ImageNow interfaces, such as iScript or Message Agent, complete the following procedures, in order.
• Create the application plan
• Add the dictionary values
• Create the folder levels
Important You must type all names provided in the following steps exactly as listed. The application plan is case-sensitive.
Create the application plan
To create an application plan for AP Invoice eForm in ImageNow 6.7.x, complete the following steps.
1. In Management Console, in the left pane, expand the Application Plans tree, and click External.
2. In the right pane, on the Applications tab, click New.
3. In the Plan Settings dialog box, click the General tab.
4. Under Information, complete the following substeps.
1. In the Name box, type Z_APW_VirtualTables_AppPlan.
2. In the Description box, type a description for your application plan.
3. Select the Is active check box.
4. Click OK.
5. Continue to the Add the dictionary values section.
Add the dictionary values
To add the required dictionary values to the Z_APW_VirtualTables_AppPlan application plan, complete the following steps.
1. In the Application Plan Designer, in the Dictionary pane, click the New Field button.
2. In the Dictionary Field dialog box, in the Name box, type FOLDER_NAME and click OK.
3. Repeat the previous steps to create the dictionary value FOLDER_TYPE.

P e r c e p t i v e A c c o u n ts P a y a b l e I n v o i c e e F o r m I n s ta l l a t i o n a n d S e t u p G u i d e
Page 12 of 22
4. Continue to the Create the folder levels section.
P e r c e p t i v e A c c o u n ts P a y a b l e I n v o i c e e F o r m I n s ta l l a t i o n a n d S e t u p G u i d e
Page 13 of 22
Create the folder levels
To create the required folder levels in the Z_APW_VirtualTables_AppPlan application plan, complete the following steps.
1. In the right pane, on the Map tab, in the Document – Default section, click the Remove Level button. On the Convert Map confirmation window, click Yes.
2. In the Drawer pane, double-click on Drawer. In the Drawer Attributes dialog box, complete the following substeps.
1. In the Drawer list, click Z_APW_VirtualTables.
2. Click OK.
3. To add two folder levels, click Add folder level twice.
4. In the first Folder – Default pane, double-click on Folder Name. In the Folder Name Attributes dialog box, complete the following substeps.
1. In the Source list, click Dictionary.
2. In the Value list, click FOLDER_TYPE.
3. Click OK.
5. In the first Folder – Default pane, double-click on Folder Type. In the Folder Type Attributes dialog box, complete the following substeps.
1. In the Source list, click Folder Type.
2. In the Value list, click Z_APW_VirtualTable.
3. Click OK.
6. In the second Folder – Default pane, double-click on Folder Name. In the Folder Name Attributes dialog box, complete the following substeps.
1. In the Source list, click Dictionary.
2. In the Value list, click FOLDER_NAME.
3. Click OK.
7. In the second Folder – Default pane, double-click on Folder Type. In the Folder Type Attributes dialog box, complete the following substeps.
1. In the Source list, click Dictionary.
2. In the Value list, click FOLDER_TYPE.

P e r c e p t i v e A c c o u n ts P a y a b l e I n v o i c e e F o r m I n s ta l l a t i o n a n d S e t u p G u i d e
Page 14 of 22
3. Click OK.
8. Save and close the application plan.

P e r c e p t i v e A c c o u n ts P a y a b l e I n v o i c e e F o r m I n s ta l l a t i o n a n d S e t u p G u i d e
Page 15 of 22
Assign privileges and create a view To assign the ImageNow privileges and create the view required for your users to access and use AP Invoice eForm, complete the following tasks.
Create a custom view and assign privileges
For your users to access AP Invoice eForm, create a view that includes the Project or Folder ID.
In ImageNow versions 6.5.1 to 6.6.x, you create a view at the Project level. In ImageNow version 6.7.x and higher, you create a view at the Folder level.
To create the custom view definition, complete the following steps.
1. In Management Console, in the left pane, click Views.
2. In the right pane, on the Project or Folder tab, click New.
3. In the New View dialog box, in the Name box, type the name of the <viewname> configured in AP_Config.xml. The default is Z_APW All Projects. In the Description box, type the description of the view that will appear in the ToolTip for the view. Click OK.
4. Click the new view > Modify.
5. In the View Designer window, in the Preview pane, click the Columns button.
6. In the Columns dialog box, select the check box for Project ID or Folder ID and click OK.
7. In the Preview pane, right-click Project ID or Folder ID > Sort Ascending.
8. Click the Properties button and in the View Properties dialog box, complete the following substeps.
1. On the Security tab, under Users and Groups, add or select the group.
2. In the Privileges list, click the column in front of Access by URL to display the Grant Privilege icon.
3. Click OK.
9. Save and close View Designer. In the View Designer confirmation box, click Yes to activate the view.
P e r c e p t i v e A c c o u n ts P a y a b l e I n v o i c e e F o r m I n s ta l l a t i o n a n d S e t u p G u i d e
Page 16 of 22
Grant virtual table, drawer, and eForm user privileges
To allow your users the necessary access to the AP Invoice eForm virtual tables, the virtual tables drawer, and the eForm itself, assign the following privileges.
• To grant access to the virtual tables, apply the Use privilege for each virtual table project or folder.
• In ImageNow 6.7 or higher, to grant access to the Z_APW_VirtualTables drawer, apply the Search privilege.
• To grant access to the eForm, apply the Create, Delete, Modify and View privileges.
To assign these privileges to a user or a group of users, complete the following steps.
1. In Management Console, in the left pane, click Groups or Users.
2. Optional. To search for a group or user, in the right pane, on the Security tab, in the Search for groups box, type some or all of a group or user name, and then click Search.
3. In the Select a group or user list, click the appropriate group or user > Modify.
4. To grant access to the virtual tables, complete the following substeps.
1. In the Security Settings dialog box, in the left pane, click Project Privileges or Folder Type Privileges.
2. In the Project Type or Folder Type list, click the type to which you want to apply privileges. Virtual table projects begin with Z_APW.
3. In the Privileges list, click the column in front of Use to display the Grant Privilege icon.
4. For each Project or Folder type, repeat these steps.
5. To grant access to the Z_APW_VirtualTables drawer, complete the following substeps.
1. In the left pane, click Drawer Privileges.
2. In the Drawer list, click Z_APW_VirtualTables.
3. In the Privileges list, click the column in front of Search to display the Grant Privilege icon.
4. To save the security settings and exit the dialog box, click OK.
6. To grant privileges to use the eForm, complete the following substeps.
1. In Management Console, in the left pane, click Forms.
2. Under Form, click AP Invoice > Modify.
3. In the Form dialog box, in the left pane, click Security.

P e r c e p t i v e A c c o u n ts P a y a b l e I n v o i c e e F o r m I n s ta l l a t i o n a n d S e t u p G u i d e
Page 17 of 22
4. In the Presentation list, click AP Invoice.
5. Under Users/Groups, add or select the group or user.
P e r c e p t i v e A c c o u n ts P a y a b l e I n v o i c e e F o r m I n s ta l l a t i o n a n d S e t u p G u i d e
Page 18 of 22
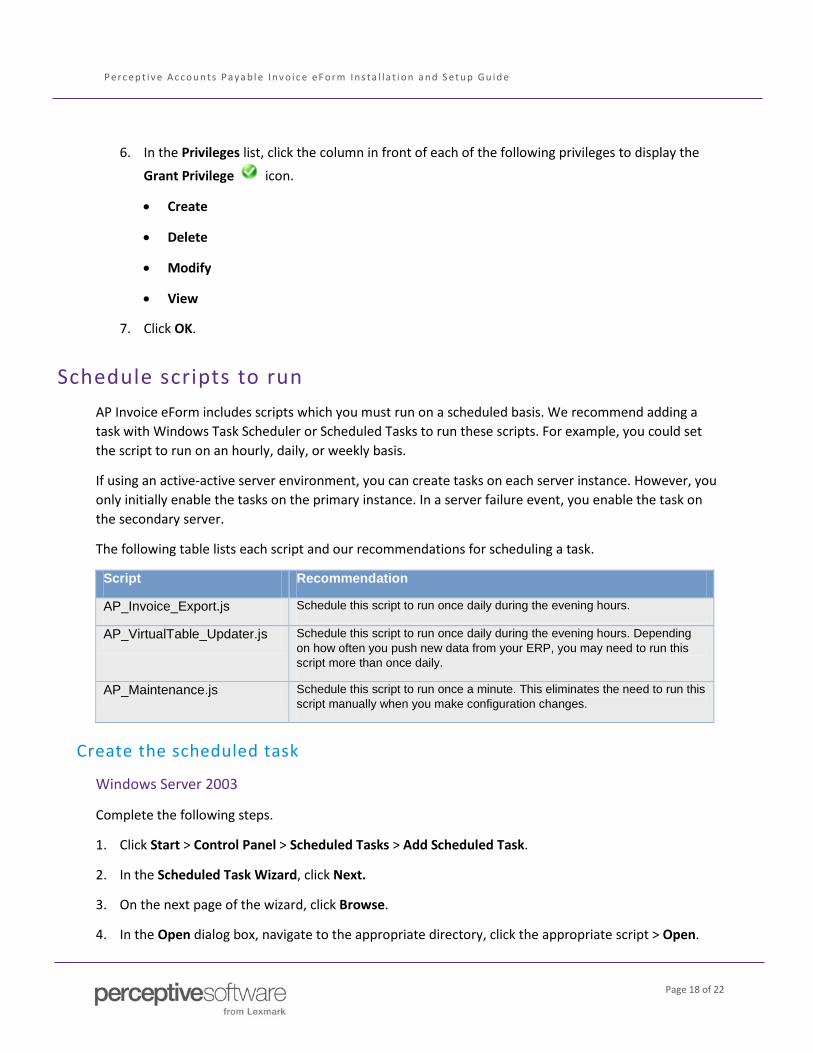
6. In the Privileges list, click the column in front of each of the following privileges to display the
Grant Privilege icon.
• Create
• Delete
• Modify
• View
7. Click OK.
Schedule scripts to run AP Invoice eForm includes scripts which you must run on a scheduled basis. We recommend adding a task with Windows Task Scheduler or Scheduled Tasks to run these scripts. For example, you could set the script to run on an hourly, daily, or weekly basis.
If using an active-active server environment, you can create tasks on each server instance. However, you only initially enable the tasks on the primary instance. In a server failure event, you enable the task on the secondary server.
The following table lists each script and our recommendations for scheduling a task.
Create the scheduled task
Windows Server 2003
Complete the following steps.
1. Click Start > Control Panel > Scheduled Tasks > Add Scheduled Task.
2. In the Scheduled Task Wizard, click Next.
3. On the next page of the wizard, click Browse.
4. In the Open dialog box, navigate to the appropriate directory, click the appropriate script > Open.
Script Recommendation
AP_Invoice_Export.js Schedule this script to run once daily during the evening hours.
AP_VirtualTable_Updater.js Schedule this script to run once daily during the evening hours. Depending on how often you push new data from your ERP, you may need to run this script more than once daily.
AP_Maintenance.js Schedule this script to run once a minute. This eliminates the need to run this script manually when you make configuration changes.

P e r c e p t i v e A c c o u n ts P a y a b l e I n v o i c e e F o r m I n s ta l l a t i o n a n d S e t u p G u i d e
Page 19 of 22
5. On the next page of the wizard, type a name for the task, such as Run AP_Maintenance.js, click the preferred length of time, such as Daily > Next.
6. On the next page of the wizard, accept the defaults and click Next.
P e r c e p t i v e A c c o u n ts P a y a b l e I n v o i c e e F o r m I n s ta l l a t i o n a n d S e t u p G u i d e
Page 20 of 22
7. On the next page of the wizard, complete the following substeps.
1. In the Enter the user name box, type <computer name>\<username>.
2. In the Enter the password box, enter the user password.
3. In the Confirm password box, enter the user password and click Next
4. Select Open advanced properties for this task when I click Finish > Finish.
8. In the <Task name> dialog box, on the Schedule tab, click Advanced.
Note In an active-active server environment, select the Enabled check box when you schedule the task on the primary node. Clear the Enabled check box when you schedule the task on each secondary node.
9. In the Advanced Schedule Options dialog box, complete the following substeps.
1. Select Repeat task.
2. In the Every box, type the number and select the appropriate duration from the list. For example, type 10 and select minutes to run the script every 10 minutes.
3. Select Duration.
4. In the hour(s) box, type 24.
5. Click OK.
10. Click OK.
Windows Server 2008
Complete the following steps.
1. Click Start > Server Manager.
2. In the Server Manager window, in the left pane, expand the Configuration tree and click Task Scheduler.
3. In the right pane, click Create Task.
4. In the Create Task window, on the General tab, complete the following substeps.
1. In the Name box, type a name for the task, such as Run AP_Maintenance.js.
2. Optional. In the Description box, type a description for this task.
3. Under Security Options, complete the following substeps.
1. Click Change User or Group,

P e r c e p t i v e A c c o u n ts P a y a b l e I n v o i c e e F o r m I n s ta l l a t i o n a n d S e t u p G u i d e
Page 21 of 22
2. In the Change User or Group dialog box, in the Enter the object names to select (examples) box, type <computer name>\<username> and click Check Names.
3. Click OK.
4. Select Run whether user is logged on or not.
P e r c e p t i v e A c c o u n ts P a y a b l e I n v o i c e e F o r m I n s ta l l a t i o n a n d S e t u p G u i d e
Page 22 of 22
5. On the Triggers tab, complete the following substeps.
1. Click New.
2. In the New Trigger dialog box, complete the following substeps.
1. From the Begin the task list, click On a Schedule.
2. Under Settings, click Daily.
3. Under Advanced settings, click Repeat task every > the appropriate time frame from the list.
4. Click OK.
5. Optional. In an active-active server environment, select the Enabled check box when you schedule the task on the primary node. Clear the Enabled check box when you schedule the task on each secondary node.
3. Click OK.
6. On the Action tab, complete the following substeps:
1. Click New.
2. In the New Action dialog box, complete the following substeps:
1. From the Action list, click Start a program.
2. Under Settings, click Browse.
3. In the Open dialog box, navigate to the appropriate directory, click the appropriate script > Open.
4. Click OK.
3. Click OK.
7. To create the task, in the Create Task dialog box, click OK.