Embed Size (px)
Citation preview
Insane Audio Universal Camera
Installation Guide for Jeep Wrangler '07-'16 2-Door JK
Installation Time: 1.5 Hours
Tools Required:
✓ Box Cutter/Knife
✓ 7mm Socket
✓ 10mm Socket
✓ Socket Wrench
✓ Philips Head Screwdriver
✓ Wire Taps
Installation Instructions:
Note: This product requires the Insane Audio Head Unit or another comparable head unit with RCA outputs.
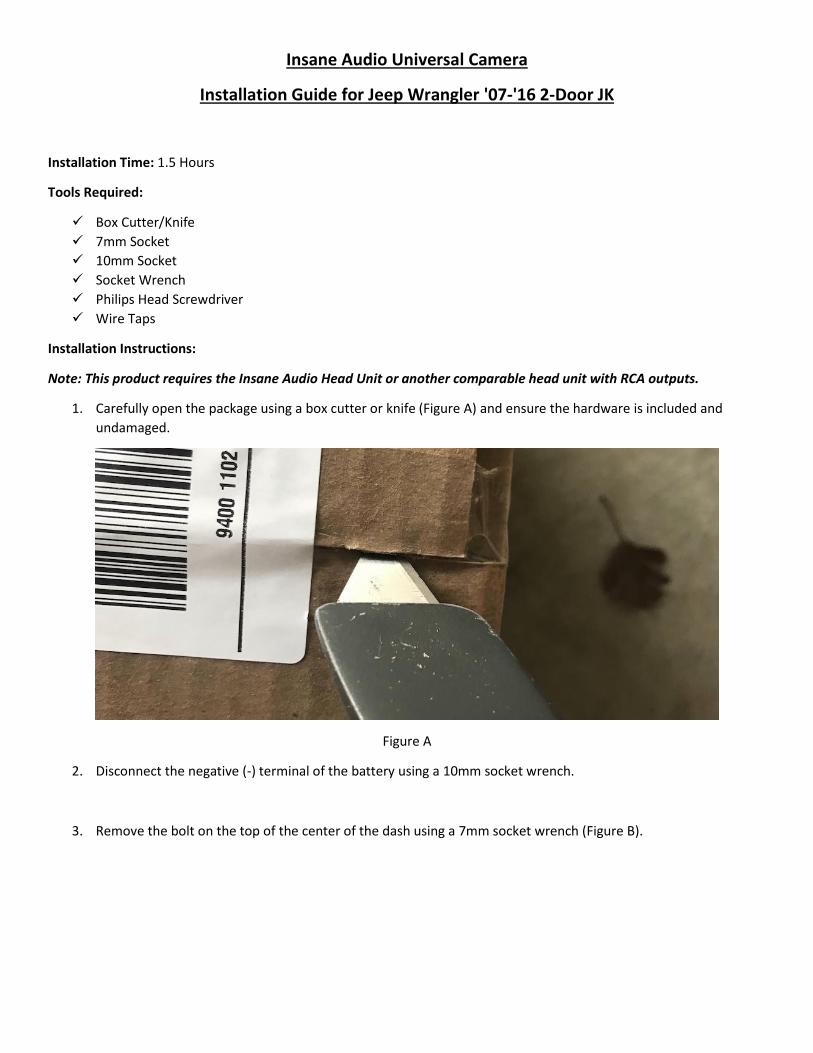
1. Carefully open the package using a box cutter or knife (Figure A) and ensure the hardware is included and
undamaged.
Figure A
2. Disconnect the negative (-) terminal of the battery using a 10mm socket wrench.
3. Remove the bolt on the top of the center of the dash using a 7mm socket wrench (Figure B).
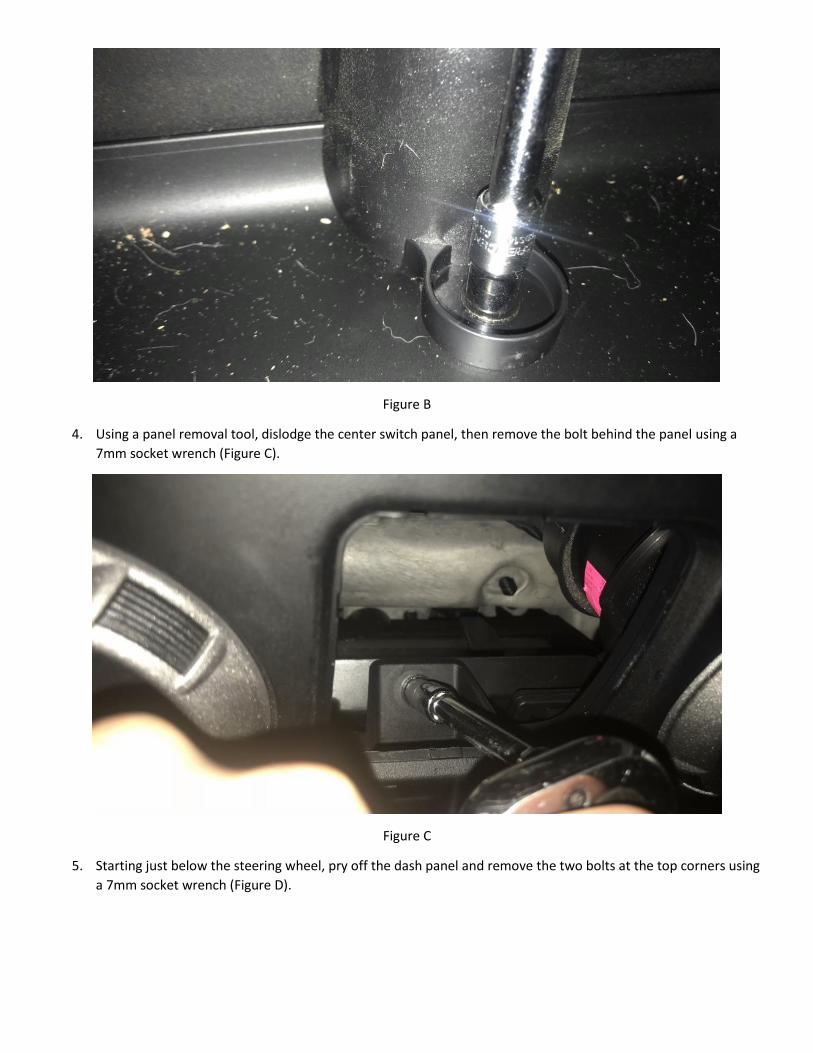
Figure B
4. Using a panel removal tool, dislodge the center switch panel, then remove the bolt behind the panel using a
7mm socket wrench (Figure C).
Figure C
5. Starting just below the steering wheel, pry off the dash panel and remove the two bolts at the top corners using
a 7mm socket wrench (Figure D).
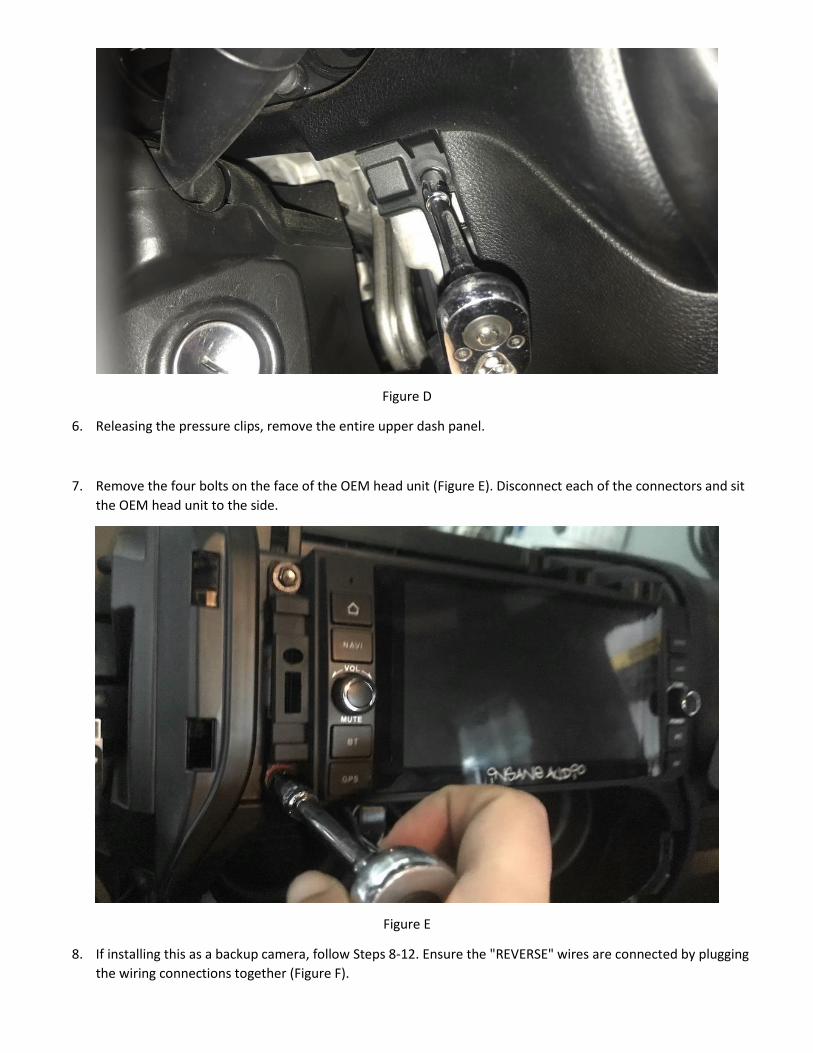
Figure D
6. Releasing the pressure clips, remove the entire upper dash panel.
7. Remove the four bolts on the face of the OEM head unit (Figure E). Disconnect each of the connectors and sit
the OEM head unit to the side.
Figure E
8. If installing this as a backup camera, follow Steps 8-12. Ensure the "REVERSE" wires are connected by plugging
the wiring connections together (Figure F).
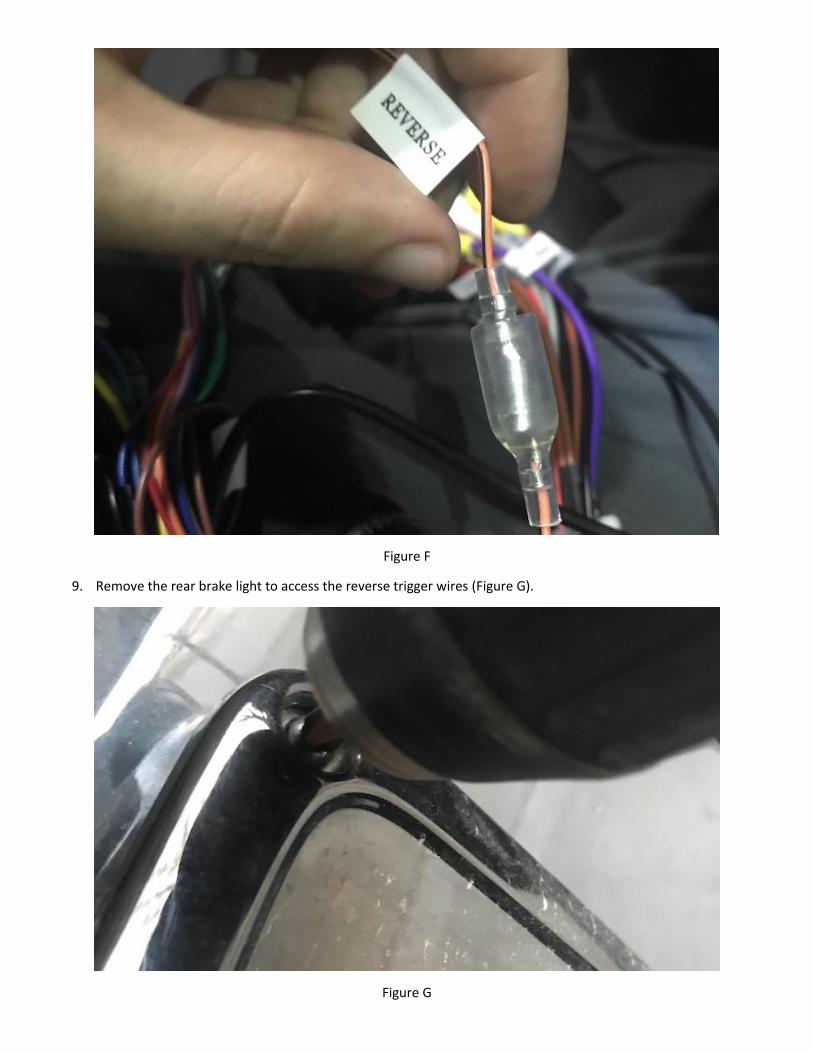
Figure F
9. Remove the rear brake light to access the reverse trigger wires (Figure G).
Figure G

10. Tap into the reverse wire and ground wire using the supplied power wiring (black on one end, a black and a red
stripped wire on the other) (Figure H).
Figure H
11. Replace the rear brake light.
12. Connect to the "CAM IN" wire in the rear of the head unit (Figure I).
Figure I
13. Connect the power wire to the red end of the camera wiring harness (Figure J).
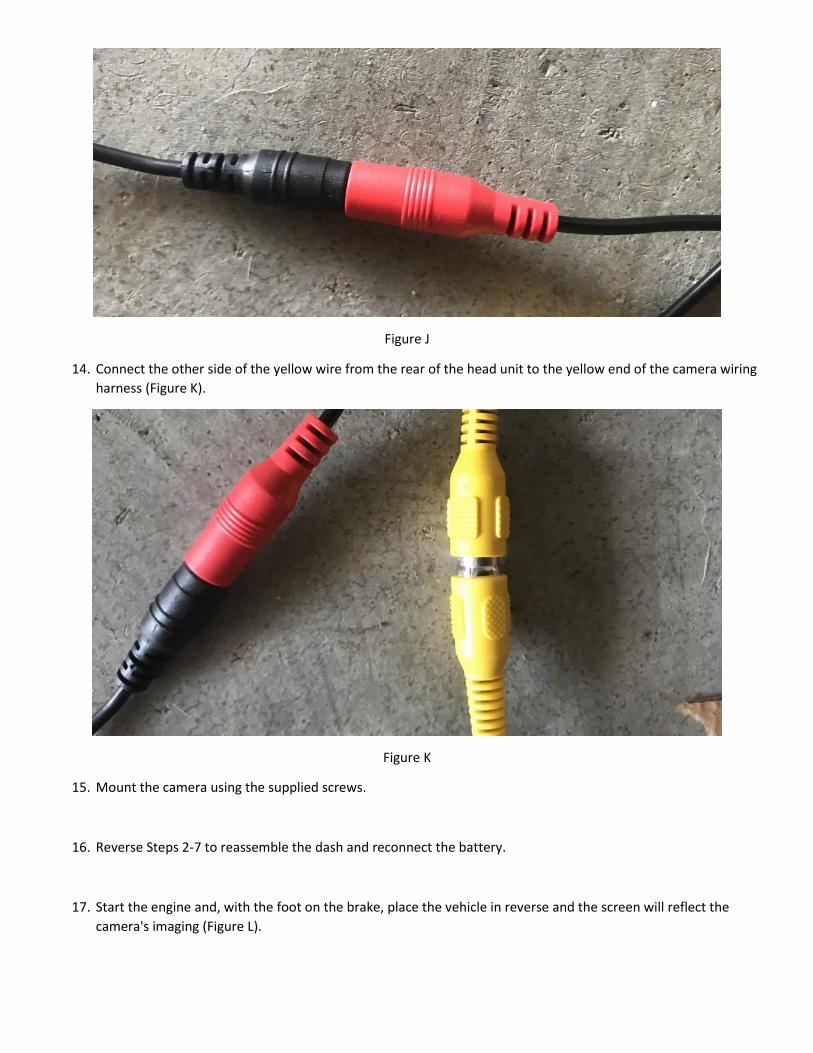
Figure J
14. Connect the other side of the yellow wire from the rear of the head unit to the yellow end of the camera wiring
harness (Figure K).
Figure K
15. Mount the camera using the supplied screws.
16. Reverse Steps 2-7 to reassemble the dash and reconnect the battery.
17. Start the engine and, with the foot on the brake, place the vehicle in reverse and the screen will reflect the
camera's imaging (Figure L).

Figure L
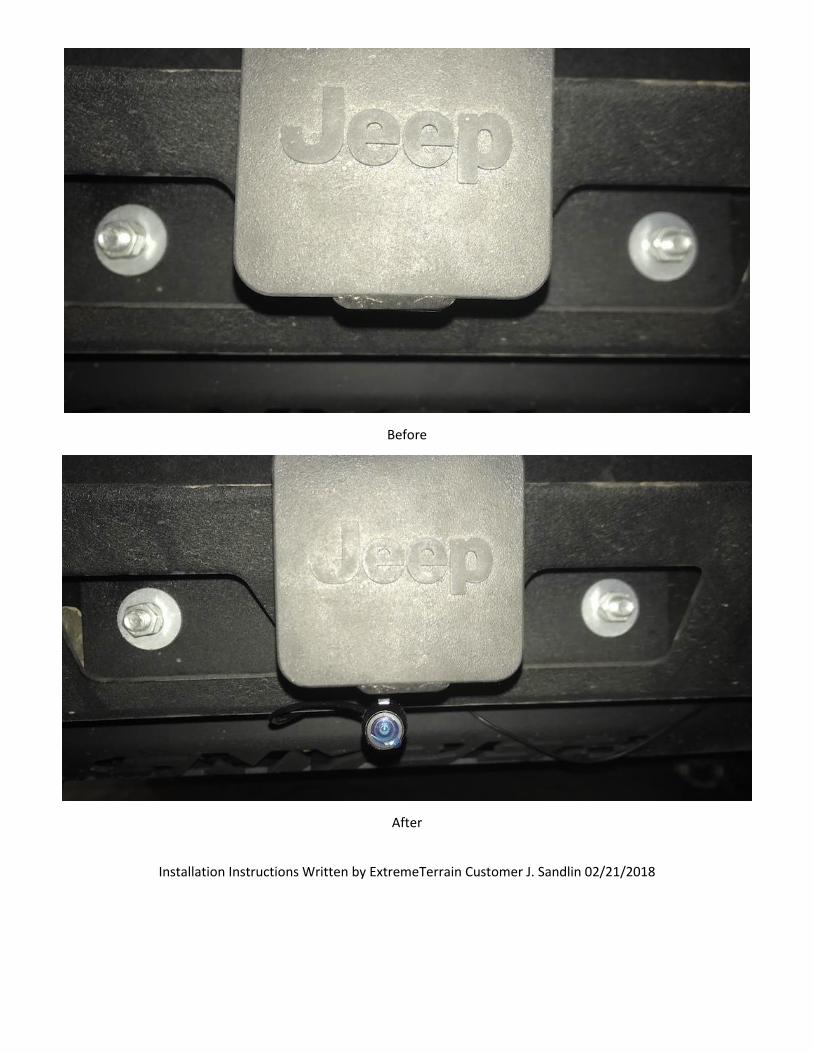
Before
After
Installation Instructions Written by ExtremeTerrain Customer J. Sandlin 02/21/2018