Embed Size (px)
Citation preview
IST541 Interactive Media
1
Image Maps and Hot Spot Activities
As you have learned from this week’s resources, an “Image Map” makes it possible to define multiple clickable areas within an image. The most common use of image maps is to associate each clickable area with a web address, which opens up in a new window when clicking on it. However, it is also possible to execute a JavaScript or jQuery function when clicking on each area, creating in this way a hot spot activity. In this tutorial, we will create a web page that includes a hot spot activity using an image map. A demo of this web page is located at: http://itcdland.csumb.edu/~milara/ist541/samples/hotspot/ (Notice that the mouse cursor changes automatically to a pointer when hovering over the USA, China, and India. Also, notice that a tooltip displaying the country name shows up for a few seconds when hovering over these countries.) Section 1: Preparing the Folder Structure 1. In your local computer, create a folder called “hotspot”
2. Inside this folder, create the folders: css, js, and img
3. Download the world map from the following link and save it within the “img” folder: http://itcdland.csumb.edu/~milara/ist541/samples/hotspot/img/world_map.png
4. Create a new HTML file called hotspot.html and save it within the “hotspot” folder.
Section 2: Writing the HTML Content
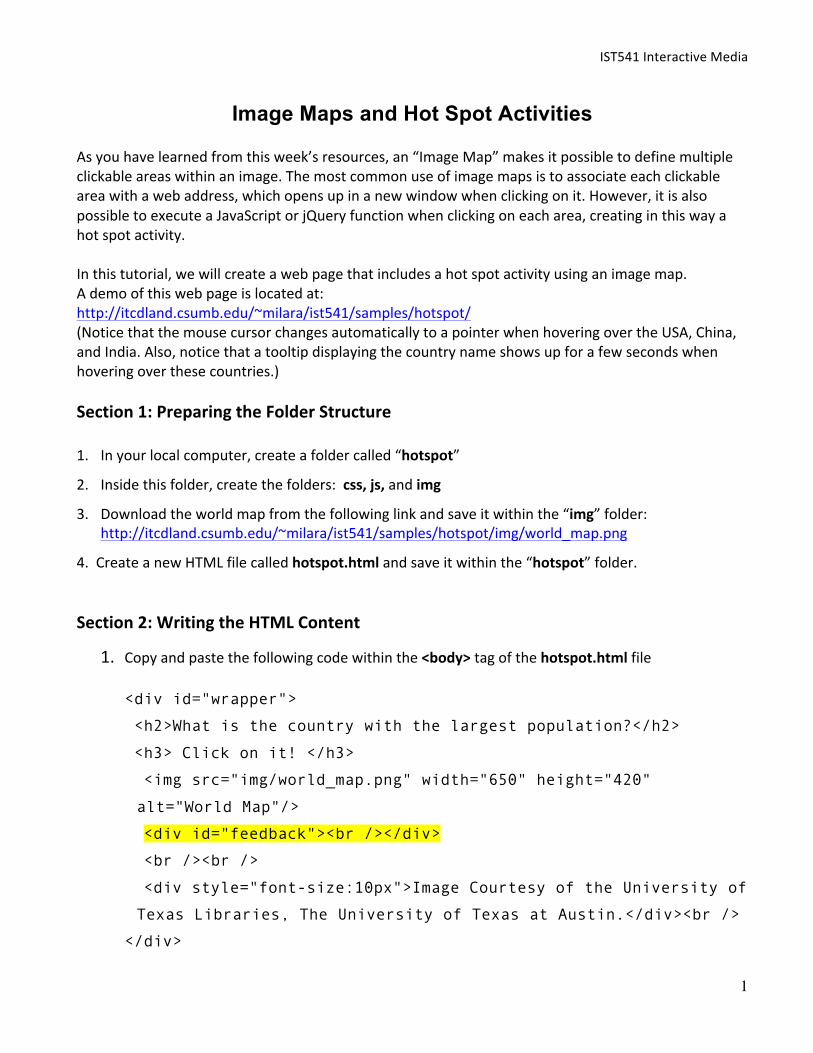
1. Copy and paste the following code within the <body> tag of the hotspot.html file <div id="wrapper">
<h2>What is the country with the largest population?</h2>
<h3> Click on it! </h3>
<img src="img/world_map.png" width="650" height="420"
alt="World Map"/>
<div id="feedback"><br /></div>
<br /><br />
<div style="font-size:10px">Image Courtesy of the University of
Texas Libraries, The University of Texas at Austin.</div><br />
</div>
IST541 Interactive Media
2
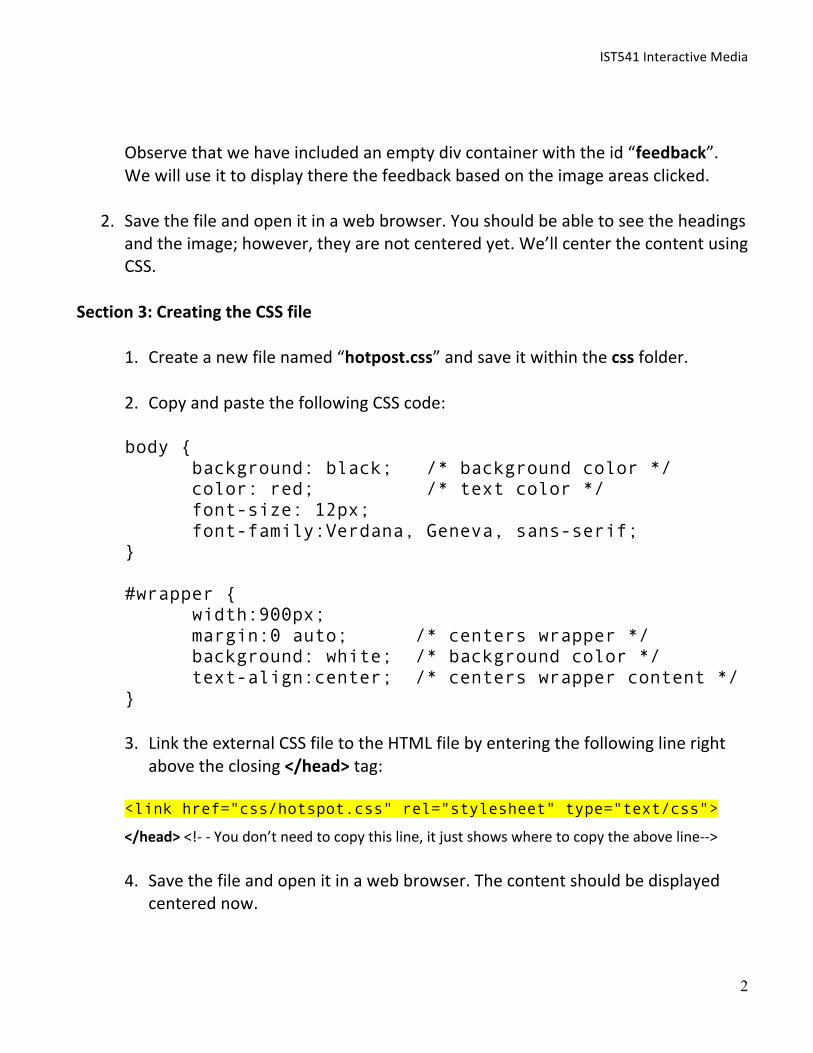
Observe that we have included an empty div container with the id “feedback”. We will use it to display there the feedback based on the image areas clicked.
2. Save the file and open it in a web browser. You should be able to see the headings and the image; however, they are not centered yet. We’ll center the content using CSS.
Section 3: Creating the CSS file
1. Create a new file named “hotpost.css” and save it within the css folder.
2. Copy and paste the following CSS code:
body { background: black; /* background color */ color: red; /* text color */ font-size: 12px; font-family:Verdana, Geneva, sans-serif; } #wrapper { width:900px; margin:0 auto; /* centers wrapper */ background: white; /* background color */ text-align:center; /* centers wrapper content */ } 3. Link the external CSS file to the HTML file by entering the following line right
above the closing </head> tag:
<link href="css/hotspot.css" rel="stylesheet" type="text/css">
</head> <!-‐ -‐ You don’t need to copy this line, it just shows where to copy the above line-‐-‐>
4. Save the file and open it in a web browser. The content should be displayed centered now.
IST541 Interactive Media
3
Section 4: Adding the Image Map Areas Now, we will outline three clickable areas in the world map using Dreamweaver. Make sure you have watched the following video, which explains how to create image maps in Dreamweaver, before moving on: http://www.youtube.com/watch?v=seWbi5UE4o4
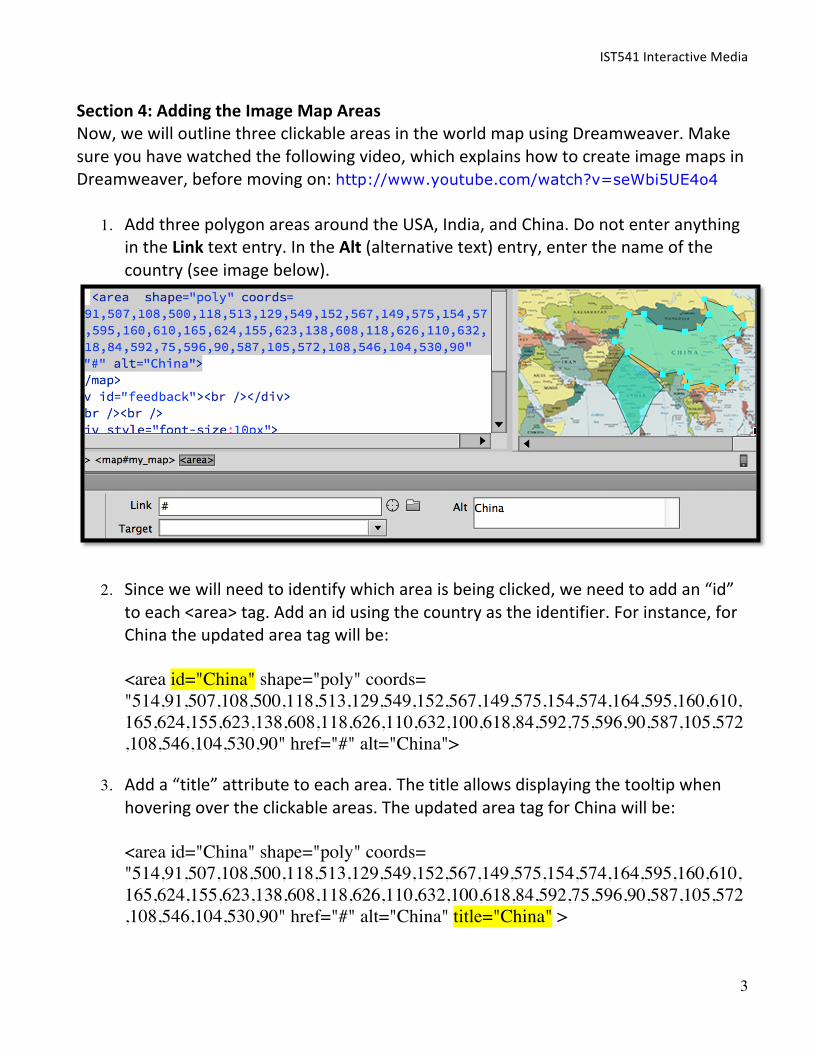
1. Add three polygon areas around the USA, India, and China. Do not enter anything in the Link text entry. In the Alt (alternative text) entry, enter the name of the country (see image below).
2. Since we will need to identify which area is being clicked, we need to add an “id” to each <area> tag. Add an id using the country as the identifier. For instance, for China the updated area tag will be: <area id="China" shape="poly" coords= "514,91,507,108,500,118,513,129,549,152,567,149,575,154,574,164,595,160,610,165,624,155,623,138,608,118,626,110,632,100,618,84,592,75,596,90,587,105,572,108,546,104,530,90" href="#" alt="China">
3. Add a “title” attribute to each area. The title allows displaying the tooltip when hovering over the clickable areas. The updated area tag for China will be: <area id="China" shape="poly" coords= "514,91,507,108,500,118,513,129,549,152,567,149,575,154,574,164,595,160,610,165,624,155,623,138,608,118,626,110,632,100,618,84,592,75,596,90,587,105,572,108,546,104,530,90" href="#" alt="China" title="China" >
IST541 Interactive Media
4
4. Save the file and open it in a browser. Hover over the three different clickable areas to confirm that the tooltip appears for a few seconds. So far, nothing will happen when clicking on any of the three areas. We need to add a jQuery function that will check and evaluate which area was clicked on and then display the appropriate feedback.
Section 4: Writing the jQuery Code to Handle Clicking on the Image Map Areas In previous labs, we have written the jQuery code within the HTML file itself. While this is possible, a more appropriate way is to have all the jQuery code in an external file and then link to it from the HTML file (similar to the CSS files).
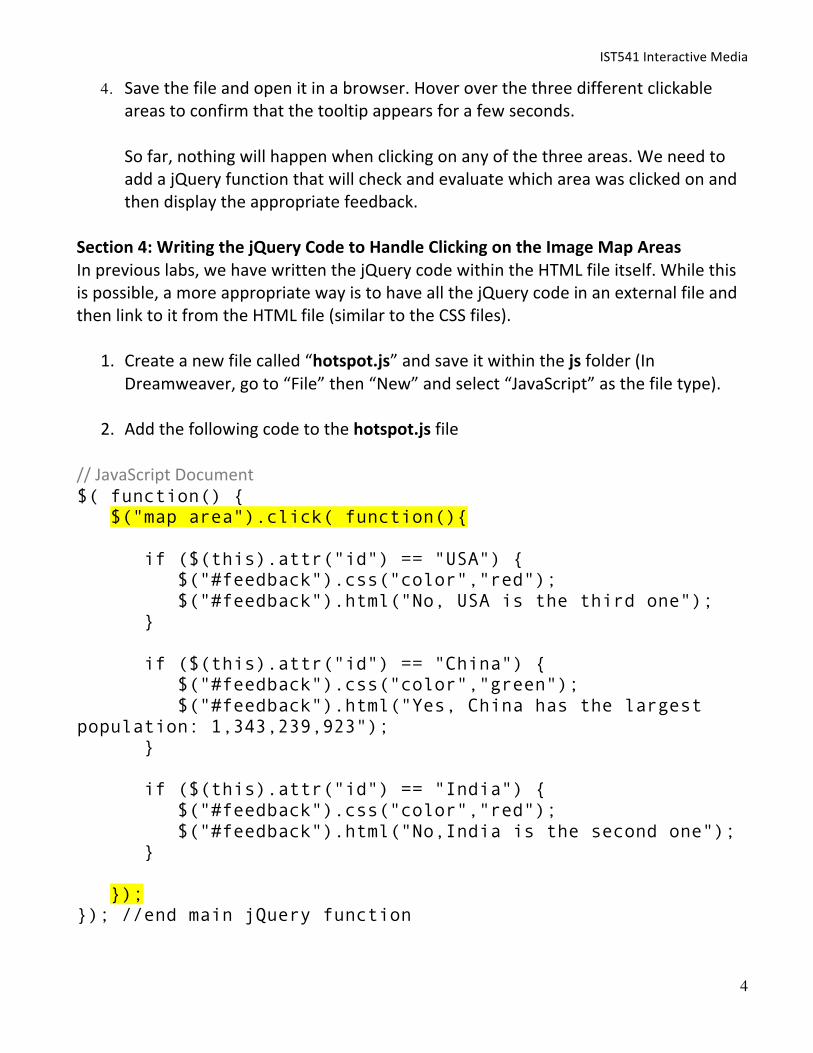
1. Create a new file called “hotspot.js” and save it within the js folder (In Dreamweaver, go to “File” then “New” and select “JavaScript” as the file type).
2. Add the following code to the hotspot.js file // JavaScript Document $( function() { $("map area").click( function(){ if ($(this).attr("id") == "USA") { $("#feedback").css("color","red"); $("#feedback").html("No, USA is the third one"); } if ($(this).attr("id") == "China") { $("#feedback").css("color","green"); $("#feedback").html("Yes, China has the largest population: 1,343,239,923"); } if ($(this).attr("id") == "India") { $("#feedback").css("color","red"); $("#feedback").html("No,India is the second one"); } }); }); //end main jQuery function
IST541 Interactive Media
5
Let’s analyze the jQuery code:
The code is surrounded by the main jQuery function -‐ $(function() {
The second line (highlighted in yellow) indicates that the code will be executed when clicking on a “map area”, that is, any <area> tag included within a <map> tag. The code surrounded by the highlighted lines includes three conditions that check the id of the map area that was clicked on. If the id is not the right answer (“China”), then we are changing to red the font color of the “feedback” div container: $("#feedback").css("color","red"); We are also updating the content of the “feedback” div container:
$("#feedback").html("No, USA is the third one");
3. Add a link to the jQuery library and also a link to the hotspot.js file. To do this,
copy and paste the following two lines right above the closing </head> tag:
<script src="http://code.jquery.com/jquery-2.1.0.min.js"></script> <script src="js/hotspot.js"></script>
4. Save the files and open the hotspot.html file in a web browser. When clicking on any of the map areas, the corresponding feedback should be displayed.
If nothing is happening when clicking on the world map:
1) Make sure you have saved the “hotspot.js” file within the js folder and that you’re linking it properly as indicated on step 3 above (the file name is case sensitive).
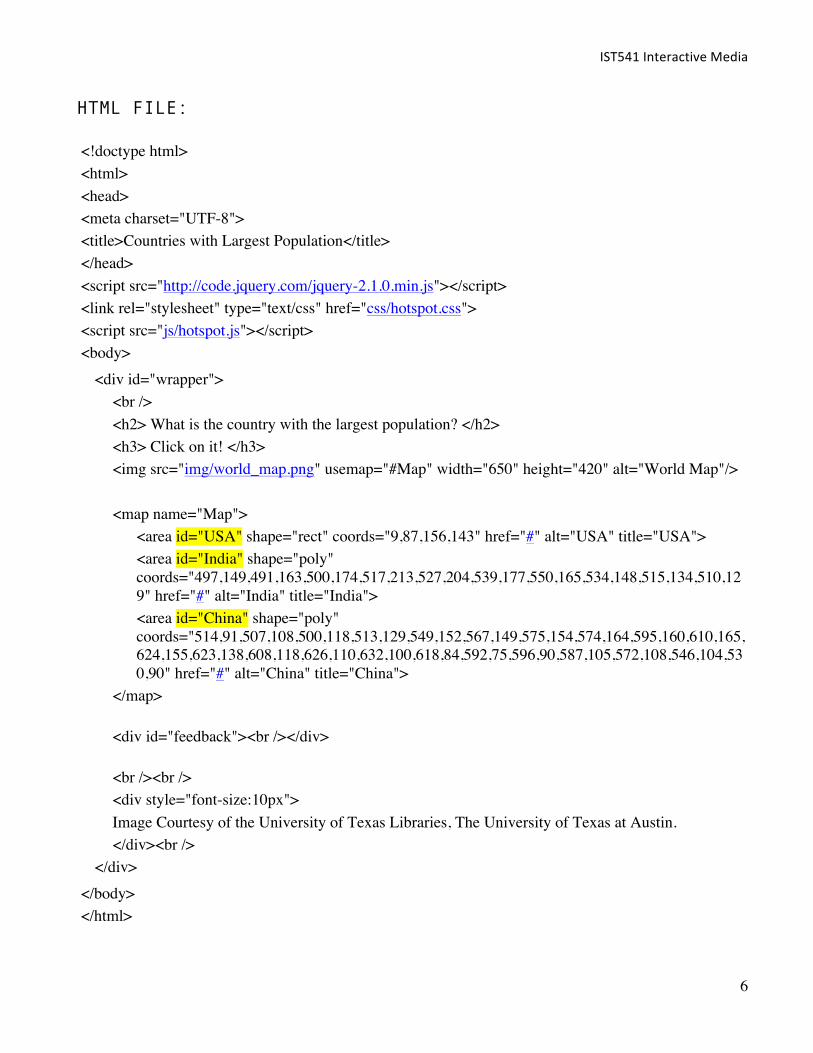
2) Confirm that you have added an “id” to each map area in the HTML code (see the highlighted sections in the following HTML code)
IST541 Interactive Media
6
HTML FILE:
<!doctype html>
<html>
<head>
<meta charset="UTF-8">
<title>Countries with Largest Population</title>
</head>
<script src="http://code.jquery.com/jquery-2.1.0.min.js"></script>
<link rel="stylesheet" type="text/css" href="css/hotspot.css">
<script src="js/hotspot.js"></script>
<body> <div id="wrapper">
<br />
<h2> What is the country with the largest population? </h2>
<h3> Click on it! </h3>
<img src="img/world_map.png" usemap="#Map" width="650" height="420" alt="World Map"/>
<map name="Map">
<area id="USA" shape="rect" coords="9,87,156,143" href="#" alt="USA" title="USA">
<area id="India" shape="poly" coords="497,149,491,163,500,174,517,213,527,204,539,177,550,165,534,148,515,134,510,129" href="#" alt="India" title="India">
<area id="China" shape="poly" coords="514,91,507,108,500,118,513,129,549,152,567,149,575,154,574,164,595,160,610,165,624,155,623,138,608,118,626,110,632,100,618,84,592,75,596,90,587,105,572,108,546,104,530,90" href="#" alt="China" title="China">
</map>
<div id="feedback"><br /></div>
<br /><br />
<div style="font-size:10px">
Image Courtesy of the University of Texas Libraries, The University of Texas at Austin.
</div><br />
</div> </body>
</html>