Embed Size (px)
Citation preview
Upgrading to VMwareIdentity Manager 3.2.0.1(Linux)MAY 2018VMware Identity Manager 3.2
Upgrading to VMware Identity Manager 3.2.0.1 (Linux)
VMware, Inc. 2
You can find the most up-to-date technical documentation on the VMware website at:
https://docs.vmware.com/
If you have comments about this documentation, submit your feedback to
Copyright © 2018 VMware, Inc. All rights reserved. Copyright and trademark information.
VMware, Inc.3401 Hillview Ave.Palo Alto, CA 94304www.vmware.com
Contents
Upgrading to VMware Identity Manager 3.2.0.1 (Linux) 4
1 About Upgrading to VMware Identity Manager 3.2.0.1 (Linux) 5
Upgrading a Cluster 6
2 Check for Elasticsearch Mapping Conflicts 8
3 Upgrading VMware Identity Manager Online 10
Prerequisites for Online Upgrade 10
Configure Proxy Server Settings for the VMware Identity Manager Appliance 11
Check for the Availability of a VMware Identity Manager Upgrade Online 12
Perform an Online Upgrade to the Latest Version 12
Performing an Online Upgrade to a Specific Version 13
4 Upgrading VMware Identity Manager Offline 15
Prerequisites for Offline Upgrade 15
Using a Local Web Server for Offline Upgrade 16
Using the updateoffline.hzn Script for Offline Upgrade 18
5 Post-Upgrade Configuration 20
6 Troubleshooting Upgrade Errors 28
Checking the Upgrade Error Logs 28
Rolling Back to Snapshots of VMware Identity Manager 28
Collecting a Log File Bundle 29
VMware, Inc. 3
Upgrading to VMware Identity Manager3.2.0.1 (Linux)
Upgrading to VMware Identity Manager 3.2.0.1 (Linux) describes how to upgrade the Linux-basedVMware Identity Manager virtual appliance to version 3.2.0.1 from earlier versions.
If you would prefer to do a fresh installation, see VMware Identity Manager Installation and Configuration(Linux) and Deploying VMware Identity Manager in the DMZ. Remember that a new installation does notpreserve your existing configurations.
For information about upgrading VMware Identity Manager on Windows, see Upgrading to VMwareIdentity Manager for Windows 3.2.0.1.
Intended AudienceThis information is intended for anyone who installs, upgrades, and configures VMware Identity Manager.The information is written for experienced system administrators who are familiar with virtual machinetechnology.
VMware Technical Publications GlossaryVMware Technical Publications provides a glossary of terms that might be unfamiliar to you. Fordefinitions of terms as they are used in VMware technical documentation, go to http://www.vmware.com/support/pubs.
VMware, Inc. 4
About Upgrading toVMware Identity Manager 3.2.0.1(Linux) 1The following upgrade paths and scenarios are supported.
Supported Upgrade PathsThe following upgrade paths are supported:
n From version 3.1 or 3.2 to version 3.2.0.1
To upgrade from a version prior to 3.1, you must first upgrade to version 3.1 or 3.2, and then upgradefrom 3.1 or 3.2 to 3.2.0.1. When you perform an online upgrade, the latest version to which upgrade ispermitted appears. Upgrade to the allowed version and then upgrade to 3.2.0.1.
Compatibility with AirWatchIf you upgrade to AirWatch 9.2.x or later, you must also upgrade VMware Identity Manager to version 3.x.AirWatch 9.2.x and later are not compatible with earlier versions of VMware Identity Manager.
You can use VMware Identity Manager 3.x with earlier versions of AirWatch. Using the latest availableversion of the products is recommended.
Elasticsearch MigrationElasticsearch, a search and analytics engine, is embedded in VMware Identity Manager and is used forauditing, reports, and search. VMware Identity Manager 3.2.x includes Elasticsearch 2.3.5, while previousversions included Elasticsearch 1.75. During the upgrade to VMware Identity Manager 3.2.x,Elasticsearch records are migrated.
Before you upgrade to version 3.2.x, see:
n Chapter 2 Check for Elasticsearch Mapping Conflicts
n Chapter 5 Post-Upgrade Configuration
Internet ConnectivityYou can upgrade VMware Identity Manager online or offline.
VMware, Inc. 5
By default, the VMware Identity Manager appliance uses the VMware web site for the upgrade procedure,which requires the appliance to have Internet connectivity. You must also configure proxy server settingsfor the appliance, if applicable.
If your virtual appliance does not have Internet connectivity, you can perform the upgrade offline. For anoffline upgrade, you download the upgrade package from My VMware. You can either use theupdateoffline.hzn script to perform the upgrade or set up a local Web server to host the upgrade file.
Upgrade Scenariosn If you have deployed a single VMware Identity Manager appliance, upgrade it online or offline as
described in Chapter 3 Upgrading VMware Identity Manager Online or Chapter 4 Upgrading VMwareIdentity Manager Offline.
Note Expect some downtime because all services are stopped during the upgrade. Plan the timingof your upgrade accordingly.
n If you have deployed multiple VMware Identity Manager virtual appliances in a cluster for failover orhigh availability, see Upgrading a Cluster.
n To upgrade VMware Identity Manager with no downtime in a multi-data center deployment scenario,see "Upgrading VMware Identity Manager with No Downtime" in Installing and Configuring VMwareIdentity Manager.
Upgrading a ClusterIf you have deployed multiple VMware Identity Manager virtual appliances in a cluster for failover or highavailability, you can upgrade the nodes one at a time. Expect some downtime during upgrade and planthe timing of your upgrade accordingly.
Procedure
1 Take snapshots of the database and the VMware Identity Manager nodes.
2 Remove all nodes except one from the load balancer.
3 Upgrade the node that is still connected to the load balancer.
Follow the process for an online or offline upgrade, as described in Chapter 3 Upgrading VMwareIdentity Manager Online or Chapter 4 Upgrading VMware Identity Manager Offline.
Important Expect some downtime during the upgrade process.
4 After the node is upgraded, leave it connected to the load balancer.
This ensures that the VMware Identity Manager service is available while you upgrade the othernodes.
5 Upgrade the other nodes one at a time.
Upgrading to VMware Identity Manager 3.2.0.1 (Linux)
VMware, Inc. 6
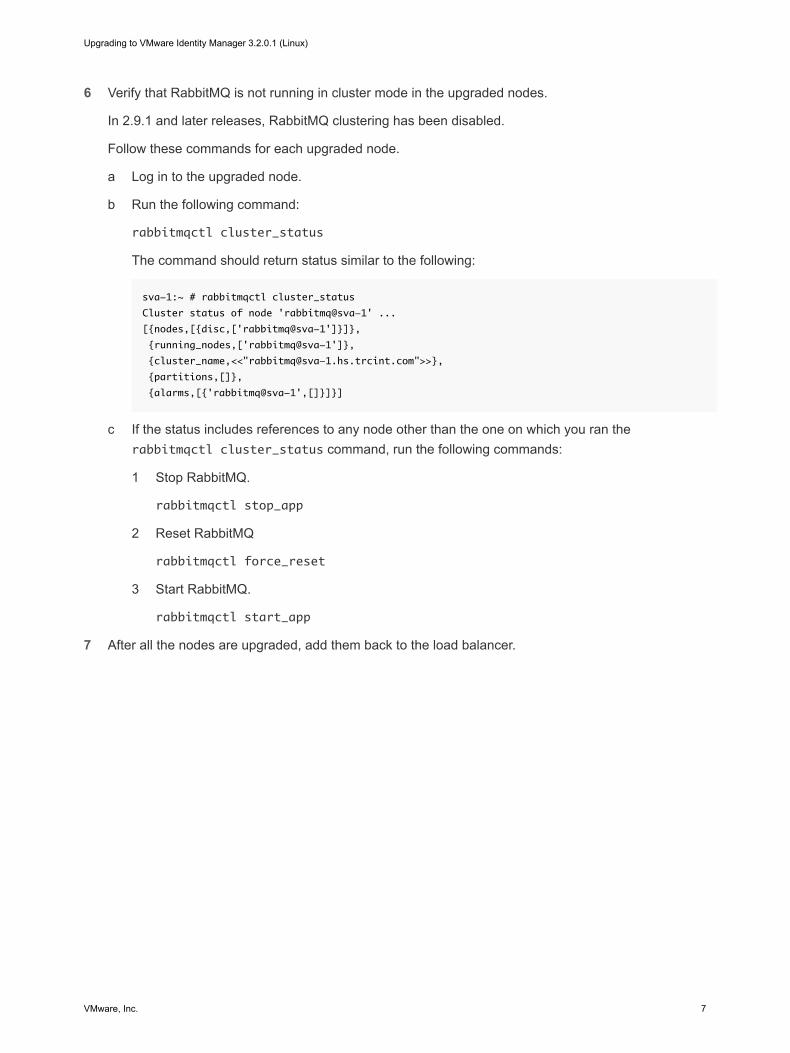
6 Verify that RabbitMQ is not running in cluster mode in the upgraded nodes.
In 2.9.1 and later releases, RabbitMQ clustering has been disabled.
Follow these commands for each upgraded node.
a Log in to the upgraded node.
b Run the following command:
rabbitmqctl cluster_status
The command should return status similar to the following:
sva-1:~ # rabbitmqctl cluster_status
Cluster status of node 'rabbitmq@sva-1' ...
[{nodes,[{disc,['rabbitmq@sva-1']}]},
{running_nodes,['rabbitmq@sva-1']},
{cluster_name,<<"[email protected]">>},
{partitions,[]},
{alarms,[{'rabbitmq@sva-1',[]}]}]
c If the status includes references to any node other than the one on which you ran therabbitmqctl cluster_status command, run the following commands:
1 Stop RabbitMQ.
rabbitmqctl stop_app
2 Reset RabbitMQ
rabbitmqctl force_reset
3 Start RabbitMQ.
rabbitmqctl start_app
7 After all the nodes are upgraded, add them back to the load balancer.
Upgrading to VMware Identity Manager 3.2.0.1 (Linux)
VMware, Inc. 7
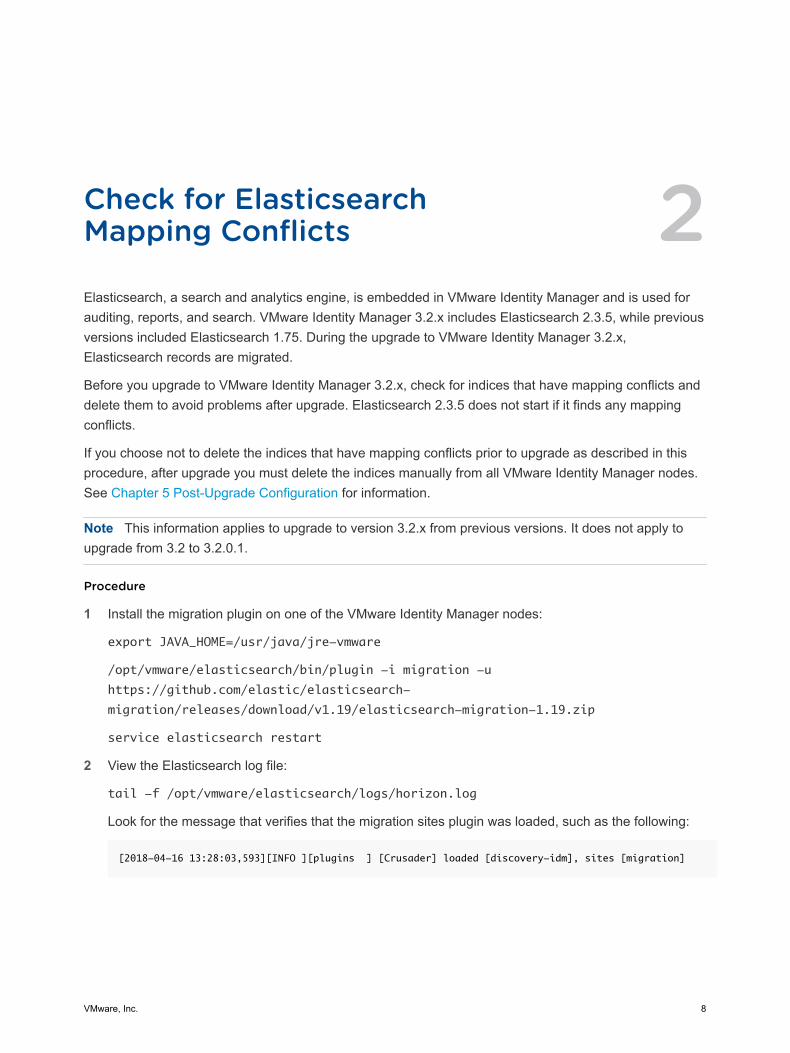
Check for ElasticsearchMapping Conflicts 2Elasticsearch, a search and analytics engine, is embedded in VMware Identity Manager and is used forauditing, reports, and search. VMware Identity Manager 3.2.x includes Elasticsearch 2.3.5, while previousversions included Elasticsearch 1.75. During the upgrade to VMware Identity Manager 3.2.x,Elasticsearch records are migrated.
Before you upgrade to VMware Identity Manager 3.2.x, check for indices that have mapping conflicts anddelete them to avoid problems after upgrade. Elasticsearch 2.3.5 does not start if it finds any mappingconflicts.
If you choose not to delete the indices that have mapping conflicts prior to upgrade as described in thisprocedure, after upgrade you must delete the indices manually from all VMware Identity Manager nodes.See Chapter 5 Post-Upgrade Configuration for information.
Note This information applies to upgrade to version 3.2.x from previous versions. It does not apply toupgrade from 3.2 to 3.2.0.1.
Procedure
1 Install the migration plugin on one of the VMware Identity Manager nodes:
export JAVA_HOME=/usr/java/jre-vmware
/opt/vmware/elasticsearch/bin/plugin -i migration -u
https://github.com/elastic/elasticsearch-
migration/releases/download/v1.19/elasticsearch-migration-1.19.zip
service elasticsearch restart
2 View the Elasticsearch log file:
tail -f /opt/vmware/elasticsearch/logs/horizon.log
Look for the message that verifies that the migration sites plugin was loaded, such as the following:
[2018-04-16 13:28:03,593][INFO ][plugins ] [Crusader] loaded [discovery-idm], sites [migration]
VMware, Inc. 8
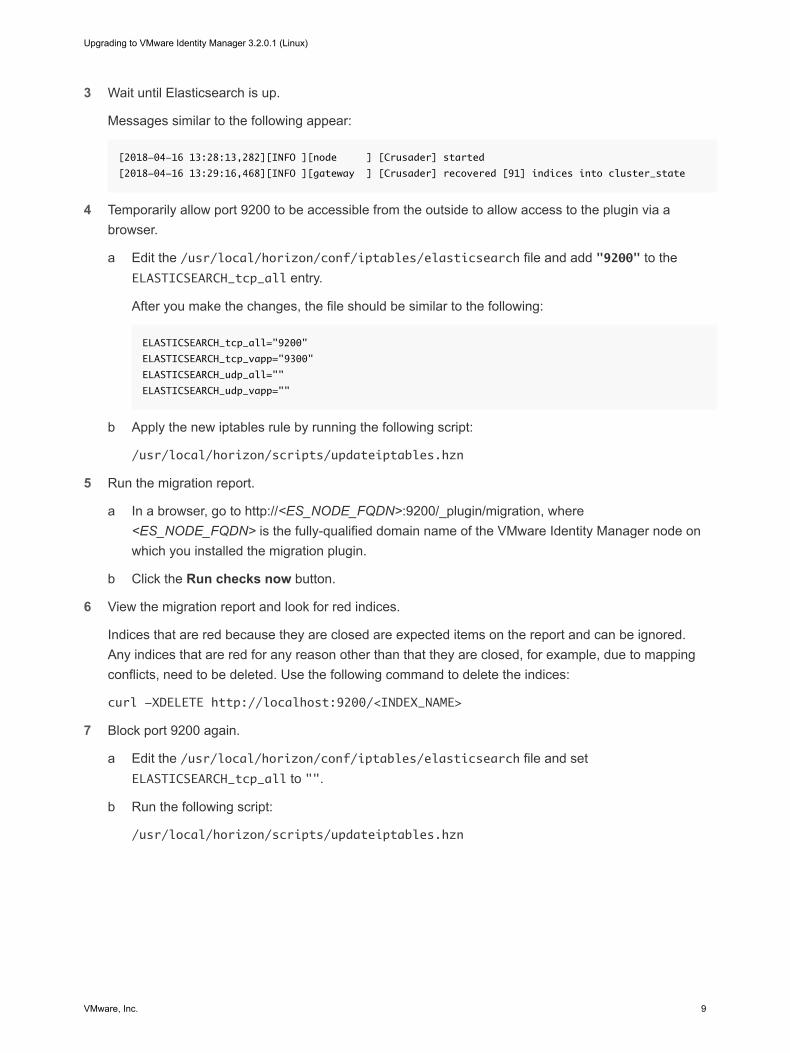
3 Wait until Elasticsearch is up.
Messages similar to the following appear:
[2018-04-16 13:28:13,282][INFO ][node ] [Crusader] started
[2018-04-16 13:29:16,468][INFO ][gateway ] [Crusader] recovered [91] indices into cluster_state
4 Temporarily allow port 9200 to be accessible from the outside to allow access to the plugin via abrowser.
a Edit the /usr/local/horizon/conf/iptables/elasticsearch file and add "9200" to theELASTICSEARCH_tcp_all entry.
After you make the changes, the file should be similar to the following:
ELASTICSEARCH_tcp_all="9200"
ELASTICSEARCH_tcp_vapp="9300"
ELASTICSEARCH_udp_all=""
ELASTICSEARCH_udp_vapp=""
b Apply the new iptables rule by running the following script:
/usr/local/horizon/scripts/updateiptables.hzn
5 Run the migration report.
a In a browser, go to http://<ES_NODE_FQDN>:9200/_plugin/migration, where<ES_NODE_FQDN> is the fully-qualified domain name of the VMware Identity Manager node onwhich you installed the migration plugin.
b Click the Run checks now button.
6 View the migration report and look for red indices.
Indices that are red because they are closed are expected items on the report and can be ignored.Any indices that are red for any reason other than that they are closed, for example, due to mappingconflicts, need to be deleted. Use the following command to delete the indices:
curl -XDELETE http://localhost:9200/<INDEX_NAME>
7 Block port 9200 again.
a Edit the /usr/local/horizon/conf/iptables/elasticsearch file and setELASTICSEARCH_tcp_all to "".
b Run the following script:
/usr/local/horizon/scripts/updateiptables.hzn
Upgrading to VMware Identity Manager 3.2.0.1 (Linux)
VMware, Inc. 9
UpgradingVMware Identity ManagerOnline 3You can upgrade the VMware Identity Manager virtual appliance online. The virtual appliance must beable to connect to the Internet for an online upgrade.
This chapter includes the following topics:
n Prerequisites for Online Upgrade
n Configure Proxy Server Settings for the VMware Identity Manager Appliance
n Check for the Availability of a VMware Identity Manager Upgrade Online
n Perform an Online Upgrade to the Latest Version
n Performing an Online Upgrade to a Specific Version
Prerequisites for Online UpgradeBefore you upgrade the VMware Identity Manager virtual appliance online, perform these prerequisitetasks.
n Verify that at least 4 GB of disk space is available on the primary root partition of the virtual appliance.
n Take a snapshot of your virtual appliance to back it up. For information about how to take snapshots,see the vSphere documentation.
n If you revoked the db_owner role on the Microsoft SQL database, as described in https://docs.vmware.com/en/VMware-Identity-Manager/3.2/vidm-install/GUID-5B533EE2-8F6C-4716-A94A-8B7AA3F5BC75.html, you must add it back before performing the upgrade, otherwise upgradewill fail.
Add the db_owner role to the same user that was used during installation:
a Log in to the Microsoft SQL Server Management Studio as a user with sysadmin privileges.
b Connect to the database instance for VMware Identity Manager.
c Enter the following commands.
If you are using Windows Authentication mode, use the following commands:
USE <saasdb>;
ALTER ROLE db_owner ADD MEMBER <domain\username>; GO
VMware, Inc. 10
Make sure that you replace <saasdb> with your database name and <domain\username> withthe relevant domain and username.
If you are using SQL Server Authentication mode, use the following commands:
USE <saasdb>;
ALTER ROLE db_owner ADD MEMBER <loginusername>; GO
Make sure that you replace <saasdb> with your database name and <loginusername> with therelevant username.
n Take a snapshot or backup of the external database.
n Verify that VMware Identity Manager is properly configured.
n Verify that the virtual appliance can resolve and reach vapp-updates.vmware.com on ports 80 and443 over HTTP.
n If an HTTP proxy server is required for outbound HTTP access, configure the proxy server settingsfor the virtual appliance. See Configure Proxy Server Settings for the VMware Identity ManagerAppliance.
n Confirm that a VMware Identity Manager upgrade exists. Run the appropriate command to check forupgrades. See Check for the Availability of a VMware Identity Manager Upgrade Online.
n Before you upgrade, check for Elasticsearch mapping conflicts. See Chapter 2 Check forElasticsearch Mapping Conflicts.
Configure Proxy Server Settings for theVMware Identity Manager ApplianceThe VMware Identity Manager virtual appliance accesses the VMware update servers through theInternet. If your network configuration provides Internet access using an HTTP proxy, you must adjust theproxy settings for the appliance.
Enable your proxy to handle only Internet traffic. To ensure that the proxy is set up correctly, set theparameter for internal traffic to no-proxy within the domain.
Prerequisites
n Verify that you have the root password for the virtual appliance.
n Verify that you have the proxy server information.
Procedure
1 Log in to the VMware Identity Manager virtual appliance as the root user.
2 Enter YaST on the command line to run the YaST utility.
3 Select Network Services in the left pane, then select Proxy.
4 Enter the proxy server URLs in the HTTP Proxy URL and HTTPS Proxy URL fields.
Upgrading to VMware Identity Manager 3.2.0.1 (Linux)
VMware, Inc. 11
5 Select Finish and exit the YaST utility.
6 Restart the Tomcat server on the VMware Identity Manager virtual appliance to use the new proxysettings.
service horizon-workspace restart
The VMware update servers are now available to the VMware Identity Manager virtual appliance.
Check for the Availability of a VMware Identity ManagerUpgrade OnlineIf your VMware Identity Manager virtual appliance can connect to the Internet, you can check for theavailability of upgrades online from the appliance.
Procedure
1 Log in to the virtual appliance as the root user.
2 Run the following command to check for an online upgrade.
/usr/local/horizon/update/updatemgr.hzn check
Perform an Online Upgrade to the Latest VersionIf your VMware Identity Manager virtual appliance has Internet connectivity, you can upgrade theappliance online. Use these commands to upgrade to the latest available version.
To upgrade to a specific version instead of the latest available version, see Performing an Online Upgradeto a Specific Version.
Prerequisites
n Ensure that you meet the prerequisites listed in Prerequisites for Online Upgrade.
n Verify that the virtual appliance is powered on and functioning.
Procedure
1 Log in to the VMware Identity Manager virtual appliance as the root user.
2 Run the following updatemgr.hzn command.
/usr/local/horizon/update/updatemgr.hzn updateinstaller
3 Run the following command to check that on online upgrade exists.
/usr/local/horizon/update/updatemgr.hzn check
Upgrading to VMware Identity Manager 3.2.0.1 (Linux)
VMware, Inc. 12
4 Run the following command to update the appliance.
/usr/local/horizon/update/updatemgr.hzn update
Messages that occur during the upgrade are saved to the update.log fileat /opt/vmware/var/log/update.log.
5 Run the updatemgr.hzn check command again to verify that a newer update does not exist.
/usr/local/horizon/update/updatemgr.hzn check
6 Check the version of the upgraded appliance.
vamicli version --appliance
The new version is displayed.
7 Restart the virtual appliance.
reboot
The upgrade is complete.
Performing an Online Upgrade to a Specific VersionYou can perform an online upgrade of the VMware Identity Manager service to a specific version insteadof the latest available version, if required.
Note To upgrade to the latest available version, see Perform an Online Upgrade to the Latest Version.
Prerequisites
n Ensure that you meet the prerequisites listed in Prerequisites for Online Upgrade.
n Verify that the virtual appliance is powered on and functioning.
Procedure
1 Log in to the VMware Identity Manager virtual appliance as the root user.
2 Run the following updatemgr.hzn command.
/usr/local/horizon/update/updatemgr.hzn updateinstaller
3 Run the following command to update the appliance to a specific version.
/usr/local/horizon/update/configureupdate.hzn provider --url https://vapp-updates.vmware.com/vai-
catalog/valm/vmw/5C08B358-F782-11E1-8F08-78776188709B/newVersion
Upgrading to VMware Identity Manager 3.2.0.1 (Linux)
VMware, Inc. 13

where newVersion is the version to which you want to upgrade.
n To upgrade to version 2.9.2.1, use:
/usr/local/horizon/update/configureupdate.hzn provider --url https://vapp-
updates.vmware.com/vai-catalog/valm/vmw/5C08B358-F782-11E1-8F08-78776188709B/2.9.2.1
n To upgrade to version 3.1, use:
/usr/local/horizon/update/configureupdate.hzn provider --url https://vapp-
updates.vmware.com/vai-catalog/valm/vmw/5C08B358-F782-11E1-8F08-78776188709B/3.1.0.0
n To upgrade to version 3.2, use:
/usr/local/horizon/update/configureupdate.hzn provider --url https://vapp-
updates.vmware.com/vai-catalog/valm/vmw/5C08B358-F782-11E1-8F08-78776188709B/3.2.0.0
n To upgrade to version 3.2.0.1, use:
/usr/local/horizon/update/configureupdate.hzn provider --url https://vapp-
updates.vmware.com/vai-catalog/valm/vmw/5C08B358-F782-11E1-8F08-78776188709B/3.2.0.1
Messages that occur during the upgrade are saved to the update.log fileat /opt/vmware/var/log/update.log.
4 Check the version of the upgraded appliance.
vamicli version --appliance
The new version is displayed.
5 Restart the virtual appliance.
reboot
The upgrade is complete.
Upgrading to VMware Identity Manager 3.2.0.1 (Linux)
VMware, Inc. 14
Upgrading VMware IdentityManager Offline 4If your VMware Identity Manager virtual appliance cannot connect to the Internet for upgrade, you canperform an offline upgrade.
Two options are available for offline upgrade. You can set up an upgrade repository on a local Web serverand configure the appliance to use the local Web server for upgrade. Or you can download the upgradepackage to the VMware Identity Manager server and use the updateoffline.hzn script to upgrade.
This chapter includes the following topics:n Prerequisites for Offline Upgrade
n Using a Local Web Server for Offline Upgrade
n Using the updateoffline.hzn Script for Offline Upgrade
Prerequisites for Offline UpgradeBefore you upgrade the VMware Identity Manager virtual appliance offline, perform these prerequisitetasks.
n Verify that at least 4 GB of disk space is available on the primary root partition of the virtual appliance.
n Take a snapshot of your virtual appliance to back it up. For information about how to take snapshots,see the vSphere documentation.
n If you revoked the db_owner role on the Microsoft SQL database, as described in https://docs.vmware.com/en/VMware-Identity-Manager/3.2/vidm-install/GUID-5B533EE2-8F6C-4716-A94A-8B7AA3F5BC75.html, you must add it back before performing the upgrade, otherwise upgradewill fail.
Add the db_owner role to the same user that was used during installation:
a Log in to the Microsoft SQL Server Management Studio as a user with sysadmin privileges.
b Connect to the database instance for VMware Identity Manager.
c Enter the following commands.
VMware, Inc. 15
If you are using Windows Authentication mode, use the following commands:
USE <saasdb>;
ALTER ROLE db_owner ADD MEMBER <domain\username>; GO
Make sure that you replace <saasdb> with your database name and <domain\username> withthe relevant domain and username.
If you are using SQL Server Authentication mode, use the following commands:
USE <saasdb>;
ALTER ROLE db_owner ADD MEMBER <loginusername>; GO
Make sure that you replace <saasdb> with your database name and <loginusername> with therelevant username.
n Take a snapshot or backup of the external database.
n Verify that VMware Identity Manager is properly configured.
n Confirm that a VMware Identity Manager upgrade exists. Check the My VMware site at my.vmware.com for upgrades.
n Before you upgrade, check for Elasticsearch mapping conflicts. See Chapter 2 Check forElasticsearch Mapping Conflicts.
Using a Local Web Server for Offline UpgradeIf you want to perform the offline upgrade using a local Web server, prepare the Web server to host theupgrade file, configure the VMware Identity Manager appliance to point to the Web server, and performthe upgrade.
Prepare a Local Web Server for Offline UpgradeBefore you start the offline upgrade, set up the local Web server by creating a directory structure thatincludes a subdirectory for the VMware Identity Manager virtual appliance.
Prerequisites
n Download the identity-manager-3.2.0.1-buildNumber-updaterepo.zip file from theVMware Identity Manager product download page on my.vmware.com.
n If you use an IIS Web server, configure the Web server to allow special characters in file names. Youconfigure this in the Request Filtering section by selecting the Allow double escaping option.
Procedure
1 Create a directory on the Web server at http://YourWebServer/VM/ and copy the downloaded zip fileto it.
Upgrading to VMware Identity Manager 3.2.0.1 (Linux)
VMware, Inc. 16
2 Verify that your Web server includes mime types for .sig (text/plain) and .sha256 (text/plain).
Without these mime types your Web server fails to check for updates.
3 Unzip the file.
The contents of the extracted ZIP file are served by http://YourWebServer/VM/.
The extracted contents of the file contain the following subdirectories: /manifest and /package-pool.
4 Run the following updatelocal.hzn command to check that the URL has valid update contents.
/usr/local/horizon/update/updatelocal.hzn checkurl http://YourWebServer/VM
Configure the Appliance and Perform Offline UpgradeConfigure the VMware Identity Manager appliance to point to the local Web server to perform an offlineupgrade. Then upgrade the appliance.
Prerequisites
Prepare a Local Web Server for Offline Upgrade.
Procedure
1 Log in to the VMware Identity Manager appliance as the root user.
2 Run the following command to configure an upgrade repository that uses a local Web server.
/usr/local/horizon/update/updatelocal.hzn seturl http://YourWebServer/VM/
Note To undo the configuration and restore the ability to perform an online upgrade, you can run thefollowing command.
/usr/local/horizon/update/updatelocal.hzn setdefault
3 Perform the upgrade.
a Run the following updatemgr.hzn command.
/usr/local/horizon/update/updatemgr.hzn updateinstaller
b Run the following command.
/usr/local/horizon/update/updatemgr.hzn update
Messages that occur during the upgrade are saved to the update.log fileat /opt/vmware/var/log/update.log.
Upgrading to VMware Identity Manager 3.2.0.1 (Linux)
VMware, Inc. 17
c Run the updatemgr.hzn check command again to verify that a newer update does not exist.
/usr/local/horizon/update/updatemgr.hzn check
d Check the version of the upgraded appliance.
vamicli version --appliance
The command should display the new version.
e Restart the virtual appliance.
For example, from the command line run the following command.
reboot
The upgrade is complete.
Using the updateoffline.hzn Script for Offline UpgradeYou can use the updateoffline.hzn script to perform an offline upgrade of the VMware IdentityManager virtual appliance. Download the offline upgrade package from the VMware Identity Managerproduct download page to use with the script.
The script verifies that the upgrade package matches the product. For example, if you are upgrading theVMware Identity Manager service virtual appliance and you use the connector upgrade package insteadof the service upgrade package, the script results in an error.
Procedure
1 Locate the updateoffline.hzn script.
In versions 3.1 and 3.2, the script is available from the following path:
/usr/local/horizon/update/updateoffline.hzn
Note
To use the script with a version earlier than 3.1, you can download the updateoffline.hzn scriptfrom KB article 2147931 on https://kb.vmware.com.
2 Download the identity-manager-3.2.0.1-buildNumber-updaterepo.zip file from theVMware Identity Manager product download page on my.vmware.com.
The recommended location for saving the file is /var/tmp.
3 Run the updateoffline.hzn script as the root user.
/usr/local/horizon/update/updateoffline.hzn [-r] -f upgradeFilePath
Upgrading to VMware Identity Manager 3.2.0.1 (Linux)
VMware, Inc. 18

-f upgradeFilePath Upgrade the appliance using upgradeFilePath. upgradeFilePath must be an absolute path. Required
-r Reboot after upgrade. Optional
-h Displays the script usage. Optional
For example:
/usr/local/horizon/update/updateoffline.hzn -f /var/tmp/identity-
manager-3.2.0.1-8435207-updaterepo.zip
4 If you did not use the -r option with the script, restart the virtual appliance after upgrade is complete.
reboot
Upgrading to VMware Identity Manager 3.2.0.1 (Linux)
VMware, Inc. 19
Post-Upgrade Configuration 5After you upgrade to VMware Identity Manager 3.2.0.1, you may need to configure certain settings.
Customer Experience Improvement ProgramThis product participates in VMware's Customer Experience Improvement Program ("CEIP"). Detailsregarding the data collected through CEIP and the purposes for which it is used by VMware are set forthat the Trust & Assurance Center at http://www.vmware.com/trustvmware/ceip.html.
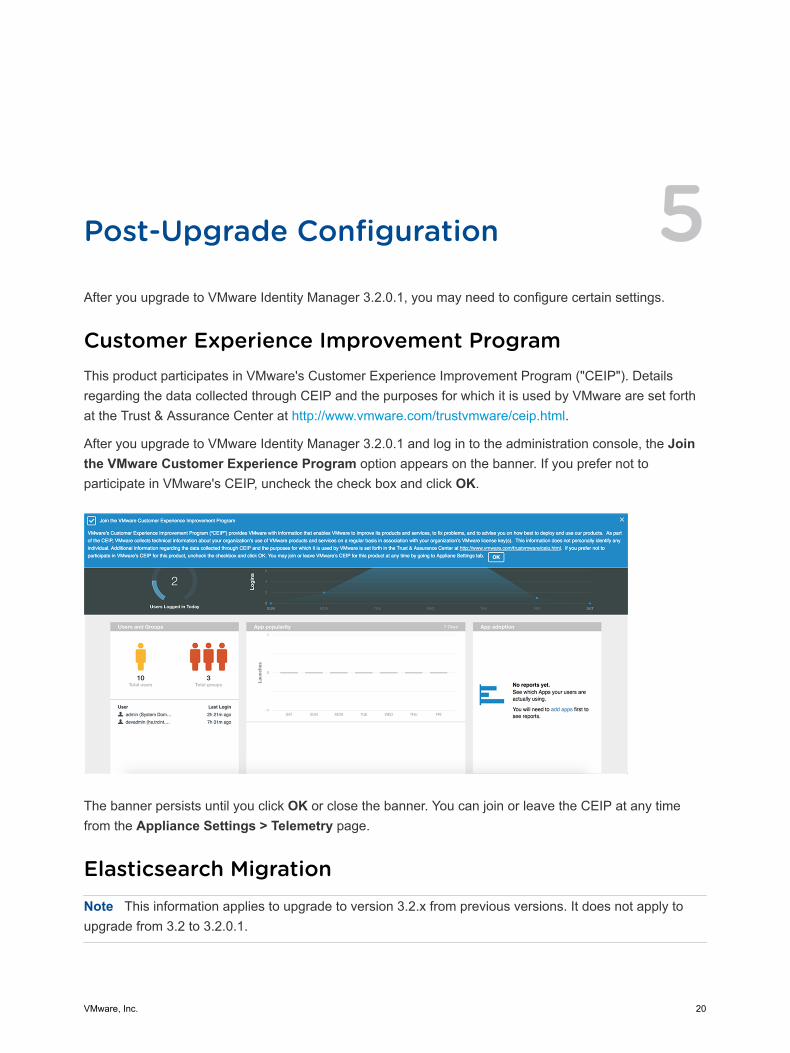
After you upgrade to VMware Identity Manager 3.2.0.1 and log in to the administration console, the Jointhe VMware Customer Experience Program option appears on the banner. If you prefer not toparticipate in VMware's CEIP, uncheck the check box and click OK.
The banner persists until you click OK or close the banner. You can join or leave the CEIP at any timefrom the Appliance Settings > Telemetry page.
Elasticsearch MigrationNote This information applies to upgrade to version 3.2.x from previous versions. It does not apply toupgrade from 3.2 to 3.2.0.1.
VMware, Inc. 20
Elasticsearch, a search and analytics engine, is embedded in VMware Identity Manager and is used forauditing, reports, and search. VMware Identity Manager 3.2.x includes Elasticsearch 2.3.5, while previousversions included Elasticsearch 1.75. During the upgrade to VMware Identity Manager 3.2.x,Elasticsearch records are migrated.
Once the VMware Identity Manager upgrade is complete, a background job will start to migrate existingaudit and search records, which are handled by Elasticsearch, to the new format. The start of this processcould be delayed up to one hour after the upgrade is complete. Once started, it typically completesquickly, but could take as much 1-2 hours, depending on the number of records.
You can view the analytics-service.log file, which is inthe /opt/vmware/horizon/workspace/logs directory, for messages related to the progress of themigration.
n When the migration starts, the message The latest Audit schema version is 4. will belogged.
n As each day’s data is migrated, messages starting with Re-indexing documents from will belogged.
n When the migration finishes, the message Audit schema check completed. will be logged.
Until the migration is complete, none or only some of the old records will be available, so the dashboardand audit report will not show older records and search and autocomplete will not work. However, newaudit records will be generated and processed, independent of the migration, so the dashboard and auditreport should show new logins, etc. If new audit records do not appear in the audit report, check thehealth of the Elasticsearch cluster.
To check the health of the Elasticsearch cluster:
1 ssh into any of the nodes and run the following command:
curl http://localhost:9200/_cluster/health?pretty
If the "status" field is "yellow" or "green", check the analytics-service log for errors. If the"status" field is "red", you must restart the master node.
2 To restart the master node:
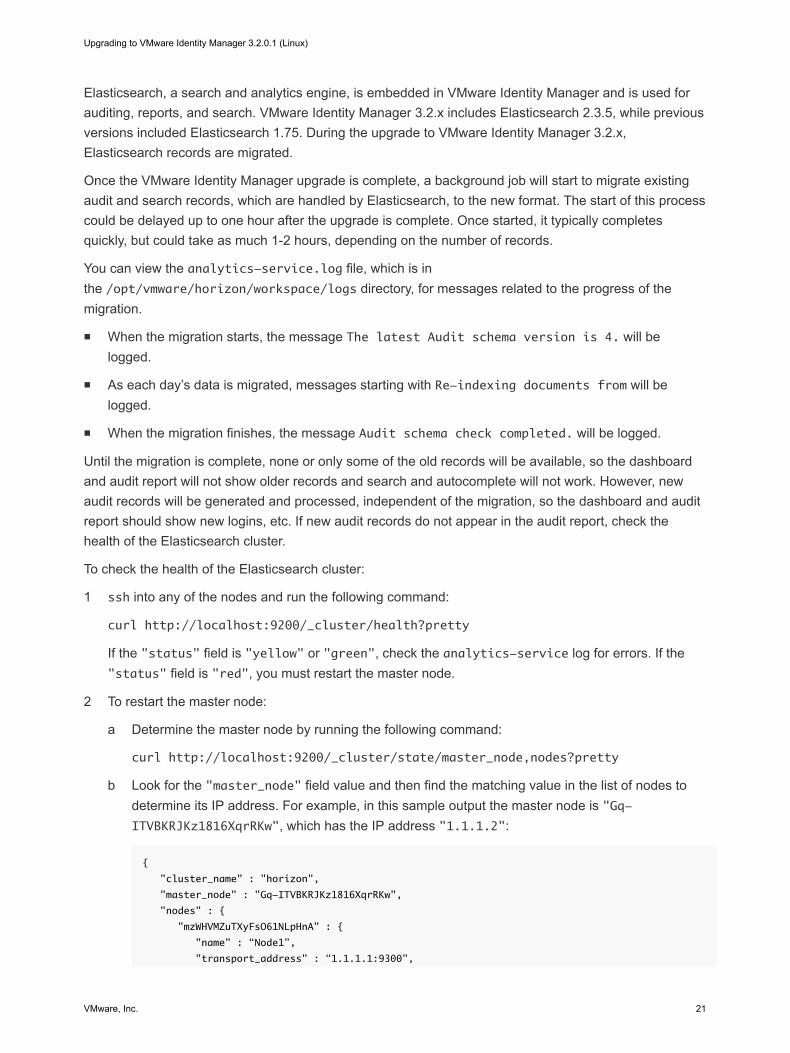
a Determine the master node by running the following command:
curl http://localhost:9200/_cluster/state/master_node,nodes?pretty
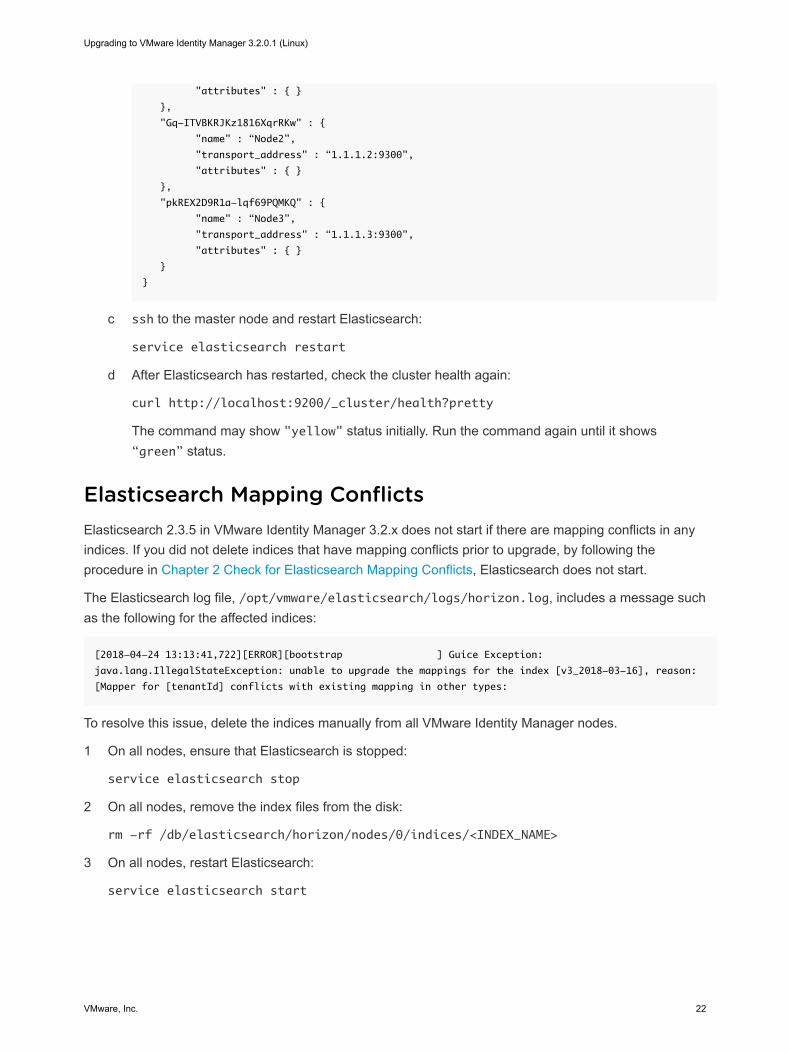
b Look for the "master_node" field value and then find the matching value in the list of nodes todetermine its IP address. For example, in this sample output the master node is "Gq-ITVBKRJKz1816XqrRKw", which has the IP address "1.1.1.2":
{
"cluster_name" : "horizon",
"master_node" : "Gq-ITVBKRJKz1816XqrRKw",
"nodes" : {
"mzWHVMZuTXyFsO61NLpHnA" : {
"name" : “Node1”,
"transport_address" : “1.1.1.1:9300",
Upgrading to VMware Identity Manager 3.2.0.1 (Linux)
VMware, Inc. 21
"attributes" : { }
},
"Gq-ITVBKRJKz1816XqrRKw" : {
"name" : “Node2”,
"transport_address" : “1.1.1.2:9300",
"attributes" : { }
},
"pkREX2D9R1a-lqf69PQMKQ" : {
"name" : “Node3”,
"transport_address" : “1.1.1.3:9300",
"attributes" : { }
}
}
c ssh to the master node and restart Elasticsearch:
service elasticsearch restart
d After Elasticsearch has restarted, check the cluster health again:
curl http://localhost:9200/_cluster/health?pretty
The command may show "yellow" status initially. Run the command again until it shows“green” status.
Elasticsearch Mapping ConflictsElasticsearch 2.3.5 in VMware Identity Manager 3.2.x does not start if there are mapping conflicts in anyindices. If you did not delete indices that have mapping conflicts prior to upgrade, by following theprocedure in Chapter 2 Check for Elasticsearch Mapping Conflicts, Elasticsearch does not start.
The Elasticsearch log file, /opt/vmware/elasticsearch/logs/horizon.log, includes a message suchas the following for the affected indices:
[2018-04-24 13:13:41,722][ERROR][bootstrap ] Guice Exception:
java.lang.IllegalStateException: unable to upgrade the mappings for the index [v3_2018-03-16], reason:
[Mapper for [tenantId] conflicts with existing mapping in other types:
To resolve this issue, delete the indices manually from all VMware Identity Manager nodes.
1 On all nodes, ensure that Elasticsearch is stopped:
service elasticsearch stop
2 On all nodes, remove the index files from the disk:
rm -rf /db/elasticsearch/horizon/nodes/0/indices/<INDEX_NAME>
3 On all nodes, restart Elasticsearch:
service elasticsearch start
Upgrading to VMware Identity Manager 3.2.0.1 (Linux)
VMware, Inc. 22
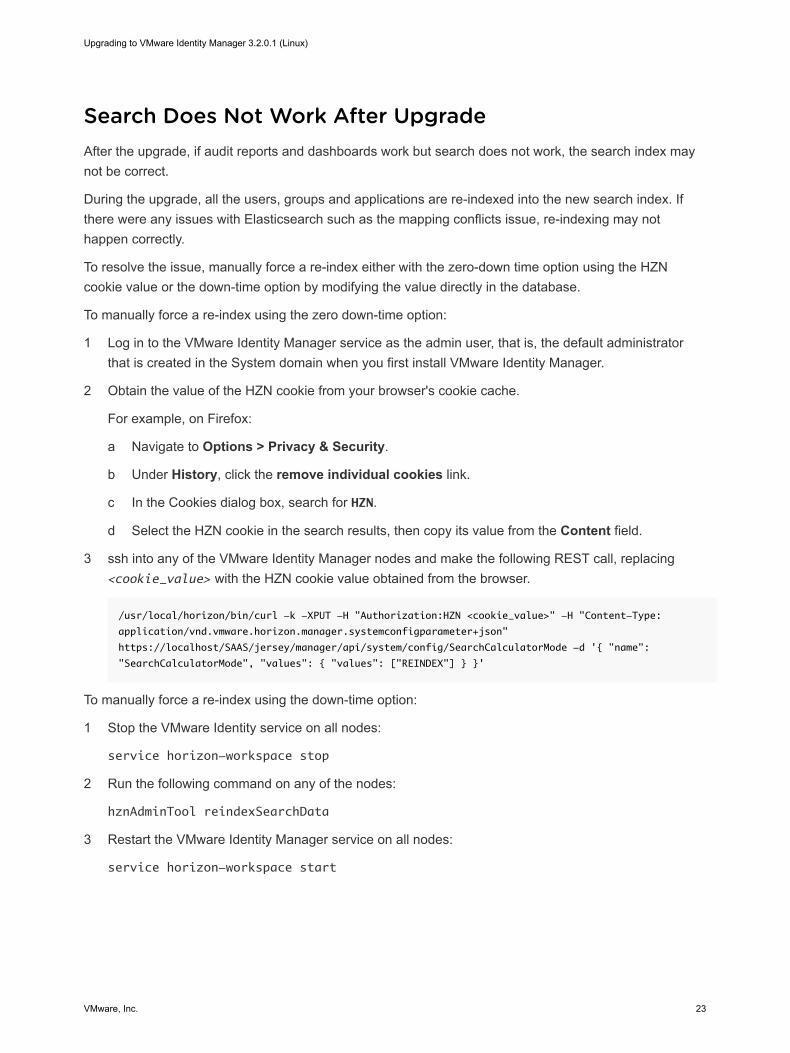
Search Does Not Work After UpgradeAfter the upgrade, if audit reports and dashboards work but search does not work, the search index maynot be correct.
During the upgrade, all the users, groups and applications are re-indexed into the new search index. Ifthere were any issues with Elasticsearch such as the mapping conflicts issue, re-indexing may nothappen correctly.
To resolve the issue, manually force a re-index either with the zero-down time option using the HZNcookie value or the down-time option by modifying the value directly in the database.
To manually force a re-index using the zero down-time option:
1 Log in to the VMware Identity Manager service as the admin user, that is, the default administratorthat is created in the System domain when you first install VMware Identity Manager.
2 Obtain the value of the HZN cookie from your browser's cookie cache.
For example, on Firefox:
a Navigate to Options > Privacy & Security.
b Under History, click the remove individual cookies link.
c In the Cookies dialog box, search for HZN.
d Select the HZN cookie in the search results, then copy its value from the Content field.
3 ssh into any of the VMware Identity Manager nodes and make the following REST call, replacing<cookie_value> with the HZN cookie value obtained from the browser.
/usr/local/horizon/bin/curl -k -XPUT -H "Authorization:HZN <cookie_value>" -H "Content-Type:
application/vnd.vmware.horizon.manager.systemconfigparameter+json"
https://localhost/SAAS/jersey/manager/api/system/config/SearchCalculatorMode -d '{ "name":
"SearchCalculatorMode", "values": { "values": ["REINDEX"] } }'
To manually force a re-index using the down-time option:
1 Stop the VMware Identity service on all nodes:
service horizon-workspace stop
2 Run the following command on any of the nodes:
hznAdminTool reindexSearchData
3 Restart the VMware Identity Manager service on all nodes:
service horizon-workspace start
Upgrading to VMware Identity Manager 3.2.0.1 (Linux)
VMware, Inc. 23
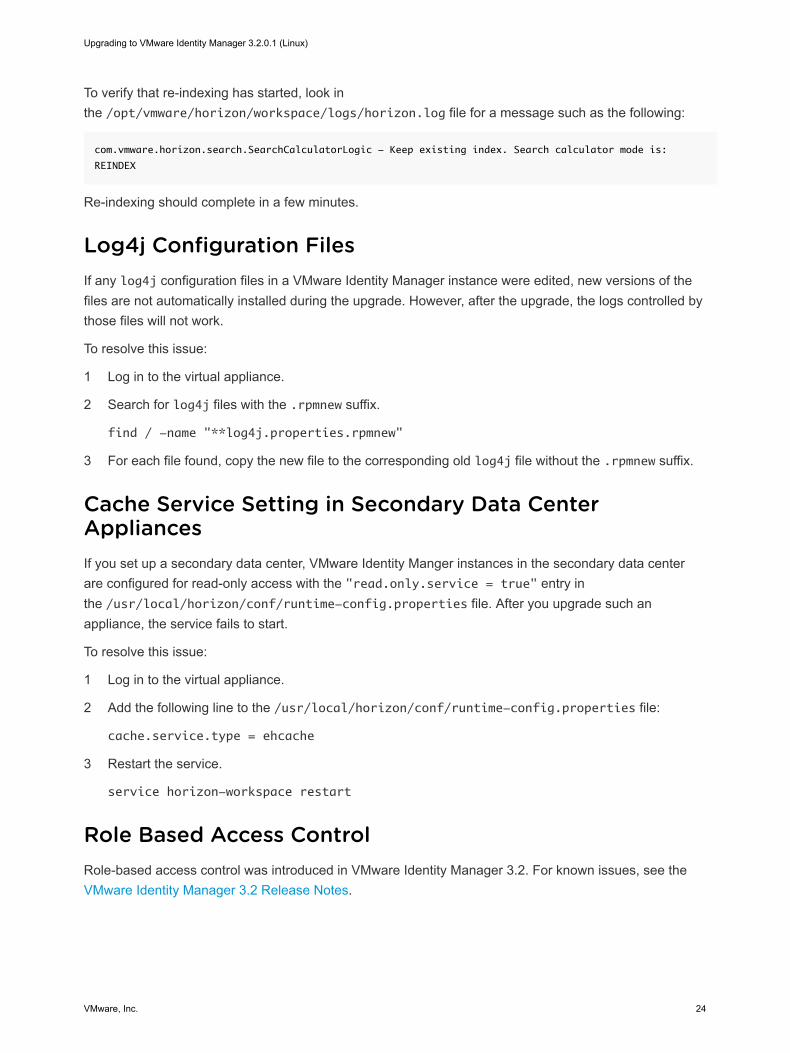
To verify that re-indexing has started, look inthe /opt/vmware/horizon/workspace/logs/horizon.log file for a message such as the following:
com.vmware.horizon.search.SearchCalculatorLogic - Keep existing index. Search calculator mode is:
REINDEX
Re-indexing should complete in a few minutes.
Log4j Configuration FilesIf any log4j configuration files in a VMware Identity Manager instance were edited, new versions of thefiles are not automatically installed during the upgrade. However, after the upgrade, the logs controlled bythose files will not work.
To resolve this issue:
1 Log in to the virtual appliance.
2 Search for log4j files with the .rpmnew suffix.
find / -name "**log4j.properties.rpmnew"
3 For each file found, copy the new file to the corresponding old log4j file without the .rpmnew suffix.
Cache Service Setting in Secondary Data CenterAppliancesIf you set up a secondary data center, VMware Identity Manger instances in the secondary data centerare configured for read-only access with the "read.only.service = true" entry inthe /usr/local/horizon/conf/runtime-config.properties file. After you upgrade such anappliance, the service fails to start.
To resolve this issue:
1 Log in to the virtual appliance.
2 Add the following line to the /usr/local/horizon/conf/runtime-config.properties file:
cache.service.type = ehcache
3 Restart the service.
service horizon-workspace restart
Role Based Access ControlRole-based access control was introduced in VMware Identity Manager 3.2. For known issues, see the VMware Identity Manager 3.2 Release Notes.
Upgrading to VMware Identity Manager 3.2.0.1 (Linux)
VMware, Inc. 24
Citrix IntegrationFor Citrix integration in VMware Identity Manager 3.2, all external connectors must be version 2018.1.1.0(the connector version in the 3.2 release) or later.
You must also upgrade to Integration Broker 3.2 or later.
Changes in Past ReleasesChanges in Version 3.1
n Beginning with version 3.1, a new feature was introduced that changed the way user groups aresynced. After you upgrade to VMware Identity Manager 3.1 or later, for all user groups already addedprior to upgrade, ensure that entitlements are assigned. New user groups added after the upgradeare not synced to the VMware Identity Manager service until the group is entitled to a resource,added to an access policy rule, or, beginning with version 3.2, synced manually from the group'sGroup > Users page.
If your entitlements are set to ALL USERS, users from new groups created after the upgrade will notbe included if the users have not been synced yet. Add entitlements for the new groups.
See How Group Sync Works after Upgrading to VMware Identity Manager 3.1 for more information.
n If you integrate Citrix published resources with VMware Identity Manager 3.1, upgrade to IntegrationBroker 3.1. VMware Identity Manager 3.1 and VMware Identity Manager Connector 2017.12.1.0 (theconnector version in the 3.1 release) require Integration Broker 3.1.
Changes in Version 3.0
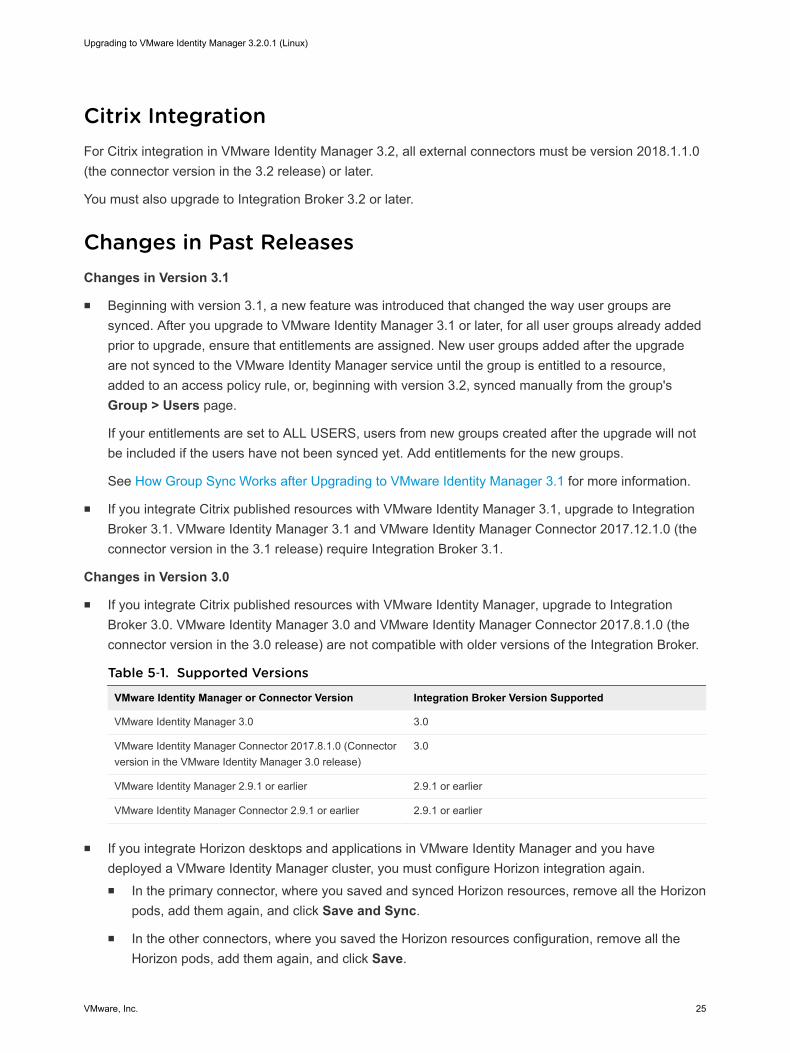
n If you integrate Citrix published resources with VMware Identity Manager, upgrade to IntegrationBroker 3.0. VMware Identity Manager 3.0 and VMware Identity Manager Connector 2017.8.1.0 (theconnector version in the 3.0 release) are not compatible with older versions of the Integration Broker.
Table 5‑1. Supported Versions
VMware Identity Manager or Connector Version Integration Broker Version Supported
VMware Identity Manager 3.0 3.0
VMware Identity Manager Connector 2017.8.1.0 (Connectorversion in the VMware Identity Manager 3.0 release)
3.0
VMware Identity Manager 2.9.1 or earlier 2.9.1 or earlier
VMware Identity Manager Connector 2.9.1 or earlier 2.9.1 or earlier
n If you integrate Horizon desktops and applications in VMware Identity Manager and you havedeployed a VMware Identity Manager cluster, you must configure Horizon integration again.n In the primary connector, where you saved and synced Horizon resources, remove all the Horizon
pods, add them again, and click Save and Sync.
n In the other connectors, where you saved the Horizon resources configuration, remove all theHorizon pods, add them again, and click Save.
Upgrading to VMware Identity Manager 3.2.0.1 (Linux)
VMware, Inc. 25
Changes in Releases Prior to 3.0
n Bulk sync changes in VMware Identity Manager 2.9.1 and later
In earlier versions, bulk sync was processed with 4 threads per CPU through a global configurationparameter in the database named bulkSyncThreadLimitPerCPU=4.
Beginning with version 2.9.1, the number of threads for bulk sync processing is not based on CPU. Itis an absolute number, which is the same as the number of CPUs on a node by default.
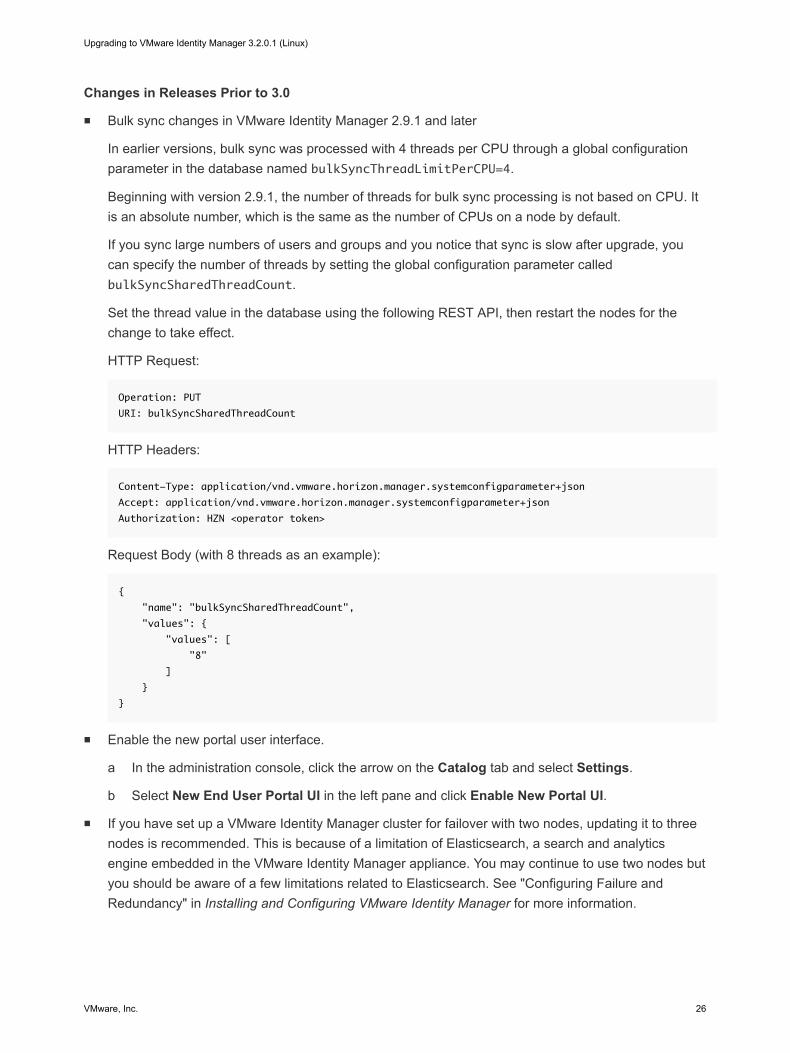
If you sync large numbers of users and groups and you notice that sync is slow after upgrade, youcan specify the number of threads by setting the global configuration parameter calledbulkSyncSharedThreadCount.
Set the thread value in the database using the following REST API, then restart the nodes for thechange to take effect.
HTTP Request:
Operation: PUT
URI: bulkSyncSharedThreadCount
HTTP Headers:
Content-Type: application/vnd.vmware.horizon.manager.systemconfigparameter+json
Accept: application/vnd.vmware.horizon.manager.systemconfigparameter+json
Authorization: HZN <operator token>
Request Body (with 8 threads as an example):
{
"name": "bulkSyncSharedThreadCount",
"values": {
"values": [
"8"
]
}
}
n Enable the new portal user interface.
a In the administration console, click the arrow on the Catalog tab and select Settings.
b Select New End User Portal UI in the left pane and click Enable New Portal UI.
n If you have set up a VMware Identity Manager cluster for failover with two nodes, updating it to threenodes is recommended. This is because of a limitation of Elasticsearch, a search and analyticsengine embedded in the VMware Identity Manager appliance. You may continue to use two nodes butyou should be aware of a few limitations related to Elasticsearch. See "Configuring Failure andRedundancy" in Installing and Configuring VMware Identity Manager for more information.
Upgrading to VMware Identity Manager 3.2.0.1 (Linux)
VMware, Inc. 26
n Transport Layer Security (TLS) protocol 1.0 is disabled by default in VMware Identity Manager. TLS1.1 and 1.2 are supported.
External product issues are known to occur when TLS 1.0 is disabled. Updating your other productconfigurations to use TLS 1.1 or 1.2 is recommended. However, if these products have a dependenceon TLS 1.0, you can enable TLS 1.0 in VMware Identity Manager by following the instructions in Knowledge Base article 2144805.
Upgrading to VMware Identity Manager 3.2.0.1 (Linux)
VMware, Inc. 27
Troubleshooting Upgrade Errors 6You can troubleshoot upgrade problems by reviewing the error logs. If VMware Identity Manager does notstart, you can revert to a previous instance by rolling back to a snapshot.
This chapter includes the following topics:
n Checking the Upgrade Error Logs
n Rolling Back to Snapshots of VMware Identity Manager
n Collecting a Log File Bundle
Checking the Upgrade Error LogsResolve errors that occur during upgrade by reviewing the error logs. Upgrade log files are inthe /opt/vmware/var/log directory.
Problem
After the upgrade finishes, VMware Identity Manager does not start and errors appear in the error logs.
Cause
Errors occurred during upgrade.
Solution
1 Log in to the VMware Identity Manager virtual appliance.
2 Go to the directory located at /opt/vmware/var/log.
3 Open the update.log file and review the error messages.
4 Resolve the errors and rerun the upgrade command. The upgrade command resumes from the pointwhere it stopped.
Note Alternatively, you can revert to a snapshot and run the upgrade again.
Rolling Back to Snapshots of VMware Identity ManagerIf VMware Identity Manager does not start properly after an upgrade, you can roll back to a previousinstance.
VMware, Inc. 28
Problem
After you upgrade VMware Identity Manager, it does not start correctly. You reviewed the upgrade errorlogs and ran the upgrade command again but it did not resolve the issue.
Cause
Errors occurred during the upgrade process.
Solution
u Revert to one of the snapshots you took as a backup of your original VMware Identity Managerinstance and external database, if applicable. For information, see the vSphere documentation.
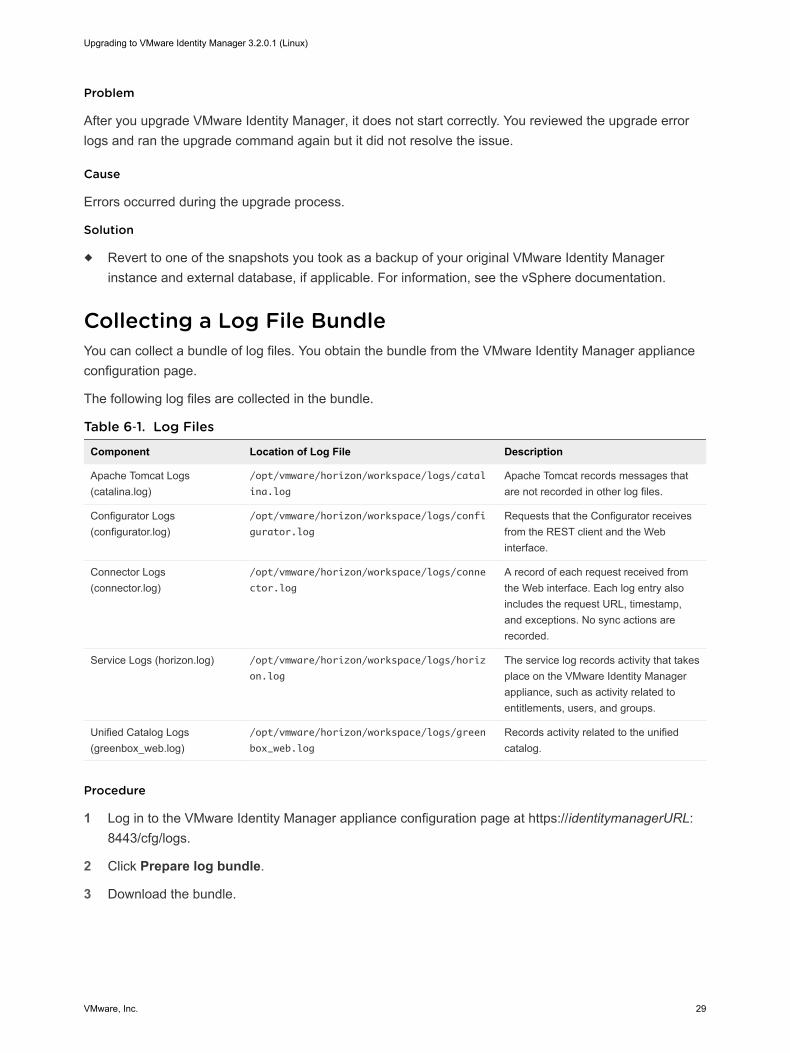
Collecting a Log File BundleYou can collect a bundle of log files. You obtain the bundle from the VMware Identity Manager applianceconfiguration page.
The following log files are collected in the bundle.
Table 6‑1. Log Files
Component Location of Log File Description
Apache Tomcat Logs(catalina.log)
/opt/vmware/horizon/workspace/logs/catal
ina.log
Apache Tomcat records messages thatare not recorded in other log files.
Configurator Logs(configurator.log)
/opt/vmware/horizon/workspace/logs/confi
gurator.log
Requests that the Configurator receivesfrom the REST client and the Webinterface.
Connector Logs(connector.log)
/opt/vmware/horizon/workspace/logs/conne
ctor.log
A record of each request received fromthe Web interface. Each log entry alsoincludes the request URL, timestamp,and exceptions. No sync actions arerecorded.
Service Logs (horizon.log) /opt/vmware/horizon/workspace/logs/horiz
on.log
The service log records activity that takesplace on the VMware Identity Managerappliance, such as activity related toentitlements, users, and groups.
Unified Catalog Logs(greenbox_web.log)
/opt/vmware/horizon/workspace/logs/green
box_web.log
Records activity related to the unifiedcatalog.
Procedure
1 Log in to the VMware Identity Manager appliance configuration page at https://identitymanagerURL:8443/cfg/logs.
2 Click Prepare log bundle.
3 Download the bundle.
Upgrading to VMware Identity Manager 3.2.0.1 (Linux)
VMware, Inc. 29