Embed Size (px)
Citation preview
IATec Authentication DocumentationRelease 3.0
Andre Guilherme
Nov 17, 2017

Misc
1 The OpenID Connect Protocol 11.1 What is OpenID Connect? . . . . . . . . . . . . . . . . . . . . . . . . . . . . . . . . . . . . . . . . 11.2 Who is using it? . . . . . . . . . . . . . . . . . . . . . . . . . . . . . . . . . . . . . . . . . . . . . 11.3 External Resources . . . . . . . . . . . . . . . . . . . . . . . . . . . . . . . . . . . . . . . . . . . . 2
2 Keys, Credentials and Endpoints 32.1 Endpoints . . . . . . . . . . . . . . . . . . . . . . . . . . . . . . . . . . . . . . . . . . . . . . . . . 32.2 Credentials for Clients . . . . . . . . . . . . . . . . . . . . . . . . . . . . . . . . . . . . . . . . . . 32.3 Credentials for Users . . . . . . . . . . . . . . . . . . . . . . . . . . . . . . . . . . . . . . . . . . . 52.4 Credentials for Scopes . . . . . . . . . . . . . . . . . . . . . . . . . . . . . . . . . . . . . . . . . . 52.5 Access Tokens . . . . . . . . . . . . . . . . . . . . . . . . . . . . . . . . . . . . . . . . . . . . . . 5
3 Protect an ASP.NET Web API 73.1 Creating an OWIN web API . . . . . . . . . . . . . . . . . . . . . . . . . . . . . . . . . . . . . . . 73.2 Protecting an existing web API . . . . . . . . . . . . . . . . . . . . . . . . . . . . . . . . . . . . . 113.3 Retrieving token information in the API . . . . . . . . . . . . . . . . . . . . . . . . . . . . . . . . . 12
4 Create a Simple Angular Client 154.1 Clone the Angular Quickstart Repository . . . . . . . . . . . . . . . . . . . . . . . . . . . . . . . . 154.2 Library Installation and Wiring . . . . . . . . . . . . . . . . . . . . . . . . . . . . . . . . . . . . . 154.3 OpenID Connect Configuration . . . . . . . . . . . . . . . . . . . . . . . . . . . . . . . . . . . . . 164.4 Calling a protected API . . . . . . . . . . . . . . . . . . . . . . . . . . . . . . . . . . . . . . . . . 174.5 More Info . . . . . . . . . . . . . . . . . . . . . . . . . . . . . . . . . . . . . . . . . . . . . . . . . 18
i

ii
CHAPTER 1
The OpenID Connect Protocol
The IATec Authentication uses OpenID Connect.
1.1 What is OpenID Connect?
OpenID Connect (OIDC) is an authentication protocol, based on the OAuth 2.0 family of specifications. It uses simpleJSON identity tokens (JWT) delivered via the OAuth 2.0 protocol.
While OAuth 2.0 is about resource access and sharing, OIDC is all about user authentication. Its purpose is to giveyou one login for multiple sites. Each time you need to log in to a website using OIDC, you are redirected to yourOpenID site where you login, and then taken back to the website. For example, if you chose to sign in to Auth0 usingyour Google account then you used OIDC. Once you successfully authenticate with Google and authorize Auth0 toaccess your information, Google will send back to Auth0 information about the user and the authentication performed.This information is returned in a JSON Web Token (JWT) called an ID Token.
(source: Auth0)
1.2 Who is using it?
Here is a non-exhaustive list of some who use OpenId Connect as authentication protocol.
• PayPal
• Auth0
• Amazon Cognito
• ForgeRock
• Microsoft Azure AD
• Yahoo
1
IATec Authentication Documentation, Release 3.0
• IBM WebSphere
• IBM Security Access Manager
• SalesForce
• U.S. Government Services SSO
• Brazilian Government Services SSO
• Human Brain Project
1.3 External Resources
You can find more information about the OpenID Connect protocol in the following links.
1.3.1 Pages
• Official Website
• Official Specifications
1.3.2 Videos
• An Introduction To OpenID Connect
• OpenID Connect Flows
• Identity, Authentication + OAuth = OpenID Connect
• OAuth and OpenID Connect for Microservices
• Securing your apps with OAuth2 and OpenID Connect
1.3.3 Articles
• OpenID Connect explained
• SAML2 vs JWT: Understanding OpenID Connect Part 1
• SAML2 vs JWT: Understanding OpenID Connect Part 2
• Why the Future of Identity is OpenID Connect and not SAML
2 Chapter 1. The OpenID Connect Protocol
CHAPTER 2
Keys, Credentials and Endpoints
Through your experimentation of the IATec Authentication Identity Provider, you will need some information whichare listed below.
Note: The following information relate to the Development Server. It might have unstability issues. For a morereliable and available environment, please contact IATec.
2.1 Endpoints
• Authority: https://login-dev.sdasystems.org/
• Discovery Endpoint: https://login-dev.sdasystems.org/.well-known/openid-configuration
• Authorization Endpoint: https://login-dev.sdasystems.org/connect/authorize
• Token Endpoint: https://login-dev.sdasystems.org/connect/token
• Introspection Endpoint: https://login-dev.sdasystems.org/connect/introspect
2.2 Credentials for Clients
There are some static client credentials that can be used in order to evaluate Identity Provider. These are categorizedby the authentication flow they are allowed to perform.
Note: For more information on OpenID Connect authentication flows, check this nice article.
3
IATec Authentication Documentation, Release 3.0
2.2.1 Redirect URLs
All the static clients listed below are configured to use the following redirect URLs:
• http://localhost:8080/
• http://localhost:8080/callback
• http://localhost:8080/auth/callback
• http://localhost:1234/
• http://localhost:1234/callback
• http://localhost:1234/auth/callback
• customscheme://localhost:8080/
• customscheme://localhost:8080/callback
• customscheme://localhost:1234/
• customscheme://localhost:1234/callback
• customscheme://m.iatec.com/
• customscheme://m.iatec.com/callback
2.2.2 Post-Logout Redirect URLs
In a simmilar way, all the static clients listed below are configured to use the following post-logout redirect URLs:
• http://localhost:8080/
• http://localhost:8080/postlogout
• http://localhost:8080/auth/postlogout
• http://localhost:1234/
• http://localhost:1234/postlogout
• http://localhost:1234/auth/postlogout
• customscheme://localhost:8080/
• customscheme://localhost:8080/postlogout
• customscheme://localhost:1234/
• customscheme://localhost:1234/postlogout
• customscheme://m.iatec.com/
• customscheme://m.iatec.com/postlogout
2.2.3 Authorization Code Flow
• Client ID: democlient_codeflow
• Client Secret: clientsecret01 (expires in january 1st of 2018).
• Allowed Scopes: openid, demoapi, apidev, profile, email, phone, offline_access
4 Chapter 2. Keys, Credentials and Endpoints

IATec Authentication Documentation, Release 3.0
2.2.4 Implicit Flow
• Client ID: democlient_implicitflow
• Allowed Scopes: openid, demoapi, apidev, profile, email, phone
2.2.5 Hybrid Flow
• Client ID: democlient_hybridflow
• Client Secret: clientsecret01 (expires in january 1st of 2018).
• Allowed Scopes: openid, demoapi, apidev, profile, email, phone, offline_access
2.2.6 Client Credentials Flow
• Client ID: democlient_credentialsflow
• Client Secret: clientsecret01 (expires in january 1st of 2018).
• Allowed Scopes: demoapi, apidev, profile, email, phone, offline_access
2.3 Credentials for Users
At the moment only one test user is available.
• Username: james.white
• Password: 1844
2.4 Credentials for Scopes
Scopes might have credentials, which are used to validade a token received in an API call.
• Scope Name (also called Client ID in some contexts): demoapi.
• Scope Secret (also called Client Secret in some contexts): secret123 (expires in january 1st of 2018).
2.5 Access Tokens
A permanent Access Token is available in order to ease API configuration even without implementing the tokenretrieval.
• access_token+jameswhite
2.3. Credentials for Users 5
IATec Authentication Documentation, Release 3.0
6 Chapter 2. Keys, Credentials and Endpoints
CHAPTER 3
Protect an ASP.NET Web API
In this guide we will create a simple OWIN project and add to it’s pipeline a simple web API and then add a middlewarethat provides authentication for the API methods.
The complete source code for the application that will be created in this guide is available on GitHub.
Note: If you already have an OWIN web API, you can advance some steps and check the section Protecting anexisting web API directly.
3.1 Creating an OWIN web API
Warning: If you are using a different version or another editor/IDE, please keep in mind that this guide was buildusing Visual Studio 2017, and some features might be missing or in different places in different versions.
3.1.1 Creating the project
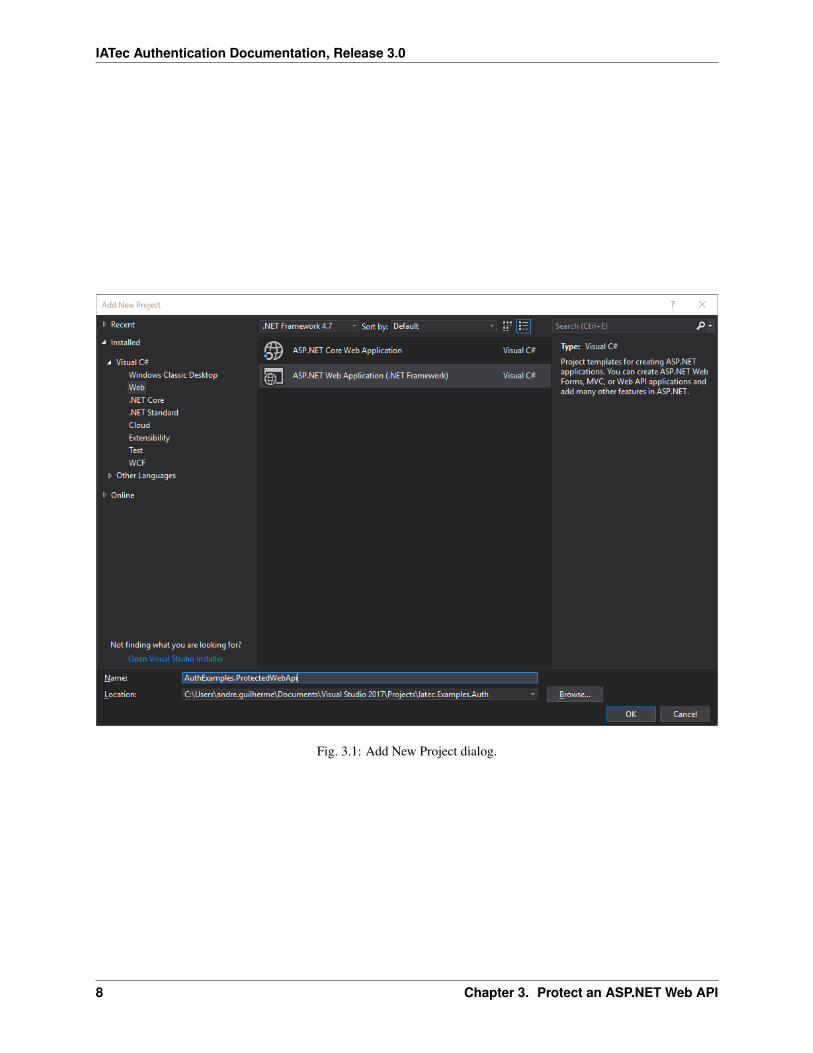
Open your Visual Studio and create a new project. In the Add New Project dialog choose the ASP.NET Web Appli-cation (.NET Framework) project type.
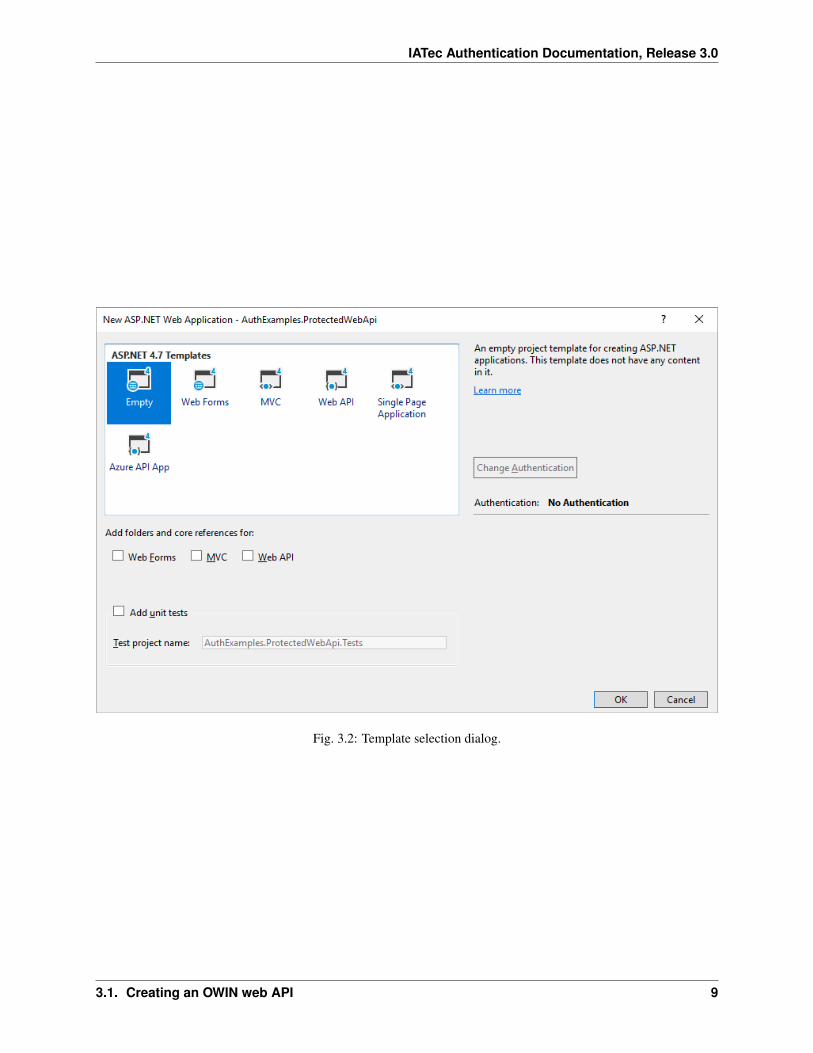
The Visual Studio will ask you for a template. Select Empty.
Note: For convenience, this guides assumes the project is configured to run on the port 4000. You can set this inyour project accessing the project’s Properties, selecting the tab Web and changing the Project Url field to http://localhost:4000/.
7
IATec Authentication Documentation, Release 3.0
Fig. 3.1: Add New Project dialog.
8 Chapter 3. Protect an ASP.NET Web API
IATec Authentication Documentation, Release 3.0
Fig. 3.2: Template selection dialog.
3.1. Creating an OWIN web API 9
IATec Authentication Documentation, Release 3.0
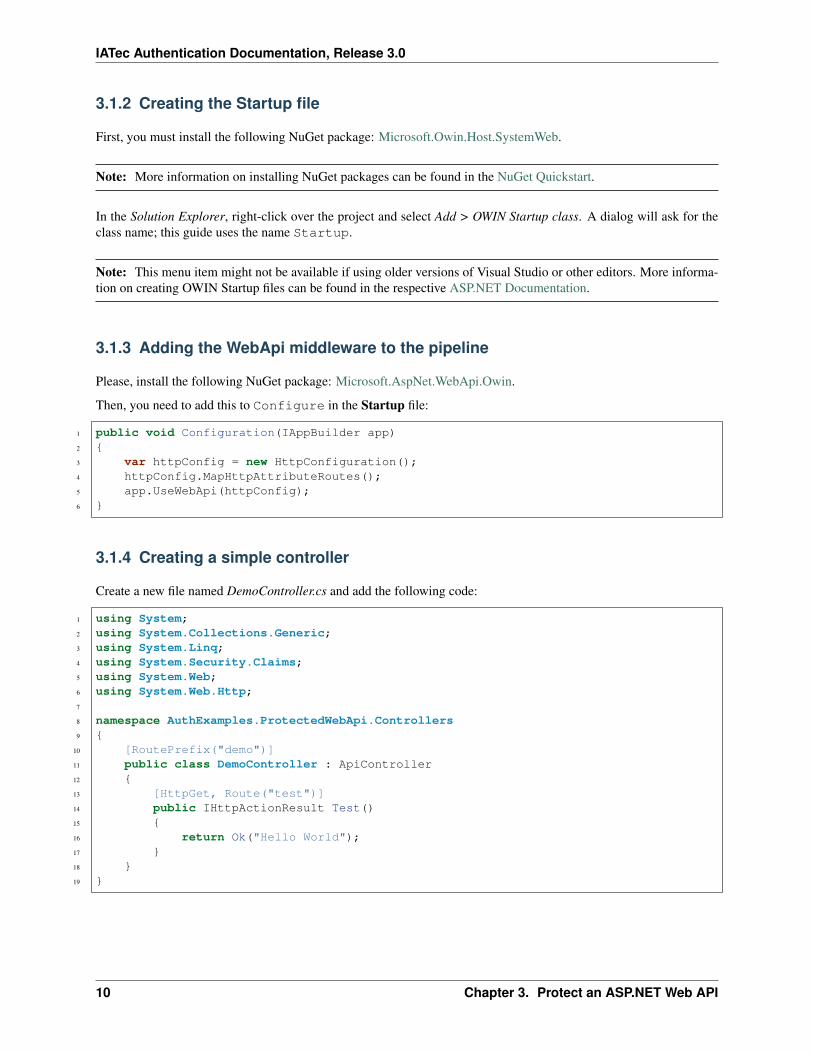
3.1.2 Creating the Startup file
First, you must install the following NuGet package: Microsoft.Owin.Host.SystemWeb.
Note: More information on installing NuGet packages can be found in the NuGet Quickstart.
In the Solution Explorer, right-click over the project and select Add > OWIN Startup class. A dialog will ask for theclass name; this guide uses the name Startup.
Note: This menu item might not be available if using older versions of Visual Studio or other editors. More informa-tion on creating OWIN Startup files can be found in the respective ASP.NET Documentation.
3.1.3 Adding the WebApi middleware to the pipeline
Please, install the following NuGet package: Microsoft.AspNet.WebApi.Owin.
Then, you need to add this to Configure in the Startup file:
1 public void Configuration(IAppBuilder app)2 {3 var httpConfig = new HttpConfiguration();4 httpConfig.MapHttpAttributeRoutes();5 app.UseWebApi(httpConfig);6 }
3.1.4 Creating a simple controller
Create a new file named DemoController.cs and add the following code:
1 using System;2 using System.Collections.Generic;3 using System.Linq;4 using System.Security.Claims;5 using System.Web;6 using System.Web.Http;7
8 namespace AuthExamples.ProtectedWebApi.Controllers9 {
10 [RoutePrefix("demo")]11 public class DemoController : ApiController12 {13 [HttpGet, Route("test")]14 public IHttpActionResult Test()15 {16 return Ok("Hello World");17 }18 }19 }
10 Chapter 3. Protect an ASP.NET Web API
IATec Authentication Documentation, Release 3.0
3.2 Protecting an existing web API
3.2.1 Denying Unauthenticated Requests
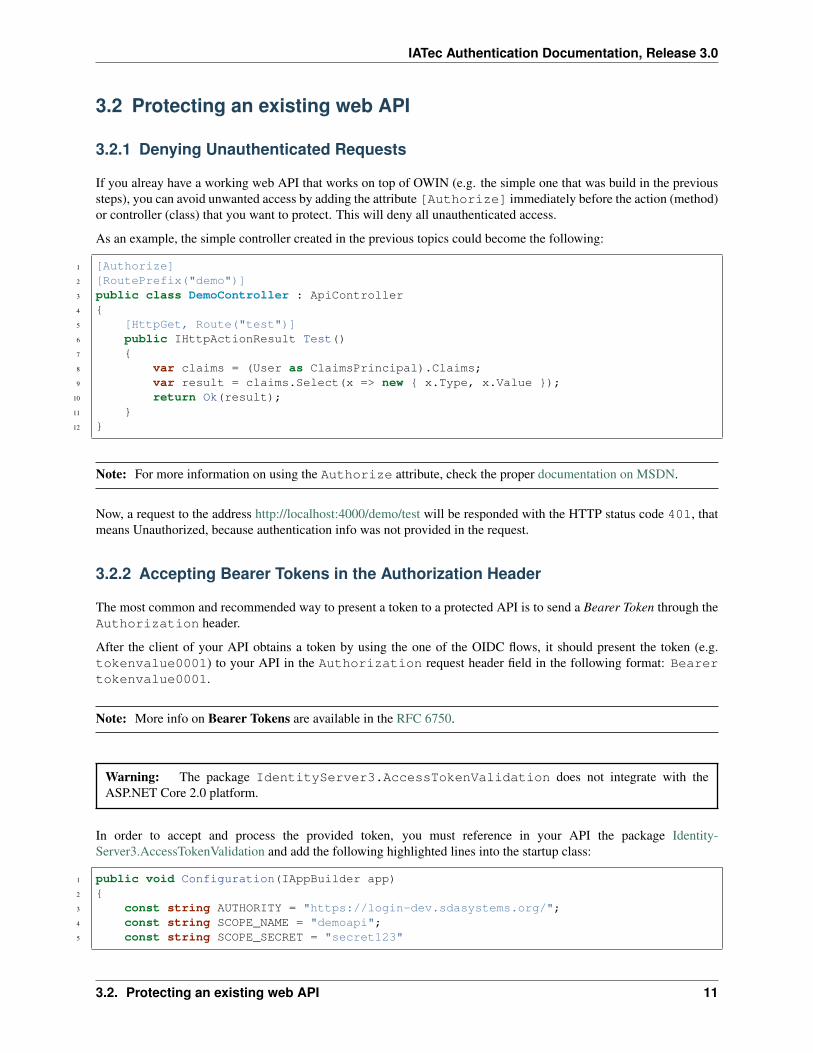
If you alreay have a working web API that works on top of OWIN (e.g. the simple one that was build in the previoussteps), you can avoid unwanted access by adding the attribute [Authorize] immediately before the action (method)or controller (class) that you want to protect. This will deny all unauthenticated access.
As an example, the simple controller created in the previous topics could become the following:
1 [Authorize]2 [RoutePrefix("demo")]3 public class DemoController : ApiController4 {5 [HttpGet, Route("test")]6 public IHttpActionResult Test()7 {8 var claims = (User as ClaimsPrincipal).Claims;9 var result = claims.Select(x => new { x.Type, x.Value });
10 return Ok(result);11 }12 }
Note: For more information on using the Authorize attribute, check the proper documentation on MSDN.
Now, a request to the address http://localhost:4000/demo/test will be responded with the HTTP status code 401, thatmeans Unauthorized, because authentication info was not provided in the request.
3.2.2 Accepting Bearer Tokens in the Authorization Header
The most common and recommended way to present a token to a protected API is to send a Bearer Token through theAuthorization header.
After the client of your API obtains a token by using the one of the OIDC flows, it should present the token (e.g.tokenvalue0001) to your API in the Authorization request header field in the following format: Bearertokenvalue0001.
Note: More info on Bearer Tokens are available in the RFC 6750.
Warning: The package IdentityServer3.AccessTokenValidation does not integrate with theASP.NET Core 2.0 platform.
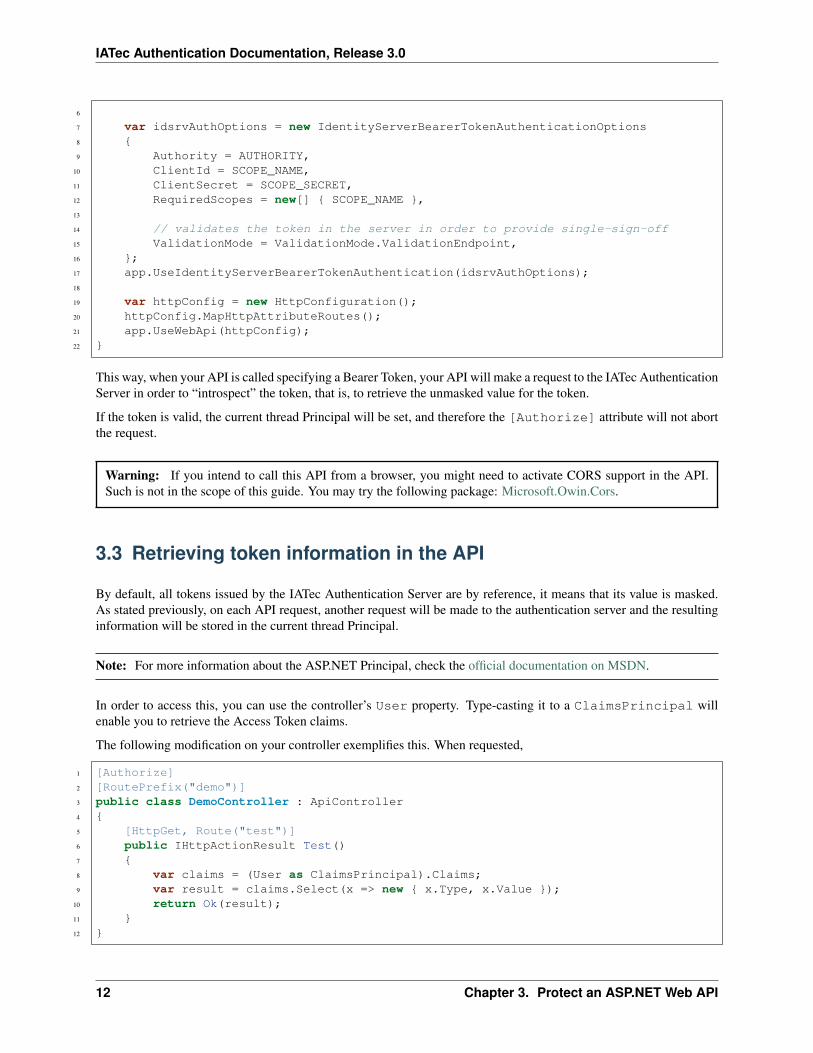
In order to accept and process the provided token, you must reference in your API the package Identity-Server3.AccessTokenValidation and add the following highlighted lines into the startup class:
1 public void Configuration(IAppBuilder app)2 {3 const string AUTHORITY = "https://login-dev.sdasystems.org/";4 const string SCOPE_NAME = "demoapi";5 const string SCOPE_SECRET = "secret123"
3.2. Protecting an existing web API 11
IATec Authentication Documentation, Release 3.0
6
7 var idsrvAuthOptions = new IdentityServerBearerTokenAuthenticationOptions8 {9 Authority = AUTHORITY,
10 ClientId = SCOPE_NAME,11 ClientSecret = SCOPE_SECRET,12 RequiredScopes = new[] { SCOPE_NAME },13
14 // validates the token in the server in order to provide single-sign-off15 ValidationMode = ValidationMode.ValidationEndpoint,16 };17 app.UseIdentityServerBearerTokenAuthentication(idsrvAuthOptions);18
19 var httpConfig = new HttpConfiguration();20 httpConfig.MapHttpAttributeRoutes();21 app.UseWebApi(httpConfig);22 }
This way, when your API is called specifying a Bearer Token, your API will make a request to the IATec AuthenticationServer in order to “introspect” the token, that is, to retrieve the unmasked value for the token.
If the token is valid, the current thread Principal will be set, and therefore the [Authorize] attribute will not abortthe request.
Warning: If you intend to call this API from a browser, you might need to activate CORS support in the API.Such is not in the scope of this guide. You may try the following package: Microsoft.Owin.Cors.
3.3 Retrieving token information in the API
By default, all tokens issued by the IATec Authentication Server are by reference, it means that its value is masked.As stated previously, on each API request, another request will be made to the authentication server and the resultinginformation will be stored in the current thread Principal.
Note: For more information about the ASP.NET Principal, check the official documentation on MSDN.
In order to access this, you can use the controller’s User property. Type-casting it to a ClaimsPrincipal willenable you to retrieve the Access Token claims.
The following modification on your controller exemplifies this. When requested,
1 [Authorize]2 [RoutePrefix("demo")]3 public class DemoController : ApiController4 {5 [HttpGet, Route("test")]6 public IHttpActionResult Test()7 {8 var claims = (User as ClaimsPrincipal).Claims;9 var result = claims.Select(x => new { x.Type, x.Value });
10 return Ok(result);11 }12 }
12 Chapter 3. Protect an ASP.NET Web API
IATec Authentication Documentation, Release 3.0
Note: For samples values of Access Tokens, check the section Access Tokens.
3.3. Retrieving token information in the API 13

IATec Authentication Documentation, Release 3.0
14 Chapter 3. Protect an ASP.NET Web API
CHAPTER 4
Create a Simple Angular Client
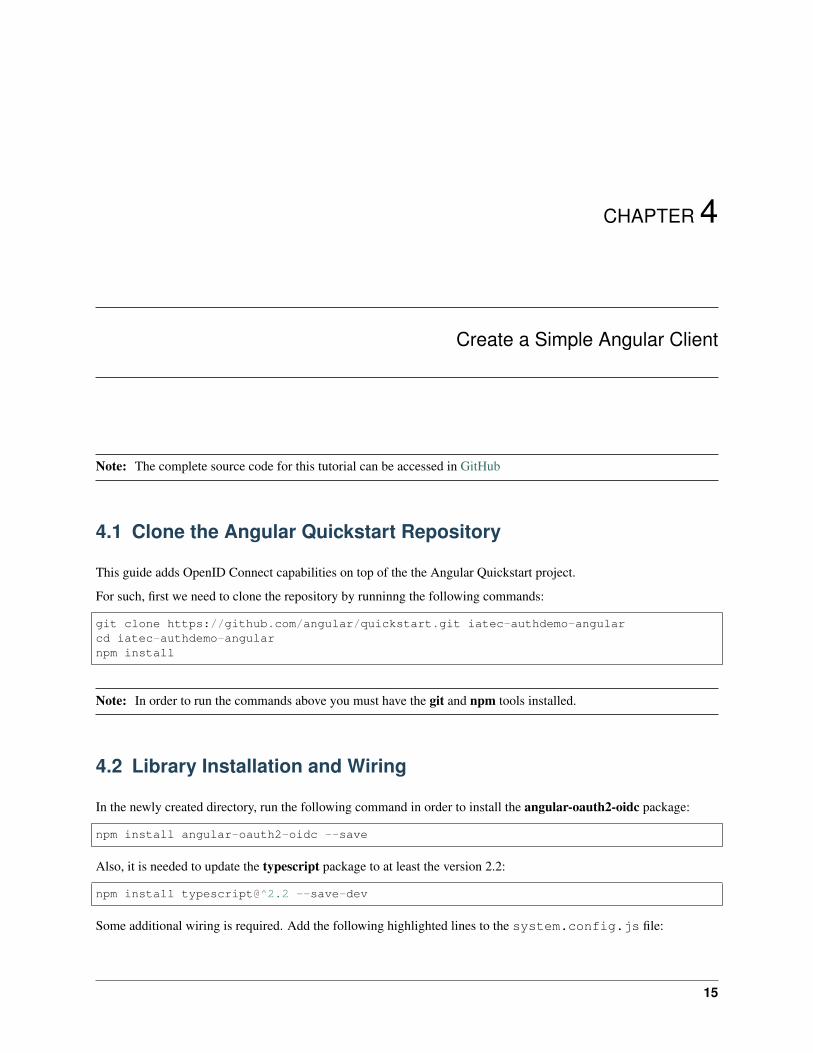
Note: The complete source code for this tutorial can be accessed in GitHub
4.1 Clone the Angular Quickstart Repository
This guide adds OpenID Connect capabilities on top of the the Angular Quickstart project.
For such, first we need to clone the repository by runninng the following commands:
git clone https://github.com/angular/quickstart.git iatec-authdemo-angularcd iatec-authdemo-angularnpm install
Note: In order to run the commands above you must have the git and npm tools installed.
4.2 Library Installation and Wiring
In the newly created directory, run the following command in order to install the angular-oauth2-oidc package:
npm install angular-oauth2-oidc --save
Also, it is needed to update the typescript package to at least the version 2.2:
npm install typescript@^2.2 --save-dev
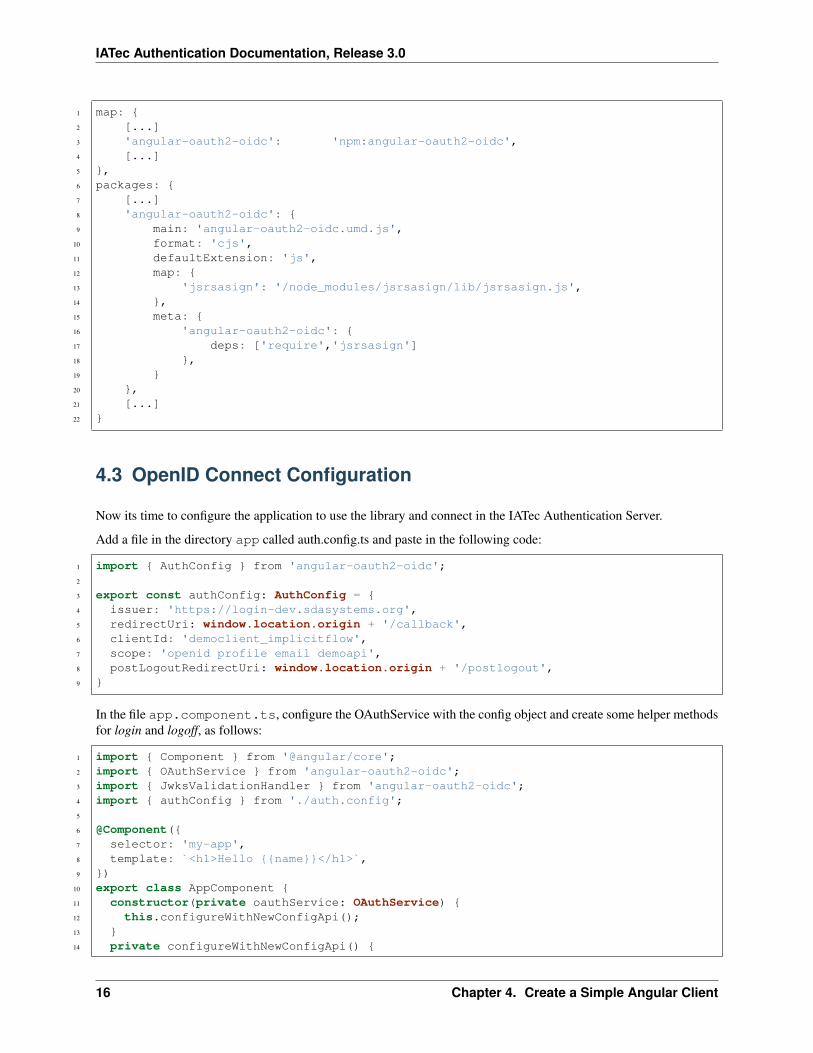
Some additional wiring is required. Add the following highlighted lines to the system.config.js file:
15
IATec Authentication Documentation, Release 3.0
1 map: {2 [...]3 'angular-oauth2-oidc': 'npm:angular-oauth2-oidc',4 [...]5 },6 packages: {7 [...]8 'angular-oauth2-oidc': {9 main: 'angular-oauth2-oidc.umd.js',
10 format: 'cjs',11 defaultExtension: 'js',12 map: {13 'jsrsasign': '/node_modules/jsrsasign/lib/jsrsasign.js',14 },15 meta: {16 'angular-oauth2-oidc': {17 deps: ['require','jsrsasign']18 },19 }20 },21 [...]22 }
4.3 OpenID Connect Configuration
Now its time to configure the application to use the library and connect in the IATec Authentication Server.
Add a file in the directory app called auth.config.ts and paste in the following code:
1 import { AuthConfig } from 'angular-oauth2-oidc';2
3 export const authConfig: AuthConfig = {4 issuer: 'https://login-dev.sdasystems.org',5 redirectUri: window.location.origin + '/callback',6 clientId: 'democlient_implicitflow',7 scope: 'openid profile email demoapi',8 postLogoutRedirectUri: window.location.origin + '/postlogout',9 }
In the file app.component.ts, configure the OAuthService with the config object and create some helper methodsfor login and logoff, as follows:
1 import { Component } from '@angular/core';2 import { OAuthService } from 'angular-oauth2-oidc';3 import { JwksValidationHandler } from 'angular-oauth2-oidc';4 import { authConfig } from './auth.config';5
6 @Component({7 selector: 'my-app',8 template: `<h1>Hello {{name}}</h1>`,9 })
10 export class AppComponent {11 constructor(private oauthService: OAuthService) {12 this.configureWithNewConfigApi();13 }14 private configureWithNewConfigApi() {
16 Chapter 4. Create a Simple Angular Client

IATec Authentication Documentation, Release 3.0
15 this.oauthService.configure(authConfig);16 this.oauthService.tokenValidationHandler = new JwksValidationHandler();17 this.oauthService.loadDiscoveryDocumentAndTryLogin();18 }19
20 public login() {21 this.oauthService.initImplicitFlow();22 }23
24 public logoff() {25 this.oauthService.logOut();26 }27
28 public get name() {29 let claims: any = this.oauthService.getIdentityClaims();30 if (!claims) return 'Anonymous User';31 return claims.name;32 }33 }
Now we will configure the view. For that, change the highlighted line in the same file:
1 @Component({2 selector: 'my-app',3 templateUrl: './app.component.html'4 })
And create a new file named app.component.ts in the directory app with the following content:
1 <h1>Hello {{name}}</h1>2 <button (click)="this.login()">Login</button>3 <button (click)="this.logoff()">Logoff</button>
4.4 Calling a protected API
We will create in our Angular application a button that calls a protected API.
First, change the highlighted lines in the file app.component.ts:
1 export class AppComponent {2 apiresponse = "API not called yet.";3 constructor(private oauthService: OAuthService, private http: Http) {4 [...]5 }6 [...]7 public callApi() {8 var headers = new http_1.Headers({9 "Authorization": "Bearer " + this.oauthService.getAccessToken()
10 });11 this.http.get('http://localhost:4000/demo/test', { headers: headers })12 .subscribe(function (resp) {13 if (resp.status == 0)14 _this.apiresponse = "Could not connect to the API.";15 else16 _this.apiresponse = "API response status:"17 + resp.status + " " + resp.statusText
4.4. Calling a protected API 17
IATec Authentication Documentation, Release 3.0
18 + "\n\n" + JSON.stringify(resp.json());19 }, function (err) {20 _this.apiresponse = "Error: " + err;21 });22 }23 [...]24 }
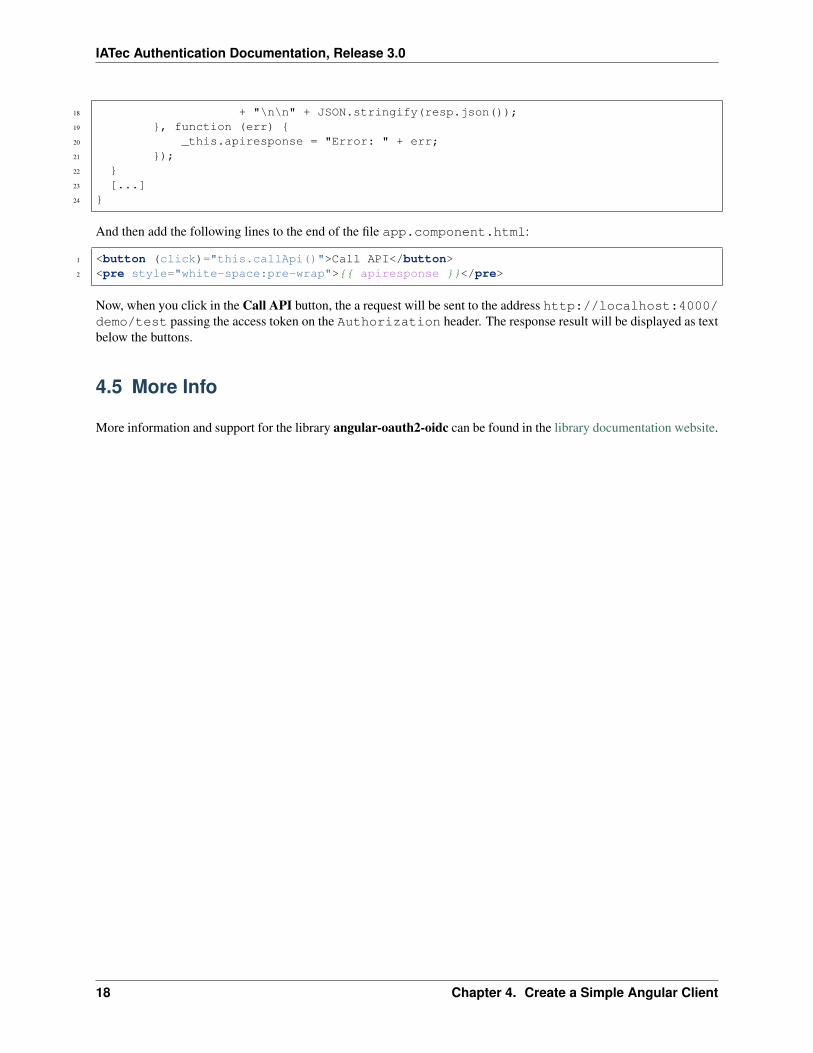
And then add the following lines to the end of the file app.component.html:
1 <button (click)="this.callApi()">Call API</button>2 <pre style="white-space:pre-wrap">{{ apiresponse }}</pre>
Now, when you click in the Call API button, the a request will be sent to the address http://localhost:4000/demo/test passing the access token on the Authorization header. The response result will be displayed as textbelow the buttons.
4.5 More Info
More information and support for the library angular-oauth2-oidc can be found in the library documentation website.
18 Chapter 4. Create a Simple Angular Client


![[MS-OAUTH2EX]: OAuth 2.0 Authentication Protocol ExtensionsM… · OAuth 2.0 Authentication Protocol Extensions Intellectual Property Rights Notice for Open Specifications Documentation](https://img.pdfslide.us/doc/110x75/600812d607963a6f320df1ce/ms-oauth2ex-oauth-20-authentication-protocol-extensions-m-oauth-20-authentication.jpg)


![Duo Multi-Factor Authentication (MFA) · Multi-Factor Authentication (MFA) Documentation: FAQs [1] Duo Multi-Factor Authentication (MFA): Frequently Asked Questions (FAQs) What is](https://img.pdfslide.us/doc/110x75/5b65cd517f8b9a6e1f8c5f4e/duo-multi-factor-authentication-mfa-multi-factor-authentication-mfa-documentation.jpg)


![[MS-NLMP-Diff]: NT LAN Manager (NTLM) Authentication Protocol€¦ · NT LAN Manager (NTLM) Authentication Protocol Intellectual Property Rights Notice for Open Specifications Documentation](https://img.pdfslide.us/doc/110x75/602e5b44744d6408e97dea64/ms-nlmp-diff-nt-lan-manager-ntlm-authentication-protocol-nt-lan-manager-ntlm.jpg)


![[MS SPS2SAUTH]: OAuth 2.0 Authentication Protocol ...… · OAuth 2.0 Authentication Protocol: SharePoint Profile Intellectual Property Rights Notice for Open Specifications Documentation](https://img.pdfslide.us/doc/110x75/5f912acfcb15967e4054d312/ms-sps2sauth-oauth-20-authentication-protocol-oauth-20-authentication.jpg)