Embed Size (px)
Citation preview

HTML

Goals
• How to use the Komodo editor• HTML coding and testing– List and Images– Tables and Links– At least 2 pages and navigation– http://www.w3schools.com

Browser and Web Server

Basic Syntax of HTML
• <> denotes tags• For example:
– <strong> indicates the following text will be bold• Most tags require and opening and closing tags to stop
– </strong> indicates the closing tag– Example:<strong> Bold me! </strong> but not me!
The result of the above will be:
Bold me! but not me!

Important note on style tags
• HTML used to have style tags: <b></b>, <i></i>, etc… *These tags have been deprecated*
-meaning: WE DON’T USE THEM ANYMORE • HTML was never meant to be about styles, that’s
why we have CSS. • Instead lets use phrase tags:– <strong></strong>; <em></em>; etc.These tags describe the text that surrounds itWe can use CSS to style these elements even further.

Example of phrase tags
<p> This is an <strong>example</strong> </p>
This is an example
• Phrase tags are better suited to be used with HTML

HTML Tag Rules
• Whitespace are ignored• Attribute values are enclosed in single or
double quotes
• Beware: HTML does no checking for syntax errors – it interprets what it can and ignores the rest. You will need to be the error checker for yourself

Start and End of HTML
• <html> </html> Start and end of HTML• <head> </head> Start and end of head
section• <body> </body> Start and end of body

Basic Structure of HTML Page
<!DOCTYPE html><html><head>
<title> The Title </title></head><body>
<strong>Test Page</strong> with text<body>
</html>

Syntax
• Headers<h1> Header 1 </h1> - largest<h2> Header 2 </h2><h3> Header 3 </h3><h4> Header 3 </h4><h5> Header 3 </h5><h6> Header 3 </h6> - smallest
• Paragraphs<p> Paragraph </p>

More Syntax
• Next Line<br/>
• Changing text<strong> </strong><em> </em><u> underline </u> ** use CSS to do this now
• Comment<!-- Comment, does not show up on a browser -->

Linking Web Pages
• <a href=“url_here”> Link Text </a>• The URL can be:– a page you created or– an external link (MUST HAVE HTTP)
• <a href=“aboutMe.html”> About Me </a>• <a href =“http://www.mtsu.edu”> MTSU </a>
MTSU

Useful Attributes for Links
• target=“_blank” – opens the link in a new window
• title=“example the link here” – the alt text of the link
• Can anchor pages:– Add id=“linkName” to any tag– Then add, <a href="#linkName">here</a> to go to
the anchor.

More Syntax!
• one space• <marquee> Text scrolling </marquee> – **Again, this is HTML 4 and should really be done
with CSS**

Styling

Styling
• Three ways to style HTML 1. Inline*
• <p style=“color:blue”>This is a blue paragraph.</p>
2. Internal Style sheet• All styling is done in the <head></head> tags of the HTML
code
3. External Style sheet*• This is done with CSS
*What we’re using in this class
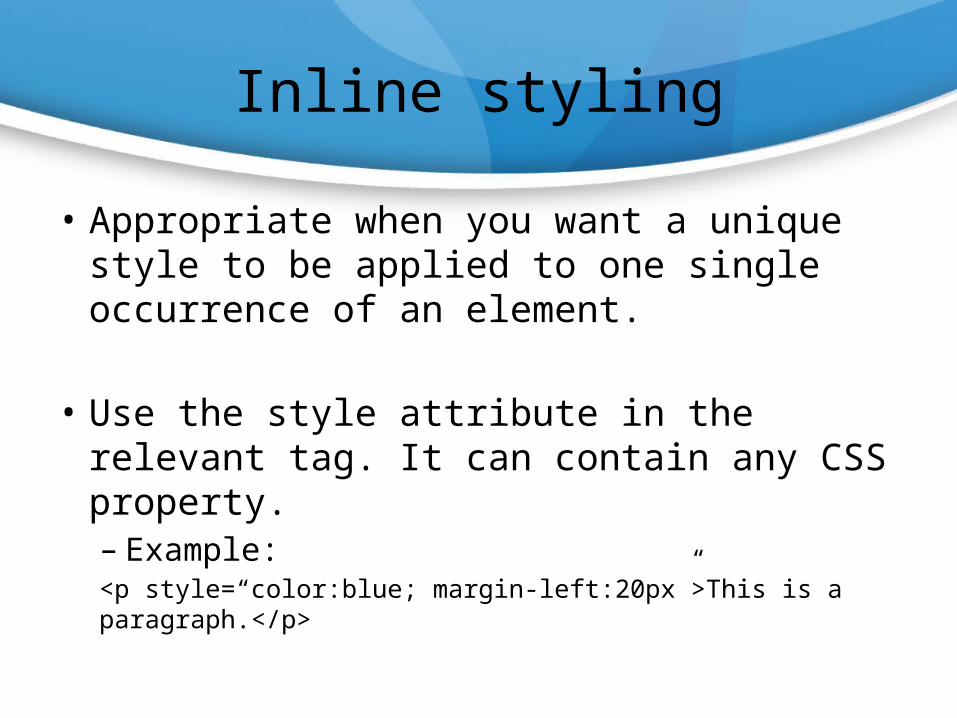
Inline styling
• Appropriate when you want a unique style to be applied to one single occurrence of an element.
• Use the style attribute in the relevant tag. It can contain any CSS property.– Example:<p style=“color:blue; margin-left:20px”>This is a paragraph.</p>

What if I want to just style one word in a Sentence?
• Since the style attribute allows us to style an element. What’s the best way to style just one word in an element?
• <span></span> tags can go around one or more words!– Example
<p> My favorite font is <span style=“font-family: Futura”>Futura</span>!</p>

Lists

Lists
• Two types of lists– Ordered:
1. First entry2. Second entry3. Third entry
– Unordered• Entry• Entry• Entry

Ordered Lists
<ol><li> First Entry </li><li> Second Entry </li>
<li> Third Entry </li></ol>

Order List Attributes
• Compact – less space between lines and indentation– <ol compact="compact">
• Start – specifies the start number– <ol start="50">
• Type – specifies the type of order (1, A, a, I, i)– <ol type="I">

Unordered Lists
<ul><li> Entry </li><li> Entry </li>
<li> Entry </li></ul>

Unordered Lists Attributes
• Compact– <ul compact="compact">
• Type (disc, square, circle)– <ul type="square">

Lists Within Lists
1. First Entry– Sub Entry– Sub Entry
2. Second Entry– Sub Entry
3. Third Entry
<ol> <li> First Entry </li> <ul> <li> Sub Entry </li> <li> Sub Entry </li> </ul> <li> Second Entry </li> <ul> <li> Sub Entry </li> </ul> <li> Third Entry </li></ol>

Images

Inserting Images
• Two ways to insert:– Use an Internet link– Copy the image to your account, then link it
– <img src=“www.some_site.com/image.jpg” />– <img src=“image.jpg” />

What is the Difference?
• Link: You just include the URL– Taking up the resources of whatever site you got
the link from• Copying: have to download the image– Include the location and image name.

Attributes of Inserting Images
• Alt – the alternative text of the picturethis shows up when you scroll over an image
• Width – specifies the width of the image• Height – specifies the height of the image• Align – specifies the alignment (top, bottom,
middle, left, right) (Going to use CSS for this)• <img src=“image.jpg" alt=“My Picture"
width="304" height="228" />

Making an Image Your Background
• For color:<body style=“background-color:“color">
• For background image:<body background="bgimage.jpg">

Making a Picture a Link
• <a href=“url”> <img src=“image.jpg” /> </a>

Tables

Tables
• <table> </table> : Start and end of the table• <th> </th> : Start and end of a header cell• <tr> </tr> : Start and end of a row• <td> </td> : Start and end of a table data cell

Tables
<table border=1><tr>
<th> Header 1 </th><th> Header 2 </th>
</tr><tr>
<td> Data 1 </td> <td> Data 2 </td> </tr></table>
Header 1 Header 2Data 1 Data 2

Attributes of Tables
• table: align, bgcolor, border, cell padding, cell spacing, frame, rules, summary, width
• tr: align, bgcolor, charoff, valign• th & td: abbr, align, axis, bgcolor, char, charoff,
colspan, height, nowrap, rowspan, scope, valign, width

Changing your Webpage Layout
• Div: http://www.w3schools.com/html/html_layout.asp