Embed Size (px)
Citation preview
How to create and save a concept map using C-Map, export a C-Map as an image, and export a C-Map
as a webpage
C-Map can be used to create a concept map of a story students are reading, to help outline a story students are writing or to help students write a research paper
C-Map can also be used in several other ways and in subjects other than English and Language Arts
This tutorial will show the basic tools students will use to create a concept map using C-Map software

When C-Map is opened, the “Views” window appears
A new C-Map also opens
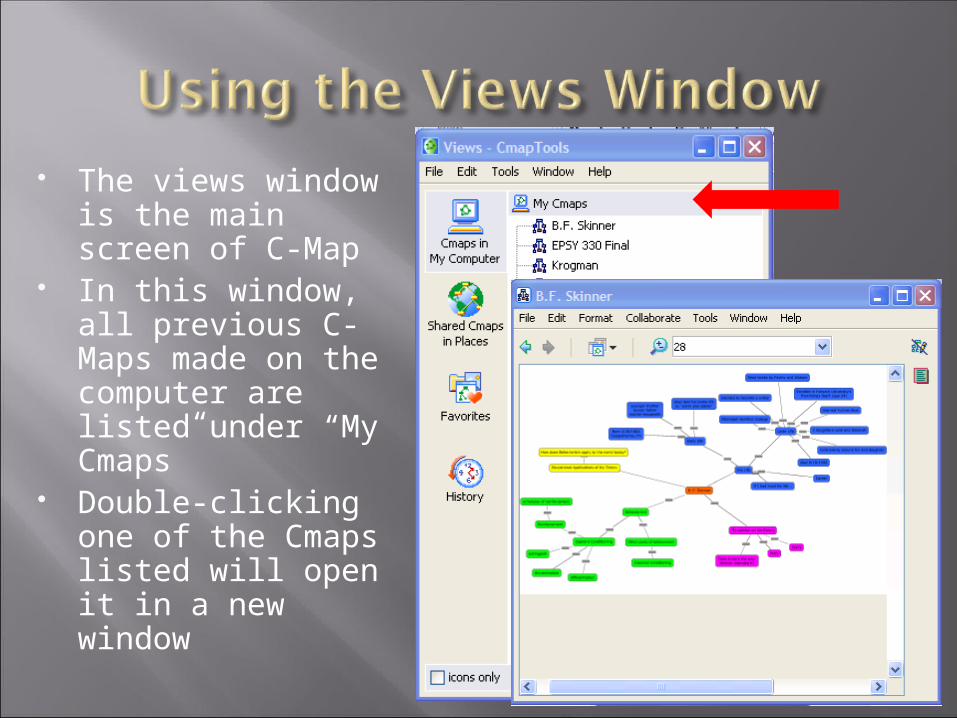
The views window is the main screen of C-Map
In this window, all previous C-Maps made on the computer are listed under “My Cmaps”
Double-clicking one of the Cmaps listed will open it in a new window
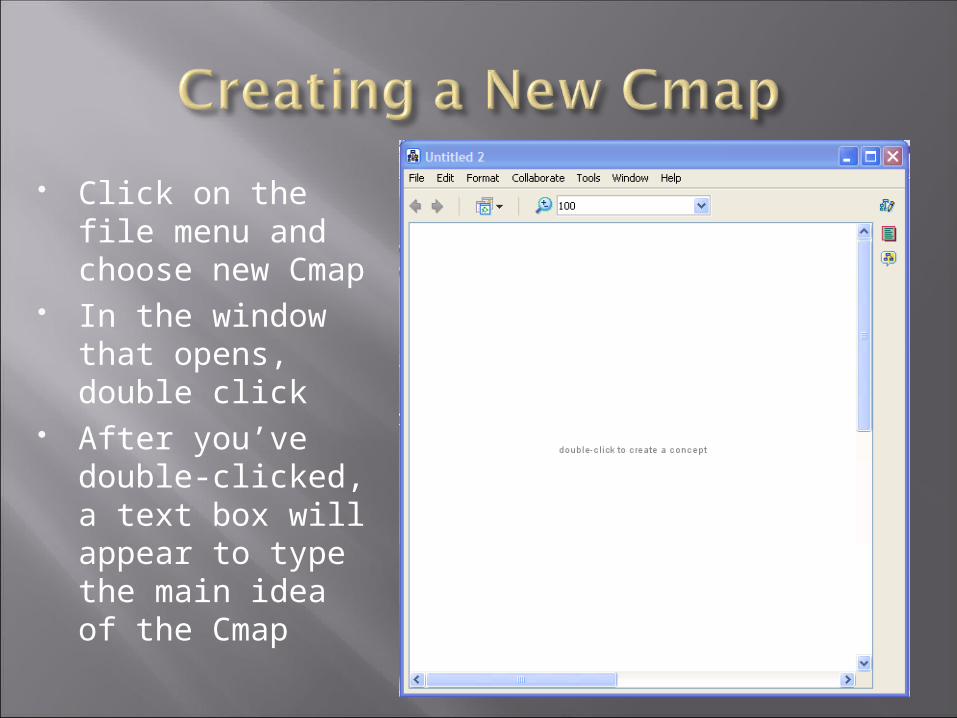
Click on the file menu and choose new Cmap
In the window that opens, double click
After you’ve double-clicked, a text box will appear to type the main idea of the Cmap
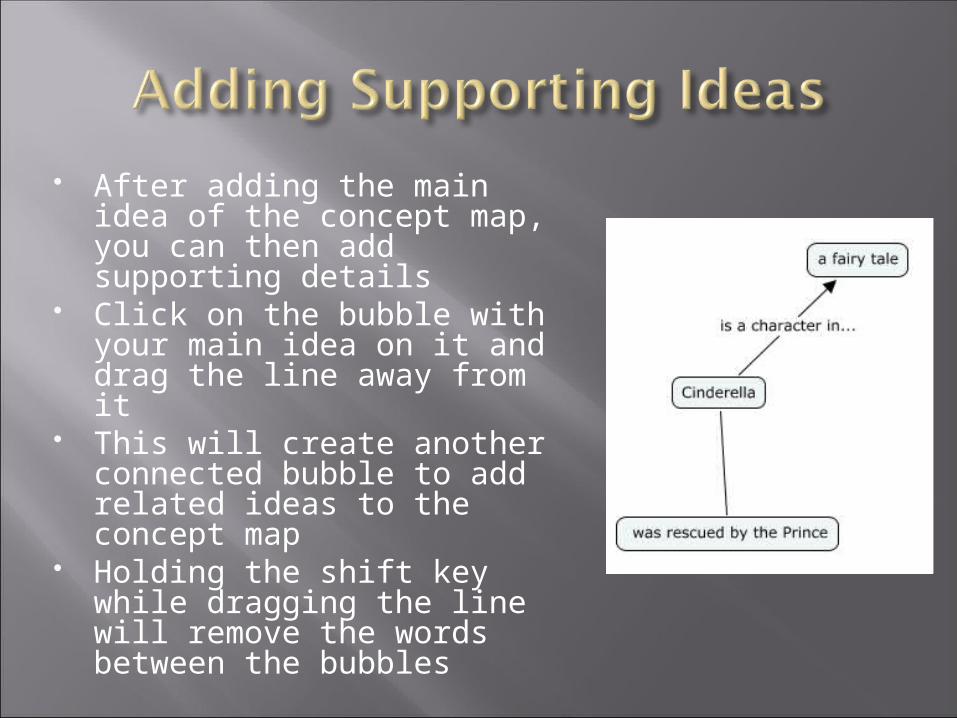
After adding the main idea of the concept map, you can then add supporting details
Click on the bubble with your main idea on it and drag the line away from it
This will create another connected bubble to add related ideas to the concept map
Holding the shift key while dragging the line will remove the words between the bubbles
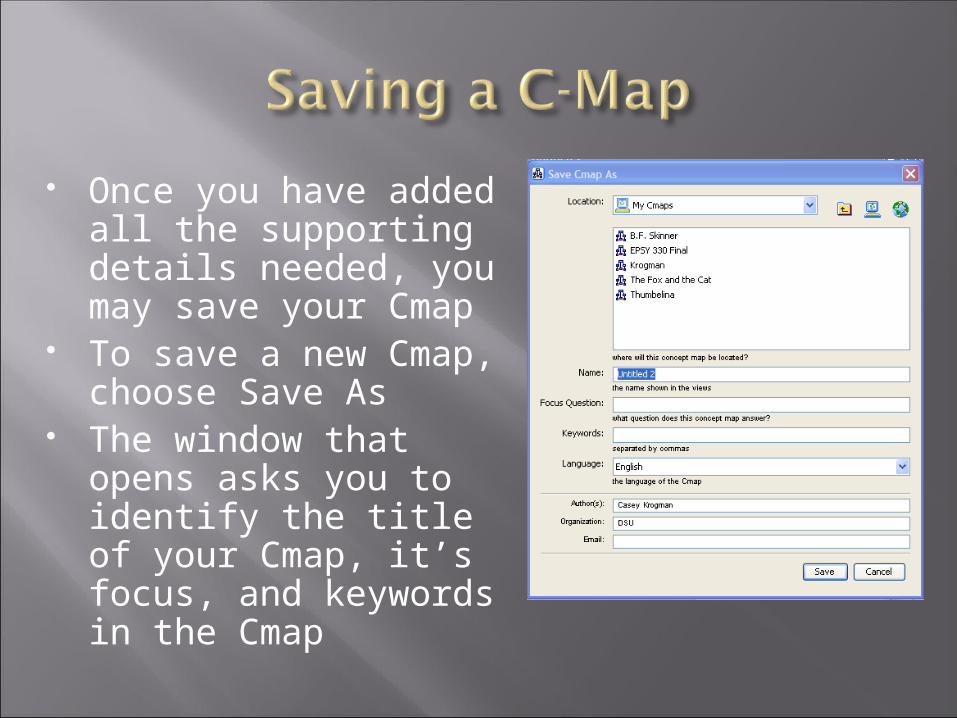
Once you have added all the supporting details needed, you may save your Cmap
To save a new Cmap, choose Save As
The window that opens asks you to identify the title of your Cmap, it’s focus, and keywords in the Cmap
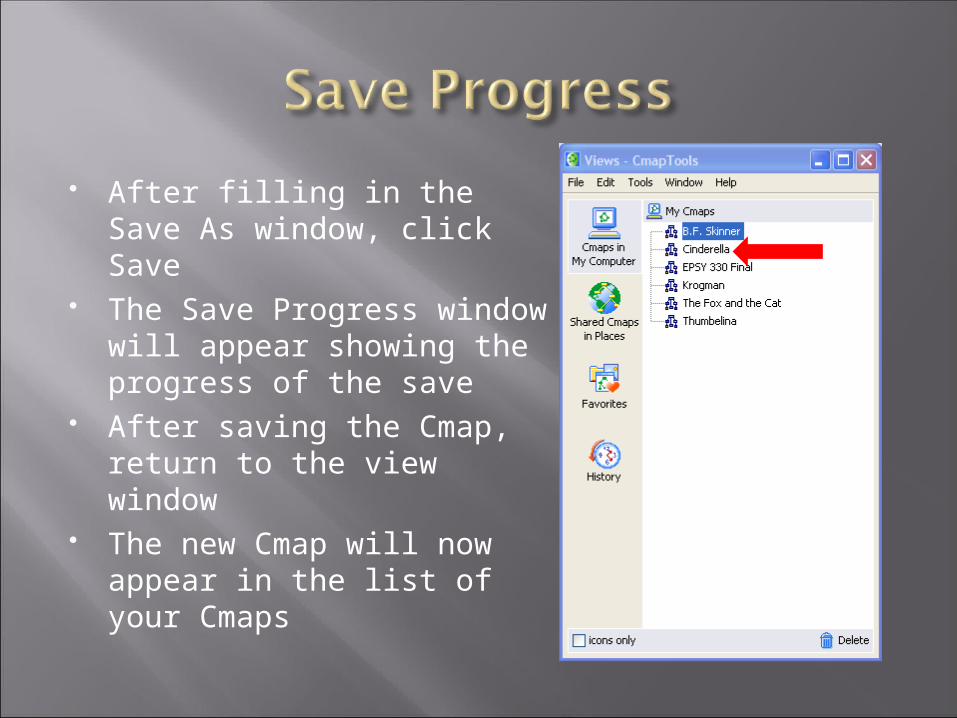
After filling in the Save As window, click Save
The Save Progress window will appear showing the progress of the save
After saving the Cmap, return to the view window
The new Cmap will now appear in the list of your Cmaps
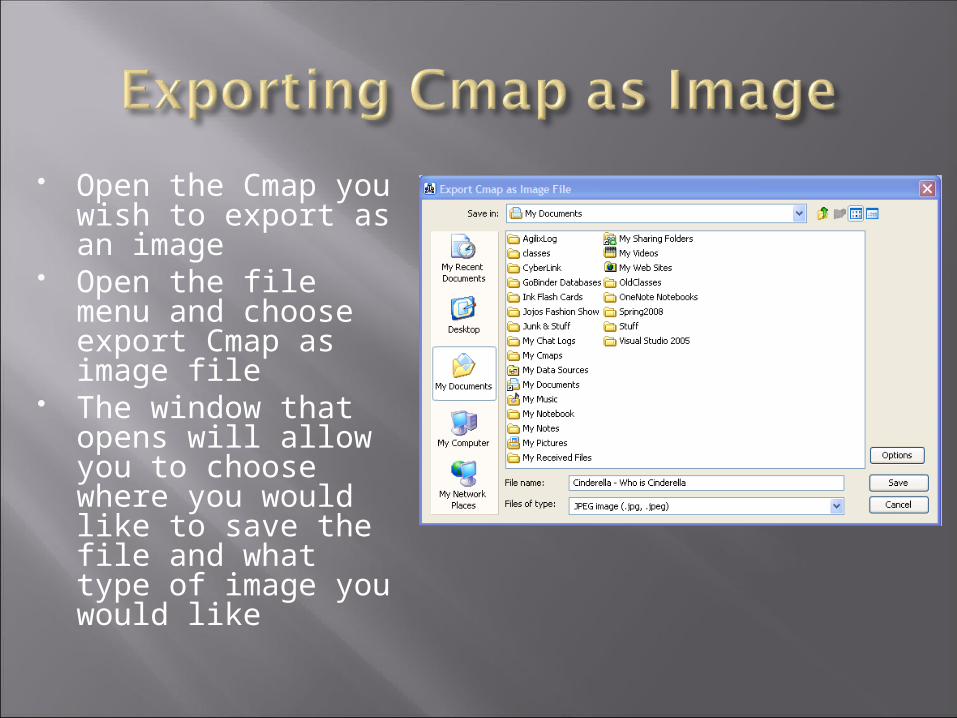
Open the Cmap you wish to export as an image
Open the file menu and choose export Cmap as image file
The window that opens will allow you to choose where you would like to save the file and what type of image you would like
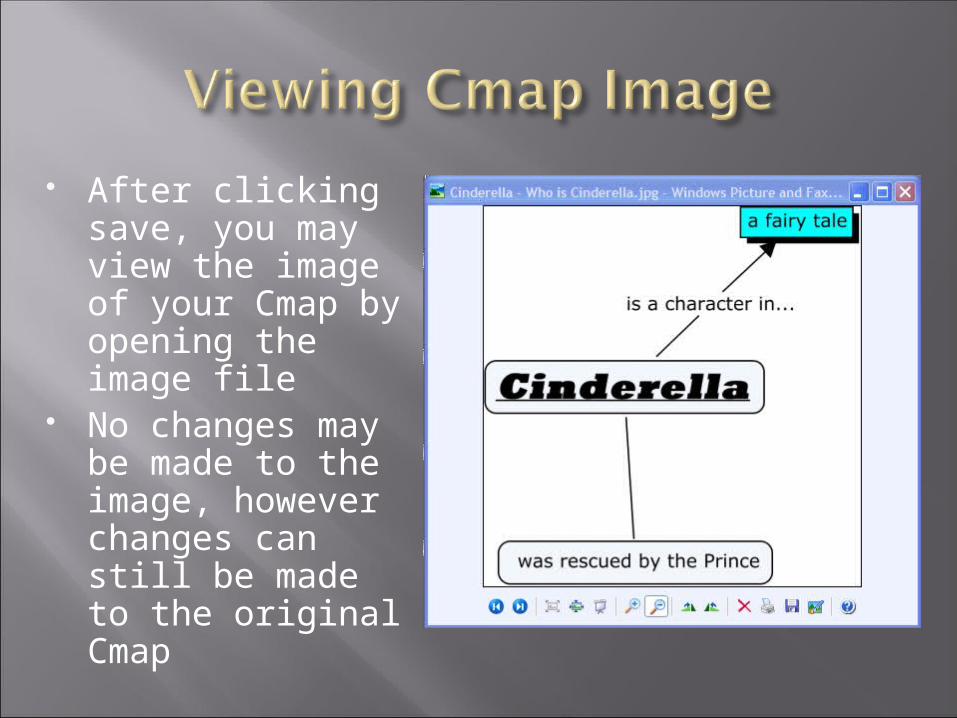
After clicking save, you may view the image of your Cmap by opening the image file
No changes may be made to the image, however changes can still be made to the original Cmap

Open the file menu and choose Export Cmap as web page
The window that opens will allow you to choose where you would like to save the file
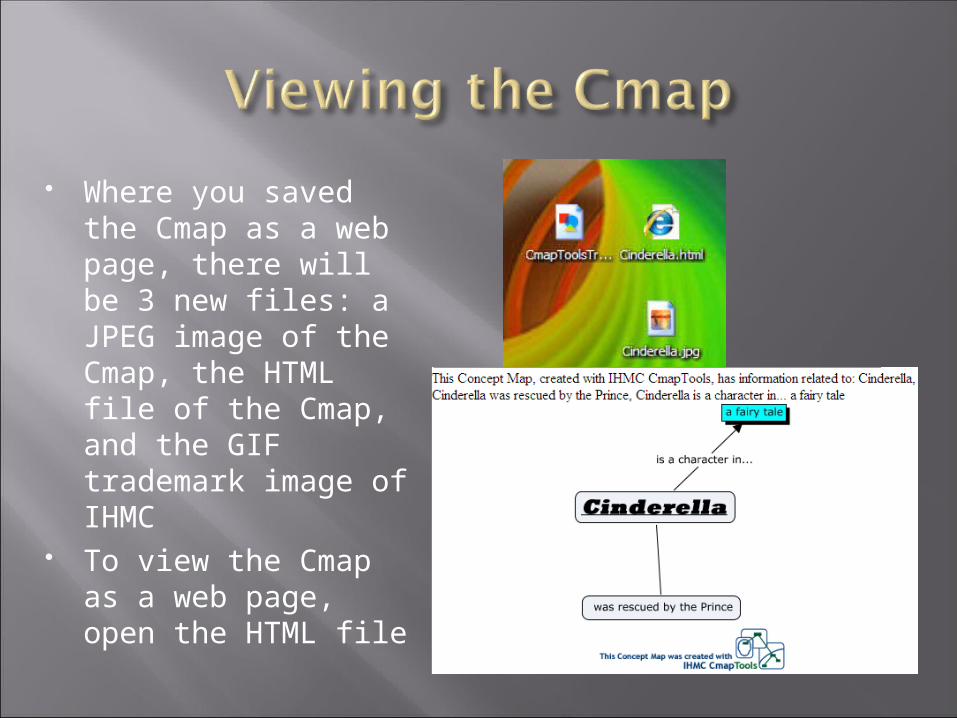
Where you saved the Cmap as a web page, there will be 3 new files: a JPEG image of the Cmap, the HTML file of the Cmap, and the GIF trademark image of IHMC
To view the Cmap as a web page, open the HTML file
When opening C-Map, the view window opens From this window you can create a new Cmap
or open a saved Cmap When creating a new Cmap, open the file menu
and choose new Cmap After the new window opens , double click on the page
and type in the main idea and add supporting details To open a previous Cmap, simply double click
on its name in the list of Cmaps in the View window
To Save a Cmap, open the file menu and choose Save to save editing to a previously saved Cmap or Save As to save a new Cmap
To export a Cmap as an image or a Webpage, go to the file menu and choose export as and select either Export Cmap as image file or Export Cmap as Webpage