Embed Size (px)
Citation preview
O
btai
ned
from
Om
arsh
aunt
edtra
il.com
http://www.michaeldavy.com/
How to Apply Acetone Soluble Bald Caps Flatten hair with Non Alcohol Hair Fix Gel and position the cap on the head. Cut out the ears and glue the edges around the hairline using Prosthetic Adhesive (Acrylic Emulsion Adhesive) or Spirit Gum. Dip a brush in acetone and place it on the edge of the glued area. Allow the acetone to dissolve the cap and as it dissolves, slide the brush along the edge of the glue.
As the cap dissolves, pull the excess cap away like a zipper. Do this around the entire cap's edge.
TIP: Dissolve the cap into the glued area which should be about ½-inch wide. Then stipple the latex over the exposed glue. This will help prevent the cap from "creeping" while it is worn.
To make the cap even more durable, stipple 1 or 2 coats of thin liquid latex over the entire cap and about ¼-inch to ½-inch beyond the edge of the cap, onto the skin.
O
btai
ned
from
Om
arsh
aunt
edtra
il.com
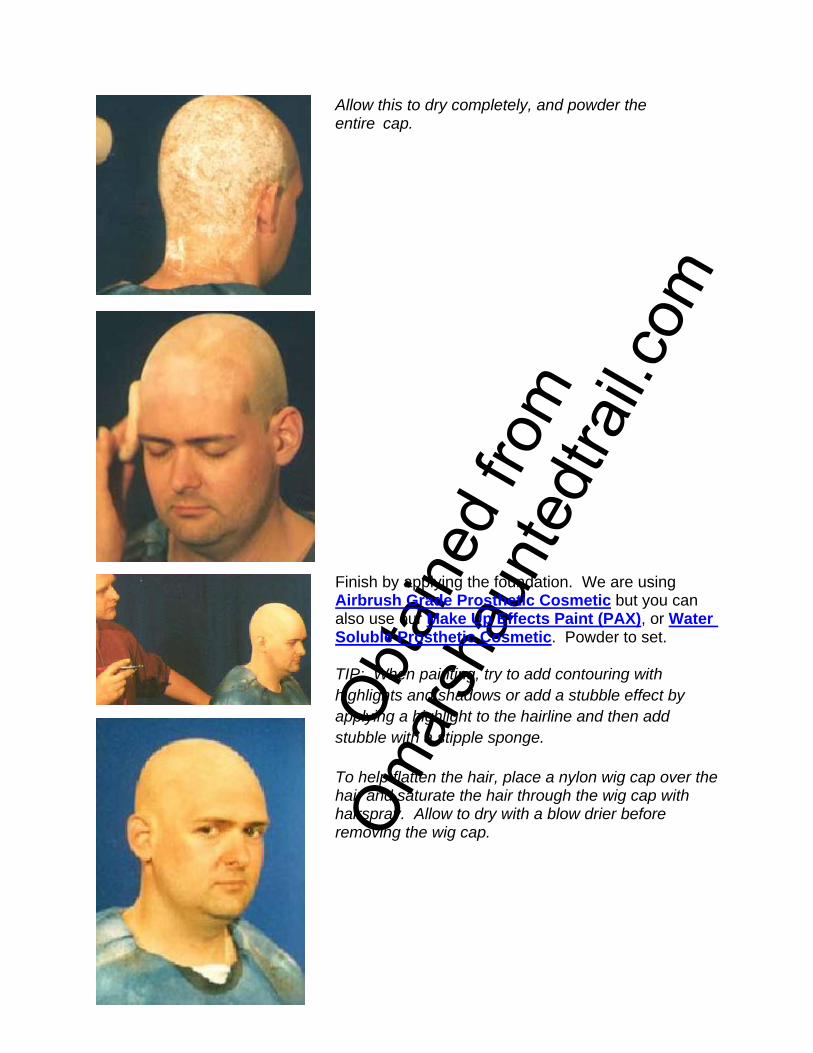
Allow this to dry completely, and powder the entire cap.
Finish by applying the foundation. We are using Airbrush Grade Prosthetic Cosmetic but you can also use our Make Up Effects Paint (PAX), or Water Soluble Prosthetic Cosmetic. Powder to set.
TIP: When painting, try to add contouring with highlights and shadows or add a stubble effect by applying a highlight to the hairline and then add stubble with a stipple sponge.
To help flatten the hair, place a nylon wig cap over the hair and saturate the hair through the wig cap with hairspray. Allow to dry with a blow drier before removing the wig cap.
O
btai
ned
from
Om
arsh
aunt
edtra
il.com
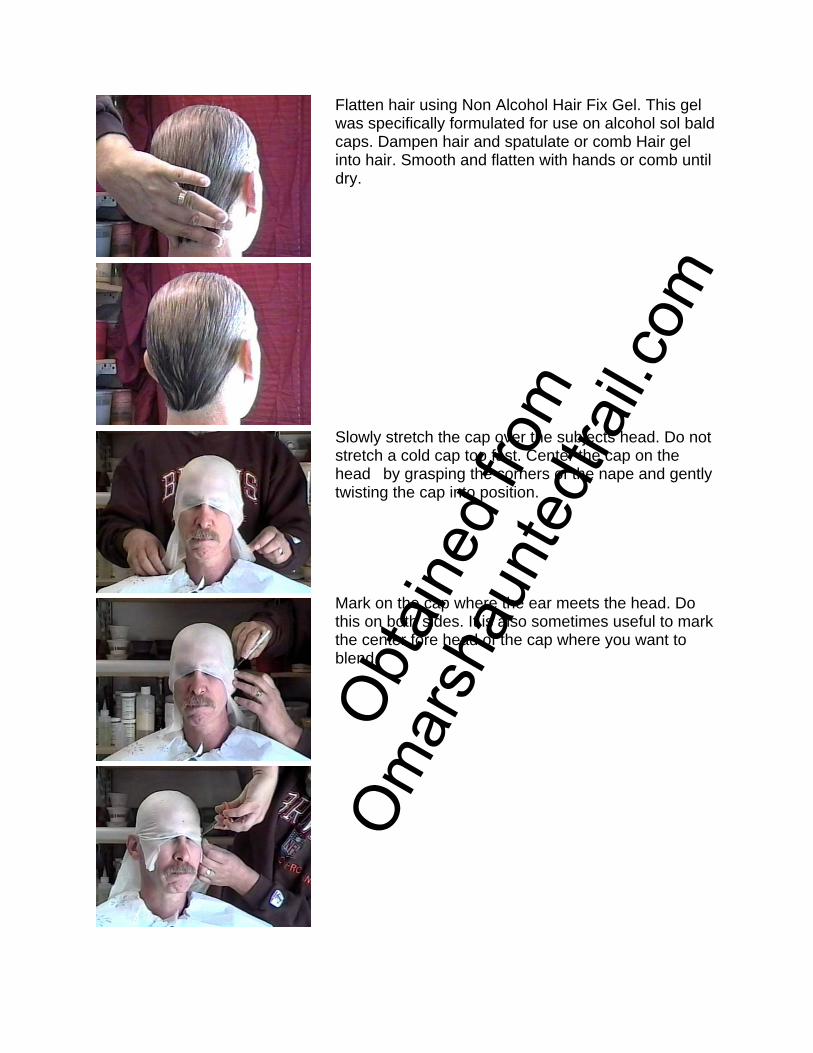
Flatten hair using Non Alcohol Hair Fix Gel. This gel was specifically formulated for use on alcohol sol bald caps. Dampen hair and spatulate or comb Hair gel into hair. Smooth and flatten with hands or comb until dry.
Slowly stretch the cap over the subjects head. Do not stretch a cold cap too fast. Center the cap on the head by grasping the corners of the nape and gently twisting the cap into position.
Mark on the cap where the ear meets the head. Do this on both sides. It is also sometimes useful to mark the center fore head of the cap where you want to blend.
O
btai
ned
from
Om
arsh
aunt
edtra
il.com
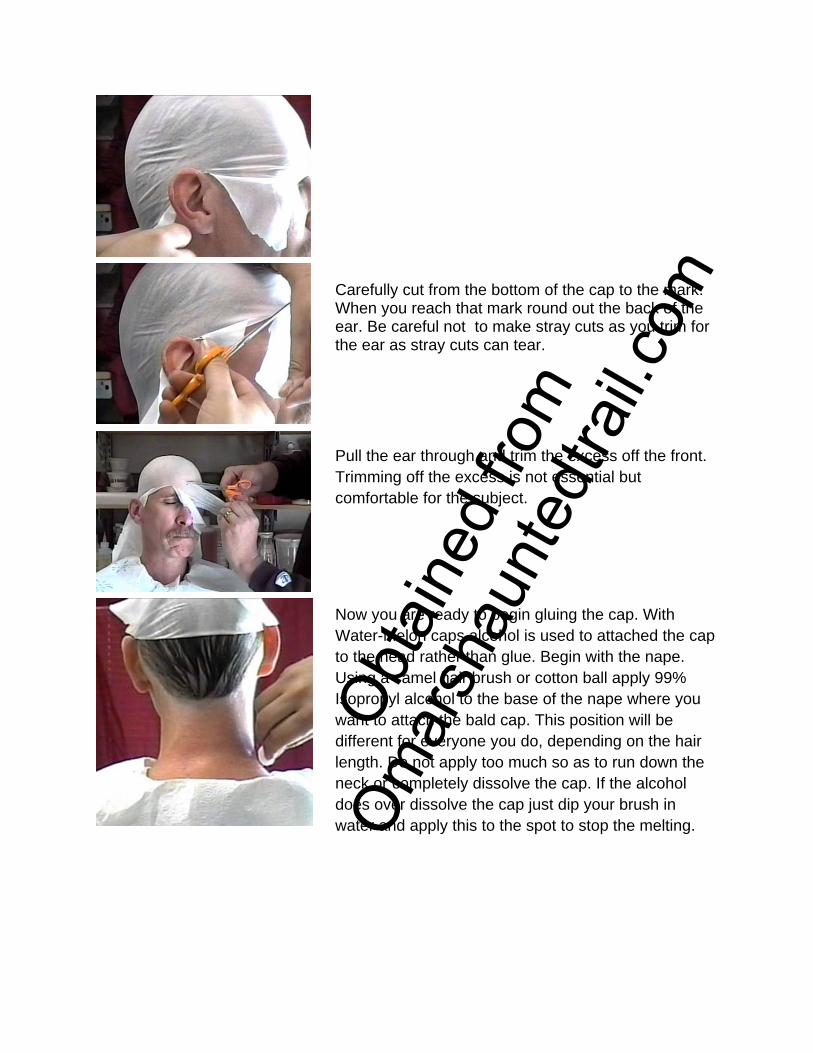
Carefully cut from the bottom of the cap to the mark. When you reach that mark round out the back of the ear. Be careful not to make stray cuts as you trim for the ear as stray cuts can tear.
Pull the ear through and trim the excess off the front. Trimming off the excess is not essential but comfortable for the subject.
Now you are ready to begin gluing the cap. With Water-Melon caps alcohol is used to attached the cap to the head rather than glue. Begin with the nape. Using a camel hair brush or cotton ball apply 99% Isopropyl alcohol to the base of the nape where you want to attach the bald cap. This position will be different for everyone you do, depending on the hair length. Do not apply too much so as to run down the neck or completely dissolve the cap. If the alcohol does over dissolve the cap just dip your brush in water and apply this to the spot to stop the melting.
O
btai
ned
from
Om
arsh
aunt
edtra
il.com
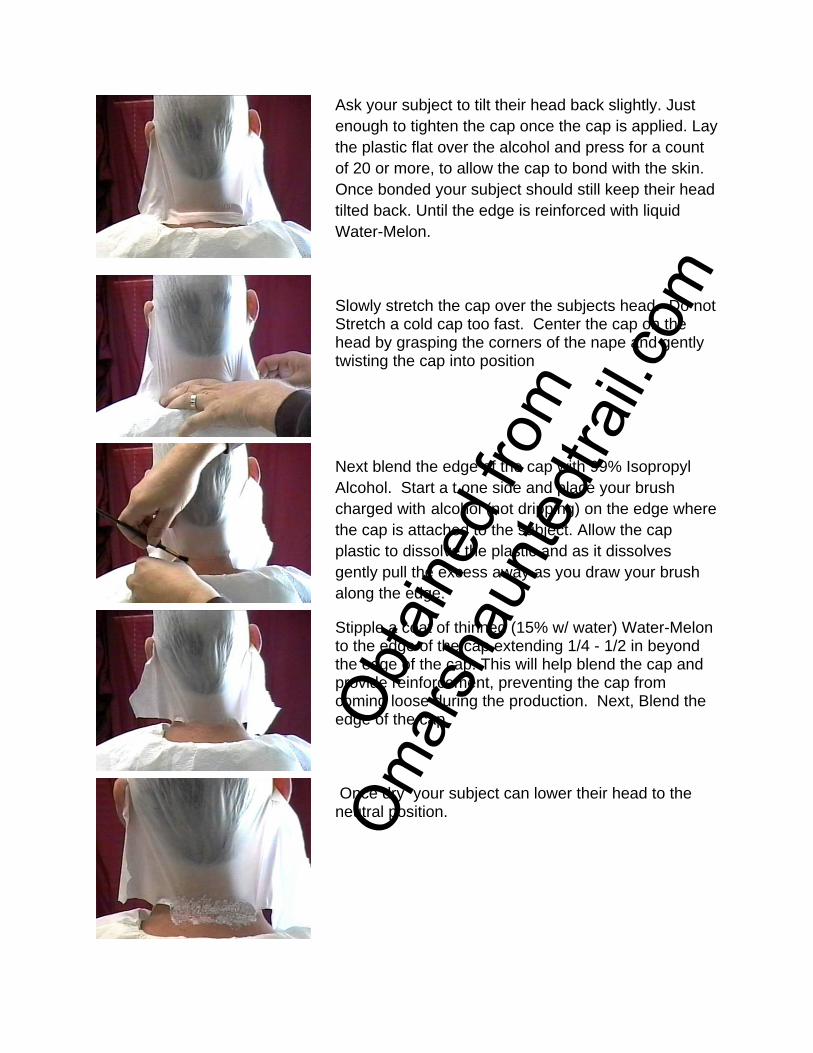
Ask your subject to tilt their head back slightly. Just enough to tighten the cap once the cap is applied. Lay the plastic flat over the alcohol and press for a count of 20 or more, to allow the cap to bond with the skin. Once bonded your subject should still keep their head tilted back. Until the edge is reinforced with liquid Water-Melon.
Slowly stretch the cap over the subjects head. Do not Stretch a cold cap too fast. Center the cap on the head by grasping the corners of the nape and gently twisting the cap into position
Next blend the edge of the cap with 99% Isopropyl Alcohol. Start a t one side and place your brush charged with alcohol (not dripping) on the edge where the cap is attached to the subject. Allow the cap plastic to dissolve the plastic and as it dissolves gently pull the excess away as you draw your brush along the edge.
Stipple a coat of thinned (15% w/ water) Water-Melon to the edge of the cap extending 1/4 - 1/2 in beyond the edge of the cap. This will help blend the cap and provide reinforcement, preventing the cap from coming loose during the production. Next, Blend the edge of the cap
Once dry your subject can lower their head to the neutral position.
O
btai
ned
from
Om
arsh
aunt
edtra
il.com
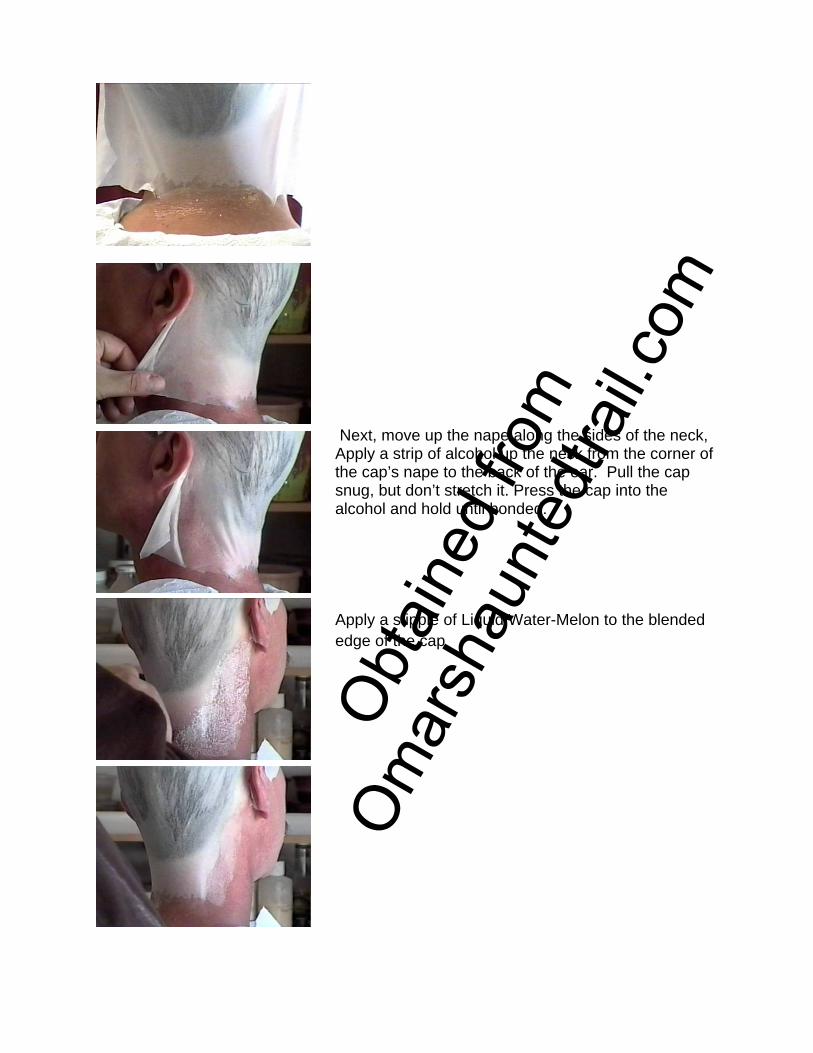
Next, move up the nape along the sides of the neck, Apply a strip of alcohol up the neck from the corner of the cap’s nape to the back of the ear. Pull the cap snug, but don’t stretch it. Press the cap into the alcohol and hold until bonded.
Apply a stipple of Liquid Water-Melon to the blended edge of the cap
O
btai
ned
from
Om
arsh
aunt
edtra
il.com
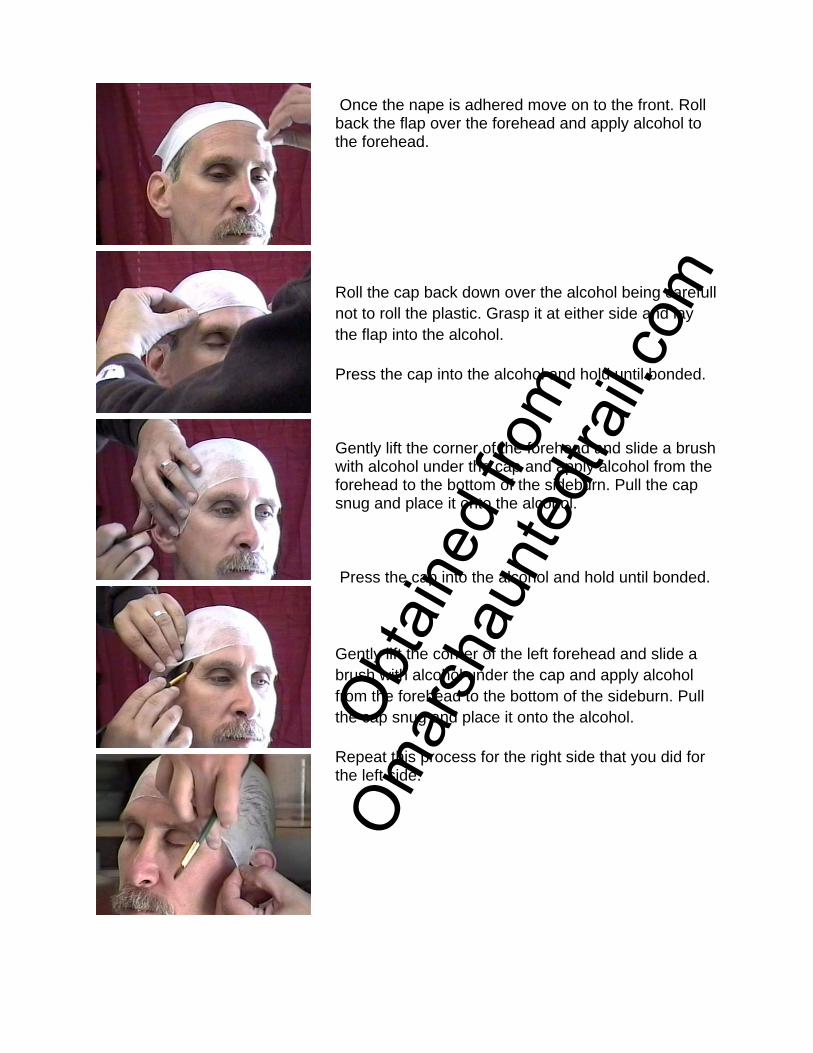
Once the nape is adhered move on to the front. Roll back the flap over the forehead and apply alcohol to the forehead.
Roll the cap back down over the alcohol being carefull not to roll the plastic. Grasp it at either side and lay the flap into the alcohol.
Press the cap into the alcohol and hold until bonded.
Gently lift the corner of the forehead and slide a brush with alcohol under the cap and apply alcohol from the forehead to the bottom of the sideburn. Pull the cap snug and place it onto the alcohol.
Press the cap into the alcohol and hold until bonded.
Gently lift the corner of the left forehead and slide a brush with alcohol under the cap and apply alcohol from the forehead to the bottom of the sideburn. Pull the cap snug and place it onto the alcohol.
Repeat this process for the right side that you did for the left side.
O
btai
ned
from
Om
arsh
aunt
edtra
il.com
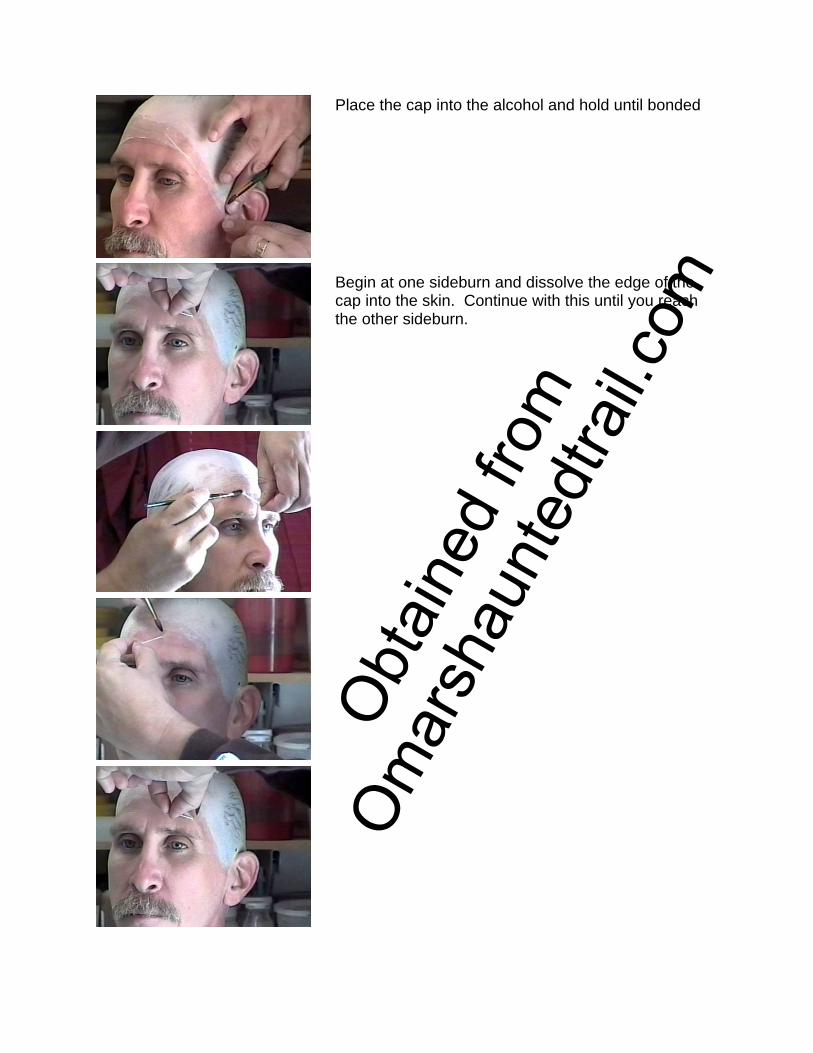
Place the cap into the alcohol and hold until bonded
Begin at one sideburn and dissolve the edge of the cap into the skin. Continue with this until you reach the other sideburn.
O
btai
ned
from
Om
arsh
aunt
edtra
il.com
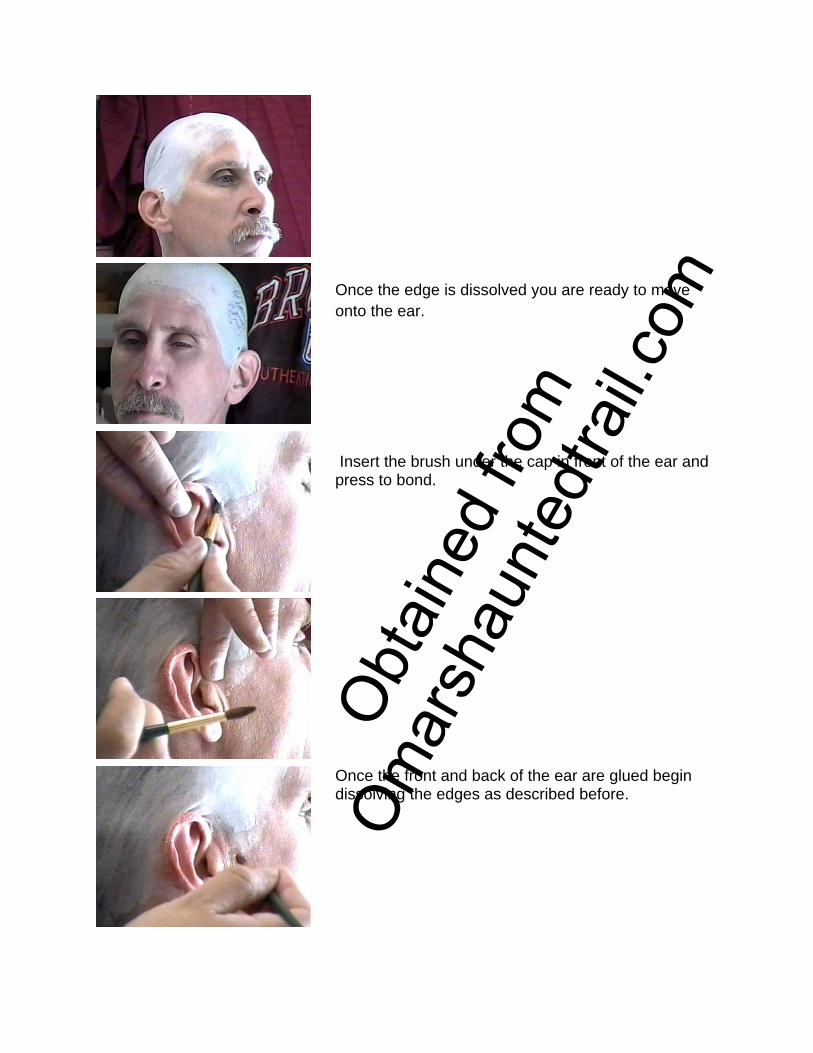
Once the edge is dissolved you are ready to move onto the ear.
Insert the brush under the cap in front of the ear and press to bond.
Once the front and back of the ear are glued begin dissolving the edges as described before.
O
btai
ned
from
Om
arsh
aunt
edtra
il.com
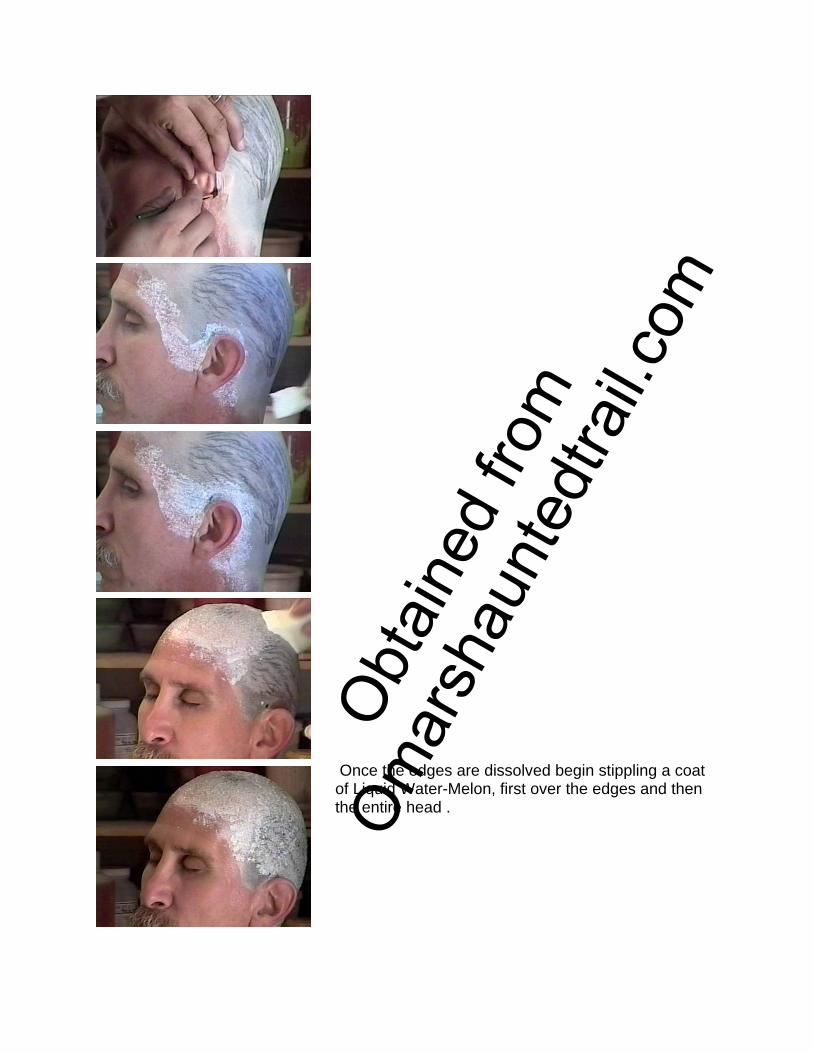
Once the edges are dissolved begin stippling a coat of Liquid Water-Melon, first over the edges and then the entire head .
O
btai
ned
from
Om
arsh
aunt
edtra
il.com
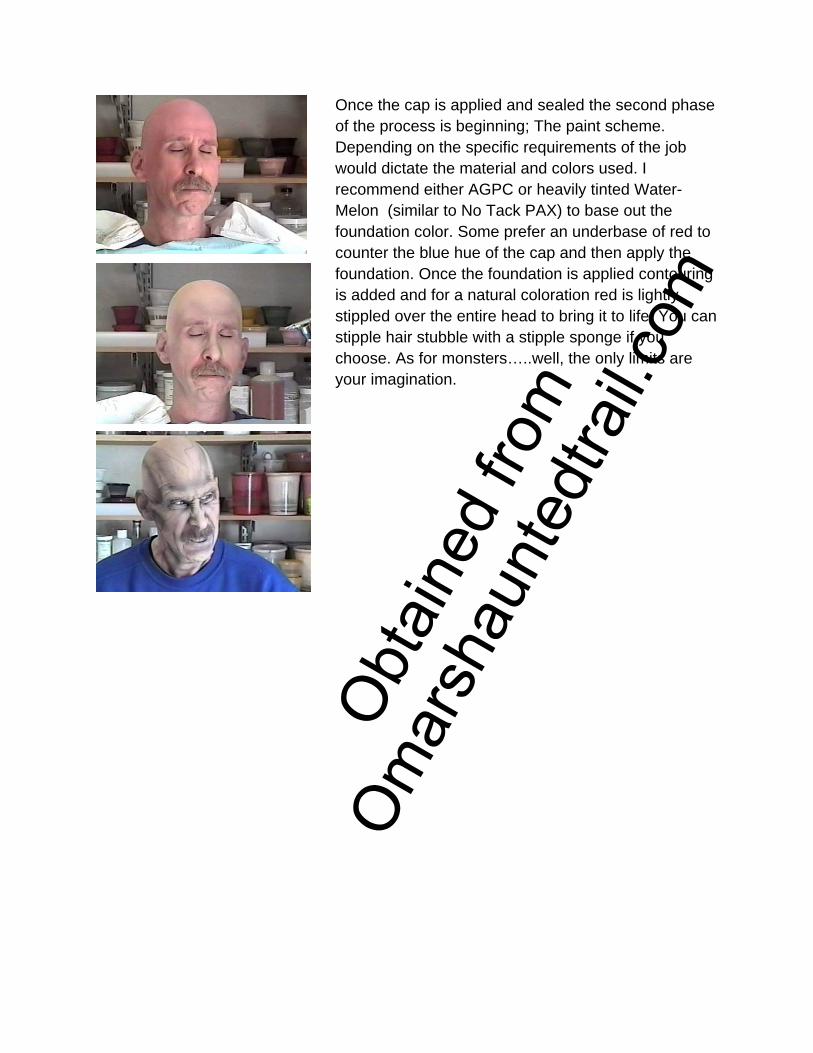
Once the cap is applied and sealed the second phase of the process is beginning; The paint scheme. Depending on the specific requirements of the job would dictate the material and colors used. I recommend either AGPC or heavily tinted Water- Melon (similar to No Tack PAX) to base out the foundation color. Some prefer an underbase of red to counter the blue hue of the cap and then apply the foundation. Once the foundation is applied contouring is added and for a natural coloration red is lightly stippled over the entire head to bring it to life. You can stipple hair stubble with a stipple sponge if you choose. As for monsters…..well, the only limits are your imagination.


![DG CUM INDAcetamiprid [649], method L 4 Acetone, anhydrous (RE 34) E 286 Acetone soluble material, hot solution (MT 5.1) F 21 solution at room temperature (MT 5.2) F 22 Acetone insoluble](https://img.pdfslide.us/doc/110x75/5e6ebe9d28768e77da0d75be/dg-cum-ind-acetamiprid-649-method-l-4-acetone-anhydrous-re-34-e-286-acetone.jpg)