Embed Size (px)
Citation preview
HCI 특론 (2010 Spring)
Design Discovery:Design Discovery:Video PrototypingVideo Prototyping
3
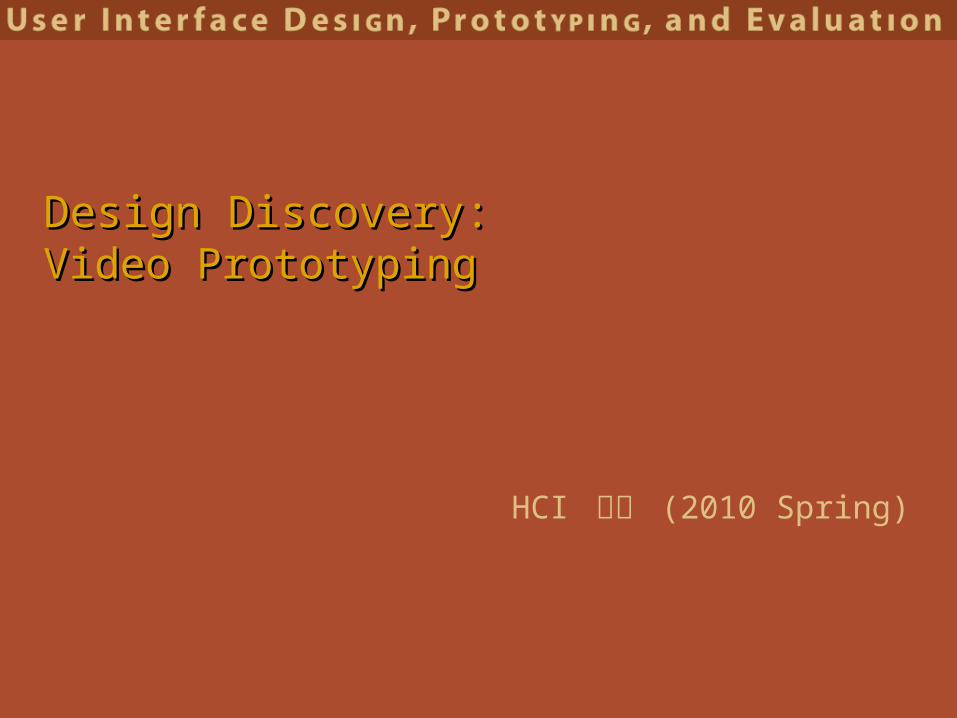
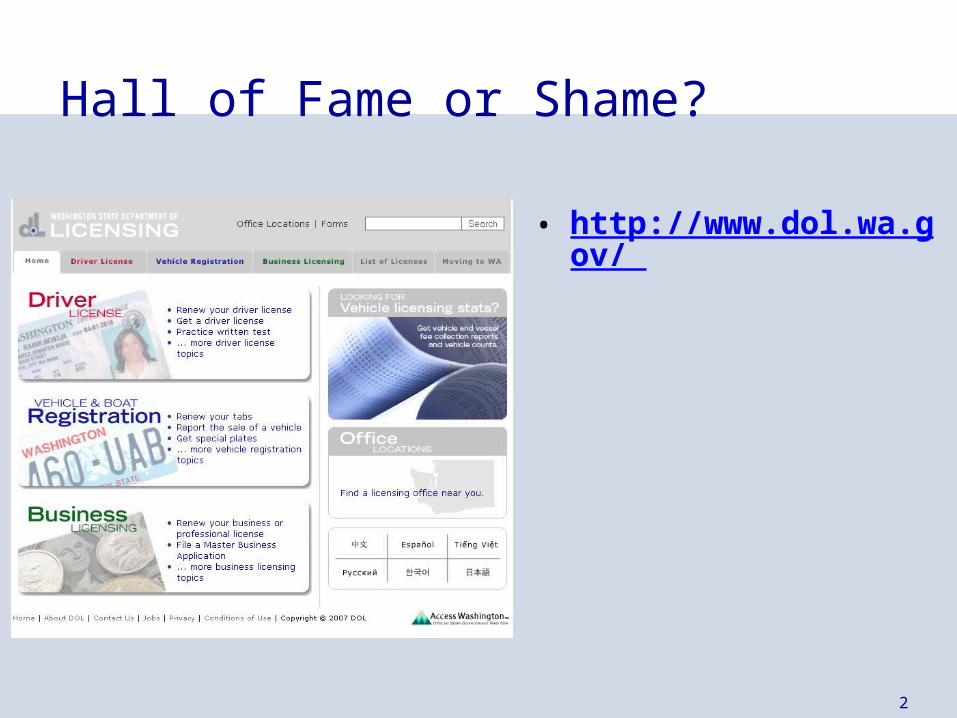
Hall of Fame
• http://www.dol.wa.gov/
• UI is clean & uncluttered• Multiple language options are
clearly indicated• Similarity & connectedness to
present strong aesthetic & indicate navigation– ex. of Gestalt Principles
• Use of red/green troubling, but not an issue in this UI
HCI 특론 (2010 Spring)
Video PrototypingVideo Prototyping
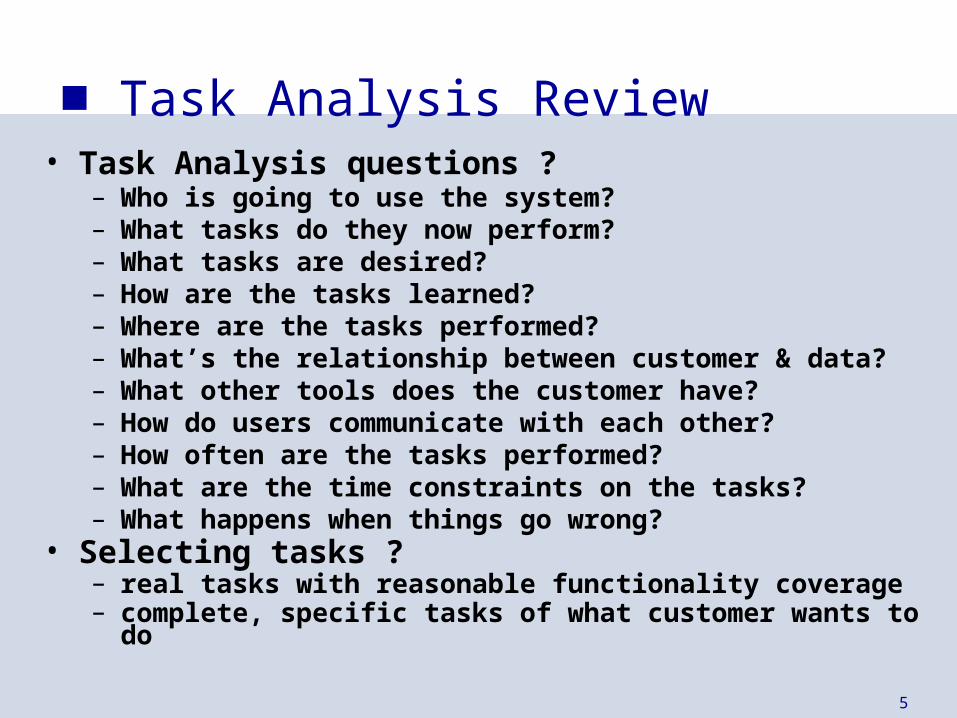
■ Task Analysis Review• Task Analysis questions ?
– Who is going to use the system?– What tasks do they now perform?– What tasks are desired?– How are the tasks learned?– Where are the tasks performed?– What’s the relationship between customer & data?– What other tools does the customer have?– How do users communicate with each other?– How often are the tasks performed? – What are the time constraints on the tasks?– What happens when things go wrong?
• Selecting tasks ?– real tasks with reasonable functionality coverage– complete, specific tasks of what customer wants to do
5
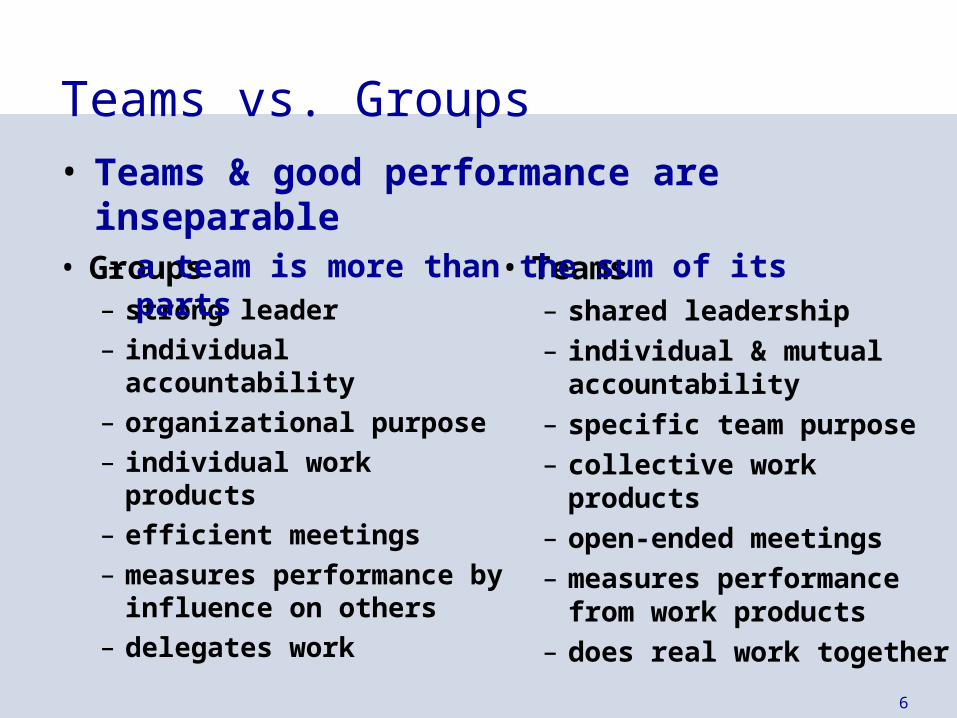
Teams vs. Groups
• Groups– strong leader– individual accountability– organizational purpose– individual work products– efficient meetings– measures performance
by influence on others– delegates work
• Teams– shared leadership– individual & mutual
accountability– specific team purpose– collective work products– open-ended meetings– measures performance
from work products– does real work together
• Teams & good performance are inseparable– a team is more than the sum of its parts
6
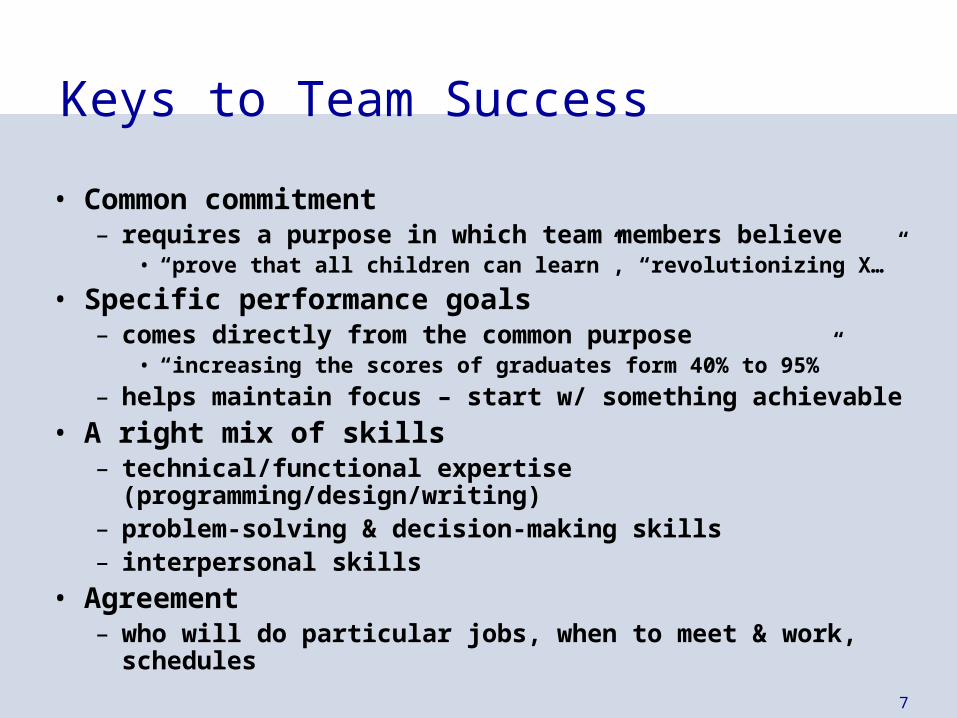
Keys to Team Success
• Common commitment– requires a purpose in which team members believe
• “prove that all children can learn”, “revolutionizing X…”
• Specific performance goals– comes directly from the common purpose
• “increasing the scores of graduates form 40% to 95%”
– helps maintain focus – start w/ something achievable
• A right mix of skills– technical/functional expertise (programming/design/writing)– problem-solving & decision-making skills– interpersonal skills
• Agreement– who will do particular jobs, when to meet & work, schedules
7
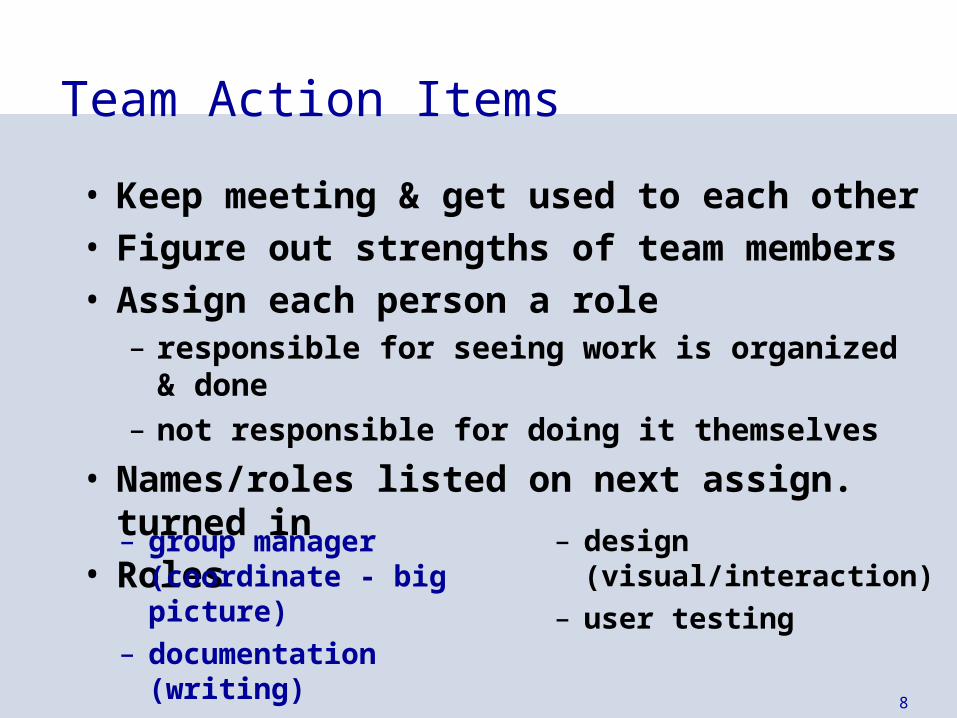
Team Action Items
• Keep meeting & get used to each other• Figure out strengths of team members• Assign each person a role
– responsible for seeing work is organized & done– not responsible for doing it themselves
• Names/roles listed on next assign. turned in• Roles
– design (visual/interaction)
– user testing
– group manager (coordinate - big picture)
– documentation (writing)
8
■ The Anatomy of Sketching
• Quick / Timely
• Inexpensive / Disposable
• Plentiful
• Clear vocabulary. You know that it is a sketch (lines extend through endpoints, …)
• No higher resolution than required to communicate the intended purpose/concept
• Resolution of the rendering does not suggest a degree of refinement of the concept that exceeds its actual state
• Ambiguous9
Sketching in Interaction Design
• Analogous to traditional sketching
• Shares all of the same key attributes
• More feel than look
• Must accommodate time & dynamics
• Phrasing
10
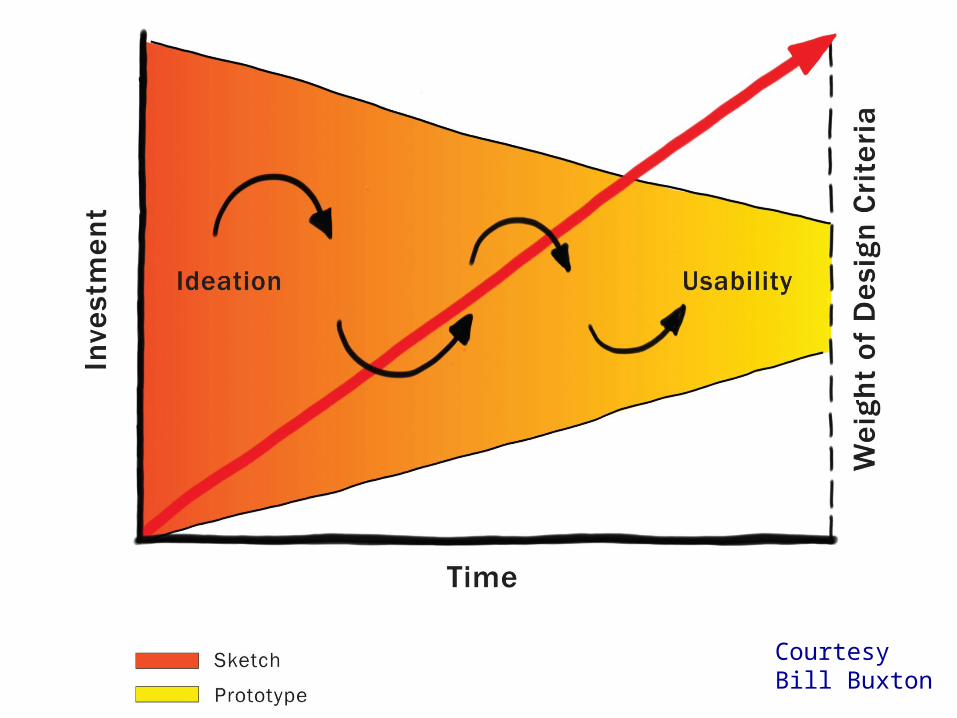
CourtesyBill Buxton
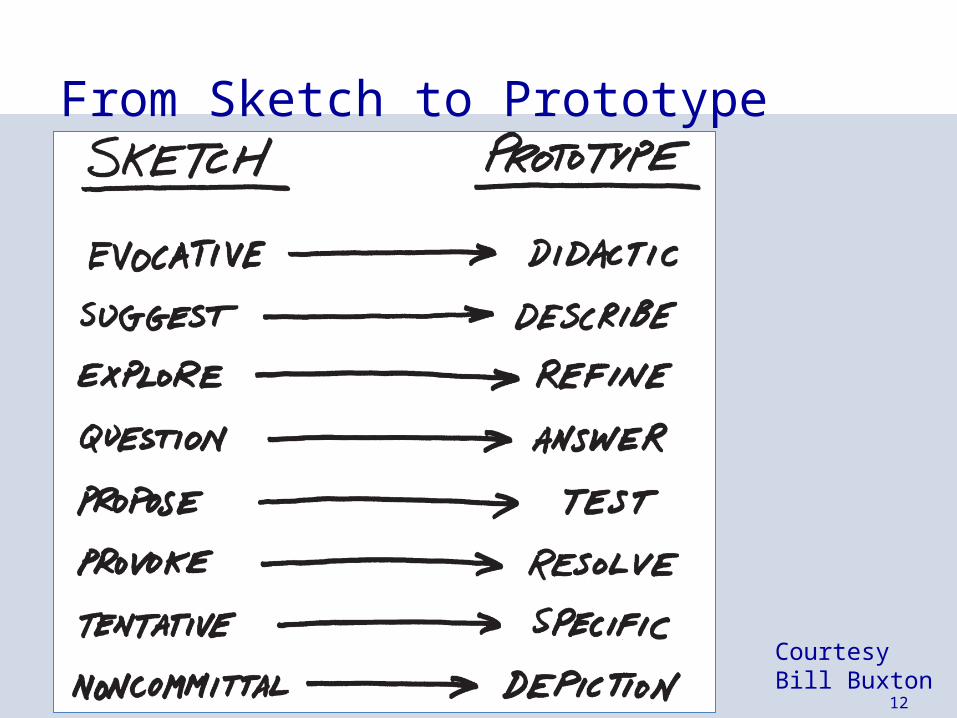
From Sketch to Prototype
CourtesyBill Buxton
12
13
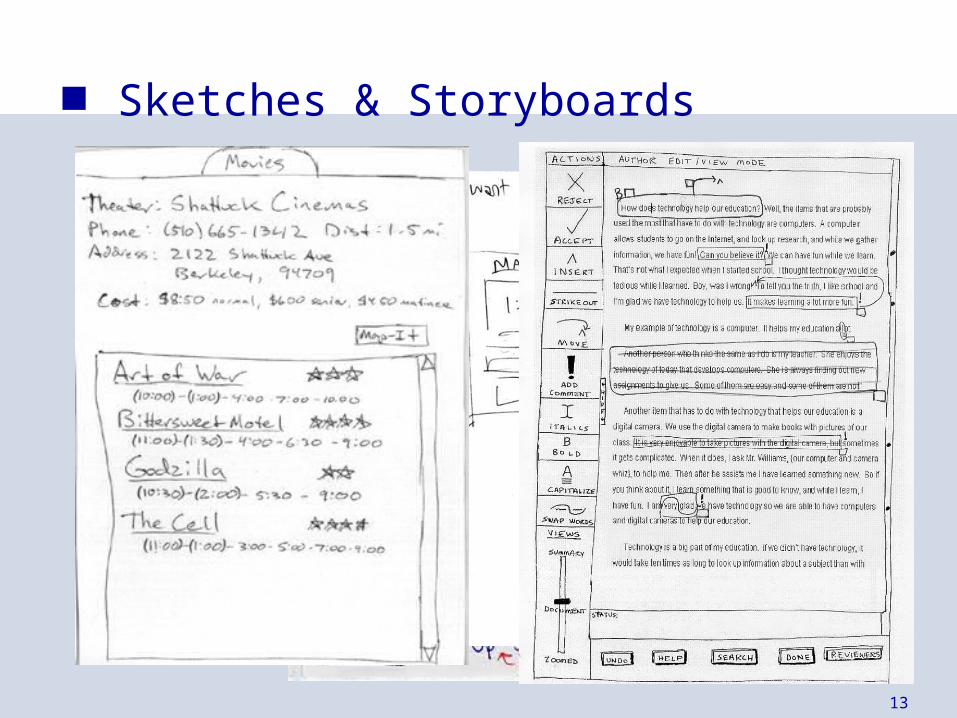
■ Sketches & Storyboards
14
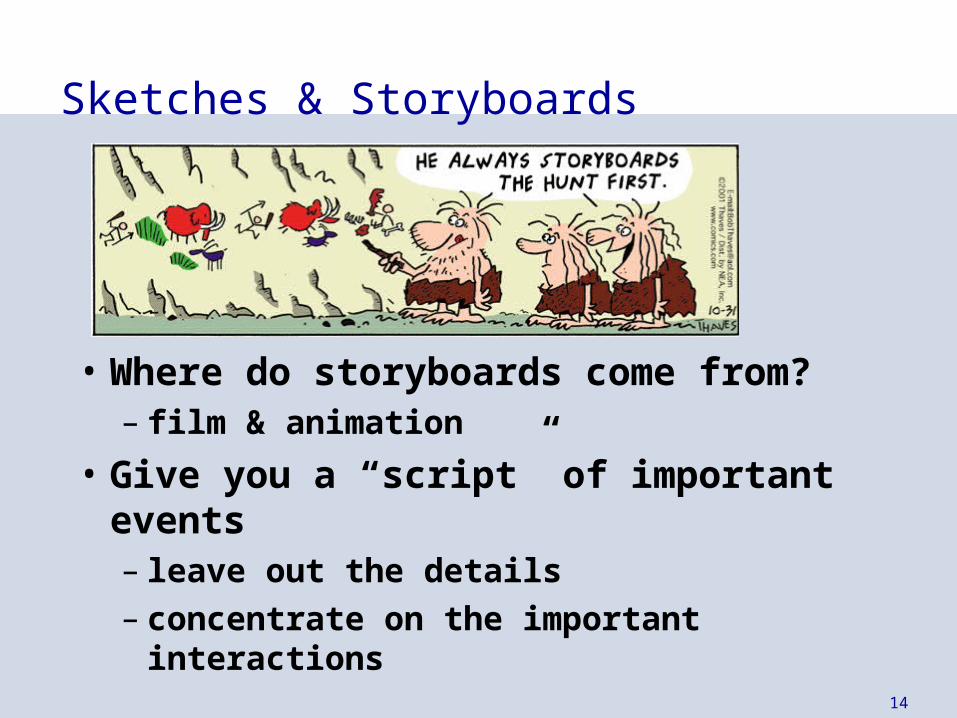
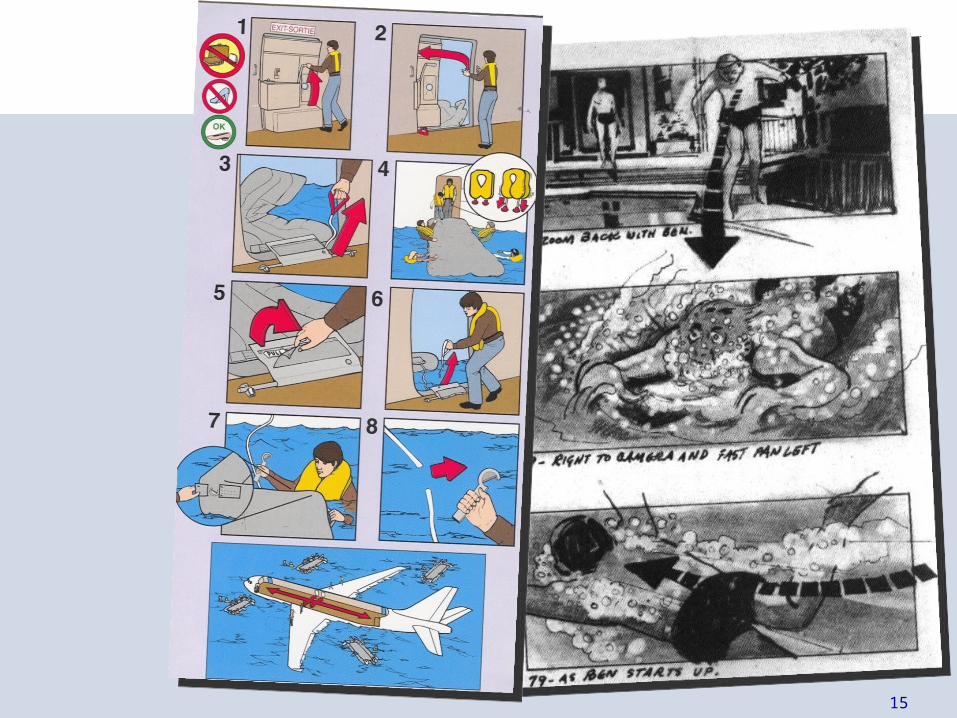
Sketches & Storyboards
• Where do storyboards come from?– film & animation
• Give you a “script” of important events– leave out the details – concentrate on the important interactions
15

Ink Chat
16
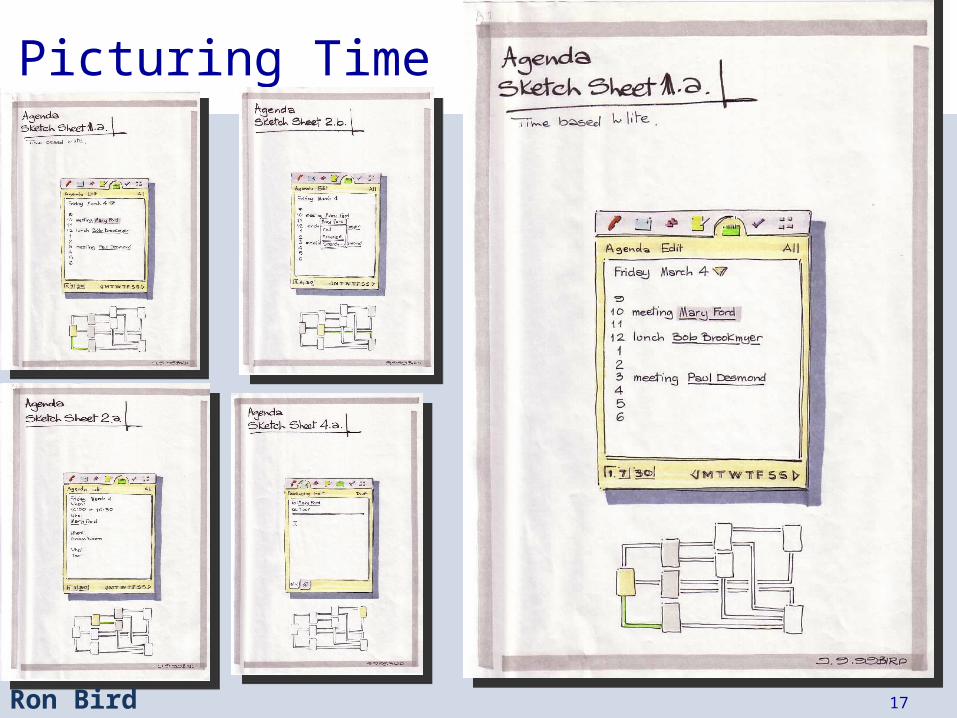
Picturing Time
Ron Bird 17
18
LucidMug Sketch
19
■ Video Prototyping Outline
• Review• Types of Prototypes• Video Brainstorming• Video Prototyping• Forms of Video Prototyping• Steps to Create Video Prototypes• Tips & Tricks• Introductions
20
Types of Prototypes• Prototypes are concrete representations of a
design• Prototype dimensions
– representation: form of the prototype • off-line (paper) or on-line (software)
– precision: level of detail (e.g., informal or polished)– interactivity: watch-only vs. fully interactive
• fixed prototype (video clips)• fixed-path prototype (each step triggered by specified actions)
– at extreme could be 1 path or possibly more open (e.g., Denim)• open prototype (real, but limited error handling or performance)
– evolution: expected life cycle of prototype• e.g., throw away or iterative
21
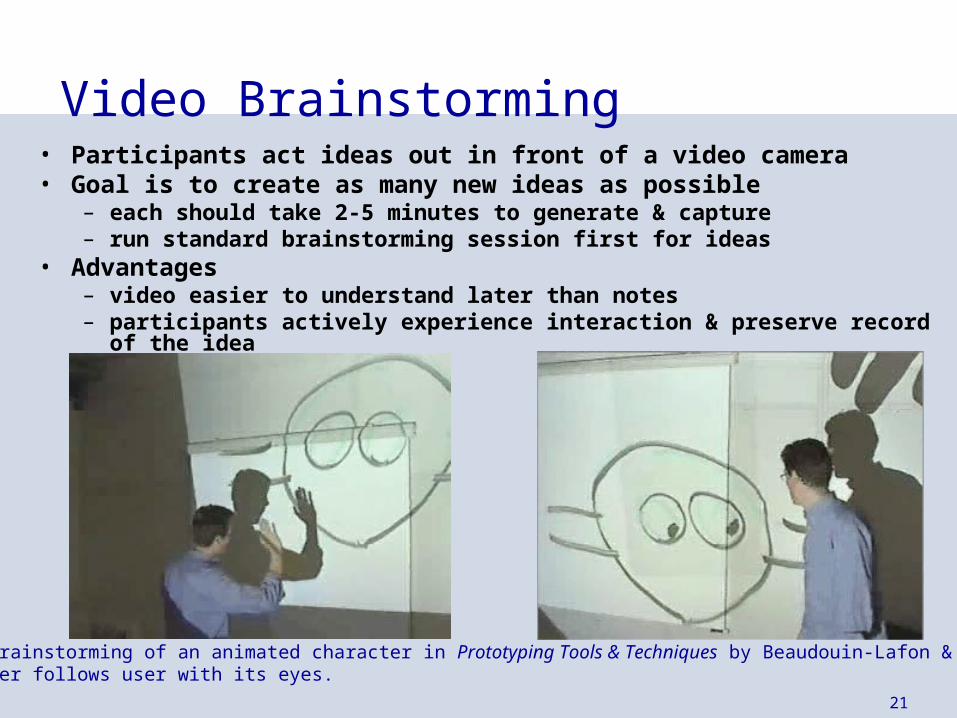
Video Brainstorming• Participants act ideas out in front of a video camera• Goal is to create as many new ideas as possible
– each should take 2-5 minutes to generate & capture– run standard brainstorming session first for ideas
• Advantages– video easier to understand later than notes– participants actively experience interaction & preserve record of the idea
Video brainstorming of an animated character in Prototyping Tools & Techniques by Beaudouin-Lafon & Mackay.Character follows user with its eyes.
22
Video Prototyping
• Illustrate how users will interact w/ system
• Unlike brainstorming, video prototyping contracts the design space
• Quick to build
• Inexpensive
• Forces designers to consider details of how users will react to the design
• May better illustrate context of use
Forms of Video Prototypes
• May build upon paper prototypes or use existing software & images of real settings
• Narration optional– narrator explains events & others move
images/illustrate interaction– actors perform movements & viewer expected to
understand w/o voice-over• Usually fixed prototypes, but can also use in
open prototypes– live video as a Wizard of Oz tool &
2nd camera to capture• If have good storyboards, should be able to
create video prototype in 1 hour
23
24
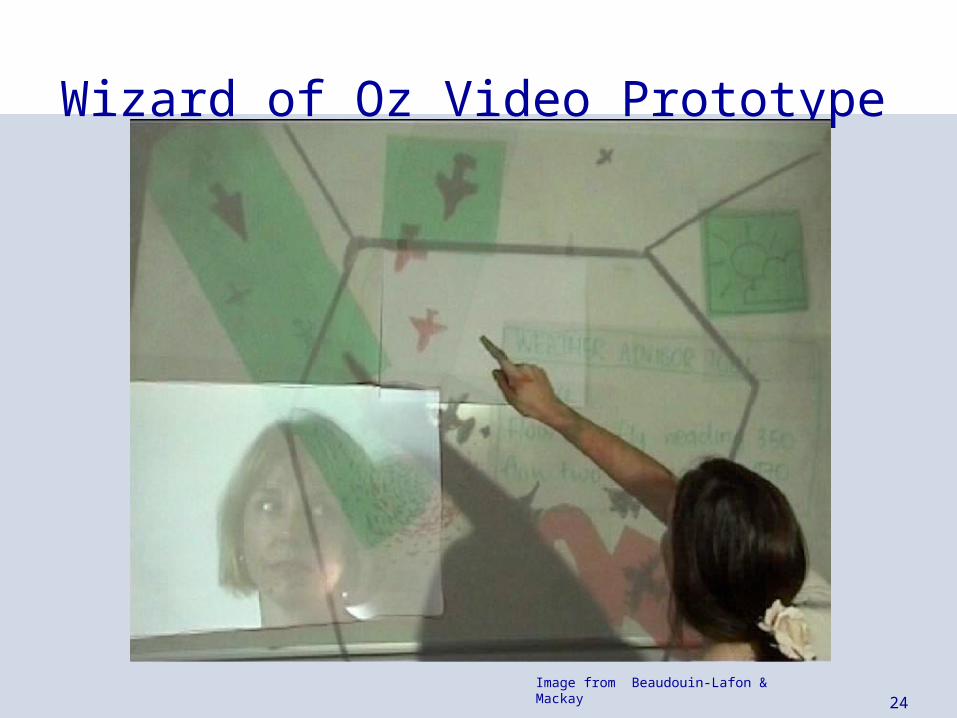
Wizard of Oz Video Prototype
Image from Beaudouin-Lafon & Mackay
25
Steps to Create a Video Prototype
1) Review field data about users & work practices2) Review ideas from video brainstorm3) Create use scenario in words4) Develop storyboard of each action/event w/
annotations explaining what is happening in scene. Put each element on a card.

26
Steps to Create a Video Prototype
Image from Beaudouin-Lafon & Mackay
27
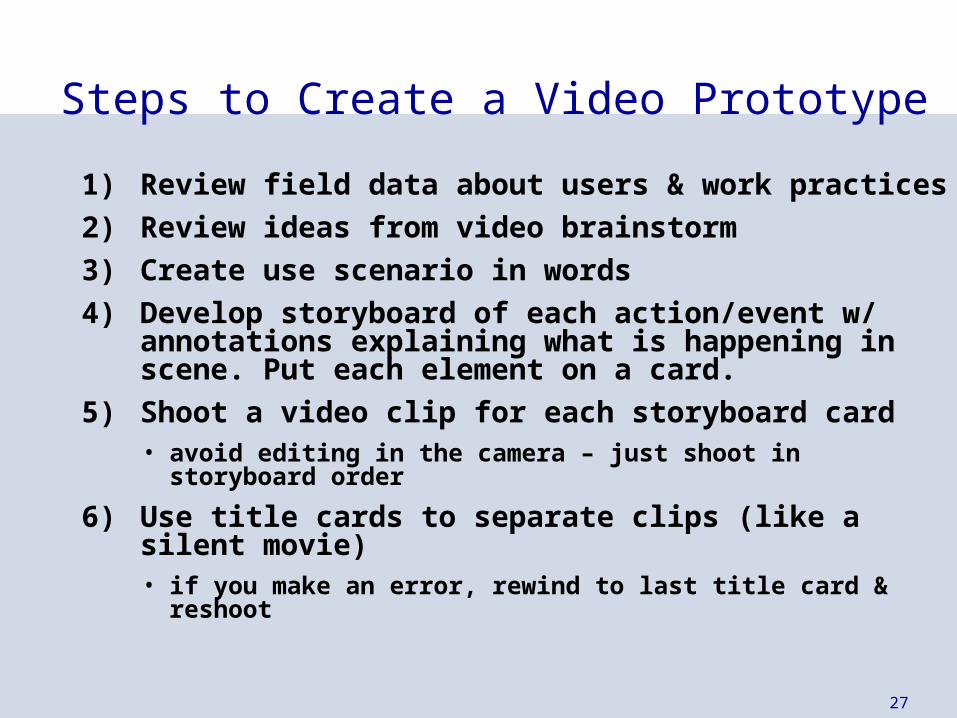
Steps to Create a Video Prototype
1) Review field data about users & work practices
2) Review ideas from video brainstorm
3) Create use scenario in words
4) Develop storyboard of each action/event w/ annotations explaining what is happening in scene. Put each element on a card.
5) Shoot a video clip for each storyboard card• avoid editing in the camera – just shoot in storyboard order
6) Use title cards to separate clips (like a silent movie)• if you make an error, rewind to last title card & reshoot
28
Video Prototyping TutorialVideo Prototyping Tutorial
Video Prototyping ExamplesVideo Prototyping Examples
29
Tips & Tricks
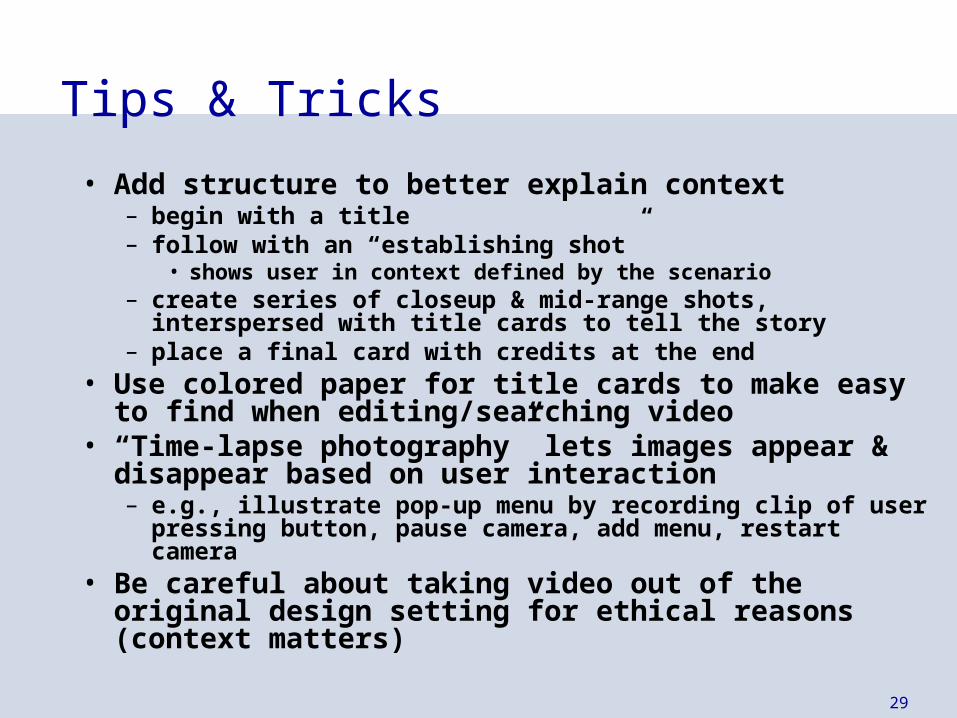
• Add structure to better explain context– begin with a title– follow with an “establishing shot”
• shows user in context defined by the scenario– create series of closeup & mid-range shots, interspersed
with title cards to tell the story– place a final card with credits at the end
• Use colored paper for title cards to make easy to find when editing/searching video
• “Time-lapse photography” lets images appear & disappear based on user interaction– e.g., illustrate pop-up menu by recording clip of user
pressing button, pause camera, add menu, restart camera• Be careful about taking video out of the original
design setting for ethical reasons (context matters)
30
High Quality (& Budget) High Quality (& Budget) Video PrototypesVideo Prototypes


![[HCI Lab] Week 06 Prototyping](https://img.pdfslide.us/doc/110x75/55a6227d1a28abf0278b4654/hci-lab-week-06-prototyping.jpg)