Embed Size (px)
Citation preview
Hard Resource Sharing: Printer Management
By N. Ganesan, PhD© N. Ganesan, All Rights
Reserved
Hard Resource
• An example of a hard resource is a printer
• Unlike folder sharing, hard resource sharing requires a driver to be installed for the corresponding hard resource
Printer Sharing
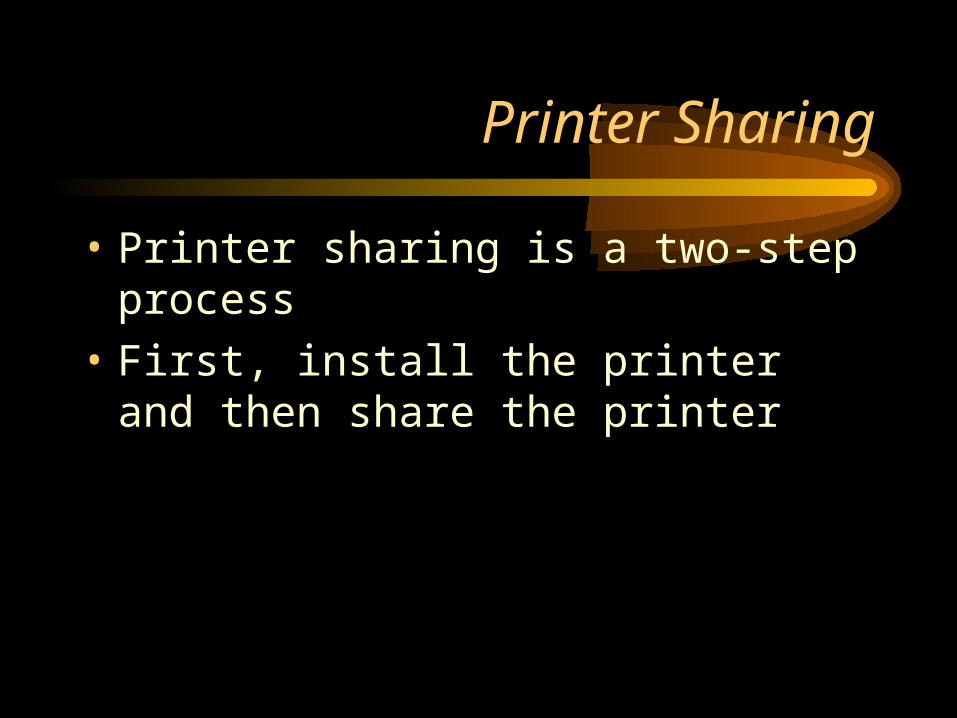
• Printer sharing is a two-step process
• First, install the printer and then share the printer
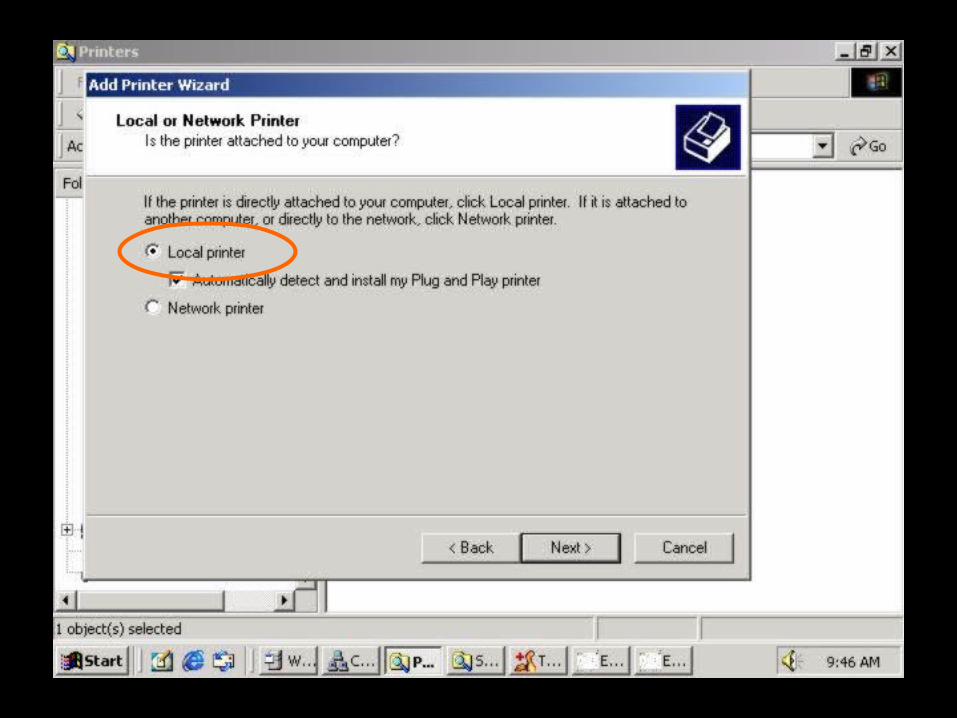
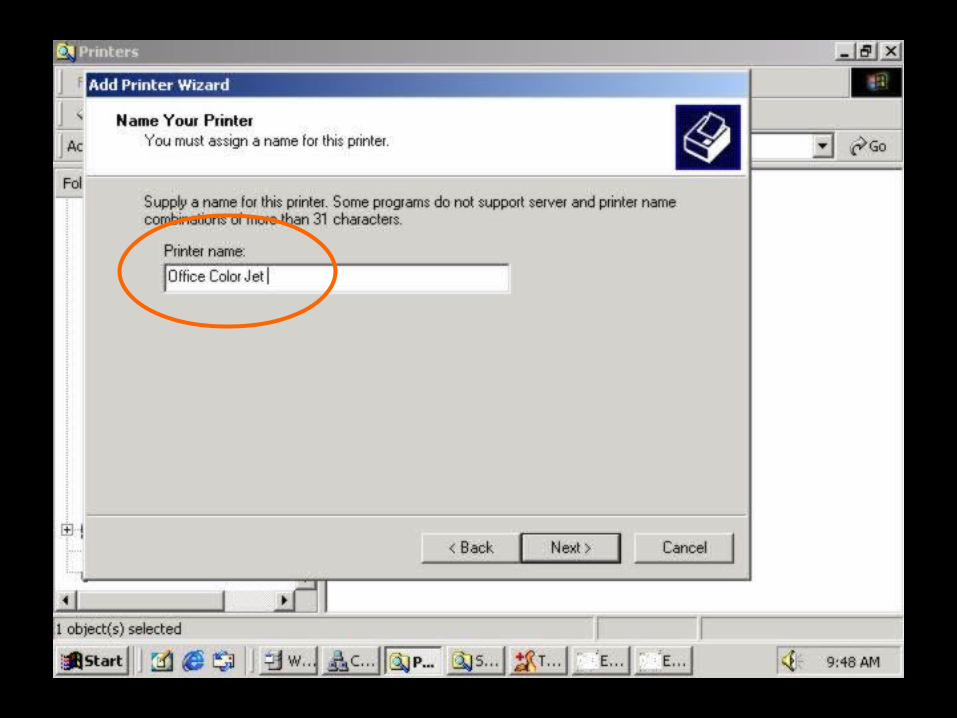
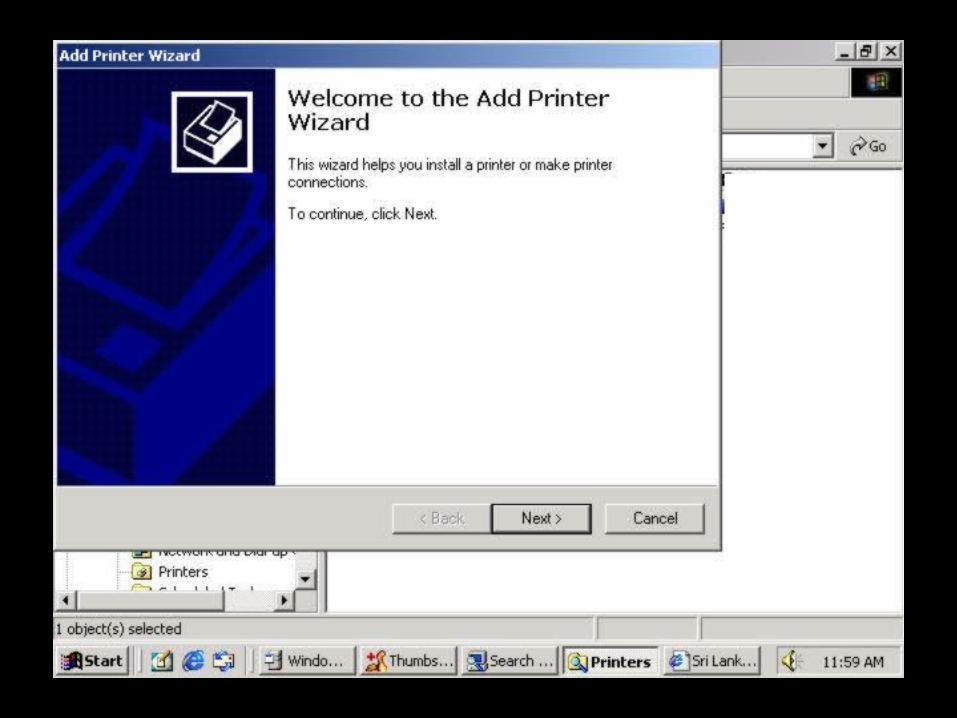
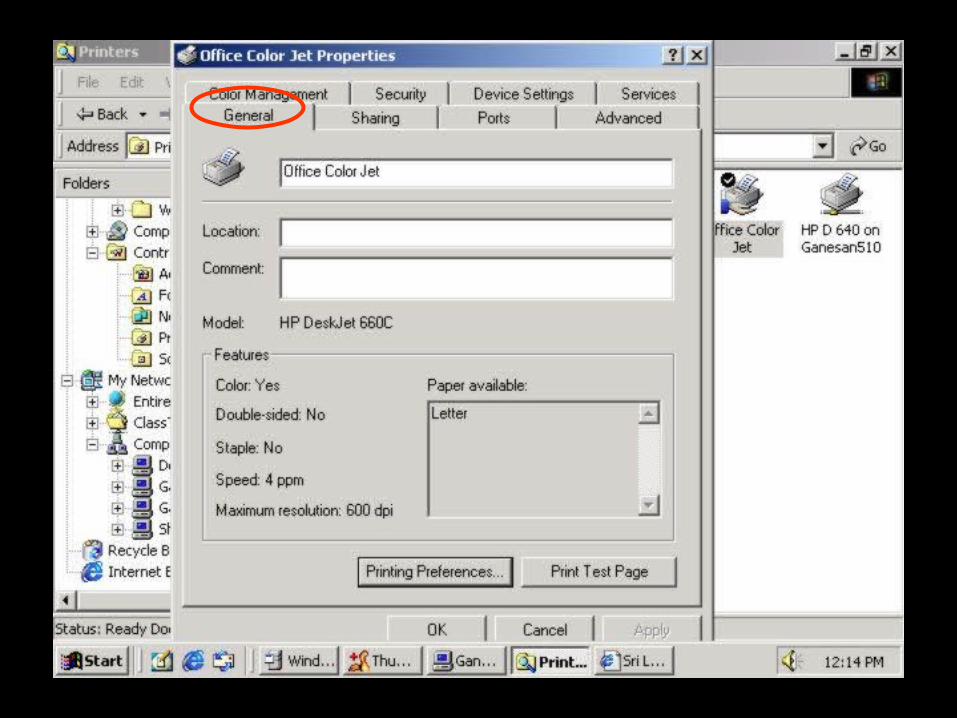
Printer Installation
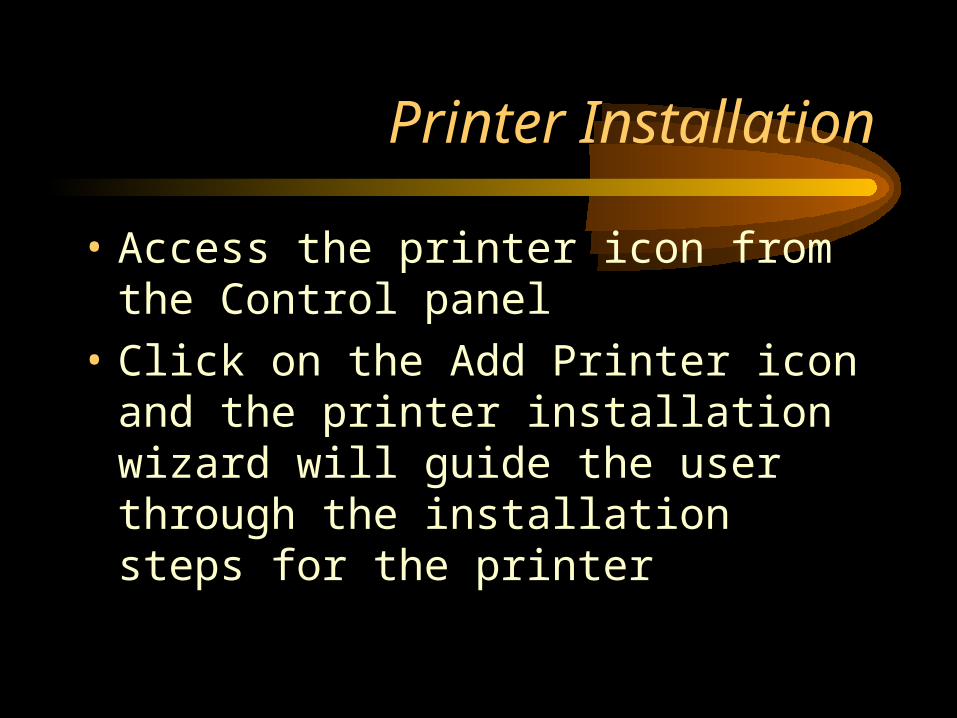
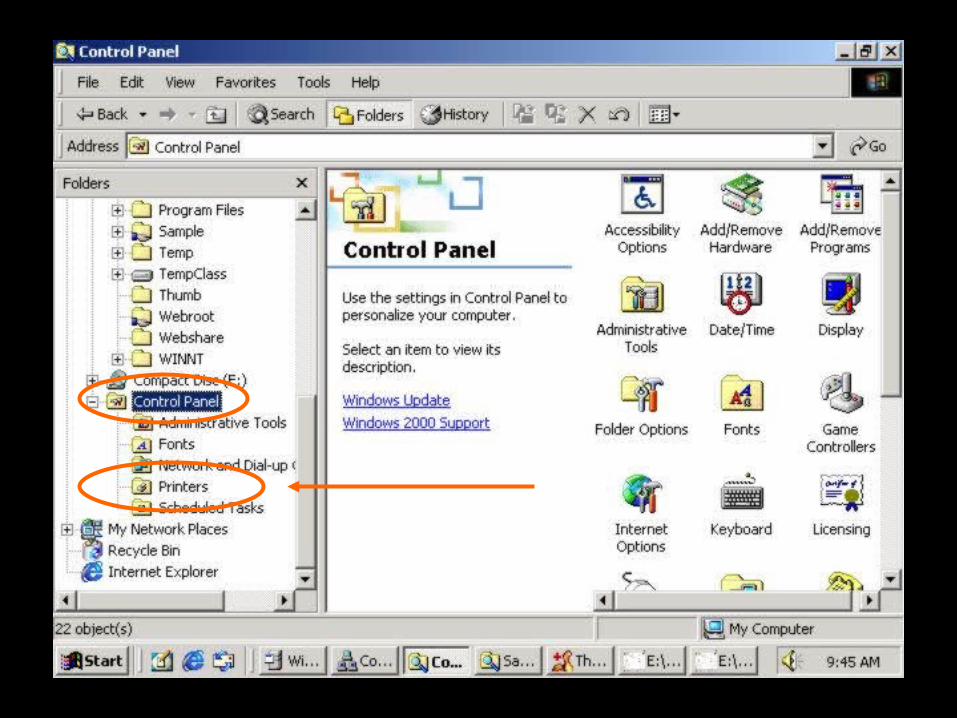
• Access the printer icon from the Control panel
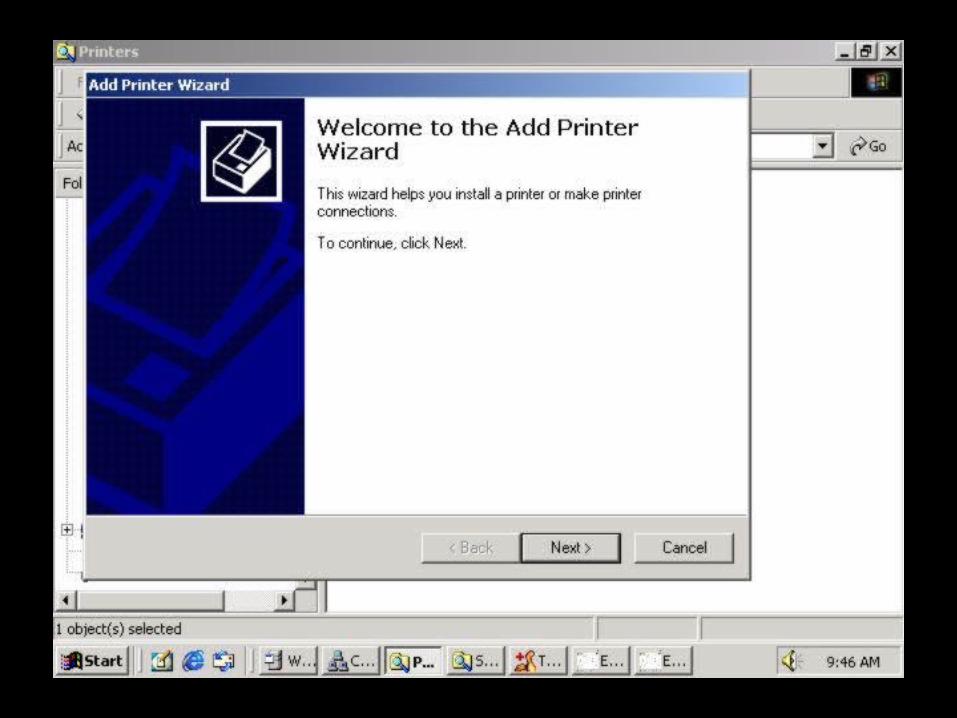
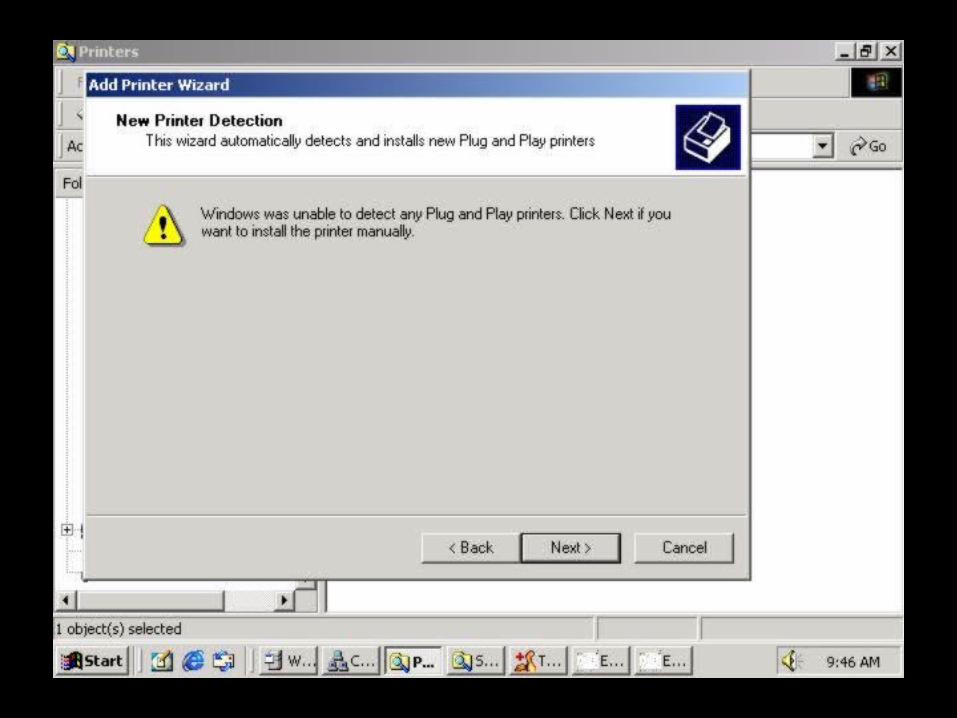
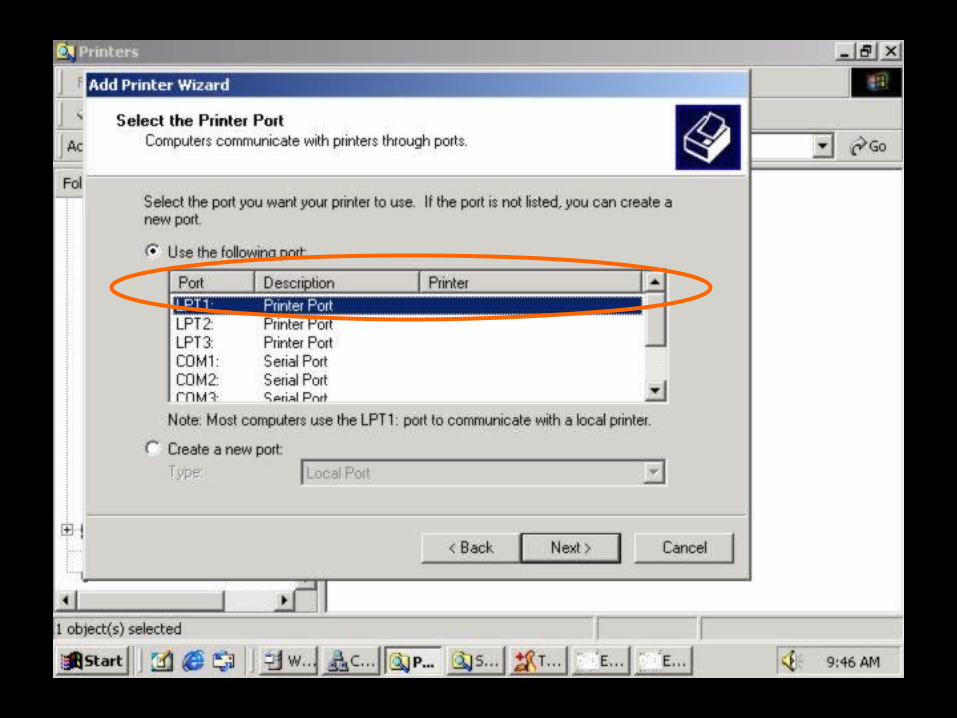
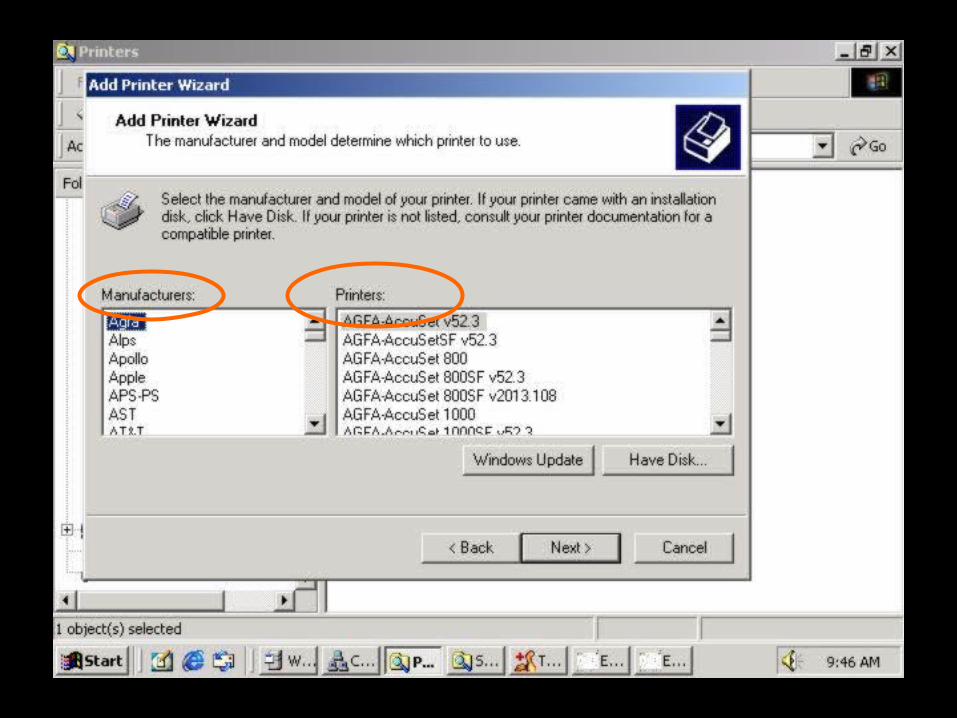
• Click on the Add Printer icon and the printer installation wizard will guide the user through the installation steps for the printer


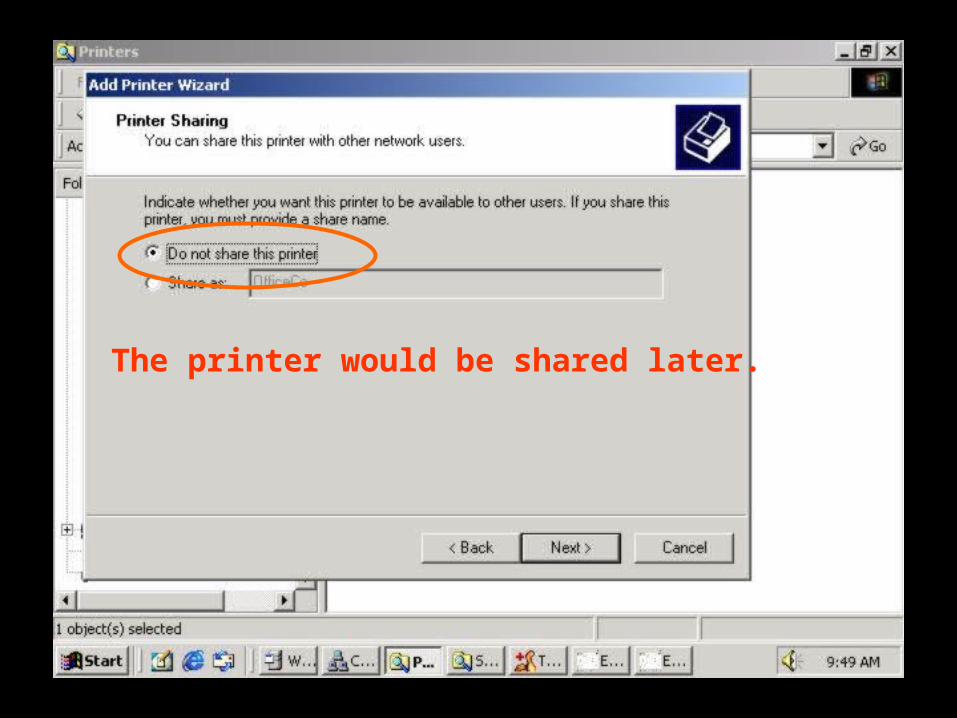
The printer would be shared later.
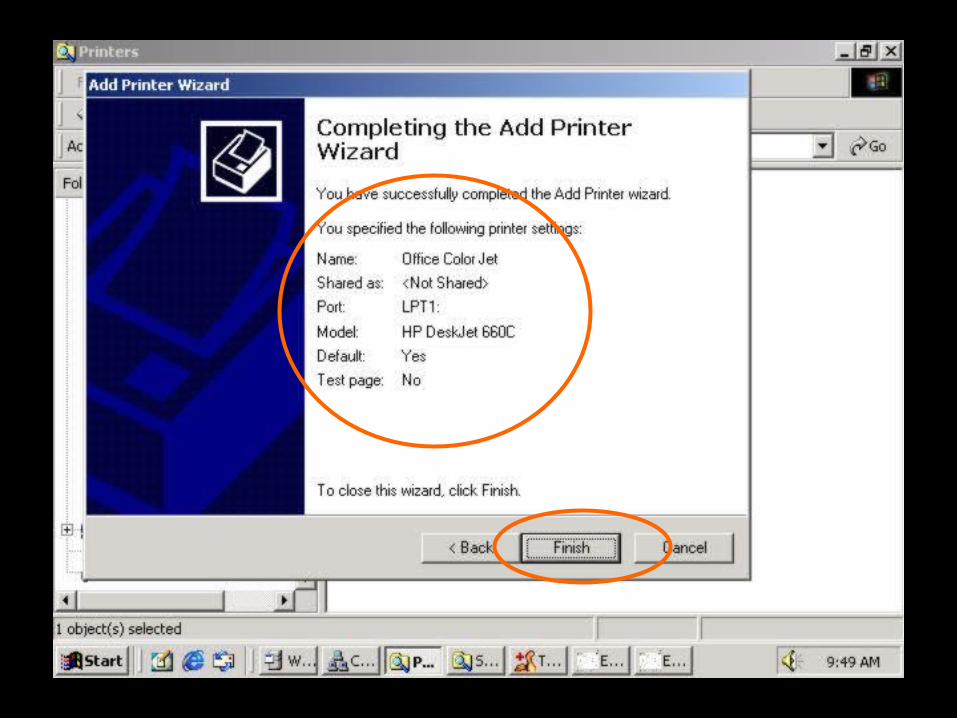

The printer has been installed
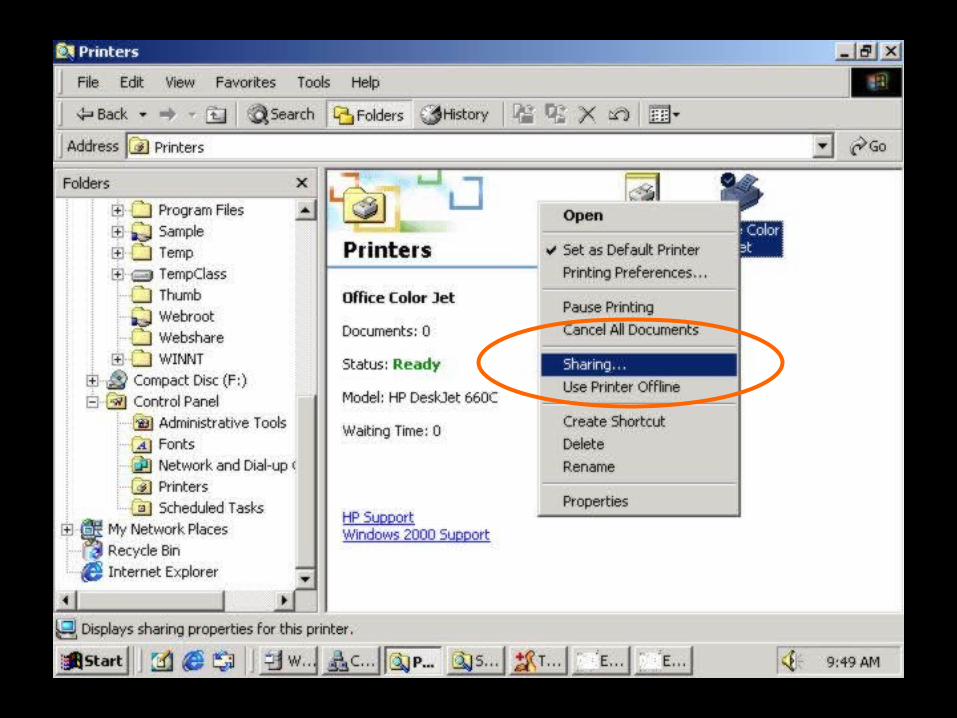
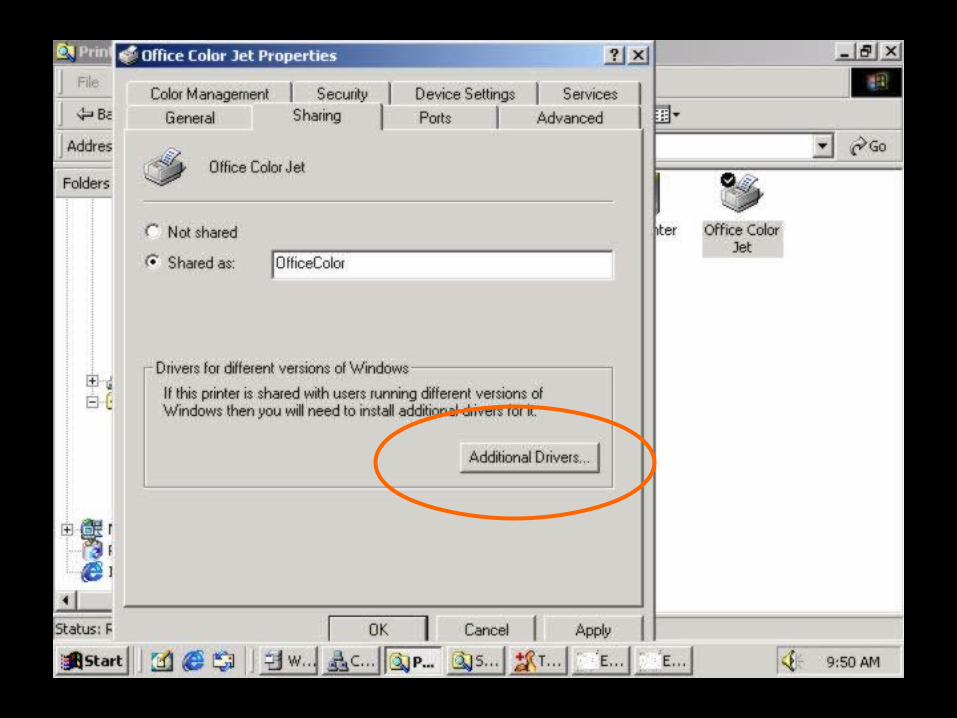
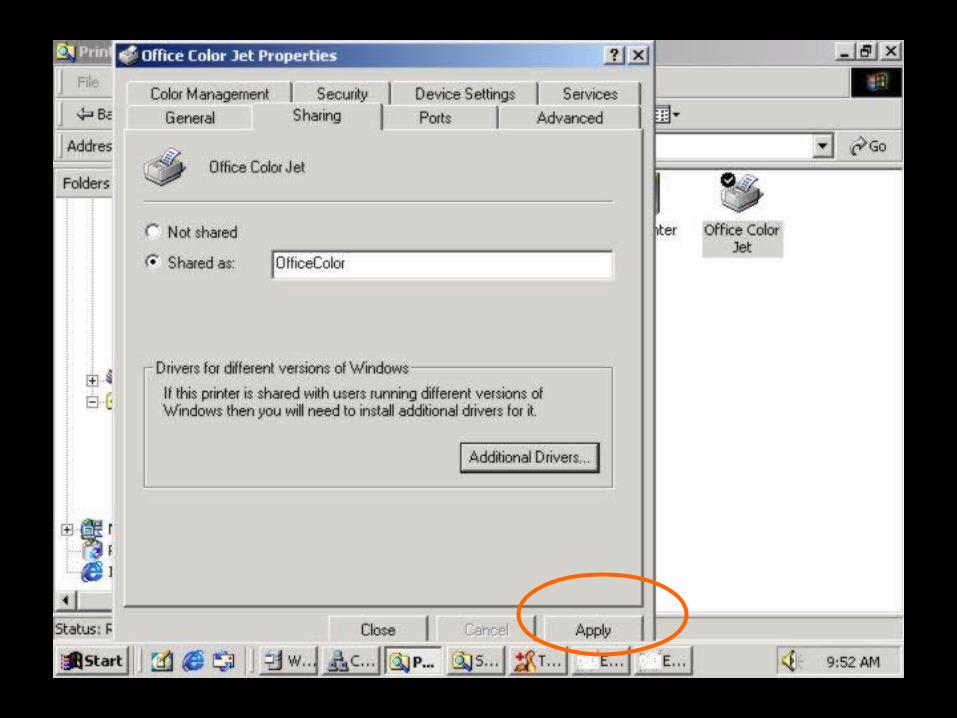
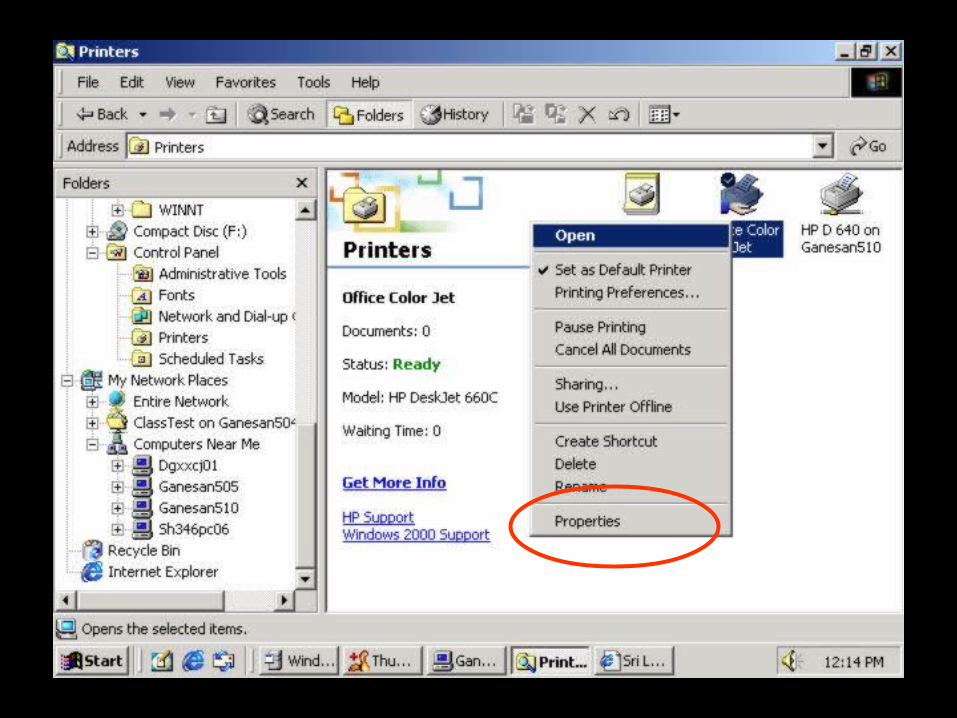
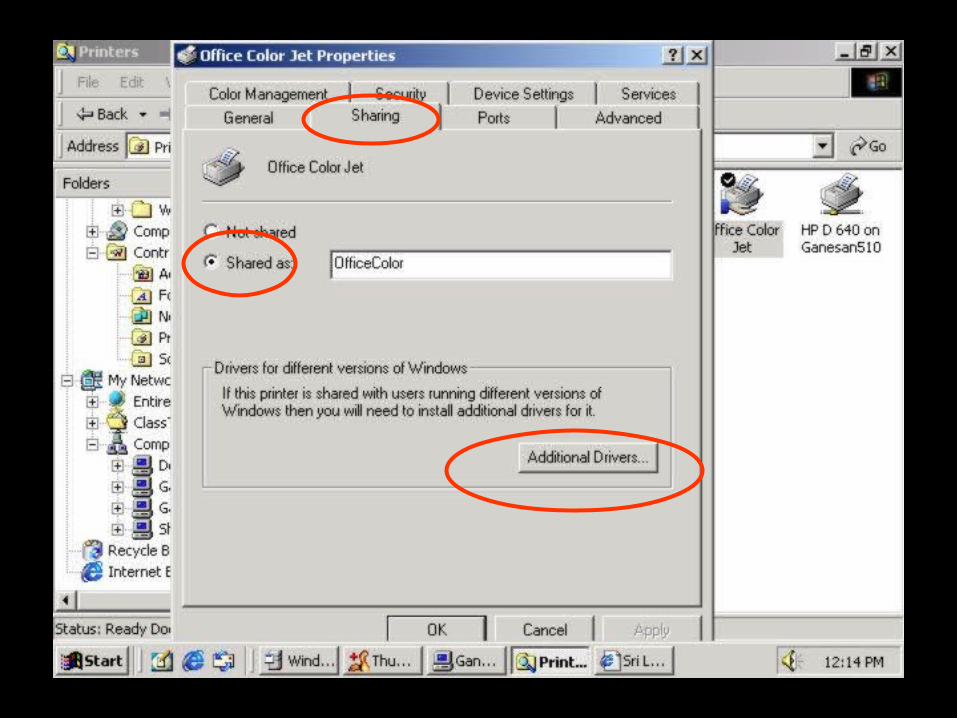
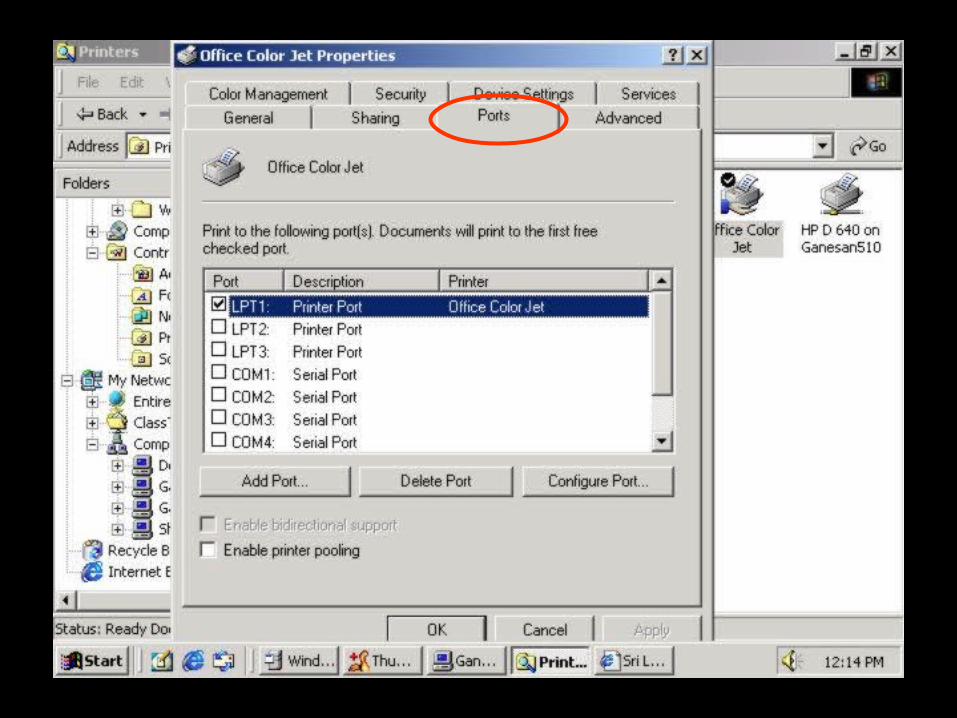
Sharing the Printer
• From this point onwards, the steps involved in the sharing of the printer is almost the same as sharing a folder
• Right click on the printer and share the printer with the appropriate permissions
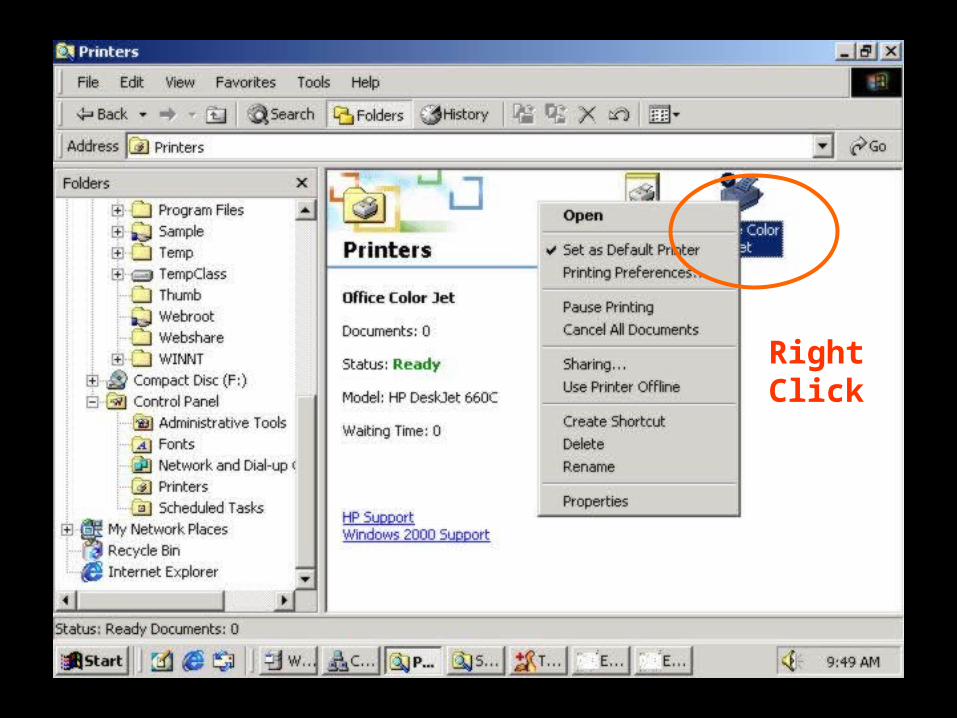
RightClick
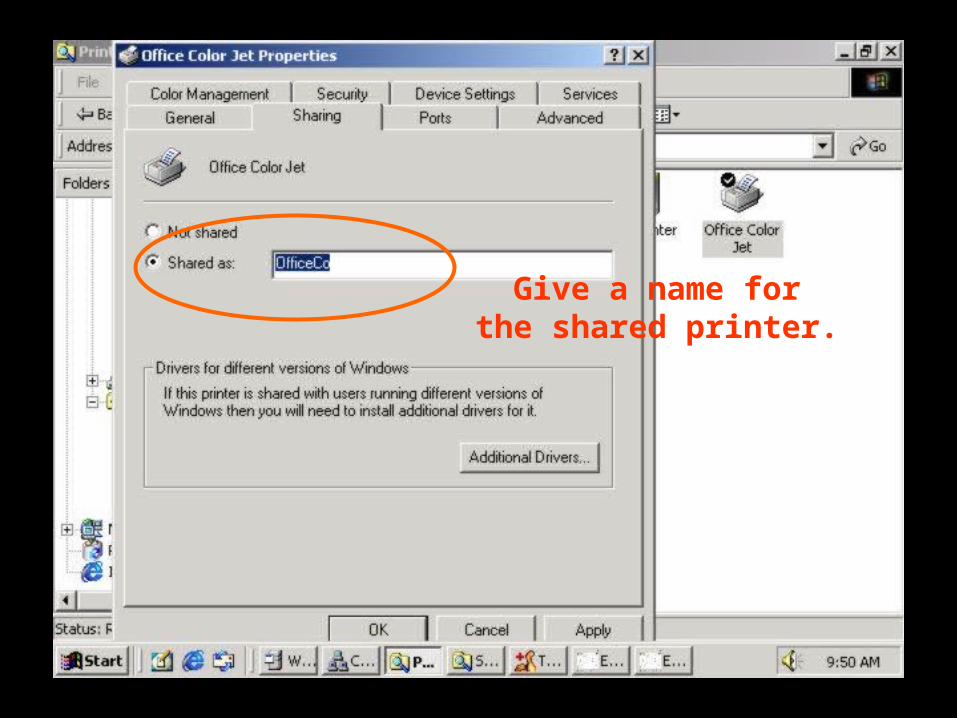
Give a name for the shared printer.
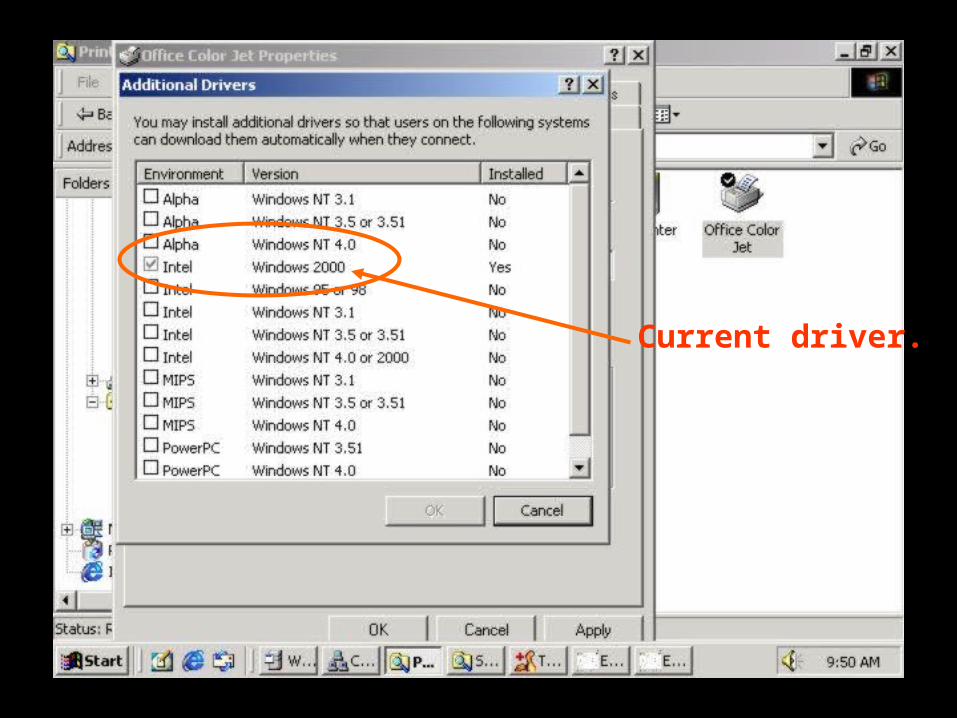
Current driver.
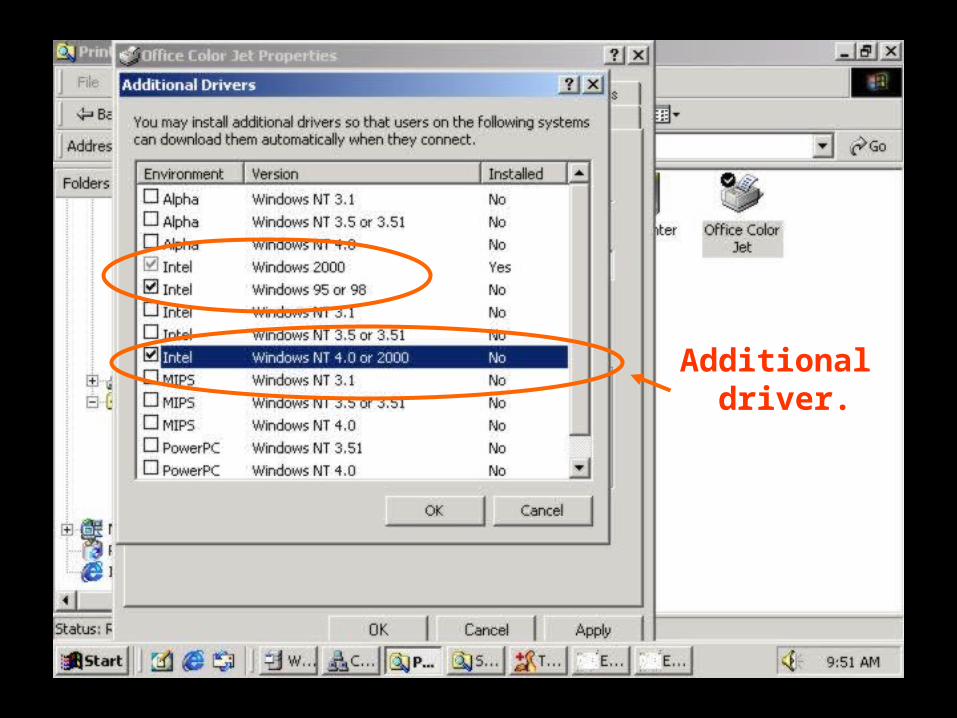
Additional driver.
Installing Additional Drivers
• Additional drives are installed for the sake of the clients wanting to install this printer for use after it is shared
• When other clients access and install the printer, the appropriate driver for the client OS will be installed.– Eliminates the need to install the driver
from, for instance, the Windows 2000 disk to use the printer
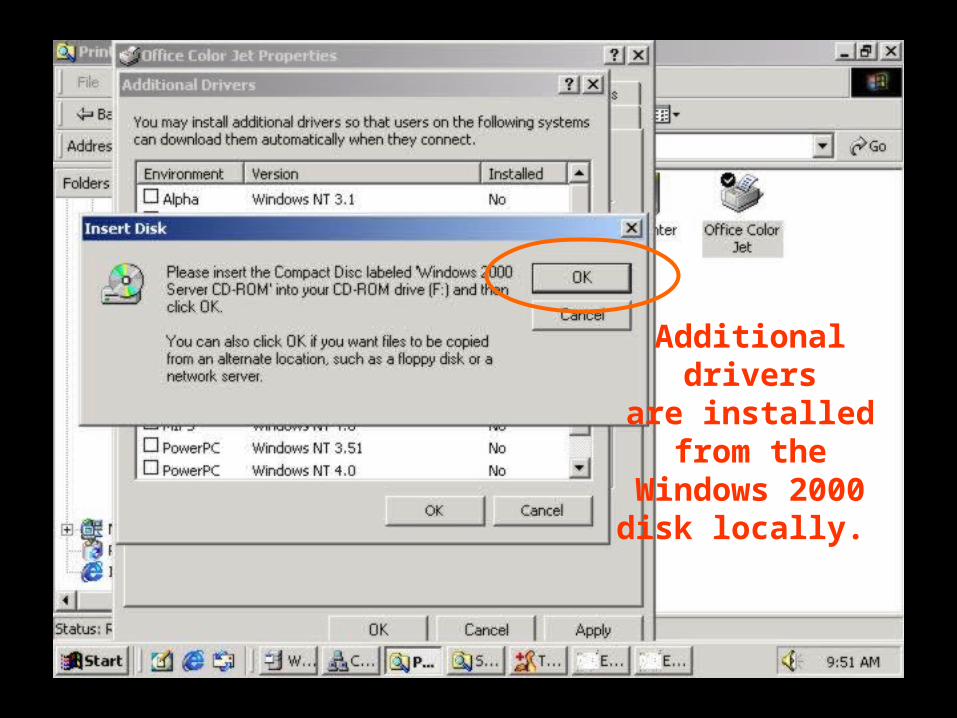
Additional drivers
are installed from the
Windows 2000 disk locally.
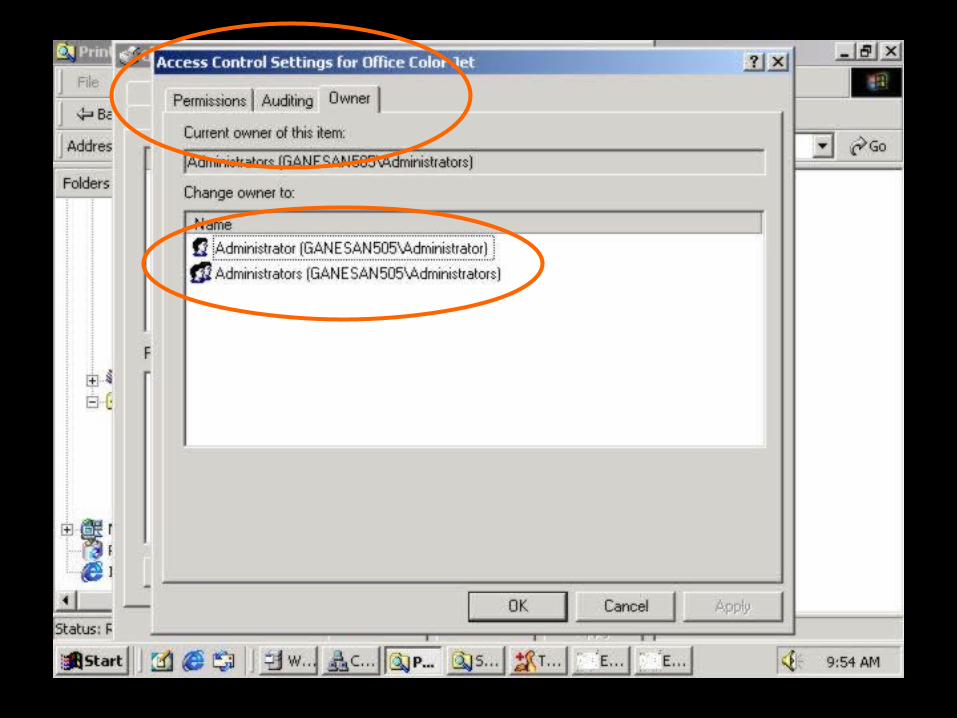
Allowing Users to Share the Printer
• The next step is to give the privilege to selected users to use the printer
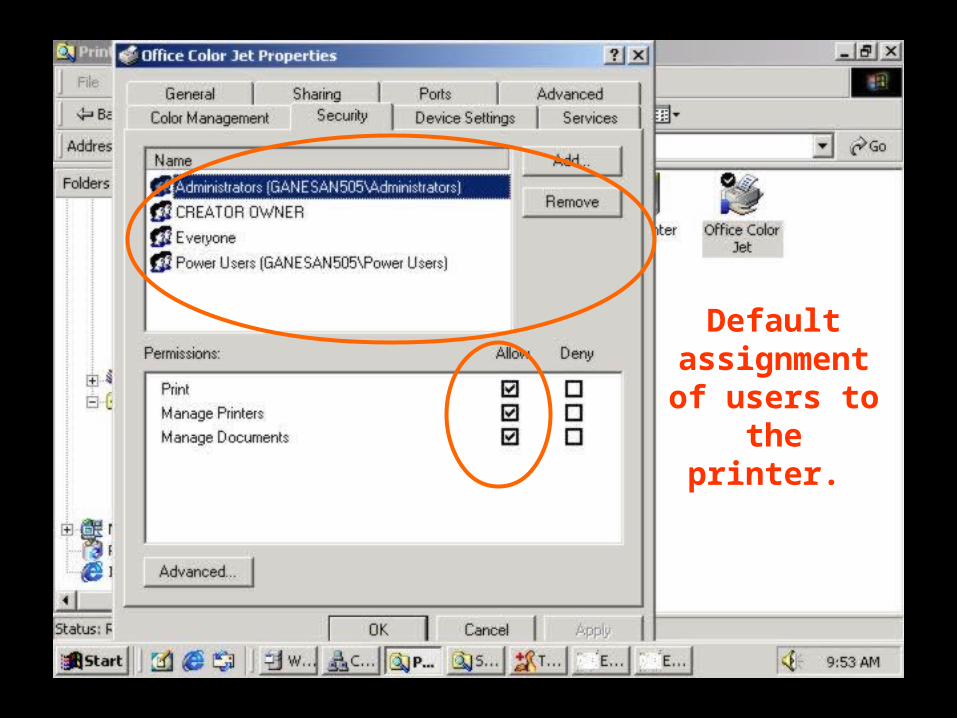
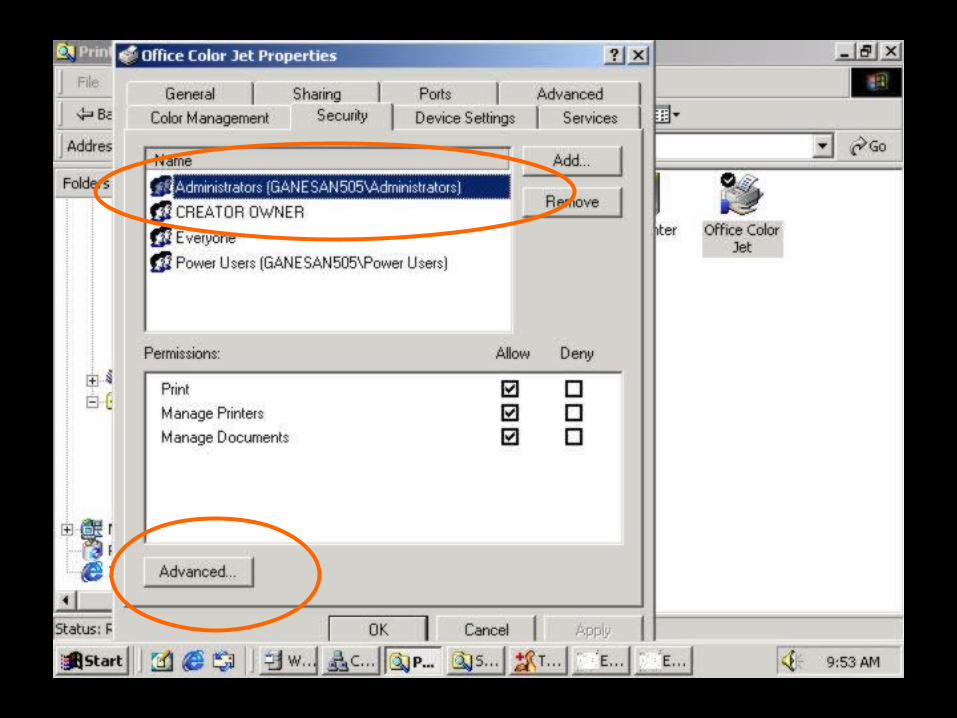
Default assignment of users to
the printer.
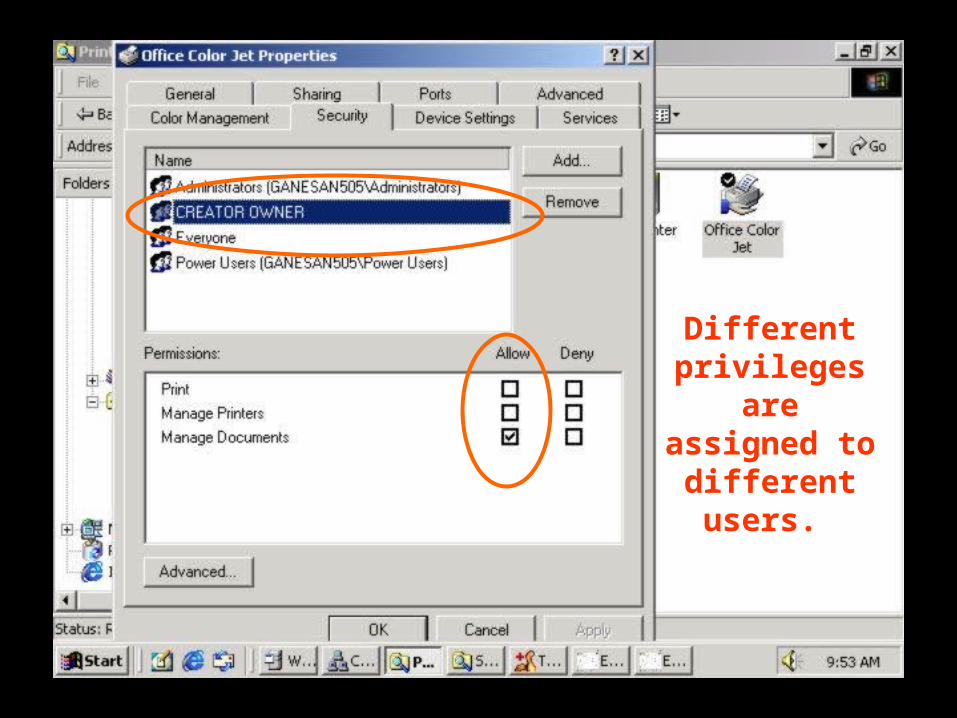
Different privileges
are assigned to
different users.

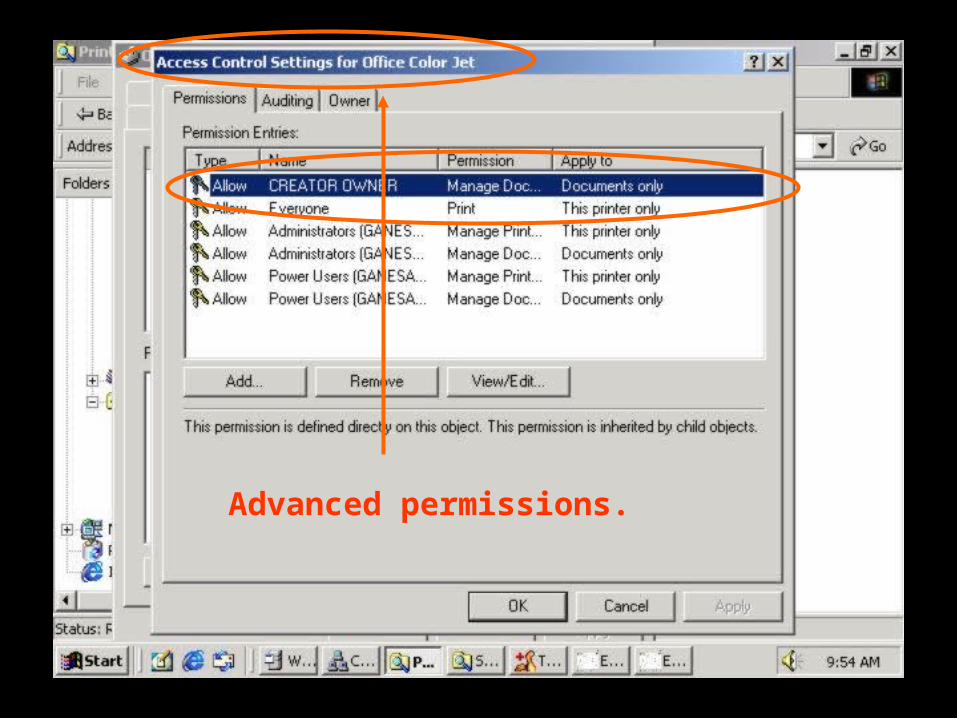
Advanced permissions.
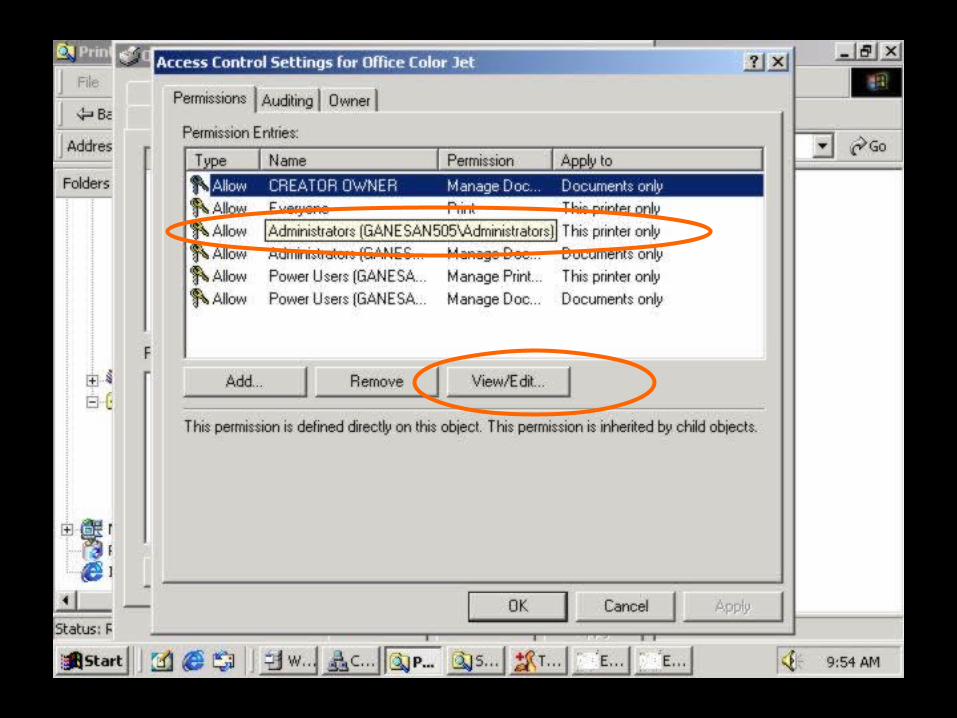

Additional permissions
and controls.

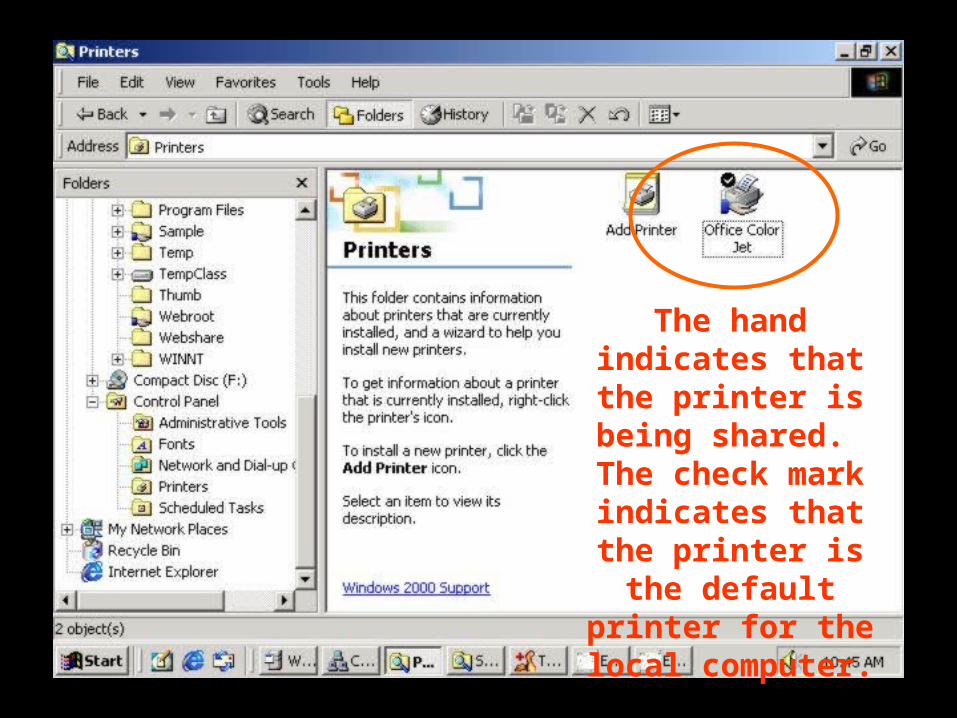
The hand indicates that the printer is being shared.
The check mark indicates that the printer is the default
printer for the local computer.
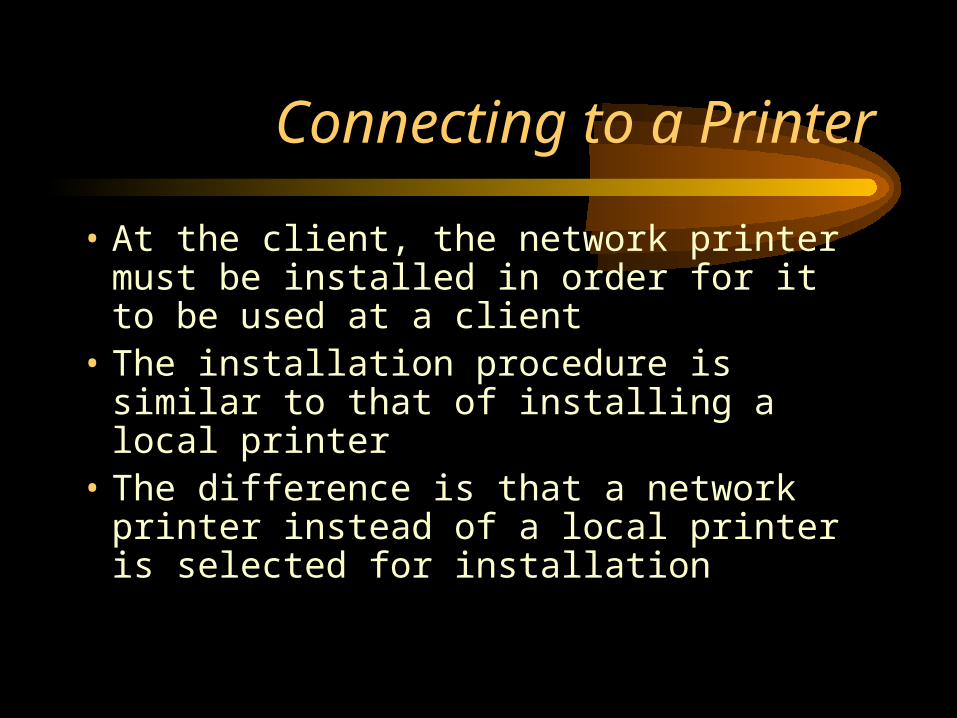
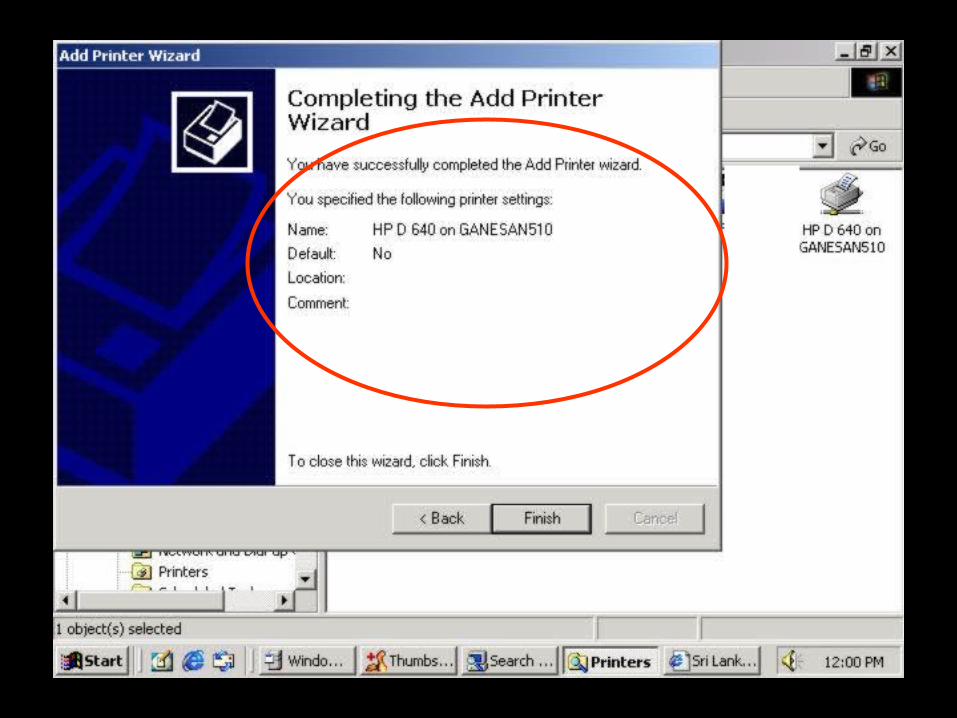
Connecting to a Printer
• At the client, the network printer must be installed in order for it to be used at a client
• The installation procedure is similar to that of installing a local printer
• The difference is that a network printer instead of a local printer is selected for installation
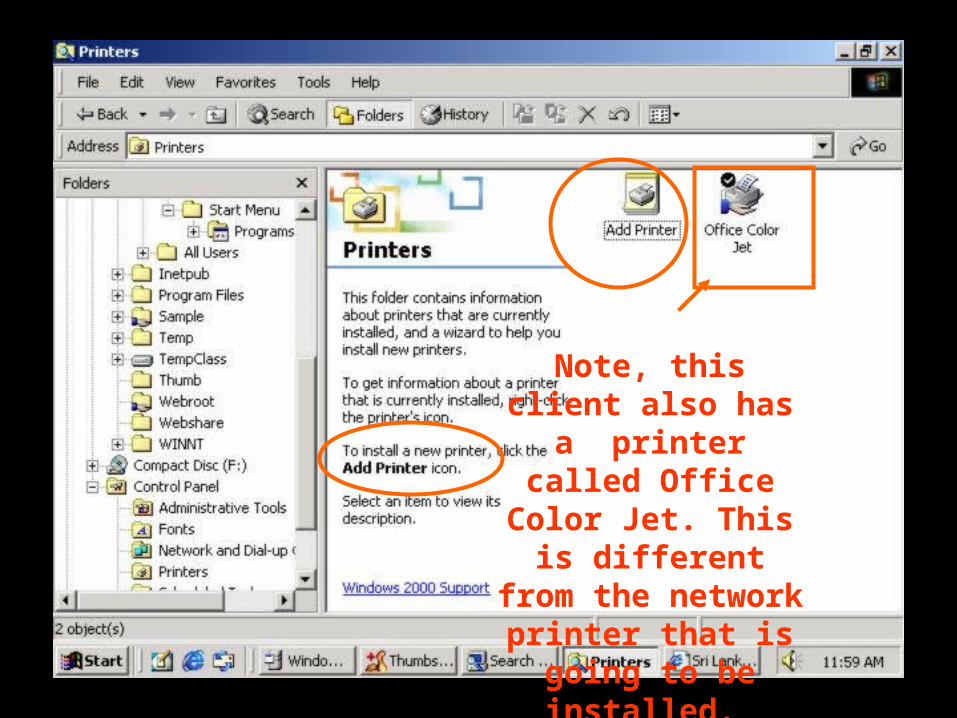
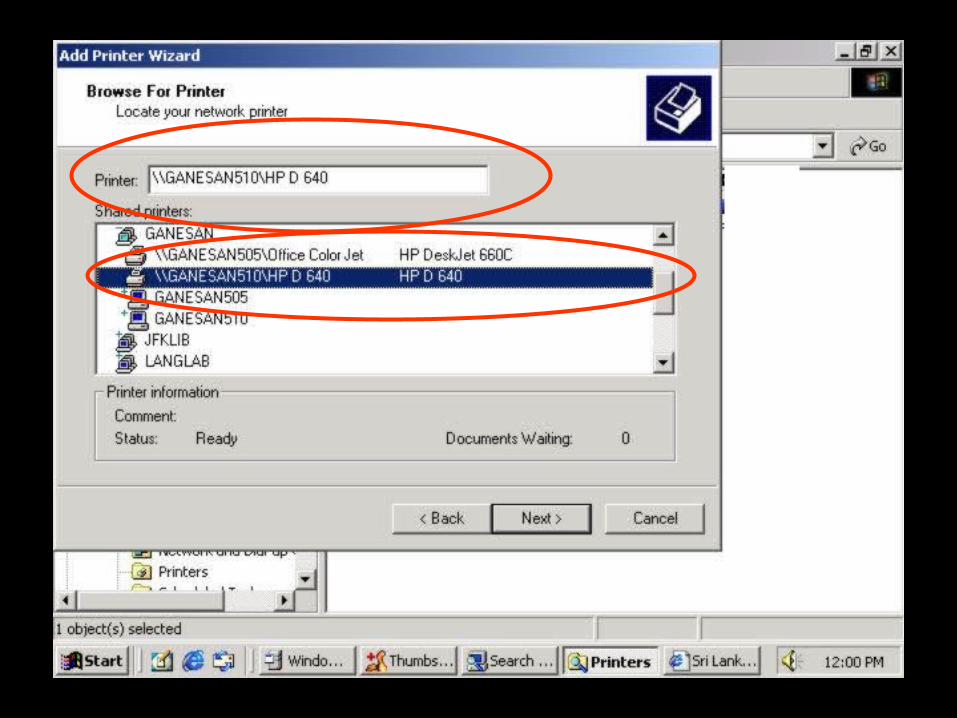
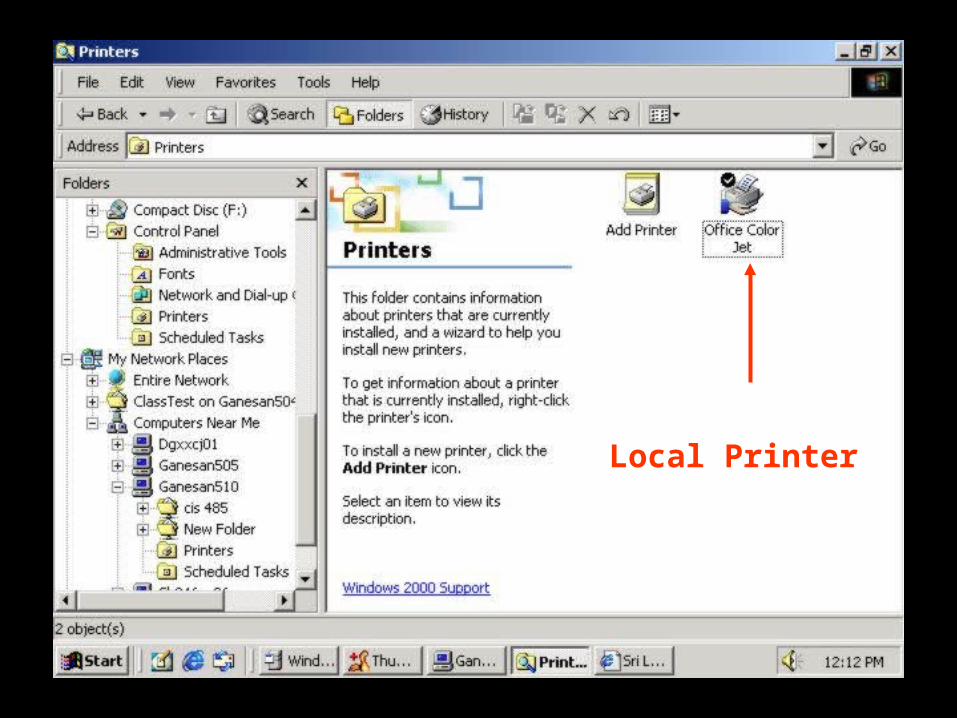
Note, this client also has a
printer called Office Color Jet. This is different
from the network printer that is
going to be installed.
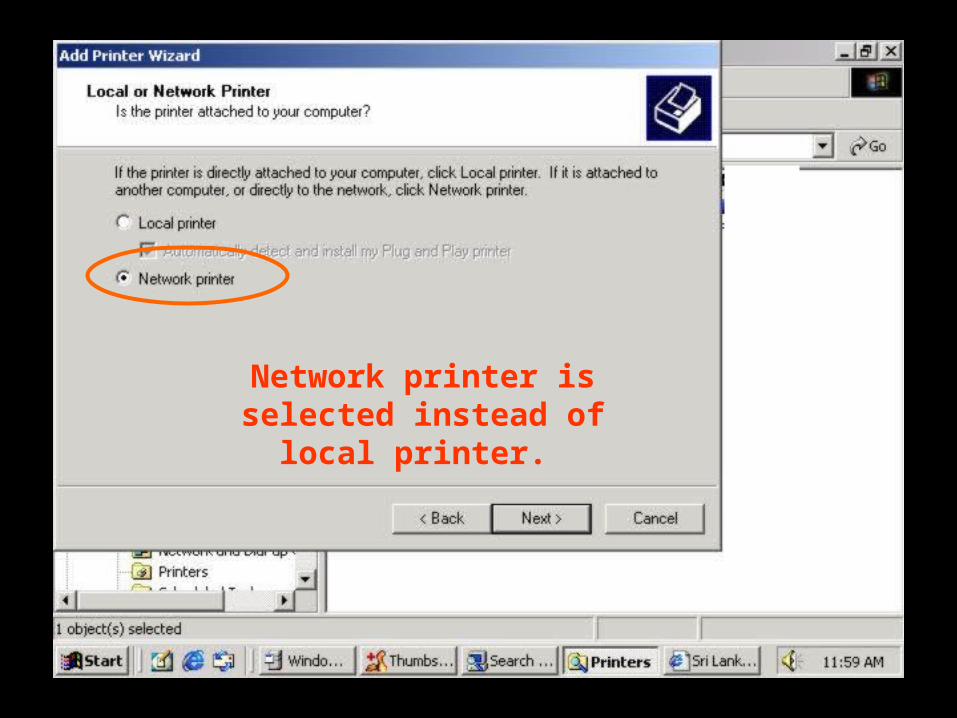
Network printer is selected instead of
local printer.
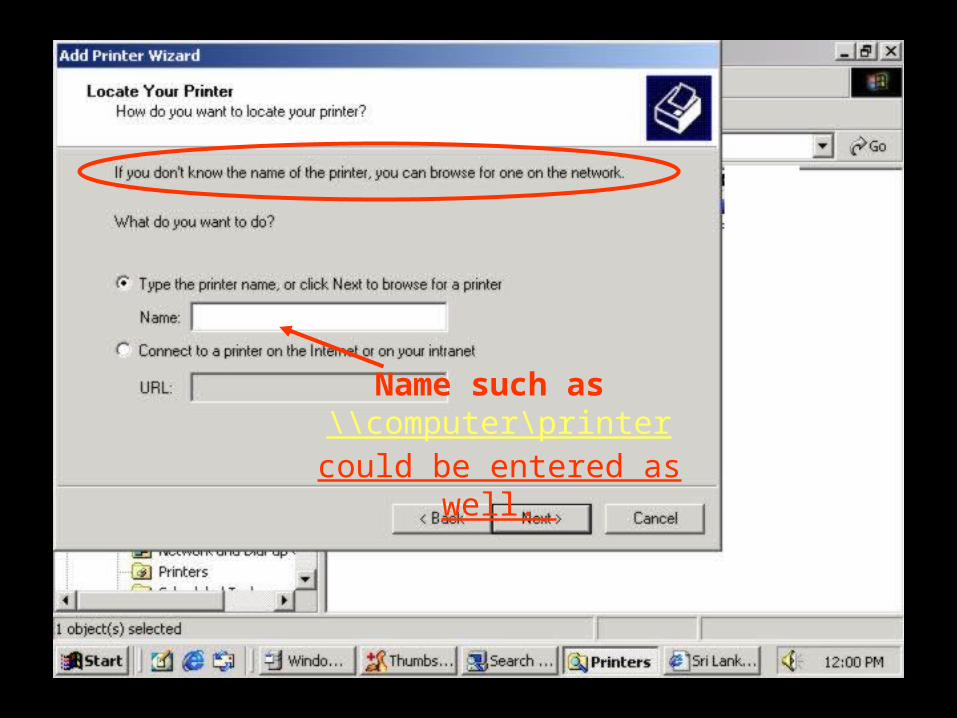
Name such as \\computer\printer could
be entered as well.
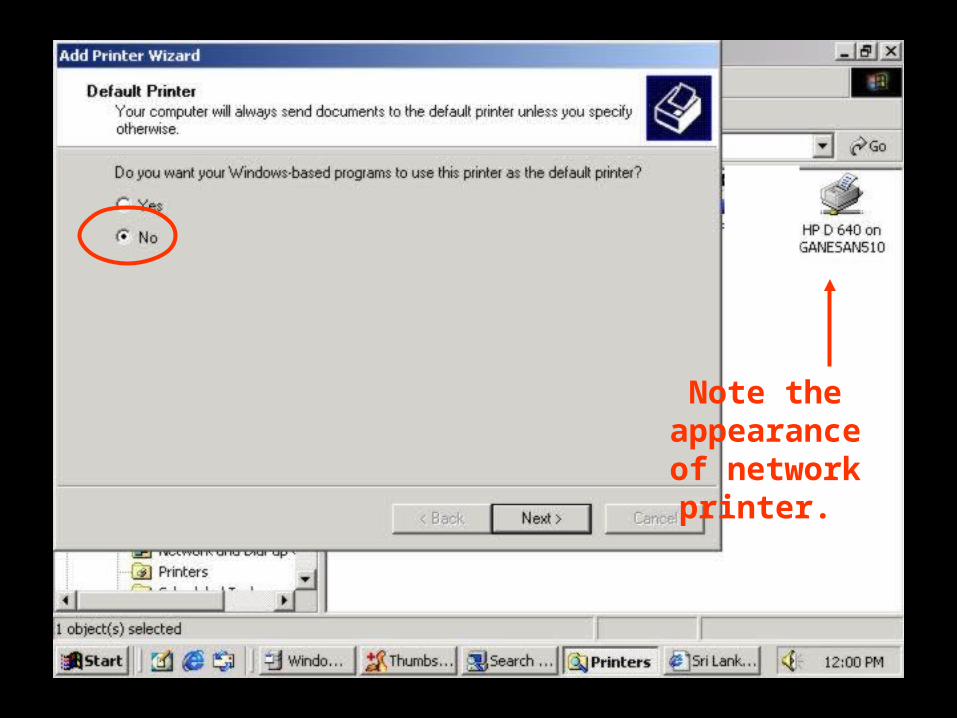
Note the appearance of network
printer.
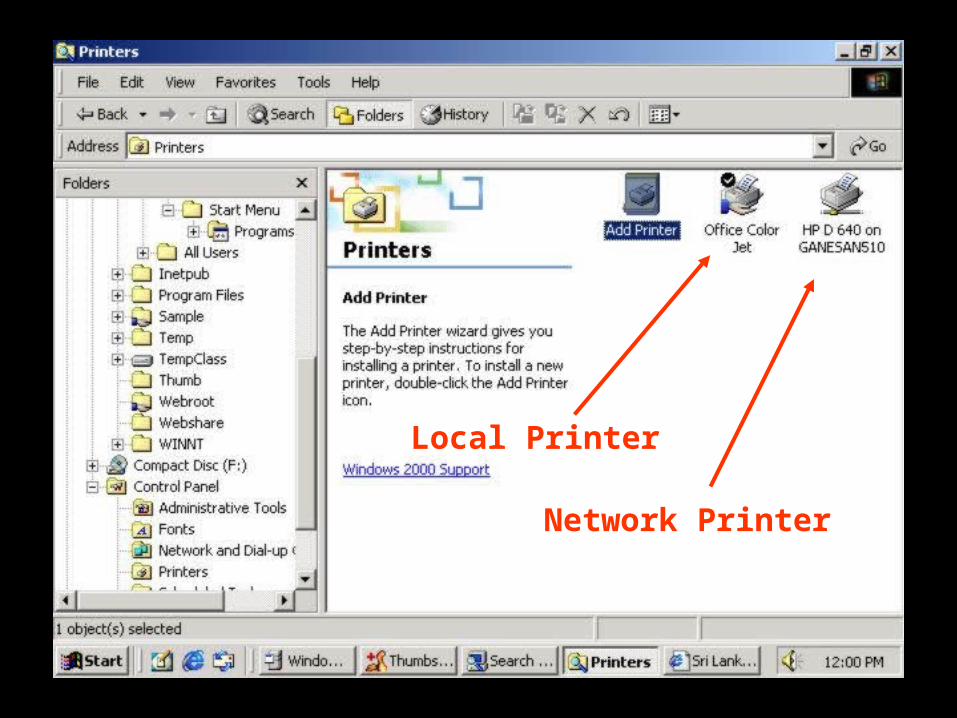
Local Printer
Network Printer
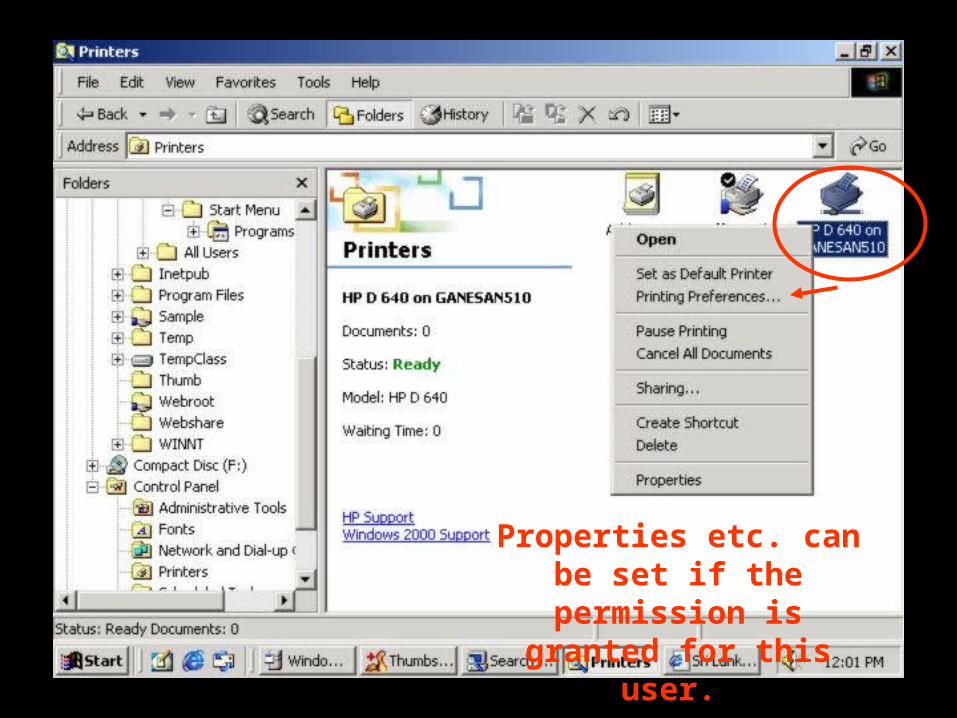
Properties etc. can be set if the permission is
granted for this user.
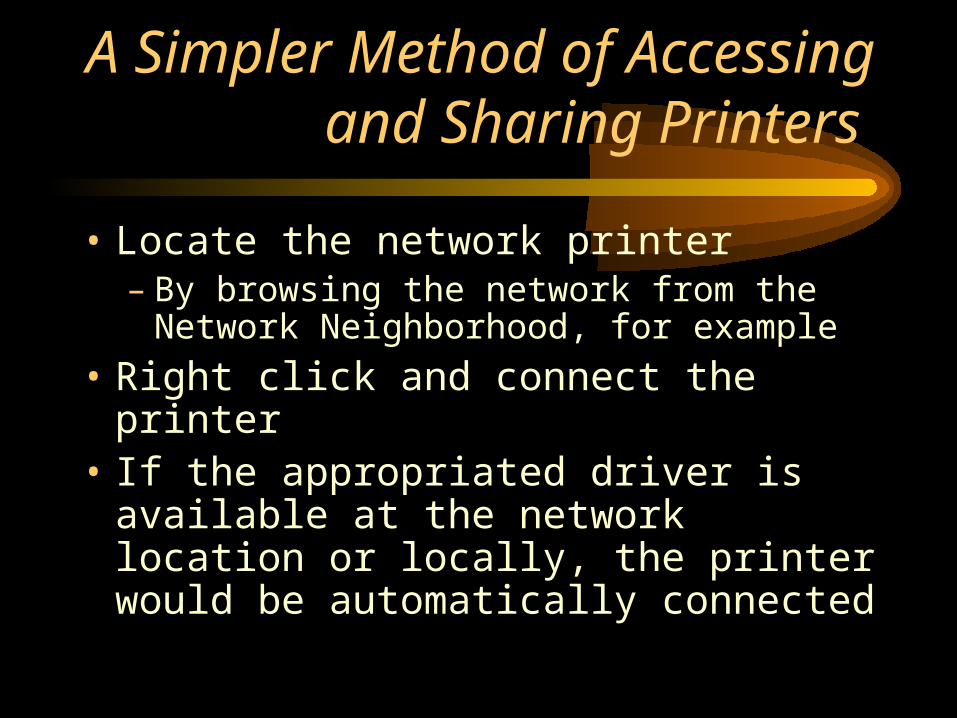
A Simpler Method of Accessing and Sharing
Printers
• Locate the network printer– By browsing the network from the
Network Neighborhood, for example• Right click and connect the printer• If the appropriated driver is
available at the network location or locally, the printer would be automatically connected
Local Printer
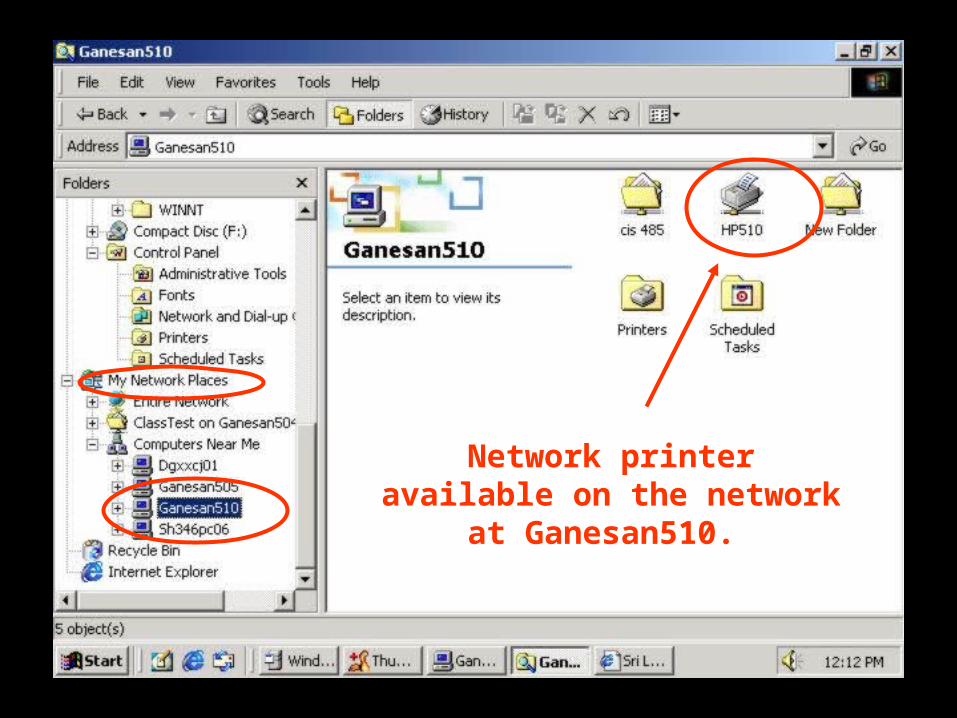
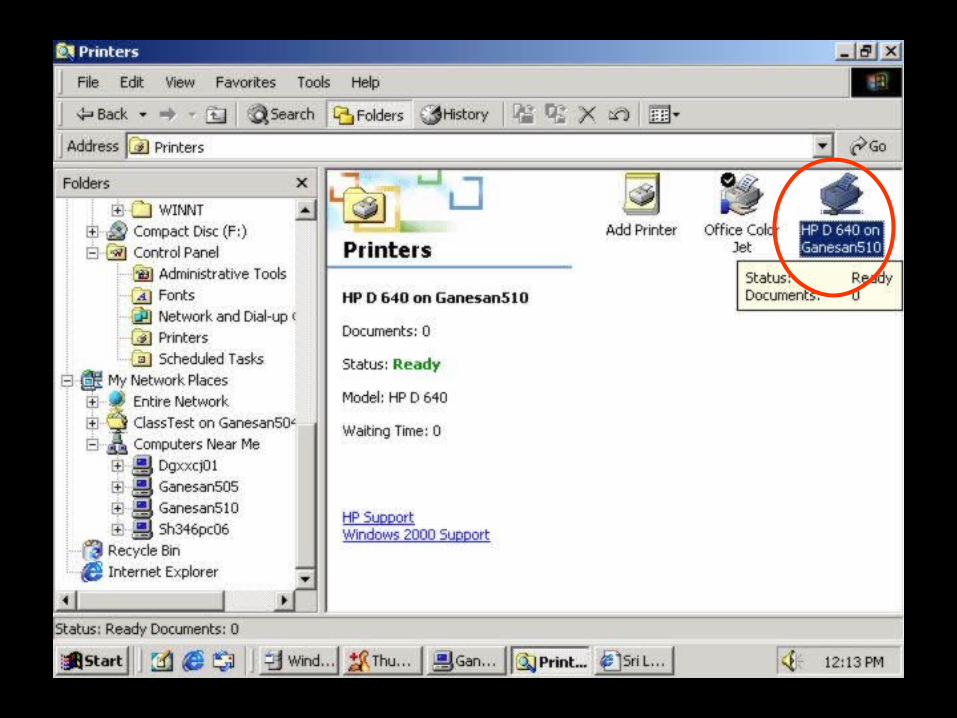
Network printer available on the network at
Ganesan510.
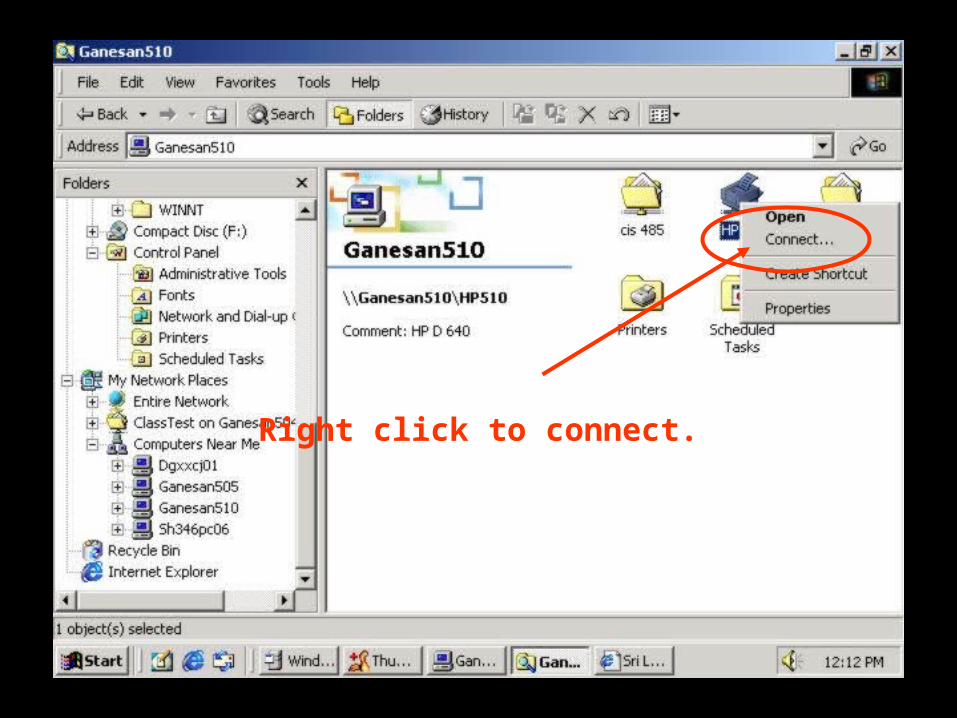
Right click to connect.
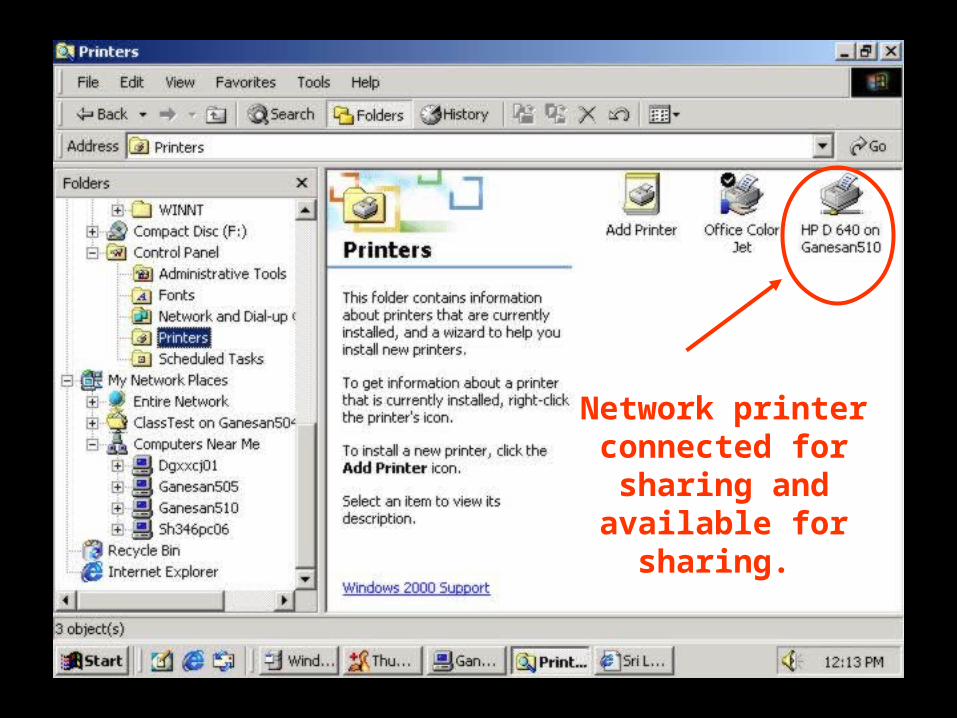
Network printer connected for sharing and available for
sharing.
Setting Printer Properties
• If permission is given, a number of printer preferences and parameters can be set by a user
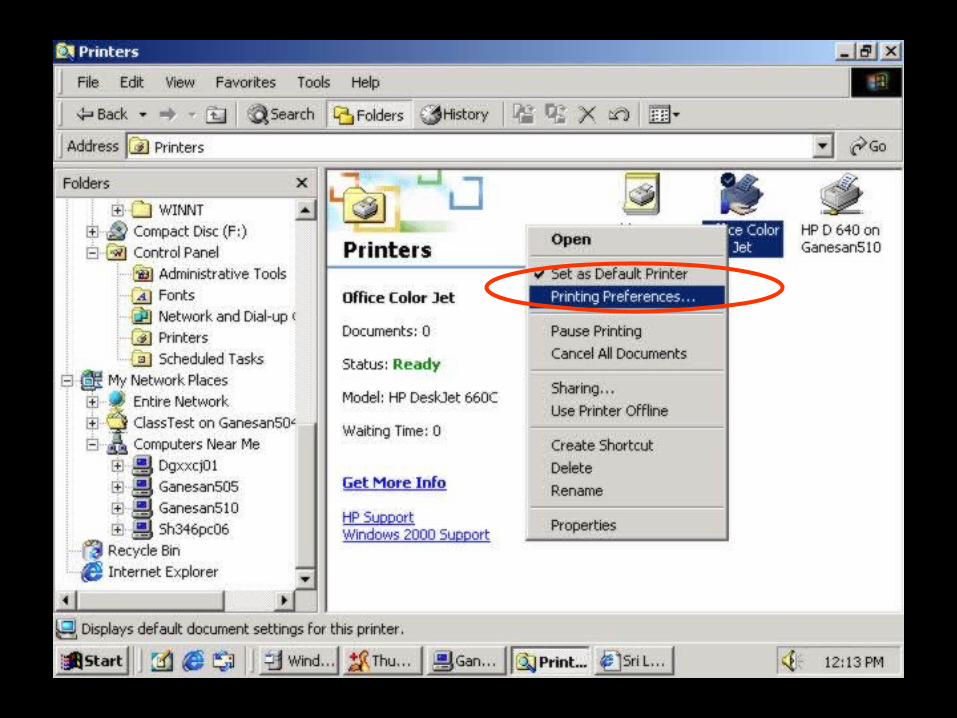
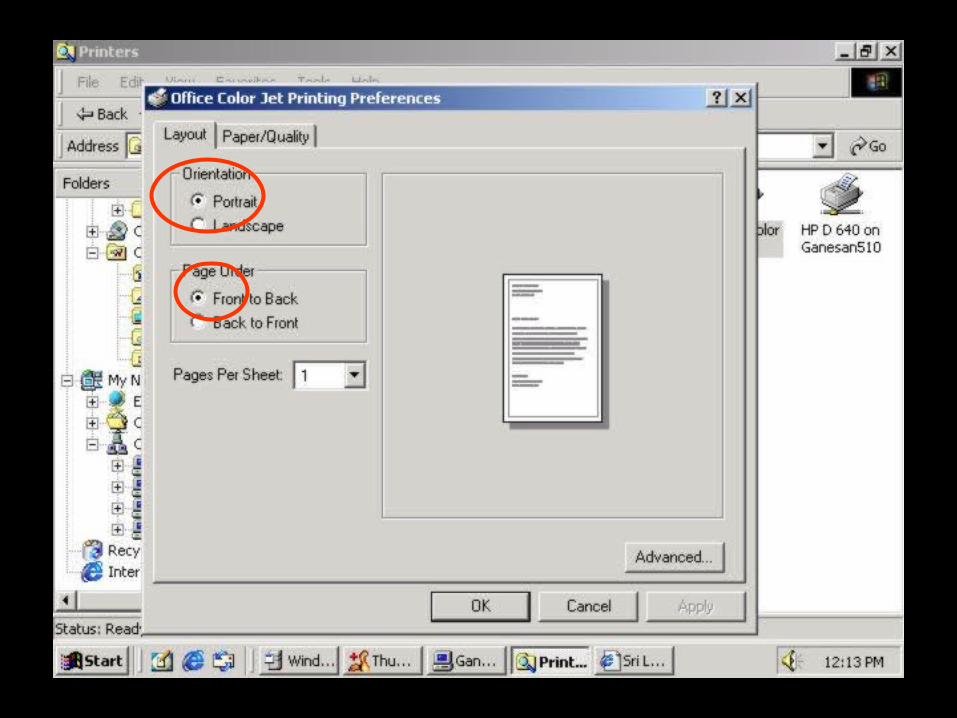
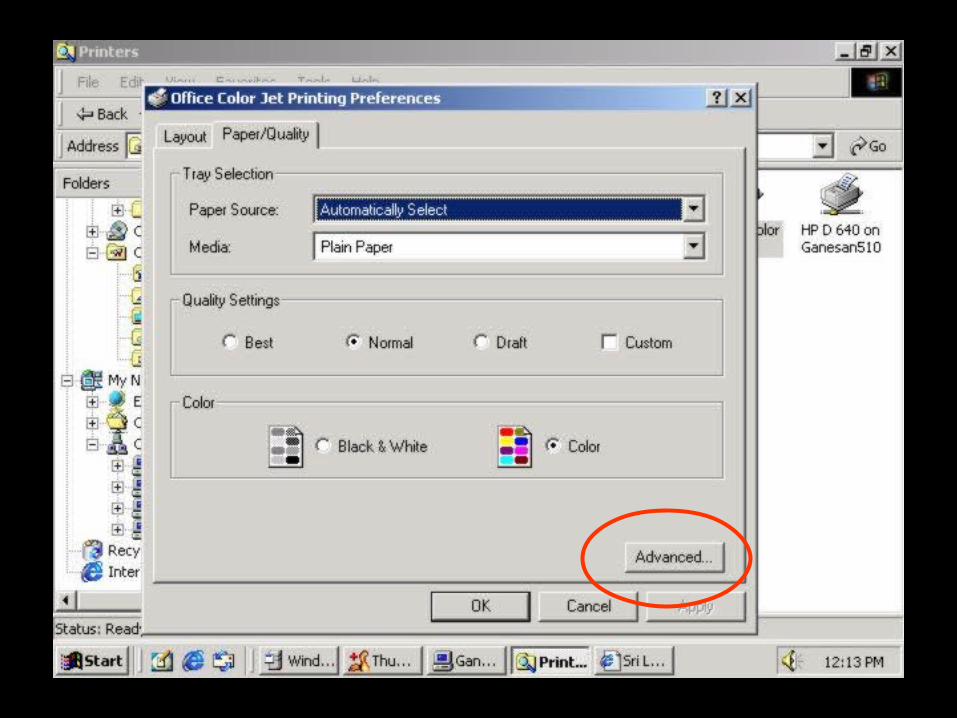
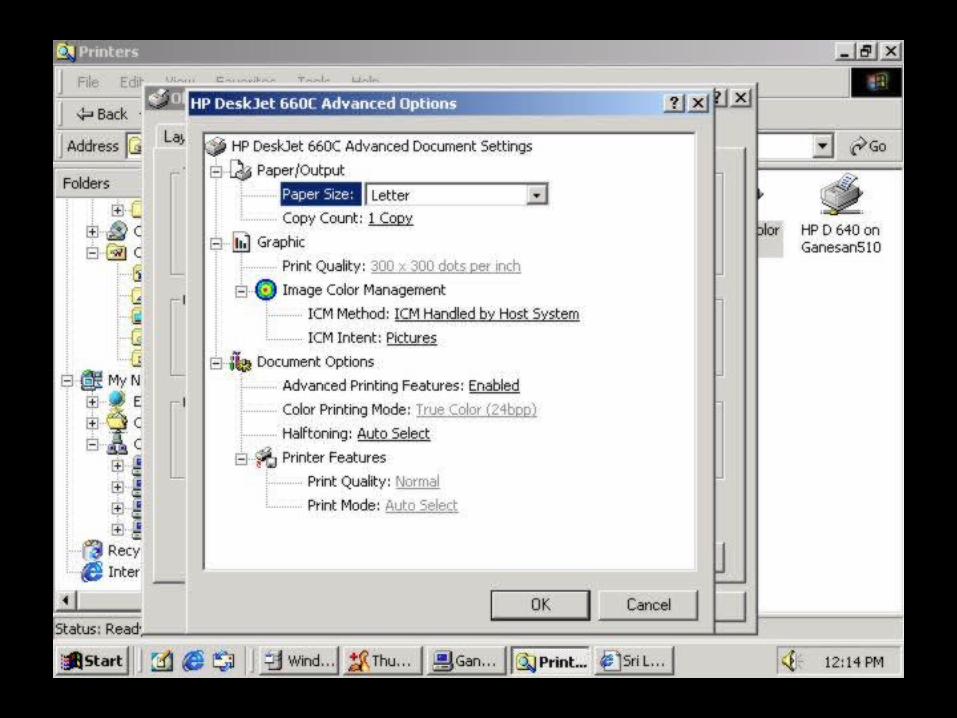
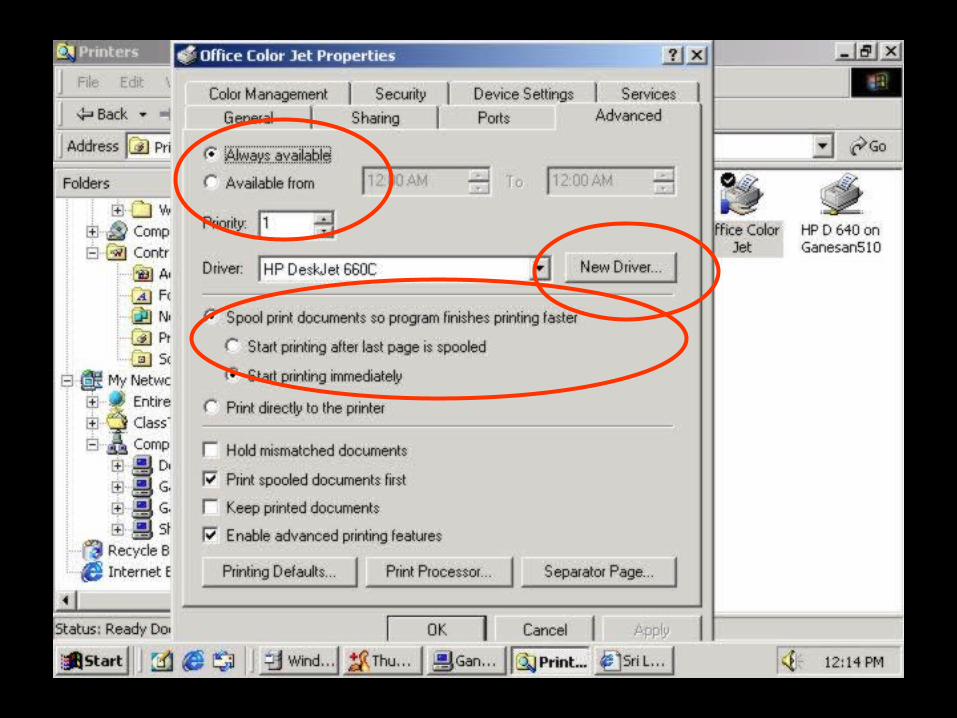
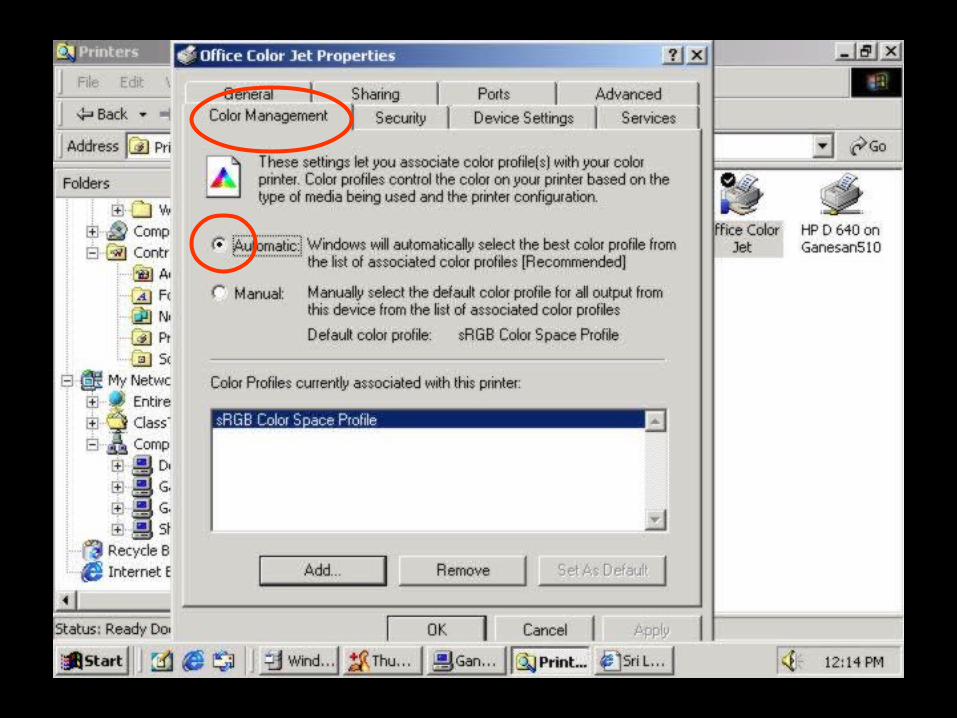
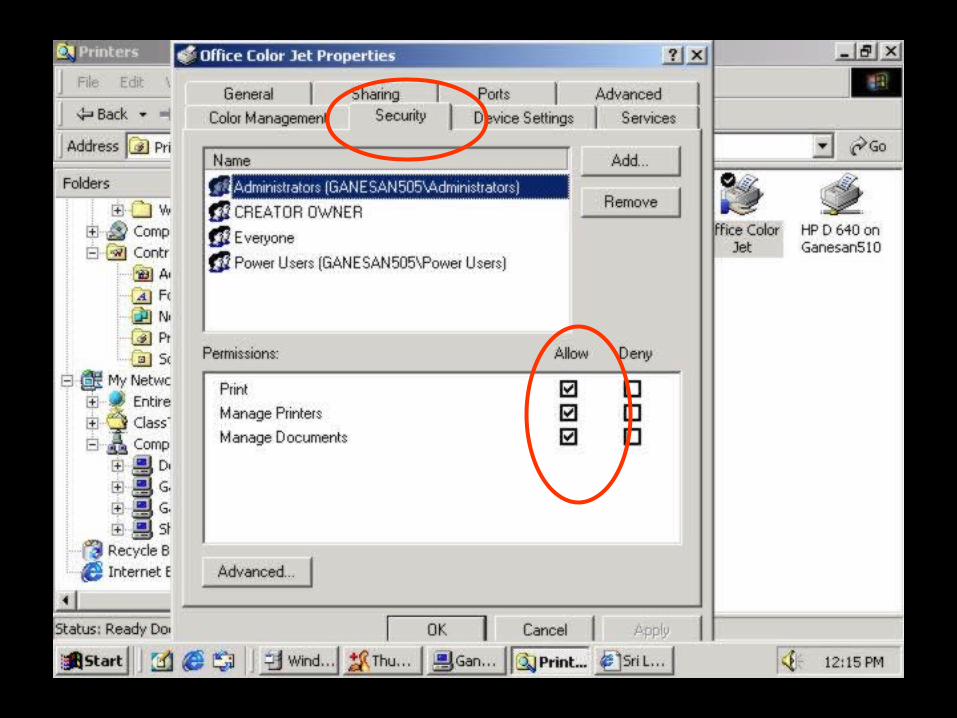
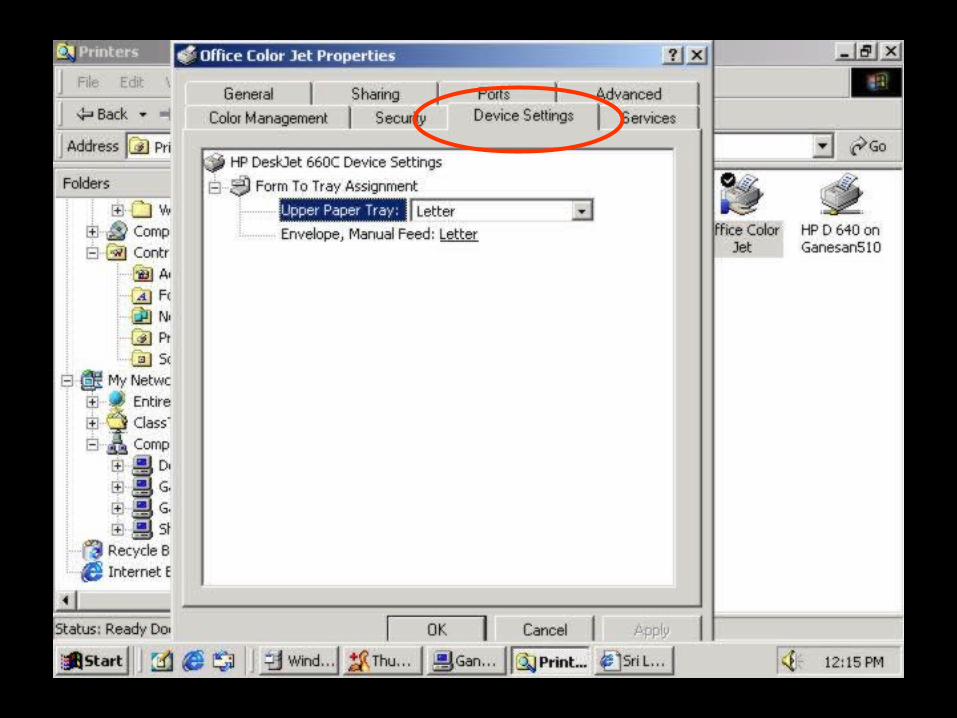
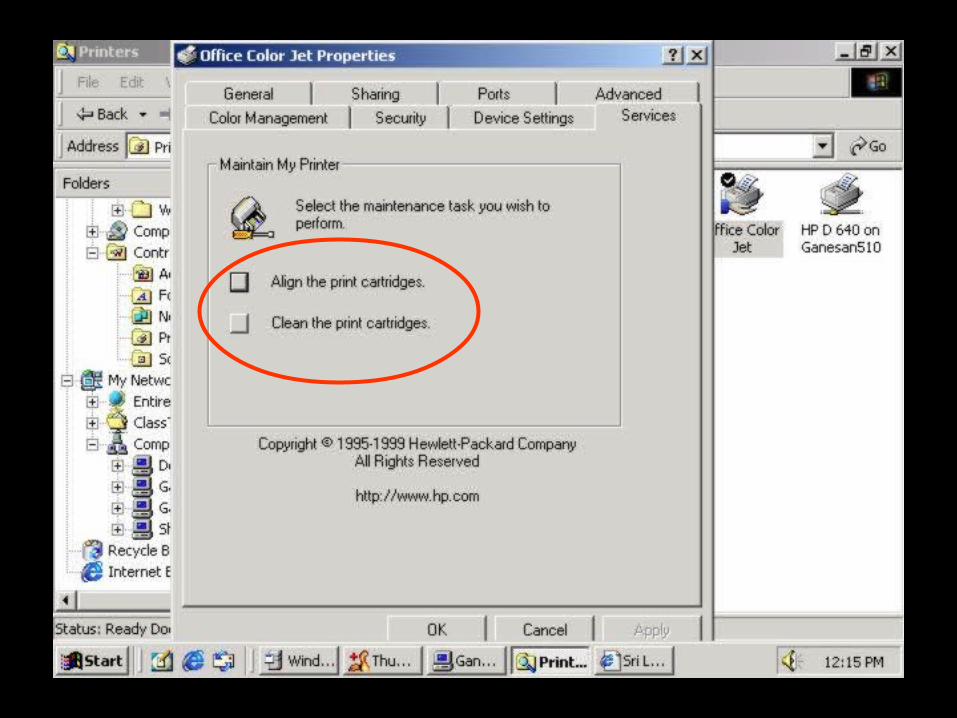
Printers and Properties
• Printer properties are, of course, dependant on the type of printer installed

Summary

End of Chapter