Embed Size (px)
Citation preview
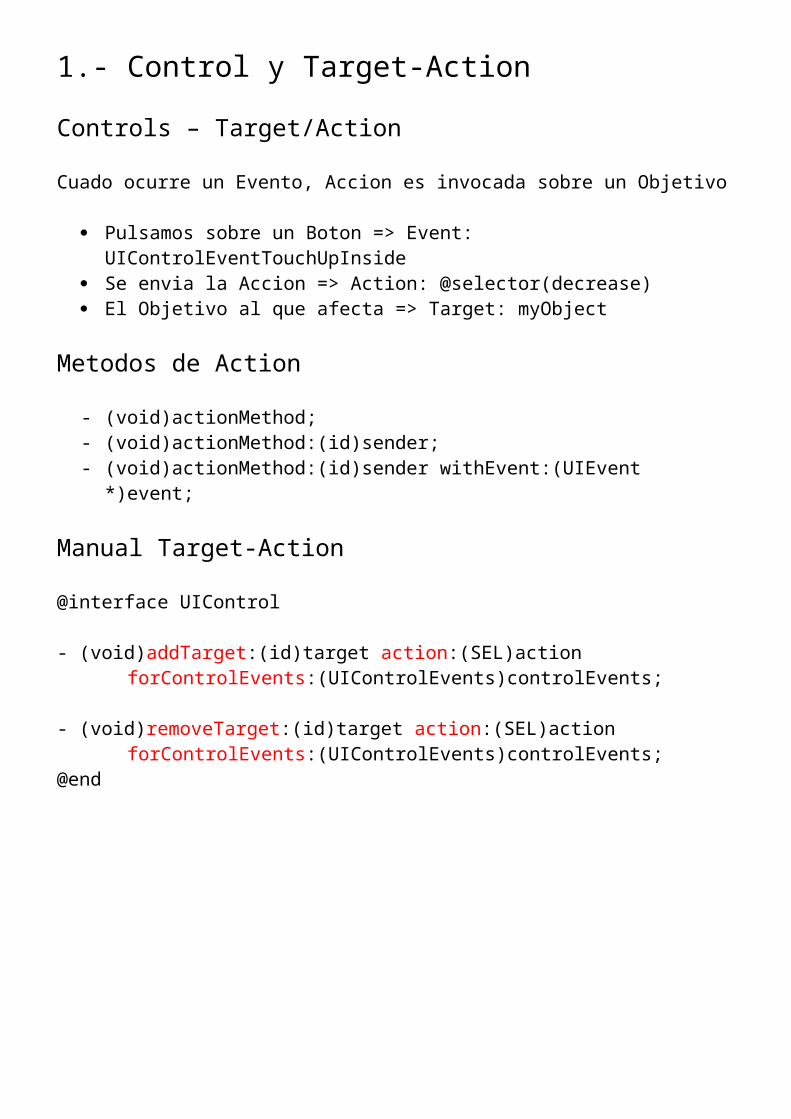
1.- Control y Target-Action
Controls – Target/Action
Cuado ocurre un Evento, Accion es invocada sobre un Objetivo
Pulsamos sobre un Boton => Event: UIControlEventTouchUpInside Se envia la Accion => Action: @selector(decrease) El Objetivo al que afecta => Target: myObject
Metodos de Action
- (void)actionMethod;- (void)actionMethod:(id)sender;- (void)actionMethod:(id)sender withEvent:(UIEvent *)event;
Manual Target-Action
@interface UIControl
- (void)addTarget:(id)target action:(SEL)action forControlEvents:(UIControlEvents)controlEvents;
- (void)removeTarget:(id)target action:(SEL)action forControlEvents:(UIControlEvents)controlEvents;
@end
2.- Views
Administrar la Jerarquia de Views
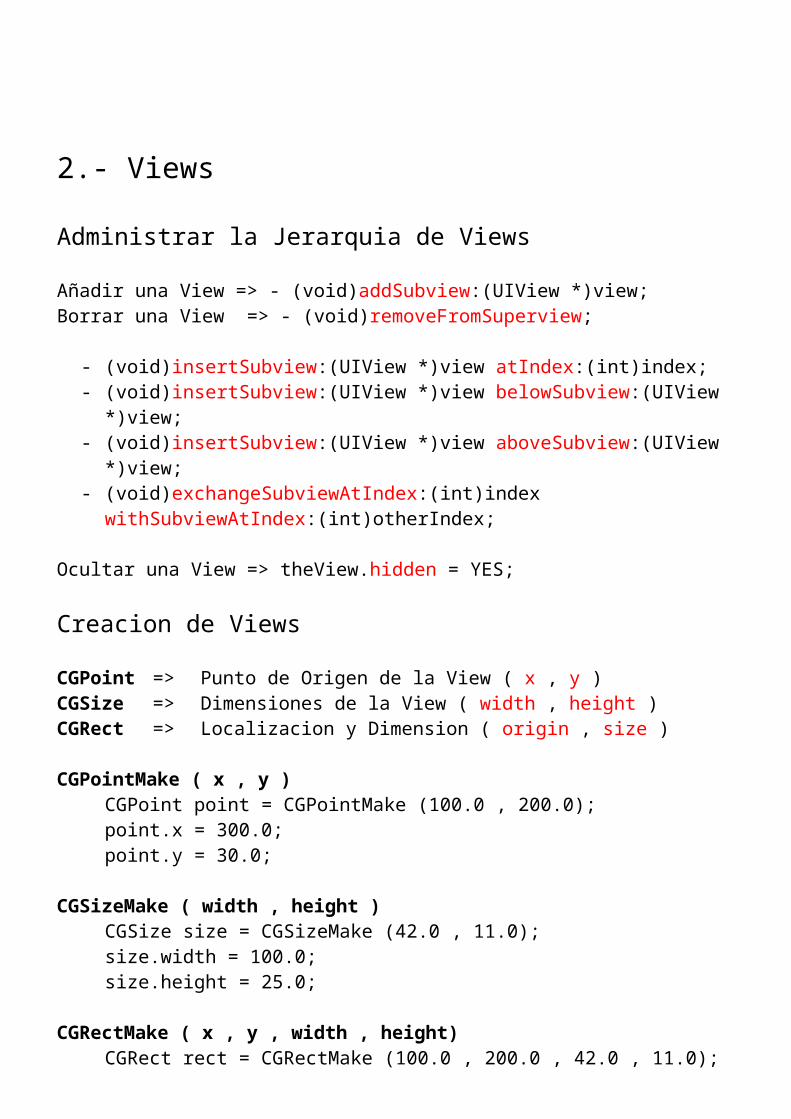
Añadir una View => - (void)addSubview:(UIView *)view;Borrar una View => - (void)removeFromSuperview;
- (void)insertSubview:(UIView *)view atIndex:(int)index;- (void)insertSubview:(UIView *)view belowSubview:(UIView *)view;- (void)insertSubview:(UIView *)view aboveSubview:(UIView *)view;- (void)exchangeSubviewAtIndex:(int)index withSubviewAtIndex:
(int)otherIndex;
Ocultar una View => theView.hidden = YES;
Creacion de Views
CGPoint => Punto de Origen de la View ( x , y )CGSize => Dimensiones de la View ( width , height )CGRect => Localizacion y Dimension ( origin , size )
CGPointMake ( x , y )CGPoint point = CGPointMake (100.0 , 200.0);point.x = 300.0;point.y = 30.0;
CGSizeMake ( width , height )CGSize size = CGSizeMake (42.0 , 11.0);size.width = 100.0;size.height = 25.0;
CGRectMake ( x , y , width , height)CGRect rect = CGRectMake (100.0 , 200.0 , 42.0 , 11.0);rect.origin.x = 0.0;rect.size.width = 50.0;
Sistema de Coordenadas
Origen ( 0 , 0 ) => Esquina Superior Izquierda
Frame => Coordenadas de la SuperviewBounds => Coordenadas dentro de la misma ViewCreamos una View, Posicionamos una View => FrameManejamos Eventos, Dibujamos una View => Bounds
EJEMPLO: Crear una View
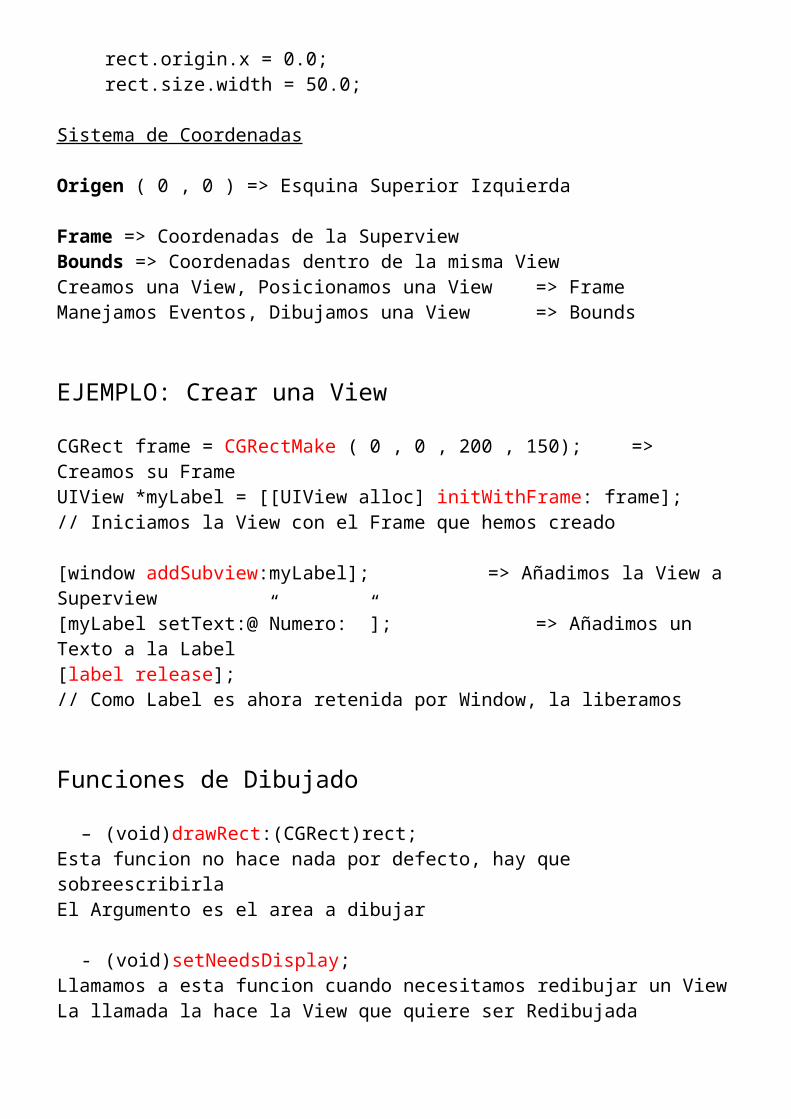
CGRect frame = CGRectMake ( 0 , 0 , 200 , 150); => Creamos su FrameUIView *myLabel = [[UIView alloc] initWithFrame: frame]; // Iniciamos la View con el Frame que hemos creado
[window addSubview:myLabel]; => Añadimos la View a Superview[myLabel setText:@”Numero: ”]; => Añadimos un Texto a la Label[label release];// Como Label es ahora retenida por Window, la liberamos
Funciones de Dibujado
– (void)drawRect:(CGRect)rect;Esta funcion no hace nada por defecto, hay que sobreescribirlaEl Argumento es el area a dibujar
- (void)setNeedsDisplay;Llamamos a esta funcion cuando necesitamos redibujar un ViewLa llamada la hace la View que quiere ser Redibujada
EJEMPLO: drawRect (Configurando Dibujo)
- (void)drawRect:(CGRect)rect
CGRect bounds = [self bounds]; //bounds tiene el valor del Rect que recibe
[[UIColor grayColor] set]; //Establecemos el Color GrisUIRectFill (bounds); //Pinta con Gris el Rect del Argumento
CGRect square = CGRectMake (10 , 10 , 50 , 100); //Crea un Rectangulo[[UIColor redColor] set]; //Establecemos el Color RojoUIRectFill (square); //Pinta con Rojo Square
[[UIColor blackColor] set]; //Establecemos el Color NegroUIRectFrame (square); //Pinta el Borde de Square
}
Funciones de Dibujado de Quartz2D y CoreGraphics
UIRectFill (CGRect rect); => Dibuja Interior de un Rectangulo Dado
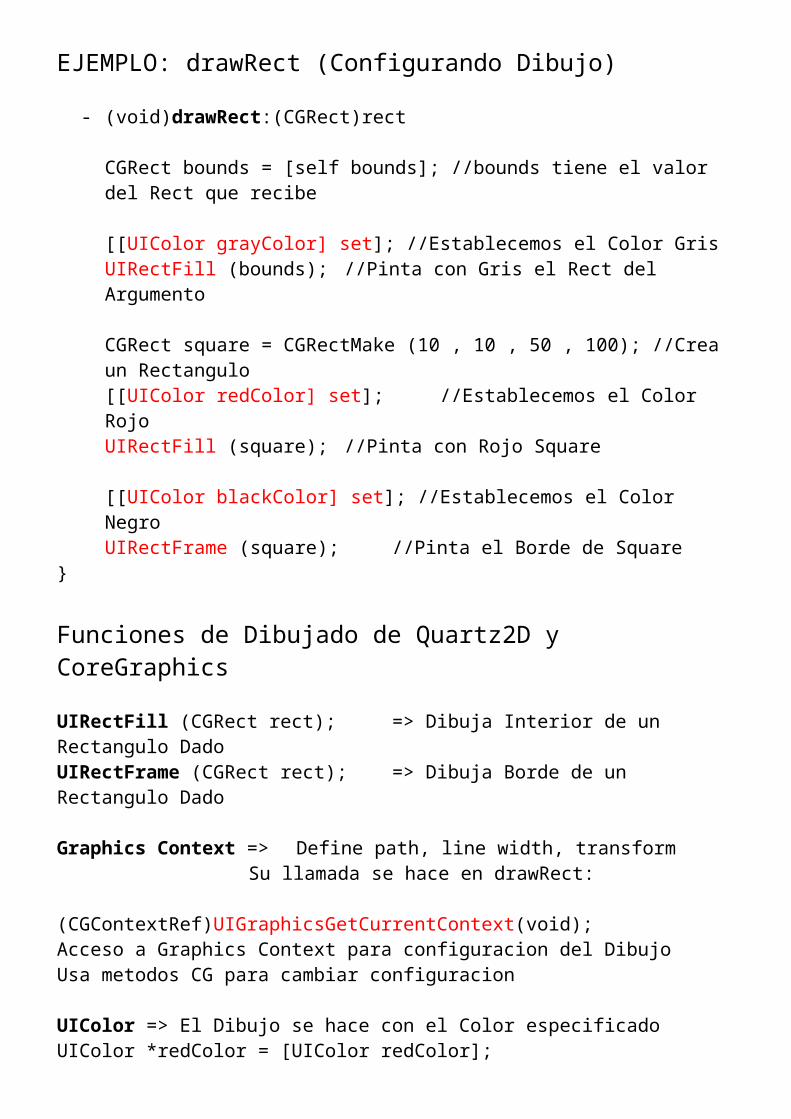
UIRectFrame (CGRect rect); => Dibuja Borde de un Rectangulo Dado
Graphics Context => Define path, line width, transformSu llamada se hace en drawRect:
(CGContextRef)UIGraphicsGetCurrentContext(void);Acceso a Graphics Context para configuracion del DibujoUsa metodos CG para cambiar configuracion
UIColor => El Dibujo se hace con el Color especificadoUIColor *redColor = [UIColor redColor];[redColor set];
UIFont => Acceso a la Fuente del SistemaUIFont *font = [UIFont systemFontOfSize:14.0];[myLabel setFont:font];
Pasos para Dibujar Capas Complejas
- Definimos el Current Graphics Context- Definimos un Patron- Seleccionamos Color- Patron Fill o Stroke- Repetimos si es necesario
EJEMPLO: Dibujar Capas Complejas
- (void)drawRect:(CGRect)rect
CGContextRef context = UIGraphicsGetCurrentContext(); //Para Empezar
[[UIColor grayColor] set]; //Definimos Color
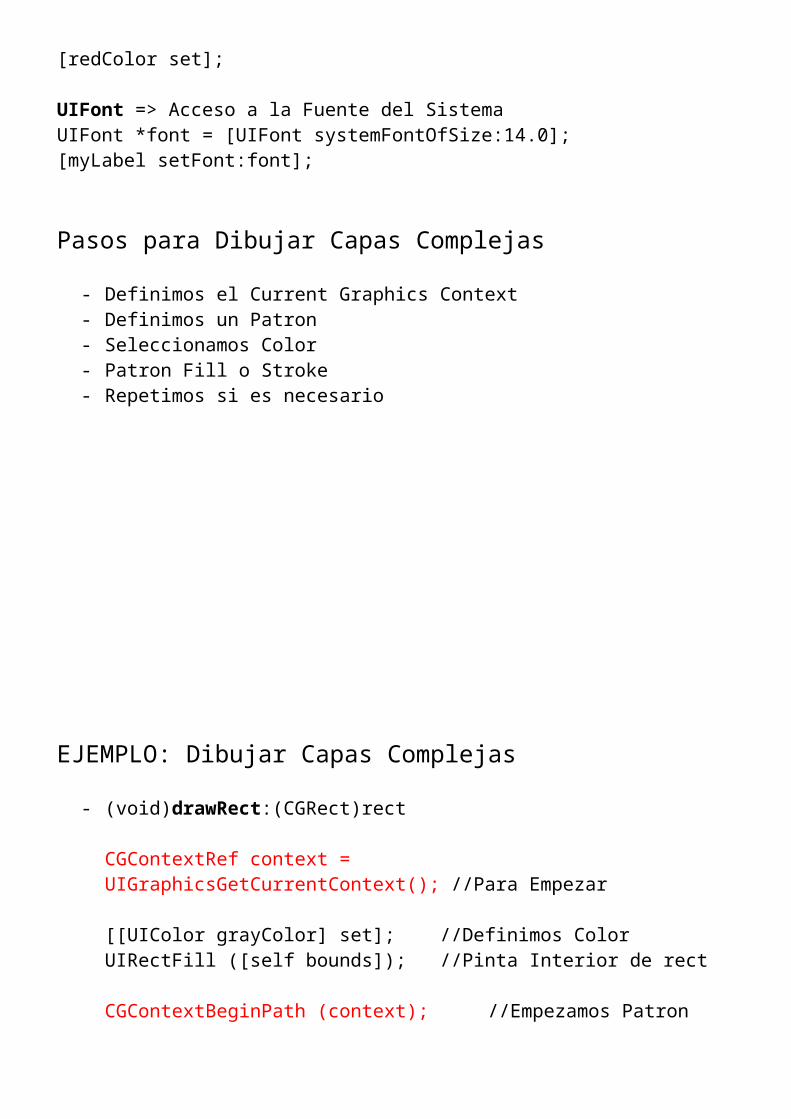
UIRectFill ([self bounds]); //Pinta Interior de rect
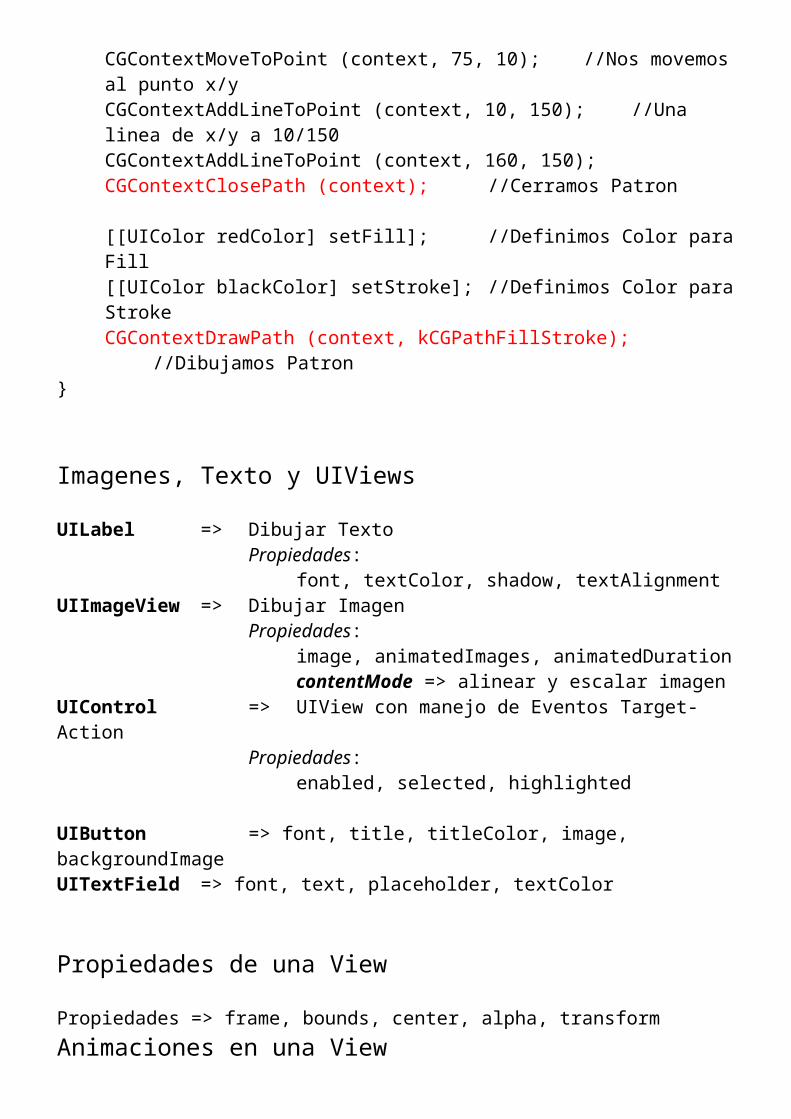
CGContextBeginPath (context); //Empezamos PatronCGContextMoveToPoint (context, 75, 10); //Nos movemos al punto x/yCGContextAddLineToPoint (context, 10, 150); //Una linea de x/y a 10/150CGContextAddLineToPoint (context, 160, 150);CGContextClosePath (context); //Cerramos Patron
[[UIColor redColor] setFill]; //Definimos Color para Fill[[UIColor blackColor] setStroke]; //Definimos Color para StrokeCGContextDrawPath (context, kCGPathFillStroke); //Dibujamos Patron
}
Imagenes, Texto y UIViews
UILabel => Dibujar TextoPropiedades:
font, textColor, shadow, textAlignmentUIImageView => Dibujar Imagen
Propiedades:image, animatedImages, animatedDurationcontentMode => alinear y escalar imagen
UIControl => UIView con manejo de Eventos Target-ActionPropiedades:
enabled, selected, highlighted
UIButton => font, title, titleColor, image, backgroundImageUITextField => font, text, placeholder, textColor
Propiedades de una View
Propiedades => frame, bounds, center, alpha, transformAnimaciones en una View
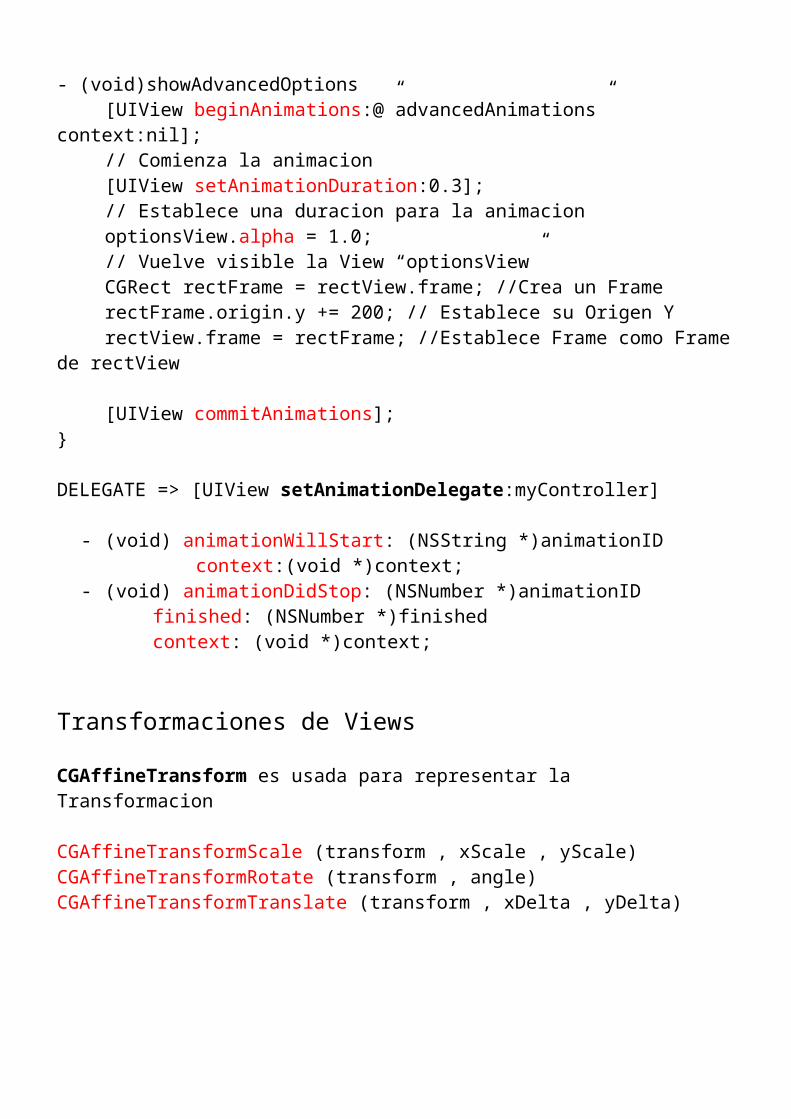
- (void)showAdvancedOptions[UIView beginAnimations:@”advancedAnimations” context:nil];// Comienza la animacion[UIView setAnimationDuration:0.3];// Establece una duracion para la animacionoptionsView.alpha = 1.0;// Vuelve visible la View “optionsView”
CGRect rectFrame = rectView.frame; //Crea un FramerectFrame.origin.y += 200; // Establece su Origen YrectView.frame = rectFrame; //Establece Frame como Frame de
rectView
[UIView commitAnimations];}
DELEGATE => [UIView setAnimationDelegate:myController]
- (void) animationWillStart: (NSString *)animationID context:(void *)context;
- (void) animationDidStop: (NSNumber *)animationID finished: (NSNumber *)finishedcontext: (void *)context;
Transformaciones de Views
CGAffineTransform es usada para representar la Transformacion
CGAffineTransformScale (transform , xScale , yScale)CGAffineTransformRotate (transform , angle)CGAffineTransformTranslate (transform , xDelta , yDelta)
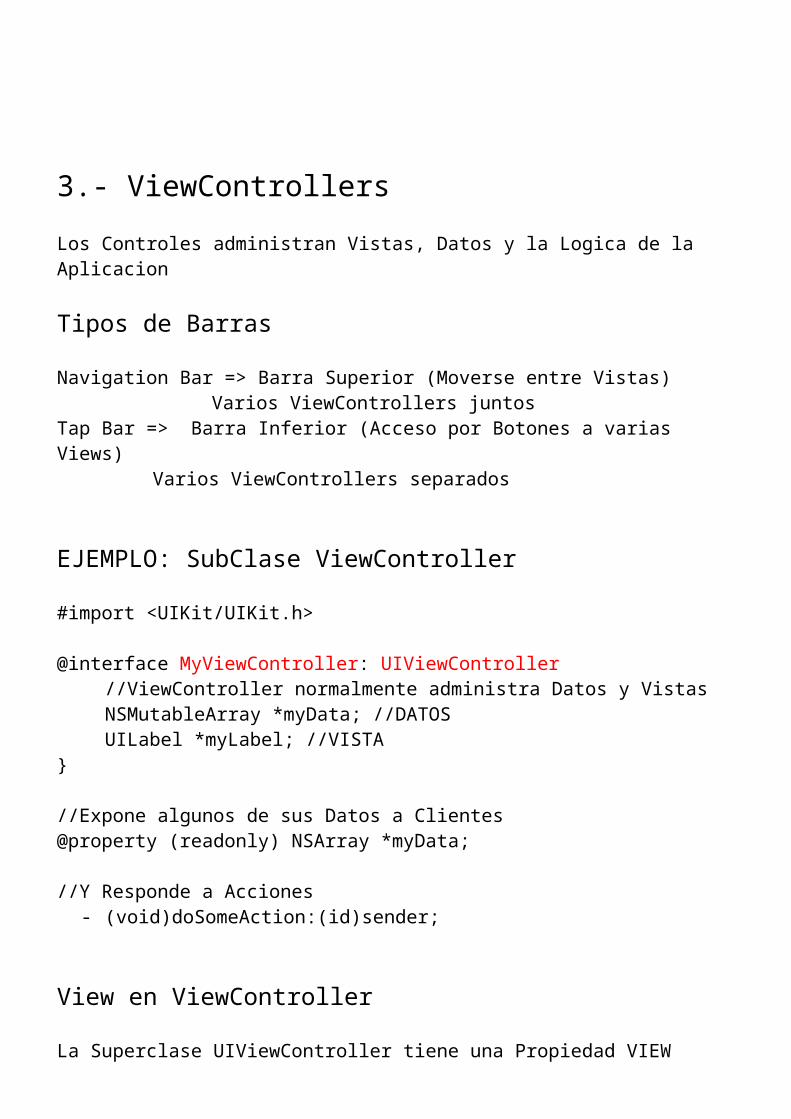
3.- ViewControllers
Los Controles administran Vistas, Datos y la Logica de la Aplicacion
Tipos de Barras
Navigation Bar => Barra Superior (Moverse entre Vistas) Varios ViewControllers juntos
Tap Bar => Barra Inferior (Acceso por Botones a varias Views)Varios ViewControllers separados
EJEMPLO: SubClase ViewController
#import <UIKit/UIKit.h>
@interface MyViewController: UIViewController//ViewController normalmente administra Datos y VistasNSMutableArray *myData; //DATOSUILabel *myLabel; //VISTA
}
//Expone algunos de sus Datos a Clientes@property (readonly) NSArray *myData;
//Y Responde a Acciones- (void)doSomeAction:(id)sender;
View en ViewController
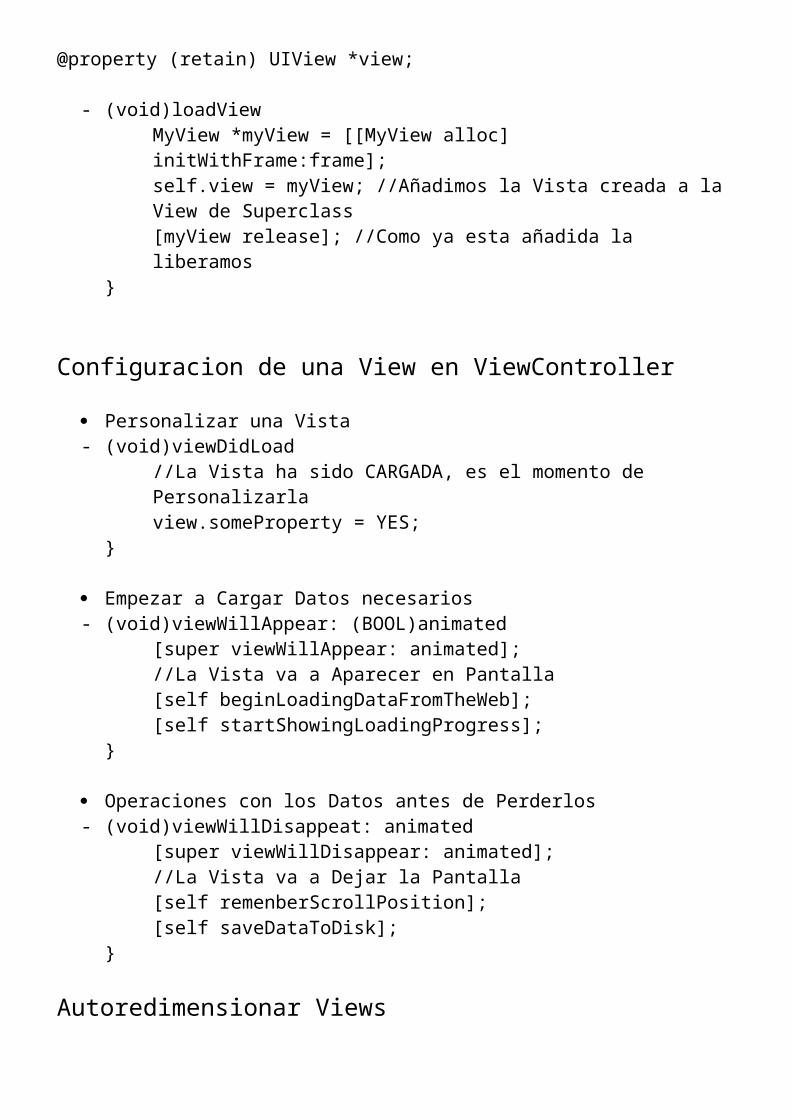
La Superclase UIViewController tiene una Propiedad VIEW@property (retain) UIView *view;
- (void)loadViewMyView *myView = [[MyView alloc] initWithFrame:frame];self.view = myView; //Añadimos la Vista creada a la View de Superclass[myView release]; //Como ya esta añadida la liberamos
}
Configuracion de una View en ViewController
Personalizar una Vista- (void)viewDidLoad
//La Vista ha sido CARGADA, es el momento de Personalizarlaview.someProperty = YES;
}
Empezar a Cargar Datos necesarios- (void)viewWillAppear: (BOOL)animated
[super viewWillAppear: animated];//La Vista va a Aparecer en Pantalla[self beginLoadingDataFromTheWeb];[self startShowingLoadingProgress];
}
Operaciones con los Datos antes de Perderlos- (void)viewWillDisappeat: animated
[super viewWillDisappear: animated];//La Vista va a Dejar la Pantalla[self remenberScrollPosition];[self saveDataToDisk];
}
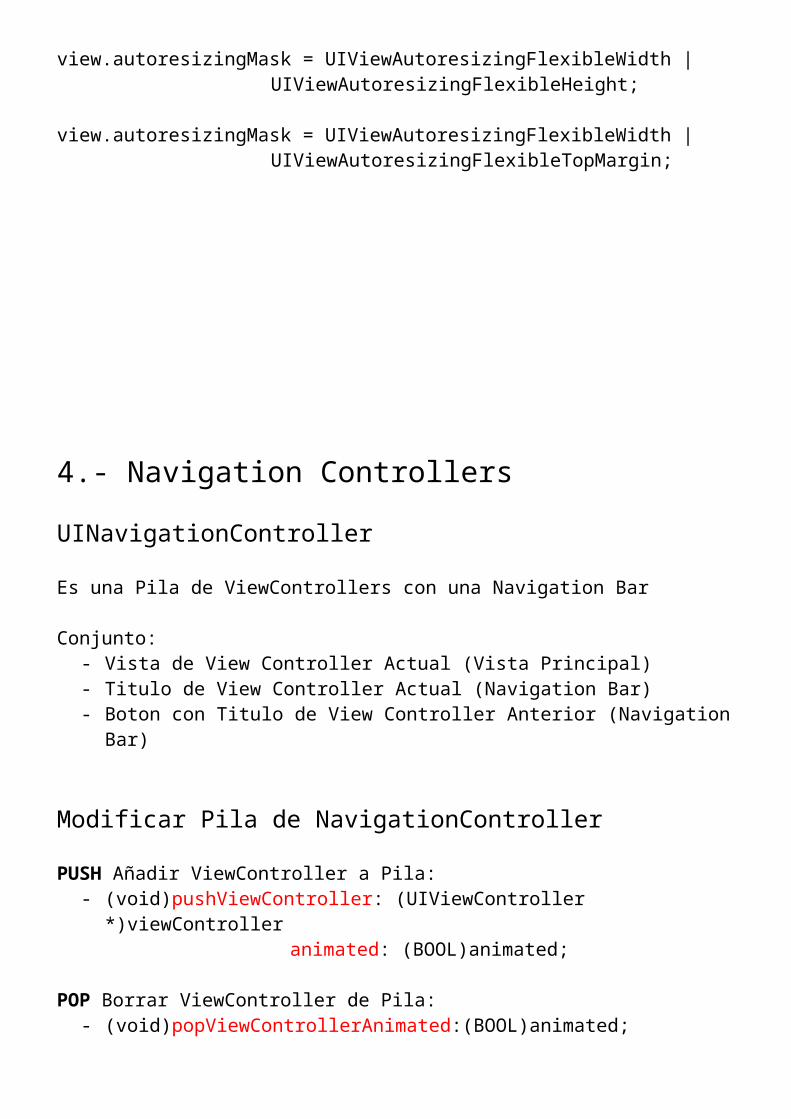
Autoredimensionar Views
view.autoresizingMask = UIViewAutoresizingFlexibleWidth | UIViewAutoresizingFlexibleHeight;
view.autoresizingMask = UIViewAutoresizingFlexibleWidth | UIViewAutoresizingFlexibleTopMargin;
4.- Navigation Controllers
UINavigationController
Es una Pila de ViewControllers con una Navigation Bar
Conjunto:- Vista de View Controller Actual (Vista Principal)- Titulo de View Controller Actual (Navigation Bar)- Boton con Titulo de View Controller Anterior (Navigation Bar)
Modificar Pila de NavigationController
PUSH Añadir ViewController a Pila:- (void)pushViewController: (UIViewController *)viewController
animated: (BOOL)animated;
POP Borrar ViewController de Pila:
- (void)popViewControllerAnimated:(BOOL)animated;
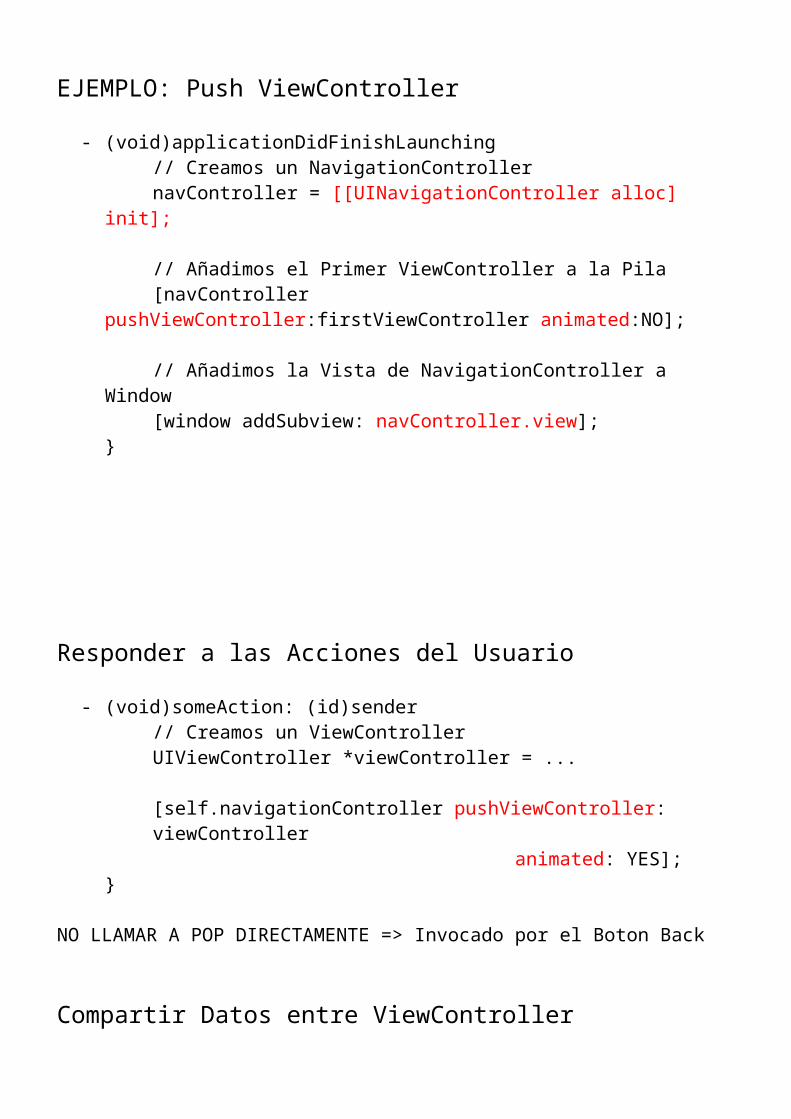
EJEMPLO: Push ViewController
- (void)applicationDidFinishLaunching// Creamos un NavigationControllernavController = [[UINavigationController alloc] init];
// Añadimos el Primer ViewController a la Pila[navController pushViewController:firstViewController
animated:NO];
// Añadimos la Vista de NavigationController a Window[window addSubview: navController.view];
}
Responder a las Acciones del Usuario
- (void)someAction: (id)sender// Creamos un ViewControllerUIViewController *viewController = ...
[self.navigationController pushViewController: viewController animated: YES];
}
NO LLAMAR A POP DIRECTAMENTE => Invocado por el Boton Back
Compartir Datos entre ViewController
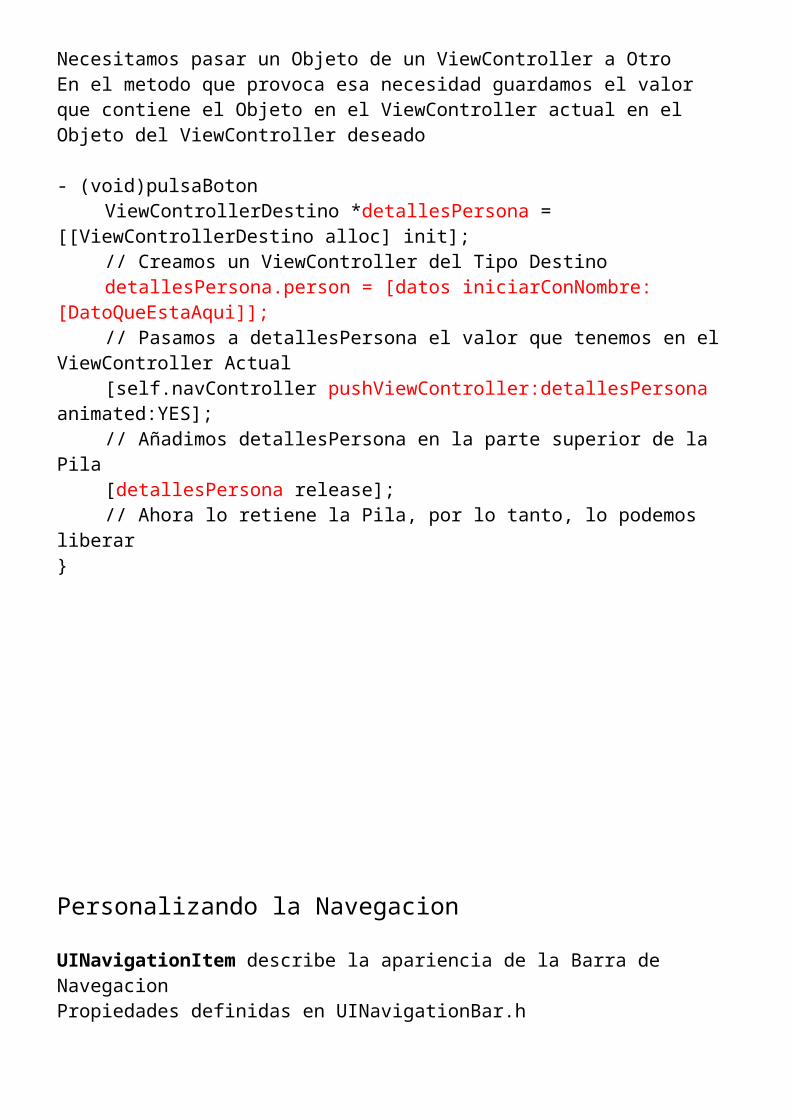
Necesitamos pasar un Objeto de un ViewController a OtroEn el metodo que provoca esa necesidad guardamos el valor que contiene el Objeto en el ViewController actual en el Objeto del ViewController deseado
- (void)pulsaBotonViewControllerDestino *detallesPersona = [[ViewControllerDestino
alloc] init];
// Creamos un ViewController del Tipo DestinodetallesPersona.person = [datos iniciarConNombre:
[DatoQueEstaAqui]];// Pasamos a detallesPersona el valor que tenemos en el
ViewController Actual[self.navController pushViewController:detallesPersona
animated:YES];// Añadimos detallesPersona en la parte superior de la Pila[detallesPersona release];// Ahora lo retiene la Pila, por lo tanto, lo podemos liberar
}
Personalizando la Navegacion
UINavigationItem describe la apariencia de la Barra de NavegacionPropiedades definidas en UINavigationBar.h
- ViewControllero NavigationItem
Left Bar Buttom Item Title View Right Bar Buttom Item
TITULO VIEW CONTROLLER
Propiedad de ViewController => @property(nonatomic , copy) NSString *title;Personalizar Titulo => viewController.title = @”Detalles”
BOTONES IZQ Y DER
UIBarButtomItem => Target + Action
EJEMPLO: Text Bar Button Item
- (void)viewDidLoadUIBarButtonItem *fooButton = [[UIBarButtonItem alloc]
initWithTitle: @”Foo”style: UIBarButtonItemStyleBorderedtarget: selfaction: @selector(foo:) ];
self.navigationItem.leftBarButtonItem = fooButton;[fooButton release];
}
EJEMPLO: System Bar Button Item
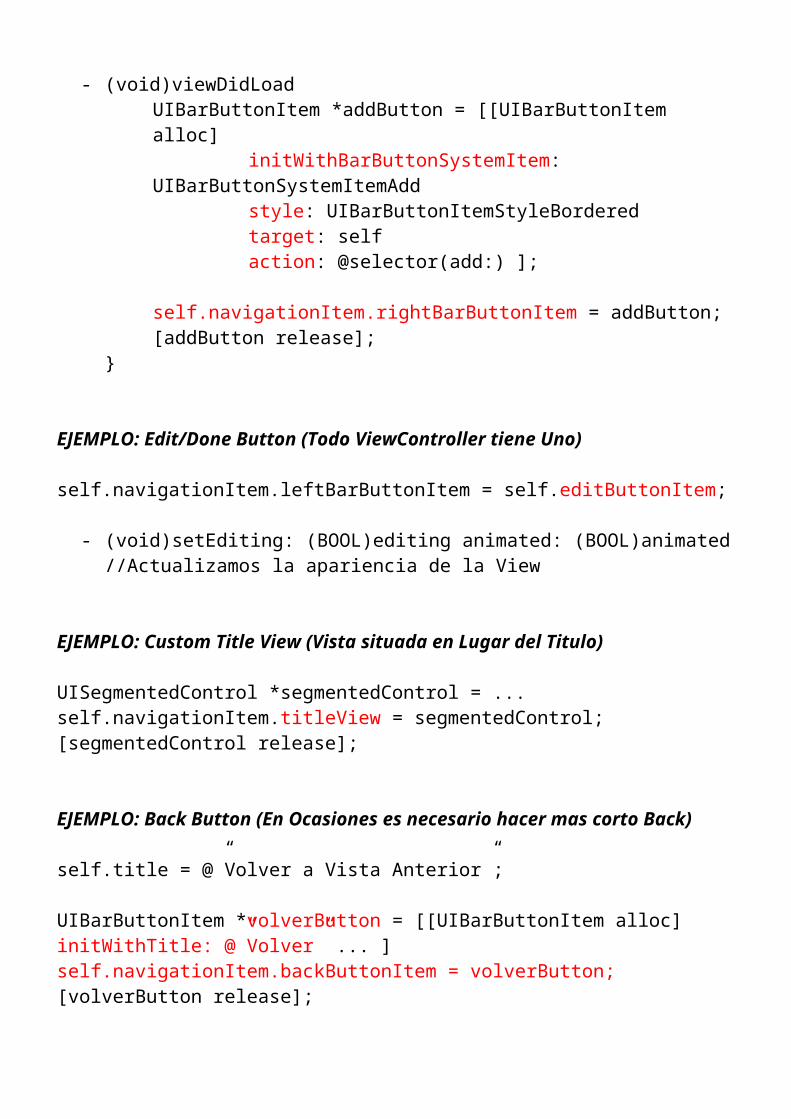
- (void)viewDidLoadUIBarButtonItem *addButton = [[UIBarButtonItem alloc]
initWithBarButtonSystemItem: UIBarButtonSystemItemAdd
style: UIBarButtonItemStyleBorderedtarget: selfaction: @selector(add:) ];
self.navigationItem.rightBarButtonItem = addButton;[addButton release];
}
EJEMPLO: Edit/Done Button (Todo ViewController tiene Uno)
self.navigationItem.leftBarButtonItem = self.editButtonItem;
- (void)setEditing: (BOOL)editing animated: (BOOL)animated//Actualizamos la apariencia de la View
EJEMPLO: Custom Title View (Vista situada en Lugar del Titulo)
UISegmentedControl *segmentedControl = ...self.navigationItem.titleView = segmentedControl;
[segmentedControl release];
EJEMPLO: Back Button (En Ocasiones es necesario hacer mas corto Back)
self.title = @”Volver a Vista Anterior”;
UIBarButtonItem *volverButton = [[UIBarButtonItem alloc] initWithTitle: @”Volver” ... ]self.navigationItem.backButtonItem = volverButton;[volverButton release];
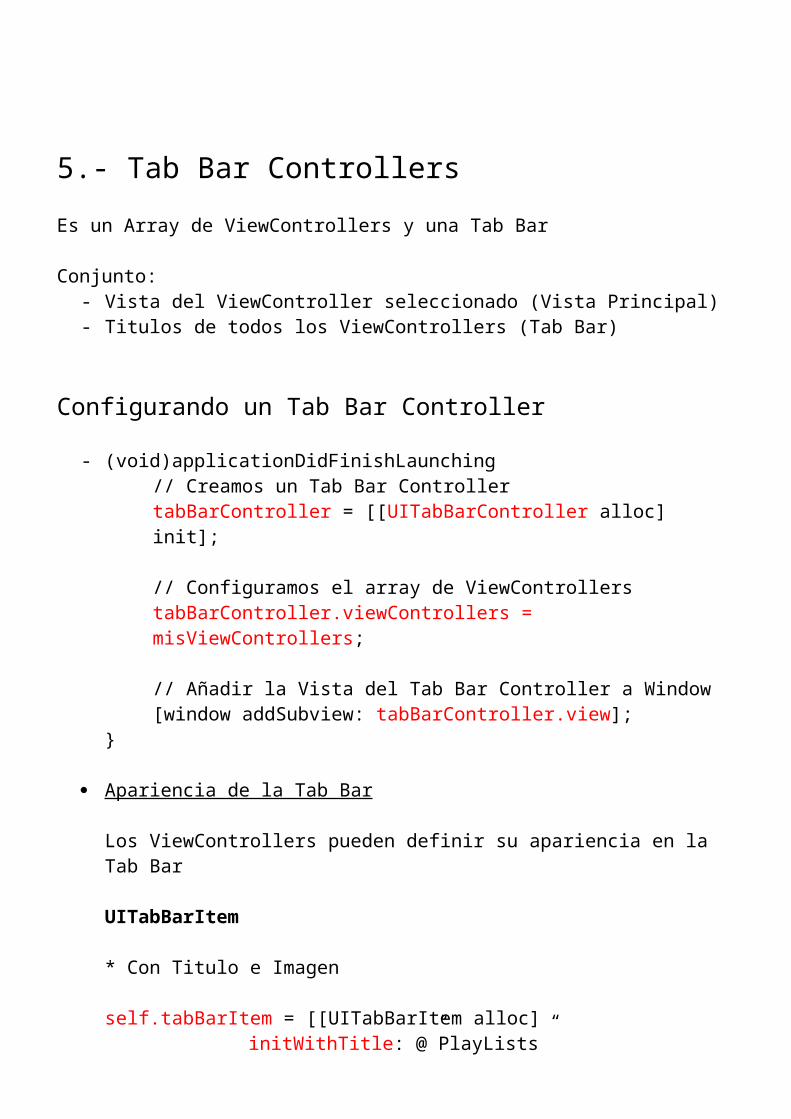
5.- Tab Bar Controllers
Es un Array de ViewControllers y una Tab Bar
Conjunto:- Vista del ViewController seleccionado (Vista Principal)- Titulos de todos los ViewControllers (Tab Bar)
Configurando un Tab Bar Controller
- (void)applicationDidFinishLaunching// Creamos un Tab Bar ControllertabBarController = [[UITabBarController alloc] init];
// Configuramos el array de ViewControllerstabBarController.viewControllers = misViewControllers;
// Añadir la Vista del Tab Bar Controller a Window[window addSubview: tabBarController.view];
}
Apariencia de la Tab Bar
Los ViewControllers pueden definir su apariencia en la Tab Bar
UITabBarItem

* Con Titulo e Imagen
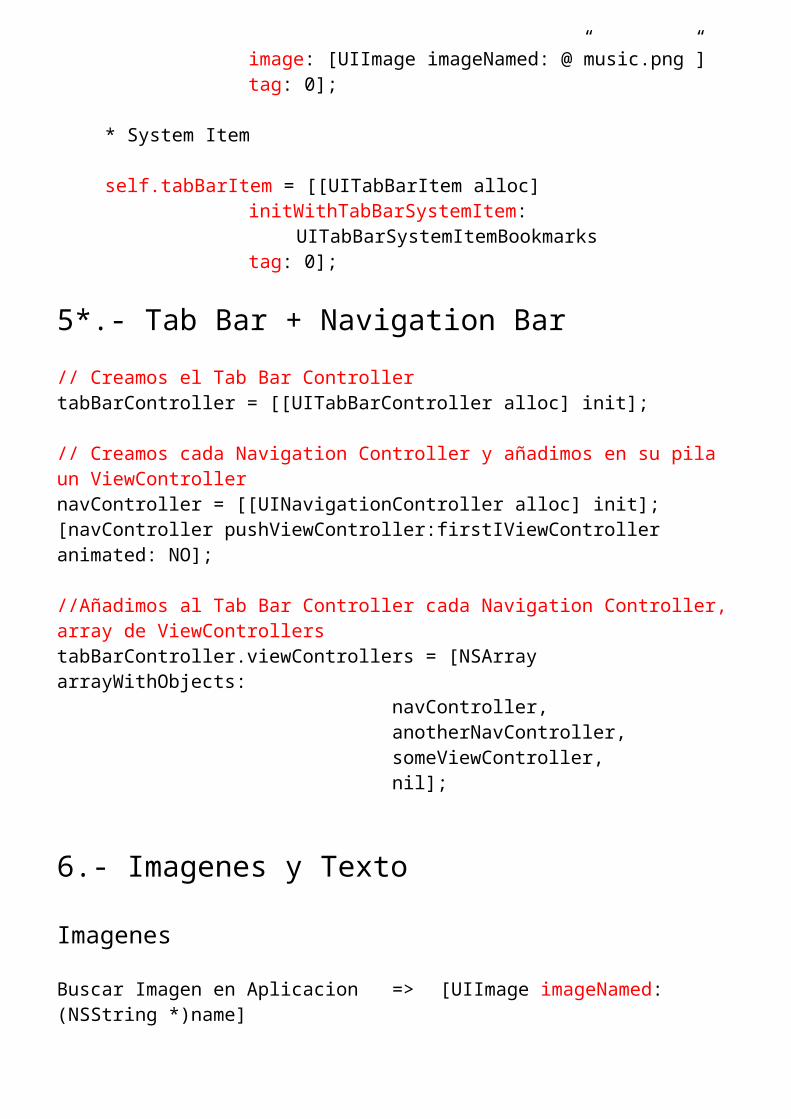
self.tabBarItem = [[UITabBarItem alloc]initWithTitle: @”PlayLists”image: [UIImage imageNamed: @”music.png”]tag: 0];
* System Item
self.tabBarItem = [[UITabBarItem alloc]initWithTabBarSystemItem:
UITabBarSystemItemBookmarkstag: 0];
5*.- Tab Bar + Navigation Bar
// Creamos el Tab Bar ControllertabBarController = [[UITabBarController alloc] init];
// Creamos cada Navigation Controller y añadimos en su pila un ViewControllernavController = [[UINavigationController alloc] init];[navController pushViewController:firstIViewController animated: NO];
//Añadimos al Tab Bar Controller cada Navigation Controller, array de ViewControllerstabBarController.viewControllers = [NSArray arrayWithObjects:
navController,anotherNavController,someViewController,nil];
6.- Imagenes y Texto
Imagenes
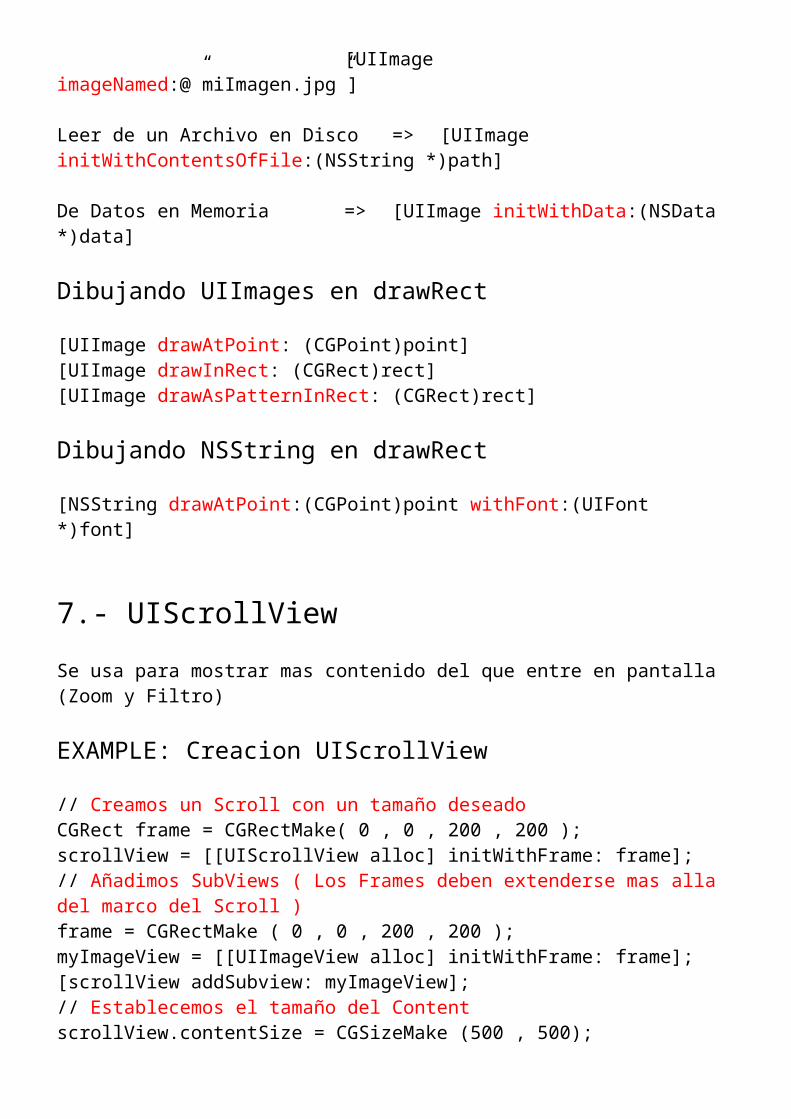
Buscar Imagen en Aplicacion => [UIImage imageNamed:(NSString *)name]
[UIImage imageNamed:@”miImagen.jpg”]
Leer de un Archivo en Disco => [UIImage initWithContentsOfFile:(NSString *)path]
De Datos en Memoria => [UIImage initWithData:(NSData *)data]
Dibujando UIImages en drawRect
[UIImage drawAtPoint: (CGPoint)point][UIImage drawInRect: (CGRect)rect][UIImage drawAsPatternInRect: (CGRect)rect]
Dibujando NSString en drawRect
[NSString drawAtPoint:(CGPoint)point withFont:(UIFont *)font]
7.- UIScrollView
Se usa para mostrar mas contenido del que entre en pantalla (Zoom y Filtro)
EXAMPLE: Creacion UIScrollView
// Creamos un Scroll con un tamaño deseadoCGRect frame = CGRectMake( 0 , 0 , 200 , 200 );scrollView = [[UIScrollView alloc] initWithFrame: frame];// Añadimos SubViews ( Los Frames deben extenderse mas alla del marco del Scroll )frame = CGRectMake ( 0 , 0 , 200 , 200 );myImageView = [[UIImageView alloc] initWithFrame: frame];[scrollView addSubview: myImageView];// Establecemos el tamaño del ContentscrollView.contentSize = CGSizeMake (500 , 500);
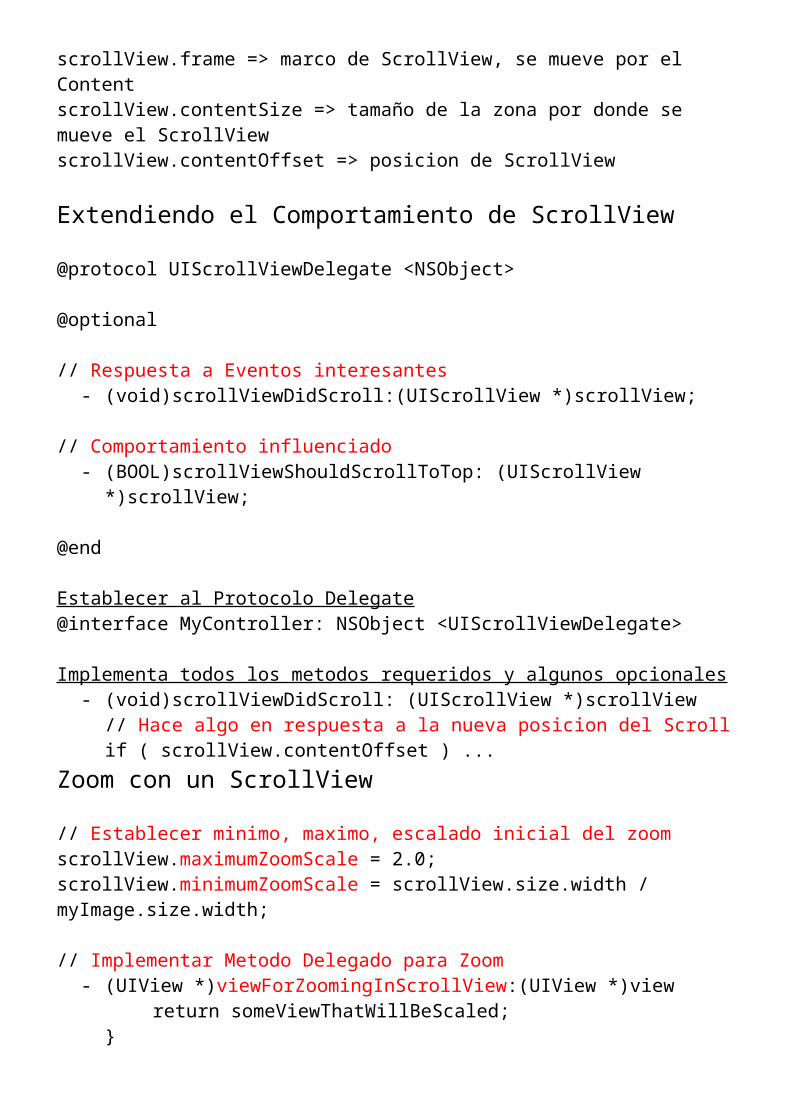
scrollView.frame => marco de ScrollView, se mueve por el ContentscrollView.contentSize => tamaño de la zona por donde se mueve el ScrollViewscrollView.contentOffset => posicion de ScrollView
Extendiendo el Comportamiento de ScrollView
@protocol UIScrollViewDelegate <NSObject>
@optional
// Respuesta a Eventos interesantes- (void)scrollViewDidScroll:(UIScrollView *)scrollView;
// Comportamiento influenciado- (BOOL)scrollViewShouldScrollToTop: (UIScrollView *)scrollView;
@end
Establecer al Protocolo Delegate@interface MyController: NSObject <UIScrollViewDelegate>
Implementa todos los metodos requeridos y algunos opcionales- (void)scrollViewDidScroll: (UIScrollView *)scrollView
// Hace algo en respuesta a la nueva posicion del Scrollif ( scrollView.contentOffset ) ...
Zoom con un ScrollView
// Establecer minimo, maximo, escalado inicial del zoomscrollView.maximumZoomScale = 2.0;scrollView.minimumZoomScale = scrollView.size.width / myImage.size.width;
// Implementar Metodo Delegado para Zoom- (UIView *)viewForZoomingInScrollView:(UIView *)view
return someViewThatWillBeScaled;}
8.- TableViews
2 Estilos => UITableViewStylePlain y UITableViewStyleGroupedAnatomia => Table Header – Section Header
Section – Table Cell Section Footer – Table Footer
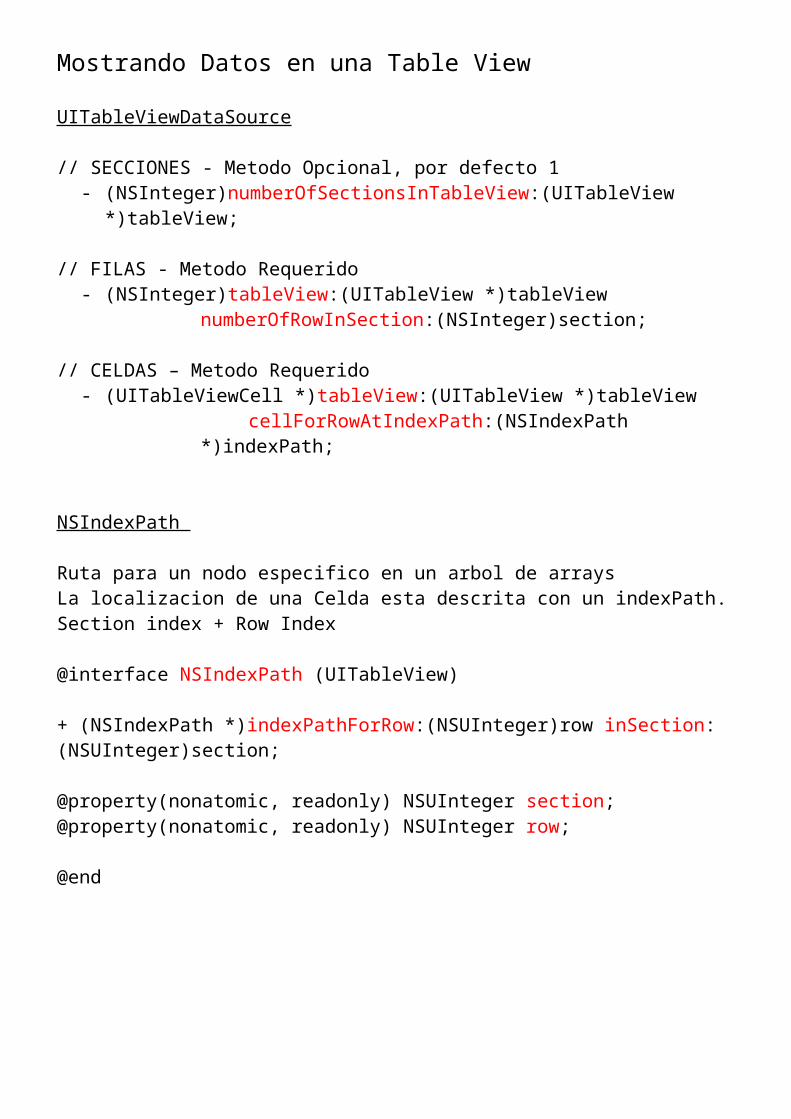
Mostrando Datos en una Table View
UITableViewDataSource
// SECCIONES - Metodo Opcional, por defecto 1- (NSInteger)numberOfSectionsInTableView:(UITableView
*)tableView;
// FILAS - Metodo Requerido- (NSInteger)tableView:(UITableView *)tableView
numberOfRowInSection:(NSInteger)section;
// CELDAS – Metodo Requerido- (UITableViewCell *)tableView:(UITableView *)tableView
cellForRowAtIndexPath:(NSIndexPath *)indexPath;
NSIndexPath
Ruta para un nodo especifico en un arbol de arraysLa localizacion de una Celda esta descrita con un indexPath. Section index + Row Index
@interface NSIndexPath (UITableView)
+ (NSIndexPath *)indexPathForRow:(NSUInteger)row inSection:(NSUInteger)section;
@property(nonatomic, readonly) NSUInteger section;@property(nonatomic, readonly) NSUInteger row;
@end
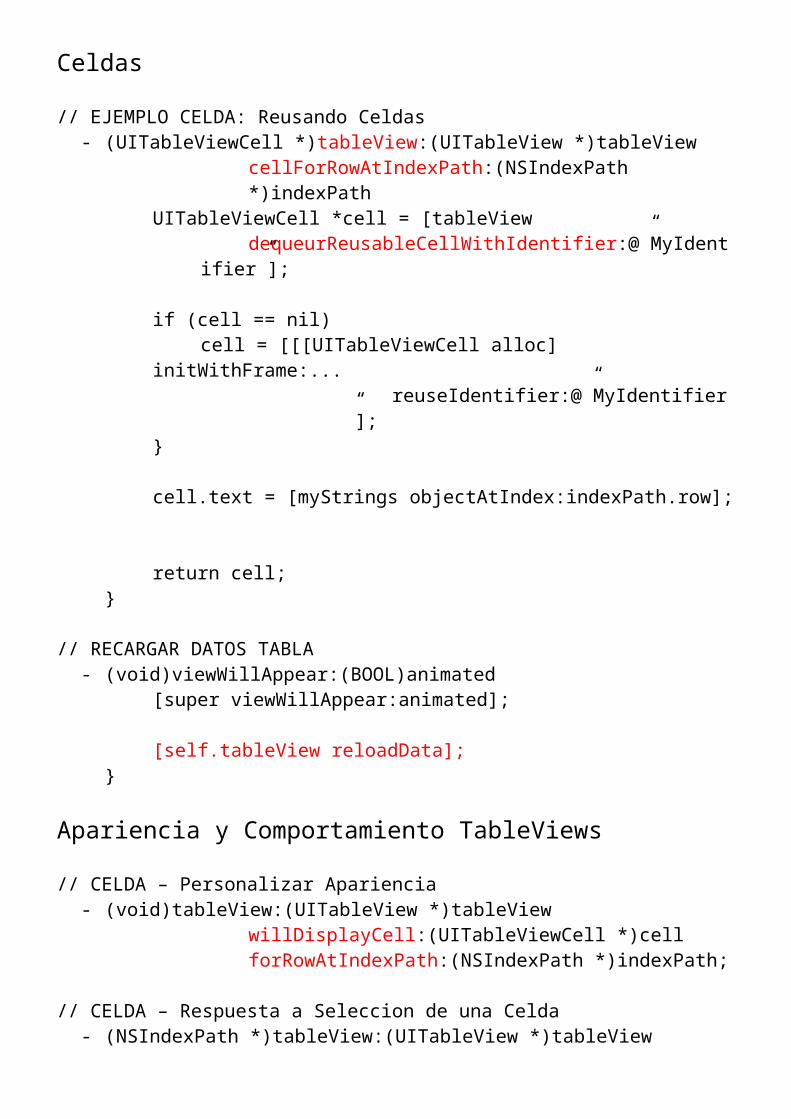
Celdas
// EJEMPLO CELDA: Reusando Celdas- (UITableViewCell *)tableView:(UITableView *)tableView
cellForRowAtIndexPath:(NSIndexPath *)indexPathUITableViewCell *cell = [tableView
dequeurReusableCellWithIdentifier:@”MyIdentifier”];
if (cell == nil)cell = [[[UITableViewCell alloc] initWithFrame:...
reuseIdentifier:@”MyIdentifier”];}
cell.text = [myStrings objectAtIndex:indexPath.row];
return cell;}
// RECARGAR DATOS TABLA- (void)viewWillAppear:(BOOL)animated
[super viewWillAppear:animated];
[self.tableView reloadData];}
Apariencia y Comportamiento TableViews
// CELDA – Personalizar Apariencia- (void)tableView:(UITableView *)tableView
willDisplayCell:(UITableViewCell *)cellforRowAtIndexPath:(NSIndexPath *)indexPath;
// CELDA – Respuesta a Seleccion de una Celda- (NSIndexPath *)tableView:(UITableView *)tableView
willSelectRowAtIndexPath:(NSIndexPath *)indexPath;
- (void)tableView:(UITableView *)tableViewdidSelectRowAtIndexPath:(NSIndexPath *)indexPath;
EJEMPLO: Navegacion y TableViews
- (void)tableView:(UITableView *)tableViewdidSelectRowAtIndexPath:(NSIndexPath *)indexPath
// Tomamos la Fila y el Objeto que la RepresentaNSUInteger row = indexPath.row;id objectToDisplay = [myObjects objectAtIndex:row];
// Crear un nuevo ViewController y pasarloMyViewController *myViewController = ... ;myViewController.object = objectToDisplay;
[self.navigationController pushViewController:myViewController
animated:YES];}
// DESACTIVAR O ALTERAR SELECCION- (NSIndexPath *)tableView:(UITableView *)tableView
willSelectRowAtIndexPath:(NSIndexPath *)indexPath
// No permitir la seleccion en ciertas filasif (indexPath.row == ...)
return nil;} else
return indexPath;}
}
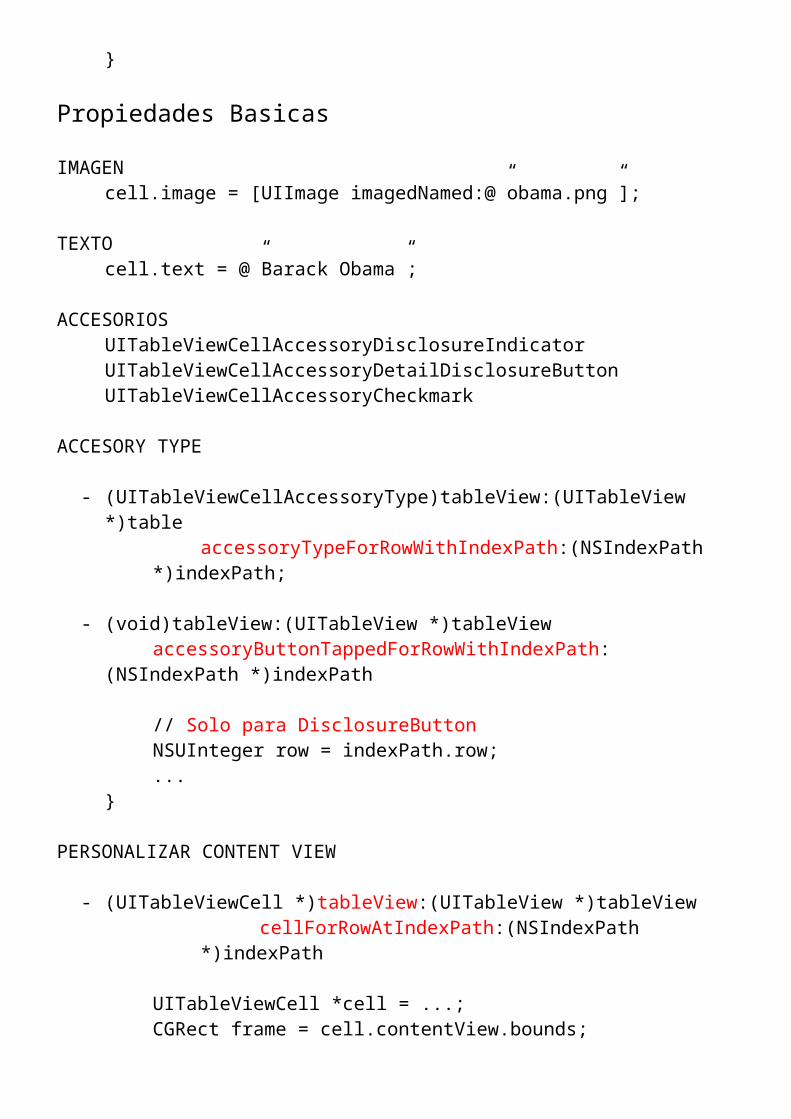
Propiedades Basicas
IMAGENcell.image = [UIImage imagedNamed:@”obama.png”];
TEXTOcell.text = @”Barack Obama”;
ACCESORIOS
UITableViewCellAccessoryDisclosureIndicatorUITableViewCellAccessoryDetailDisclosureButtonUITableViewCellAccessoryCheckmark
ACCESORY TYPE
- (UITableViewCellAccessoryType)tableView:(UITableView *)tableaccessoryTypeForRowWithIndexPath:(NSIndexPath
*)indexPath;
- (void)tableView:(UITableView *)tableViewaccessoryButtonTappedForRowWithIndexPath:(NSIndexPath
*)indexPath
// Solo para DisclosureButtonNSUInteger row = indexPath.row;...
}
PERSONALIZAR CONTENT VIEW
- (UITableViewCell *)tableView:(UITableView *)tableView cellForRowAtIndexPath:(NSIndexPath *)indexPath
UITableViewCell *cell = ...;CGRect frame = cell.contentView.bounds;
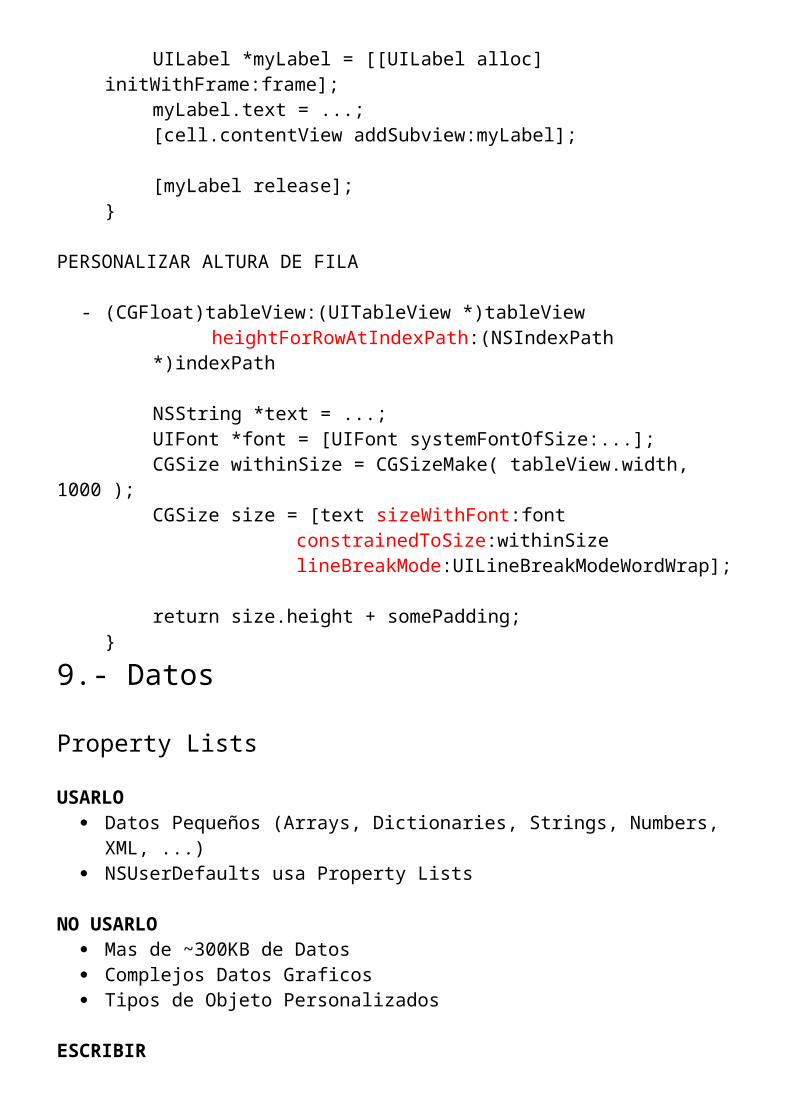
UILabel *myLabel = [[UILabel alloc] initWithFrame:frame];myLabel.text = ...;[cell.contentView addSubview:myLabel];
[myLabel release];}
PERSONALIZAR ALTURA DE FILA
- (CGFloat)tableView:(UITableView *)tableView heightForRowAtIndexPath:(NSIndexPath *)indexPath
NSString *text = ...;UIFont *font = [UIFont systemFontOfSize:...];CGSize withinSize = CGSizeMake( tableView.width, 1000 );CGSize size = [text sizeWithFont:font
constrainedToSize:withinSizelineBreakMode:UILineBreakModeWordWrap];
return size.height + somePadding;
}
9.- Datos
Property Lists
USARLO Datos Pequeños (Arrays, Dictionaries, Strings, Numbers, XML, ...) NSUserDefaults usa Property Lists
NO USARLO Mas de ~300KB de Datos Complejos Datos Graficos Tipos de Objeto Personalizados
ESCRIBIR- (BOOL)writeToFile:(NSString *)aPath atomically:(BOOL)flag;- (BOOL)writeToURL:(NSURL *)aURL aomically:(BOOL)flag;
LEER- (id)initWithContentsOfFile:(NSString *)aPath;- (id)initWithContentsOfURL:(NSURL *)aURL;
EJEMPLO: Escribir un Array en Disco
NSArray *array = [NSArray arrayWithObjects:@”Foo”,[NSNumber numberWithBool:YES],[NSDate dateWithTimeIntervalSinceNow:60],nil];
[array writeToFile:@”MyArray.plist” atomically:YES];
NSPropertyListSerialization
// Property List a NSData+ (NSData *)dataFromPropertyList: (id)plist
format: (NSPropertyListFormat)formaterrorDescription: (NSString **)errorString;
// NSData a Property List+ (id)propertyListFromData: (NSData *)data
mutabilityOption: (NSPropertyListMutabilityOptions)optformat: (NSPropertyListFormat *)formaterrorDescription: (NSString **)errorString;
Sistema de Archivos del iPhone
Disposicion de Directorio Home
<Application Home> MyApp.app
o MyAppo MainWindow.nibo SomeImage.png
Documents Library
o Cacheso Preferences
Rutas de Archivo en Aplicacion
// Directorios BasicosNSString *homePath = NSHomeDirectory();NSString *tmpPath = NSTemporaryDirectory();
// Directorio de DocumentosNSArray *paths = NSSearchPathForDirectoriesInDomains(NSDocumentDirectory,
NSUserDomainMask, YES);
NSString *documentsPath = [paths objectAtIndex:0];
// <Application Home>/Documents/foo.plistNSString *fooPath =
[documentsPath stringByAppendingPathComponent:@”foo.plist”];
Incluir Archivos con Aplicacion
Tenemos que construir el archivo como parte del conjunto de nuestra AppEn la Primera Ejecucion, copia el archivo al Directorio de Documentos
Archivando Objetos
Haciendo Objetos Archivables

//Codificar un Objeto para un Archivo- (void)encondeWithCoder: (NSCoder *)coder
[super encodeWithCoder:coder];[coder encodeObject:name forKey:@”Name”];[coder encodeInteger:numberOfSides forKey:@”Sides”];
}
//Decodificar un Objeto de un Archivo- (id)initWithCoder:(NSCoder *)coder
self = [super initWithCoder:coder];name = [[coder decodeObjectForKey:@”Name”] retain];numberOfSides = [coder decodeIntegerForKey:@”Side”];
}
Archivando y Desarchivando Objetos Graficos
//Creando un ArchivoNSArray *polygons = ...;NSString *path = ...;BOOL result = [NSKeyedArchiver archiveRootObject:polygons toFile:path];
//Decodificando un ArchivoNSArray *polygons = nil;NSString *path = ...;polygons = [NSKeyedUnarchiver unarchiveObjectWithFile:path];
SQLite
Cuando NO usar SQLite
BBDD de muchos Gigas
Alta Concurrencia (Multiples Escrituras)Aplicaciones Cliente-Servidor
SQLite APIs C Basicas
// Abrir BBDDint sqlite3_open(const char *filename, sqlite3 **db);
// Ejecutar una Declaracion SQLinst sqlite3_exec(sqlite3 *db, const char sql,
int(*callback)(void*,int,char**,char**),void *context, char **error);
int callback(void *context, int count, char **values, char **columns);
// Cerrar BBDDint sqlite3_close(sqlite3 *db);
XML
Opciones para Parsear XML
- libxml2o Tree-based : Facil de Parsear, arbol entero en memoriao Event-driven : Menos memoria, mas complejo para
administrar estadoo Text reader : Rapido, facil de escribir y eficiente
- NSXMLParsero Event-driven API : Mas simple pero menos poderoso que
libxml2
JSON
Javascript Object Notation
Mas ligero que XMLMuy parecido a las Property List – Arrays, Diccionaries, strings, numbers...
Usando JSON-framework
- Leyendo un JSON String
#import <JSON/JSON.h>
NSString *jsonString = ...; // Cogemos un JSON String de la Nube
id object = [jsonString JSONValue]; // Parseamos resultando un Objeto Foundation
// Debe ser un NSArray o un NSDictionary
- Escribiendo un JSON String
NSDictionary *diccionario = ...; // Crear algun dato en nuestra aplicacion
// Convertir en un JSON String antes de enviar a la nubejsonString = [diccionario JSONRepresentation];
App Data Flow
Buenas Practicas para Data Flow