Embed Size (px)
Citation preview
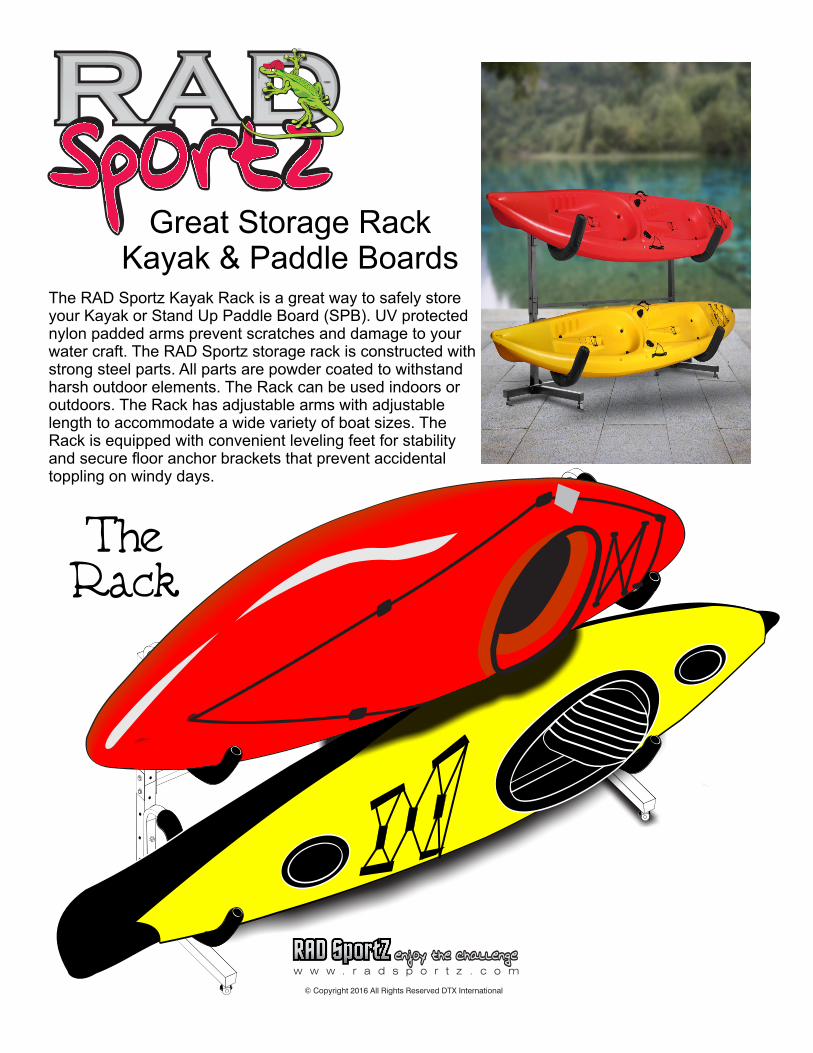
Great Storage RackKayak & Paddle Boards
2016
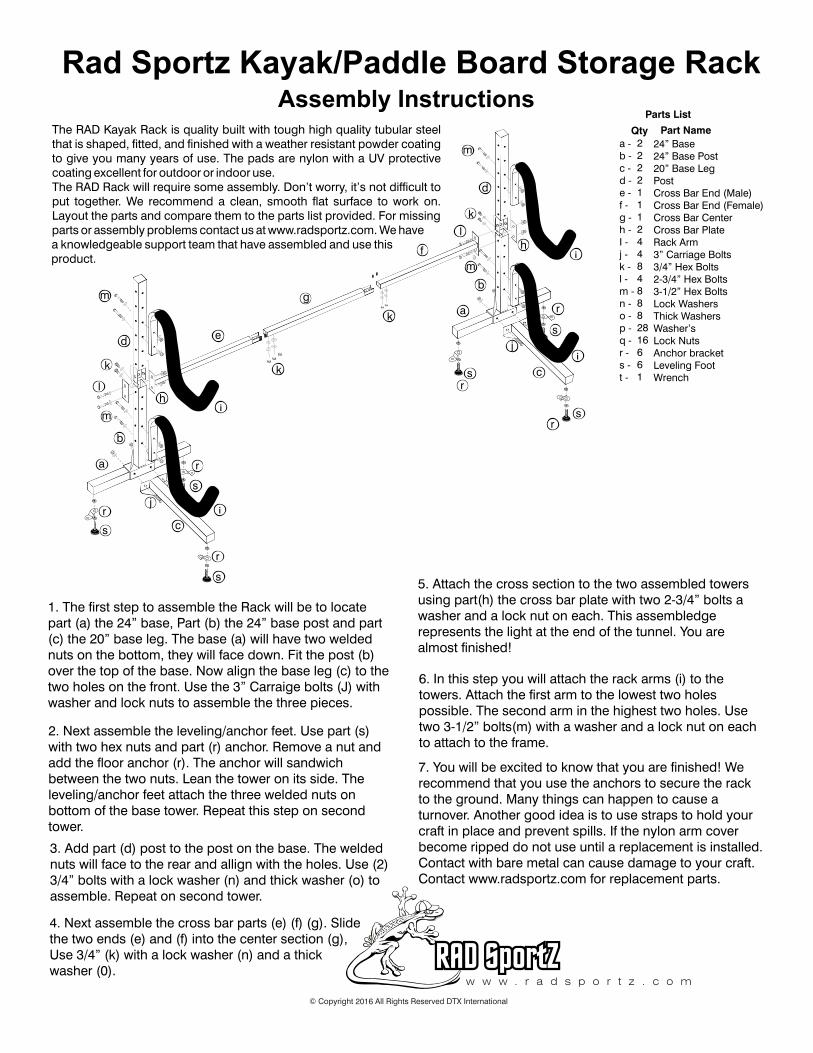
Parts List
Qty Part Name
1. The first step to assemble the Rack will be to locate part (a) the 24” base, Part (b) the 24” base post and part (c) the 20” base leg. The base (a) will have two welded nuts on the bottom, they will face down. Fit the post (b) over the top of the base. Now align the base leg (c) to the two holes on the front. Use the 3” Carraige bolts (J) with washer and lock nuts to assemble the three pieces.
24” Base24” Base Post20” Base LegPostCross Bar End (Male)Cross Bar End (Female)Cross Bar CenterCross Bar PlateRack Arm3” Carriage Bolts3/4” Hex Bolts2-3/4” Hex Bolts3-1/2” Hex BoltsLock WashersThick WashersWasher’sLock NutsAnchor bracketLeveling FootWrench
2222111244848882816661
a -b -c -d -e -f -g -h -I -j -k -l -m -n -o -p -q -r -s -t -
2. Next assemble the leveling/anchor feet. Use part (s) with two hex nuts and part (r) anchor. Remove a nut and add the floor anchor (r). The anchor will sandwich between the two nuts. Lean the tower on its side. The leveling/anchor feet attach the three welded nuts on bottom of the base tower. Repeat this step on second tower.
3. Add part (d) post to the post on the base. The welded nuts will face to the rear and allign with the holes. Use (2) 3/4” bolts with a lock washer (n) and thick washer (o) to assemble. Repeat on second tower.
4. Next assemble the cross bar parts (e) (f) (g). Slide the two ends (e) and (f) into the center section (g), Use 3/4” (k) with a lock washer (n) and a thick washer (0).
5. Attach the cross section to the two assembled towers using part(h) the cross bar plate with two 2-3/4” bolts a washer and a lock nut on each. This assembledge represents the light at the end of the tunnel. You are almost finished!
6. In this step you will attach the rack arms (i) to the towers. Attach the first arm to the lowest two holes possible. The second arm in the highest two holes. Use two 3-1/2” bolts(m) with a washer and a lock nut on each to attach to the frame.
7. You will be excited to know that you are finished! We recommend that you use the anchors to secure the rack to the ground. Many things can happen to cause a turnover. Another good idea is to use straps to hold your craft in place and prevent spills. If the nylon arm cover become ripped do not use until a replacement is installed. Contact with bare metal can cause damage to your craft. Contact www.radsportz.com for replacement parts.
Rad Sportz Kayak/Paddle Board Storage Rack Assembly Instructions
2016