Embed Size (px)
Citation preview
Graphical User Interface (GUI) Programming I
Lecture Objectives
• Understand the basic concepts of Graphical User Interfaces (GUIs)
• Practice Basic GUI Programming in Java
• Develop Basic GUI Applications
• Study Layout Management and Managers for GUI Applications
OutlineGraphical User Interfaces (GUIs)
-- Overview-- Essential elements
Containers-- Overview-- Examples
Components-- Overview-- Examples
Layout Managers-- Overview-- Examples

Graphical User Interface (GUI)• A Graphical User Interface (GUI) is one variety of user interface. • User interacts with objects on the screen (icons, buttons, scroll-bars, etc.) via mouse clicks or keyboard actions.
EnterFile Edit
Open
Save
Save As...
Quit
Downloading libcrypt ...
40%
CancelCancel
Ok
GUI Popularity
• Popularized in 1980s by the Macintosh.
• Now state of the practice, and not final word in UI
• Intended to replace text-based "command line" and "function key" interfaces.
• Despite similarities, GUIs are typically platform-specific (Windows 95/98/NT/1900, MacOS, X Windows look-and-feel standards).
• Some graphical toolkits now provide cross-platform APIs. E.g. wxWindows, GTK+, Java.
1.1.1.1.
2.2.2.2.
Java’s GUI CapabilitiesJava provides essentially two related toolkits for making GUIs:
The Abstract Windowing Toolkit ("AWT"), and
The Java Foundation Classes ("Swing")
Swing is merely an expanded version of the AWT,and provides greater control and convenience.
Why Two Toolkits in Java?
AWT, thenJFCJFC or "Swing"
MFCMFC and always "BSoD"
Well, it’s a long story. In short, JFC (swing) is Sun’s answer to Microsoft’s MFC--a detailed toolkit library.
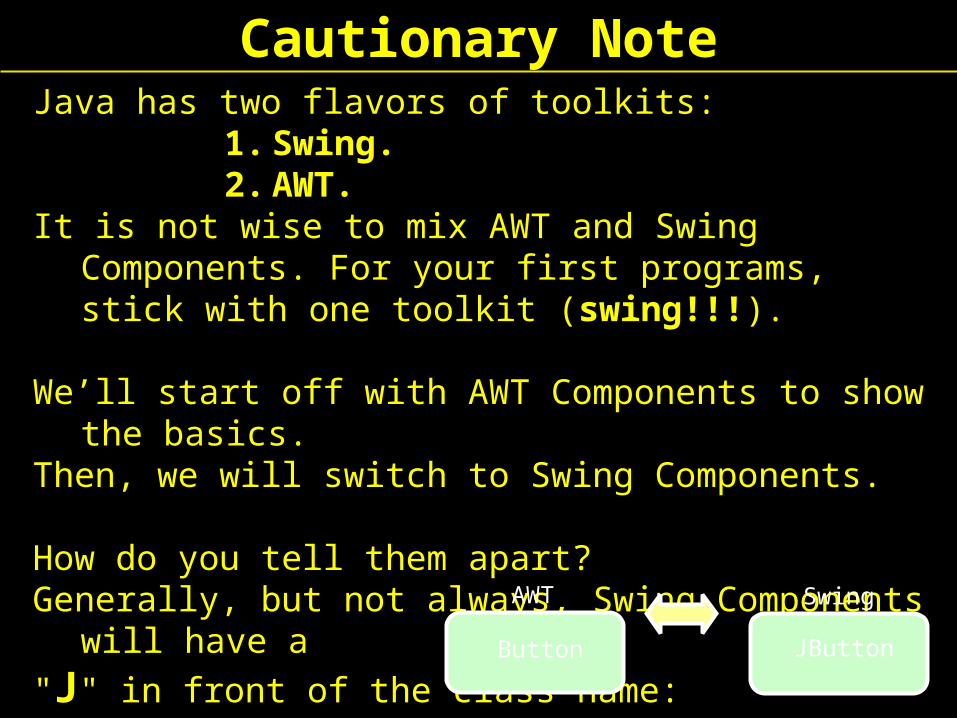
Cautionary NoteJava has two flavors of toolkits:
1. Swing.2. AWT.
It is not wise to mix AWT and Swing Components. For your first programs, stick with one toolkit (swing!!!).
We’ll start off with AWT Components to show the basics.Then, we will switch to Swing Components.
How do you tell them apart? Generally, but not always, Swing Components will have a
"J" in front of the class name:
JButtonButton
AWT Swing
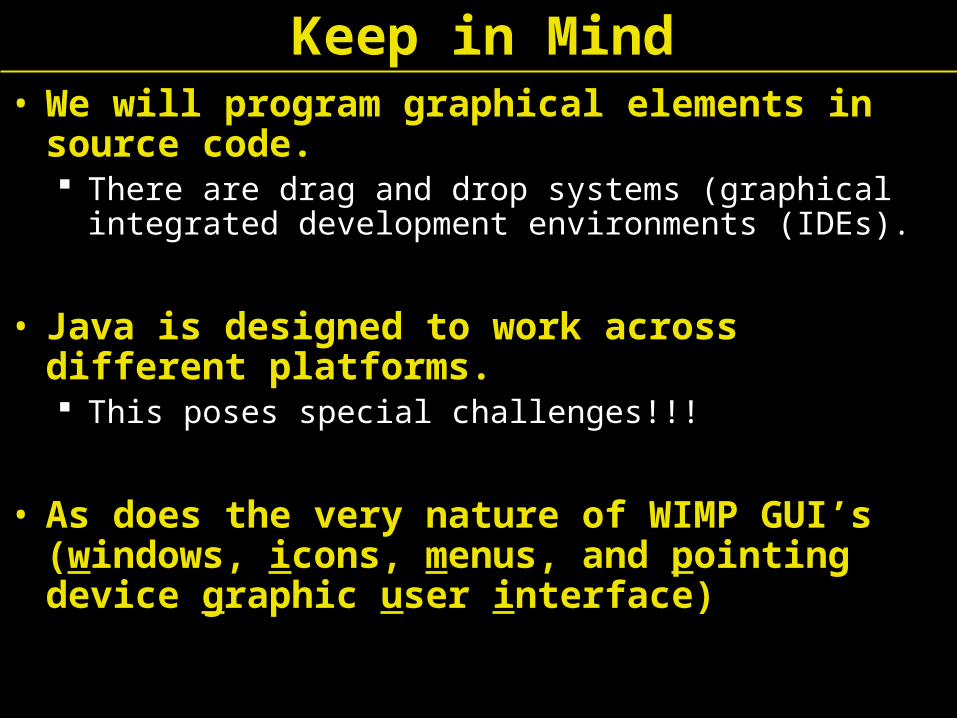
Keep in Mind• We will program graphical elements in source
code. There are drag and drop systems (graphical integrated
development environments (IDEs).
• Java is designed to work across different platforms. This poses special challenges!!!
• As does the very nature of WIMP GUI’s (windows, icons, menus, and pointing device graphic user interface)
Steps to GUI ConstructionSteps to GUI Construction
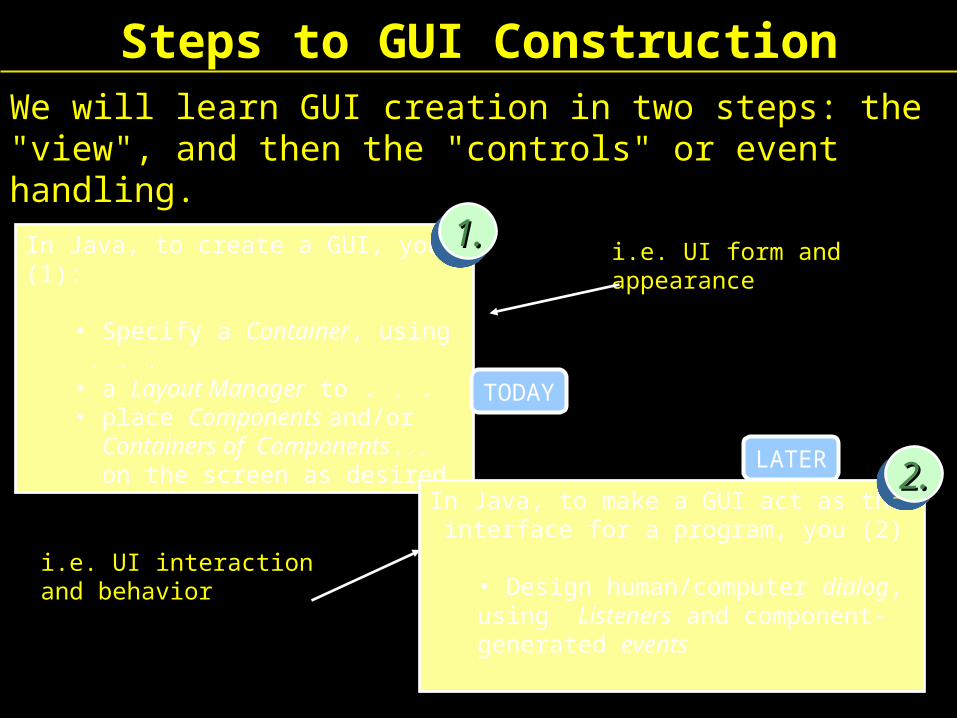
In Java, to create a GUI, you (1):
• Specify a Container, using . . .• a Layout Manager to . . . • place Components and/or Containers of Components . . . on the screen as desired.
In Java, to make a GUI act as the interface for a program, you (2)
• Design human/computer dialog, using Listeners and component-generated events
i.e. UI form andappearance
i.e. UI interactionand behavior
We will learn GUI creation in two steps: the "view", and then the "controls" or event handling.
1.1.1.1.
2.2.2.2.
TODAY
LATER
GUI Design & Creation
CLICK ME
File Edit Help
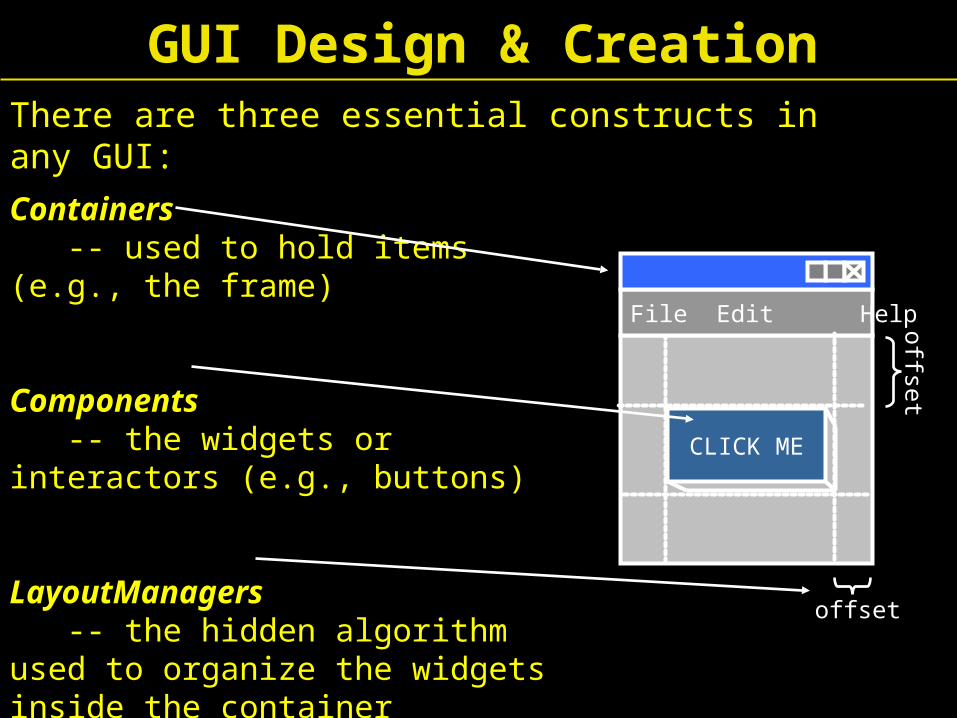
There are three essential constructs in any GUI:
ContainersContainers -- used to hold items (e.g., the frame)
ComponentsComponents -- the widgets or interactors (e.g., buttons)
LayoutManagersLayoutManagers -- the hidden algorithm used to organize the widgets inside the container
offset
offset

The three basic constructs used in every GUI are:
File Edit Help
CLICK ME
Containers1.1.1.1.
Components2.2.2.2.
LayoutManagers3.3.3.3.
offset
offsetGUI Basic Constructs
Containers
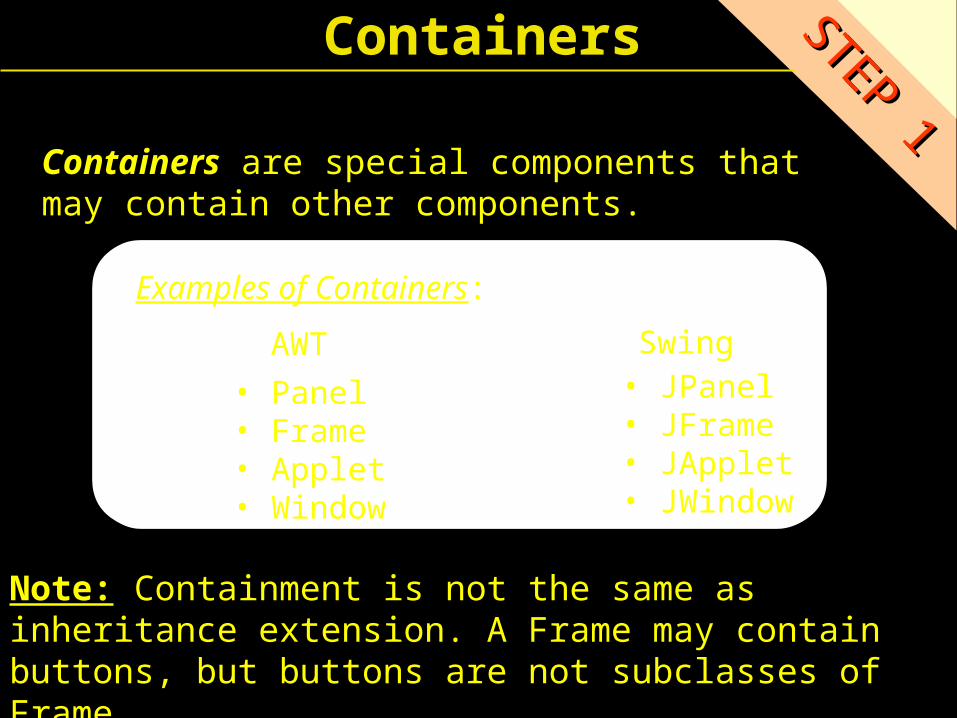
Containers are special components that may contain other components.
STEP 1
STEP 1
Note: Containment is not the same as inheritance extension. A Frame may contain buttons, but buttons are not subclasses of Frame.
• Panel• Frame• Applet• Window
• JPanel• JFrame• JApplet• JWindow
AWT Swing
Examples of Containers:
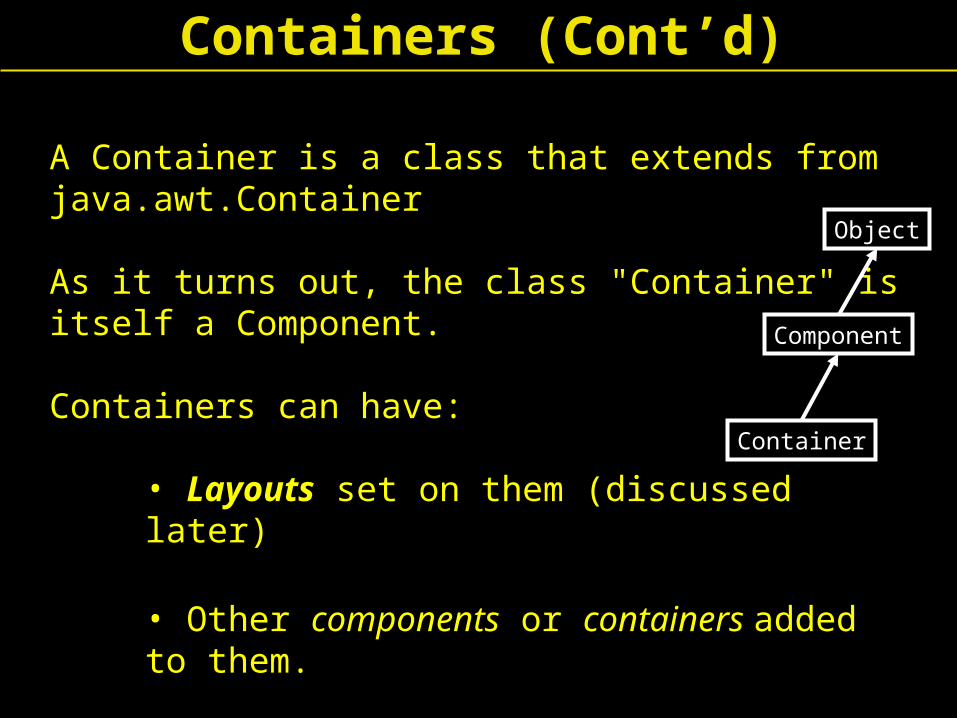
A Container is a class that extends from java.awt.Container
As it turns out, the class "Container" is itself a Component.
Containers can have:
• Layouts set on them (discussed later)
• Other components or containers added to them.
Object
Component
Container
Containers (Cont’d)
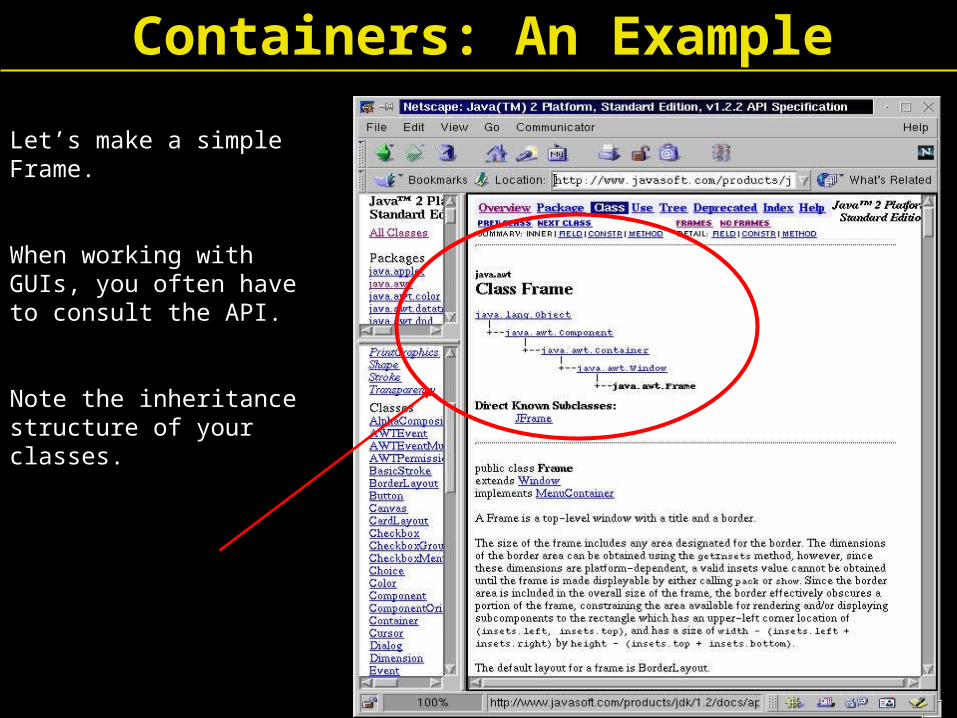
Let’s make a simple Frame.
When working withGUIs, you often have to consult the API.
Note the inheritance structure of your classes.
Containers: An Example
So far, we’ve used the API to learn how to make a Frame.
We found constructors for:
public Frame ();
public Frame (String strTitle);
Now, how can we set the size of the Frame?
We again return to the API.
Containers: An Example (Cont’d)
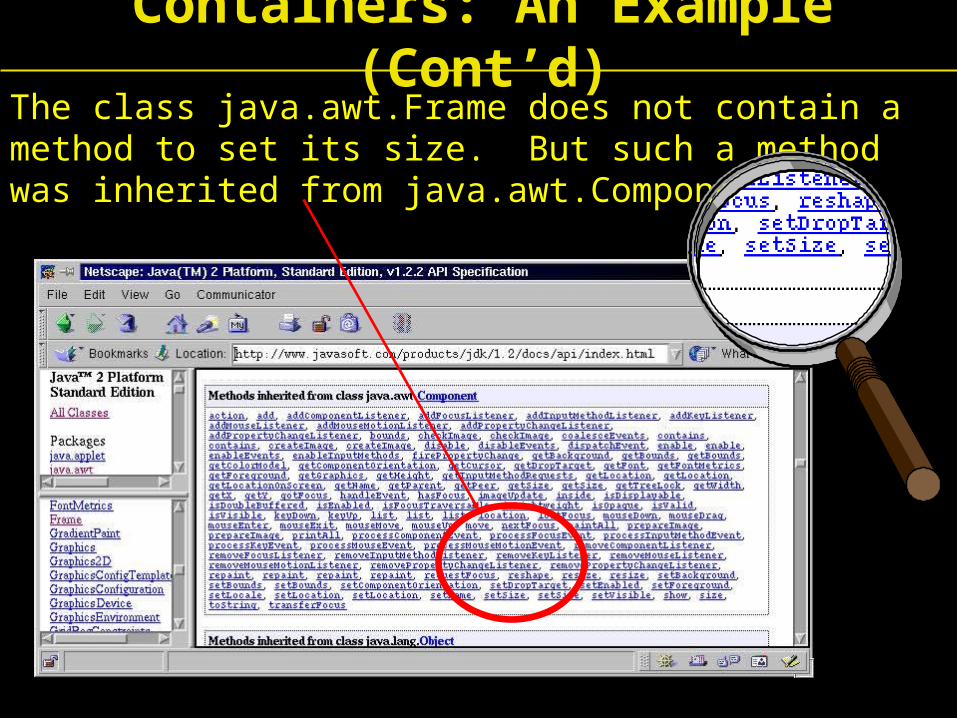
The class java.awt.Frame does not contain a method to set its size. But such a method was inherited from java.awt.Component:
Containers: An Example (Cont’d)
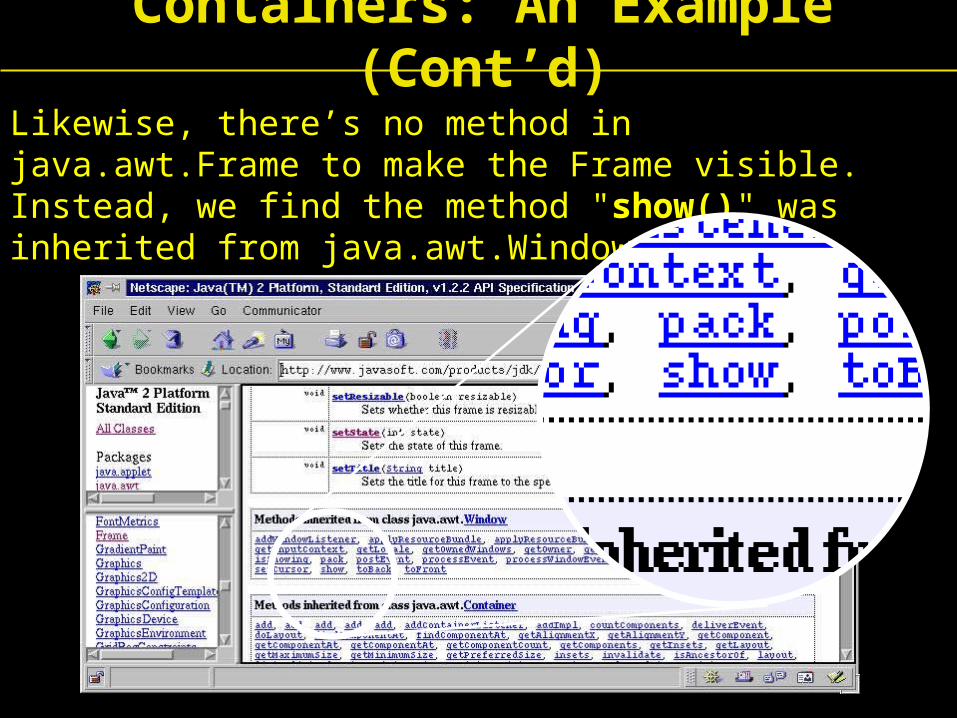
Likewise, there’s no method in java.awt.Frame to make the Frame visible. Instead, we find the method "show()" was inherited from java.awt.Window
Containers: An Example (Cont’d)
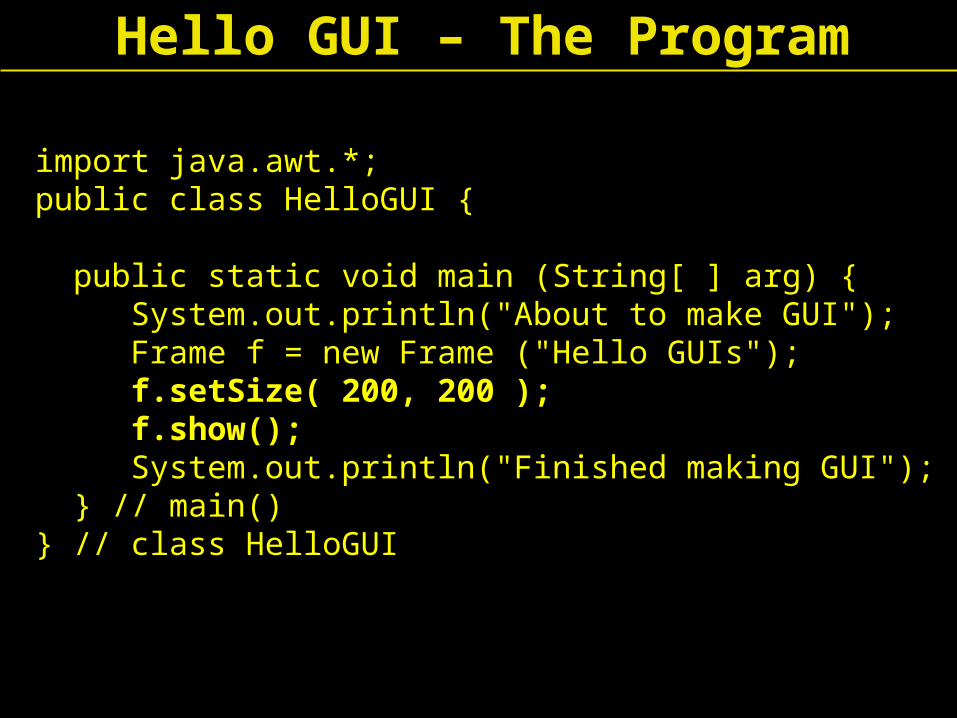
import java.awt.*;public class HelloGUI {
public static void main (String[ ] arg) { System.out.println("About to make GUI"); Frame f = new Frame ("Hello GUIs"); f.setSize( 200, 200 ); f.show(); System.out.println("Finished making GUI"); } // main()} // class HelloGUI
Hello GUI – The Program
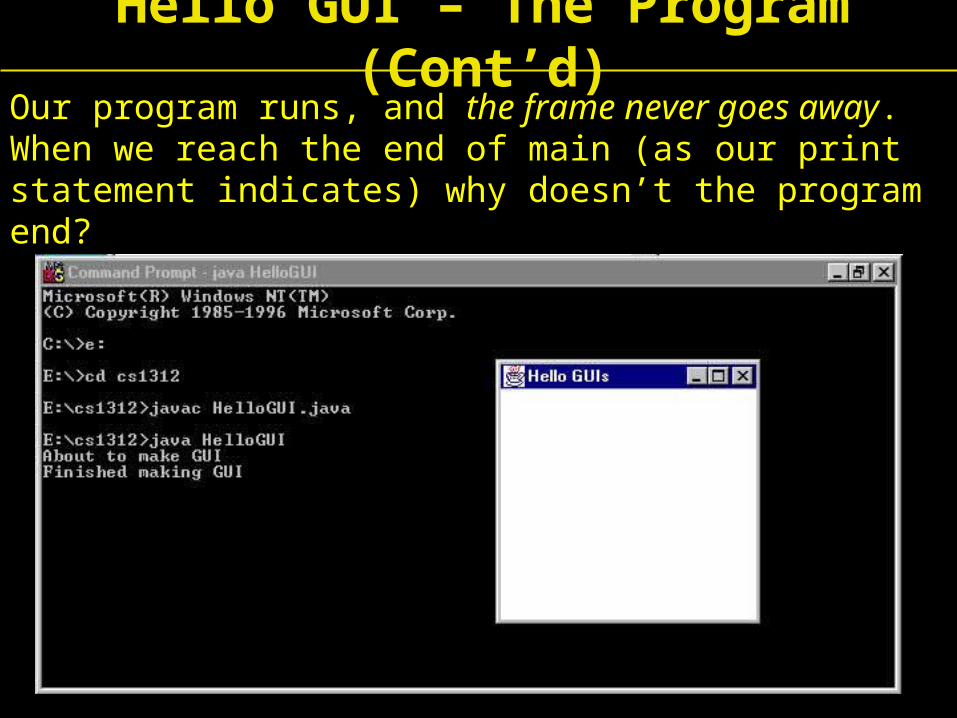
Our program runs, and the frame never goes away. When we reach the end of main (as our print statement indicates) why doesn’t the program end?
Hello GUI – The Program (Cont’d)
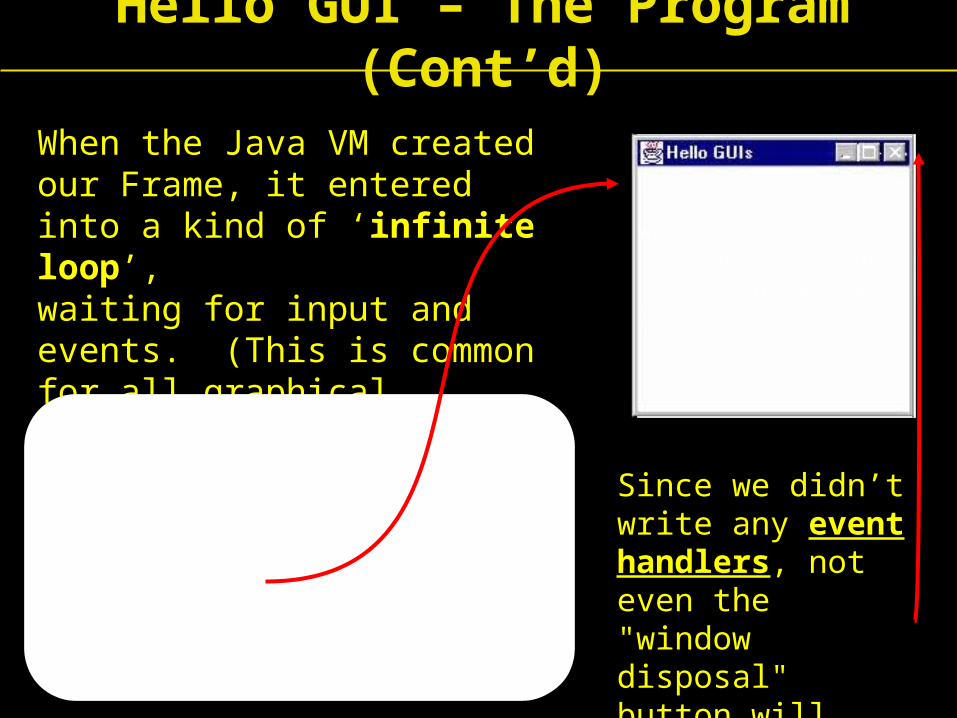
When the Java VM created our Frame, it entered into a kind of ‘infinite loop’, waiting for input and events. (This is commonfor all graphical toolkits.)
import java.awt.*;public class HelloGUI { public static void main (String[ ] arg) { System.out.println ("About to make GUI"); Frame f = new Frame ("Hello GUIs"); f.setSize( 200, 200 ); f.show(); System.out.println ("Finished making GUI"); }// main}// class HelloGUI
while(true){ //get user input // handle event}
Since we didn’t write any event handlers, not even the "window disposal" button will work.
Hello GUI – The Program (Cont’d)
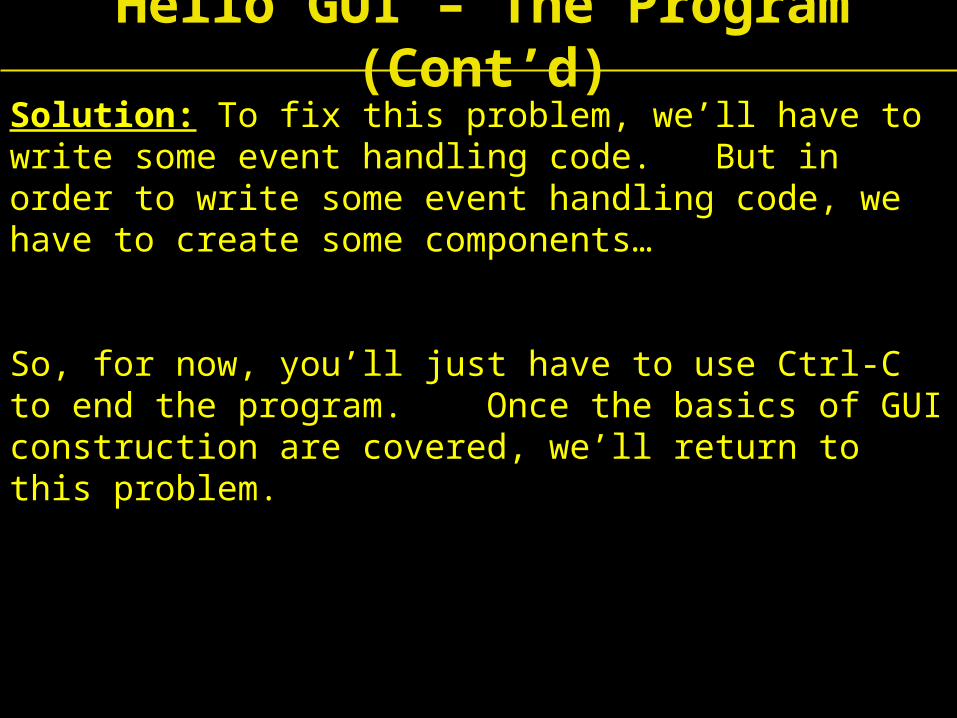
Solution: To fix this problem, we’ll have to write some event handling code. But in order to write some event handling code, we have to create some components…
So, for now, you’ll just have to use Ctrl-C to end the program. Once the basics of GUI construction are covered, we’ll return to this problem.
Hello GUI – The Program (Cont’d)
GUI Design Idea
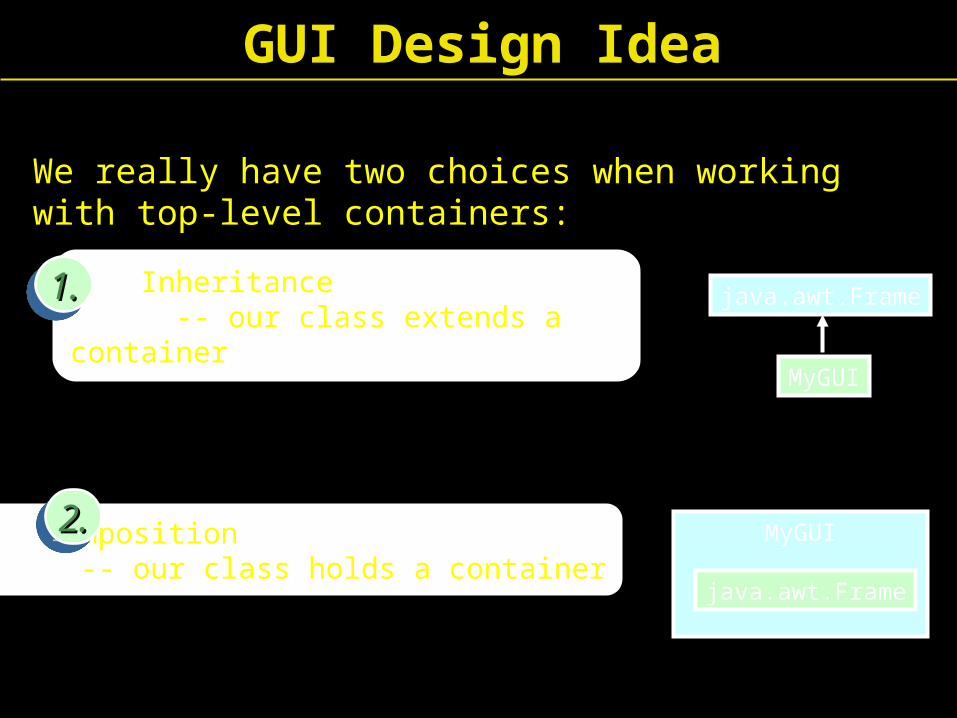
We really have two choices when working with top-level containers:
Inheritance -- our class extends a container
1.1.1.1.
Composition -- our class holds a container
2.2.2.2.
MyGUI
java.awt.Frame
MyGUI
java.awt.Frame
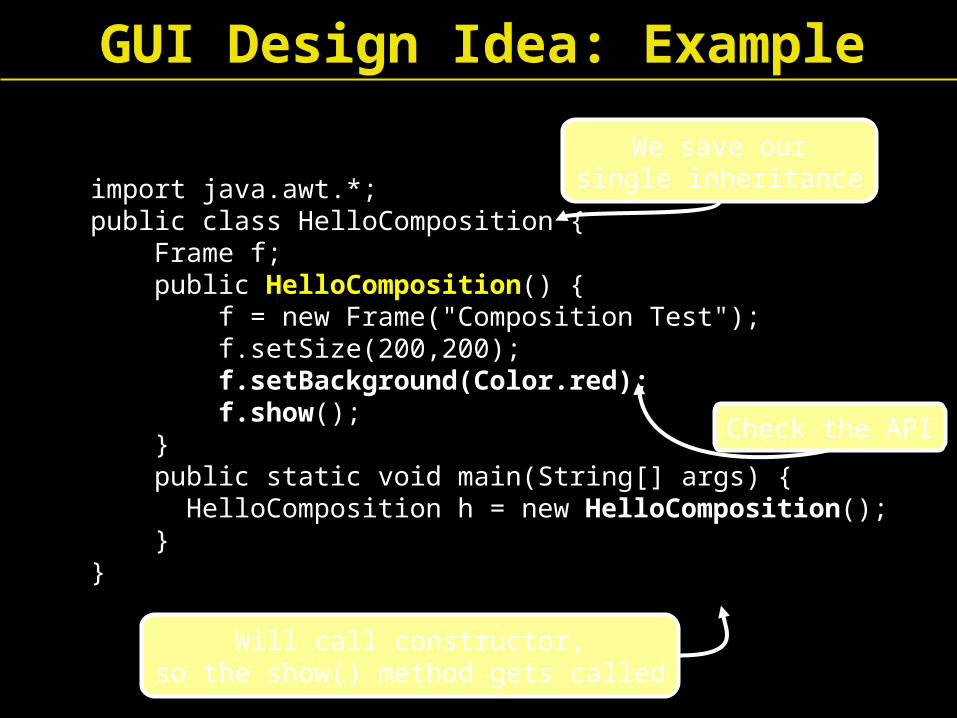
import java.awt.*;public class HelloComposition { Frame f; public HelloComposition() {
f = new Frame("Composition Test"); f.setSize(200,200); f.setBackground(Color.red); f.show(); } public static void main(String[] args) {
HelloComposition h = new HelloComposition(); }}
We save oursingle inheritance
Check the API
Will call constructor,so the show() method gets called
GUI Design Idea: Example
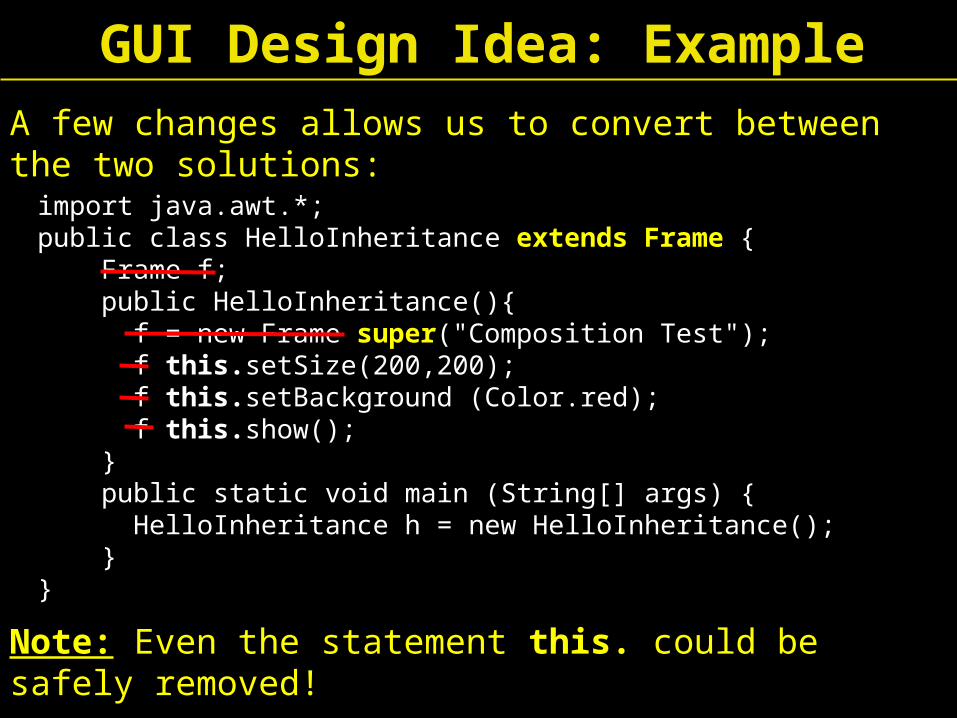
GUI Design Idea: ExampleA few changes allows us to convert between the two solutions:import java.awt.*;public class HelloInheritance extends Frame { Frame f; public HelloInheritance(){
f = new Frame super("Composition Test"); f this.setSize(200,200); f this.setBackground (Color.red); f this.show(); } public static void main (String[] args) {
HelloInheritance h = new HelloInheritance(); }}
Note: Even the statement this. could be safely removed!
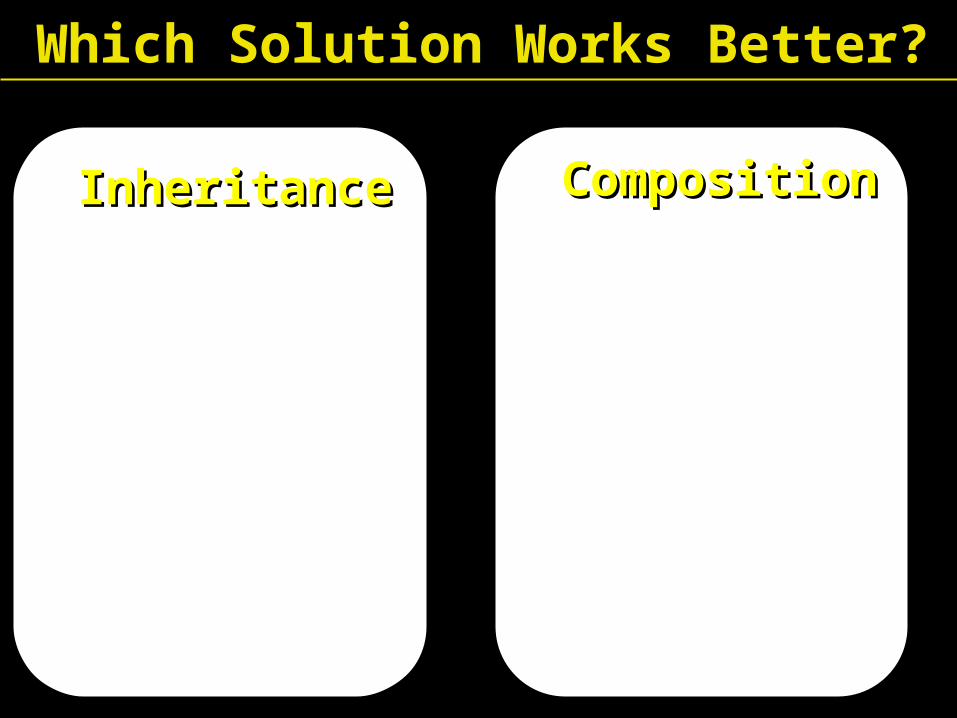
Which Solution Works Better?
CompositionComposition
• Use up our single inheritance
• "Wasted inheritance" occurs where we subclass, but fail to override anything.
• Easier to change basic GUI behavior
• Often requires more code, more references
• Useful when you want the "factory settings" for a GUI, with no changed behavior
• Saves the single inheritance
InheritanceInheritance
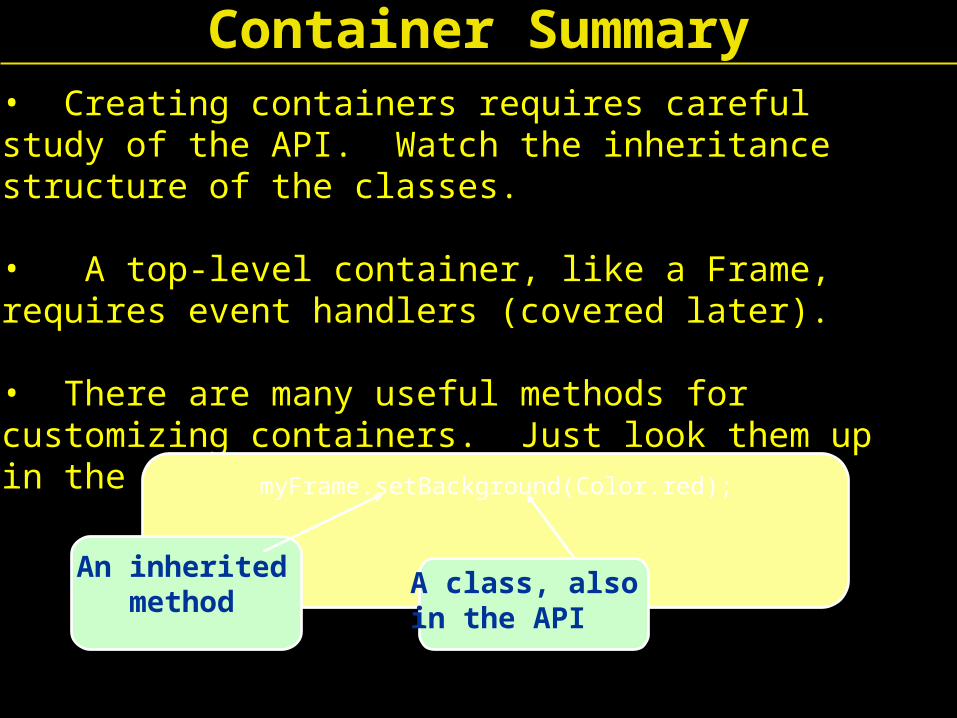
Container Summary• Creating containers requires careful study of the API. Watch the inheritance structure of the classes.
• A top-level container, like a Frame, requires event handlers (covered later).
• There are many useful methods for customizing containers. Just look them up in the API documentation:
An inheritedmethod
A class, also in the API
myFrame.setBackground(Color.red);
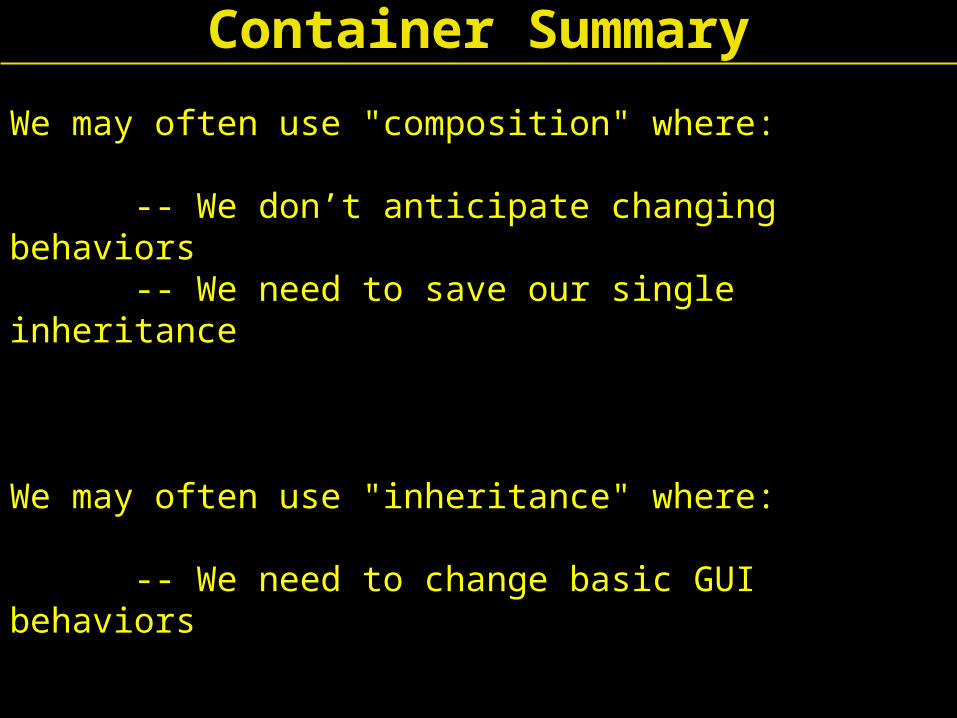
We may often use "composition" where:
-- We don’t anticipate changing behaviors -- We need to save our single inheritance
We may often use "inheritance" where: -- We need to change basic GUI behaviors
Container Summary
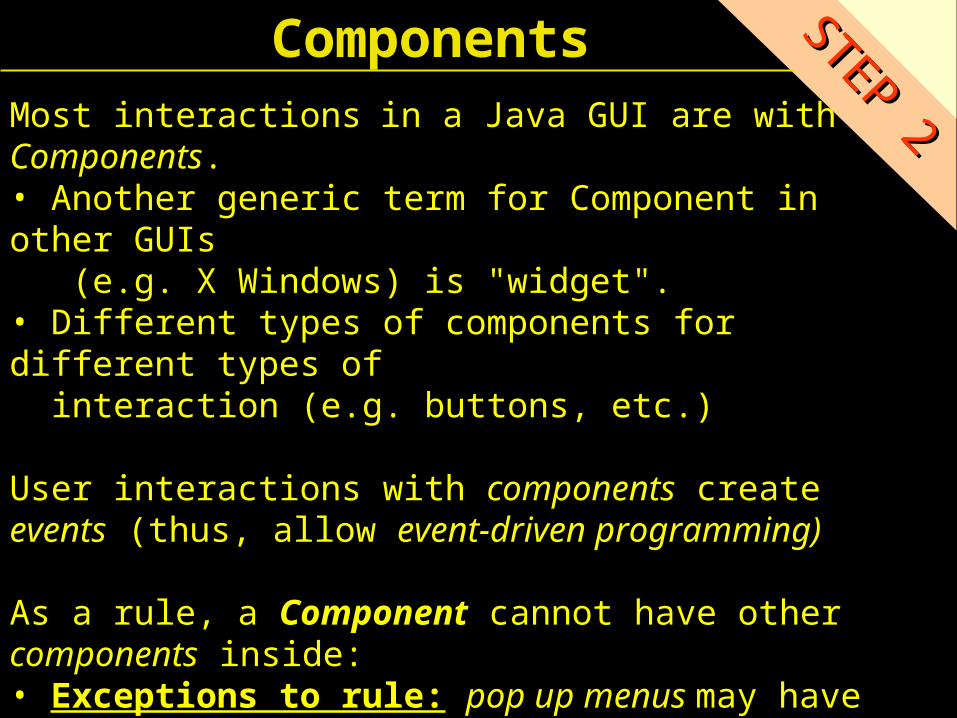
Components STEP 2
STEP 2Most interactions in a Java GUI are with Components. • Another generic term for Component in other GUIs (e.g. X Windows) is "widget".• Different types of components for different types of interaction (e.g. buttons, etc.)
User interactions with components create events (thus, allow event-driven programming)
As a rule, a Component cannot have other components inside:• Exceptions to rule: pop up menus may have menu items added to them. And Containers are themselves components due to inheritance.
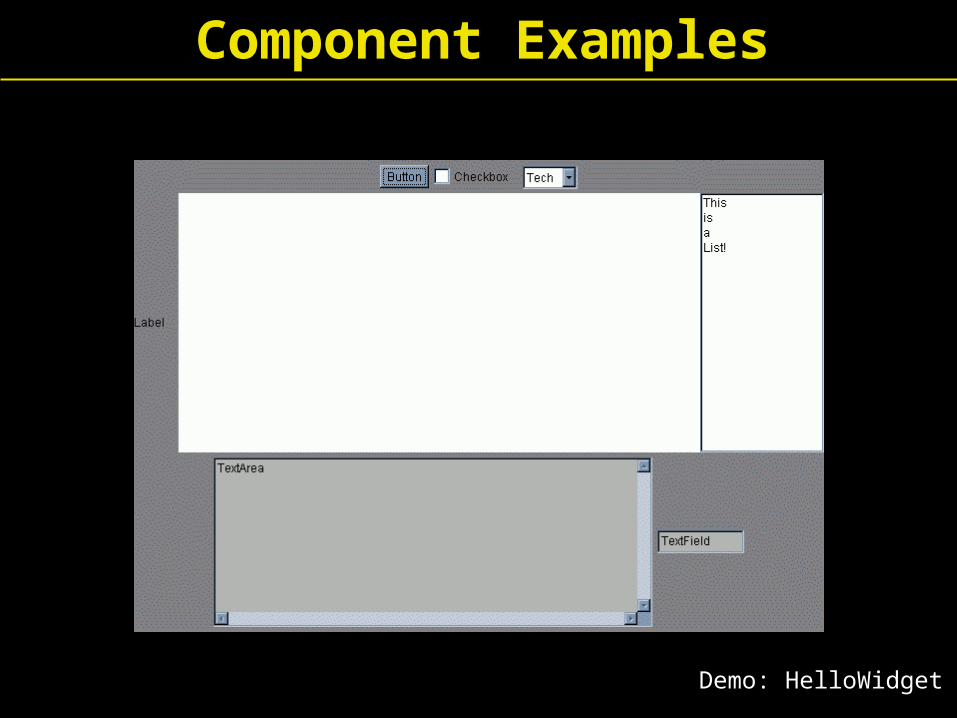
Component Examples
Demo: HelloWidget
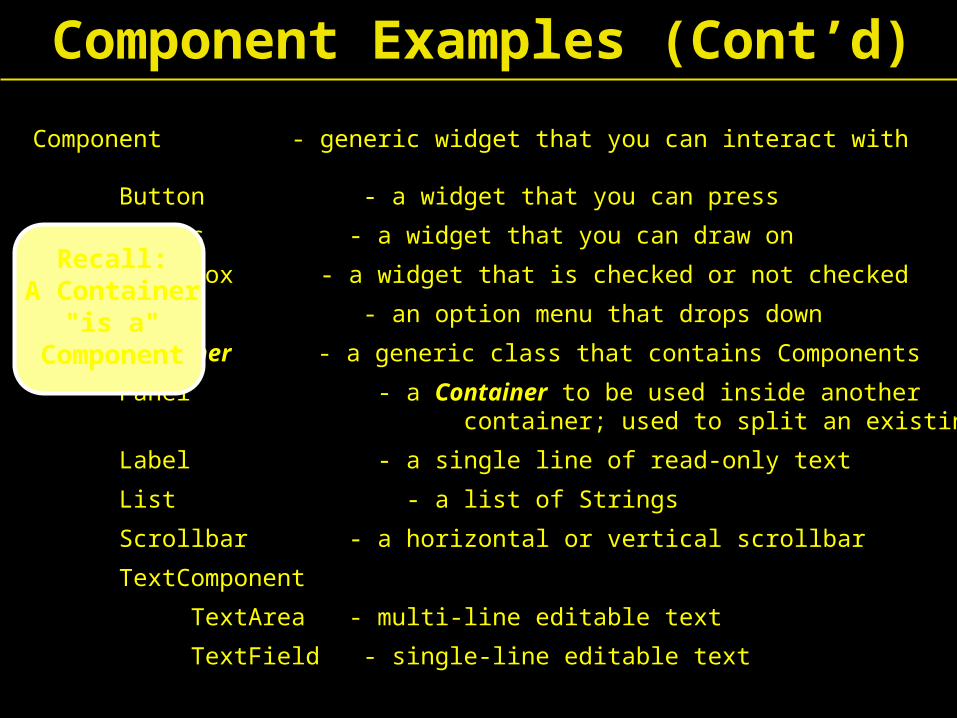
Component - generic widget that you can interact with
Button - a widget that you can press
Canvas - a widget that you can draw on
Checkbox - a widget that is checked or not checked
Choice - an option menu that drops down
Container - a generic class that contains Components
Panel - a Container to be used inside another container; used to split an existing window
Label - a single line of read-only text
List - a list of Strings
Scrollbar - a horizontal or vertical scrollbar
TextComponent
TextArea - multi-line editable text
TextField - single-line editable text
Recall:A Container
"is a"Component
Component Examples (Cont’d)
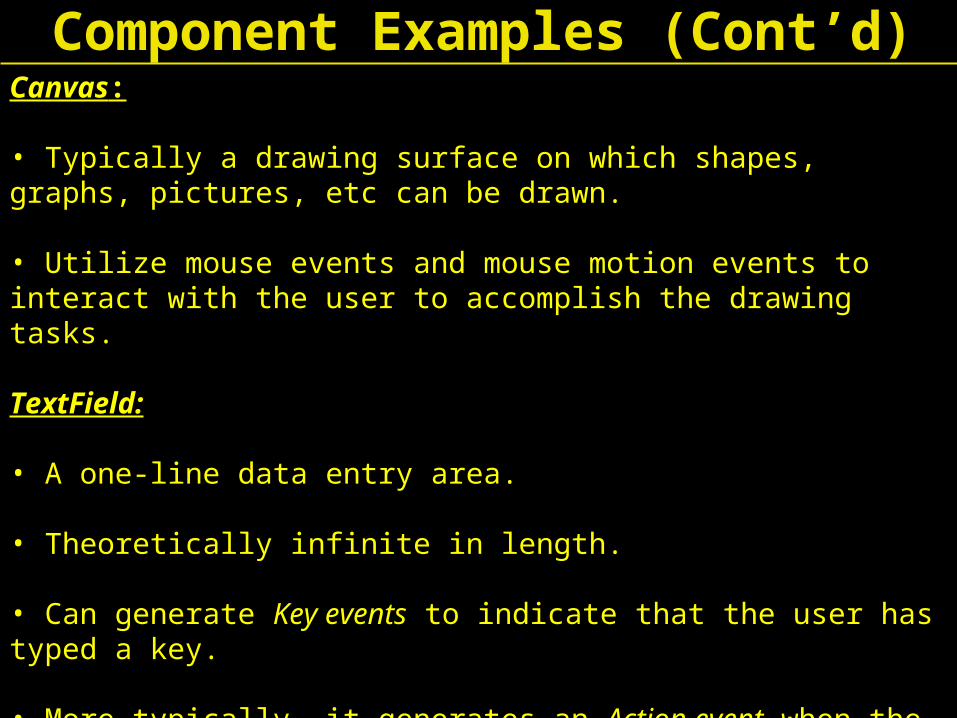
Canvas:
• Typically a drawing surface on which shapes, graphs, pictures, etc can be drawn.
• Utilize mouse events and mouse motion events to interact with the user to accomplish the drawing tasks.
TextField:
• A one-line data entry area.
• Theoretically infinite in length.
• Can generate Key events to indicate that the user has typed a key.
• More typically, it generates an Action event when the user finishes the data entry and hits Return in the TextField.
Component Examples (Cont’d)
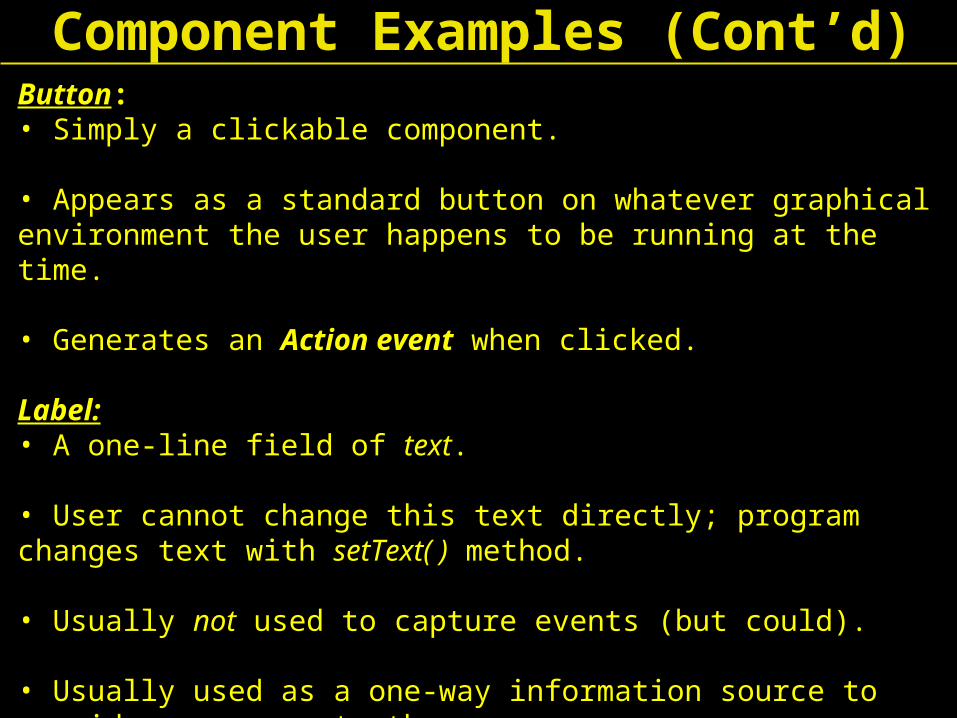
Button: • Simply a clickable component.
• Appears as a standard button on whatever graphical environment the user happens to be running at the time.
• Generates an Action event when clicked.
Label:• A one-line field of text.
• User cannot change this text directly; program changes text with setText( ) method.
• Usually not used to capture events (but could).
• Usually used as a one-way information source to provide a message to the user.
Component Examples (Cont’d)
Joining Components & Containers
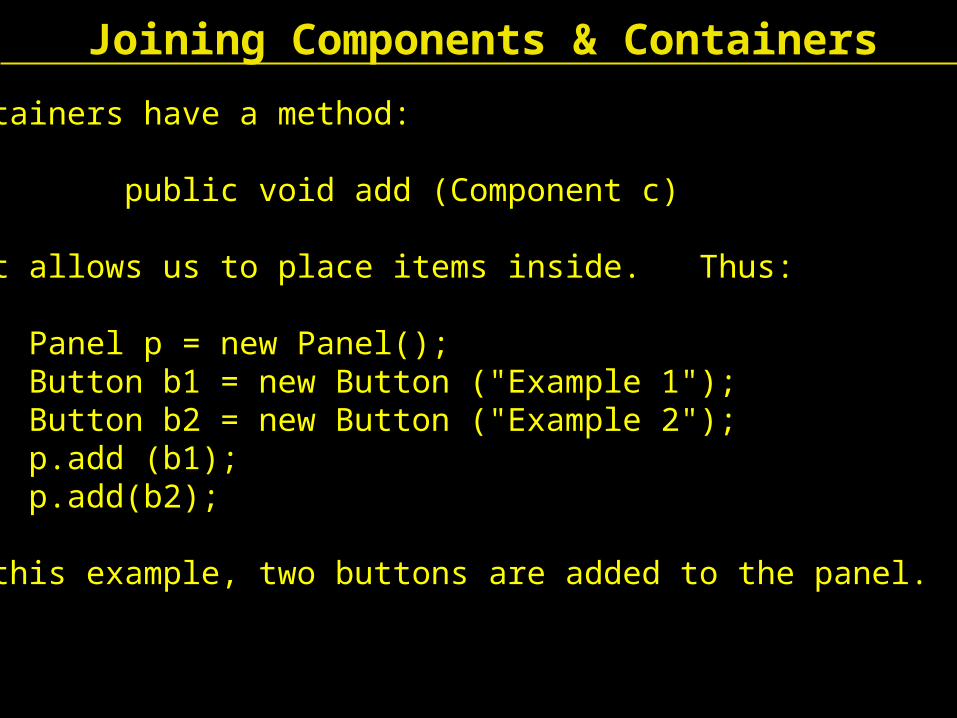
Containers have a method:
public void add (Component c)
that allows us to place items inside. Thus:
Panel p = new Panel();Button b1 = new Button ("Example 1");Button b2 = new Button ("Example 2");p.add (b1); p.add(b2);
In this example, two buttons are added to the panel.
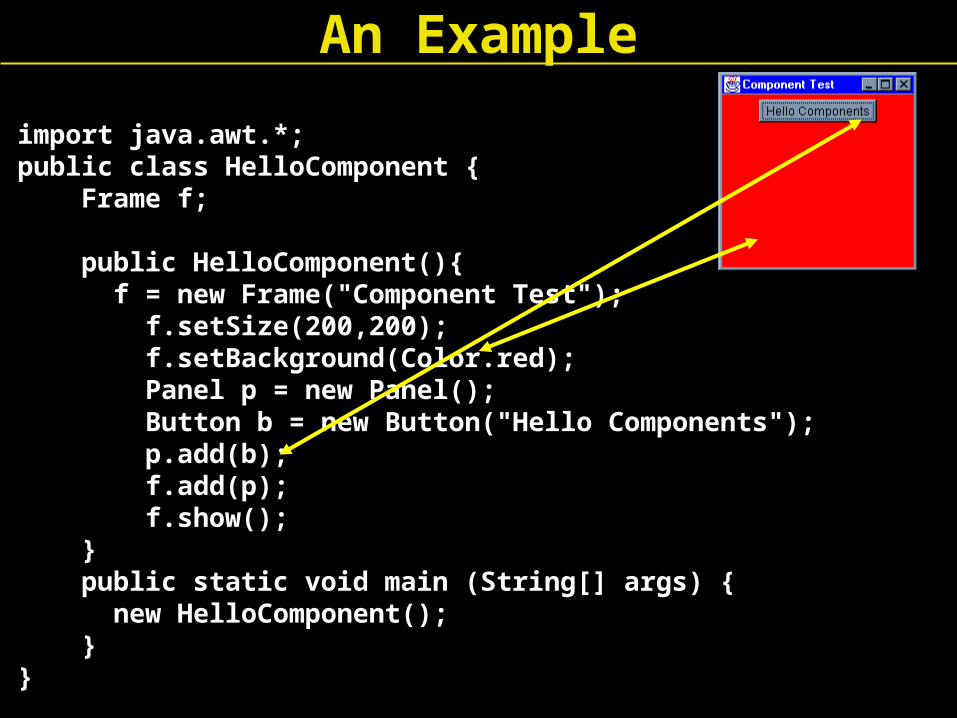
An Example
import java.awt.*;public class HelloComponent { Frame f;
public HelloComponent(){f = new Frame("Component Test");
f.setSize(200,200); f.setBackground(Color.red); Panel p = new Panel(); Button b = new Button("Hello Components"); p.add(b); f.add(p); f.show(); } public static void main (String[] args) {
new HelloComponent(); }}
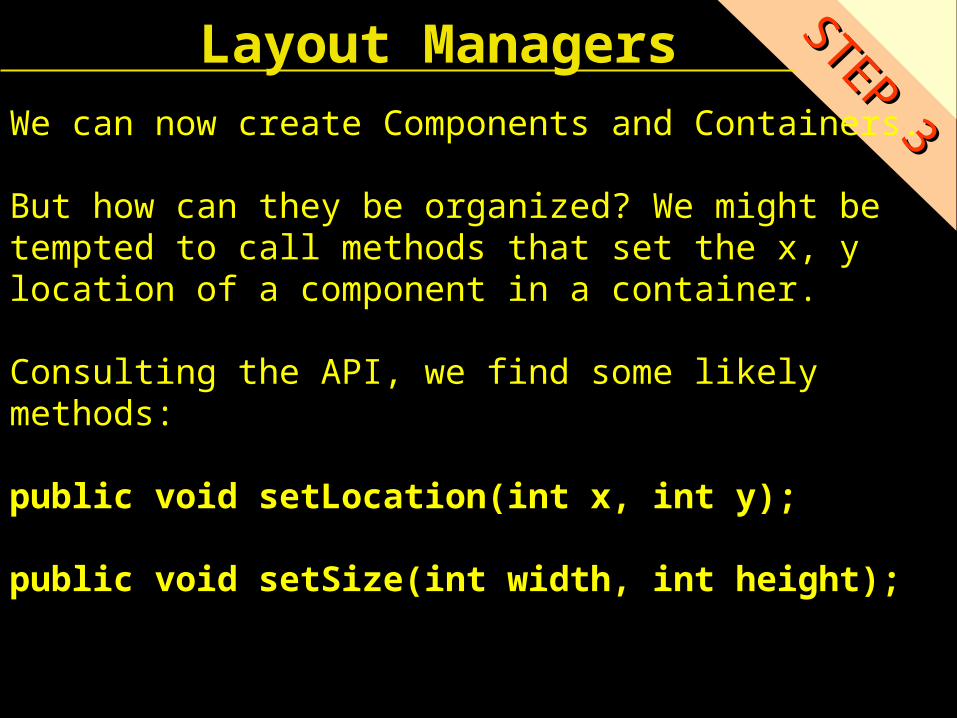
Layout Managers STEP 3
STEP 3We can now create Components and Containers.
But how can they be organized? We might be tempted to call methods that set the x, y location of a component in a container.
Consulting the API, we find some likely methods:
public void setLocation(int x, int y);
public void setSize(int width, int height);
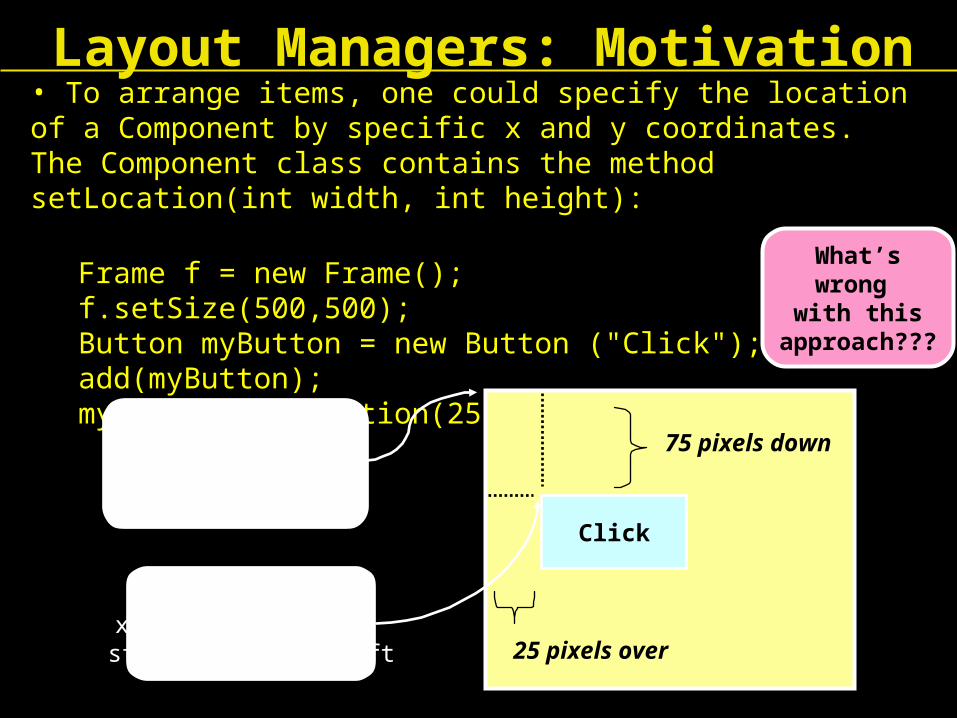
• To arrange items, one could specify the location of a Component by specific x and y coordinates. The Component class contains the method setLocation(int width, int height):
Frame f = new Frame(); f.setSize(500,500);Button myButton = new Button ("Click");add(myButton);myButton.setLocation(25, 75);
NOTE: Origin 0,0 at top left!
Note: Button’s x and y coordinate starts from top left
Click
75 pixels down
25 pixels over
What’swrong
with thisapproach???
Layout Managers: Motivation
Problems with specifying (x, y) coordinates for Components:
• This becomes tedious for even mildly complex GUIs.
• Addition of more components requires recalculation of every component’s x, y coordinate.
• If container resizes (e.g., user expands window), calculations have to be redone!
Solution:
• Position components based on a percentage of available container size. Or create an algorithm to place components . . .
But Java already does this for you !!!
Layout Managers: Motivation (Cont’d)
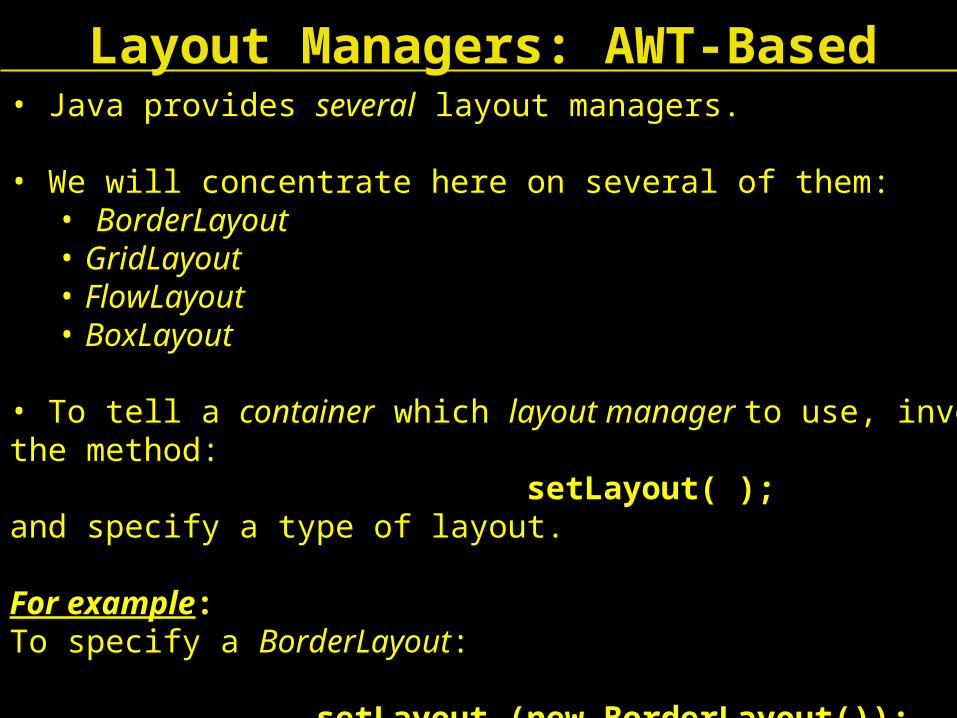
• Java provides several layout managers.
• We will concentrate here on several of them:• BorderLayout• GridLayout• FlowLayout• BoxLayout
• To tell a container which layout manager to use, invoke the method: setLayout( );and specify a type of layout.
For example: To specify a BorderLayout:
setLayout (new BorderLayout());
Layout Managers: AWT-Based
Layout Managers: Two General Flavors
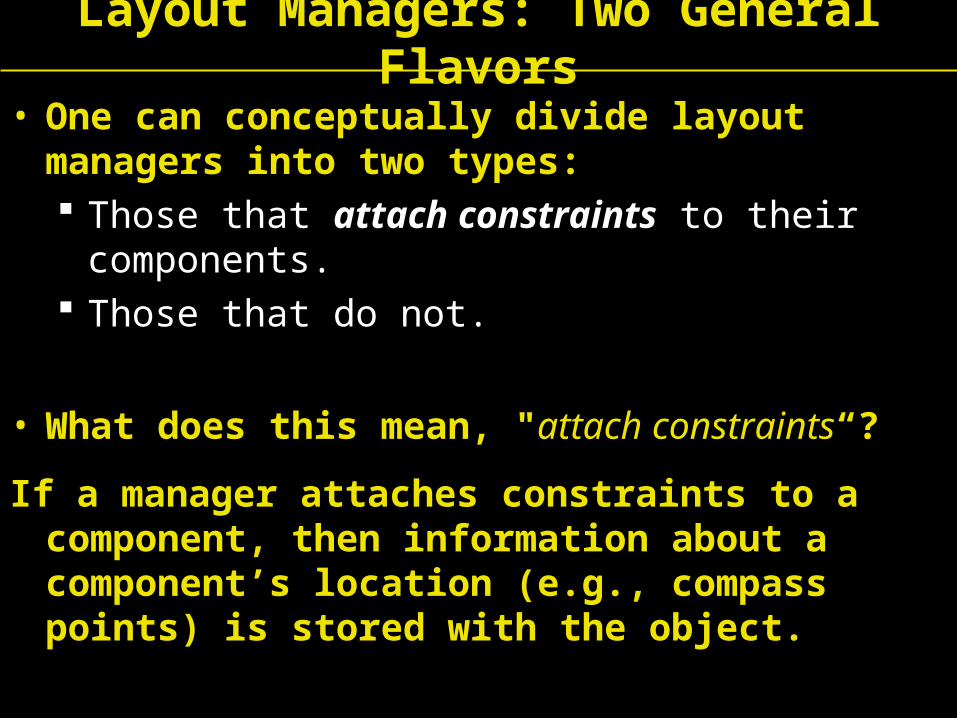
• One can conceptually divide layout managers into two types: Those that attach constraints to their
components. Those that do not.
• What does this mean, "attach constraints“?
If a manager attaches constraints to a component, then information about a component’s location (e.g., compass points) is stored with the object.
Layout Managers: Constraints
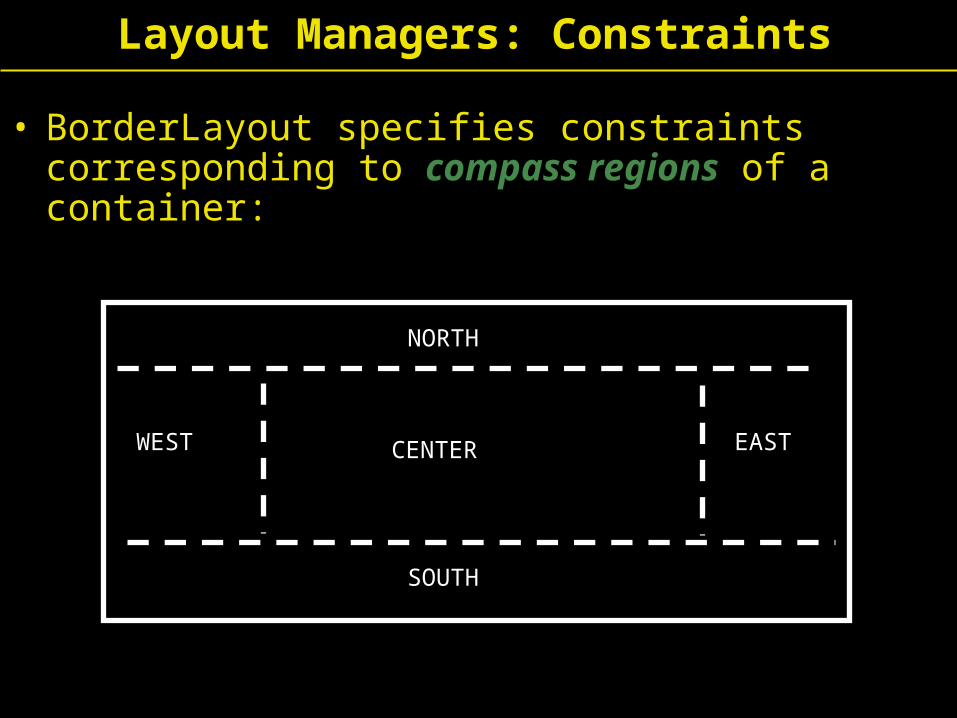
• BorderLayout specifies constraints corresponding to compass regions of a container:
NORTH
SOUTH
CENTER EASTWEST
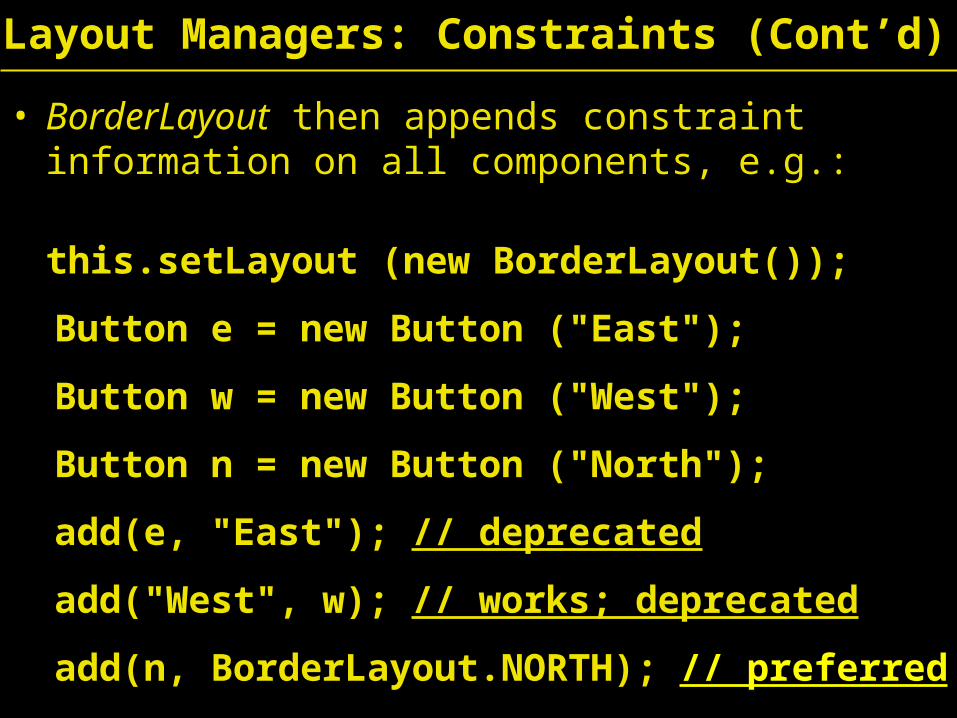
• BorderLayout then appends constraint information on all components, e.g.:
this.setLayout (new BorderLayout());
Button e = new Button ("East");
Button w = new Button ("West");
Button n = new Button ("North");
add(e, "East"); // deprecated
add("West", w); // works; deprecated
add(n, BorderLayout.NORTH); // preferred
Layout Managers: Constraints (Cont’d)

Layout Managers: Constraints (Cont’d)
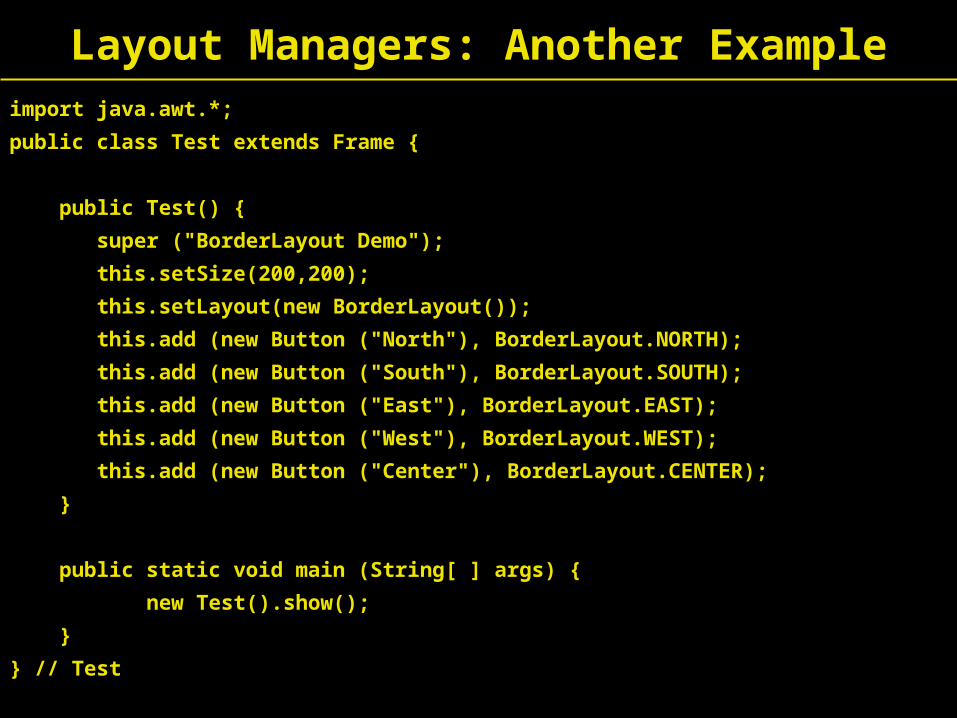
Layout Managers: Another Exampleimport java.awt.*;
public class Test extends Frame {
public Test() {
super ("BorderLayout Demo");
this.setSize(200,200);
this.setLayout(new BorderLayout());
this.add (new Button ("North"), BorderLayout.NORTH);
this.add (new Button ("South"), BorderLayout.SOUTH);
this.add (new Button ("East"), BorderLayout.EAST);
this.add (new Button ("West"), BorderLayout.WEST);
this.add (new Button ("Center"), BorderLayout.CENTER);
}
public static void main (String[ ] args) {
new Test().show();
}
} // Test
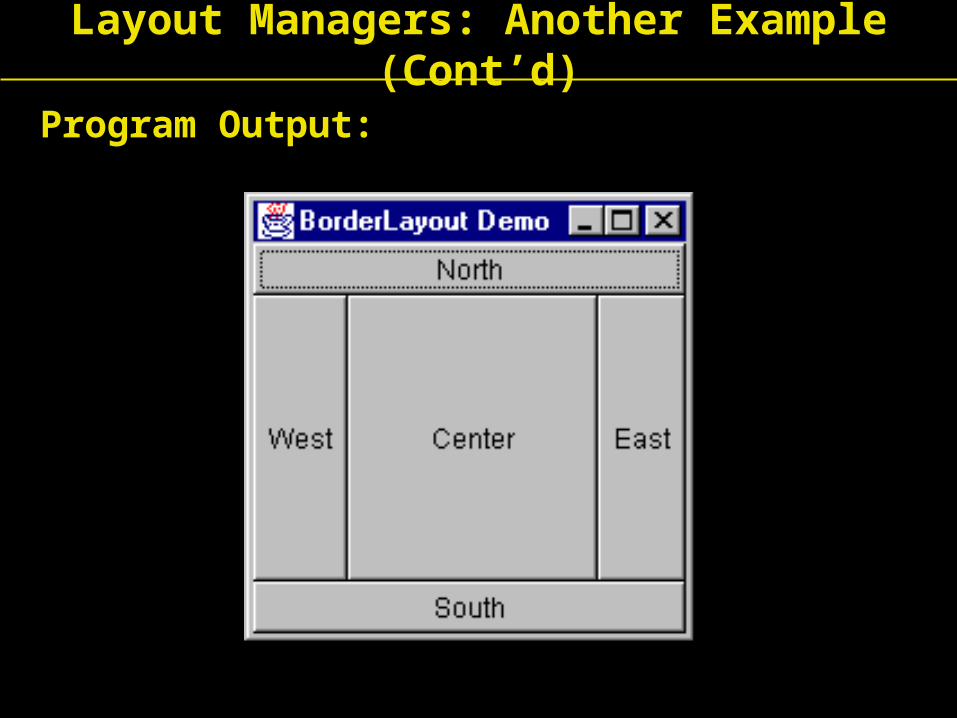
Program Output:
Layout Managers: Another Example (Cont’d)
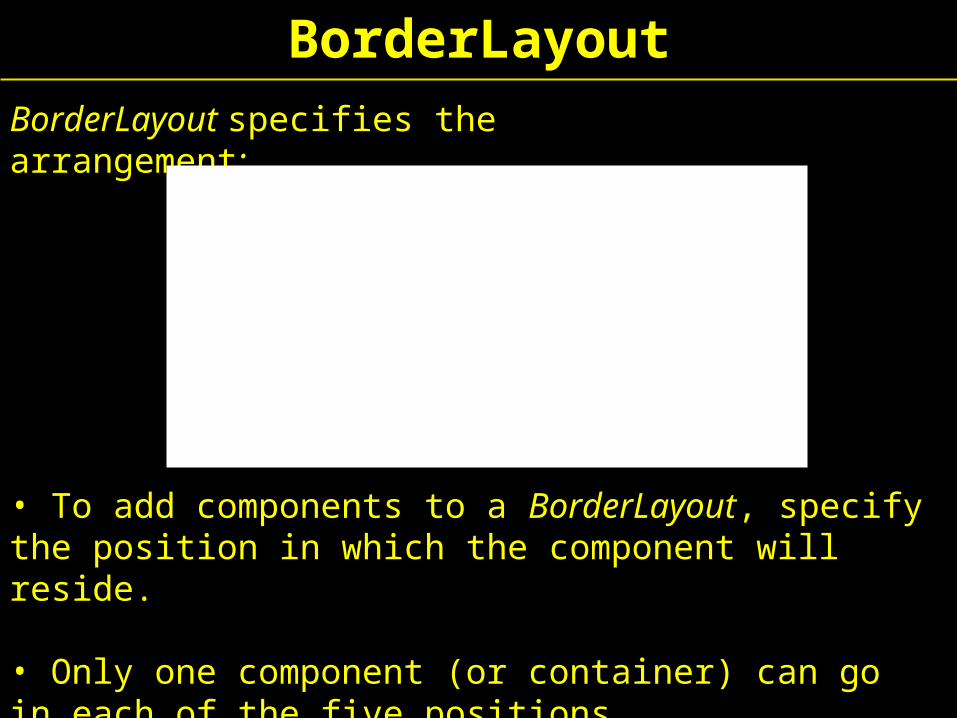
BorderLayout specifies the arrangement:
NORTH
SOUTH
CENTER
WE
ST E
AS
T
• To add components to a BorderLayout, specify the position in which the component will reside.
• Only one component (or container) can go in each of the five positions.
BorderLayout
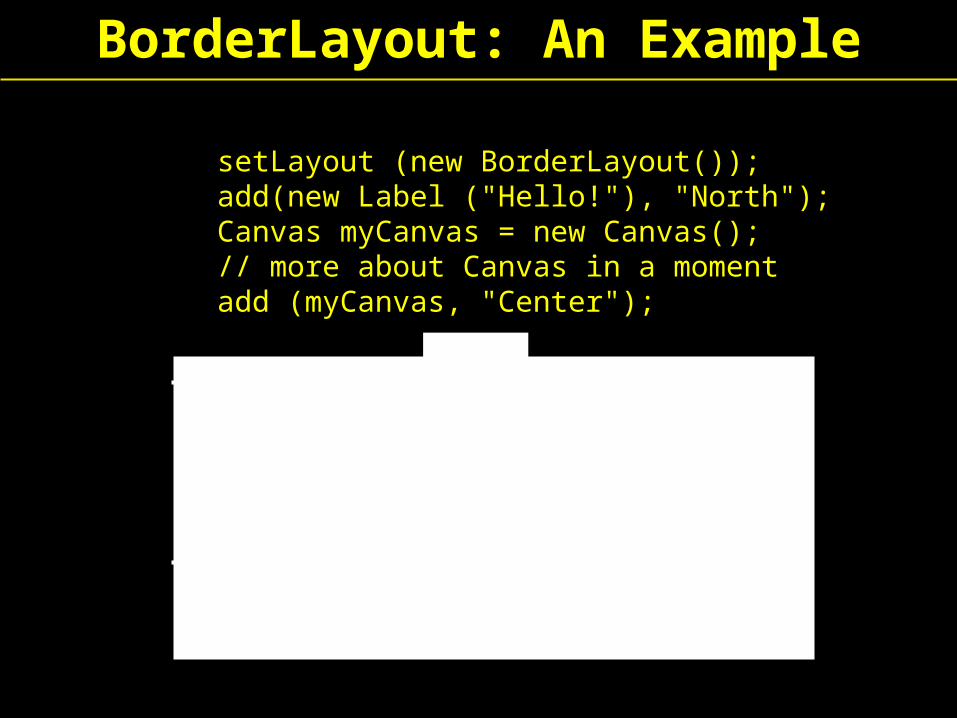
setLayout (new BorderLayout()); add(new Label ("Hello!"), "North");Canvas myCanvas = new Canvas();// more about Canvas in a momentadd (myCanvas, "Center");
Hello!
{ a fresh canvas for drawing here}
BorderLayout: An Example
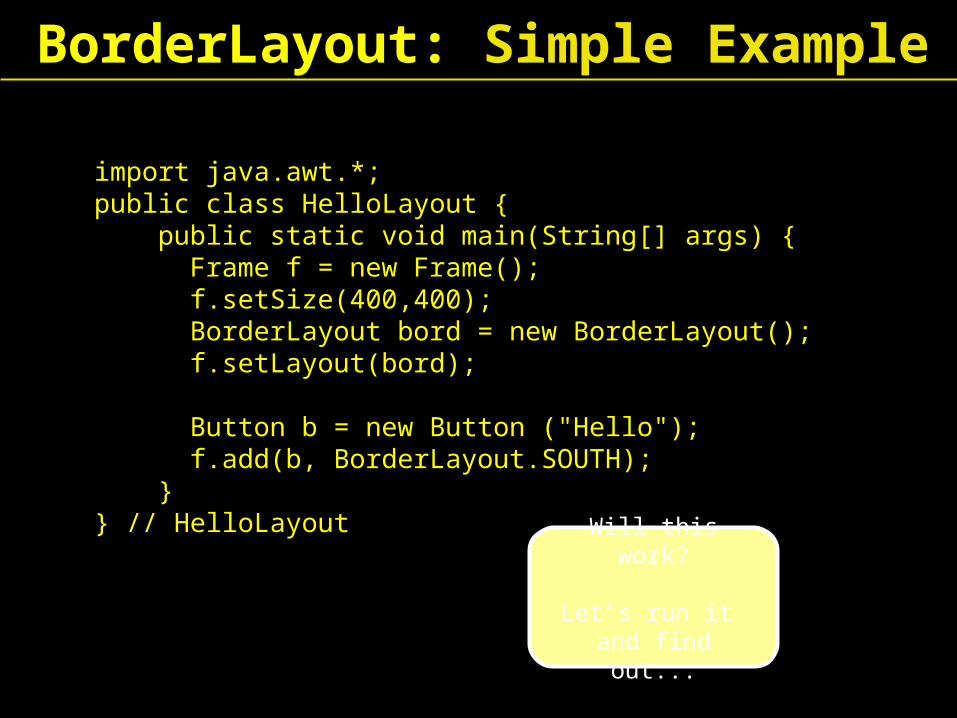
BorderLayout: Simple Example
import java.awt.*;public class HelloLayout { public static void main(String[] args) {
Frame f = new Frame();f.setSize(400,400);BorderLayout bord = new BorderLayout();f.setLayout(bord);
Button b = new Button ("Hello");f.add(b, BorderLayout.SOUTH);
}} // HelloLayout
Will this work?
Let’s run it and find out...
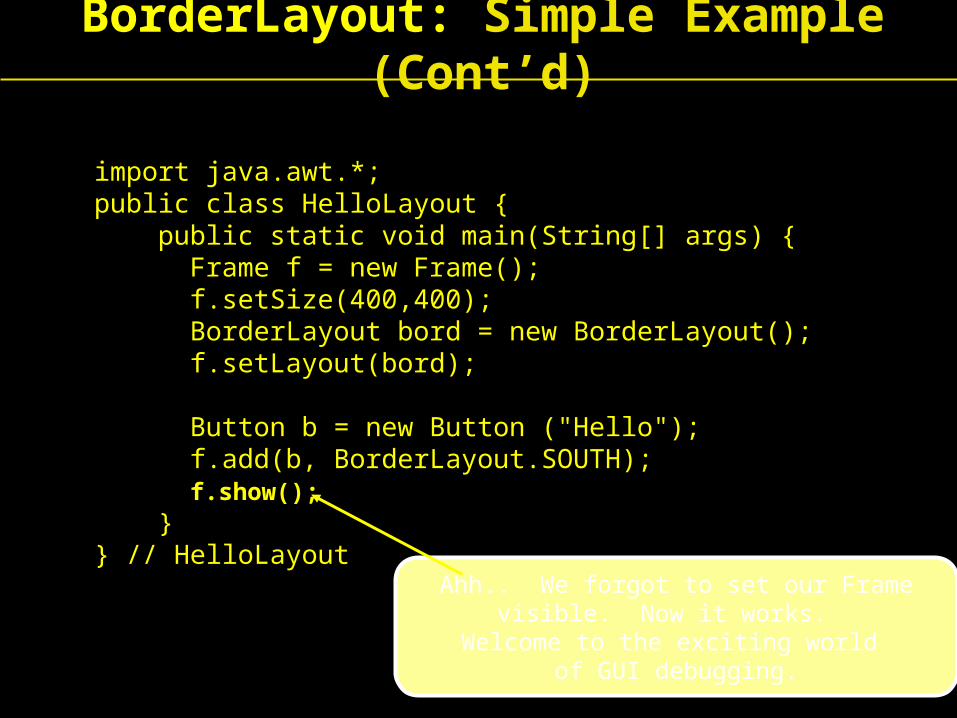
import java.awt.*;public class HelloLayout { public static void main(String[] args) {
Frame f = new Frame();f.setSize(400,400);BorderLayout bord = new BorderLayout();f.setLayout(bord);
Button b = new Button ("Hello");f.add(b, BorderLayout.SOUTH);f.show();f.show();
}} // HelloLayout
Ahh.. We forgot to set our Frame visible. Now it works.
Welcome to the exciting world of GUI debugging.
BorderLayout: Simple Example (Cont’d)
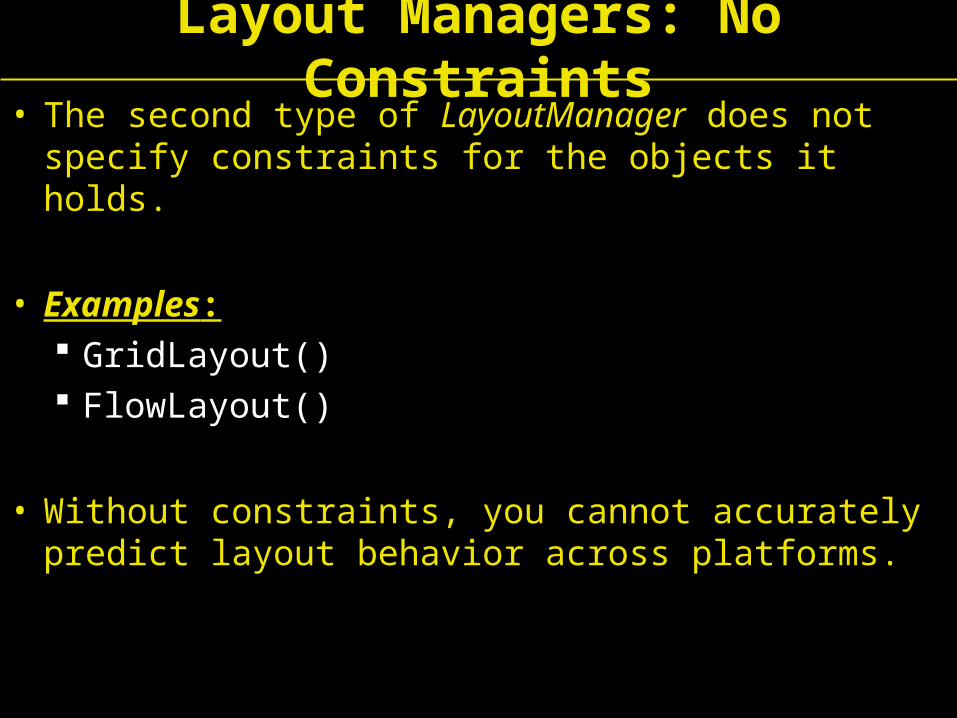
Layout Managers: No Constraints• The second type of LayoutManager does not specify
constraints for the objects it holds.
• Examples: GridLayout() FlowLayout()
• Without constraints, you cannot accurately predict layout behavior across platforms.
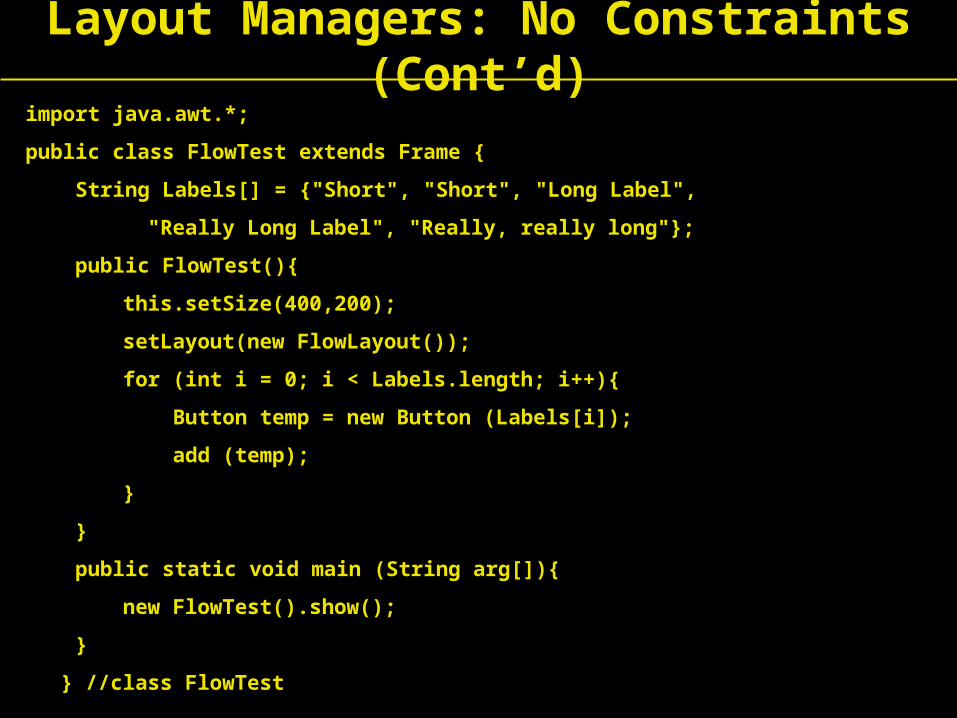
import java.awt.*;
public class FlowTest extends Frame {
String Labels[] = {"Short", "Short", "Long Label",
"Really Long Label", "Really, really long"};
public FlowTest(){
this.setSize(400,200);
setLayout(new FlowLayout());
for (int i = 0; i < Labels.length; i++){
Button temp = new Button (Labels[i]);
add (temp);
}
}
public static void main (String arg[]){
new FlowTest().show();
}
} //class FlowTest
Layout Managers: No Constraints (Cont’d)
Layout Managers: No Constraints (Cont’d)
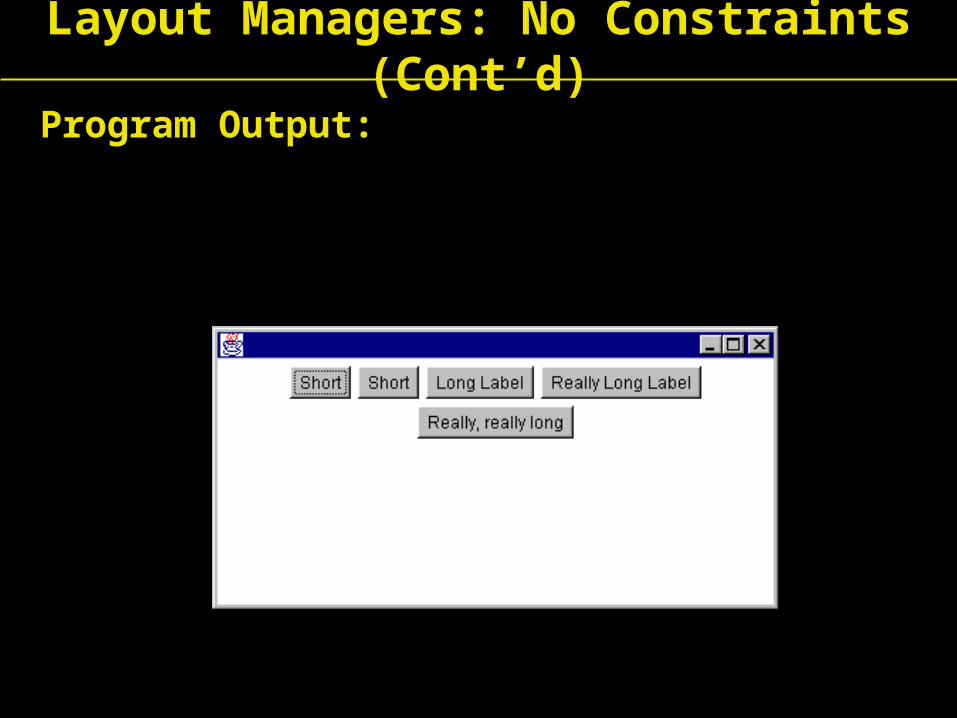
Program Output:
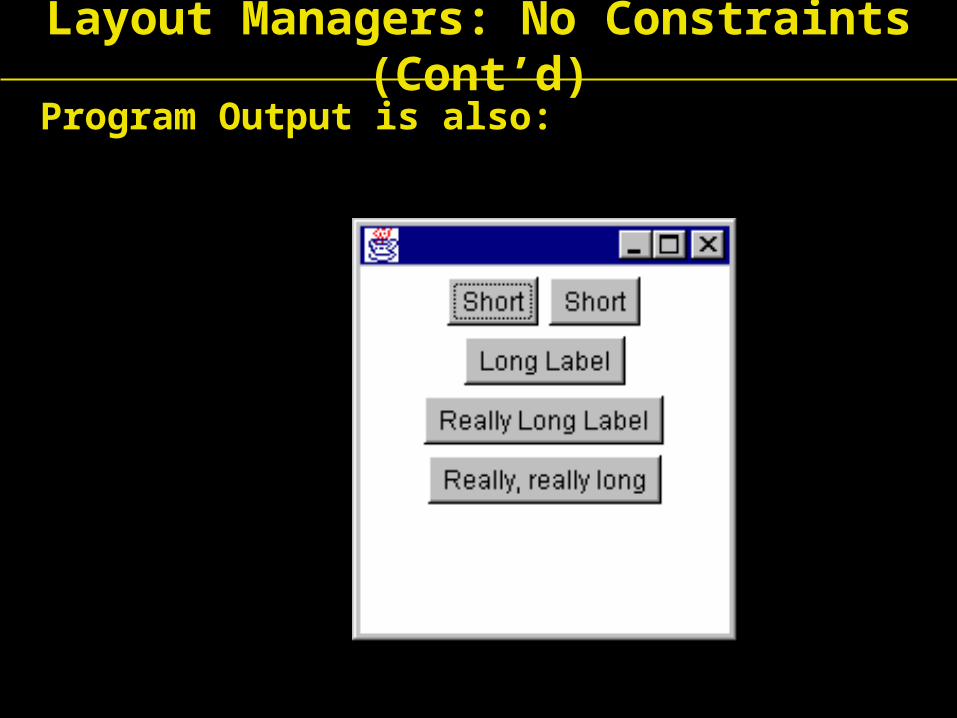
Program Output is also:
Layout Managers: No Constraints (Cont’d)
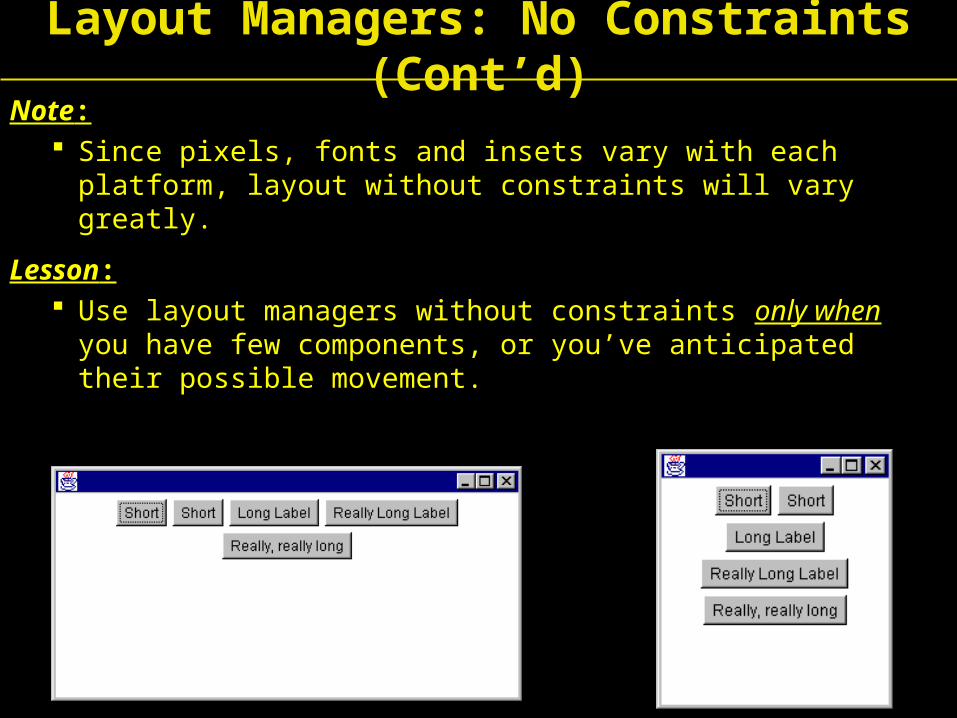
Note: Since pixels, fonts and insets vary with each platform, layout
without constraints will vary greatly.
Lesson: Use layout managers without constraints only when you
have few components, or you’ve anticipated their possible movement.
Layout Managers: No Constraints (Cont’d)
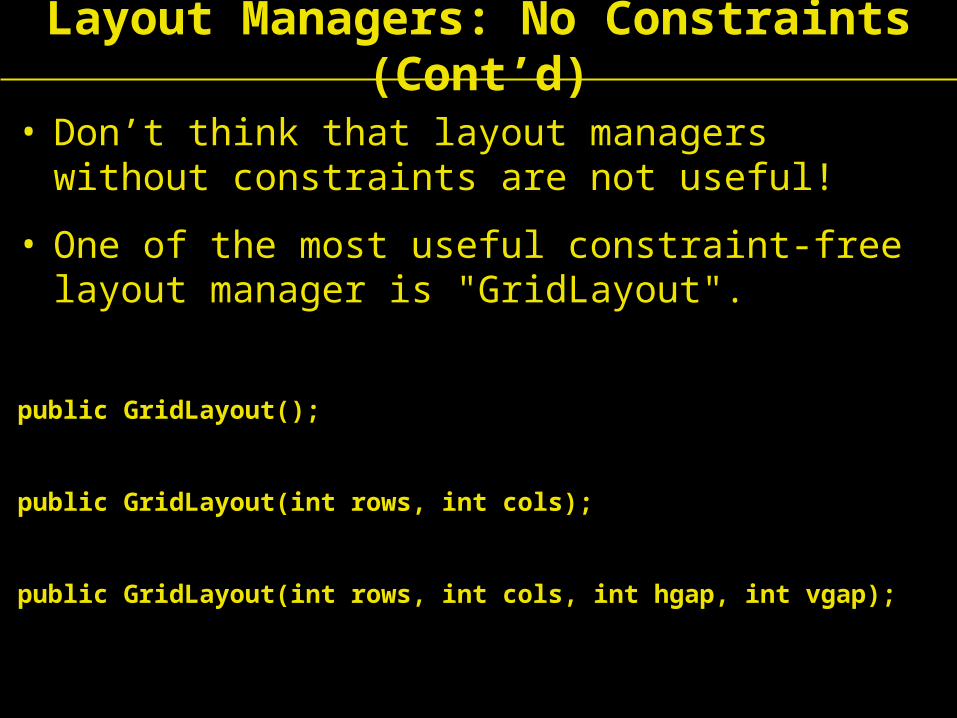
• Don’t think that layout managers without constraints are not useful!
• One of the most useful constraint-free layout manager is "GridLayout".
public GridLayout();
public GridLayout(int rows, int cols);
public GridLayout(int rows, int cols, int hgap, int vgap);
Layout Managers: No Constraints (Cont’d)
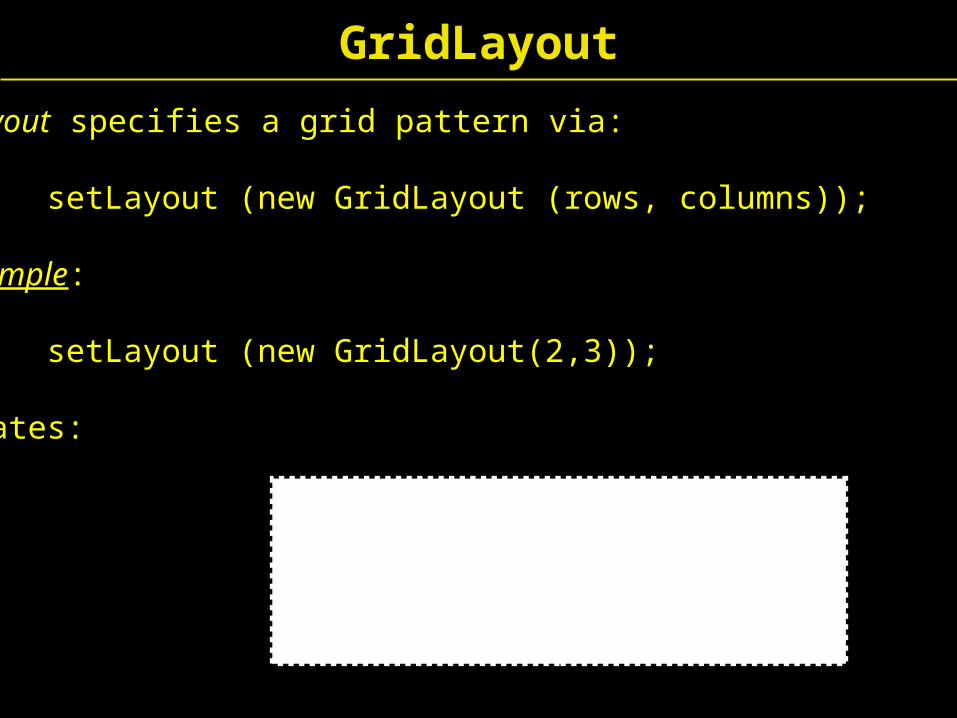
GridLayout specifies a grid pattern via:
setLayout (new GridLayout (rows, columns));
For example:
setLayout (new GridLayout(2,3));
generates:
GridLayout
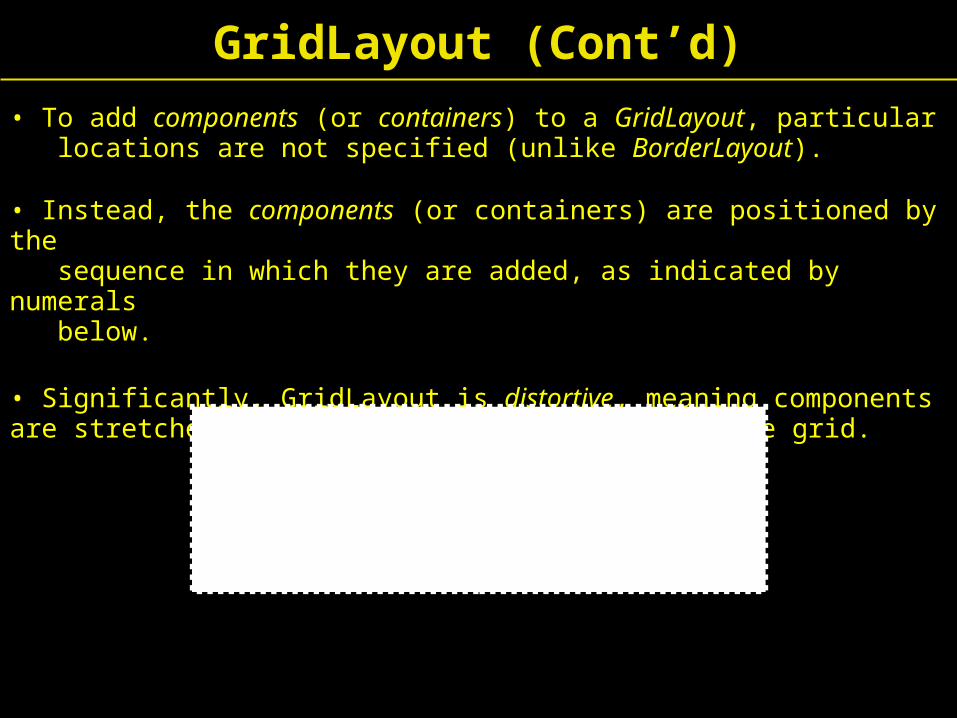
• To add components (or containers) to a GridLayout, particular locations are not specified (unlike BorderLayout).
• Instead, the components (or containers) are positioned by the sequence in which they are added, as indicated by numerals below.
• Significantly, GridLayout is distortive, meaning components are stretched to fill the available space in the grid.
1 2 3
4 5 6
GridLayout (Cont’d)
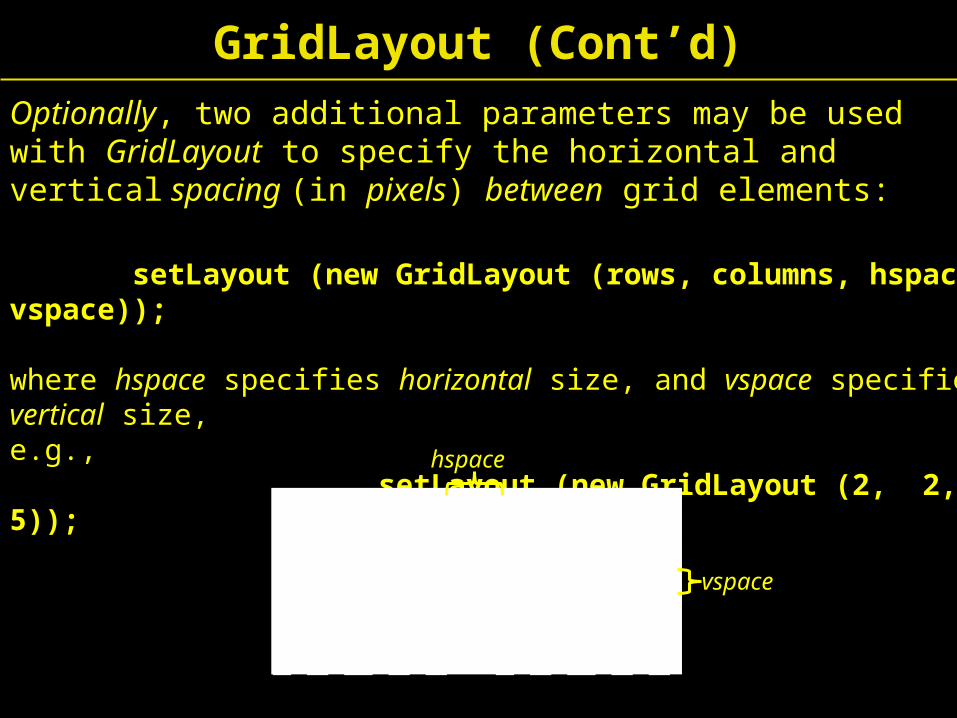
setLayout (new GridLayout (rows, columns, hspace, vspace));
where hspace specifies horizontal size, and vspace specifies vertical size, e.g., setLayout (new GridLayout (2, 2, 7, 5));
Optionally, two additional parameters may be used with GridLayout to specify the horizontal and vertical spacing (in pixels) between grid elements:
GridLayout (Cont’d)
hspace
vspace
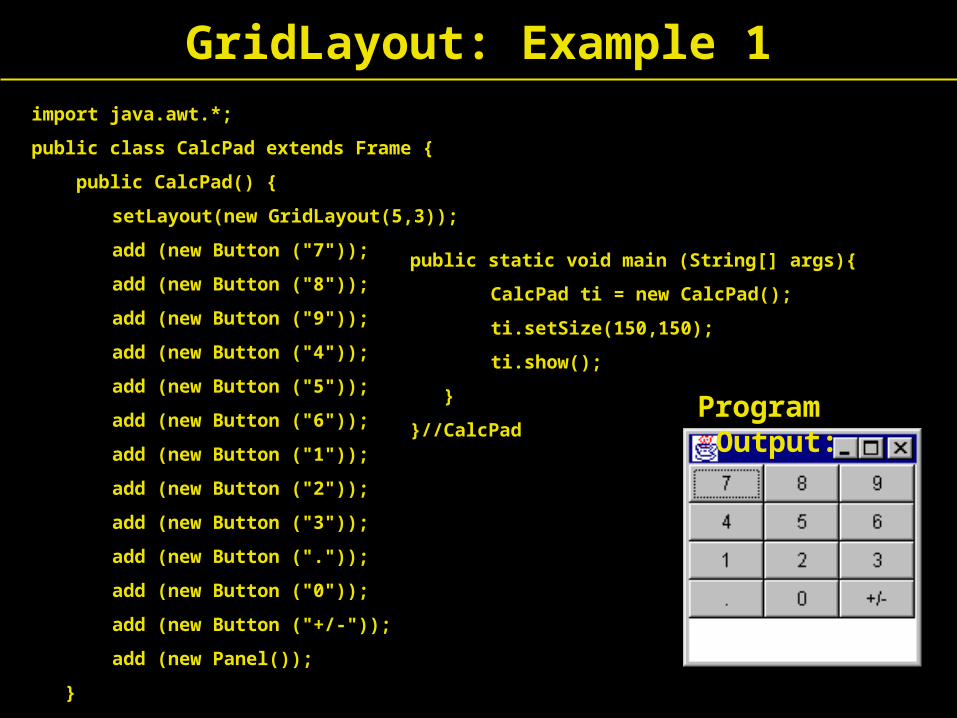
import java.awt.*;
public class CalcPad extends Frame {
public CalcPad() {
setLayout(new GridLayout(5,3));
add (new Button ("7"));
add (new Button ("8"));
add (new Button ("9"));
add (new Button ("4"));
add (new Button ("5"));
add (new Button ("6"));
add (new Button ("1"));
add (new Button ("2"));
add (new Button ("3"));
add (new Button ("."));
add (new Button ("0"));
add (new Button ("+/-"));
add (new Panel());
}
public static void main (String[] args){
CalcPad ti = new CalcPad();
ti.setSize(150,150);
ti.show();
}
}//CalcPad
GridLayout: Example 1
Program Output:
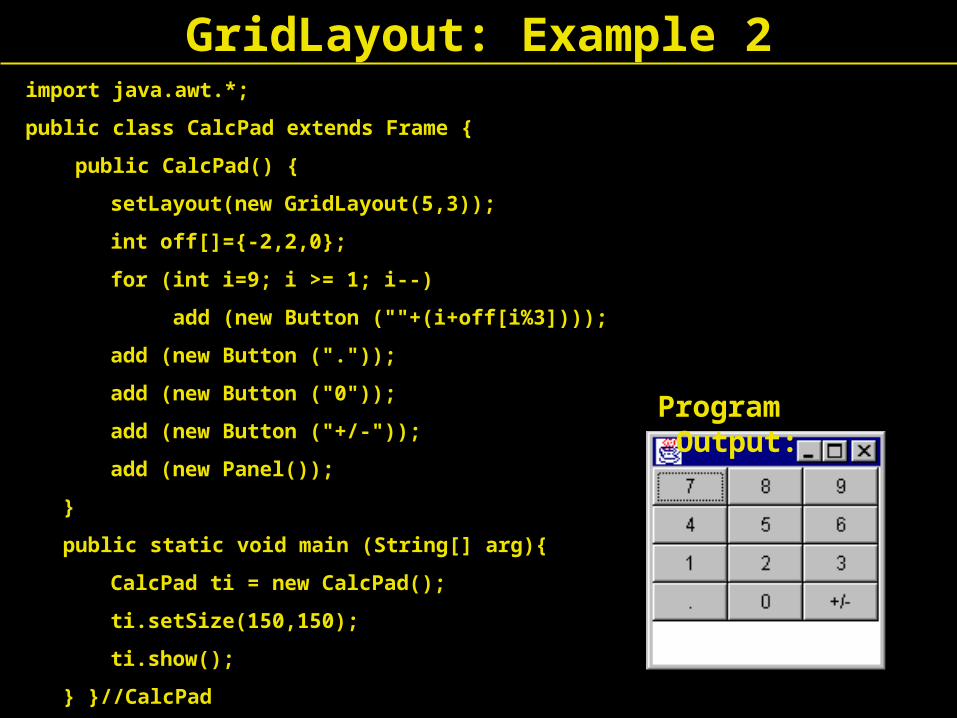
import java.awt.*;
public class CalcPad extends Frame {
public CalcPad() {
setLayout(new GridLayout(5,3));
int off[]={-2,2,0};
for (int i=9; i >= 1; i--)
add (new Button (""+(i+off[i%3])));
add (new Button ("."));
add (new Button ("0"));
add (new Button ("+/-"));
add (new Panel());
}
public static void main (String[] arg){
CalcPad ti = new CalcPad();
ti.setSize(150,150);
ti.show();
} }//CalcPad
GridLayout: Example 2
Program Output:
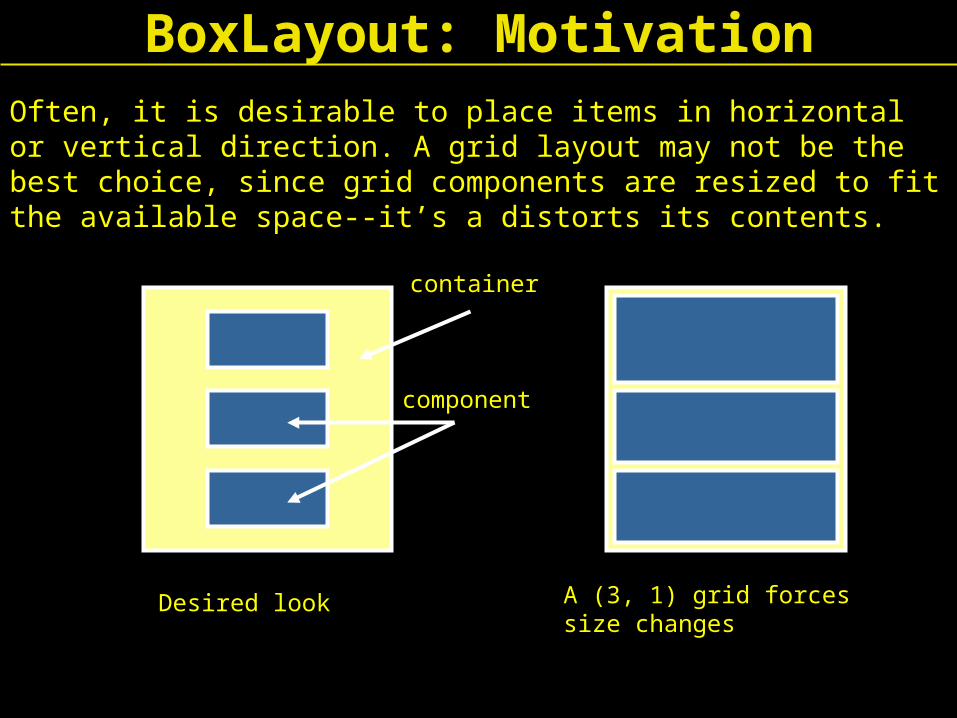
Often, it is desirable to place items in horizontal or vertical direction. A grid layout may not be the best choice, since grid components are resized to fit the available space--it’s a distorts its contents.
BoxLayout: Motivation
A (3, 1) grid forcessize changes
Desired look
container
component
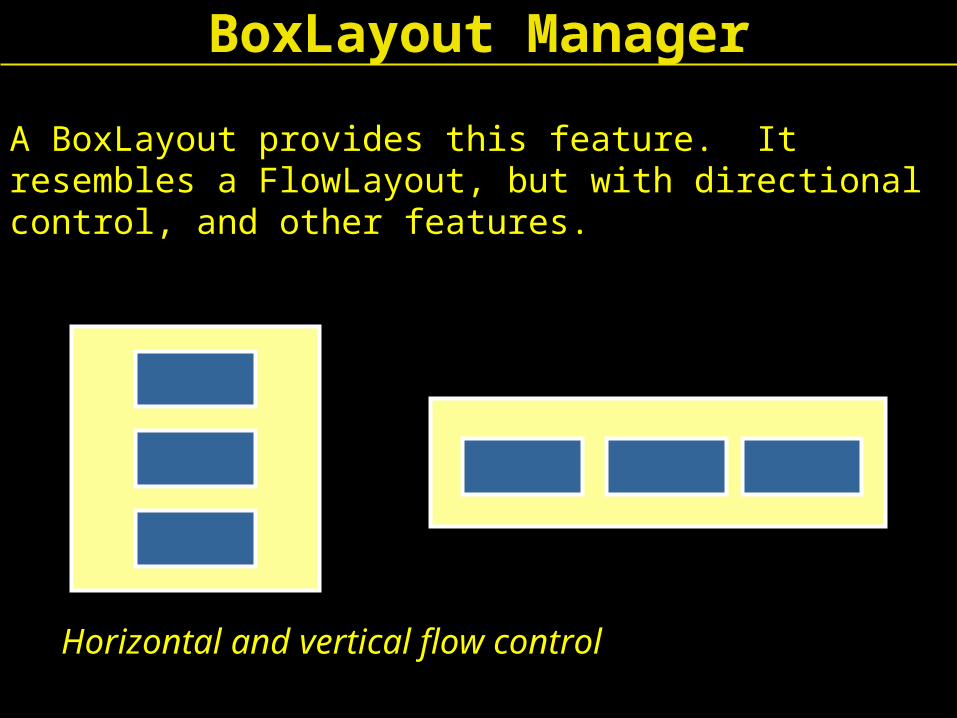
A BoxLayout provides this feature. It resembles a FlowLayout, but with directional control, and other features.
Horizontal and vertical flow control
BoxLayout Manager
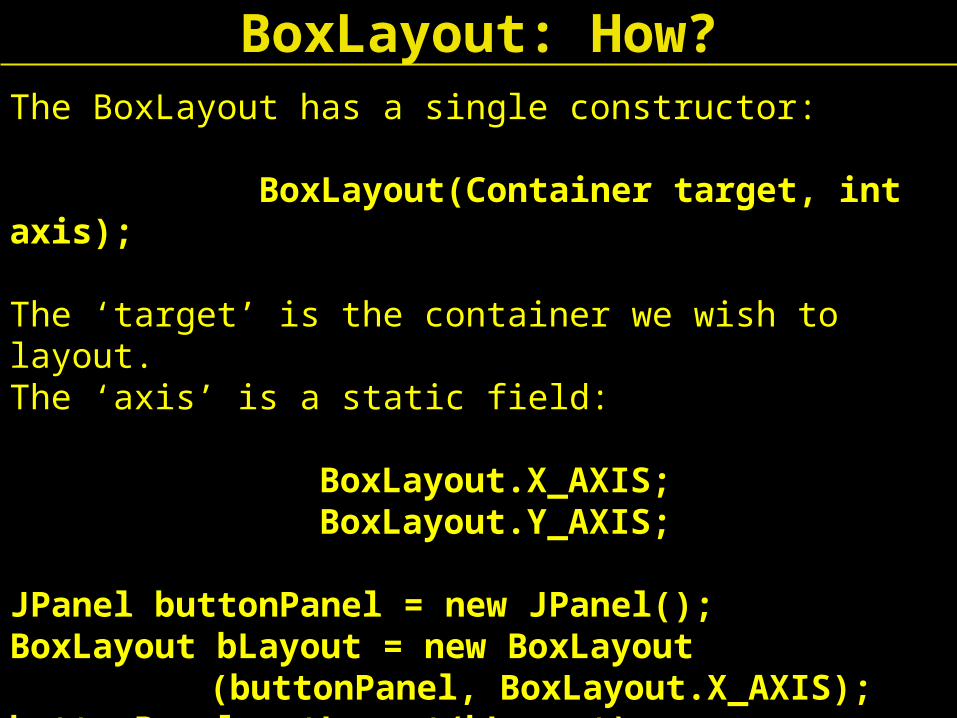
The BoxLayout has a single constructor:
BoxLayout(Container target, int axis);
The ‘target’ is the container we wish to layout.The ‘axis’ is a static field:
BoxLayout.X_AXIS; BoxLayout.Y_AXIS;
JPanel buttonPanel = new JPanel();BoxLayout bLayout = new BoxLayout
(buttonPanel, BoxLayout.X_AXIS);buttonPanel.setLayout(bLayout);
BoxLayout: How?