Embed Size (px)
Citation preview

1
Getting started with CNC LASER
Engraving Machine
Teaching Learning Center
Indian Institute of Information Technology Design and Manufacturing
Kancheepuram
2
This document gives step by step procedure to install Free / Open source Laser Grbl Software,
Universal G code sender and engraving operation with CNC Laser machine.
CNC Laser Engraver Machine Specification
Material: PVC Frame.
Workpiece materials: Wood, Card board.
Laser Specification: HCDBSADA2_5AMP (0-2.5Amps)
Bed size: 745*480mm
Required Software Laser GRBL
Download Laser GRBL from this website: http://lasergrbl.com/en/
Install the software Laser GRBL.
Grbl Grbl hex is available in the GitHub site: https://github.com/gnea/grbl/releases Download the zip format and extract the bundle. Inside you will find a list of build files,
header files and examples for Arduino.
Burn the Grbl code into Arduino Uno Using Xloader.
Download Xloader from this link: http://russemotto.com/xloader/
Universal G Code Sender
Universal G Code Sender is available in the following GitHub link:
https://github.com/winder/Universal-G-Code-Sender
Download and extract the zip file.
3
1.1 Working Procedure on Laser GRBL
1.) Right click on the Laser GRBL and Open the software.
Fig 1. Opening the Laser GRBL Software
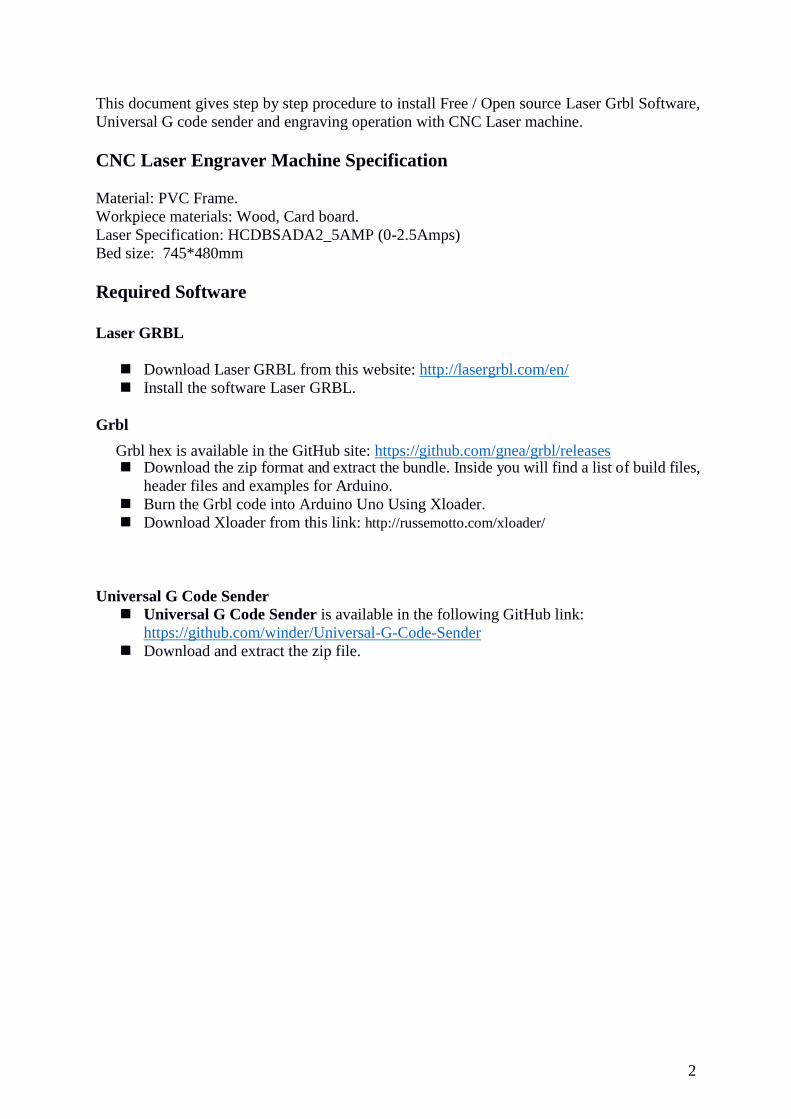
2.) Then, Click on File and select Open to Import the image to the Software for Engraving.
Fig 2. Opening the file on Laser GRBL
4
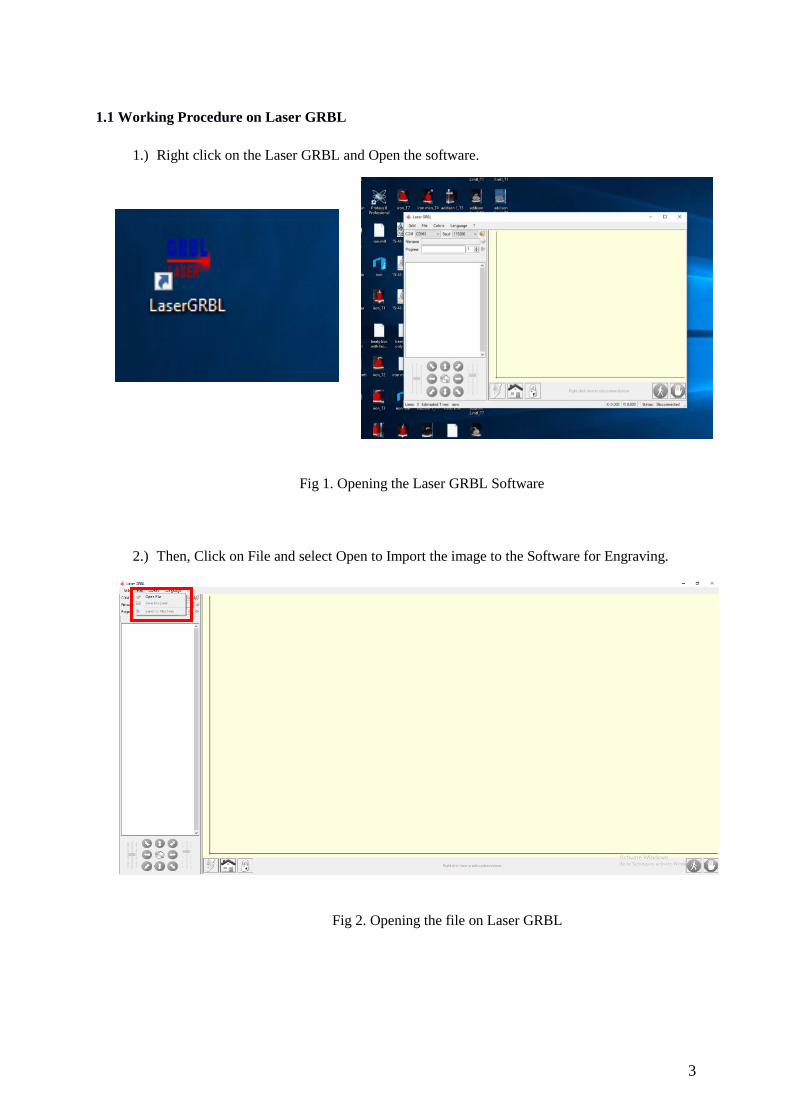
3.) Browse and Select the Grayscale (for better tracing) image which you want to engrave on
Cardboard.
Fig 3. Browsing the Image on Laser GRBL
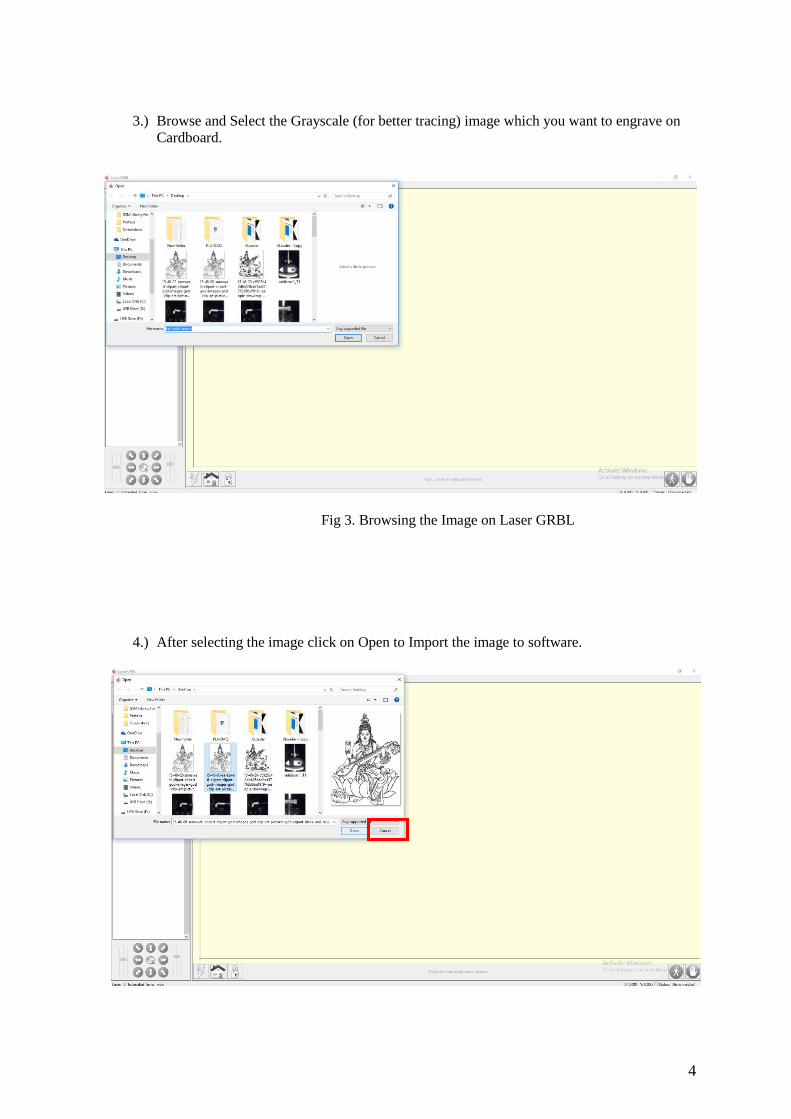
4.) After selecting the image click on Open to Import the image to software.
5
Fig 4. Importing the Image on Laser GRBL
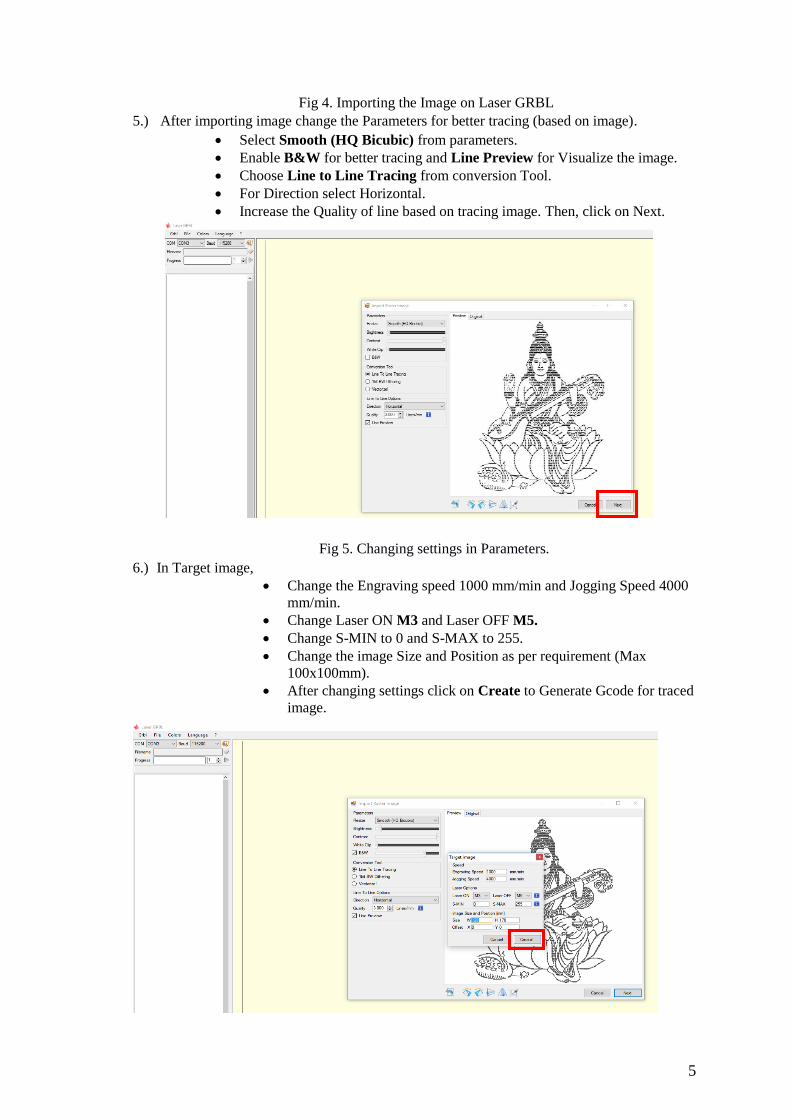
5.) After importing image change the Parameters for better tracing (based on image).
Select Smooth (HQ Bicubic) from parameters.
Enable B&W for better tracing and Line Preview for Visualize the image.
Choose Line to Line Tracing from conversion Tool.
For Direction select Horizontal.
Increase the Quality of line based on tracing image. Then, click on Next.
Fig 5. Changing settings in Parameters.
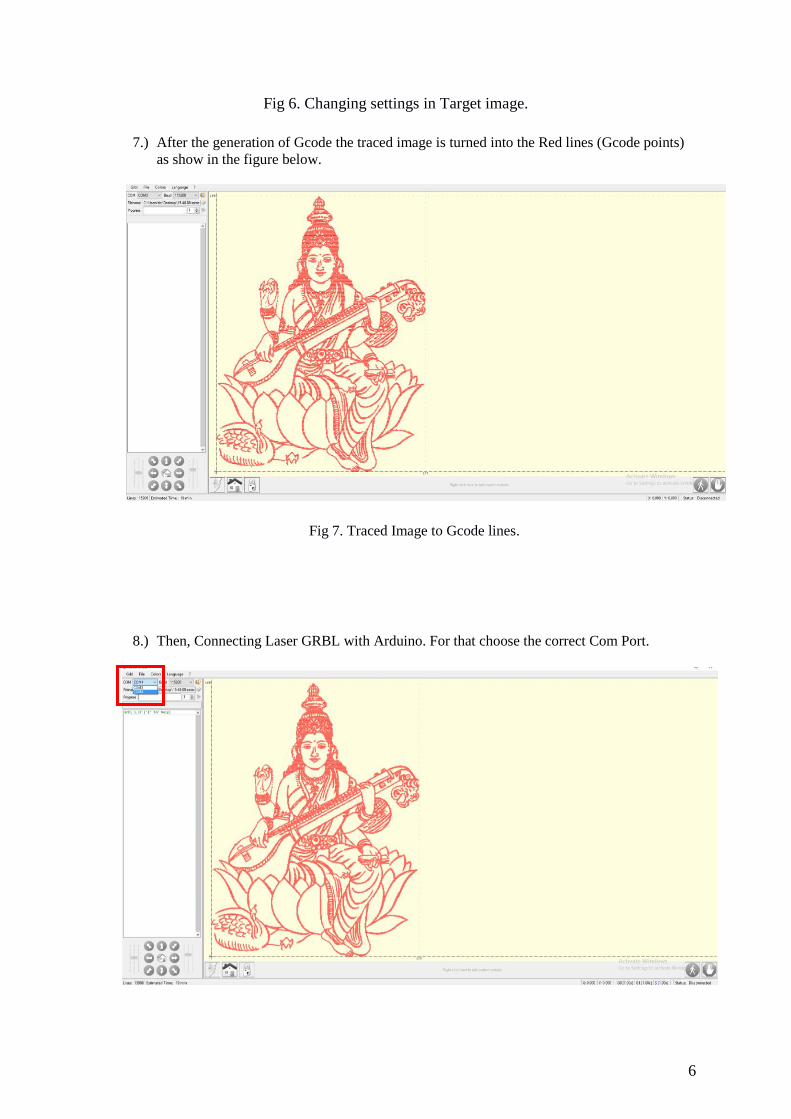
6.) In Target image,
Change the Engraving speed 1000 mm/min and Jogging Speed 4000
mm/min.
Change Laser ON M3 and Laser OFF M5.
Change S-MIN to 0 and S-MAX to 255.
Change the image Size and Position as per requirement (Max
100x100mm).
After changing settings click on Create to Generate Gcode for traced
image.
6
Fig 6. Changing settings in Target image.
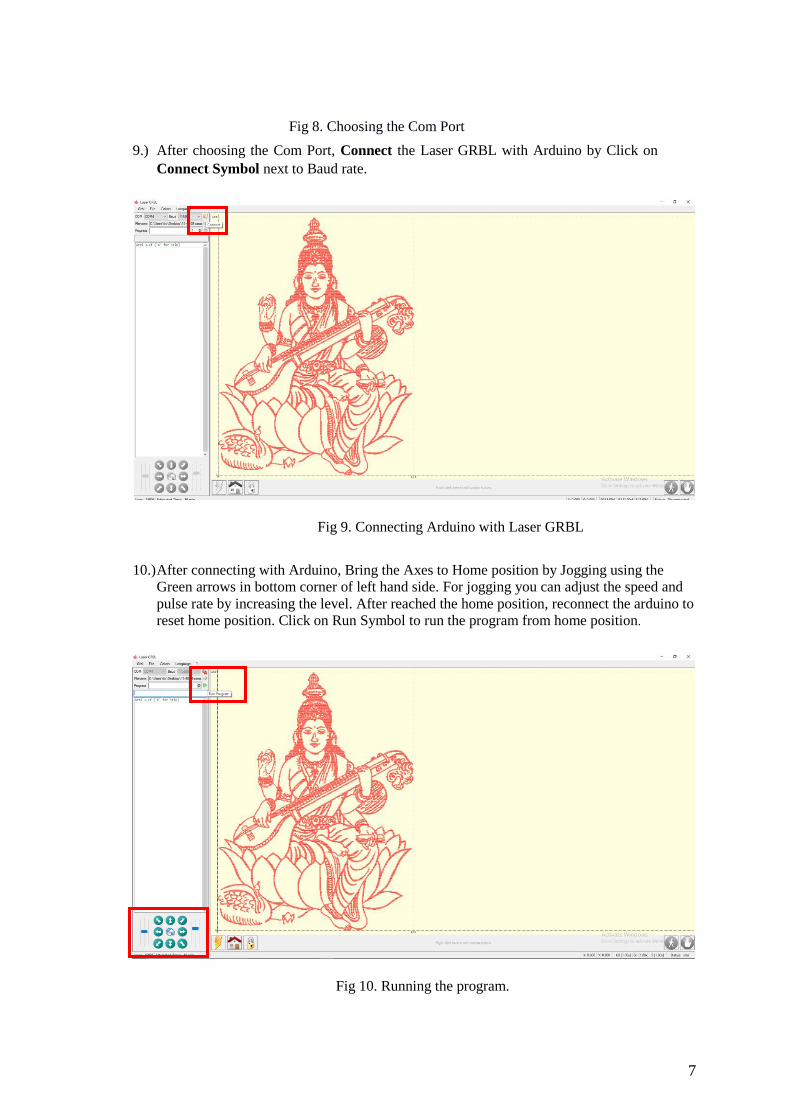
7.) After the generation of Gcode the traced image is turned into the Red lines (Gcode points)
as show in the figure below.
Fig 7. Traced Image to Gcode lines.
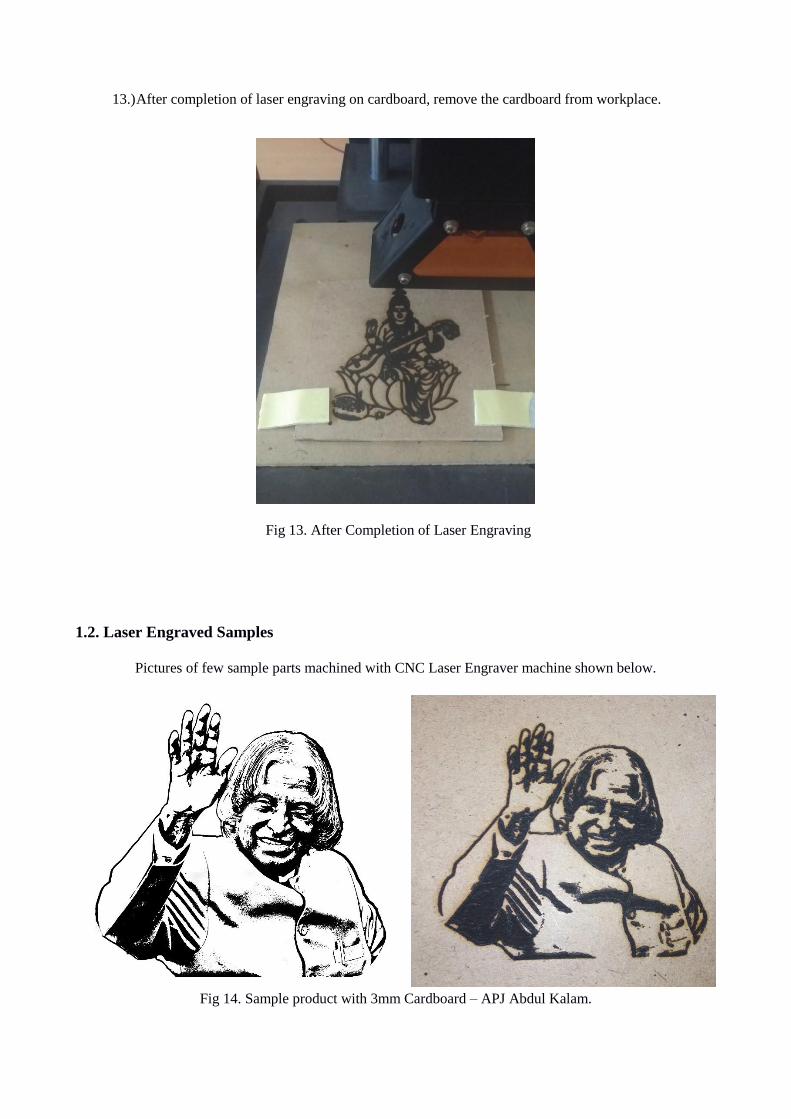
8.) Then, Connecting Laser GRBL with Arduino. For that choose the correct Com Port.
7
Fig 8. Choosing the Com Port
9.) After choosing the Com Port, Connect the Laser GRBL with Arduino by Click on
Connect Symbol next to Baud rate.
Fig 9. Connecting Arduino with Laser GRBL
10.) After connecting with Arduino, Bring the Axes to Home position by Jogging using the
Green arrows in bottom corner of left hand side. For jogging you can adjust the speed and
pulse rate by increasing the level. After reached the home position, reconnect the arduino to
reset home position. Click on Run Symbol to run the program from home position.
Fig 10. Running the program.

11.) Now we can see the step by step Gcode sending to the machine from Laser GRBL in left hand side
column. Projected time of the project will display at bottom of left hand side. To STOP the
machine for emergency, Click on Stop button at bottom of right hand side. Then, click on Run
button to resume the engraving.
Fig 11. Real time Visualization of Engraving.
12.) Real time Laser Engraving images on 3mm Cardboard.
Fig 12. Real time Laser Engraving on Cardboard
13.) After completion of laser engraving on cardboard, remove the cardboard from workplace.
Fig 13. After Completion of Laser Engraving
1.2. Laser Engraved Samples
Pictures of few sample parts machined with CNC Laser Engraver machine shown below.
Fig 14. Sample product with 3mm Cardboard – APJ Abdul Kalam.
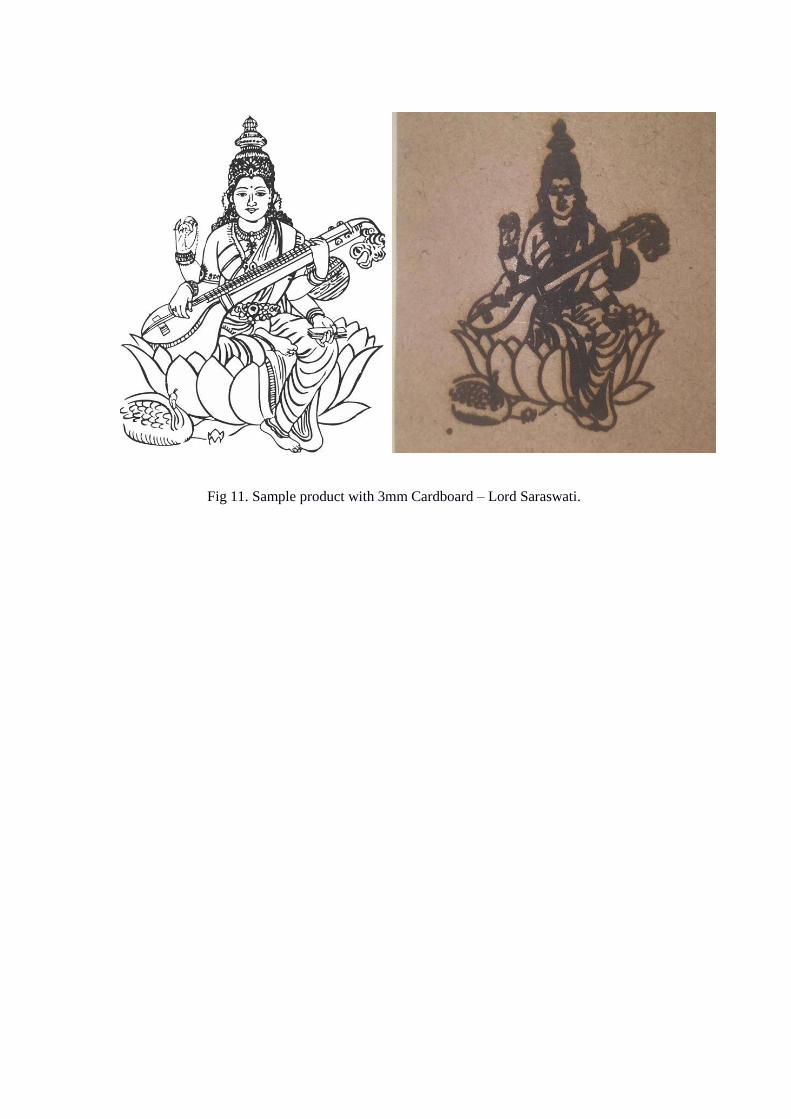
Fig 11. Sample product with 3mm Cardboard – Lord Saraswati.