Embed Size (px)
DESCRIPTION
Getting Started With Autodesk Inventor Professional 2013. Phase 2. Now that you have successfully completed Phase One, Let’s start Phase Two!. Relevant Vocabulary. - PowerPoint PPT Presentation
Citation preview
Getting Started With Getting Started With Autodesk Inventor Autodesk Inventor Professional 2013Professional 2013
Phase 2Phase 2

Relevant VocabularyRelevant VocabularyMake sure to write in each
vocabulary word on your relevant vocabulary worksheet when you see
it in the presentation! Don’t forget to spell it correctly!!!
What is a Constraint?What is a Constraint?A Constraint is a limitation or
restriction. (This is the same as in the design
process, so why do we need to learn it again for Inventor?)
There are specific types of There are specific types of constraints in Inventor. constraints in Inventor. These constraints are actually
functions that allow you to limit what lines and shapes in your drawing can
and can not do. They let you give your drawing “rules.”
Geometric ConstraintsGeometric Constraints
Geometric Constraints are restrictions applied to geometric entities; for
example horizontal, parallel, perpendicular, tangent and vertical.
Let’s Try Something New!Let’s Try Something New!1- Go Log In.1- Go Log In.2- Open Inventor.2- Open Inventor.3-Start a New Standard.ipt.3-Start a New Standard.ipt.4-Start a 2D sketch on the XY 4-Start a 2D sketch on the XY plane.plane.5- Wait here!5- Wait here!
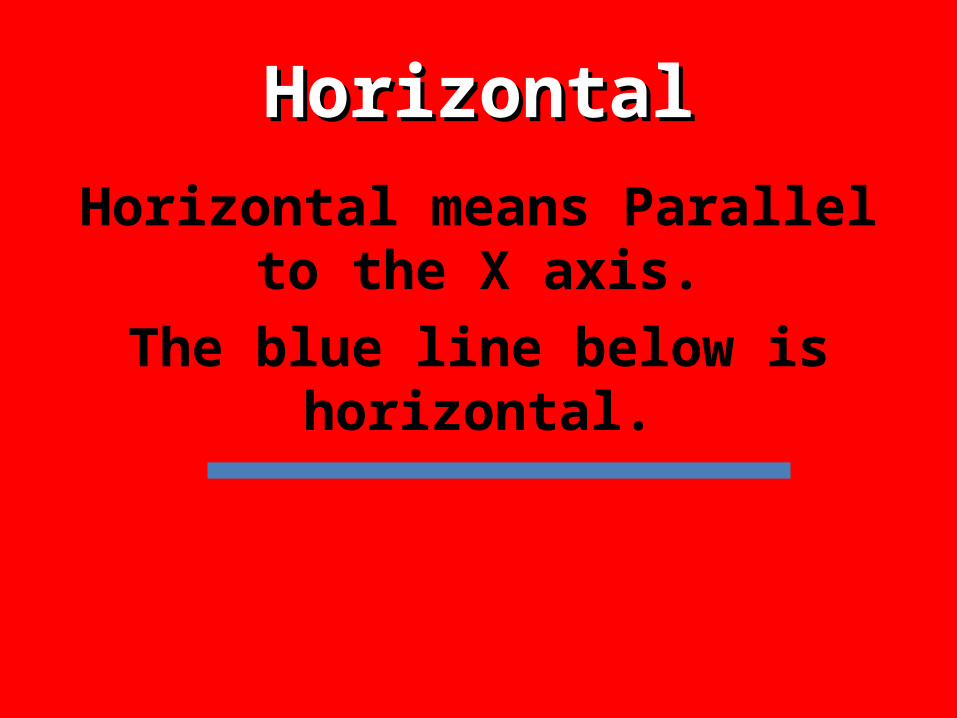
HorizontalHorizontalHorizontal means Parallel to the X
axis.The blue line below is horizontal.
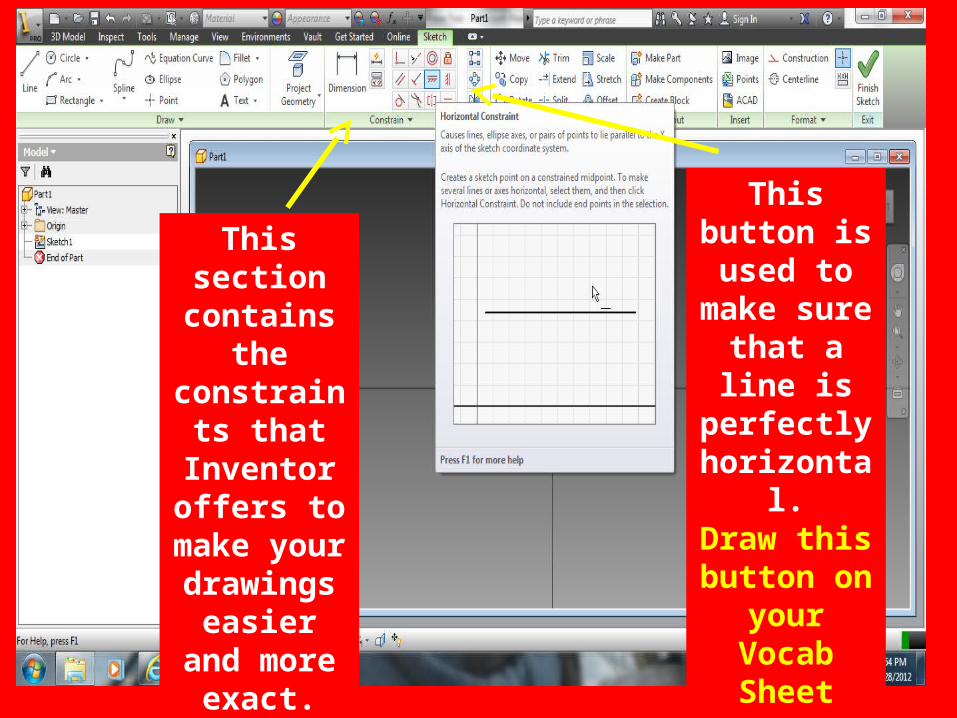
This section contains the constraints
that Inventor offers to
make your drawings
easier and more exact.
This button is used to make
sure that a line is
perfectly horizontal.Draw this button on
your Vocab Sheet Next
to “Horizontal”.
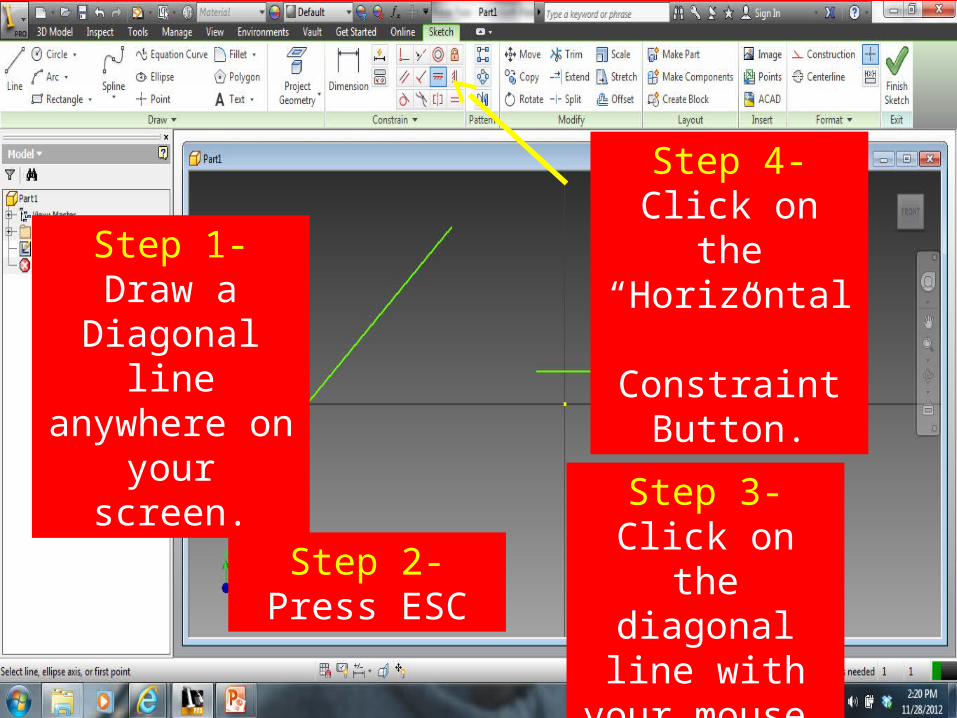
Step 1- Draw a Diagonal line anywhere on your screen.
Step 2- Press ESC
Step 3- Click on the diagonal line
with your mouse.
Step 4- Click on the “Horizontal”
Constraint Button.
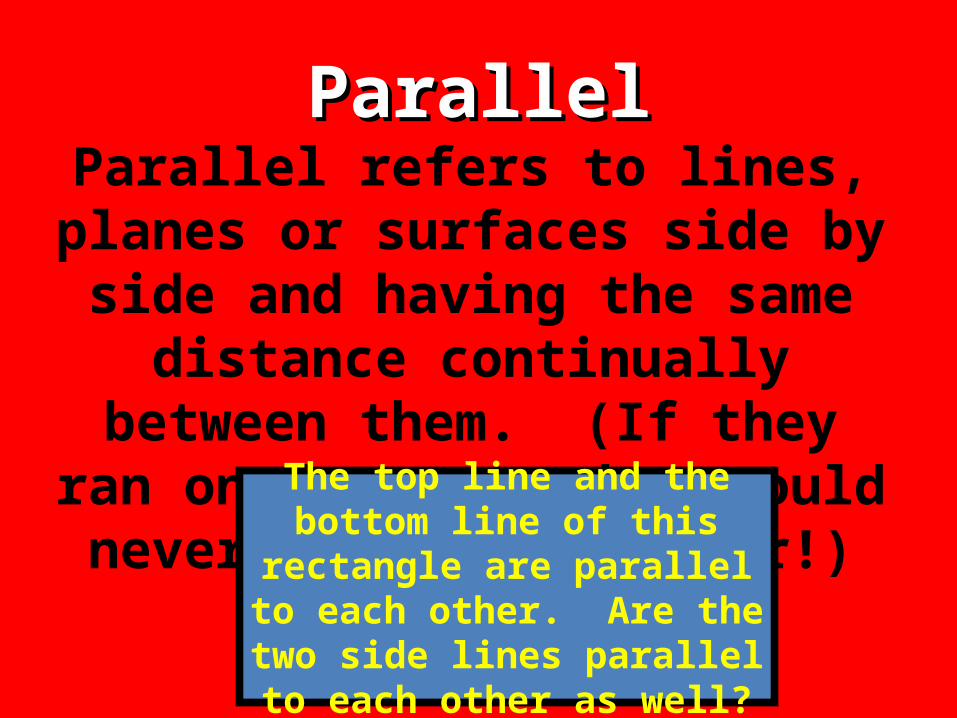
ParallelParallelParallel refers to lines, planes or
surfaces side by side and having the same distance continually between them. (If they ran on forever, they
would never cross each other!)The top line and the bottom line of this rectangle are parallel to each other. Are the two side lines parallel to each other as
well?
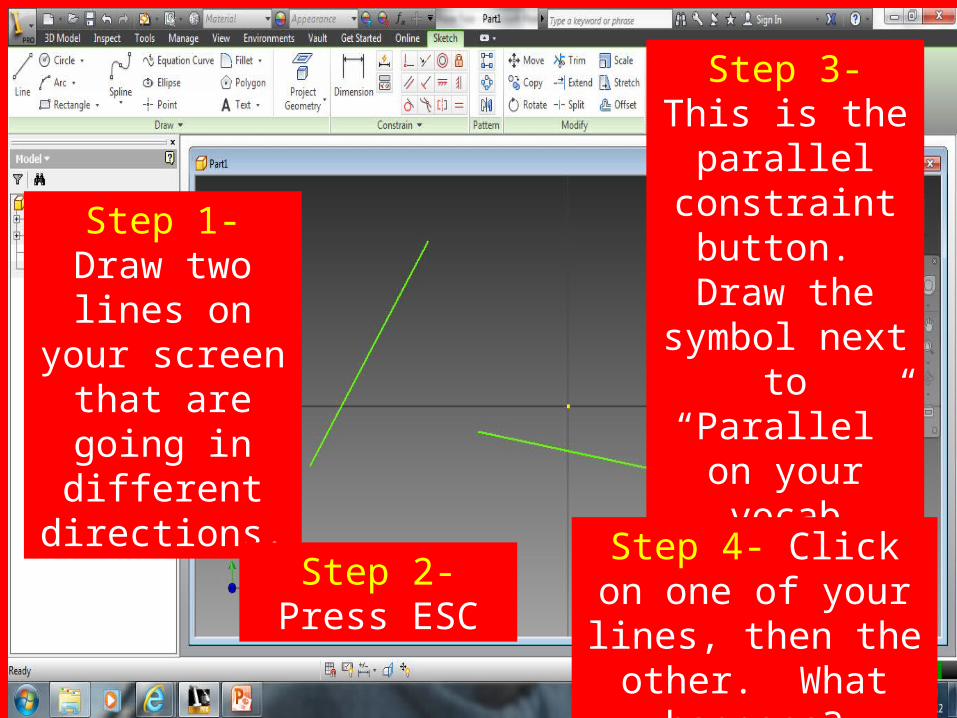
Step 1- Draw two lines on
your screen that are going in
different directions.
Step 2- Press ESC
Step 3- This is the parallel constraint
button. Draw the symbol next to “Parallel” on
your vocab sheet. Then
click on it.
Step 4- Click on one of your lines, then the
other. What happens?
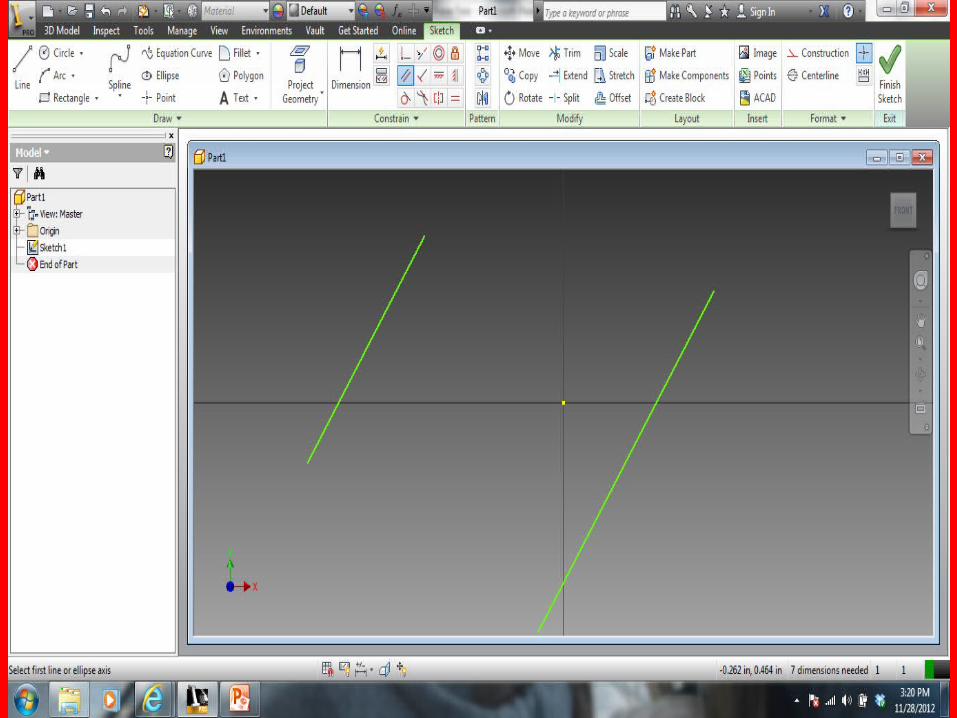
• Draw another diagonal line. • Press ESC .• Use your mouse to grab one end
of the diagonal line and move it around.
• Now use your mouse to grab the end of the line you made horizontal.
• Does it move?
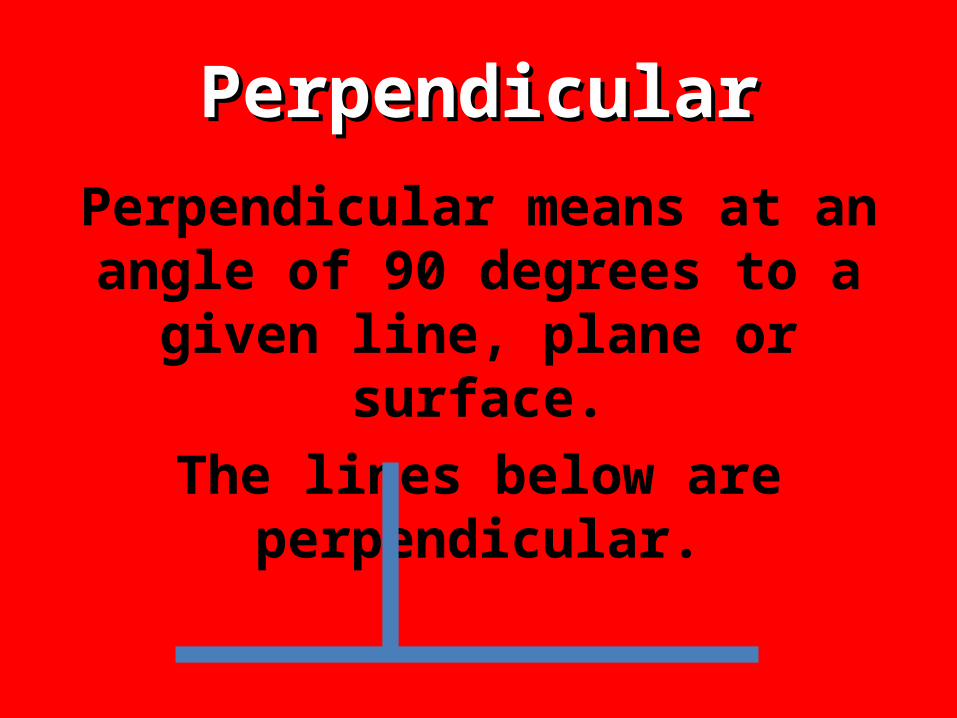
PerpendicularPerpendicularPerpendicular means at an angle of 90 degrees to a given line, plane or
surface.The lines below are perpendicular.

I think you get the idea, so try the following…
1. Draw two lines.•Find the Perpendicular constraint button on the ribbon.•Draw the symbol on your vocab sheet next to “Perpendicular”•Click on the button, then click on the two lines.
Try to move these lines around and see
what happens.

TangentTangentTangent means a straight line or
plane that touches a curve or curved surface at one point.
The line below is tangent to the circle.
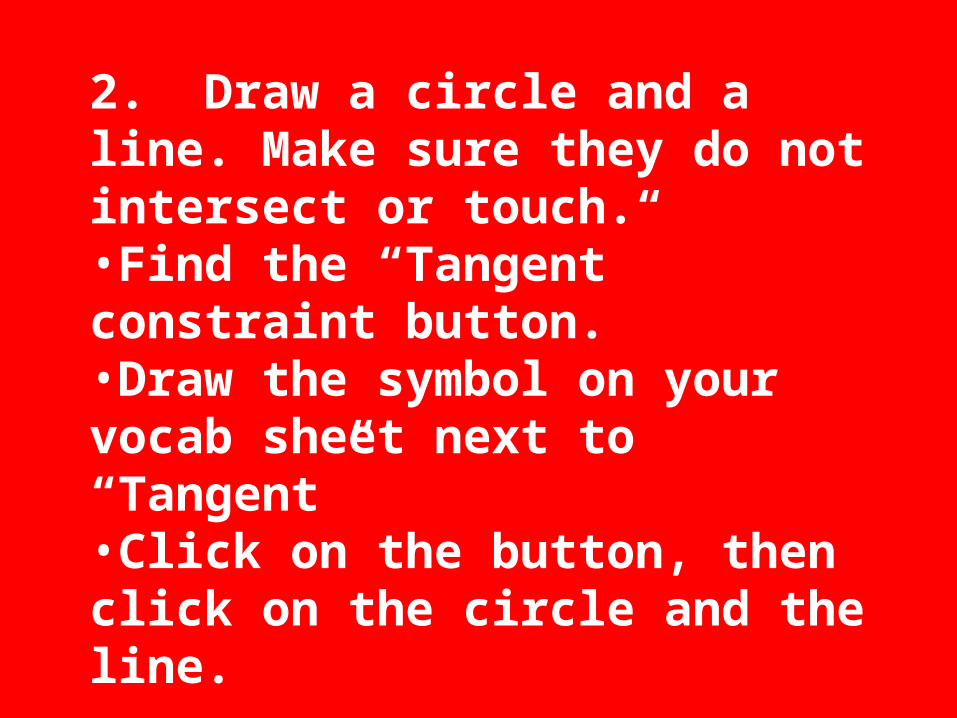
2. Draw a circle and a line. Make sure they do not intersect or touch.•Find the “Tangent” constraint button.•Draw the symbol on your vocab sheet next to “Tangent”•Click on the button, then click on the circle and the line.

VerticalVerticalParallel to the Y Axis.
The line below is vertical.
3. Draw a diagonal line.•Find the “Vertical” constraint button.•Draw the symbol on your vocab sheet next to “Vertical”•Click on the button, then click on the the line.
CoincidentCoincident
Coincident means Occupying the same area in
space.
4. Draw a circle and a line. Make sure they do not intersect or touch.•Find the “Coincident” constraint button.•Draw the symbol on your vocab sheet next to “Coincident”•Click on the button, then click on the center point of the circle and the line.

CollinearCollinear
Collinear means lying in the same straight line.

5. Draw two lines. Make sure they do not intersect or touch.•Find the “Collinear” constraint button.•Draw the symbol on your vocab sheet next to “Collinear.”•Click on the button, then click on the lines.
ConcentricConcentric
Concentric means circles or arcs that share the
same center.
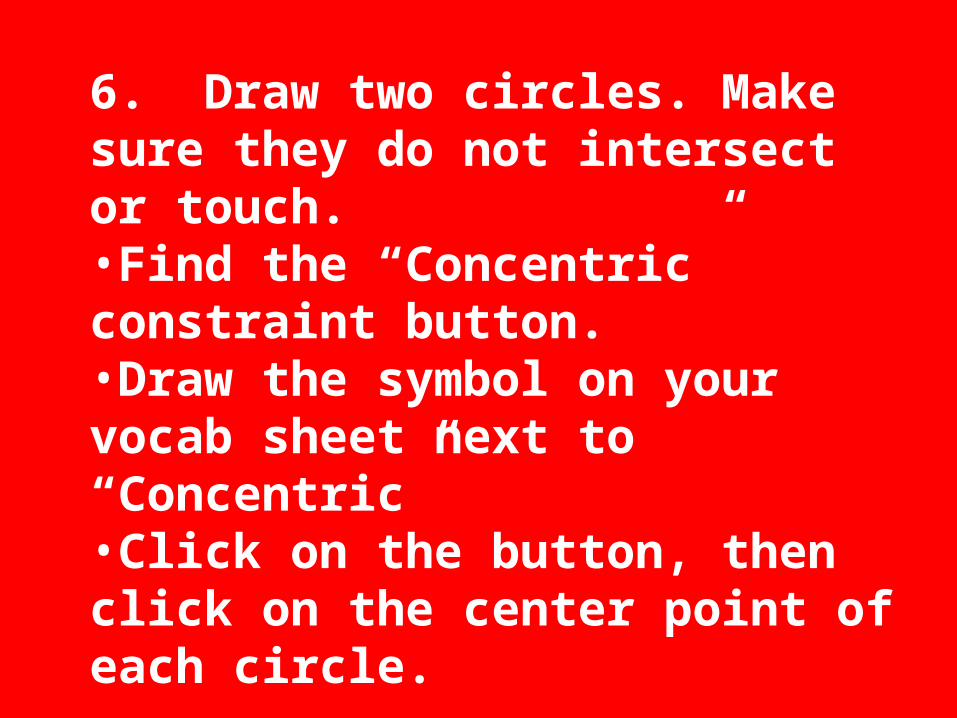
6. Draw two circles. Make sure they do not intersect or touch.•Find the “Concentric” constraint button.•Draw the symbol on your vocab sheet next to “Concentric”•Click on the button, then click on the center point of each circle.
FixFix
Fix means to attach or position securely.
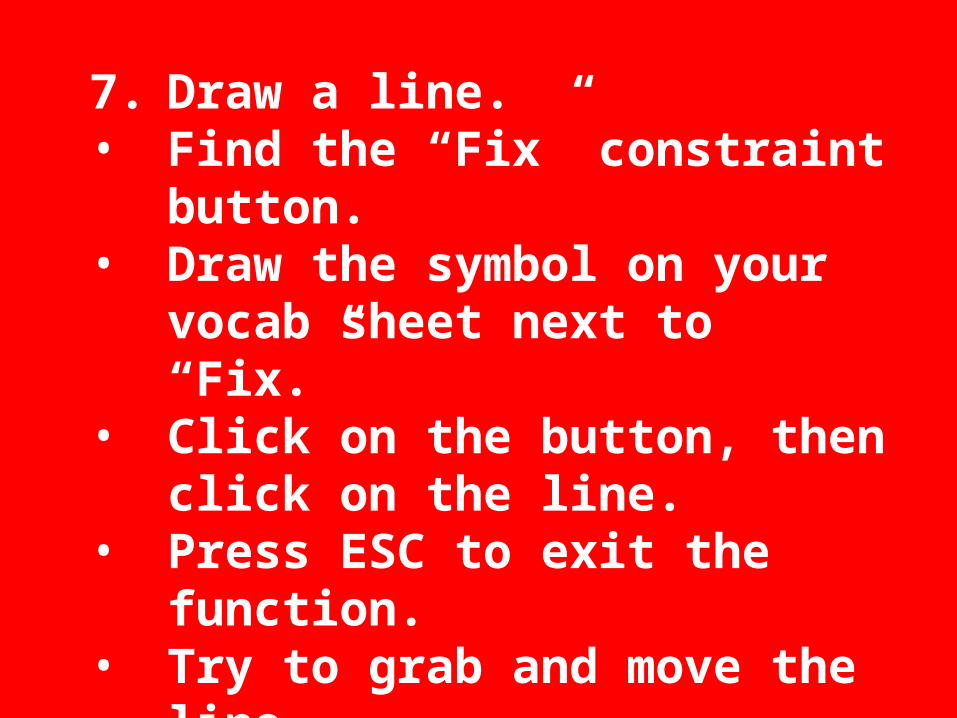
7. Draw a line. • Find the “Fix” constraint button.• Draw the symbol on your vocab
sheet next to “Fix.”• Click on the button, then click on the
line. • Press ESC to exit the function.• Try to grab and move the line.
TrimTrim
Trim means to cut off irregular or unwanted
parts.
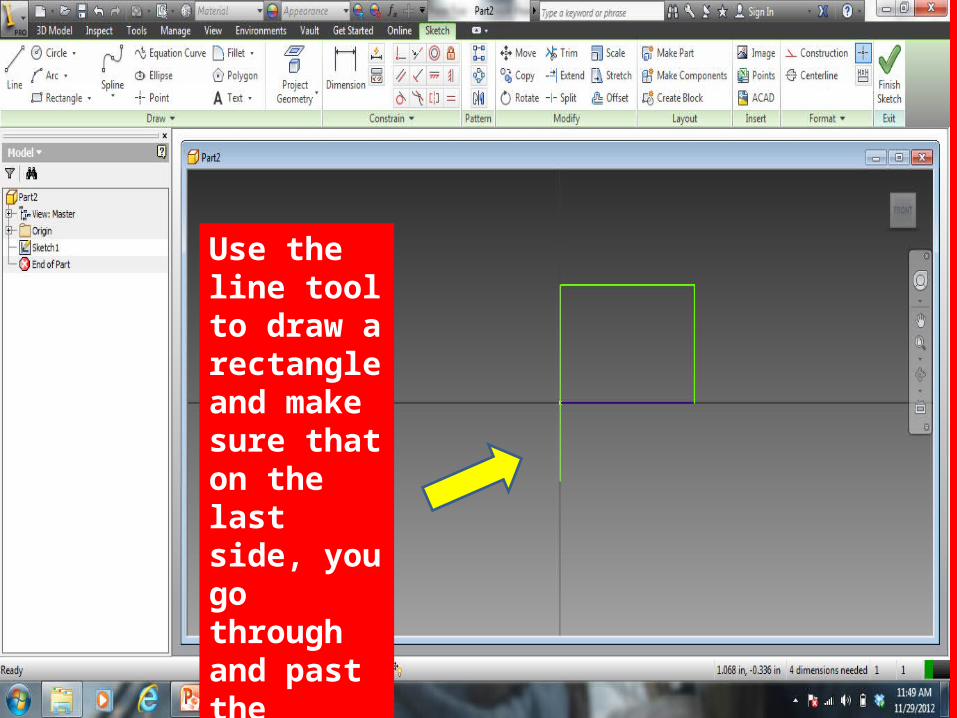
Use the line tool to draw a rectangle and make sure that on the last side, you go through and past the corner point.
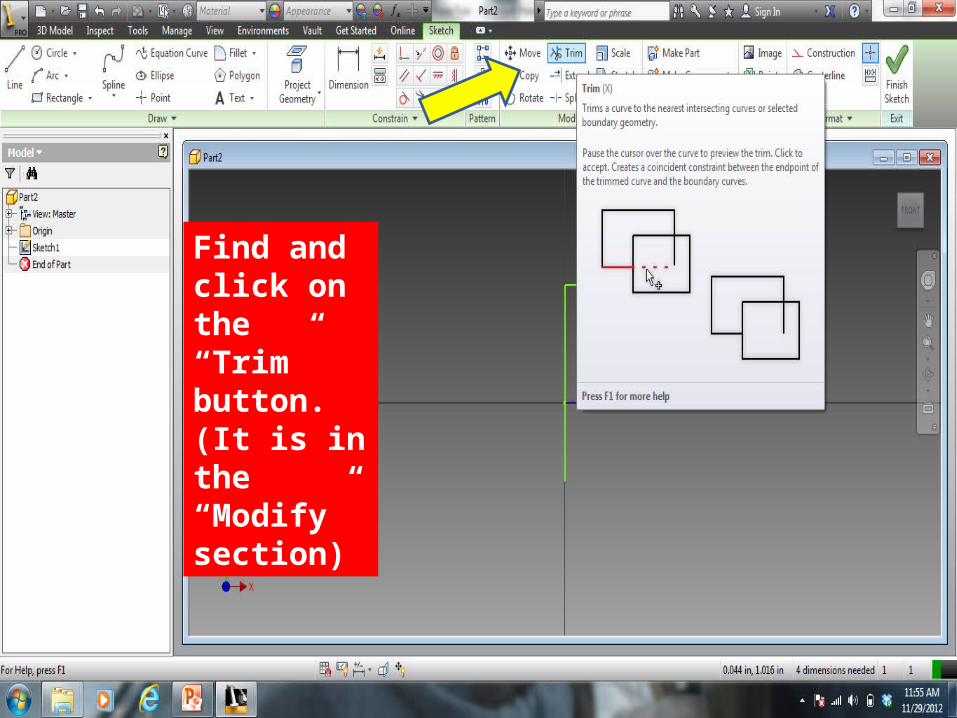
Find and click on the “Trim” button. (It is in the “Modify” section)
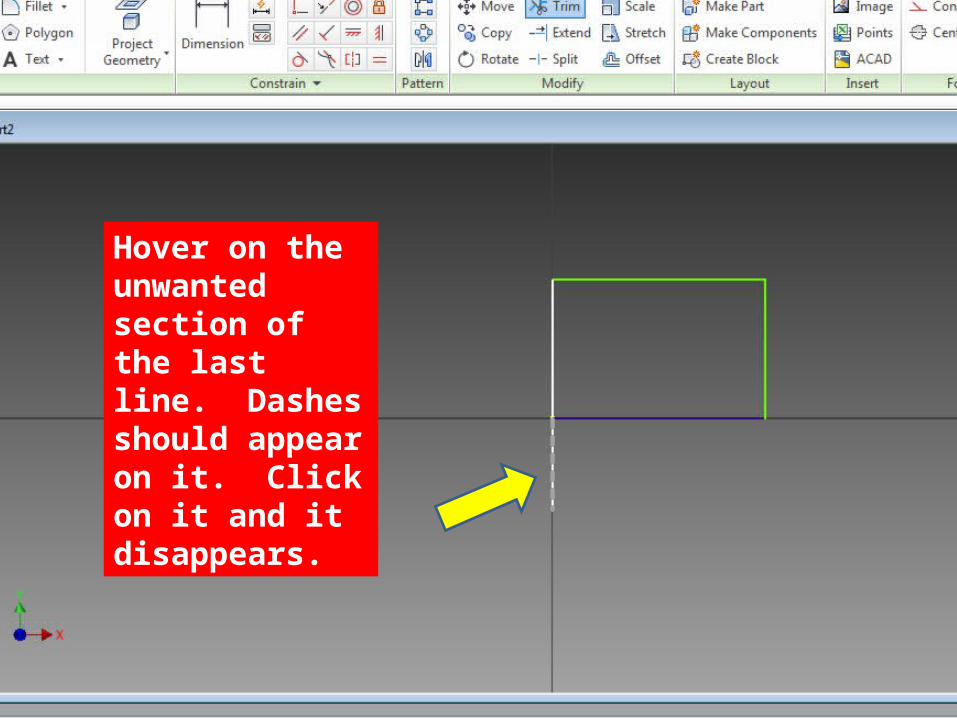
Hover on the unwanted section of the last line. Dashes should appear on it. Click on it and it disappears.
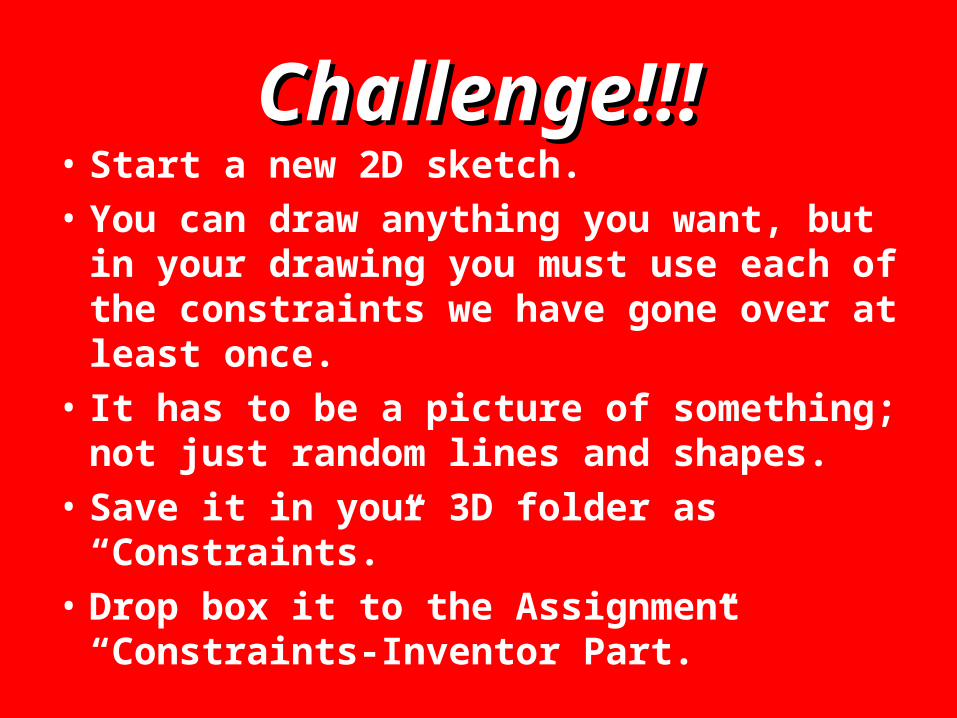
Challenge!!!Challenge!!!• Start a new 2D sketch.• You can draw anything you want, but in your
drawing you must use each of the constraints we have gone over at least once.
• It has to be a picture of something; not just random lines and shapes.
• Save it in your 3D folder as “Constraints.”• Drop box it to the Assignment “Constraints-
Inventor Part.”