Embed Size (px)
DESCRIPTION
Windows Vista was heralded by its creators as being a speedy operating system. However, it didn’t take long for users to realise that Vista’s performance was generally no better than Windows XP, and in many cases was actually worse. Working with a PC that isn’t performing to its maximum potential can be a frustrating experience, but this is particularly true if the machine is used for gaming. But there are a huge number of tweaks that can be applied to help make working with Vista less exasperating. Read on to find out what you can do to tame your OS. Even if you’re working with a high spec rig, the chances are there’s a great deal that can be done to help improve performance and reduce boot times.
Citation preview
THERE’S MORE…HD Projector group testCode your own games The God sims you need to play
MAKE YOUR OWN USB VIA ETHERNETCONNECTOR
Extend the range of your peripherals
The God sims you need to playISSU
E 224M
AR 2009
Benched NVIDIA’s dual-GPU monolithic beauty kicks gaming to the next level
Issue 224 Mar 2009 £5.99 Outside UK & ROI £6.49
NO
T BAD
FOR A
HU
MA
N
WW
W.PCFO
RM
AT.CO.U
K
PLUS! HARDCORE PC ADVICE ¤ HACKING & TWEAKING
¤ OVERCLOCKING ¤ MODDING MADNESS
Fallout G.E.C.K. guide
F.E.A.R. 2 SCARY GIRL’S BACK
BUG HUNTINGDAWN OF WAR II
59 Games134 AppsSee page 118
FREE
PERFORMANCE GEAR & GAMING
ISSUE 224 NOT BAD FOR A HUMAN
Benched NVIDIA’s dual-GPU monolithic beauty kicks
GEFORCE GTX 295GEFORCE GEFORCE GEFORCE GEFORCE GEFORCE GEFORCE GEFORCE GEFORCE WORLD’S FASTEST CARD!
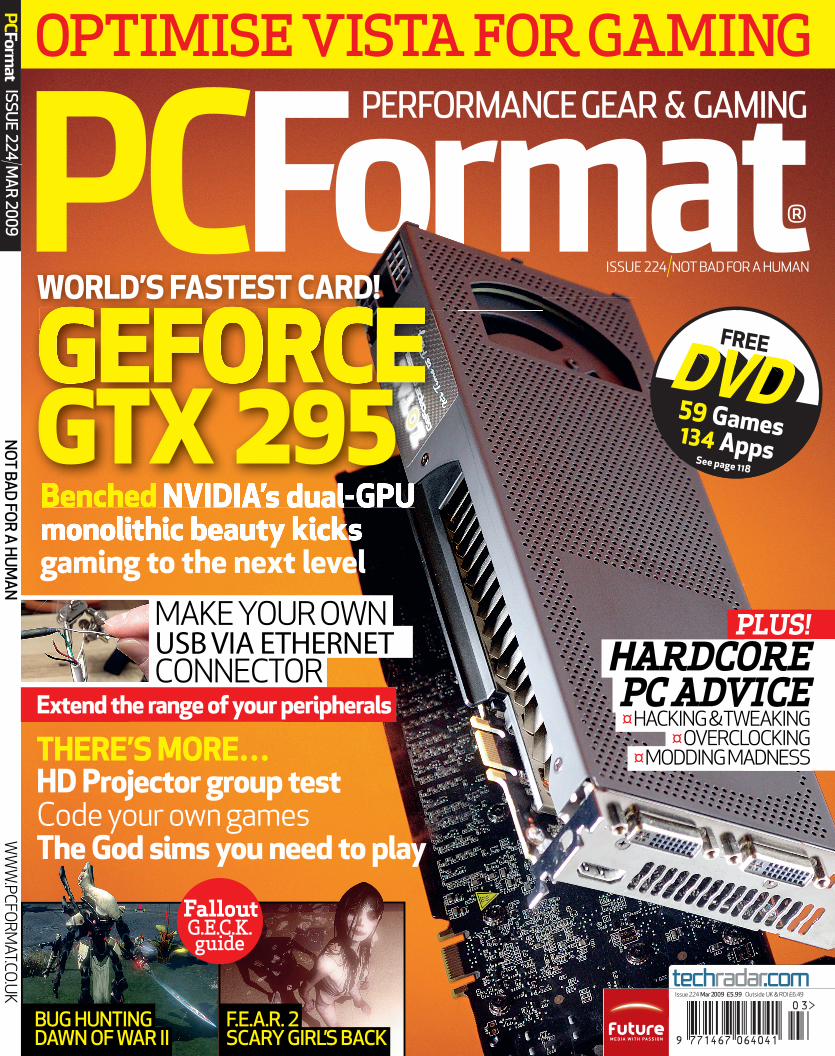
OPTIMISE VISTA FOR GAMING
PCF224.cover 1 22/1/09 10:34:17 am
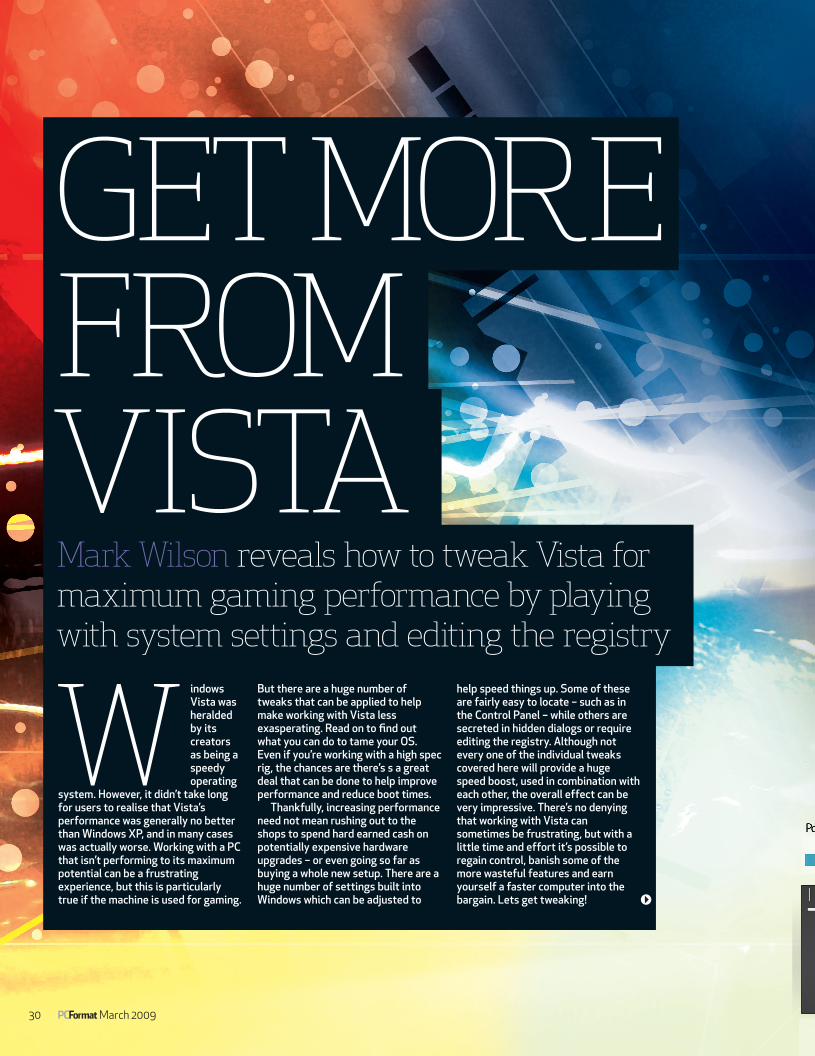
GET MORE FROM VISTAMark Wilson reveals how to tweak Vista for maximum gaming performance by playing with system settings and editing the registry
Windows Vista was heralded by its creators as being a speedy operating
system. However, it didn’t take long for users to realise that Vista’s performance was generally no better than Windows XP, and in many cases was actually worse. Working with a PC that isn’t performing to its maximum potential can be a frustrating experience, but this is particularly true if the machine is used for gaming.
But there are a huge number of tweaks that can be applied to help make working with Vista less exasperating. Read on to fi nd out what you can do to tame your OS. Even if you’re working with a high spec rig, the chances are there’s s a great deal that can be done to help improve performance and reduce boot times.
Thankfully, increasing performance need not mean rushing out to the shops to spend hard earned cash on potentially expensive hardware upgrades – or even going so far as buying a whole new setup. There are a huge number of settings built into Windows which can be adjusted to
30 March 2009
help speed things up. Some of these are fairly easy to locate – such as in the Control Panel – while others are secreted in hidden dialogs or require editing the registry. Although not every one of the individual tweaks covered here will provide a huge speed boost, used in combination with each other, the overall effect can be very impressive. There’s no denying that working with Vista can sometimes be frustrating, but with a little time and effort it’s possible to regain control, banish some of the more wasteful features and earn yourself a faster computer into the bargain. Lets get tweaking!
PCF224.feature1 30 26/1/09 1:48:38 pm
March 2009 31
PCF224.feature1 31 26/1/09 1:48:41 pm
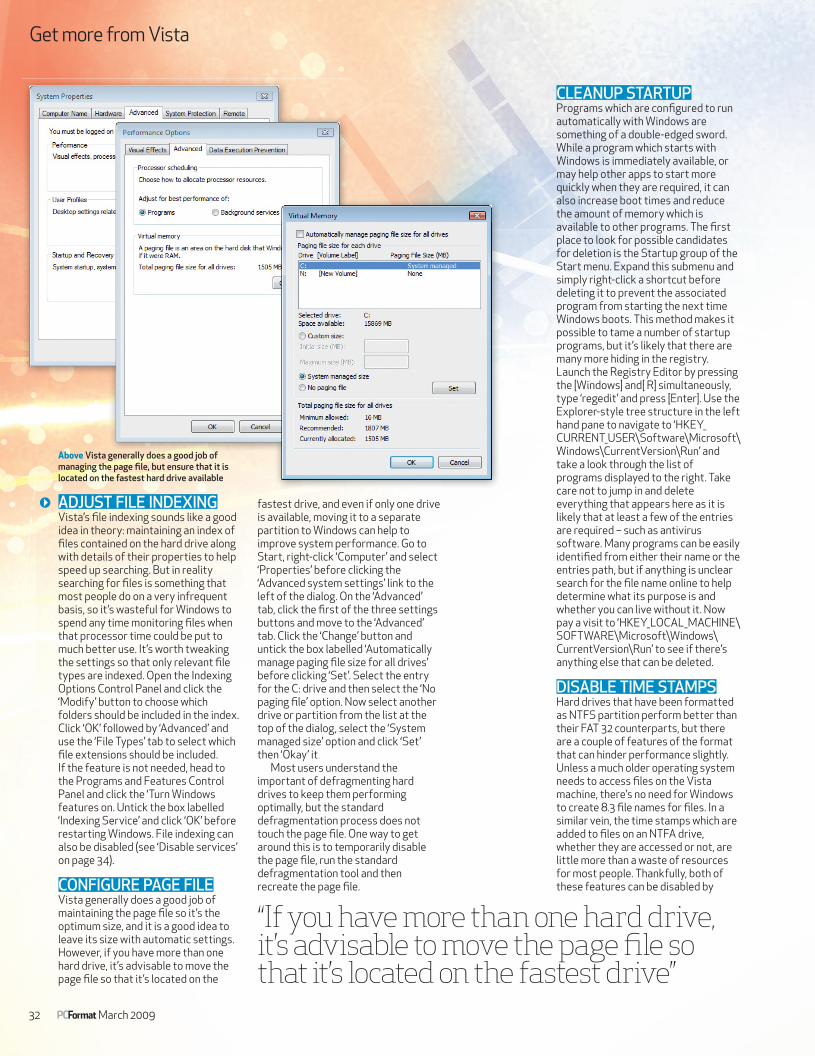
Above Vista generally does a good job of managing the page fi le, but ensure that it is located on the fastest hard drive available
Get more from Vista
32 March 2009
ADJUST FILE INDEXINGVista’s fi le indexing sounds like a good idea in theory: maintaining an index of fi les contained on the hard drive along with details of their properties to help speed up searching. But in reality searching for fi les is something that most people do on a very infrequent basis, so it’s wasteful for Windows to spend any time monitoring fi les when that processor time could be put to much better use. It’s worth tweaking the settings so that only relevant fi le types are indexed. Open the Indexing Options Control Panel and click the ‘Modify’ button to choose which folders should be included in the index. Click ‘OK’ followed by ‘Advanced’ and use the ‘File Types’ tab to select which fi le extensions should be included. If the feature is not needed, head to the Programs and Features Control Panel and click the ‘Turn Windows features on. Untick the box labelled ‘Indexing Service’ and click ‘OK’ before restarting Windows. File indexing can also be disabled (see ‘Disable services’ on page 34).
CONFIGURE PAGE FILEVista generally does a good job of maintaining the page fi le so it’s the optimum size, and it is a good idea to leave its size with automatic settings. However, if you have more than one hard drive, it’s advisable to move the page fi le so that it’s located on the
fastest drive, and even if only one drive is available, moving it to a separate partition to Windows can help to improve system performance. Go to Start, right-click ‘Computer’ and select ‘Properties’ before clicking the ‘Advanced system settings’ link to the left of the dialog. On the ‘Advanced’ tab, click the fi rst of the three settings buttons and move to the ‘Advanced’ tab. Click the ‘Change’ button and untick the box labelled ‘Automatically manage paging fi le size for all drives’ before clicking ‘Set’. Select the entry for the C: drive and then select the ‘No paging fi le’ option. Now select another drive or partition from the list at the top of the dialog, select the ‘System managed size’ option and click ‘Set’ then ‘Okay’ it.
Most users understand the important of defragmenting hard drives to keep them performing optimally, but the standard defragmentation process does not touch the page fi le. One way to get around this is to temporarily disable the page fi le, run the standard defragmentation tool and then recreate the page fi le.
CLEANUP STARTUPPrograms which are confi gured to run automatically with Windows are something of a double-edged sword. While a program which starts with Windows is immediately available, or may help other apps to start more quickly when they are required, it can also increase boot times and reduce the amount of memory which is available to other programs. The fi rst place to look for possible candidates for deletion is the Startup group of the Start menu. Expand this submenu and simply right-click a shortcut before deleting it to prevent the associated program from starting the next time Windows boots. This method makes it possible to tame a number of startup programs, but it’s likely that there are many more hiding in the registry. Launch the Registry Editor by pressing the [Windows] and[ R] simultaneously, type ‘regedit’ and press [Enter]. Use the Explorer-style tree structure in the left hand pane to navigate to ‘HKEY_CURRENT_USER\Software\Microsoft\Windows\CurrentVersion\Run’ and take a look through the list of programs displayed to the right. Take care not to jump in and delete everything that appears here as it is likely that at least a few of the entries are required – such as antivirus software. Many programs can be easily identifi ed from either their name or the entries path, but if anything is unclear search for the fi le name online to help determine what its purpose is and whether you can live without it. Now pay a visit to ‘HKEY_LOCAL_MACHINE\SOFTWARE\Microsoft\Windows\CurrentVersion\Run’ to see if there’s anything else that can be deleted.
DISABLE TIME STAMPSHard drives that have been formatted as NTFS partition perform better than their FAT 32 counterparts, but there are a couple of features of the format that can hinder performance slightly. Unless a much older operating system needs to access fi les on the Vista machine, there’s no need for Windows to create 8.3 fi le names for fi les. In a similar vein, the time stamps which are added to fi les on an NTFA drive, whether they are accessed or not, are little more than a waste of resources for most people. Thankfully, both of these features can be disabled by
“If you have more than one hard drive, it’s advisable to move the page fi le so that it’s located on the fastest drive”
PCF224.feature1 32 26/1/09 1:49:1 pm
DISABLE SYS SOUNDSIt may well seem insignifi cant, but if Windows plays a sound at startup or to accompany various events, valuable system resources are being wasted. Open the Sound Control Panel and move to the Sounds tab. From the drop down menu select ‘No Sounds’ and indicate whether the current sound scheme should be saved. Also untick the box labelled ‘Play Windows Startup sound’. Other installed software, such as instant messaging tools, can feature sound effects, so it’s worth looking through the preferences of these programs to disable anything that’s not really needed.
DISABLE SYS RESTORESystem Restore is a useful feature of Windows. It is, however, also a hogger of resources and, providing an alternative manual backup method has been put in place, it can be safely disabled. Open the System Control Panel and click the ‘System protection’ link to the left of the dialog. On the System Protection tab of System Properties, clear the tick boxes next to each of the listed drives, clicking ‘Turn Off System Restore’ having deselected the drive which contains Windows.
USE READYBOOSTOne of the most effective ways to help boost the performance of Windows is to add extra memory, and while this need not be expensive, there‘s an even cheaper option available. Vista’s ReadyBoost feature makes it possible to use a USB drive – either a thumb drive or a fully fl edged external hard drive – to supplement any RAM which is already installed. Although this will not improve performance to the same extent as physical memory, most USB drives used for storage are rarely used to their full capacity and this free space may as well be put to good use. Plug in a USB drive and an autoplay window should appear - select the option labelled ‘Speed up my computer’. If this dialog is not displayed simply open up Computer, right-click the relevant drive and select Properties before moving to the ‘ReadyBoost’ tab. Ensure that the ‘Use this device’ option is selected and use the slider to indicate how much of the disk storage space should be given offer to ReadyBoost.
DISABLE UACUser Account Control has proved to be one of Vista’s least popular features by a long chalk. The handholding security warnings that get displayed when performing a range of common tasks
editing the registry. Launch the Registry Editor and navigate to HKEY_LOCAL_MACHINE\SYSTEM\CurrentControlSet\Control\FileSystem. In the right-hand pane, double-click the key named ‘NtfsDisable8dot3NameCreation’ and assign it a value of ‘1’. Do the same for ‘NtfsDisableLastAccessUpdate’.
UNINSTALL REMOTE DIFFERENTIAL COMPRESSIONRemote Differential Compression is a feature used in network fi le synchronisation to help minimise the amount of data that needs to be transferred. It’s not generally a concern on a standard home network. To uninstall this Vista feature, open the ‘Programs and Features’ Control Panel and click the ‘Turn Windows features on or off’ link. Untick the box next to the entry for Remote Differential Compression and then click ‘OK.’
DISABLE AERO AND TRANSPARENCY EFFECTSRight-click an empty section of the desktop and select ‘Personalize’ before clicking the ‘Theme’ link. By opting to use the old style Classic look of Windows, Aero is disabled helping to speed up general operations. If you’d prefer to keep the Vista look, but disable Aero effects, click ‘Window Color and Appearance’ and untick the box labelled ‘Enable transparency’.
BOOST SATA DRIVE PERFORMANCETo ensure that SATA hard drives are delivering the best possible performance, open the Device Manager by pressing [Windows] and [R] simultaneously, then type ‘devmgmt.msc’ and press [Enter]. In the list of hardware devices that’s displayed, double-click the ‘Disk drives’ entry to expand it and then double-click the listing for your hard drive. Move to the ‘Policies’ tab and you should see that ‘Enable write caching on the disk’ is selected by default. By ticking the box labelled ‘Enable advanced performance’, drive performance can be increased, but there’s an increased risk of data loss in the event of power failure. If an external drive – such as a USB drive – is plugged in and is not removed, its performance can be improved by indicating that it will be permanently connected. After selecting the relevant drive from Device Manager, move to the Policies tab and ensure that the ‘Optimize for performance’ option is selected before clicking ‘OK’.
Get more from Vista
March 2009 33
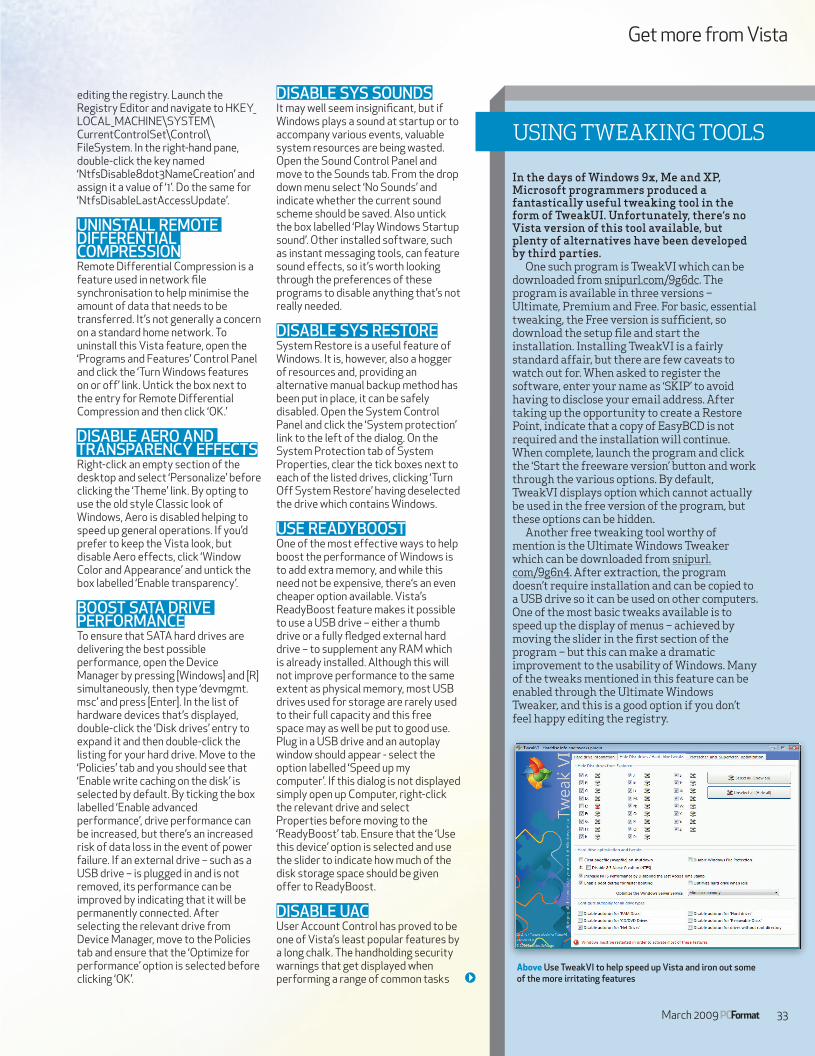
In the days of Windows 9x, Me and XP, Microsoft programmers produced a fantastically useful tweaking tool in the form of TweakUI. Unfortunately, there‘s no Vista version of this tool available, but plenty of alternatives have been developed by third parties.
One such program is TweakVI which can be downloaded from snipurl.com/9g6dc. The program is available in three versions – Ultimate, Premium and Free. For basic, essential tweaking, the Free version is suffi cient, so download the setup fi le and start the installation. Installing TweakVI is a fairly standard affair, but there are few caveats to watch out for. When asked to register the software, enter your name as ‘SKIP’ to avoid having to disclose your email address. After taking up the opportunity to create a Restore Point, indicate that a copy of EasyBCD is not required and the installation will continue. When complete, launch the program and click the ‘Start the freeware version’ button and work through the various options. By default, TweakVI displays option which cannot actually be used in the free version of the program, but these options can be hidden.
Another free tweaking tool worthy of mention is the Ultimate Windows Tweaker which can be downloaded from snipurl.com/9g6n4. After extraction, the program doesn’t require installation and can be copied to a USB drive so it can be used on other computers. One of the most basic tweaks available is to speed up the display of menus – achieved by moving the slider in the fi rst section of the program – but this can make a dramatic improvement to the usability of Windows. Many of the tweaks mentioned in this feature can be enabled through the Ultimate Windows Tweaker, and this is a good option if you don’t feel happy editing the registry.
Above Use TweakVI to help speed up Vista and iron out some of the more irritating features
USING TWEAKING TOOLS
PCF224.feature1 33 26/1/09 1:49:14 pm
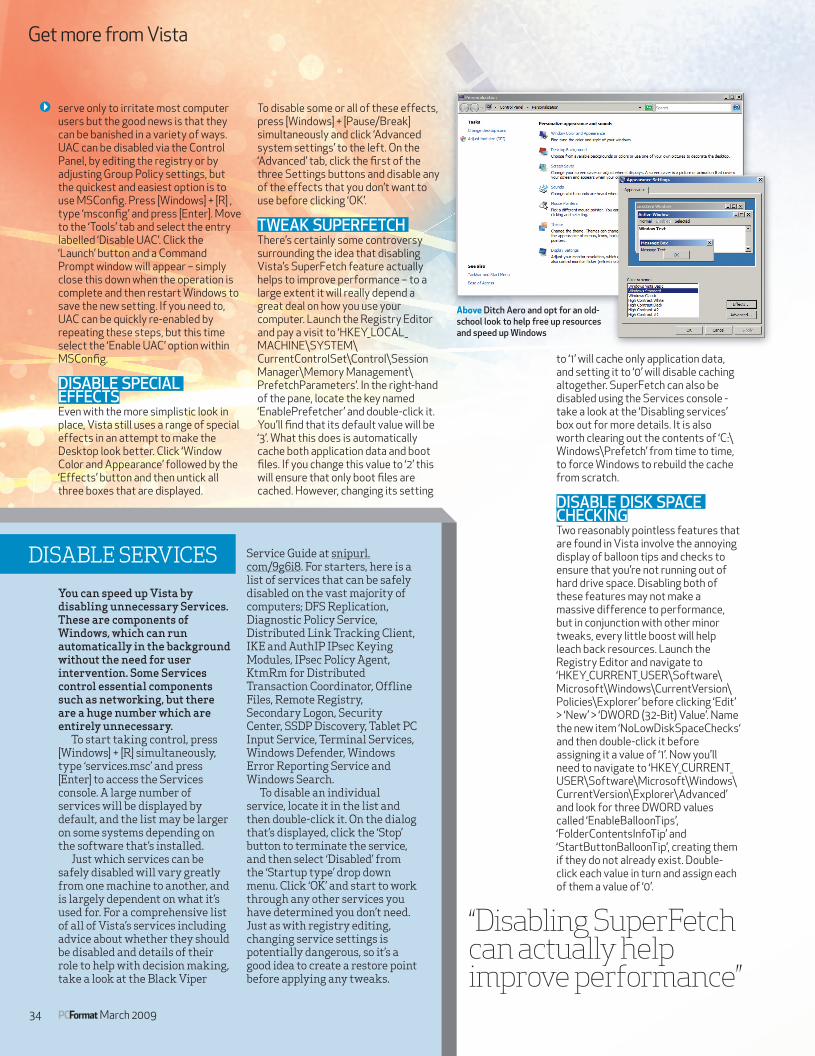
Above Ditch Aero and opt for an old- school look to help free up resources and speed up Windows
serve only to irritate most computer users but the good news is that they can be banished in a variety of ways. UAC can be disabled via the Control Panel, by editing the registry or by adjusting Group Policy settings, but the quickest and easiest option is to use MSConfi g. Press [Windows] + [R] , type ‘msconfi g’ and press [Enter]. Move to the ‘Tools’ tab and select the entry labelled ‘Disable UAC’. Click the ‘Launch’ button and a Command Prompt window will appear – simply close this down when the operation is complete and then restart Windows to save the new setting. If you need to, UAC can be quickly re-enabled by repeating these steps, but this time select the ‘Enable UAC’ option within MSConfi g.
DISABLE SPECIAL EFFECTSEven with the more simplistic look in place, Vista still uses a range of special effects in an attempt to make the Desktop look better. Click ‘Window Color and Appearance’ followed by the ‘Effects’ button and then untick all three boxes that are displayed.
To disable some or all of these effects, press [Windows] + [Pause/Break] simultaneously and click ‘Advanced system settings’ to the left. On the ‘Advanced’ tab, click the fi rst of the three Settings buttons and disable any of the effects that you don’t want to use before clicking ‘OK’.
TWEAK SUPERFETCH There’s certainly some controversy surrounding the idea that disabling Vista’s SuperFetch feature actually helps to improve performance – to a large extent it will really depend a great deal on how you use your computer. Launch the Registry Editor and pay a visit to ‘HKEY_LOCAL_MACHINE\SYSTEM\CurrentControlSet\Control\Session Manager\Memory Management\PrefetchParameters’. In the right-hand of the pane, locate the key named ‘EnablePrefetcher’ and double-click it. You’ll fi nd that its default value will be ‘3’. What this does is automatically cache both application data and boot fi les. If you change this value to ‘2’ this will ensure that only boot fi les are cached. However, changing its setting
to ‘1’ will cache only application data, and setting it to ‘0’ will disable caching altogether. SuperFetch can also be disabled using the Services console - take a look at the ‘Disabling services’ box out for more details. It is also worth clearing out the contents of ‘C:\Windows\Prefetch’ from time to time, to force Windows to rebuild the cache from scratch.
DISABLE DISK SPACE CHECKINGTwo reasonably pointless features that are found in Vista involve the annoying display of balloon tips and checks to ensure that you’re not running out of hard drive space. Disabling both of these features may not make a massive difference to performance, but in conjunction with other minor tweaks, every little boost will help leach back resources. Launch the Registry Editor and navigate to ‘HKEY_CURRENT_USER\Software\Microsoft\Windows\CurrentVersion\Policies\Explorer’ before clicking ‘Edit’ > ‘New’ > ‘DWORD (32-Bit) Value’. Name the new item ‘NoLowDiskSpaceChecks‘ and then double-click it before assigning it a value of ‘1’. Now you’ll need to navigate to ‘HKEY_CURRENT_USER\Software\Microsoft\Windows\CurrentVersion\Explorer\Advanced’ and look for three DWORD values called ‘EnableBalloonTips’, ‘FolderContentsInfoTip’ and ‘StartButtonBalloonTip’, creating them if they do not already exist. Double-click each value in turn and assign each of them a value of ‘0’.
Get more from Vista
34 March 2009
“Disabling SuperFetch can actually help improve performance”
DISABLE SERVICES
You can speed up Vista by disabling unnecessary Services.These are components of Windows, which can run automatically in the background without the need for user intervention. Some Services control essential components such as networking, but there are a huge number which are entirely unnecessary.
To start taking control, press [Windows] + [R] simultaneously, type ‘services.msc’ and press [Enter] to access the Services console. A large number of services will be displayed by default, and the list may be larger on some systems depending on the software that’s installed.
Just which services can be safely disabled will vary greatly from one machine to another, and is largely dependent on what it’s used for. For a comprehensive list of all of Vista’s services including advice about whether they should be disabled and details of their role to help with decision making, take a look at the Black Viper
Service Guide at snipurl.com/9g6i8. For starters, here is a list of services that can be safely disabled on the vast majority of computers; DFS Replication, Diagnostic Policy Service, Distributed Link Tracking Client, IKE and AuthIP IPsec Keying Modules, IPsec Policy Agent, KtmRm for Distributed Transaction Coordinator, Offl ine Files, Remote Registry, Secondary Logon, Security Center, SSDP Discovery, Tablet PC Input Service, Terminal Services, Windows Defender, Windows Error Reporting Service and Windows Search.
To disable an individual service, locate it in the list and then double-click it. On the dialog that’s displayed, click the ‘Stop’ button to terminate the service, and then select ‘Disabled’ from the ‘Startup type’ drop down menu. Click ‘OK’ and start to work through any other services you have determined you don’t need. Just as with registry editing, changing service settings is potentially dangerous, so it’s a good idea to create a restore point before applying any tweaks.
PCF224.feature1 34 26/1/09 1:49:33 pm
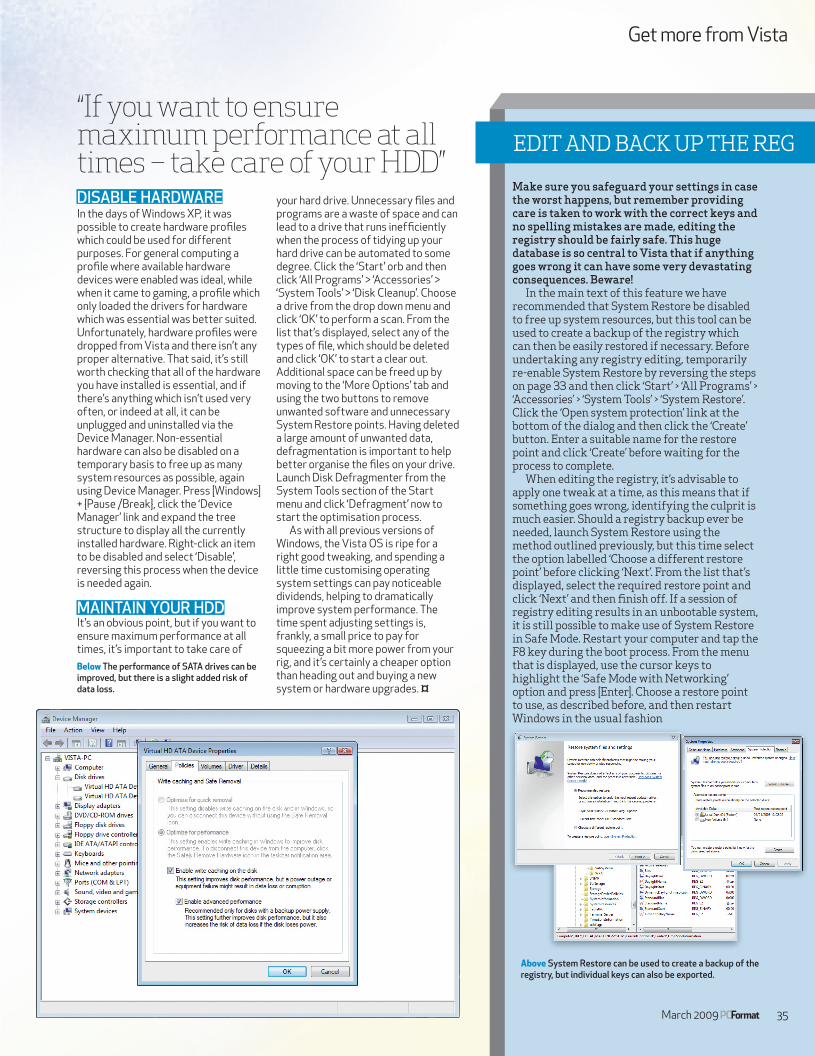
Below The performance of SATA drives can be improved, but there is a slight added risk of data loss.
DISABLE HARDWAREIn the days of Windows XP, it was possible to create hardware profi les which could be used for different purposes. For general computing a profi le where available hardware devices were enabled was ideal, while when it came to gaming, a profi le which only loaded the drivers for hardware which was essential was better suited. Unfortunately, hardware profi les were dropped from Vista and there isn’t any proper alternative. That said, it’s still worth checking that all of the hardware you have installed is essential, and if there’s anything which isn’t used very often, or indeed at all, it can be unplugged and uninstalled via the Device Manager. Non-essential hardware can also be disabled on a temporary basis to free up as many system resources as possible, again using Device Manager. Press [Windows] + {Pause /Break}, click the ‘Device Manager’ link and expand the tree structure to display all the currently installed hardware. Right-click an item to be disabled and select ‘Disable’, reversing this process when the device is needed again.
MAINTAIN YOUR HDDIt’s an obvious point, but if you want to ensure maximum performance at all times, it’s important to take care of
your hard drive. Unnecessary fi les and programs are a waste of space and can lead to a drive that runs ineffi ciently when the process of tidying up your hard drive can be automated to some degree. Click the ‘Start’ orb and then click ‘All Programs’ > ‘Accessories’ > ‘System Tools’ > ‘Disk Cleanup’. Choose a drive from the drop down menu and click ‘OK’ to perform a scan. From the list that’s displayed, select any of the types of fi le, which should be deleted and click ‘OK’ to start a clear out. Additional space can be freed up by moving to the ‘More Options’ tab and using the two buttons to remove unwanted software and unnecessary System Restore points. Having deleted a large amount of unwanted data, defragmentation is important to help better organise the fi les on your drive. Launch Disk Defragmenter from the System Tools section of the Start menu and click ‘Defragment’ now to start the optimisation process.
As with all previous versions of Windows, the Vista OS is ripe for a right good tweaking, and spending a little time customising operating system settings can pay noticeable dividends, helping to dramatically improve system performance. The time spent adjusting settings is, frankly, a small price to pay for squeezing a bit more power from your rig, and it’s certainly a cheaper option than heading out and buying a new system or hardware upgrades. ¤
March 2009 35
Make sure you safeguard your settings in case the worst happens, but remember providing care is taken to work with the correct keys and no spelling mistakes are made, editing the registry should be fairly safe. This huge database is so central to Vista that if anything goes wrong it can have some very devastating consequences. Beware!
In the main text of this feature we have recommended that System Restore be disabled to free up system resources, but this tool can be used to create a backup of the registry which can then be easily restored if necessary. Before undertaking any registry editing, temporarily re-enable System Restore by reversing the steps on page 33 and then click ‘Start’ > ‘All Programs’ > ‘Accessories’ > ‘System Tools’ > ‘System Restore’. Click the ‘Open system protection’ link at the bottom of the dialog and then click the ‘Create’ button. Enter a suitable name for the restore point and click ‘Create’ before waiting for the process to complete.
When editing the registry, it’s advisable to apply one tweak at a time, as this means that if something goes wrong, identifying the culprit is much easier. Should a registry backup ever be needed, launch System Restore using the method outlined previously, but this time select the option labelled ‘Choose a different restore point’ before clicking ‘Next’. From the list that’s displayed, select the required restore point and click ‘Next’ and then fi nish off. If a session of registry editing results in an unbootable system, it is still possible to make use of System Restore in Safe Mode. Restart your computer and tap the F8 key during the boot process. From the menu that is displayed, use the cursor keys to highlight the ‘Safe Mode with Networking’ option and press [Enter]. Choose a restore point to use, as described before, and then restart Windows in the usual fashion
EDIT AND BACK UP THE REG
“If you want to ensure maximum performance at all times – take care of your HDD”
Get more from Vista
Above System Restore can be used to create a backup of the registry, but individual keys can also be exported.
PCF224.feature1 35 26/1/09 1:49:46 pm