Embed Size (px)
Citation preview
Geometric Drawing in Islam
The Circle
• Is an important shape in Islamic religion and Islamic geometric design. It symbolizes wholeness, unity and perfection.

Drawing a Triangle using Circles.
• Using a circle stencil with a hole pierced in the middle draw the outline of the circle and mark the centre with a dot. Join up the central dots to create an equilateral triangle.The triangle is the Islamic symbol of
consciousness.The points symbolize the knower, the act of knowing and the known.
Drawing a Square Using Circles
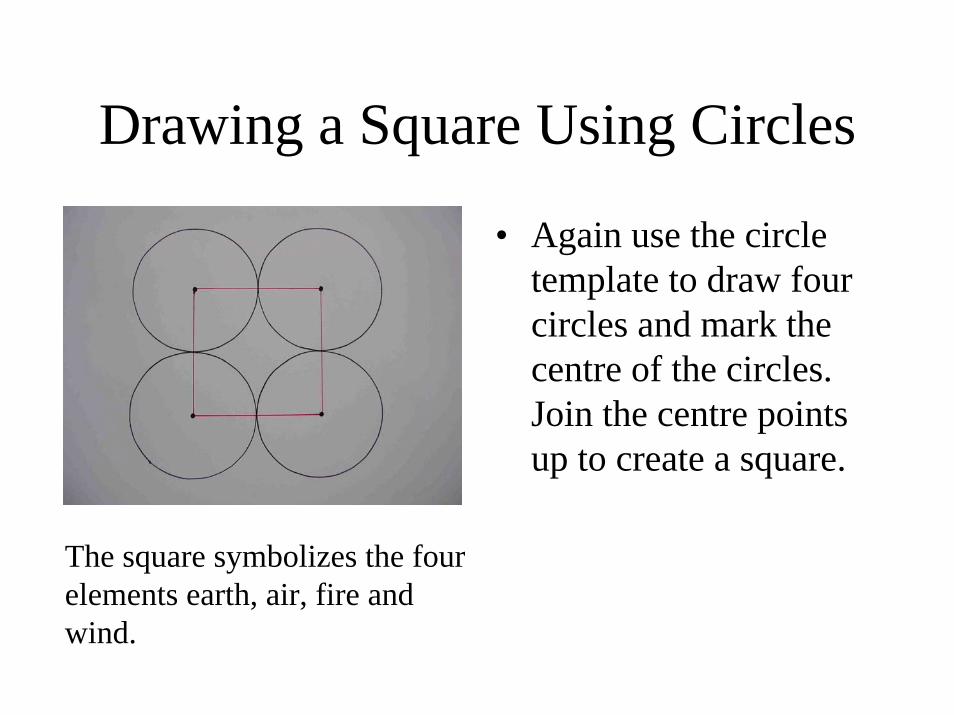
• Again use the circle template to draw four circles and mark the centre of the circles. Join the centre points up to create a square.
The square symbolizes the four elements earth, air, fire and wind.
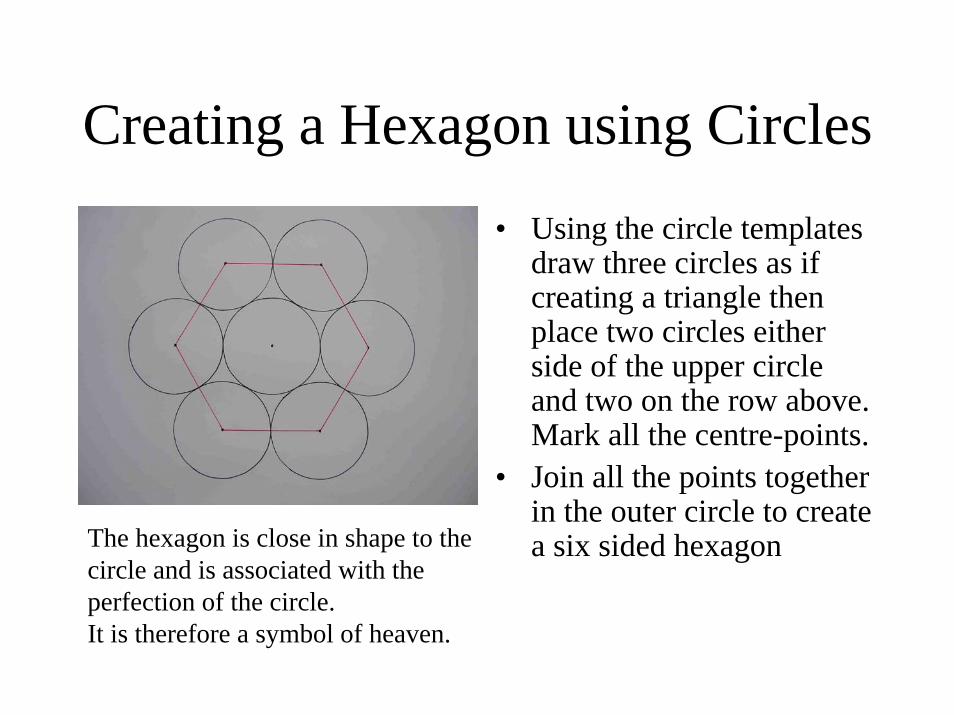
Creating a Hexagon using Circles• Using the circle templates
draw three circles as if creating a triangle then place two circles either side of the upper circle and two on the row above. Mark all the centre-points.
• Join all the points together in the outer circle to create a six sided hexagonThe hexagon is close in shape to the
circle and is associated with the perfection of the circle. It is therefore a symbol of heaven.
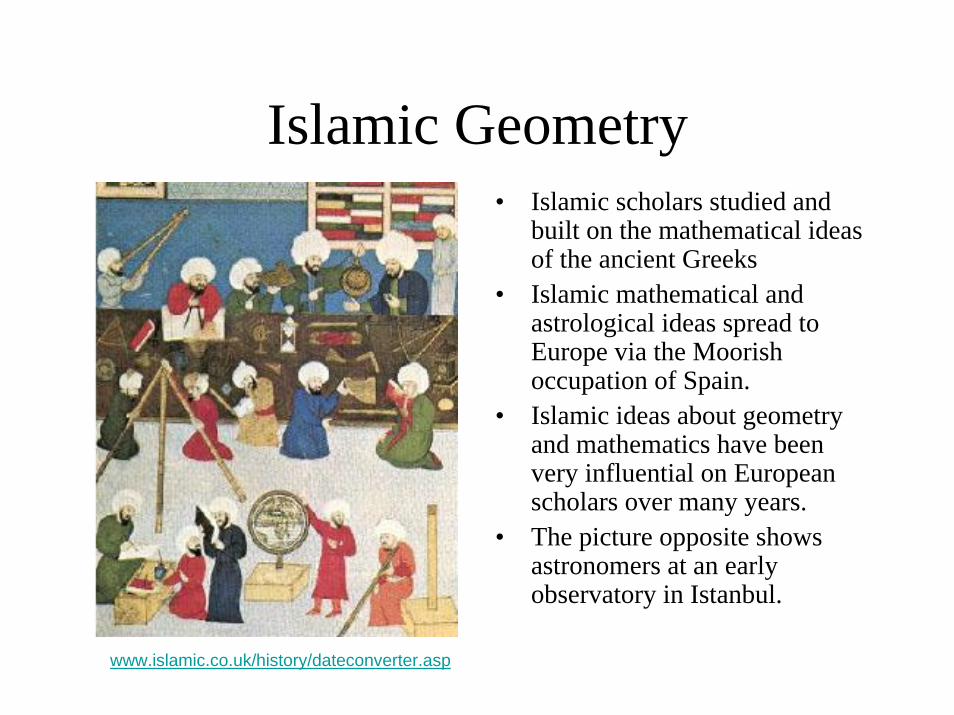
Islamic Geometry• Islamic scholars studied and
built on the mathematical ideas of the ancient Greeks
• Islamic mathematical and astrological ideas spread to Europe via the Moorish occupation of Spain.
• Islamic ideas about geometry and mathematics have been very influential on European scholars over many years.
• The picture opposite shows astronomers at an early observatory in Istanbul.
www.islamic.co.uk/history/dateconverter.asp
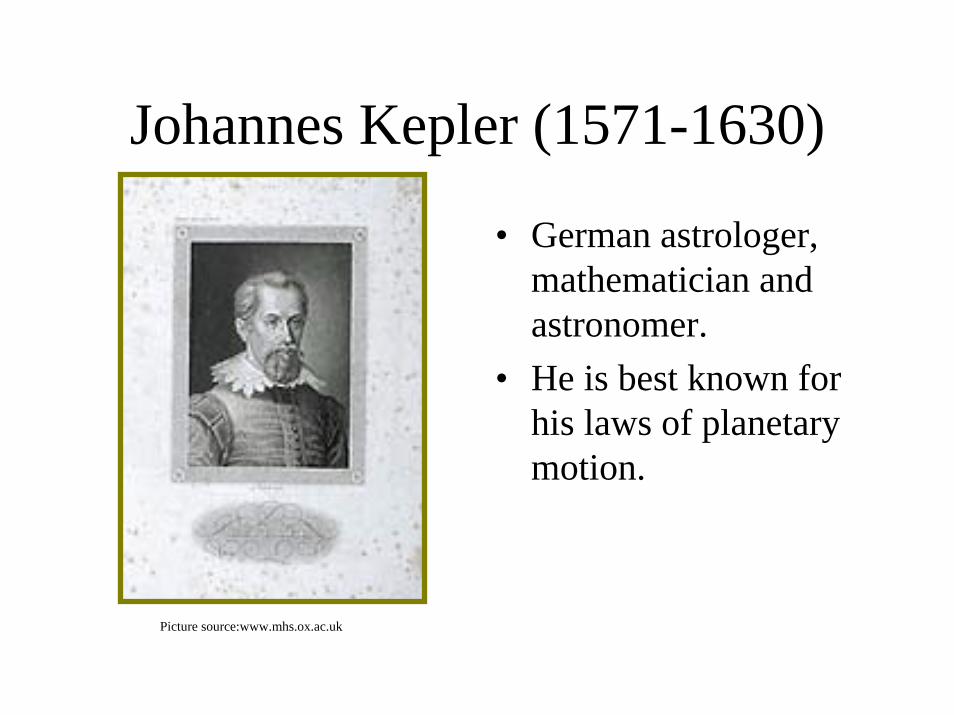
Johannes Kepler (1571-1630)
• German astrologer, mathematician and astronomer.
• He is best known for his laws of planetary motion.
Picture source:www.mhs.ox.ac.uk

What is Kepler’s Platonic Solid?• In 1596 Kepler created the Platonic
Solid model of the solar system.• The complex model showed 5
spheres with increasingly complex polyhedra nested inside each other.
• Each polyhedron represented a different planet and the size of each polyhedra represented the proportion of space each planet was thought to occupy.
• Although aesthetically pleasing, we now know that there are more than 6 planets in the solar system and we have proved Kepler’s distance estimates were wrong.Image from: www.answers.com/topic/johannes-kepler
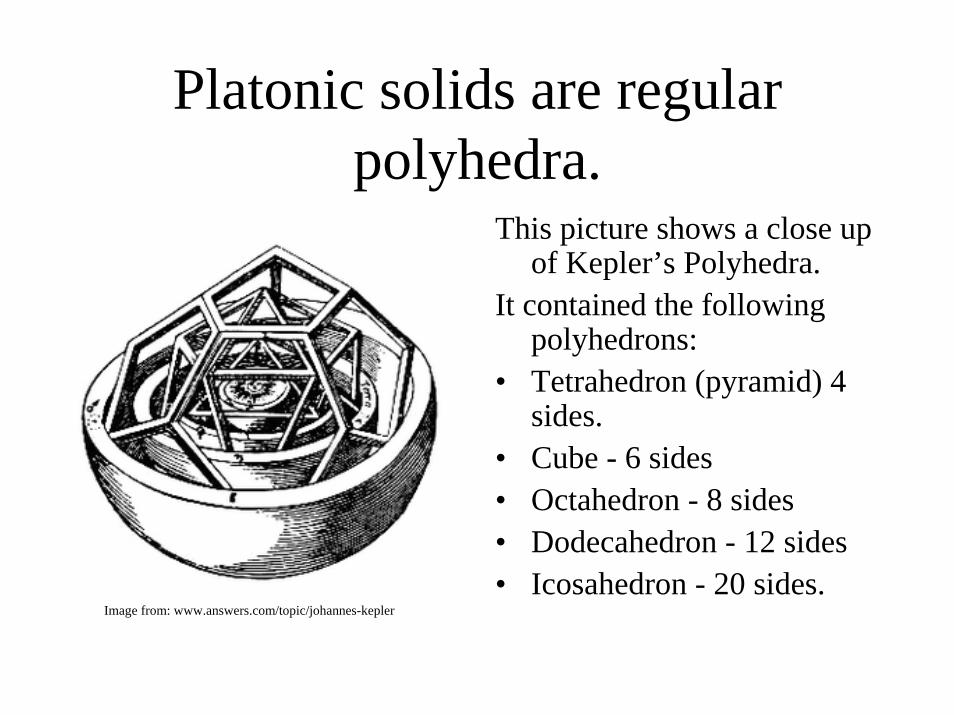
Platonic solids are regular polyhedra.
This picture shows a close up of Kepler’s Polyhedra.
It contained the following polyhedrons:
• Tetrahedron (pyramid) 4 sides.
• Cube - 6 sides• Octahedron - 8 sides• Dodecahedron - 12 sides• Icosahedron - 20 sides.
Image from: www.answers.com/topic/johannes-kepler

Keplerian solids at the Museum of the History of Science, Oxford.
• This object is in the Museum of the History of Science Oxford.
• It is a curious monument to platonic solids and geometry
• Can you name the polyhedra?
Constructing polyhedra

Step1
• Using a compass draw a circle and mark the centre point. Using a protractor divide the circle up into equal 30 degree sections mark each section with a dot. Make sure the top point is in line with the centre point.
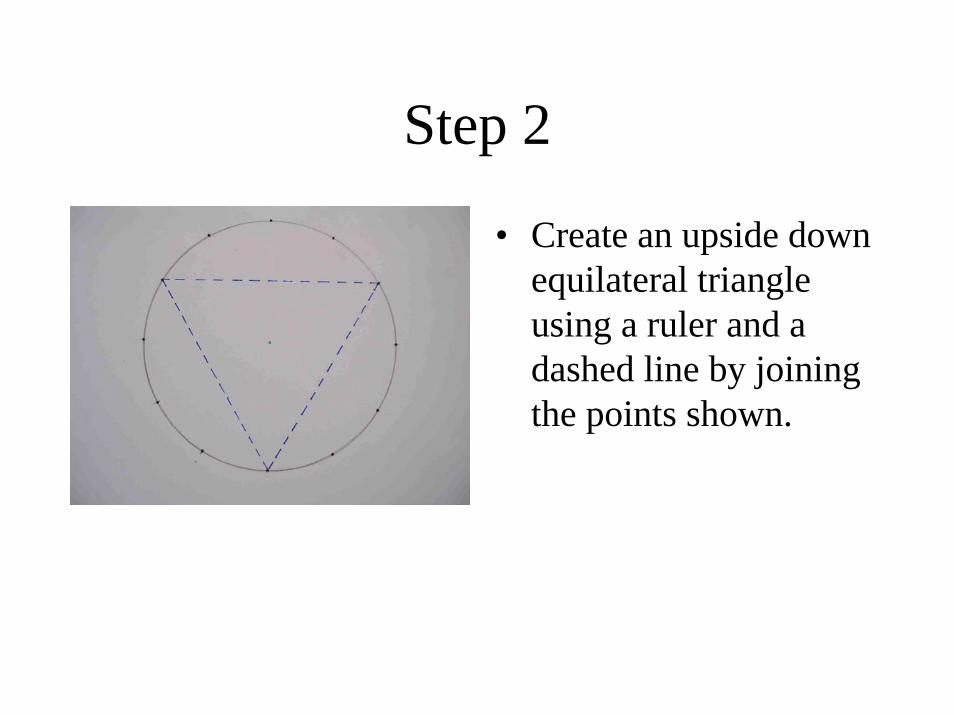
Step 2
• Create an upside down equilateral triangle using a ruler and a dashed line by joining the points shown.

Step 3
• Divide the circle into equal thirds using a dashed line as shown.

Step 4
• Create a hexagon with a solid line by joining the points of the triangle with the points that are made by the division into thirds.

Step 5
• Using the same colouras the hexagon outline join the points of the triangle to the centre point using a solid line. This will create a three dimensional cube shape.

Step 6
• Use a solid line to join the points where the dashed line of the triangle meets the dashed line of the division into thirds. This will create a triangle.

Step 7
• Measure and find the half way point of the front three lines of the cube. Carefully join these points with a broken line. There should now be two overlapping equilateral triangles in the centre.
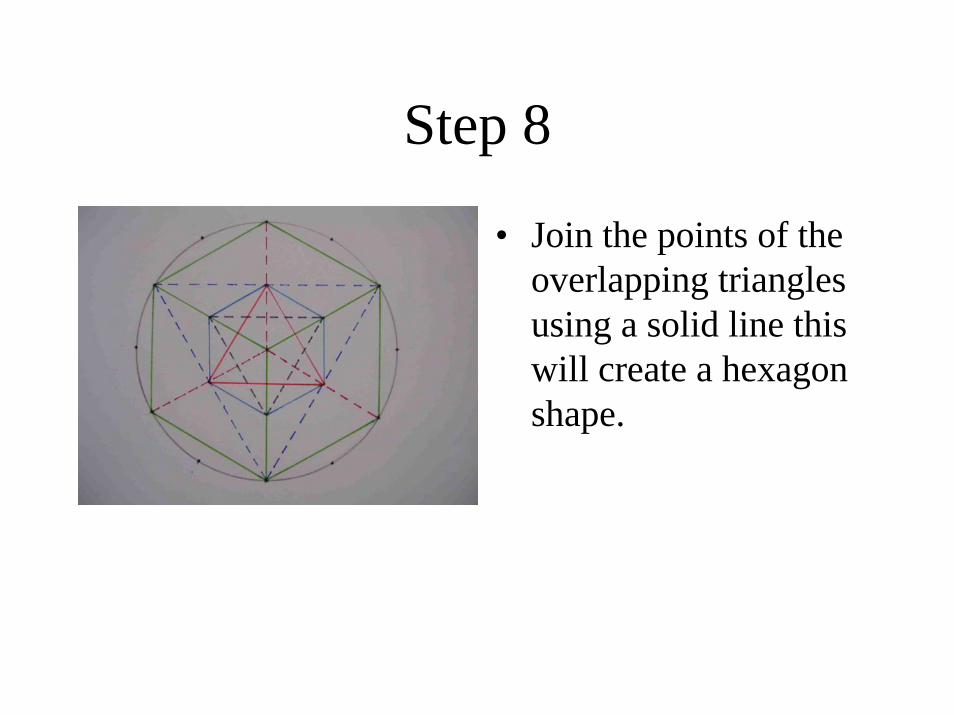
Step 8
• Join the points of the overlapping triangles using a solid line this will create a hexagon shape.
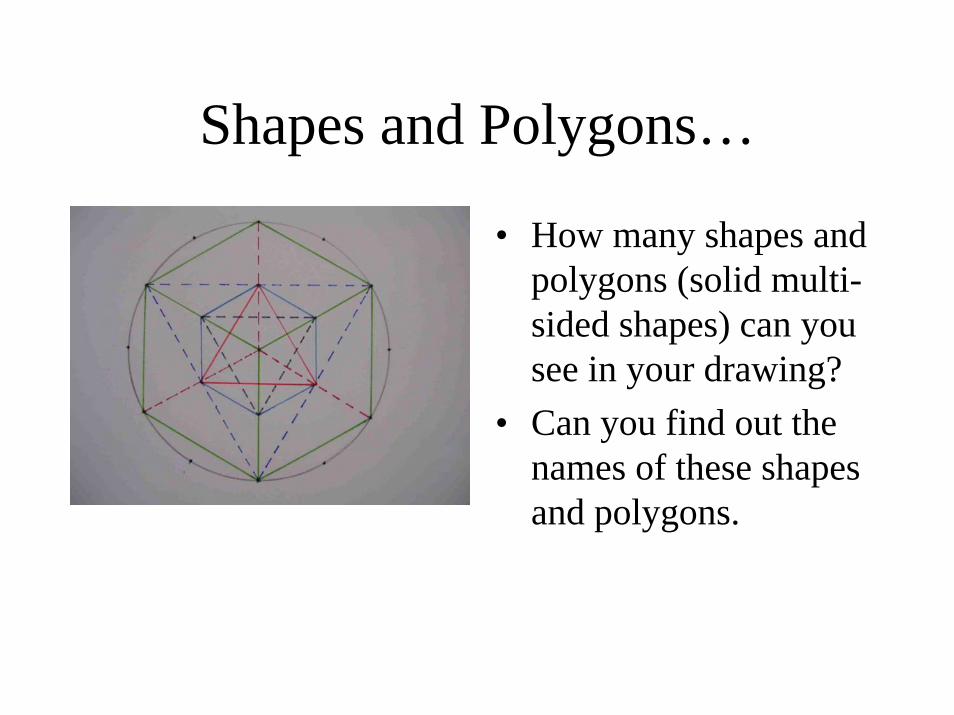
Shapes and Polygons…
• How many shapes and polygons (solid multi-sided shapes) can you see in your drawing?
• Can you find out the names of these shapes and polygons.
Extra Task -Create a Star Shape using
Squares and Circles…

Step 1
• Draw a circle using a compass. Divide the circle into 45 degree sections. You should end up with 8 equal sections.

Step 2
• Using a compass draw a smaller circle with about half the radius of the first.

Step 3
• Inside the larger circle draw a square joining the points shown.

Step 4
• Create a further square by joining the other points as shown.
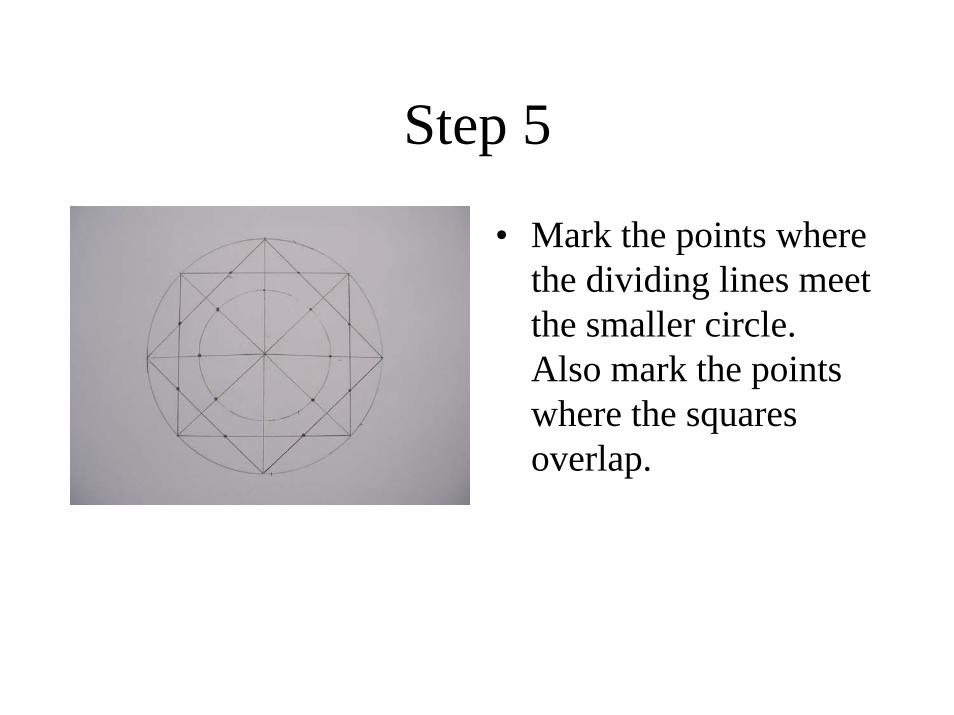
Step 5
• Mark the points where the dividing lines meet the smaller circle. Also mark the points where the squares overlap.
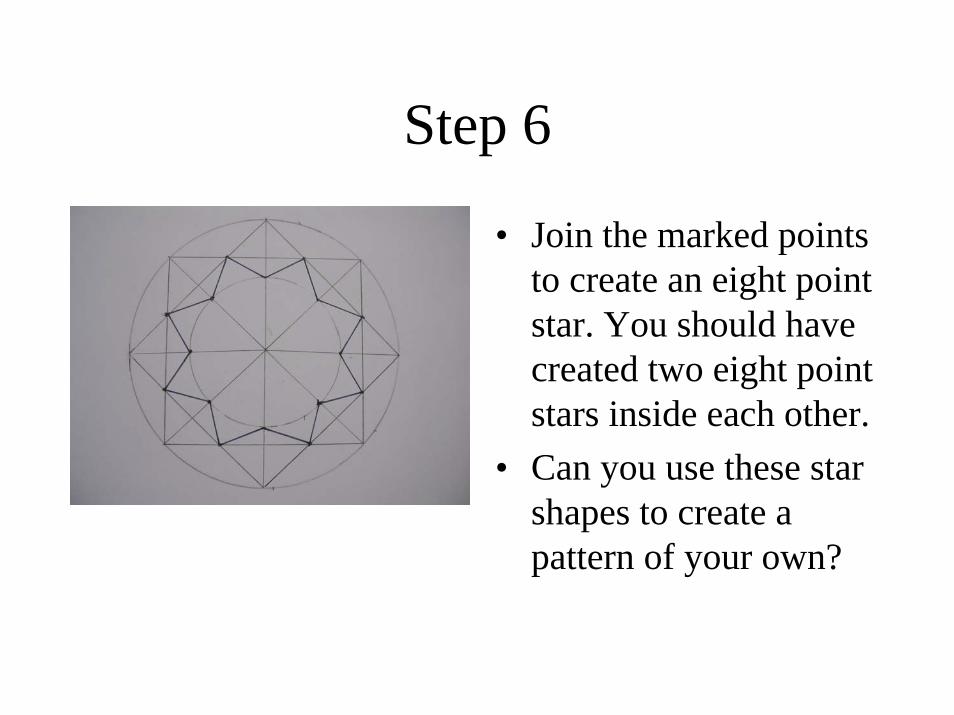
Step 6
• Join the marked points to create an eight point star. You should have created two eight point stars inside each other.
• Can you use these star shapes to create a pattern of your own?