Embed Size (px)
Citation preview
Fruit Handbook for Western Washington:
Pruning
Gary A. Moulton & Jacqueline King WSU Mount Vernon NWREC
http://maritimefruit.wsu.edu/
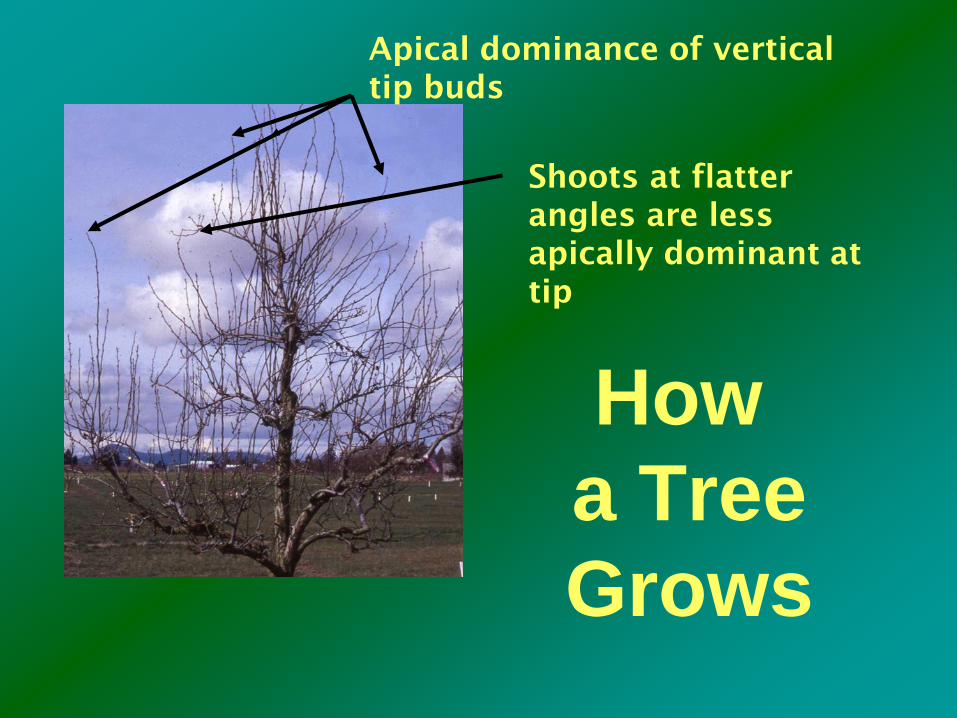
How a Tree Grows
Apical dominance of vertical tip buds
Shoots at flatter angles are less apically dominant at tip

Vertical Tip bud generates hormone
Shoot growth reduced progressively from tip to base
Zone of spur development

Limb Angle Regulates Growth
Vertically positioned shoots strong vegetative growth but produce fewer fruit buds Horizontally positioned shoots weaker growth at the tip but
produce more fruit buds
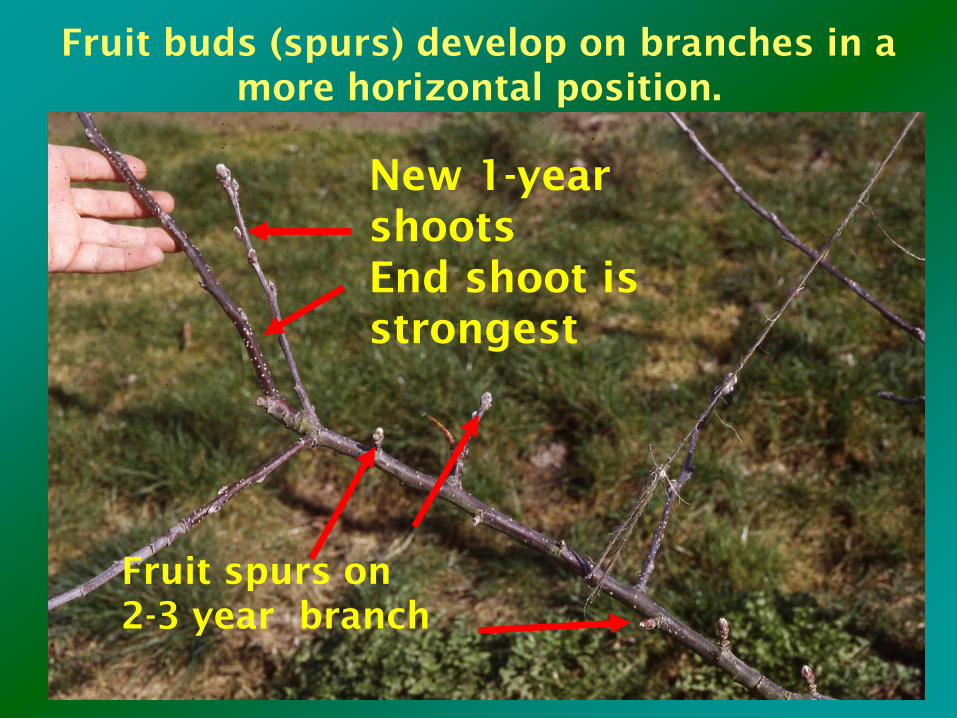
Fruit buds (spurs) develop on branches in a more horizontal position.
Fruit spurs on 2-3 year branch
New 1-year shoots End shoot is strongest

Why Prune?
We prune to open light channels Good light channels throughout
the tree enhance tree health and improve fruit quality We prune to keep the tree in
balance

Two types of pruning cuts
Thinning – cutting out a whole branch or shoot back to its origin Heading – cutting off part of
a branch or shoot

Thinning cuts take out entire branches or shoots
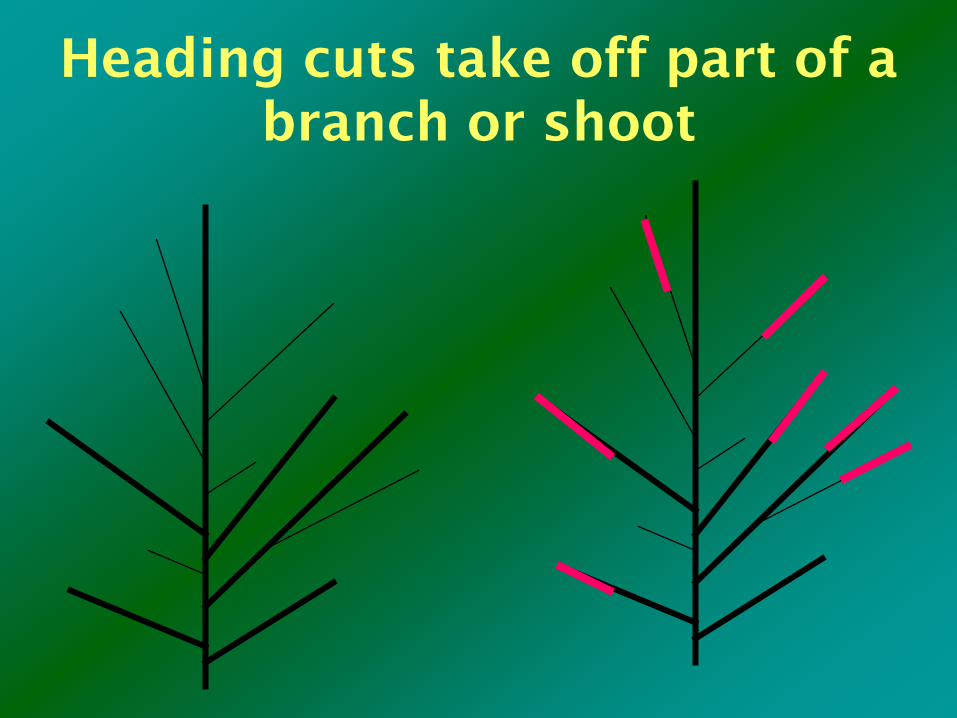
Heading cuts take off part of a branch or shoot
Thinning Cuts
Open light channels Increase fruit
production and quality

Heading Cuts
Tend to close off light channels Decrease fruit
production
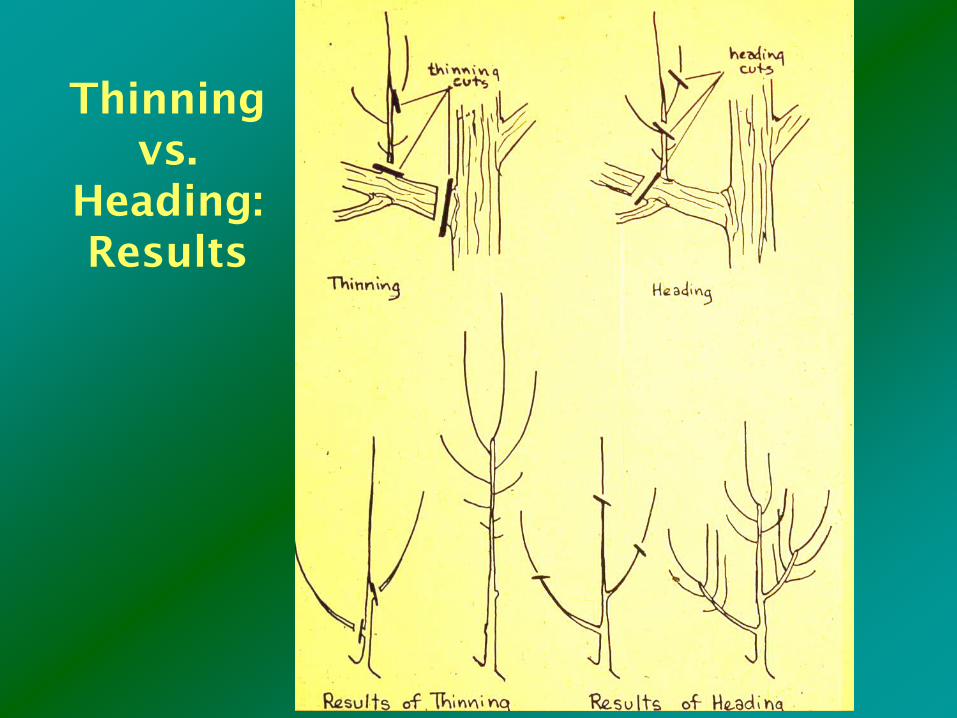
Thinning vs.
Heading: Results

Pruning

Pruning

Thin shoots as you would thin a corn patch
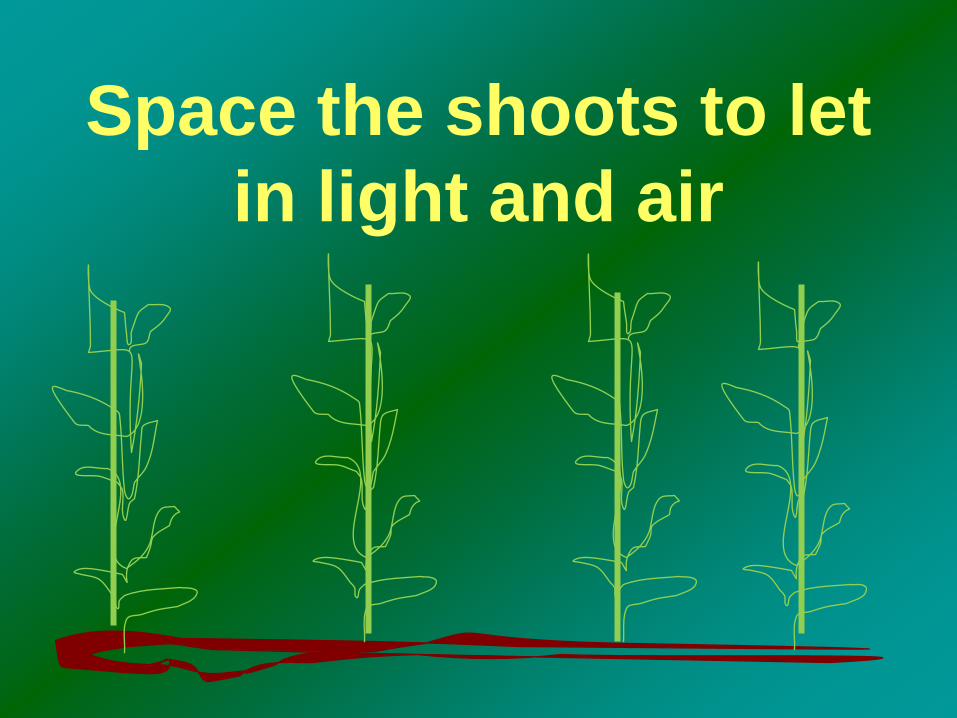
Space the shoots to let in light and air

Pruning

Why head at all?
To stiffen or shorten a a branch To increase branching

Heading to stiffen or shorten a
long branch

Branch is headed
and upper branches
reduced to prevent
shading of lower
areas in tree

Development of unheaded shoot vs. headed - heading stimulates branching at the cut
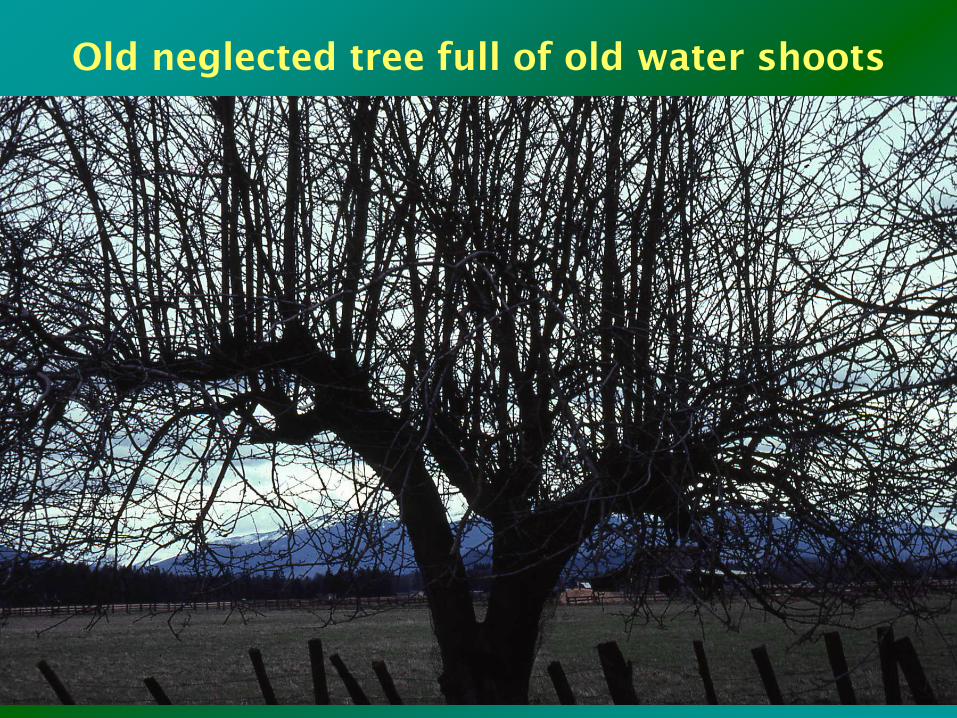
Old neglected tree full of old water shoots
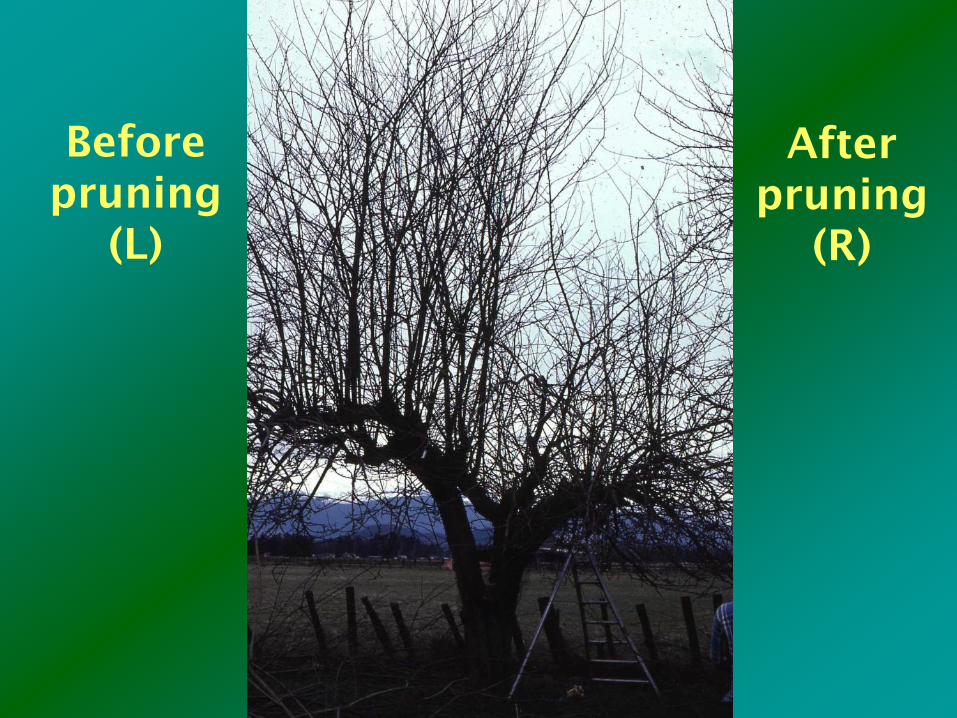
Before pruning
(L)
After pruning
(R)
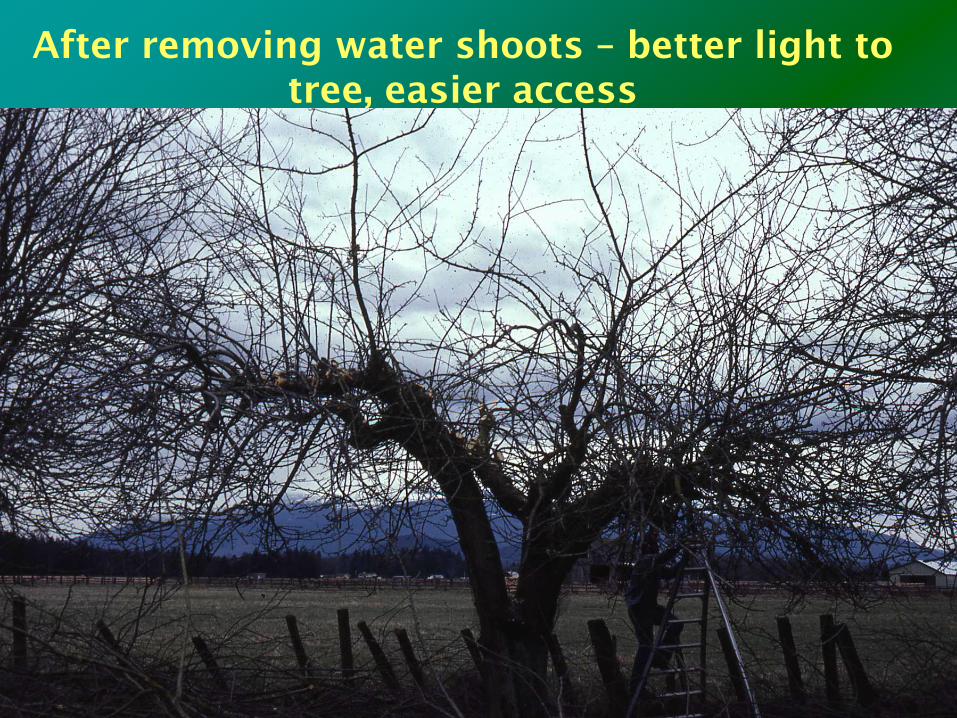
After removing water shoots – better light to tree, easier access
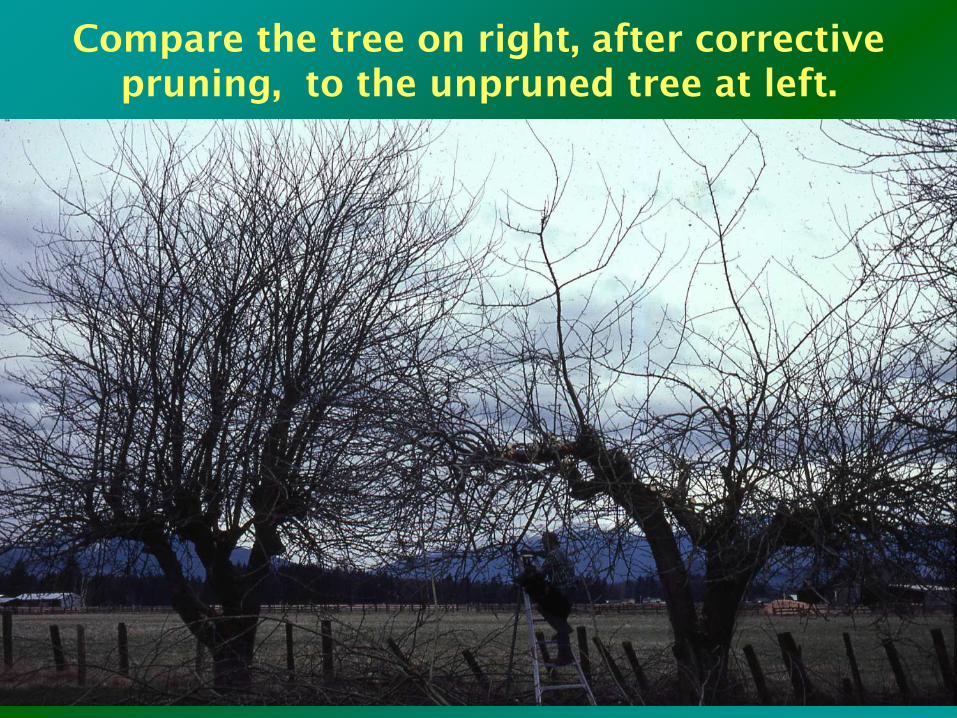
Compare the tree on right, after corrective pruning, to the unpruned tree at left.
Pruning principles are the same
For both dwarf trees and standard size
trees

Establish your scaffold limbs at their permanent
height above ground
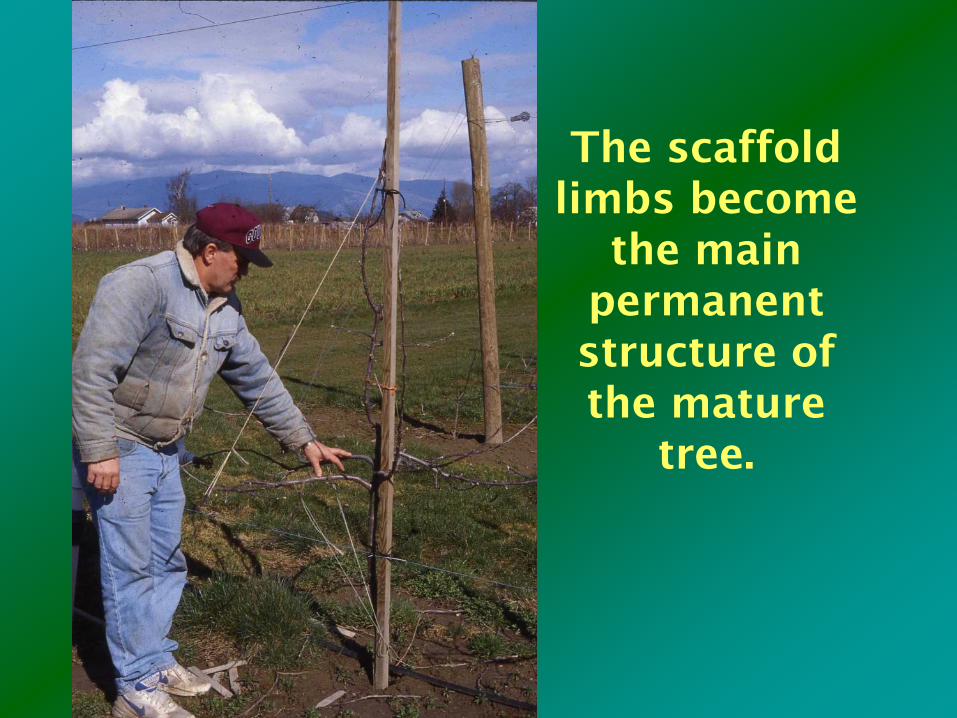
The scaffold limbs become
the main permanent structure of the mature
tree.

No more than 4-5 main branches form the lower scaffold.

Weaker branches can be tied up at a more vertical angle to increase vigor.

Large diameter branches
should be in the bottom of the tree and kept open to
light

Pruning
Pruning
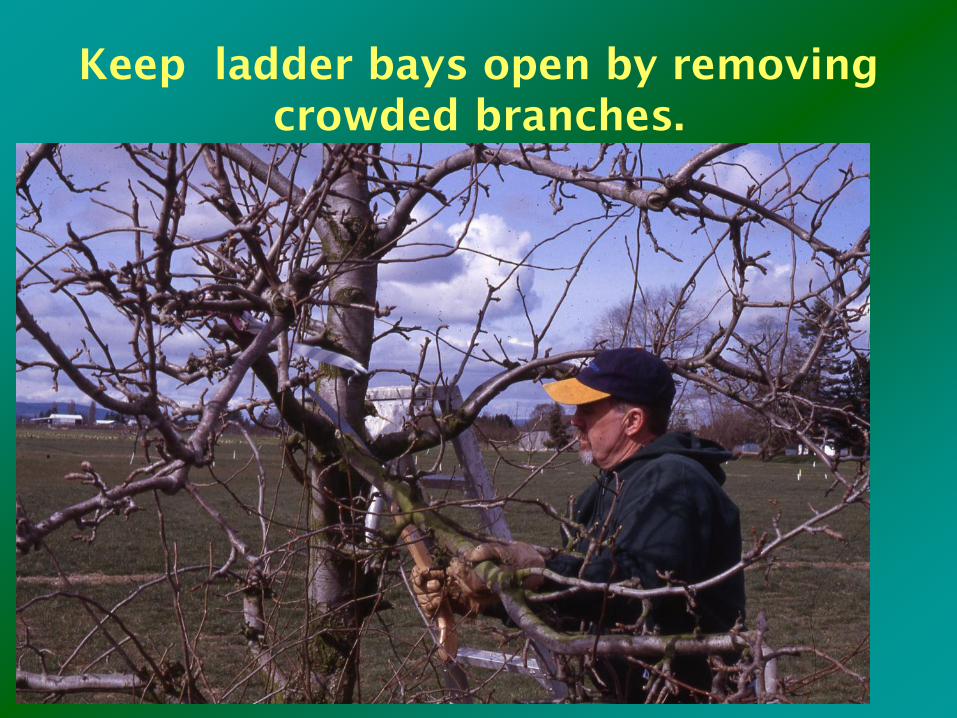
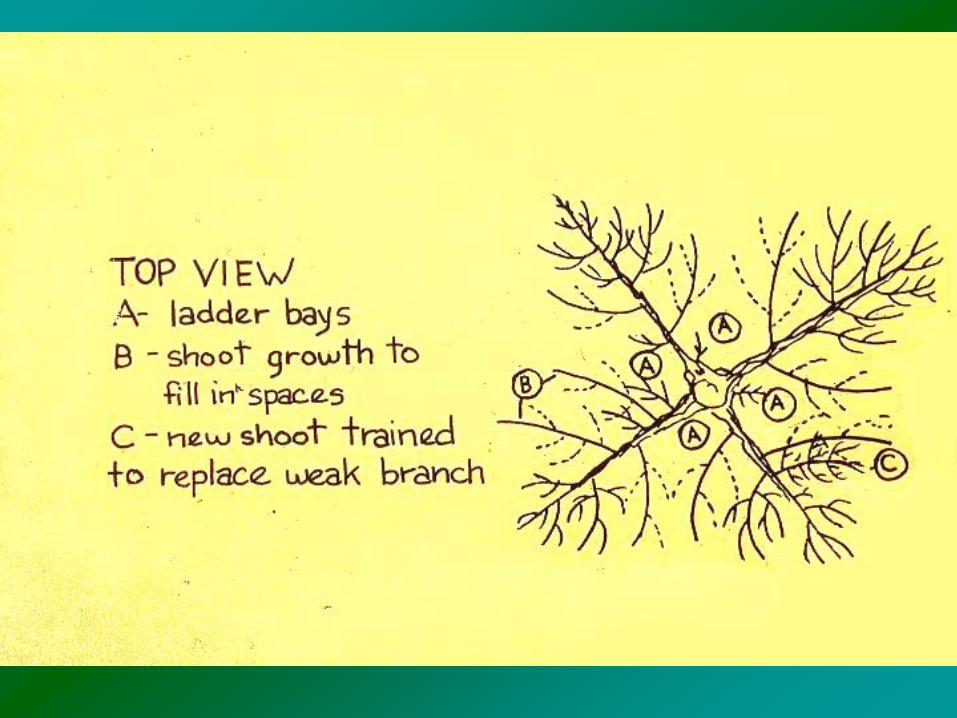
Keep ladder bays open by removing crowded branches.

After opening ladder bays, there is more space and light access.

Remove upright shoots that close light channels between branch tiers
Small weaker branches should be in the top of
the tree
To let in light throughout the tree

Before Pruning
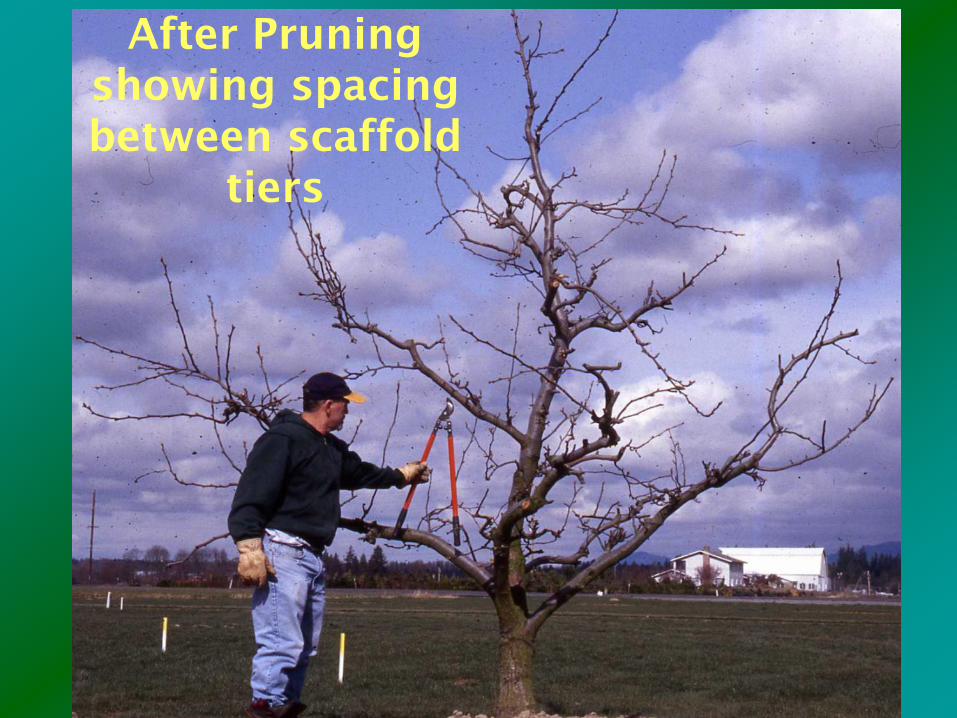
After Pruning showing spacing between scaffold
tiers
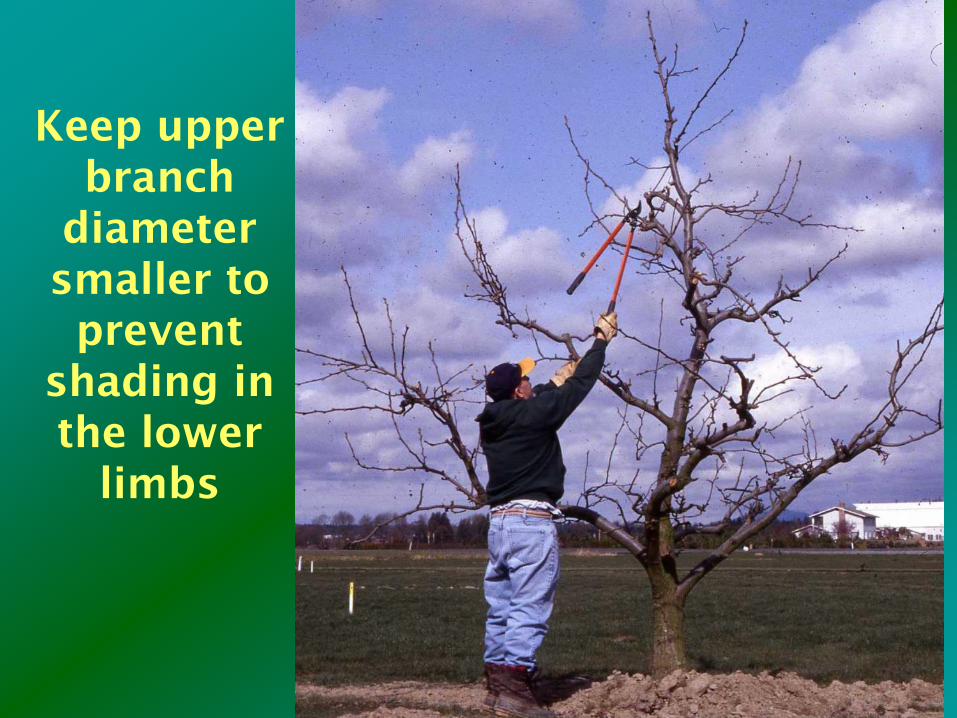
Keep upper branch
diameter smaller to prevent
shading in the lower
limbs

Open Center Pruning for Most Stone Fruit
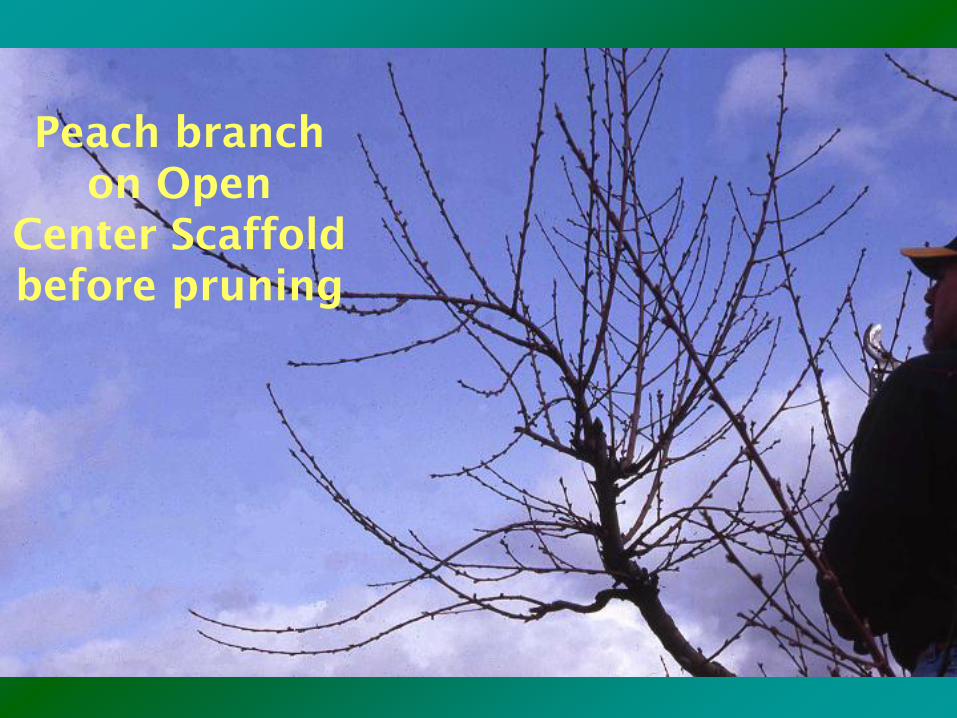
Peach branch on Open
Center Scaffold before pruning

Remove shoots that
are too vigorous
particularly at the
terminal ends of
branches

Remove shoots that grow into the center of the tree.
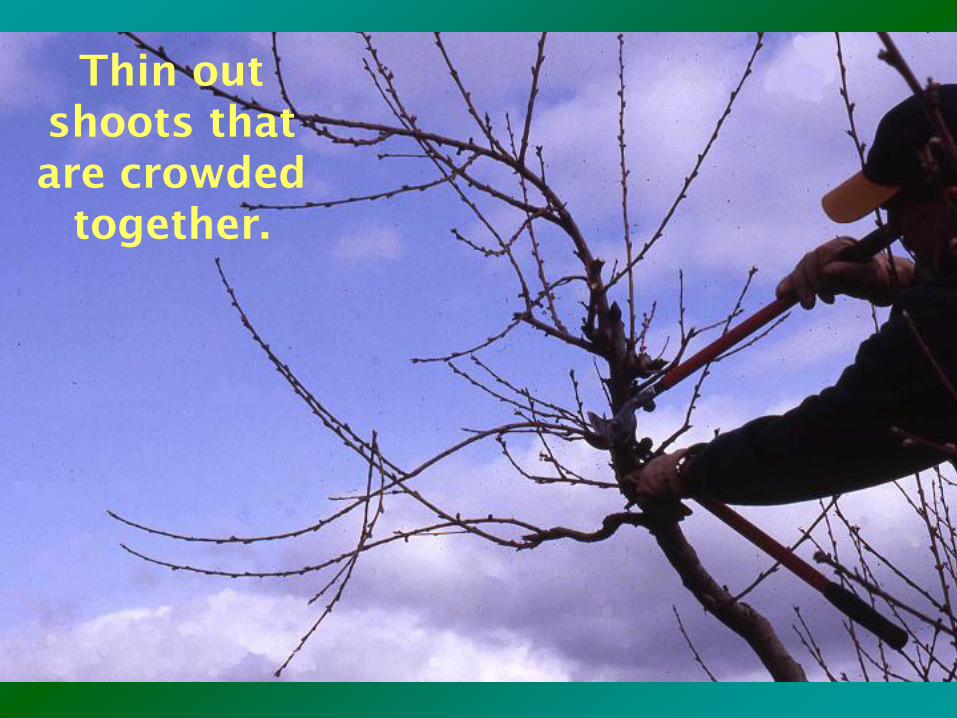
Thin out shoots that are crowded
together.
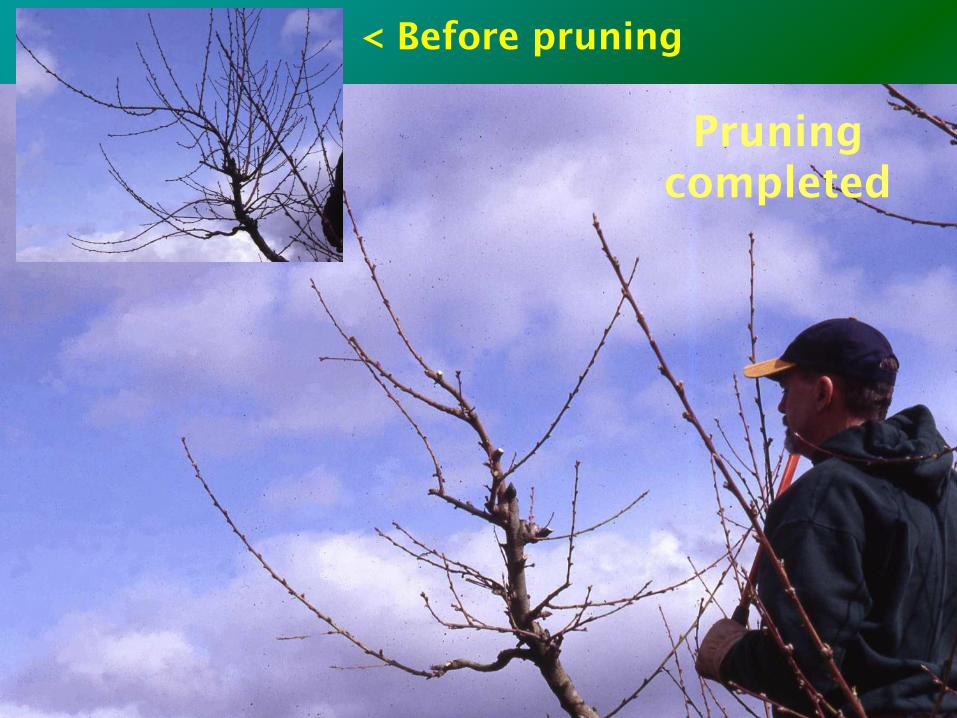
Pruning completed
< Before pruning
Limb positioning is very important for branch vigor
and fruit management
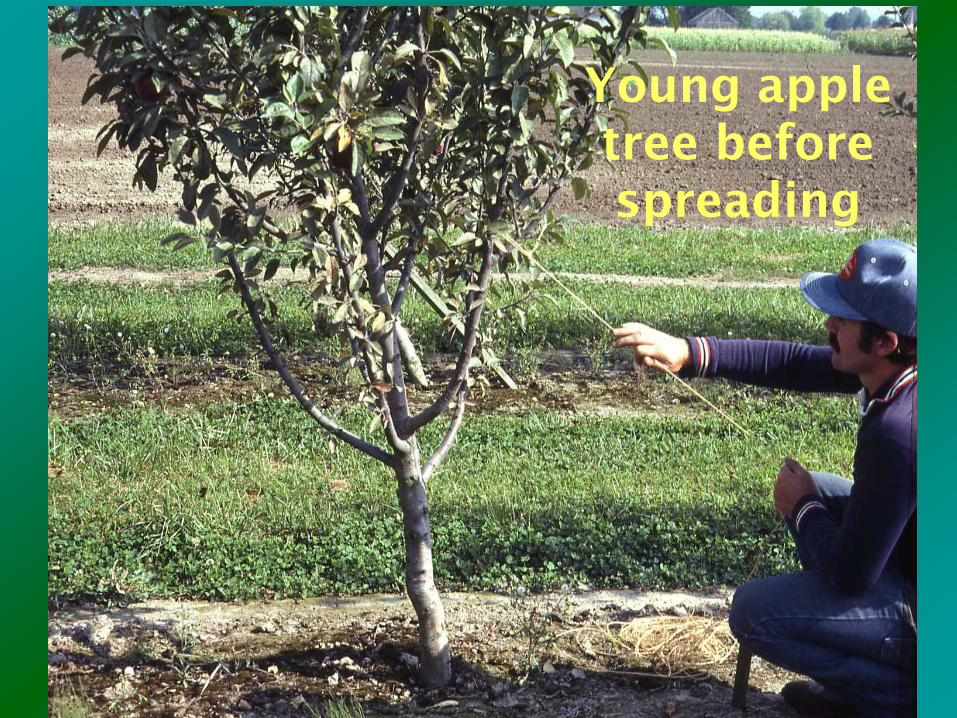
Young apple tree before spreading

Limb spreading
to 45o angle
using tie-downs
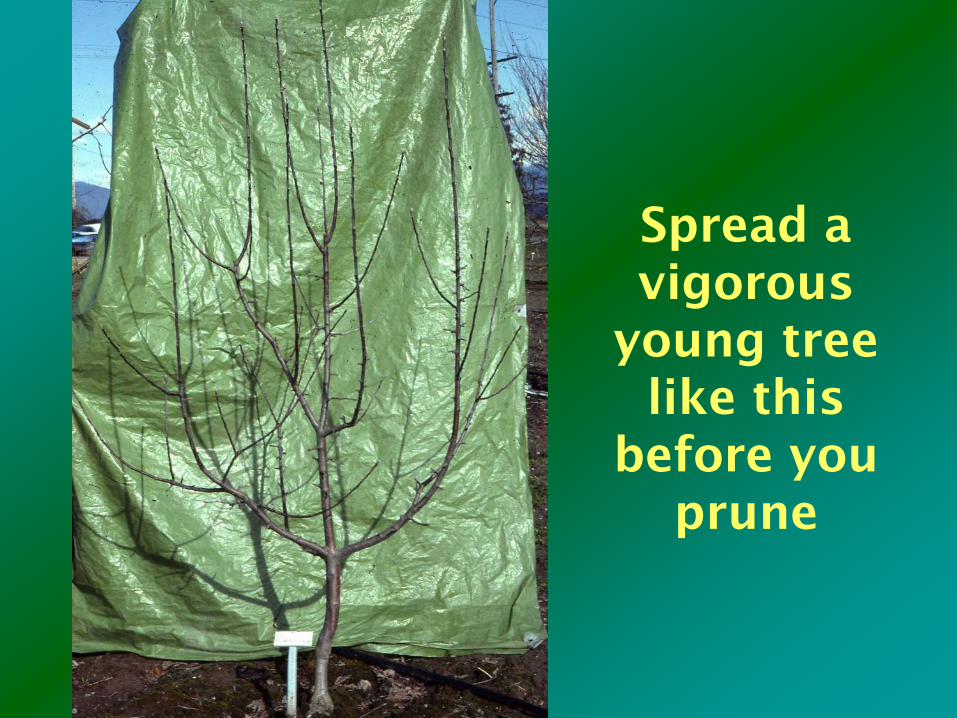
Spread a vigorous
young tree like this
before you prune

Inserting spreaders
encourages earlier fruit production. Spreaders
can usually be removed 4-6 weeks
after growth starts.

Young cherry tree tied down with ground anchors.

Same tree 4 years later.
Summary
Start young trees out with a strong framework of scaffold limbs Maintain good exposure to light
throughout the whole tree Don’t let the top outgrow and shade
the lower limbs Make most of your cuts thinning
cuts When in doubt, thin it out!