Embed Size (px)
Citation preview

Flowmaster American Thunder Axle-Back Exhaust (05-10 GT & 07-09 GT500) - Installation Instructions
The below installation instructions work for the following products:
• Flowmaster American Thunder Axle-Back Exhaust (05-10 GT & 07-09 GT500)
Please read through the instructions carefully before starting this project. Take the time to get all the materials together as well as all the safety equipment.
Warning:
Anytime when working underneath a vehicle it is important to keep your safety as your first priority. In order to prevent injuries to yourself and to your car, take all necessary precautions to ensure proper safety guidelines are followed. If you are using a jack or even ramps, it is vital that the car is properly supported. When using ramps make sure that the car is left in gear (for a manual transmission) and the emergency brake is on. Also block the front wheels in case the brake should fail. Exhaust parts emit a lot of heat, so it’s important when doing anything with your exhaust that it is cool to the touch or that you wear protective gloves. Safety goggles should also be considered when under a vehicle to prevent debris from entering the eye.
Tools needed:
• 15mm Deep Well Socket • 13mm Deep Well Socket • 13mm Box End Wrench • 6” Extension • Universal Ratchet • (Optional) Car ramps, Jack, and Jack stands
Flowmaster American Thunder Axle Back Kit
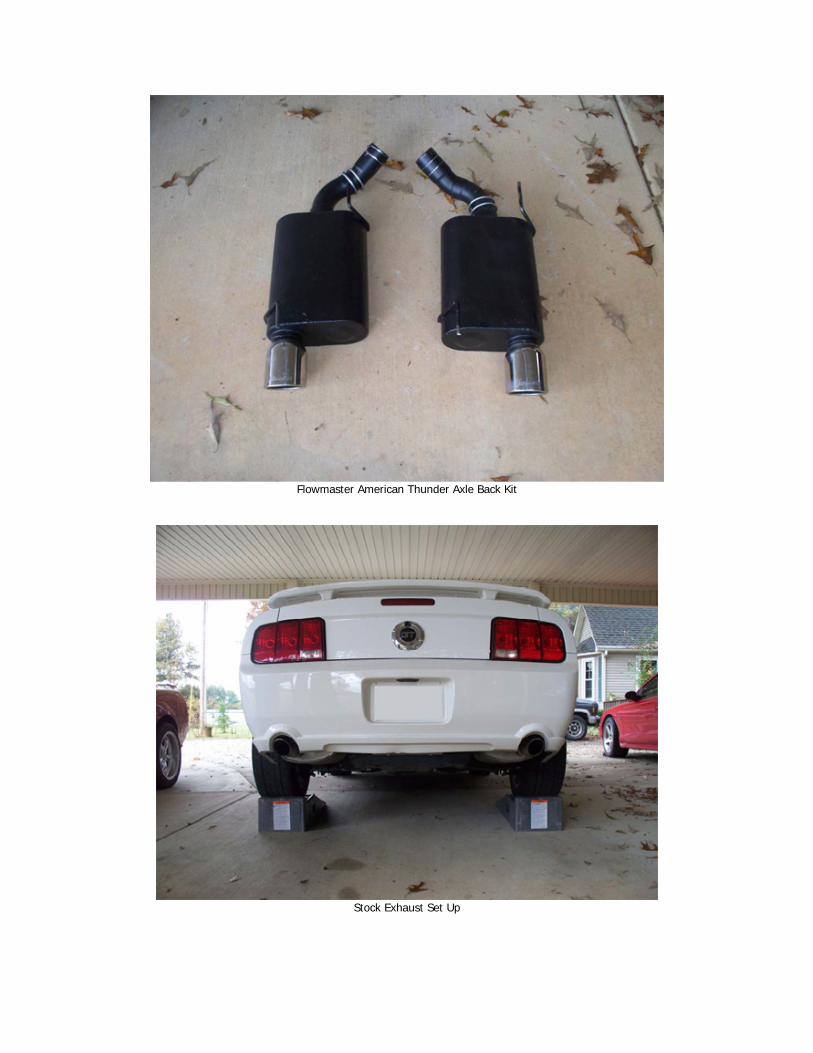
Stock Exhaust Set Up

Installation:
1. In order to make removal easier, jacks or car ramps can be used. In my installation I used car ramps. After pulling onto the ramps, be sure that the car is in park and that the wheels are blocked to prevent it from rolling. If the car is a manual transmission be sure to keep it in gear! Next start by removing the band clamps that hold the stock mufflers to the mid pipe (15mm Bolts). After doing this, unbolt the bolts that hold the rubber isolators in place (13mm Bolts). There should be four of these bolts total, as pictured in the lower right. The use of WD40 or some other lubricant may be required to loosen the bolts on the clamps if they are stock.
Bolted Band Clamps and Rubber Isolators
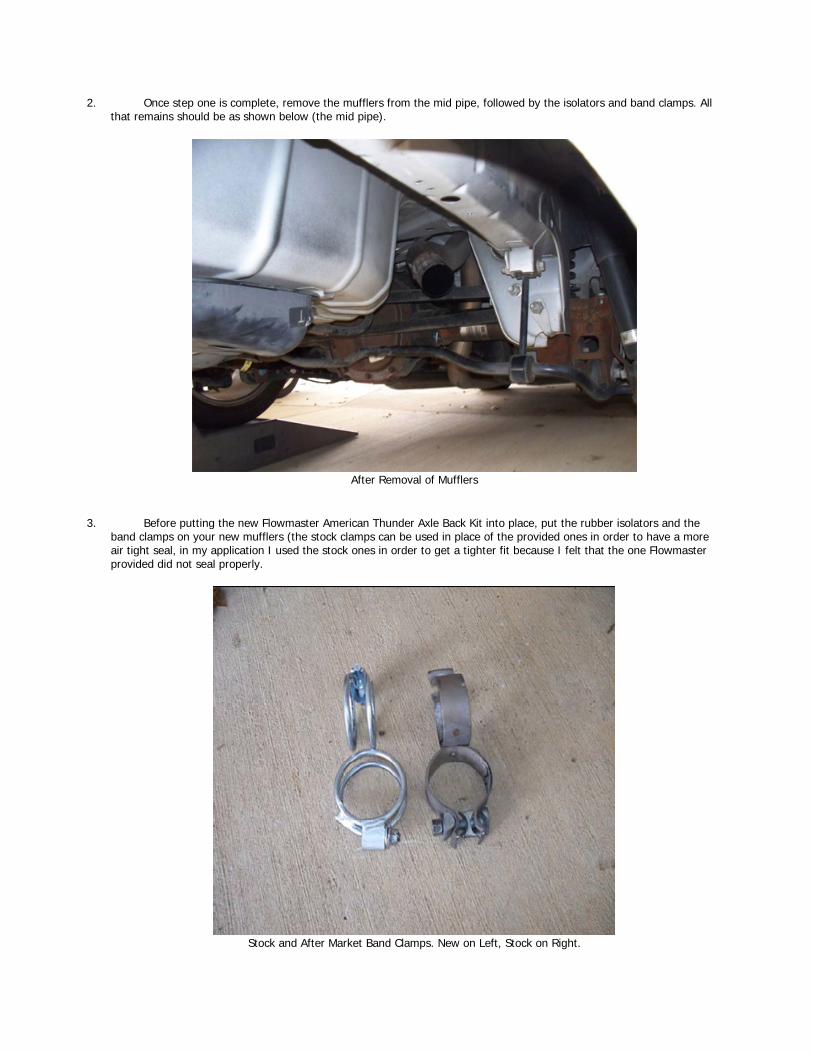
2. Once step one is complete, remove the mufflers from the mid pipe, followed by the isolators and band clamps. All that remains should be as shown below (the mid pipe).
After Removal of Mufflers
3. Before putting the new Flowmaster American Thunder Axle Back Kit into place, put the rubber isolators and the band clamps on your new mufflers (the stock clamps can be used in place of the provided ones in order to have a more air tight seal, in my application I used the stock ones in order to get a tighter fit because I felt that the one Flowmaster provided did not seal properly.
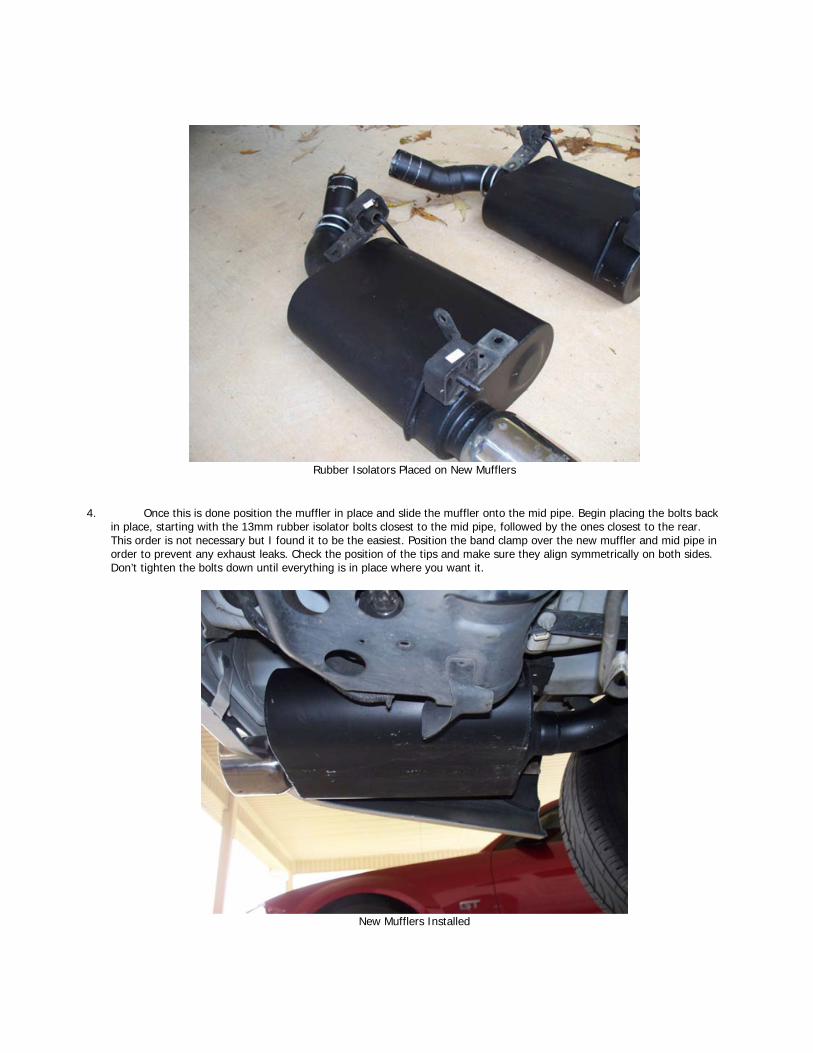
Stock and After Market Band Clamps. New on Left, Stock on Right.
Rubber Isolators Placed on New Mufflers
4. Once this is done position the muffler in place and slide the muffler onto the mid pipe. Begin placing the bolts back in place, starting with the 13mm rubber isolator bolts closest to the mid pipe, followed by the ones closest to the rear. This order is not necessary but I found it to be the easiest. Position the band clamp over the new muffler and mid pipe in order to prevent any exhaust leaks. Check the position of the tips and make sure they align symmetrically on both sides. Don’t tighten the bolts down until everything is in place where you want it.
New Mufflers Installed
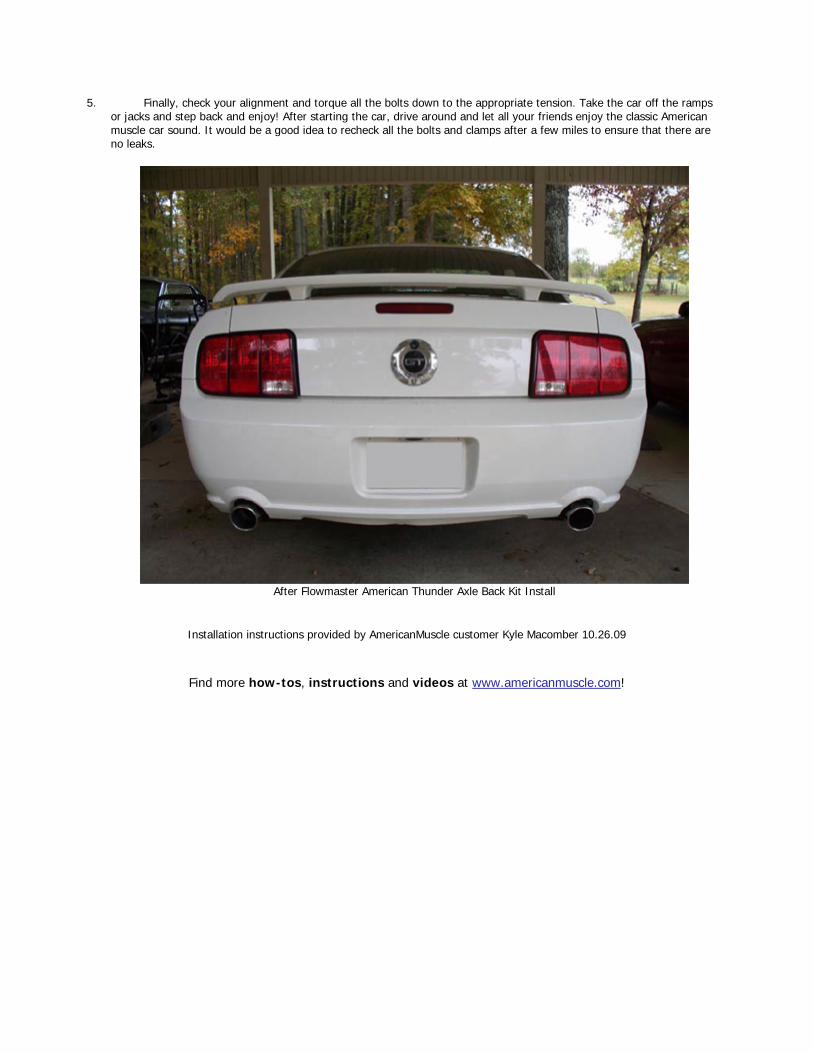
5. Finally, check your alignment and torque all the bolts down to the appropriate tension. Take the car off the ramps or jacks and step back and enjoy! After starting the car, drive around and let all your friends enjoy the classic American muscle car sound. It would be a good idea to recheck all the bolts and clamps after a few miles to ensure that there are no leaks.
After Flowmaster American Thunder Axle Back Kit Install
Installation instructions provided by AmericanMuscle customer Kyle Macomber 10.26.09
Find more how-tos, instructions and videos at www.americanmuscle.com!