Embed Size (px)
Citation preview

www.nhsggc.org.uk/kids ©Lesley Gibson (2007)
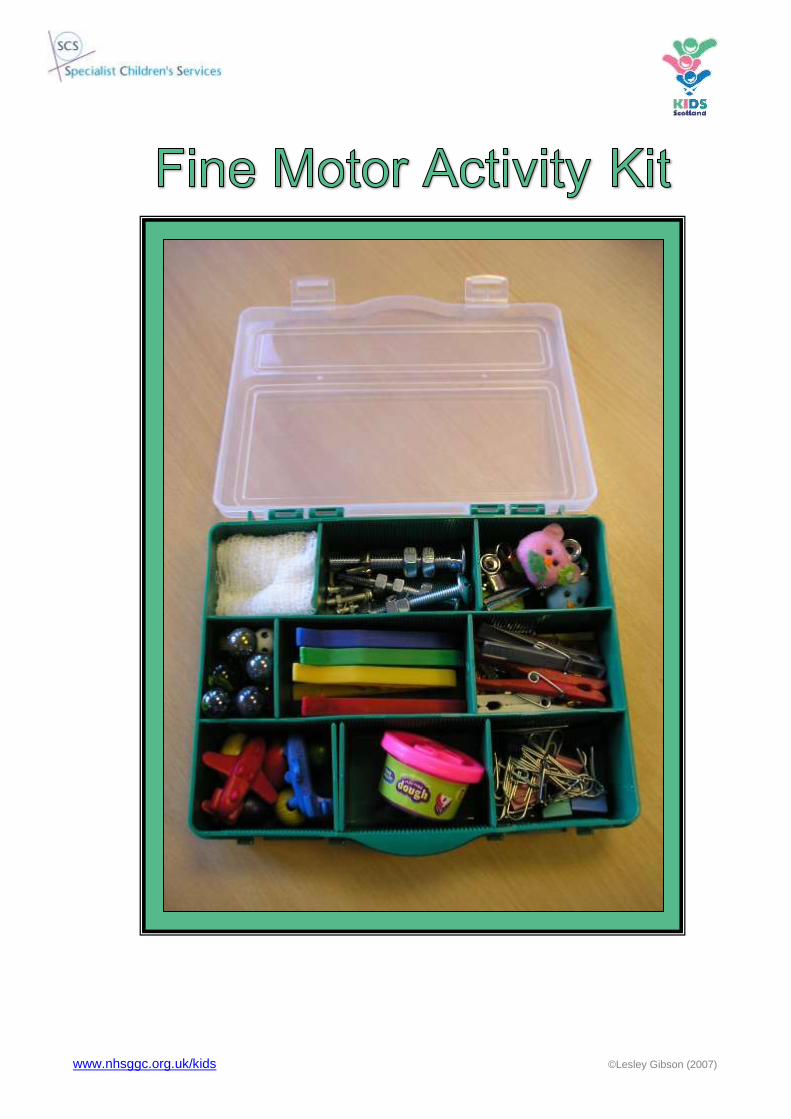
Fine Motor Activity Kit
Contents Page
Introduction to Fine Motor Skills 1 Before using the Fine Motor Activity Kit 2 Hand Aerobics 3-4 Thumb Scrunches 5 Creeping Fingers 5 Marble Hide & Marble Drop 6 Close Enough 6 Ring Shot 7 Finger Football 7 Play Dough Activities 8 Peg Races 9 Clothes Pegs 9 Nuts & Bolts, Threading Activities 10 Other Activities 10-11 Fine Motor Activity Box contents 12
www.nhsggc.org.uk/kids ©Lesley Gibson (2007)
Page 1 of 12
Introduction to Fine Motor Skills
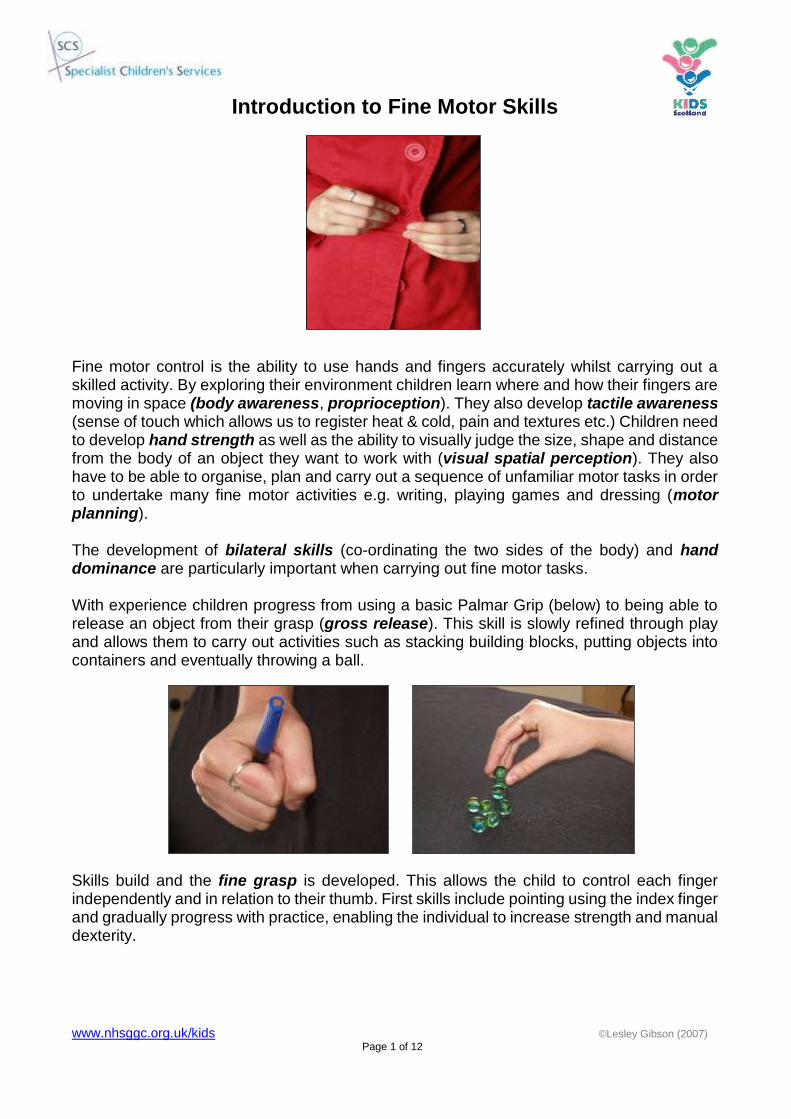
Fine motor control is the ability to use hands and fingers accurately whilst carrying out a skilled activity. By exploring their environment children learn where and how their fingers are moving in space (body awareness, proprioception). They also develop tactile awareness (sense of touch which allows us to register heat & cold, pain and textures etc.) Children need to develop hand strength as well as the ability to visually judge the size, shape and distance from the body of an object they want to work with (visual spatial perception). They also have to be able to organise, plan and carry out a sequence of unfamiliar motor tasks in order to undertake many fine motor activities e.g. writing, playing games and dressing (motor planning). The development of bilateral skills (co-ordinating the two sides of the body) and hand dominance are particularly important when carrying out fine motor tasks.
With experience children progress from using a basic Palmar Grip (below) to being able to release an object from their grasp (gross release). This skill is slowly refined through play and allows them to carry out activities such as stacking building blocks, putting objects into containers and eventually throwing a ball.
Skills build and the fine grasp is developed. This allows the child to control each finger independently and in relation to their thumb. First skills include pointing using the index finger and gradually progress with practice, enabling the individual to increase strength and manual dexterity.
www.nhsggc.org.uk/kids ©Lesley Gibson (2007)
Page 2 of 12
Before using the Fine Motor Activity Kit
The aim of the kit is to provide individuals with a range of fun activities which will hopefully improve their fine motor skills. However, before using the kit it is important to remember that the individual you will be working with may have other underlying difficulties, which may have to be addressed before you consider focusing on their fine motor skills. As highlighted in the ‘Introduction to fine motor skills’, children are required to master a variety of skills before their fine motor skills can be refined with increasing dexterity and precision. If the individual you are working with has not developed the necessary prerequisite skills, they will struggle to make any progress with their fine motor skills. Please also consider the following:
Does the child have good shoulder and hip stability? If you are unsure, look and see how they sit. Do they W sit on the floor? Do they wrap themselves around their chair? Do they slouch/ lay across their desk? Do they lean on walls or other objects? Good core/ proximal stability is a requirement for good balance. If the child is struggling to sit upright they will have great difficulty working at a table/desk to carry out activities.
Can the child cross midline?
Do they have good hand-eye co-ordination?
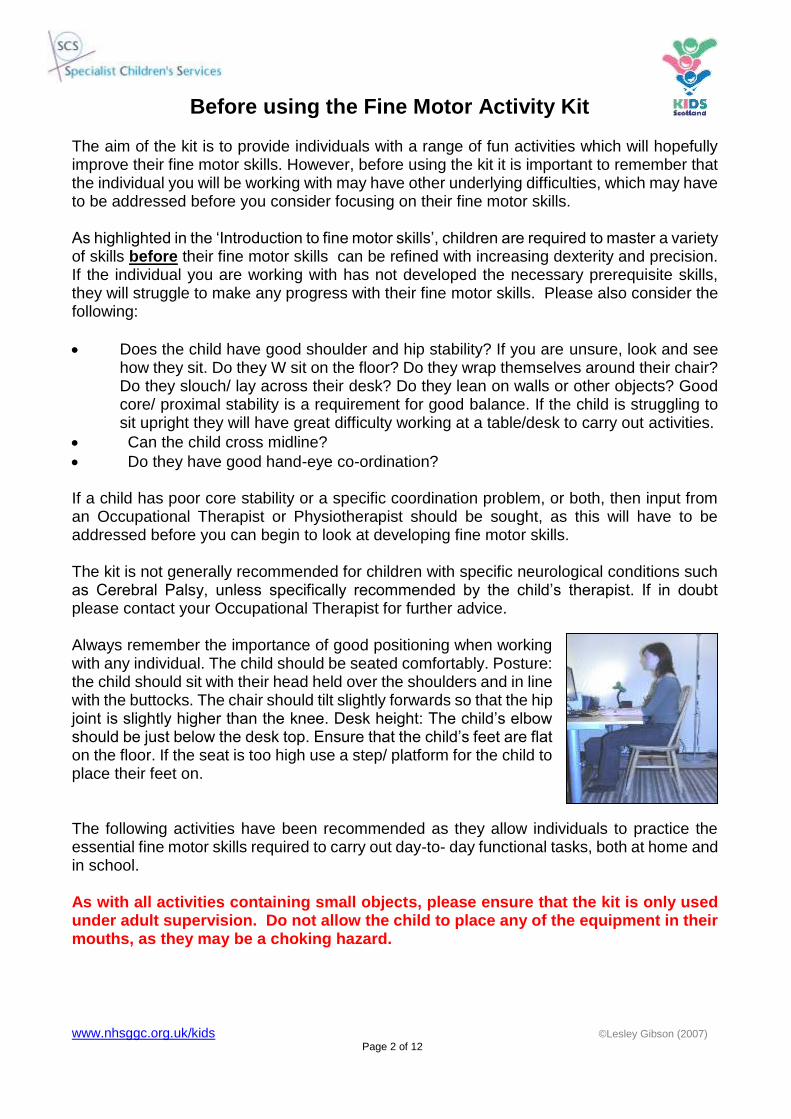
If a child has poor core stability or a specific coordination problem, or both, then input from an Occupational Therapist or Physiotherapist should be sought, as this will have to be addressed before you can begin to look at developing fine motor skills. The kit is not generally recommended for children with specific neurological conditions such as Cerebral Palsy, unless specifically recommended by the child’s therapist. If in doubt please contact your Occupational Therapist for further advice. Always remember the importance of good positioning when working with any individual. The child should be seated comfortably. Posture: the child should sit with their head held over the shoulders and in line with the buttocks. The chair should tilt slightly forwards so that the hip joint is slightly higher than the knee. Desk height: The child’s elbow should be just below the desk top. Ensure that the child’s feet are flat on the floor. If the seat is too high use a step/ platform for the child to place their feet on.
The following activities have been recommended as they allow individuals to practice the essential fine motor skills required to carry out day-to- day functional tasks, both at home and in school. As with all activities containing small objects, please ensure that the kit is only used under adult supervision. Do not allow the child to place any of the equipment in their mouths, as they may be a choking hazard.
www.nhsggc.org.uk/kids ©Lesley Gibson (2007)
Page 3 of 12
Hand Aerobics
Carrying out hand aerobics before carrying out fine motor activity i.e. drawing, writing, dressing and playing games etc. helps to prepare a child’s hands for activity. The following exercises will increase tactile (touch) and proprioceptive (sensory awareness of a part of the body) sensory messages received from their hands, increasing the child’s sensory awareness of what their hand muscles and joints are doing and what they are touching/ holding. This may help to improve motor (movement) control and develop motor memory, to enable the development of more complex fine motor skills.
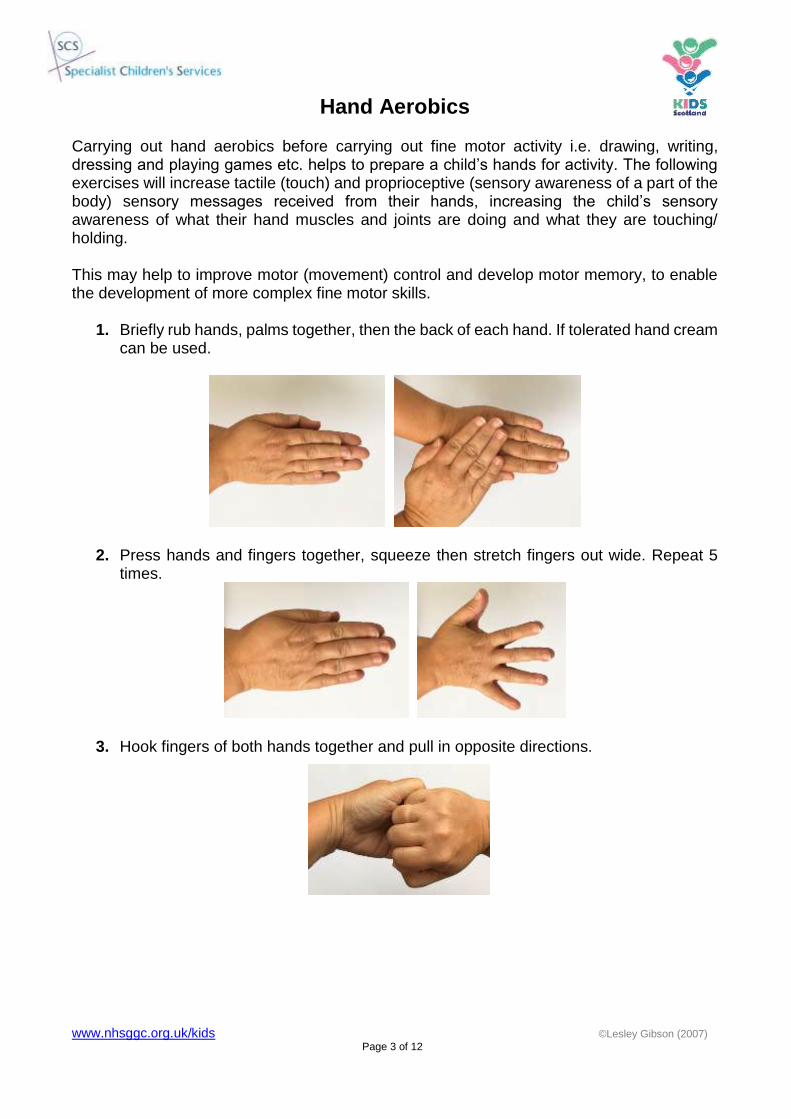
1. Briefly rub hands, palms together, then the back of each hand. If tolerated hand cream
can be used.
2. Press hands and fingers together, squeeze then stretch fingers out wide. Repeat 5 times.
3. Hook fingers of both hands together and pull in opposite directions.
www.nhsggc.org.uk/kids ©Lesley Gibson (2007)
Page 4 of 12
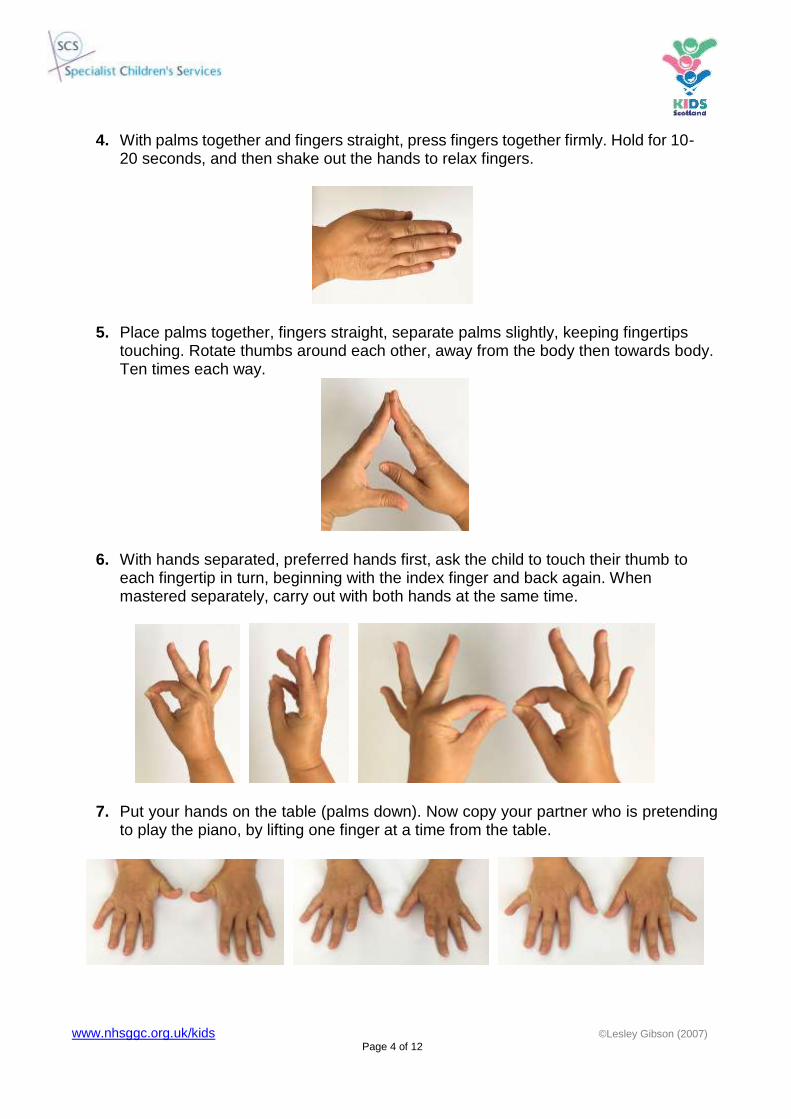
4. With palms together and fingers straight, press fingers together firmly. Hold for 10-20 seconds, and then shake out the hands to relax fingers.
5. Place palms together, fingers straight, separate palms slightly, keeping fingertips touching. Rotate thumbs around each other, away from the body then towards body. Ten times each way.
6. With hands separated, preferred hands first, ask the child to touch their thumb to each fingertip in turn, beginning with the index finger and back again. When mastered separately, carry out with both hands at the same time.
7. Put your hands on the table (palms down). Now copy your partner who is pretending to play the piano, by lifting one finger at a time from the table.
www.nhsggc.org.uk/kids ©Lesley Gibson (2007)
Page 5 of 12
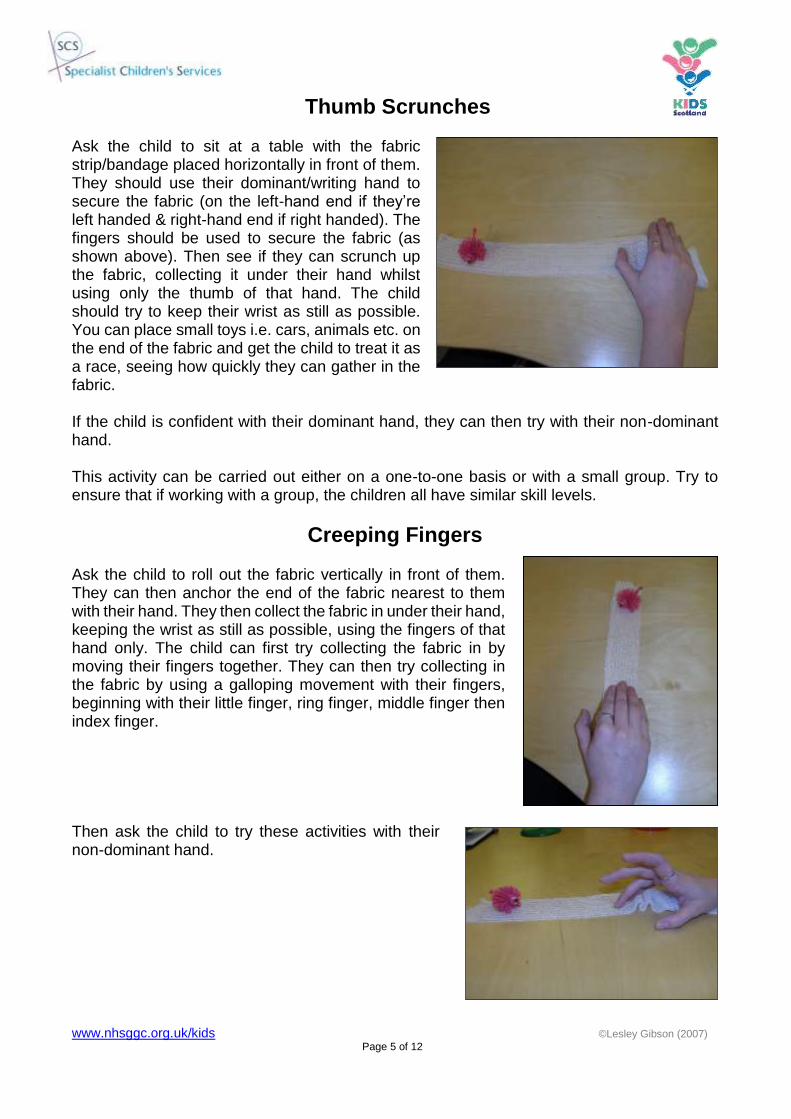
Thumb Scrunches Ask the child to sit at a table with the fabric strip/bandage placed horizontally in front of them. They should use their dominant/writing hand to secure the fabric (on the left-hand end if they’re left handed & right-hand end if right handed). The fingers should be used to secure the fabric (as shown above). Then see if they can scrunch up the fabric, collecting it under their hand whilst using only the thumb of that hand. The child should try to keep their wrist as still as possible. You can place small toys i.e. cars, animals etc. on the end of the fabric and get the child to treat it as a race, seeing how quickly they can gather in the fabric. If the child is confident with their dominant hand, they can then try with their non-dominant hand. This activity can be carried out either on a one-to-one basis or with a small group. Try to ensure that if working with a group, the children all have similar skill levels.
Creeping Fingers
Ask the child to roll out the fabric vertically in front of them. They can then anchor the end of the fabric nearest to them with their hand. They then collect the fabric in under their hand, keeping the wrist as still as possible, using the fingers of that hand only. The child can first try collecting the fabric in by moving their fingers together. They can then try collecting in the fabric by using a galloping movement with their fingers, beginning with their little finger, ring finger, middle finger then index finger.
Then ask the child to try these activities with their non-dominant hand.
www.nhsggc.org.uk/kids ©Lesley Gibson (2007)
Page 6 of 12
Marble Hide
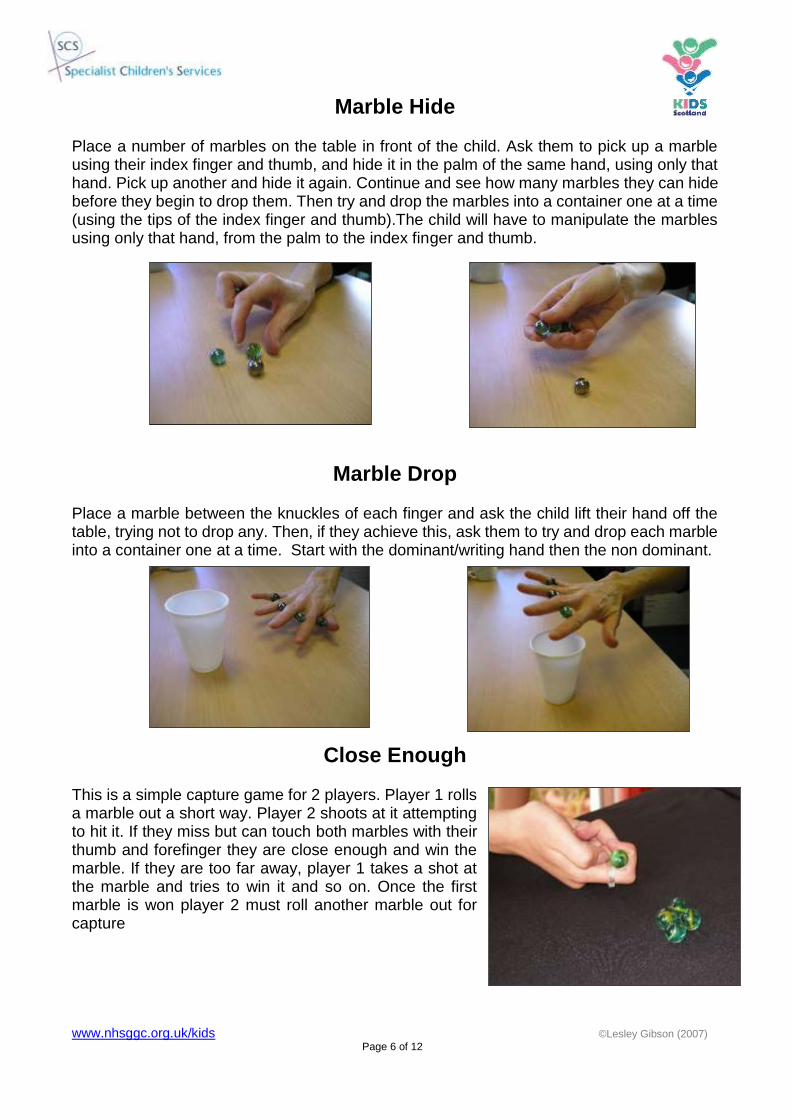
Place a number of marbles on the table in front of the child. Ask them to pick up a marble using their index finger and thumb, and hide it in the palm of the same hand, using only that hand. Pick up another and hide it again. Continue and see how many marbles they can hide before they begin to drop them. Then try and drop the marbles into a container one at a time (using the tips of the index finger and thumb).The child will have to manipulate the marbles using only that hand, from the palm to the index finger and thumb.
Marble Drop
Place a marble between the knuckles of each finger and ask the child lift their hand off the table, trying not to drop any. Then, if they achieve this, ask them to try and drop each marble into a container one at a time. Start with the dominant/writing hand then the non dominant.
Close Enough
This is a simple capture game for 2 players. Player 1 rolls a marble out a short way. Player 2 shoots at it attempting to hit it. If they miss but can touch both marbles with their thumb and forefinger they are close enough and win the marble. If they are too far away, player 1 takes a shot at the marble and tries to win it and so on. Once the first marble is won player 2 must roll another marble out for capture
www.nhsggc.org.uk/kids ©Lesley Gibson (2007)
Page 7 of 12
Ring Shot (Marbles - Group Game)
Draw 2 circles, one inside the other. The inner circle should be approx. 30cms wide, with the outer being 1 metre wide. Each player puts an agreed number of marbles into the inner circle. Players then take turns shooting from anywhere in the outer ring at the marbles in the inner ring. Players may shoot at the marbles originally placed in the inner circle or can shoot at other people’s shooters. The aim of the game is to knock other player’s marbles out of the inner ring. Once a marble is knocked out of the inner circle it can be claimed by the shooter. The game continues until all of the marbles in the inner ring are claimed. The player with the most marbles wins.
Finger Football
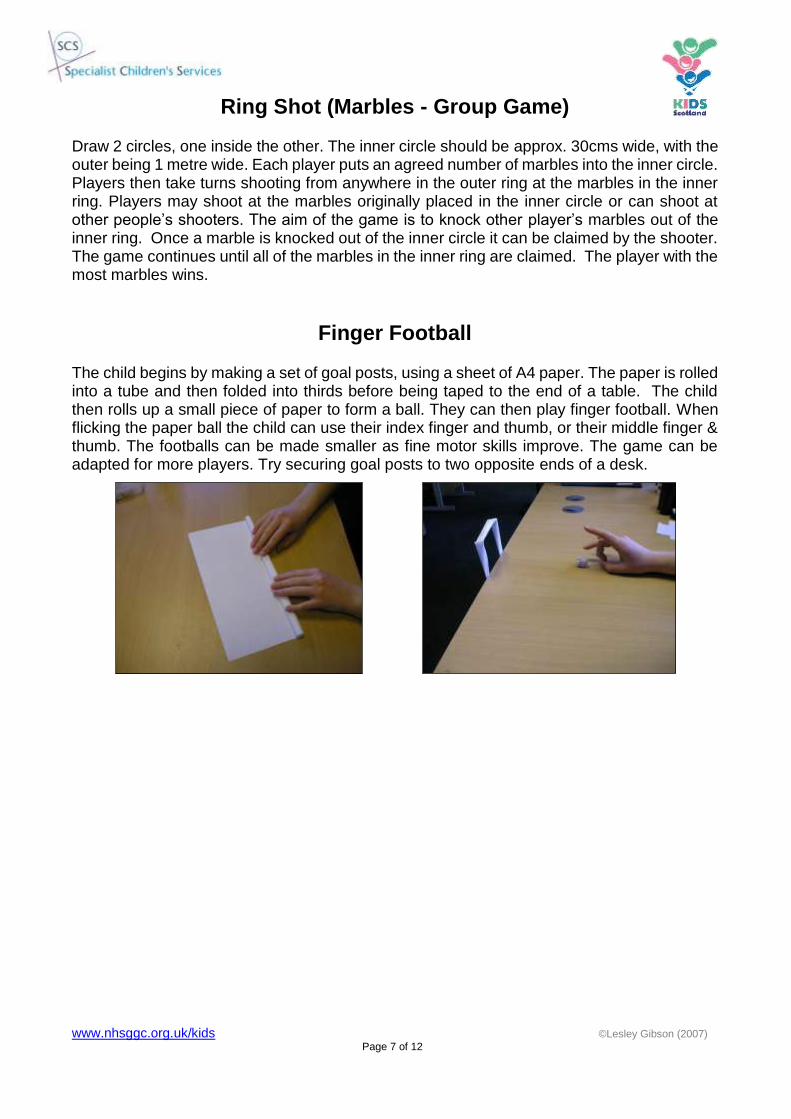
The child begins by making a set of goal posts, using a sheet of A4 paper. The paper is rolled into a tube and then folded into thirds before being taped to the end of a table. The child then rolls up a small piece of paper to form a ball. They can then play finger football. When flicking the paper ball the child can use their index finger and thumb, or their middle finger & thumb. The footballs can be made smaller as fine motor skills improve. The game can be adapted for more players. Try securing goal posts to two opposite ends of a desk.
www.nhsggc.org.uk/kids ©Lesley Gibson (2007)
Page 8 of 12
Play Dough Activities
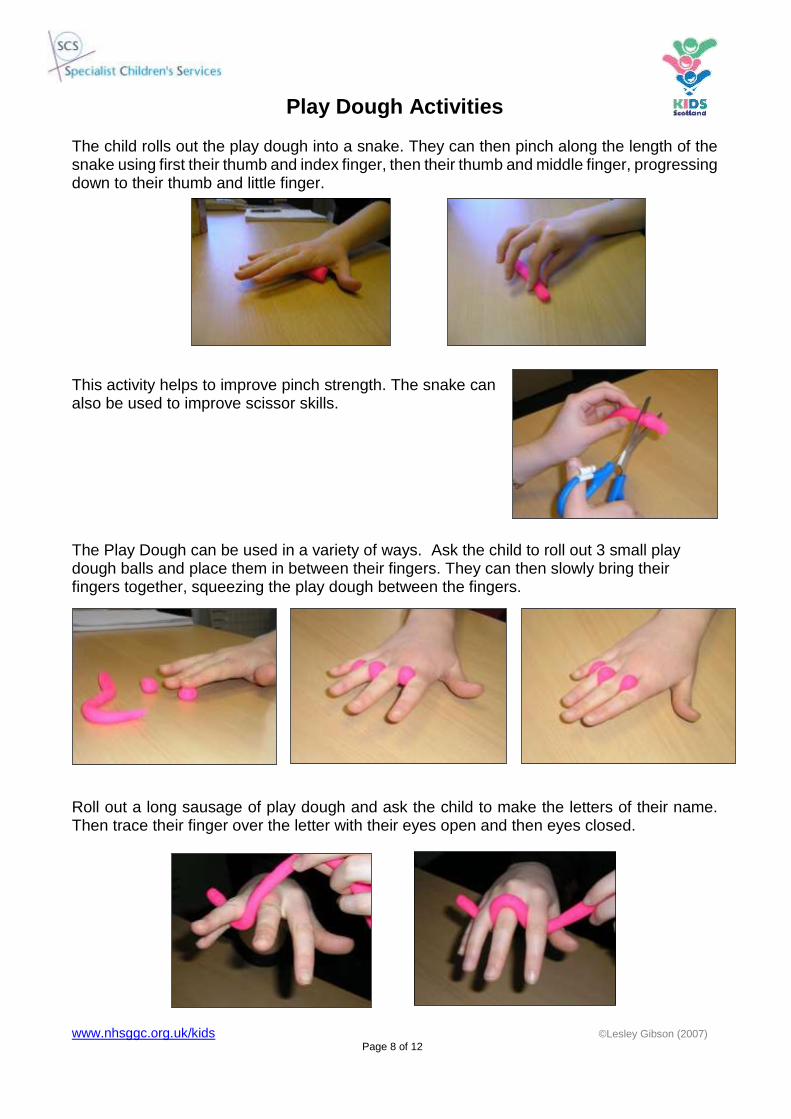
The child rolls out the play dough into a snake. They can then pinch along the length of the snake using first their thumb and index finger, then their thumb and middle finger, progressing down to their thumb and little finger. This activity helps to improve pinch strength. The snake can also be used to improve scissor skills.
The Play Dough can be used in a variety of ways. Ask the child to roll out 3 small play dough balls and place them in between their fingers. They can then slowly bring their fingers together, squeezing the play dough between the fingers. Roll out a long sausage of play dough and ask the child to make the letters of their name. Then trace their finger over the letter with their eyes open and then eyes closed.
www.nhsggc.org.uk/kids ©Lesley Gibson (2007)
Page 9 of 12
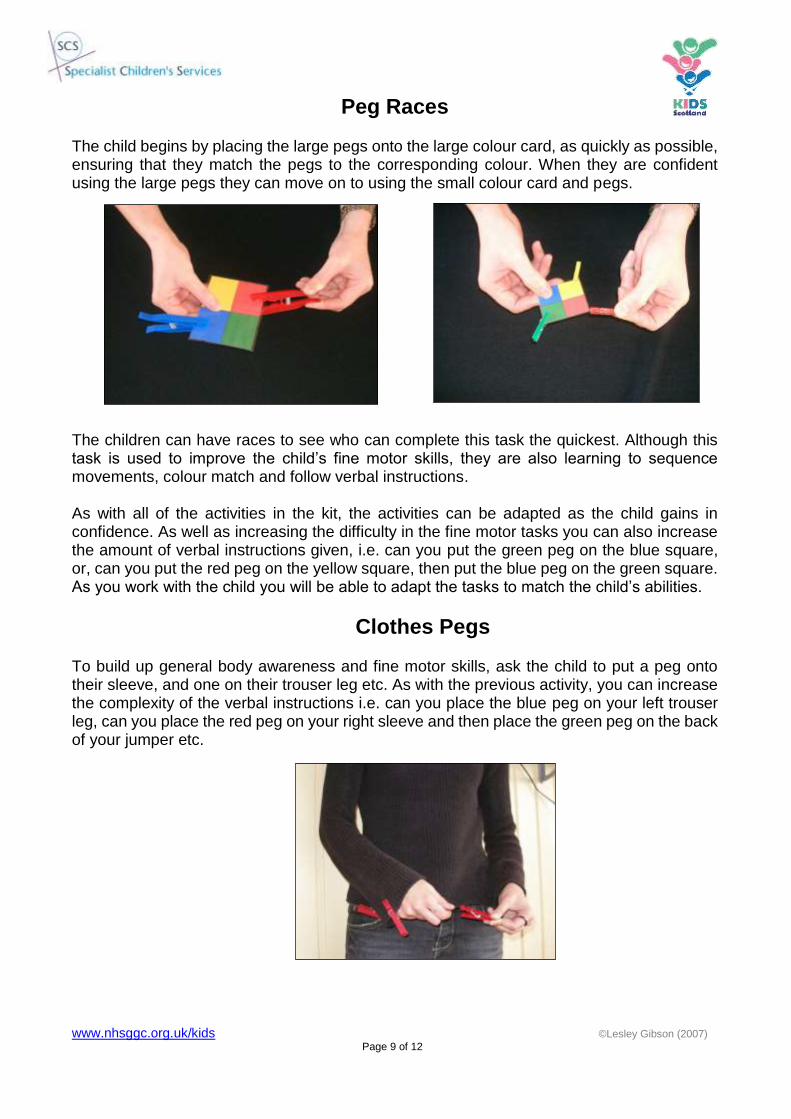
Peg Races
The child begins by placing the large pegs onto the large colour card, as quickly as possible, ensuring that they match the pegs to the corresponding colour. When they are confident using the large pegs they can move on to using the small colour card and pegs.
The children can have races to see who can complete this task the quickest. Although this task is used to improve the child’s fine motor skills, they are also learning to sequence movements, colour match and follow verbal instructions. As with all of the activities in the kit, the activities can be adapted as the child gains in confidence. As well as increasing the difficulty in the fine motor tasks you can also increase the amount of verbal instructions given, i.e. can you put the green peg on the blue square, or, can you put the red peg on the yellow square, then put the blue peg on the green square. As you work with the child you will be able to adapt the tasks to match the child’s abilities.
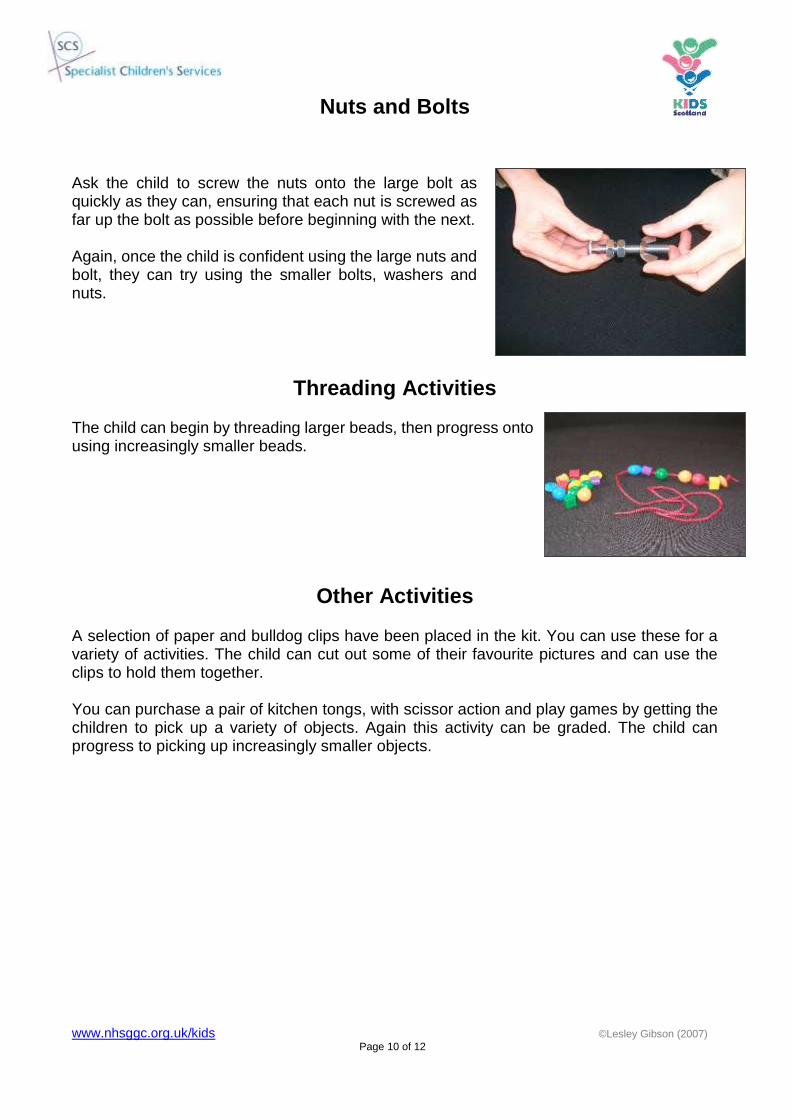
Clothes Pegs
To build up general body awareness and fine motor skills, ask the child to put a peg onto their sleeve, and one on their trouser leg etc. As with the previous activity, you can increase the complexity of the verbal instructions i.e. can you place the blue peg on your left trouser leg, can you place the red peg on your right sleeve and then place the green peg on the back of your jumper etc.
www.nhsggc.org.uk/kids ©Lesley Gibson (2007)
Page 10 of 12
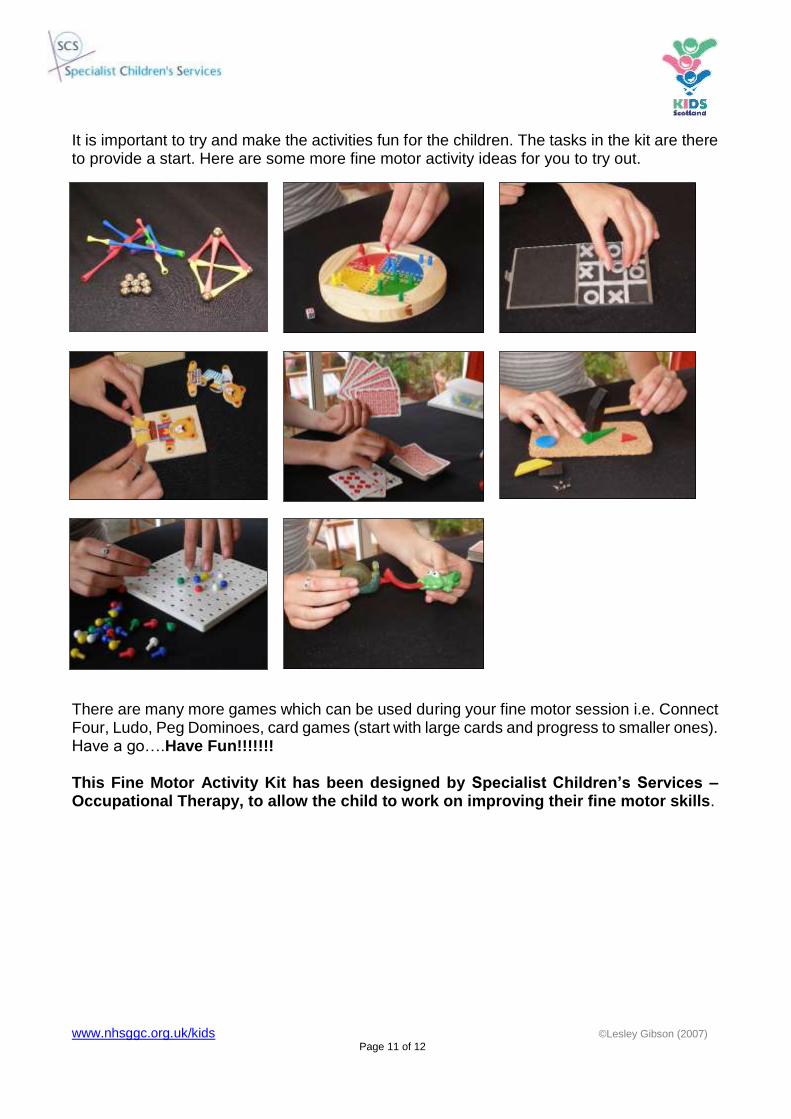
Nuts and Bolts
Ask the child to screw the nuts onto the large bolt as quickly as they can, ensuring that each nut is screwed as far up the bolt as possible before beginning with the next. Again, once the child is confident using the large nuts and bolt, they can try using the smaller bolts, washers and nuts.
Threading Activities The child can begin by threading larger beads, then progress onto using increasingly smaller beads.
Other Activities
A selection of paper and bulldog clips have been placed in the kit. You can use these for a variety of activities. The child can cut out some of their favourite pictures and can use the clips to hold them together. You can purchase a pair of kitchen tongs, with scissor action and play games by getting the children to pick up a variety of objects. Again this activity can be graded. The child can progress to picking up increasingly smaller objects.
www.nhsggc.org.uk/kids ©Lesley Gibson (2007)
Page 11 of 12
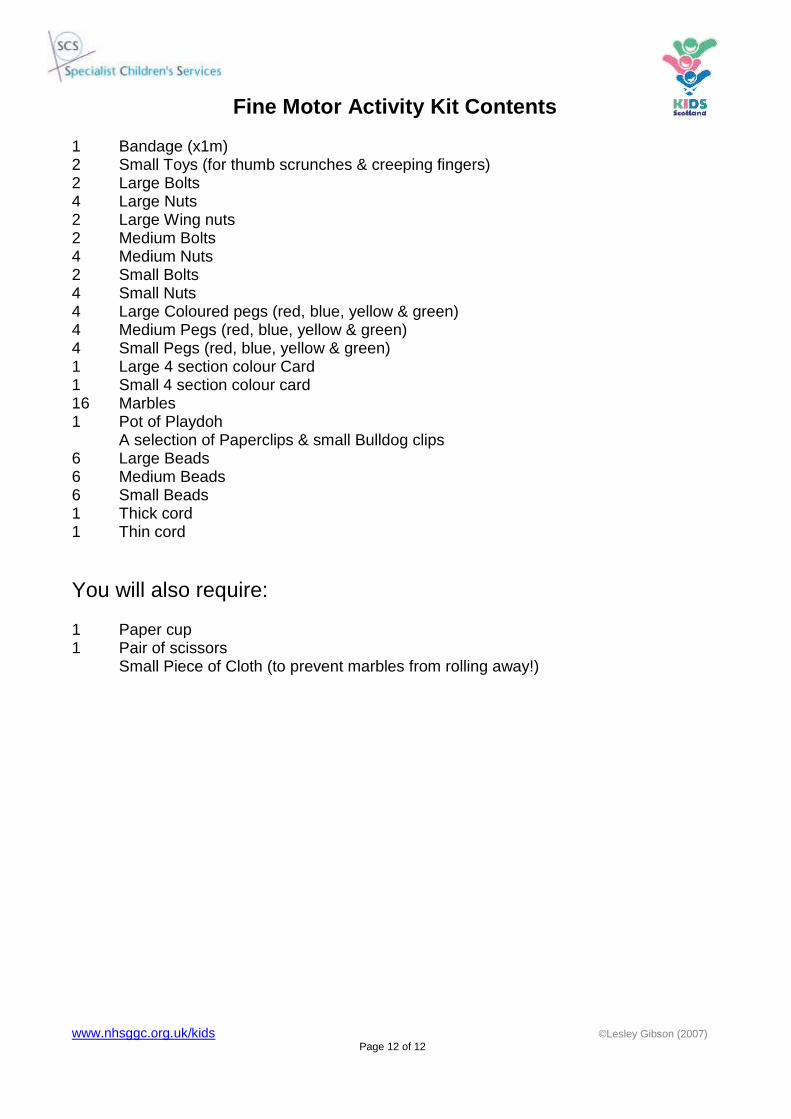
It is important to try and make the activities fun for the children. The tasks in the kit are there to provide a start. Here are some more fine motor activity ideas for you to try out.
There are many more games which can be used during your fine motor session i.e. Connect Four, Ludo, Peg Dominoes, card games (start with large cards and progress to smaller ones). Have a go….Have Fun!!!!!!! This Fine Motor Activity Kit has been designed by Specialist Children’s Services – Occupational Therapy, to allow the child to work on improving their fine motor skills.
www.nhsggc.org.uk/kids ©Lesley Gibson (2007)
Page 12 of 12
Fine Motor Activity Kit Contents 1 Bandage (x1m) 2 Small Toys (for thumb scrunches & creeping fingers) 2 Large Bolts 4 Large Nuts 2 Large Wing nuts 2 Medium Bolts 4 Medium Nuts 2 Small Bolts 4 Small Nuts 4 Large Coloured pegs (red, blue, yellow & green) 4 Medium Pegs (red, blue, yellow & green) 4 Small Pegs (red, blue, yellow & green) 1 Large 4 section colour Card 1 Small 4 section colour card 16 Marbles 1 Pot of Playdoh A selection of Paperclips & small Bulldog clips 6 Large Beads 6 Medium Beads 6 Small Beads 1 Thick cord 1 Thin cord
You will also require: 1 Paper cup 1 Pair of scissors Small Piece of Cloth (to prevent marbles from rolling away!)