Embed Size (px)
Citation preview

Fetch 3
Installation Guide
Mac OS X
Version 1.0
May 28, 2015
Confidential
Document Release Information
Document Information
Filename Fetch Installation Guide
Author Rodney Davies
Version Version 1.0
Release Date May 28, 2015
Document Control:
Controlled copies of this document are maintained on the Sonic IT Portal Server under the Project 13-
051 project folder.
Document History
Version Date Changes
1.0 28/05/15 Draft version
Sonic Healthcare Limited Confidential Fetch Installation Guide Mac OS X
3
1 Introduction
This Installation Guide provides a quick-reference to installing Fetch3 onto Mac OS X. Since the actual
setup and configuration of Fetch3 is virtually identical to that of the Windows version, this guide will
only be covering a brief description of the installation steps that differ slightly to the Windows
installation process.
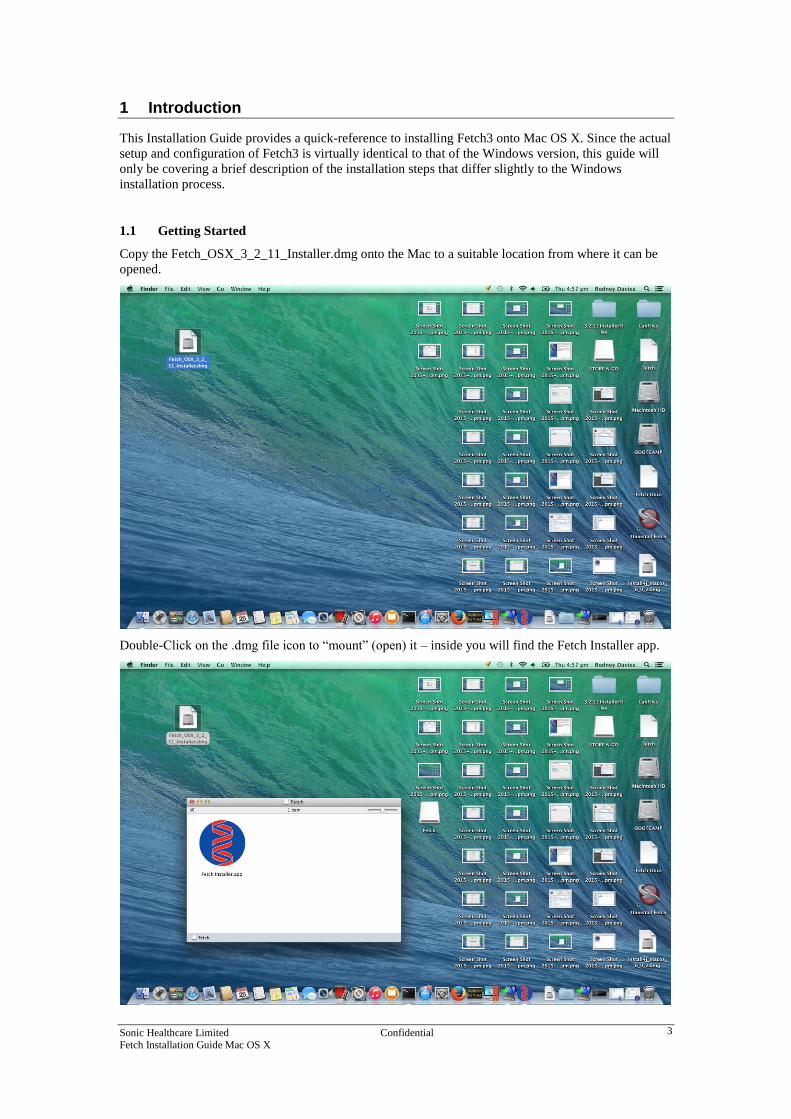
1.1 Getting Started
Copy the Fetch_OSX_3_2_11_Installer.dmg onto the Mac to a suitable location from where it can be
opened.
Double-Click on the .dmg file icon to “mount” (open) it – inside you will find the Fetch Installer app.
Sonic Healthcare Limited Confidential Fetch Installation Guide Mac OS X
4
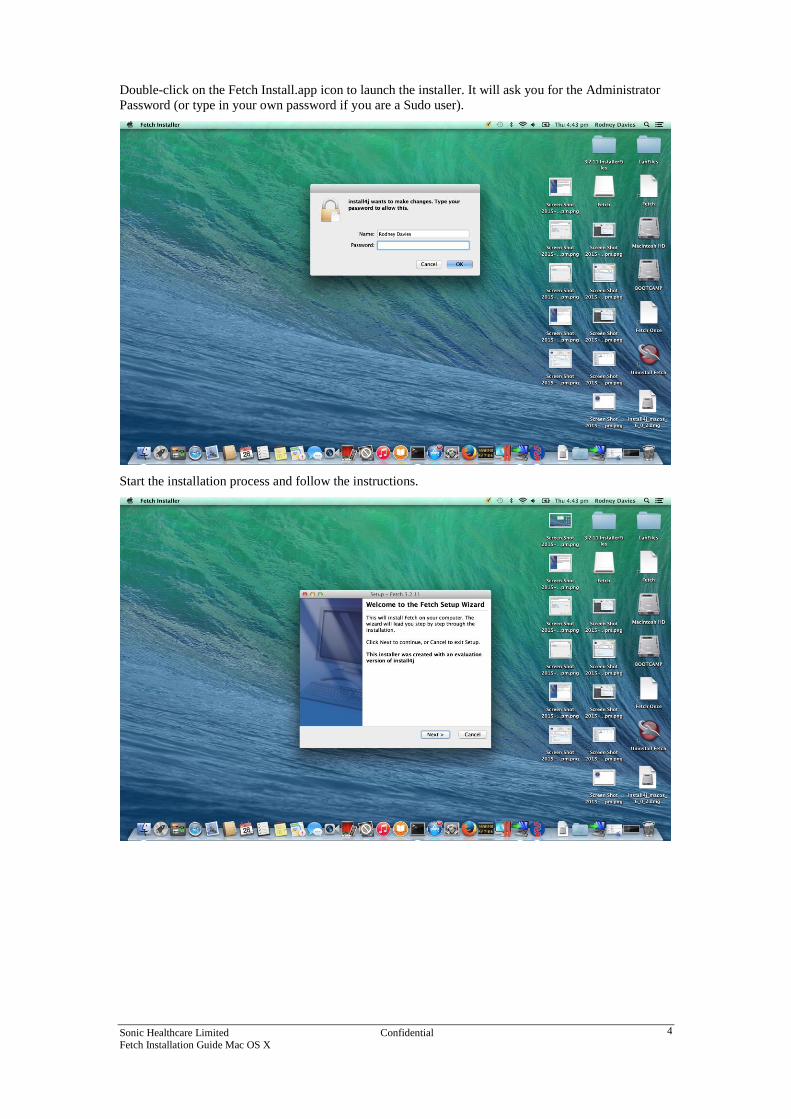
Double-click on the Fetch Install.app icon to launch the installer. It will ask you for the Administrator
Password (or type in your own password if you are a Sudo user).
Start the installation process and follow the instructions.
Sonic Healthcare Limited Confidential Fetch Installation Guide Mac OS X
5
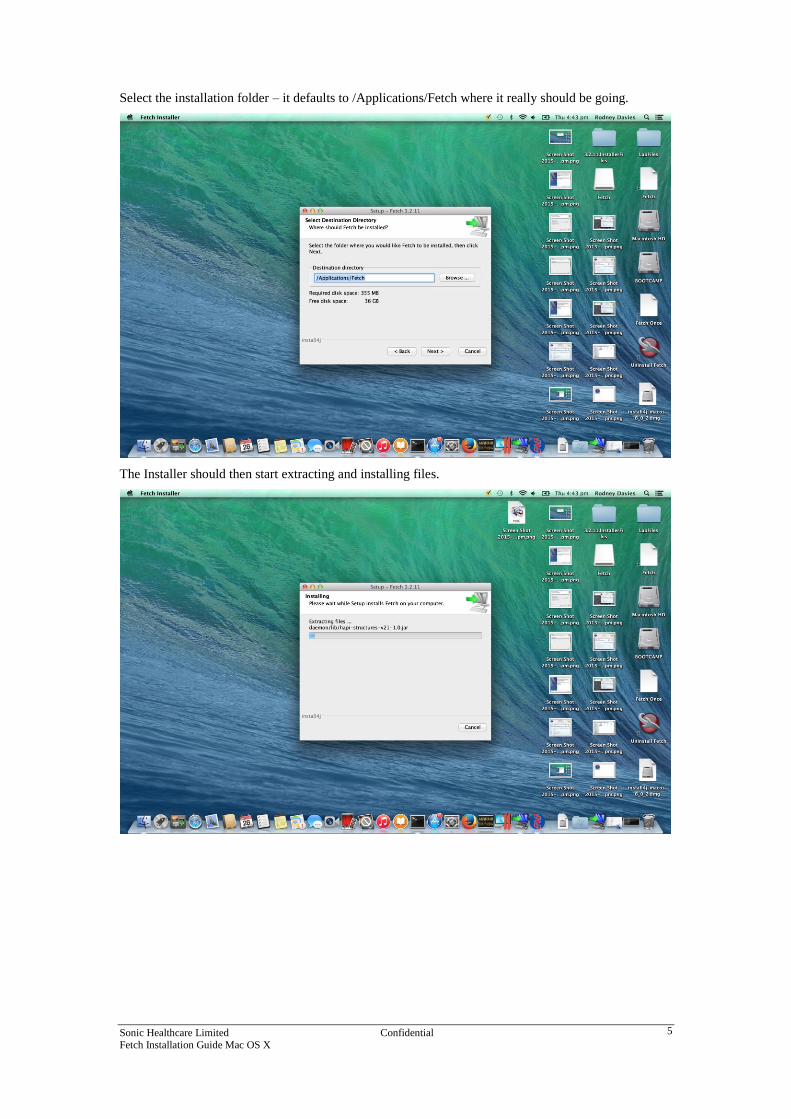
Select the installation folder – it defaults to /Applications/Fetch where it really should be going.
The Installer should then start extracting and installing files.
Sonic Healthcare Limited Confidential Fetch Installation Guide Mac OS X
6
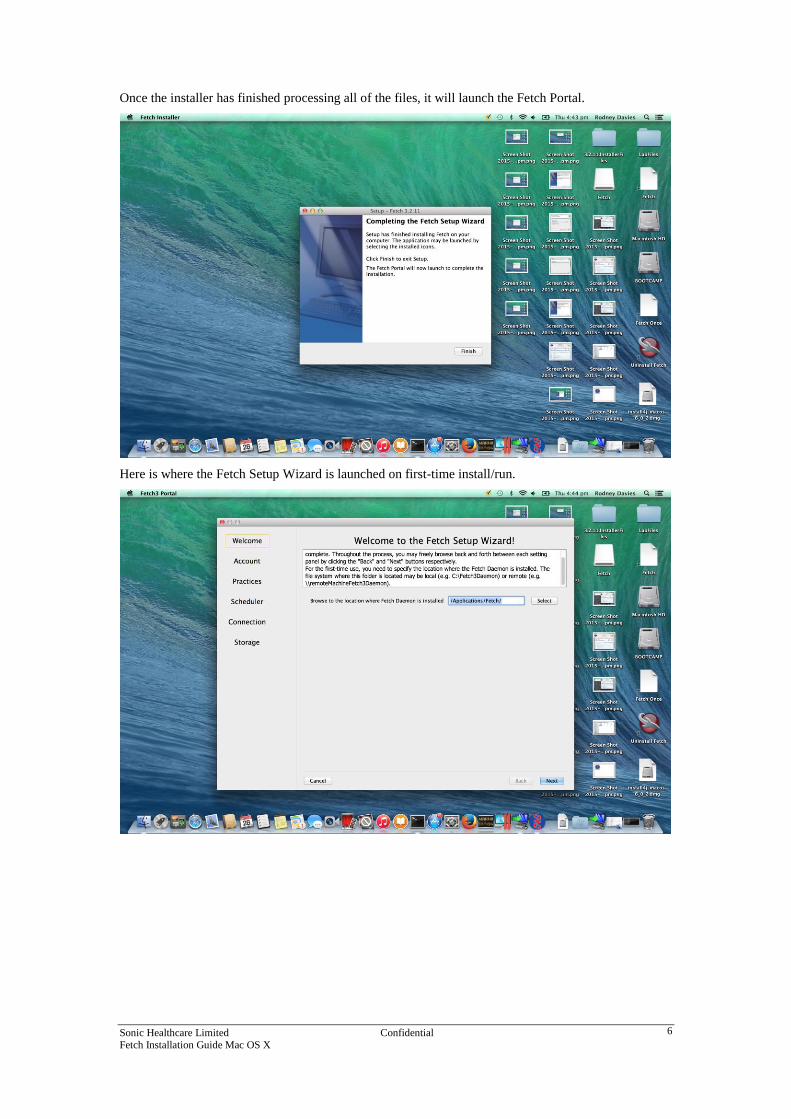
Once the installer has finished processing all of the files, it will launch the Fetch Portal.
Here is where the Fetch Setup Wizard is launched on first-time install/run.
Sonic Healthcare Limited Confidential Fetch Installation Guide Mac OS X
7
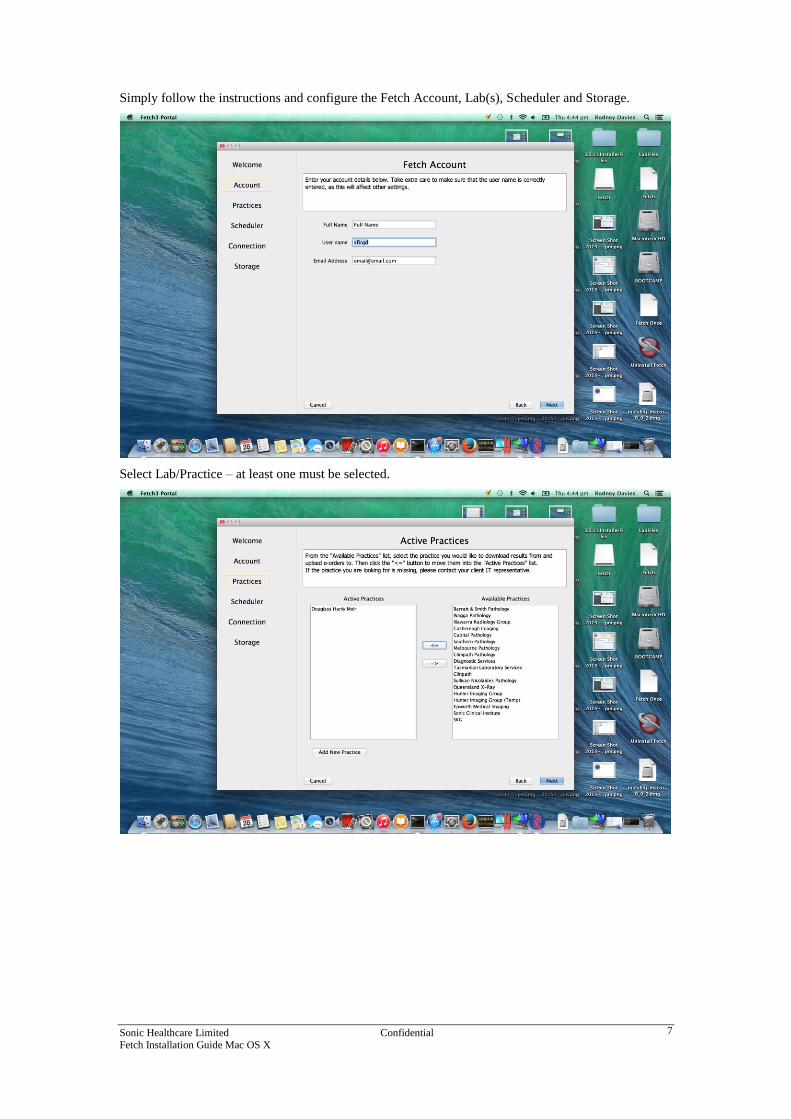
Simply follow the instructions and configure the Fetch Account, Lab(s), Scheduler and Storage.
Select Lab/Practice – at least one must be selected.
Sonic Healthcare Limited Confidential Fetch Installation Guide Mac OS X
8
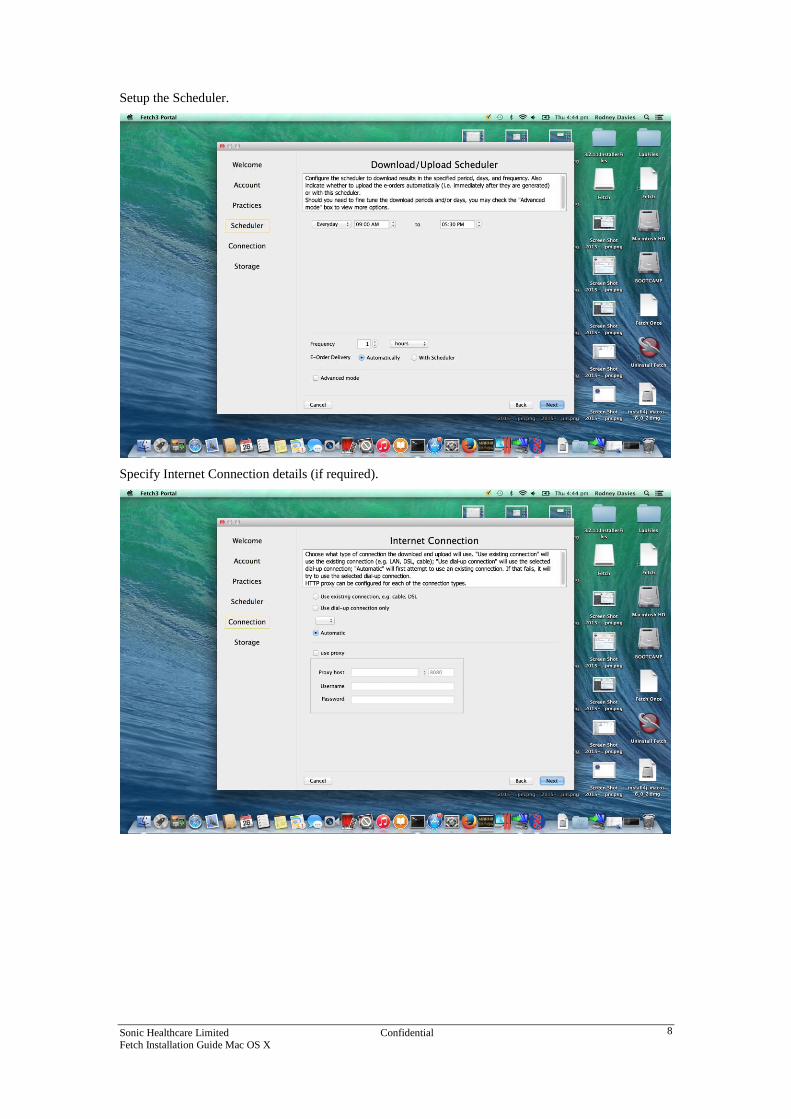
Setup the Scheduler.
Specify Internet Connection details (if required).
Sonic Healthcare Limited Confidential Fetch Installation Guide Mac OS X
9
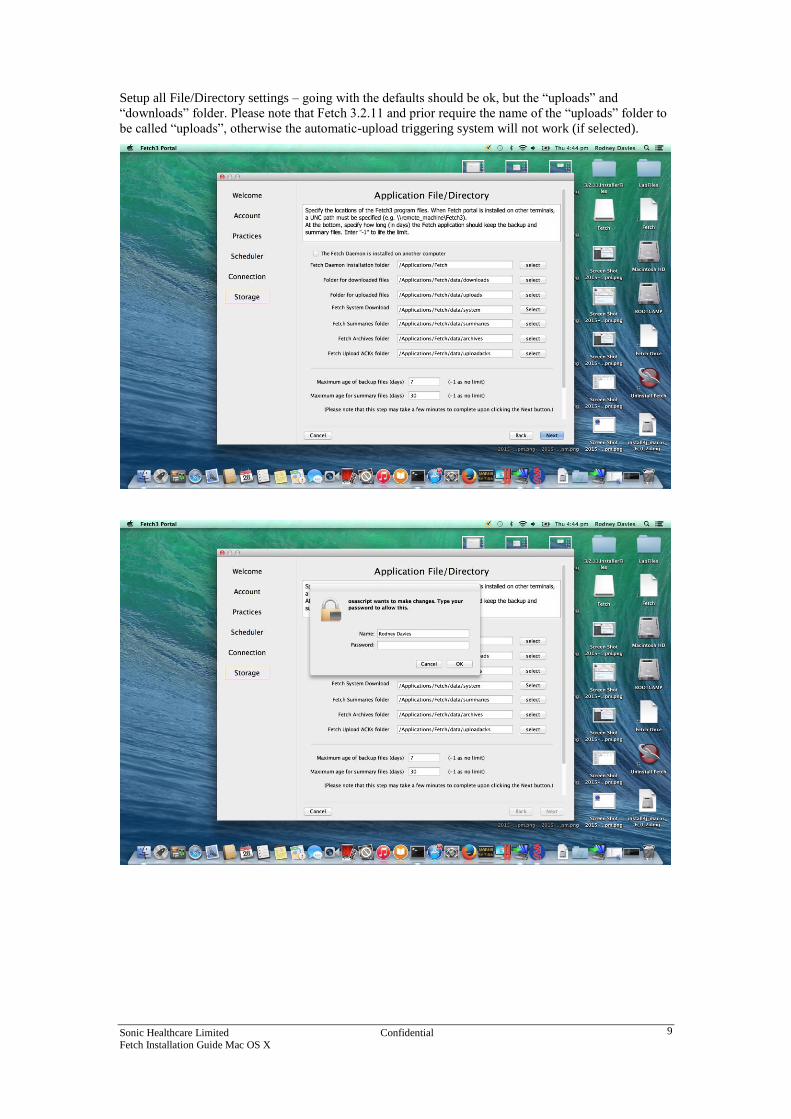
Setup all File/Directory settings – going with the defaults should be ok, but the “uploads” and
“downloads” folder. Please note that Fetch 3.2.11 and prior require the name of the “uploads” folder to
be called “uploads”, otherwise the automatic-upload triggering system will not work (if selected).
Sonic Healthcare Limited Confidential Fetch Installation Guide Mac OS X
10
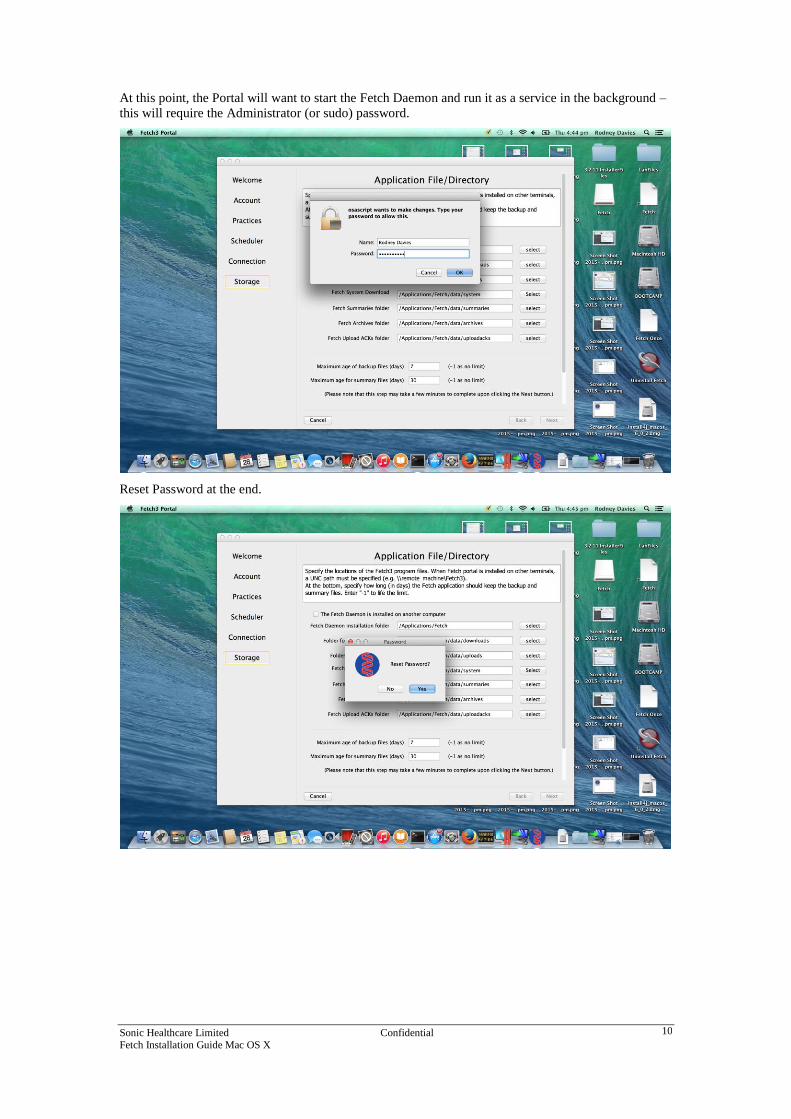
At this point, the Portal will want to start the Fetch Daemon and run it as a service in the background –
this will require the Administrator (or sudo) password.
Reset Password at the end.
Sonic Healthcare Limited Confidential Fetch Installation Guide Mac OS X
11
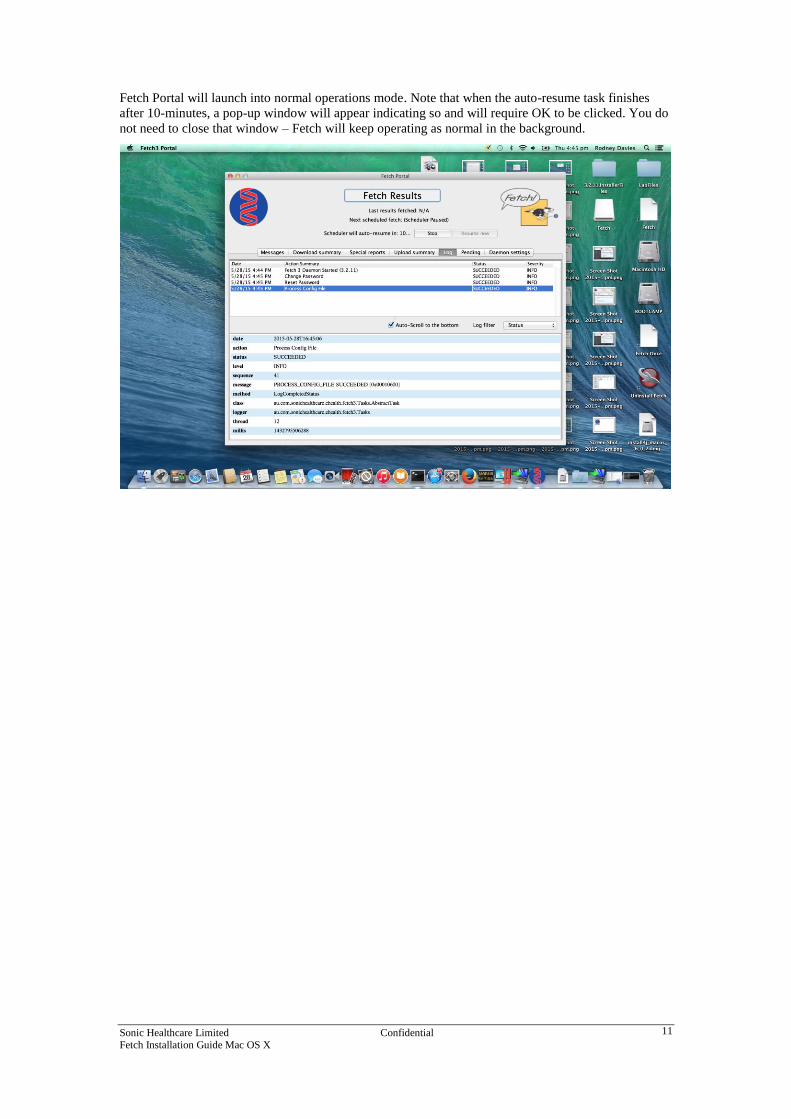
Fetch Portal will launch into normal operations mode. Note that when the auto-resume task finishes
after 10-minutes, a pop-up window will appear indicating so and will require OK to be clicked. You do
not need to close that window – Fetch will keep operating as normal in the background.