Embed Size (px)
Citation preview
FERMENTING GUIDE
& RECIPE BOOK
By Sarah Miller ofKillerPickles.com
®
Thank
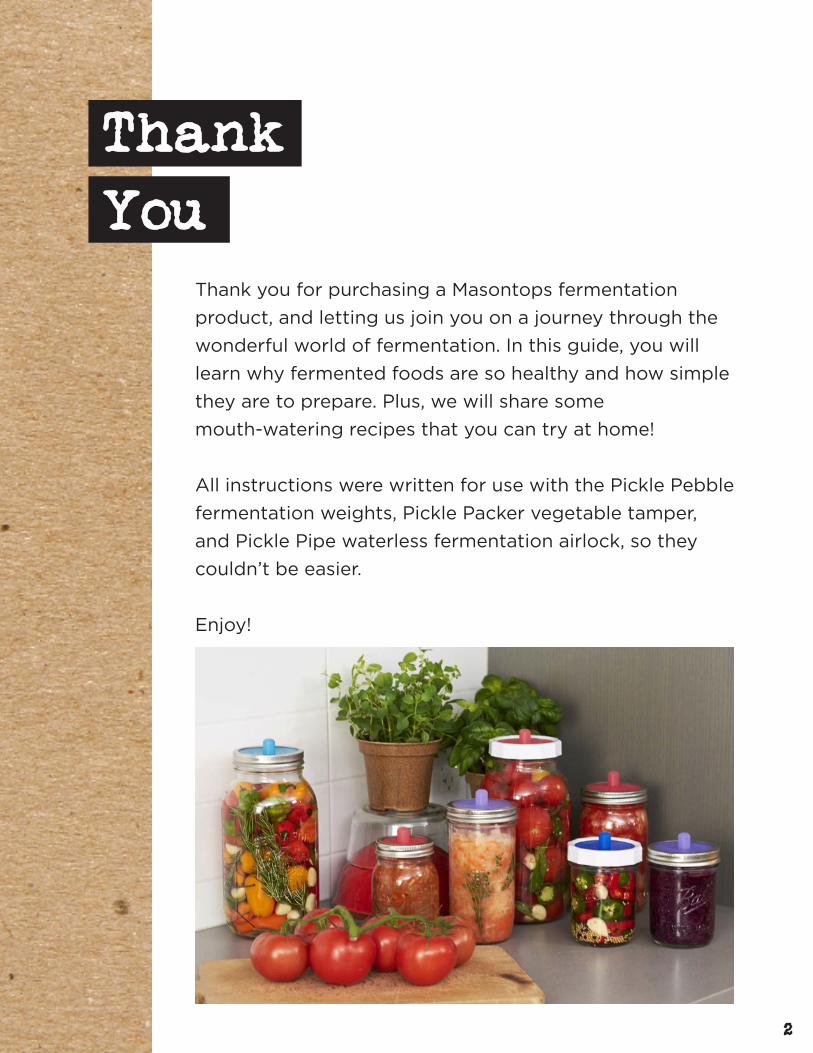
YouThank you for purchasing a Masontops fermentation
product, and letting us join you on a journey through the
wonderful world of fermentation. In this guide, you will
learn why fermented foods are so healthy and how simple
they are to prepare. Plus, we will share some
mouth-watering recipes that you can try at home!
All instructions were written for use with the Pickle Pebble
fermentation weights, Pickle Packer vegetable tamper,
and Pickle Pipe waterless fermentation airlock, so they
couldn’t be easier.
Enjoy!
2
ContentsWhat Is Fermentation?
Benefits Of Fermentation
How It Works
Dry Salting vs. Brining
Keys To Success!
Gathering Supplies
FABULOUS FERMENTS
Traditional Sauerkraut
Kurry Kraut
Sour Dill Pickles
Gingered Carrots
Fuschia Fermented Turnips
Fermented Giardiniera
White Kimchi
About The Author
About Masontops
4
5
6
7
8
10
11
12
16
18
21
23
25
28
31
32
3
JOIN THE COMMUNITYFind us online for daily access to recipes and articles.
®

What
Is
Fermentation?For this booklet, we are discussing the fermentation of vegetables,
or lactic acid fermentation. Fermentation is a process whereby
the natural bacteria present in fresh vegetables utilize the
carbohydrates to reproduce and excrete lactic acid, which preserves
the vegetables and creates the characteristic tangy flavor.
Fermentation is carried out by Lactobacilli bacteria, a large family
of acid producing bacteria that live in the soil, on all plants, and on
the skin and in the digestive tracts of most animals.
(C) Masontops, Inc. 2018.Visit Masontops.com formore information. 4
Tough Band Screw Band and Pickle Pipe with Brussels Sprouts Pictured Here
Benefits
Of
FermentationFermentation is first and foremost a means of preservation; it is the
original form of pickling! Fermentation allows you to preserve a season’s
harvest to enjoy later in the year. It creates healthy lactic acid that gives
foods a bright, tangy flavor. Lactic acid functions as a digestive aid -
tangy pickles served at a meal help to whet the appetite and stimulate
the production of digestive juices. It helps to keep our stomach and
bowels at the proper pH. Lactic acid is also deadly to pathogens, making
fermentation the safest form of food preservation.
Fermented foods retain all their original vitamins, and the fermentation
process also increases some vitamins, notably vitamin C. They contain
active enzymes that can assist with digestion. Fermented foods have had
the complex carbohydrates broken down and converted to organic acids,
making them highly digestible. In a way, the foods are “predigested”
by the bacteria, allowing us to absorb all the good nutrition with little
digestive effort.
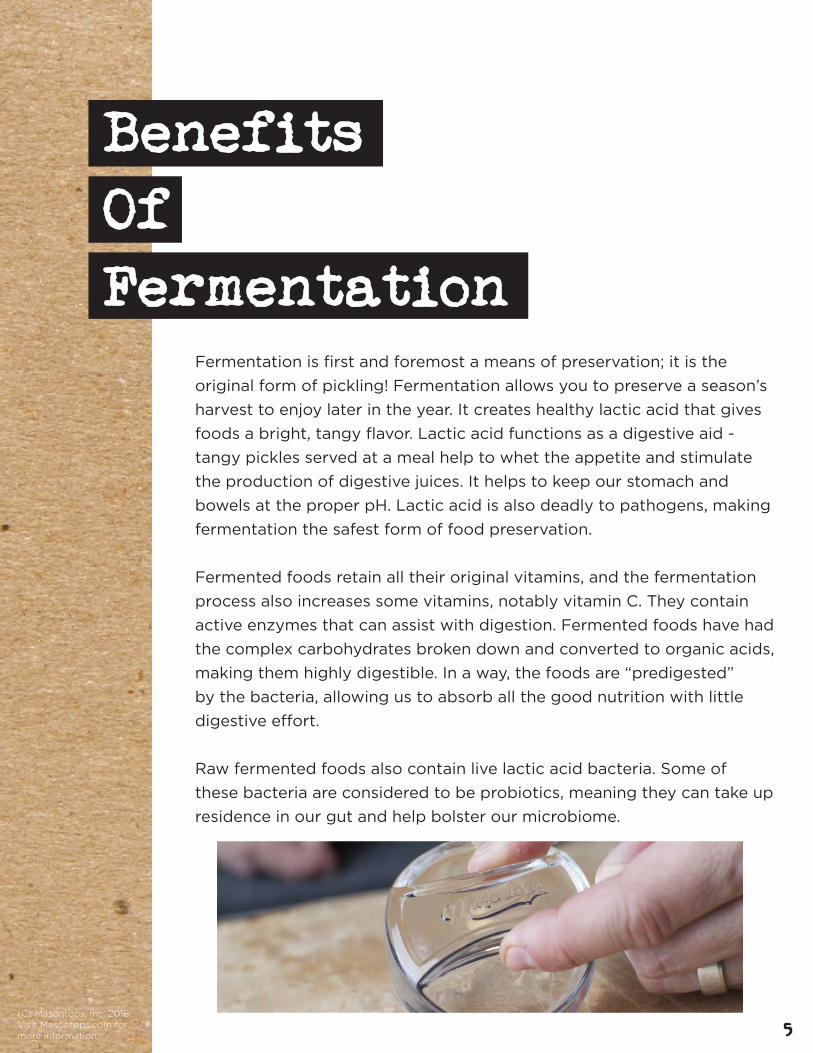
Raw fermented foods also contain live lactic acid bacteria. Some of
these bacteria are considered to be probiotics, meaning they can take up
residence in our gut and help bolster our microbiome.
5(C) Masontops, Inc. 2018.Visit Masontops.com formore information.
How
It All
WorksJust Add Salt!Fermentation was a happy accident! Thousands of years ago, workers
building the Great Wall in China packed some cabbages with salt in a pot,
hoping to preserve them. When they opened the pot later they found it
bubbling and teeming with fermenting goodness, and a delicious sour
flavor. That basic method of preserving vegetables in a salty brine spread
around the world, so that nearly every culture with access to salt makes
some kind of fermented food.
The two ingredients needed to make fermented foods are fresh
vegetables and salt. So simple! The fresh vegetables provide the
necessary bacteria and carbohydrates, while the salt has multiple
functions in a ferment. First, salt exerts osmotic pressure on the
vegetables, pulling the water out of them and then moving into the
cells to take its place. This helps to create a brine, and also makes the
vegetables firmer. Salt also inhibits spoilage organisms that would turn
our vegetables into rotten mush instead of fermented goodness.
Vegetables submerged in a salty brine soon begin bubbling with the
fermenting activity of a variety of lactic acid bacteria. These bacteria
consume the sugars in the vegetables, excrete lactic acid, and also
produce carbon dioxide. They acidify the brine quickly, to inhibit any
competition from spoilage organisms.
QUICK TIP!Signs of healthy fermentation are: active bubbling, cloudy
brine, strong pickly odor from the fermenting gases.
6(C) Masontops, Inc. 2018.Visit Masontops.com formore information.
Two
Fermenting
TechniquesTo Brine, or Not to Brine?
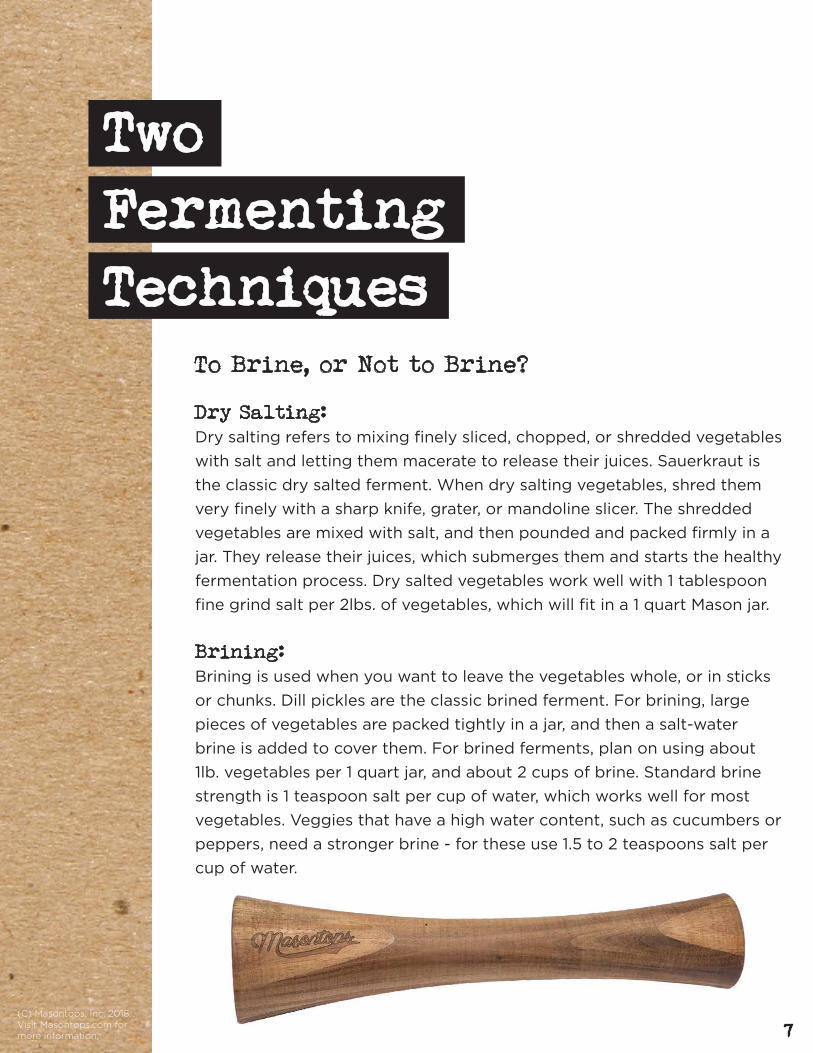
Dry Salting:Dry salting refers to mixing finely sliced, chopped, or shredded vegetables
with salt and letting them macerate to release their juices. Sauerkraut is
the classic dry salted ferment. When dry salting vegetables, shred them
very finely with a sharp knife, grater, or mandoline slicer. The shredded
vegetables are mixed with salt, and then pounded and packed firmly in a
jar. They release their juices, which submerges them and starts the healthy
fermentation process. Dry salted vegetables work well with 1 tablespoon
fine grind salt per 2lbs. of vegetables, which will fit in a 1 quart Mason jar.
Brining:Brining is used when you want to leave the vegetables whole, or in sticks
or chunks. Dill pickles are the classic brined ferment. For brining, large
pieces of vegetables are packed tightly in a jar, and then a salt-water
brine is added to cover them. For brined ferments, plan on using about
1lb. vegetables per 1 quart jar, and about 2 cups of brine. Standard brine
strength is 1 teaspoon salt per cup of water, which works well for most
vegetables. Veggies that have a high water content, such as cucumbers or
peppers, need a stronger brine - for these use 1.5 to 2 teaspoons salt per
cup of water.
7(C) Masontops, Inc. 2018.Visit Masontops.com formore information.

Ferment
For
SuccessWhichever technique you choose, there are a few things you can do to
make sure every batch of fermented vegetables is carefree and delicious.
Follow these steps to get a perfect ferment every time:
1. Don’t overfill! Fermenting veggies are very active and bubbly - they
can ooze out of the jar and make a mess if you’re not careful. Fill only
to the shoulder of the jar for a dry salted ferment, such as sauerkraut.
For pickled veggies in brine, fill to the neck.
2. Don’t underfill! Leaving too much headspace in a jar will allow extra
space for oxygen to hang out, which can lead to oxidation of the
veggies or brine, or a scummy growth on the surface. Remember that
a 1 quart jar will hold about 2lbs. of veggies when dry salting, or 1lb. of
veggies when brining.
3. Add a weight! Fermenting veggies become swollen with carbon
dioxide, floating to the surface and sometimes poking up out of the
brine where they may spoil. Always place a weight on top to keep them
submerged. Pickle Pebbles Plus work well for this purpose and feature
a new gripped handle for easy removal.
4. Seal the jar! Using a lid keeps excess oxygen out. Oxygen coming into
the jar contributes to scummy surface growths, such as kahm yeast or
mold.
5. Vent it! Sealing up a jar full of fermenting veggies can lead to a
dangerous explosion if you don’t allow some way for the gases to
escape. The Pickle Pipe is the perfect one-way valve to release the
gases while preventing oxygen from entering the jar.
Continued on next page. 8(C) Masontops, Inc. 2018.Visit Masontops.com formore information.
Ferment
For
Success
9(C) Masontops, Inc. 2018.Visit Masontops.com formore information.
6. Give it time! Vegetable fermentation is carried out by a succession
of healthy bacteria that each play a role in increasing the acidity
and contributing unique flavor metabolites. We can’t rush the
process and trying to do so will generally yield less than stellar
results. We all have different preferences for the “pickliness” of our
ferments, but in general it will take some weeks.
7. Mind the temperature! Lactic acid bacteria prefer slightly cooler
temps than we do. A slower ferment at 60-70°F will yield better
results than one fermented at higher temps. When the weather is
warm, fermentation proceeds more quickly and things will get soft
faster. Try to find a cooler spot in your home when fermenting in
summer, and plan on checking your ferments for doneness earlier.
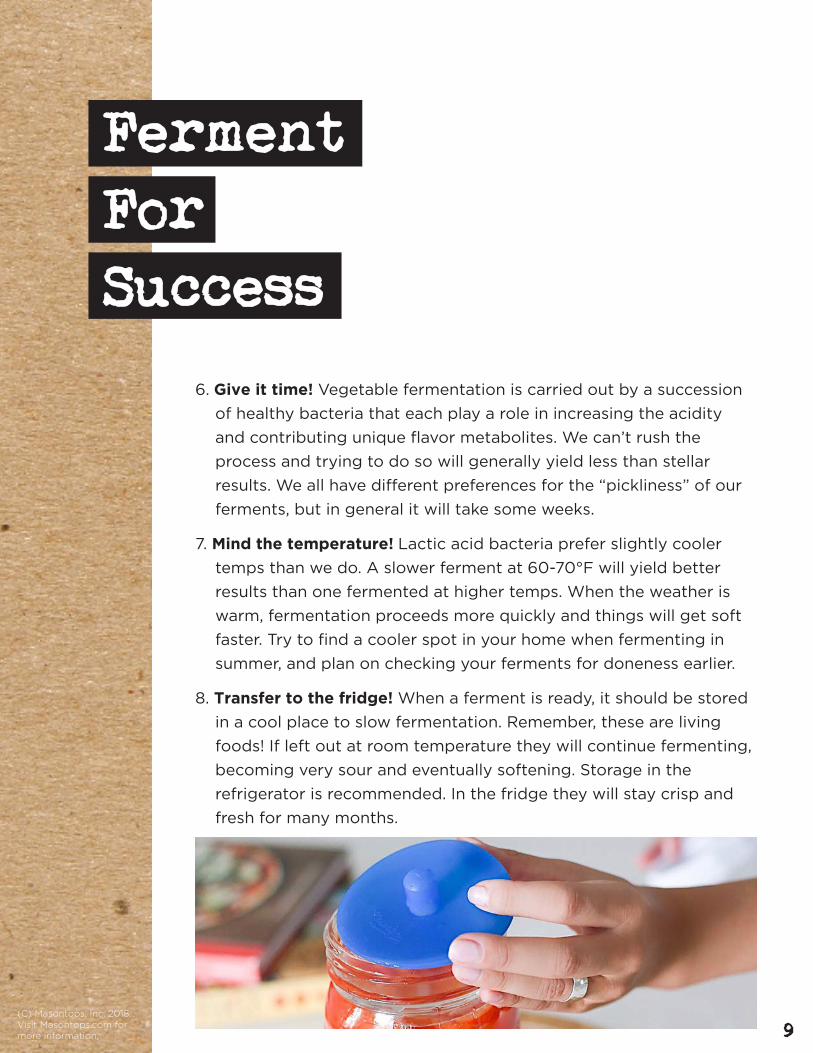
8. Transfer to the fridge! When a ferment is ready, it should be stored
in a cool place to slow fermentation. Remember, these are living
foods! If left out at room temperature they will continue fermenting,
becoming very sour and eventually softening. Storage in the
refrigerator is recommended. In the fridge they will stay crisp and
fresh for many months.

Gathering
SuppliesTime to gather up your supplies and ferment something!
Here’s what you’ll need:
» Wide mouth Mason jars: The 1 quart size is the most
versatile, but it’s good to have some pints and half gallons
in your pantry as well.
» Fresh produce: Any raw vegetable can be fermented, but
b best results come from fresh, good quality produce that is
crisp and juicy.
» Salt: Make sure the salt you choose is pure and free of any
additives such as anti-caking agents or iodine, which can
cause unappealing flavors and colors.
» Water: Filter tap water to remove chlorine.
» Pickle Pipe: Waterless airlock forms a barrier to oxygen
and contaminants while venting fermentation gases.
» Pickle Pebbles Plus: Weights hold the veggies down
under the protective brine during weeks of fermentation.
» Pickle Packer: Dry salted veggies like sauerkraut must be
firmly packed in the jar to release their juices.
10(C) Masontops, Inc. 2018.Visit Masontops.com formore information.
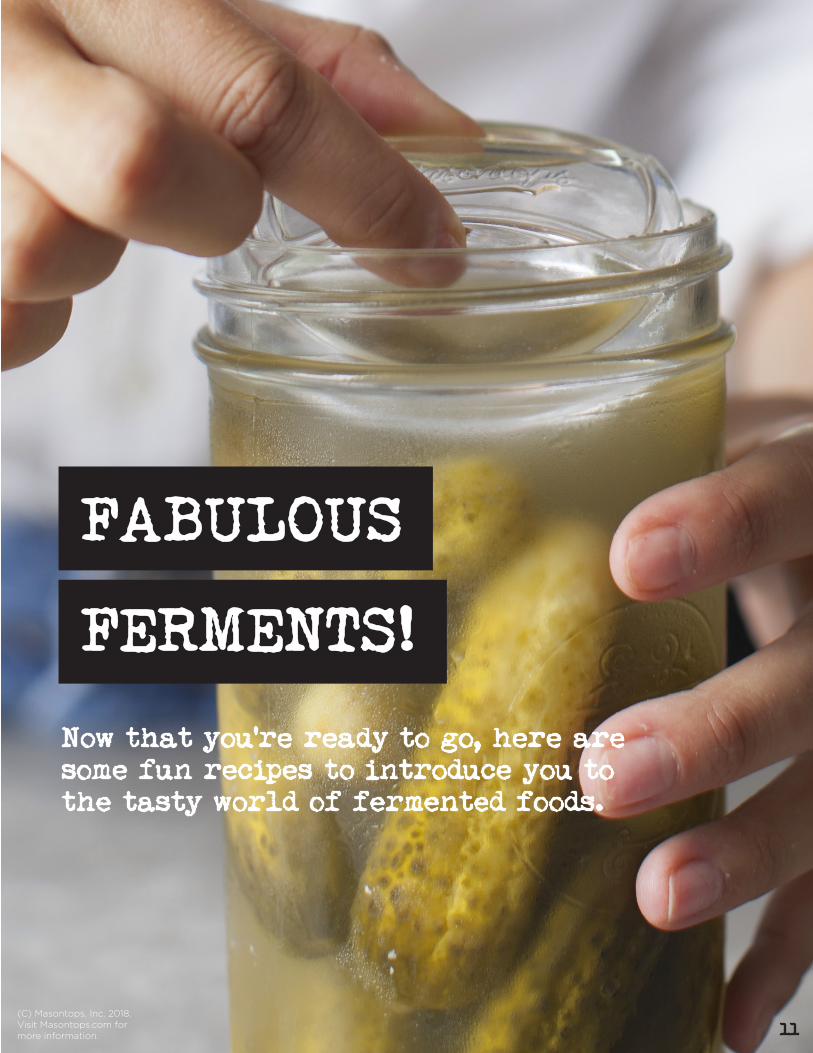
FABULOUS
FERMENTS!
Now that you’re ready to go, here are some fun recipes to introduce you to the tasty world of fermented foods.
11(C) Masontops, Inc. 2018.Visit Masontops.com formore information.
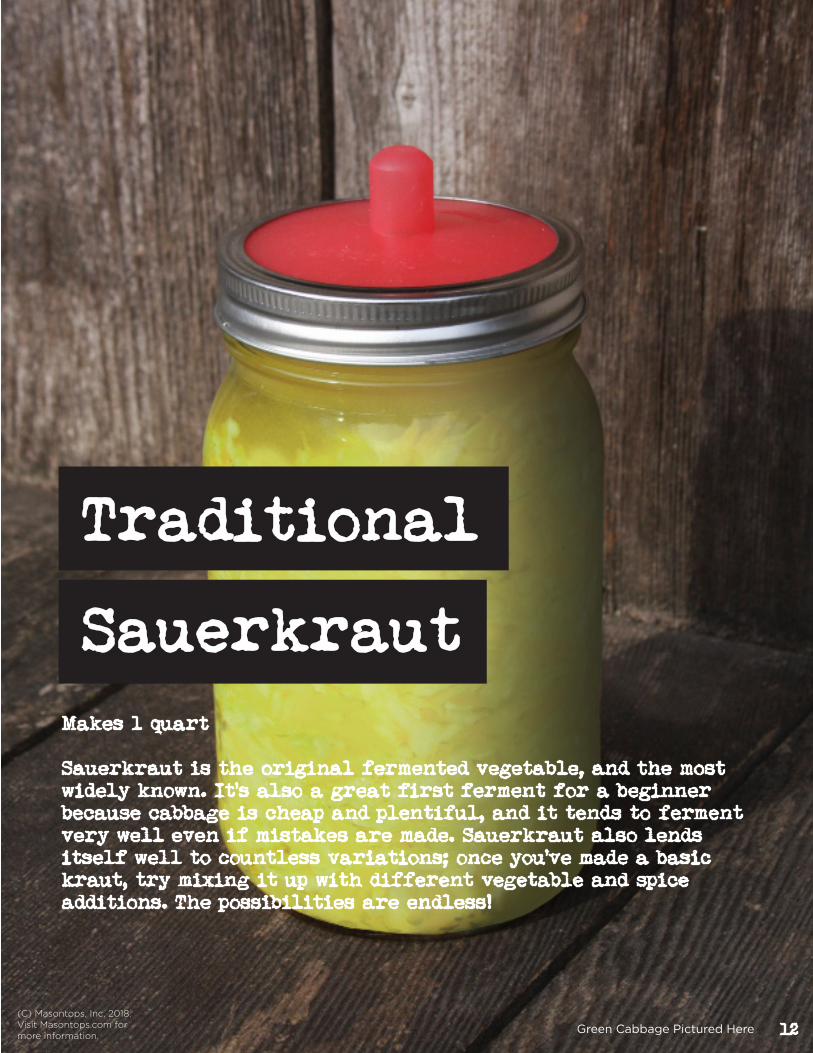
Traditional
SauerkrautMakes 1 quart
Sauerkraut is the original fermented vegetable, and the most widely known. It’s also a great first ferment for a beginner because cabbage is cheap and plentiful, and it tends to ferment very well even if mistakes are made. Sauerkraut also lends itself well to countless variations; once you’ve made a basic kraut, try mixing it up with different vegetable and spice additions. The possibilities are endless!
12(C) Masontops, Inc. 2018.Visit Masontops.com formore information.
Green Cabbage Pictured Here

Traditional Sauerkraut
Ingredients:1 small red or green cabbage (about 2lbs.)
1 tablespoon fine grind salt
1 teaspoon whole spices, such as caraway, dill, or celery seed (optional)
Methods:Begin by rinsing your cabbage, then remove and discard any blemished
leaves, especially ones with black spots. Next, peel off one whole leaf
and set it aside. Cut the cabbage from top to bottom, down through the
core into two halves, and then cut each half again into quarters. Cut out
and discard the cores from the cabbage quarters.
Next, place one wedge of cabbage on your cutting board cut-side
down, and slice across the grain as thinly as you can to shred it. As each
quarter is shredded, transfer the cabbage to a large bowl and sprinkle
with some of the salt. Keep adding cabbage and salt in layers until
you’re out of both. (If you’re using spices, sprinkle them on now.)
With your hands or a large spoon, toss the cabbage well to incorporate
the salt evenly. Then squeeze and massage the cabbage a bit to work it
in. Next, use the Pickle Packer to pound the cabbage and begin breaking
down the cell walls to release the juice. Pound it down flat, then toss it
all together and pound it again.
Continue pounding and mixing until the cabbage is wilted and juicy.
This can take several minutes. (If you get tired of pounding you can
place a plate on top of the cabbage and something heavy on top of the
plate. Then cover it all with a towel and let it sit for a couple hours to
macerate.)
When the cabbage is thoroughly pounded and juicy, it’s time to pack
the jar. Add a couple handfuls of the cabbage to a 1 quart Mason jar and
use the Pickle Packer to pack it down firmly.
Continued on next page. 13(C) Masontops, Inc. 2018.Visit Masontops.com formore information.
Traditional Sauerkraut
As you push the cabbage down, the brine will rise up in the jar. Keep
adding and packing down the cabbage until the jar is filled to the
shoulder. Do not overfill the jar! Two pounds of cabbage fits pretty
perfectly into a 1 quart Mason jar. If you find that the jar is full but
there are still a few spoonfuls of cabbage left, toss them with a bit
of olive oil for a tasty fresh salad.
Now take the clean cabbage leaf you reserved and lay it flat on
your cutting board. Set the jar on the leaf, near the top where it is
more pliable. Use a sharp knife to cut a circle out of the leaf, exactly
the diameter of the jar. Place this leaf directly on the surface of the
sauerkraut to help prevent little bits from floating up. Place a Pickle
Pebble on top of the leaf to keep the cabbage submerged under the
brine. Wipe the rim of the jar, then add a Pickle Pipe and secure the
ring. Write the date on the side of the jar with a felt-tip pen and set
it in a dark place to ferment.
At first your kraut may be a little dry if the cabbage was not
very fresh. Wait a day or two to see if it releases enough juice to
submerge all the cabbage and the Pickle Pebble. If it does not, make
a brine of 1/2 teaspoon salt dissolved in 1/2 cup water. Add enough
of this so that the Pickle Pebble is completely submerged.
Fermentation should begin within a day or two.
As it proceeds you will notice these changes:
» The cabbage swells up so that the brine is almost touching the lid.
» Pockets of gas appear in the cabbage.
» The color changes from bright to drab green.
» Bubbles or foam appear on the surface of the brine.
» A sulfurous aroma emits from the jar.
» White sediment in the bottom of the jar.
Continued on next page. 14(C) Masontops, Inc. 2018.Visit Masontops.com formore information.
Traditional Sauerkraut
All of these things are normal signs of healthy fermentation! Sauerkraut
takes a long time to ferment and the flavor improves with age. If your
house is warm you may check it as early as 2-3 weeks; for cooler temps
plan to allow 1 month or more.
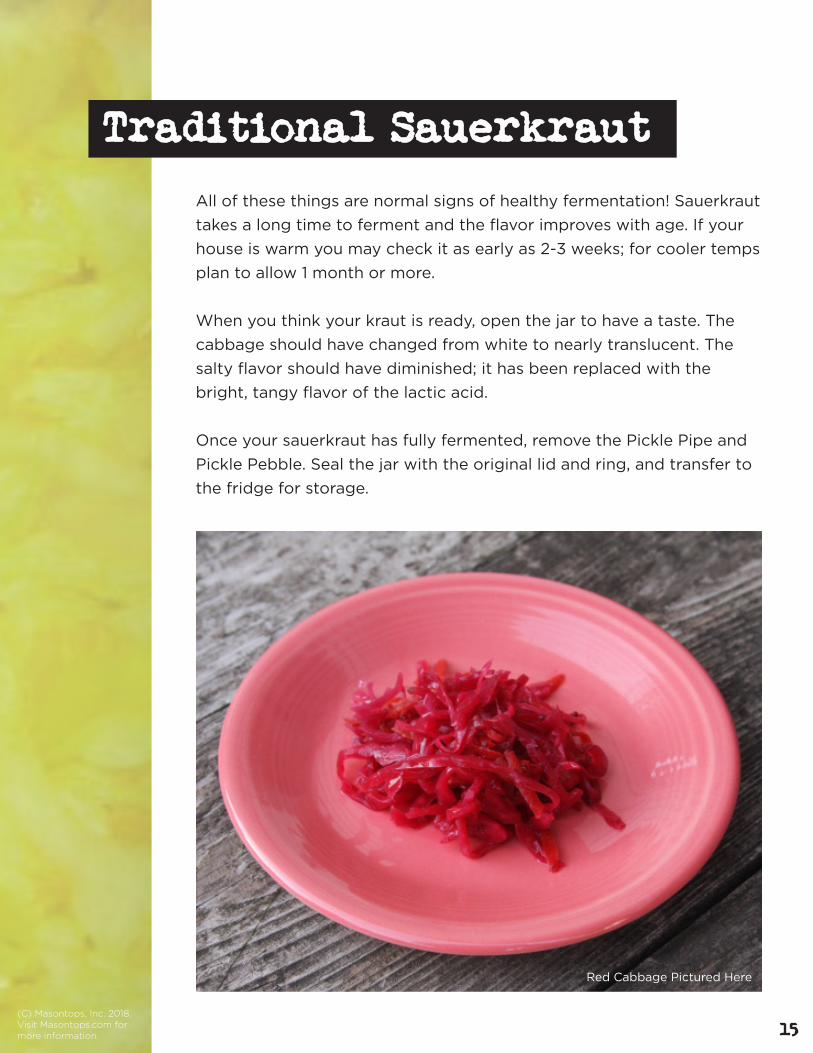
When you think your kraut is ready, open the jar to have a taste. The
cabbage should have changed from white to nearly translucent. The
salty flavor should have diminished; it has been replaced with the
bright, tangy flavor of the lactic acid.
Once your sauerkraut has fully fermented, remove the Pickle Pipe and
Pickle Pebble. Seal the jar with the original lid and ring, and transfer to
the fridge for storage.
15(C) Masontops, Inc. 2018.Visit Masontops.com formore information.
Red Cabbage Pictured Here

Kurry
KrautMakes 1 quart
Congratulations on your first sauerkraut success! Now that you’ve mastered the basics, it’s time to mix things up. Adding brightly colored curry powder and carrots to kraut makes it a feast for the eyes as well as for the palate. You will love this served with your favorite spicy curry, but it is equally good served with fish or poultry.
16(C) Masontops, Inc. 2018.Visit Masontops.com formore information.
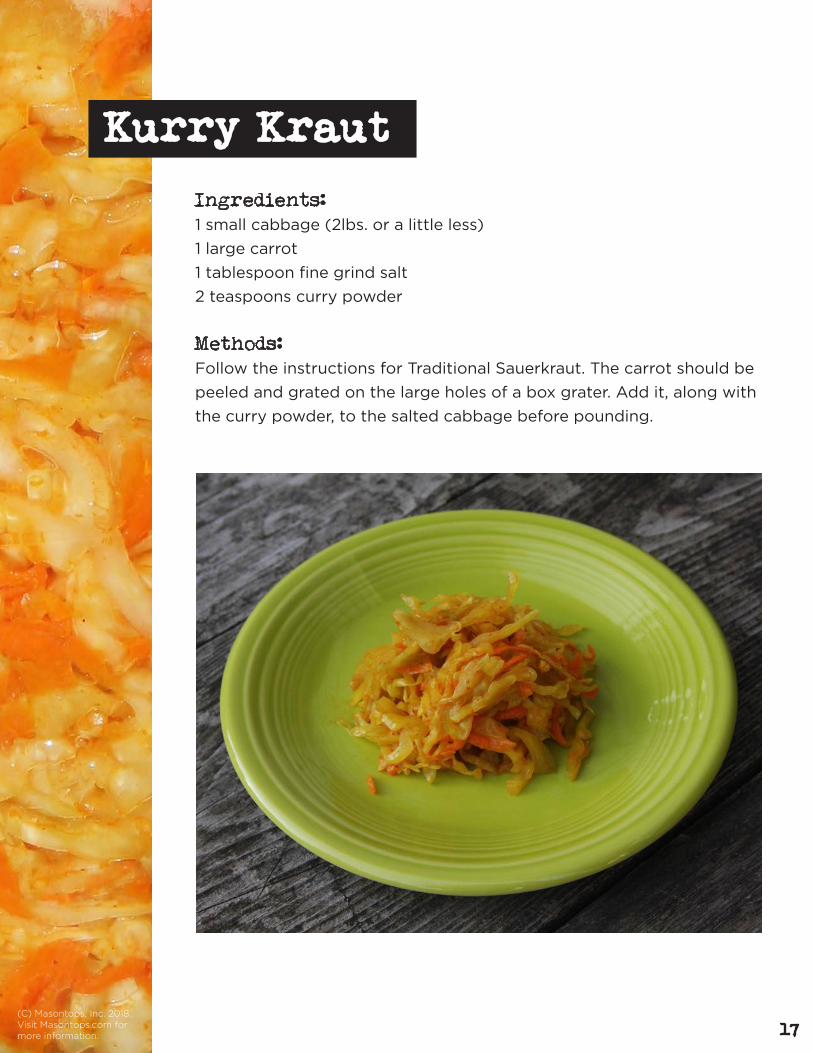
Kurry Kraut
Ingredients:1 small cabbage (2lbs. or a little less)
1 large carrot
1 tablespoon fine grind salt
2 teaspoons curry powder
Methods:Follow the instructions for Traditional Sauerkraut. The carrot should be
peeled and grated on the large holes of a box grater. Add it, along with
the curry powder, to the salted cabbage before pounding.
17(C) Masontops, Inc. 2018.Visit Masontops.com formore information.
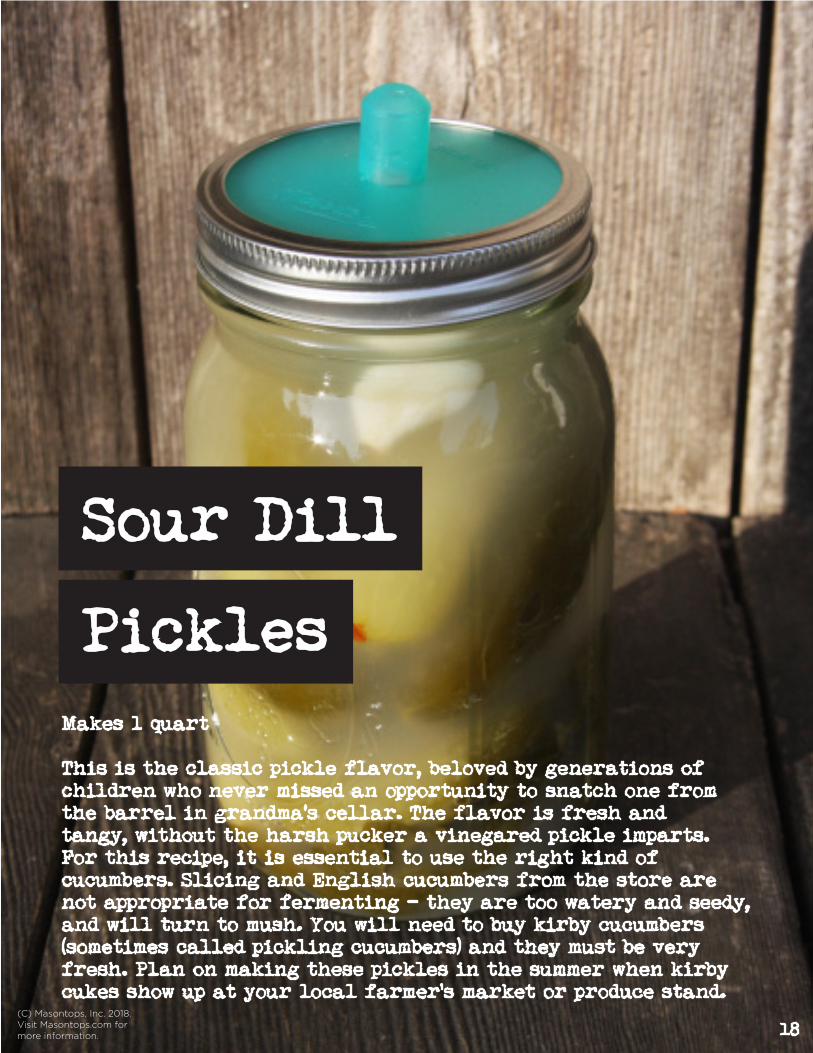
Sour Dill
PicklesMakes 1 quart
This is the classic pickle flavor, beloved by generations of children who never missed an opportunity to snatch one from the barrel in grandma’s cellar. The flavor is fresh and tangy, without the harsh pucker a vinegared pickle imparts. For this recipe, it is essential to use the right kind of cucumbers. Slicing and English cucumbers from the store are not appropriate for fermenting - they are too watery and seedy, and will turn to mush. You will need to buy kirby cucumbers (sometimes called pickling cucumbers) and they must be very fresh. Plan on making these pickles in the summer when kirby cukes show up at your local farmer’s market or produce stand.
18(C) Masontops, Inc. 2018.Visit Masontops.com formore information.
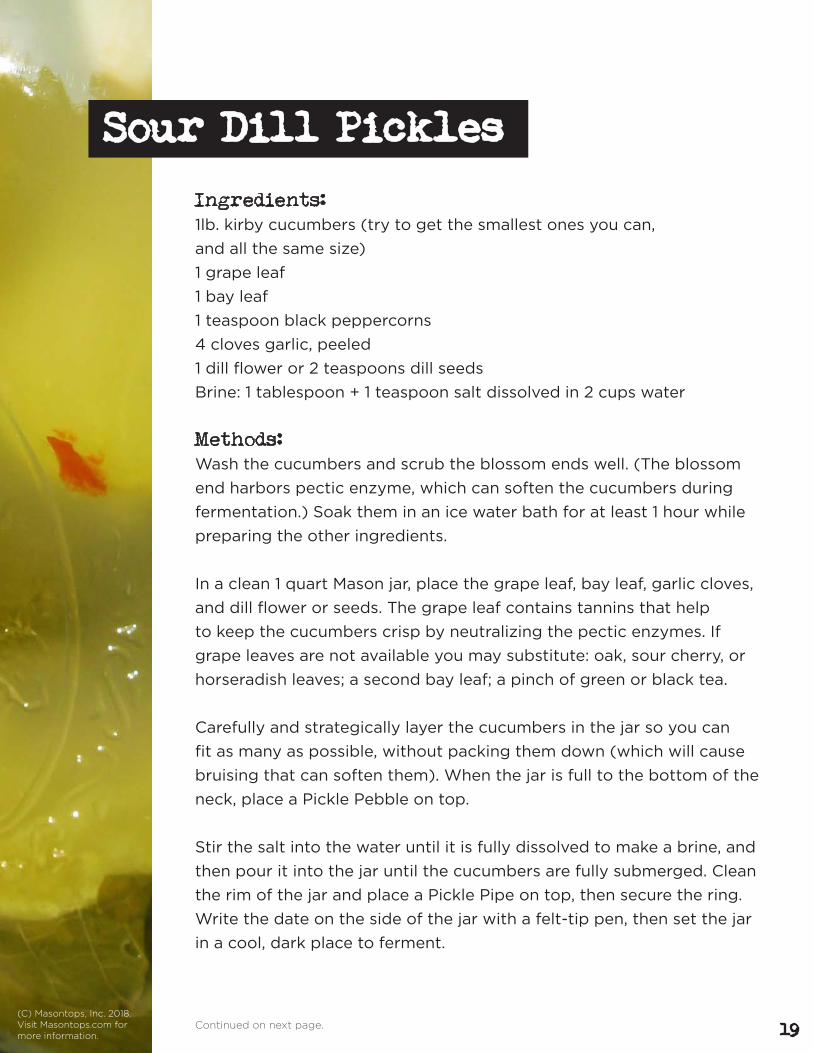
Sour Dill Pickles
Ingredients:1lb. kirby cucumbers (try to get the smallest ones you can,
and all the same size)
1 grape leaf
1 bay leaf
1 teaspoon black peppercorns
4 cloves garlic, peeled
1 dill flower or 2 teaspoons dill seeds
Brine: 1 tablespoon + 1 teaspoon salt dissolved in 2 cups water
Methods:Wash the cucumbers and scrub the blossom ends well. (The blossom
end harbors pectic enzyme, which can soften the cucumbers during
fermentation.) Soak them in an ice water bath for at least 1 hour while
preparing the other ingredients.
In a clean 1 quart Mason jar, place the grape leaf, bay leaf, garlic cloves,
and dill flower or seeds. The grape leaf contains tannins that help
to keep the cucumbers crisp by neutralizing the pectic enzymes. If
grape leaves are not available you may substitute: oak, sour cherry, or
horseradish leaves; a second bay leaf; a pinch of green or black tea.
Carefully and strategically layer the cucumbers in the jar so you can
fit as many as possible, without packing them down (which will cause
bruising that can soften them). When the jar is full to the bottom of the
neck, place a Pickle Pebble on top.
Stir the salt into the water until it is fully dissolved to make a brine, and
then pour it into the jar until the cucumbers are fully submerged. Clean
the rim of the jar and place a Pickle Pipe on top, then secure the ring.
Write the date on the side of the jar with a felt-tip pen, then set the jar
in a cool, dark place to ferment.
Continued on next page. 19(C) Masontops, Inc. 2018.Visit Masontops.com formore information.
Sour Dill Pickles
Fermentation should begin in a day or two. As it proceeds, you will
notice these changes:
» Bubbles rise to the surface when jar is tapped or swirled.
» Brine turns cloudy.
» Color of cucumbers changes from bright to drab green.●
» Cucumbers shrink and sink lower in the jar as the salt pulls
moisture from them.
» Bubbles or foam appear on surface of brine.
» Cloudy sediment on bottom of jar, and sometimes on the pickles.
These are all normal signs of healthy fermentation! Brined pickles
take 2-4 weeks to ferment, depending on how large the vegetables
are and how sour you like them. After bubbling has ceased, wait
another 5-7 days, then open the jar to sample a pickle. It should be
pickled all the way through to the center and the brine should taste
quite tangy and not very salty.
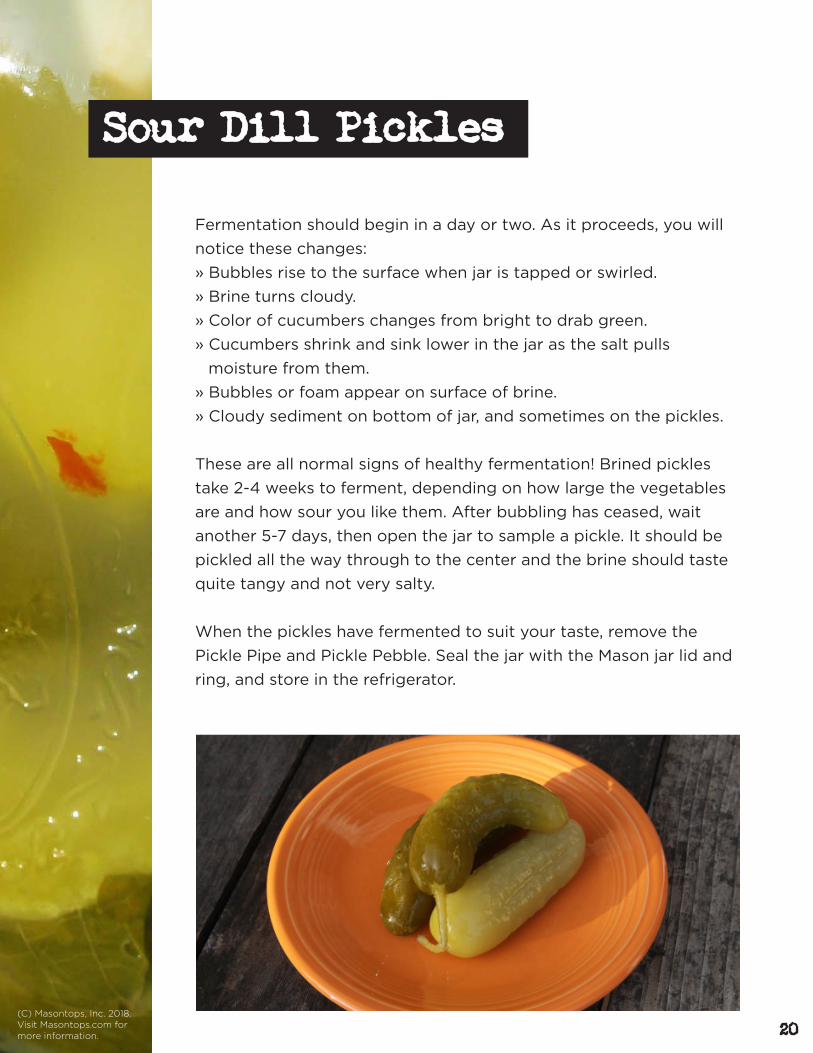
When the pickles have fermented to suit your taste, remove the
Pickle Pipe and Pickle Pebble. Seal the jar with the Mason jar lid and
ring, and store in the refrigerator.
20(C) Masontops, Inc. 2018.Visit Masontops.com formore information.

Gingered
CarrotsMakes 1 quart
This simple and tasty ferment can be made year round, and will add a bit of sparkle to any meal!
21(C) Masontops, Inc. 2018.Visit Masontops.com formore information.
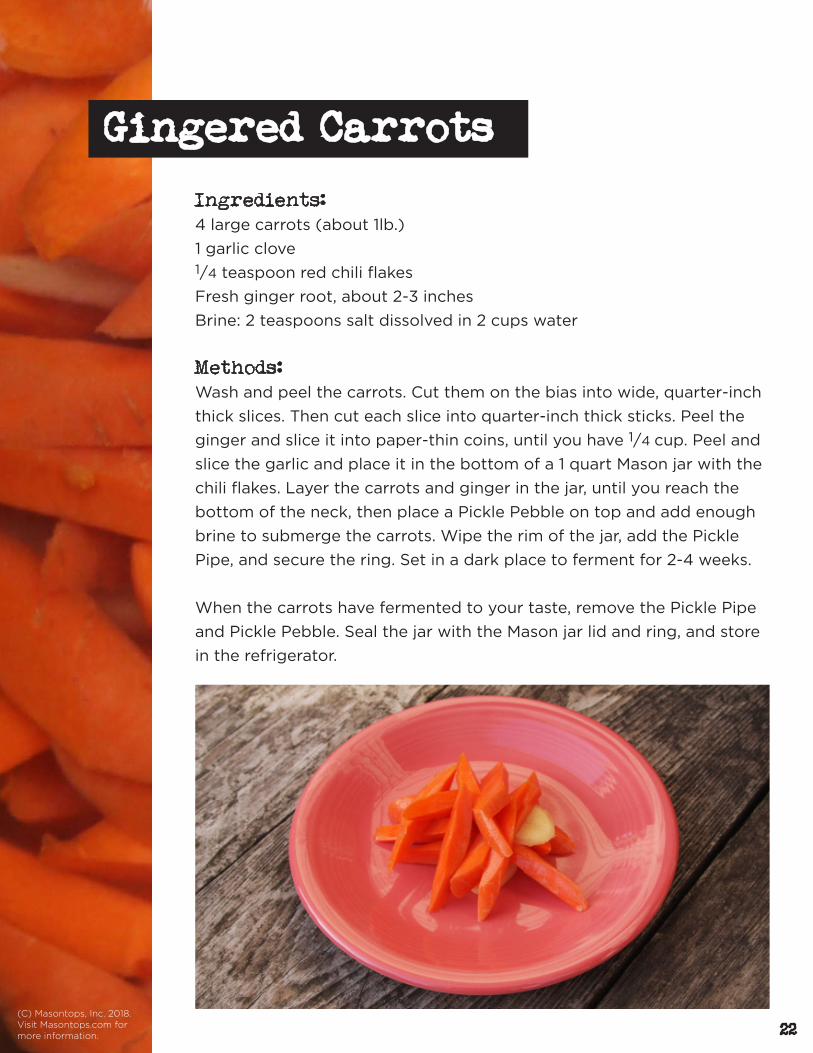
Gingered Carrots
Ingredients:4 large carrots (about 1lb.)
1 garlic clove 1/4 teaspoon red chili flakes
Fresh ginger root, about 2-3 inches
Brine: 2 teaspoons salt dissolved in 2 cups water
Methods:Wash and peel the carrots. Cut them on the bias into wide, quarter-inch
thick slices. Then cut each slice into quarter-inch thick sticks. Peel the
ginger and slice it into paper-thin coins, until you have 1/4 cup. Peel and
slice the garlic and place it in the bottom of a 1 quart Mason jar with the
chili flakes. Layer the carrots and ginger in the jar, until you reach the
bottom of the neck, then place a Pickle Pebble on top and add enough
brine to submerge the carrots. Wipe the rim of the jar, add the Pickle
Pipe, and secure the ring. Set in a dark place to ferment for 2-4 weeks.
When the carrots have fermented to your taste, remove the Pickle Pipe
and Pickle Pebble. Seal the jar with the Mason jar lid and ring, and store
in the refrigerator.
22(C) Masontops, Inc. 2018.Visit Masontops.com formore information.
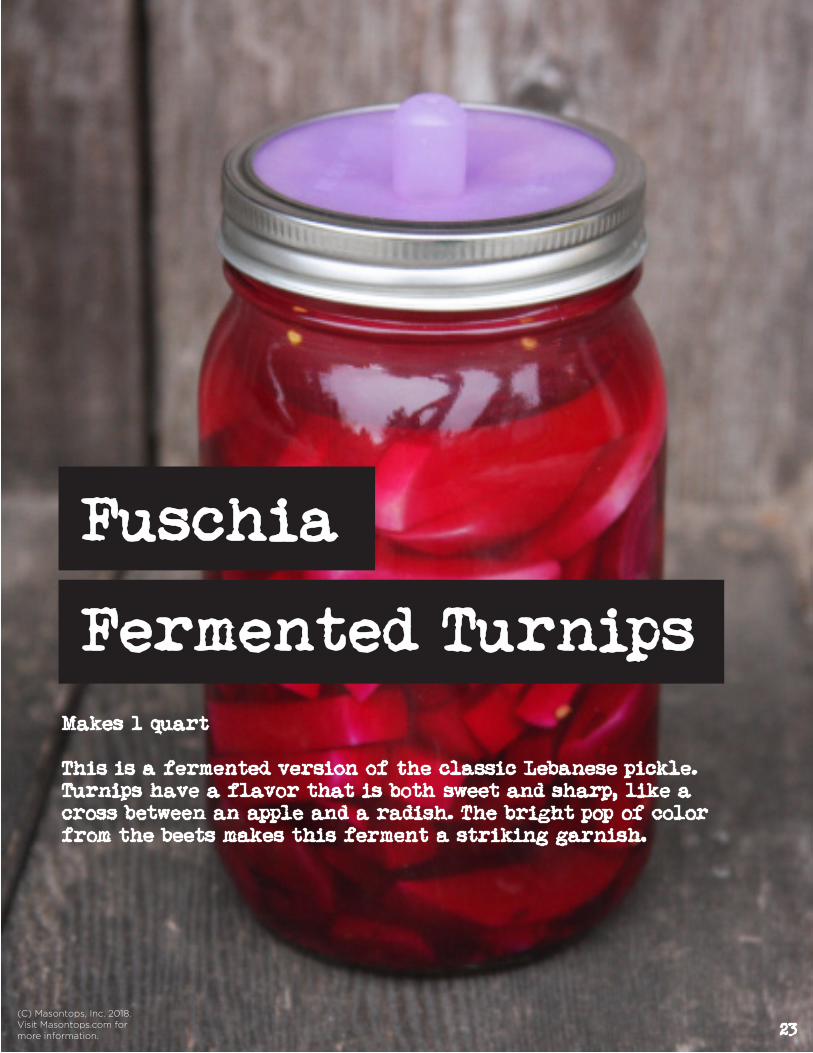
Fuschia
Fermented TurnipsMakes 1 quart
This is a fermented version of the classic Lebanese pickle. Turnips have a flavor that is both sweet and sharp, like a cross between an apple and a radish. The bright pop of color from the beets makes this ferment a striking garnish.
23(C) Masontops, Inc. 2018.Visit Masontops.com formore information.
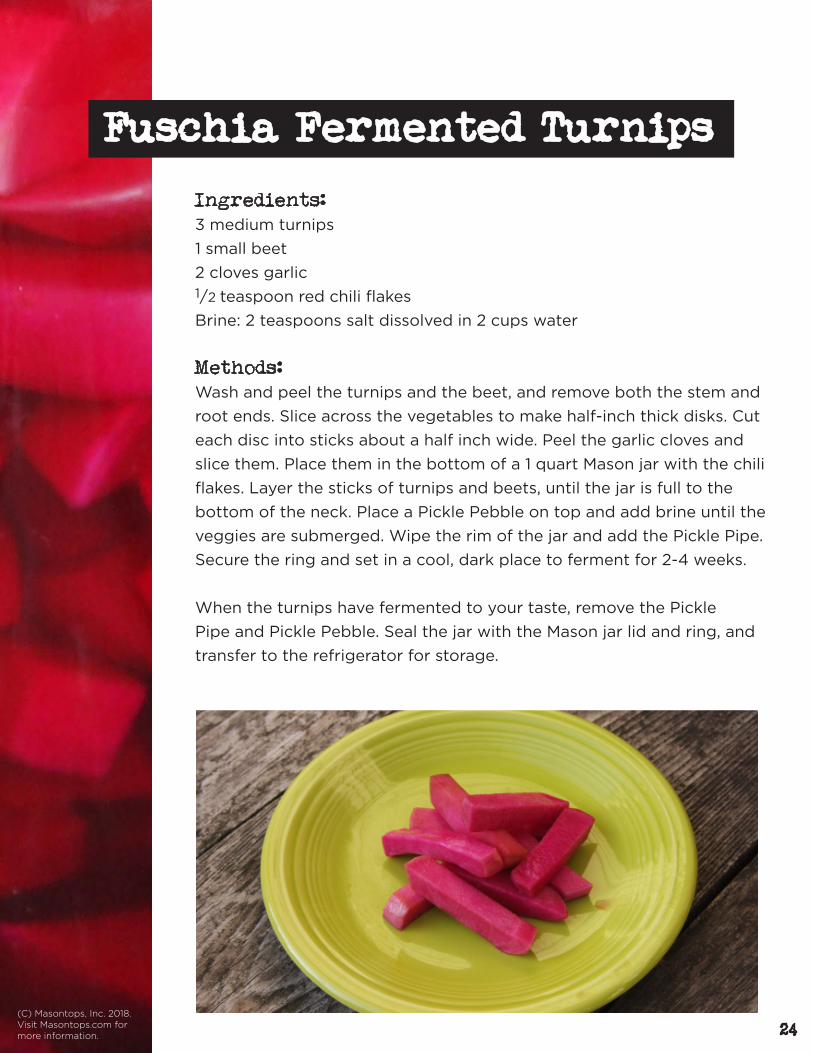
Fuschia Fermented Turnips
Ingredients:3 medium turnips
1 small beet
2 cloves garlic 1/2 teaspoon red chili flakes
Brine: 2 teaspoons salt dissolved in 2 cups water
Methods:Wash and peel the turnips and the beet, and remove both the stem and
root ends. Slice across the vegetables to make half-inch thick disks. Cut
each disc into sticks about a half inch wide. Peel the garlic cloves and
slice them. Place them in the bottom of a 1 quart Mason jar with the chili
flakes. Layer the sticks of turnips and beets, until the jar is full to the
bottom of the neck. Place a Pickle Pebble on top and add brine until the
veggies are submerged. Wipe the rim of the jar and add the Pickle Pipe.
Secure the ring and set in a cool, dark place to ferment for 2-4 weeks.
When the turnips have fermented to your taste, remove the Pickle
Pipe and Pickle Pebble. Seal the jar with the Mason jar lid and ring, and
transfer to the refrigerator for storage.
24(C) Masontops, Inc. 2018.Visit Masontops.com formore information.
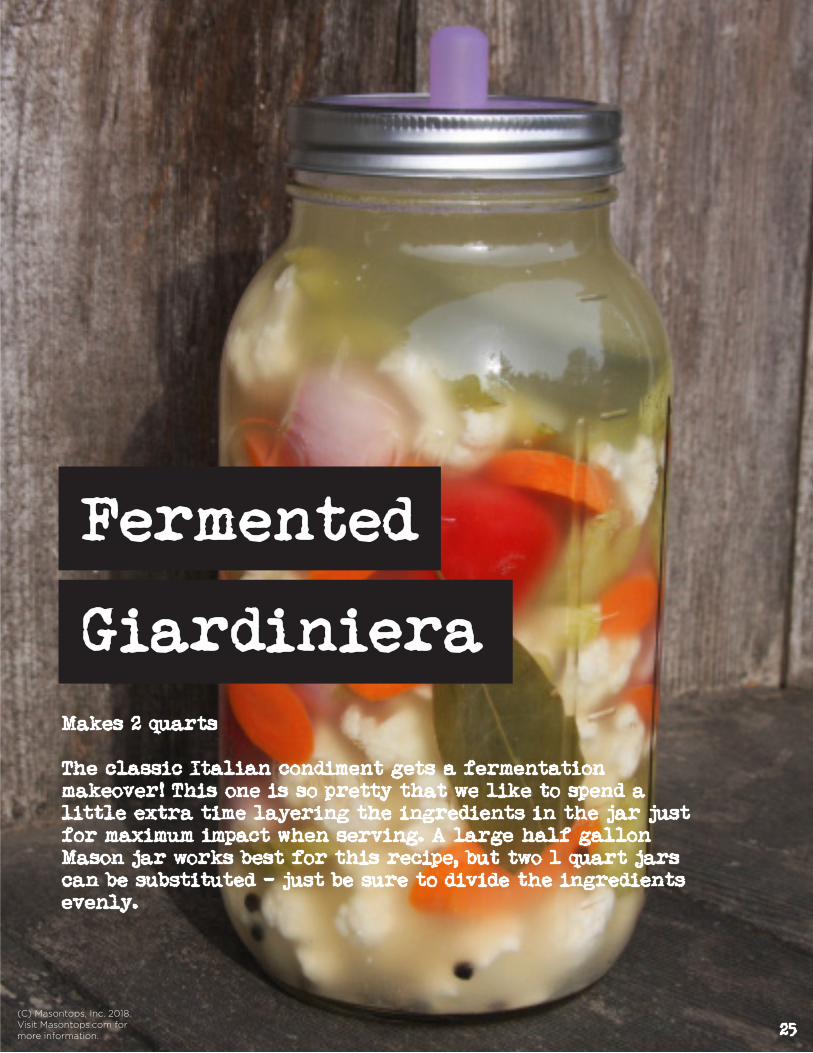
Fermented
GiardinieraMakes 2 quarts
The classic Italian condiment gets a fermentation makeover! This one is so pretty that we like to spend a little extra time layering the ingredients in the jar just for maximum impact when serving. A large half gallon Mason jar works best for this recipe, but two 1 quart jars can be substituted - just be sure to divide the ingredients evenly.
25(C) Masontops, Inc. 2018.Visit Masontops.com formore information.
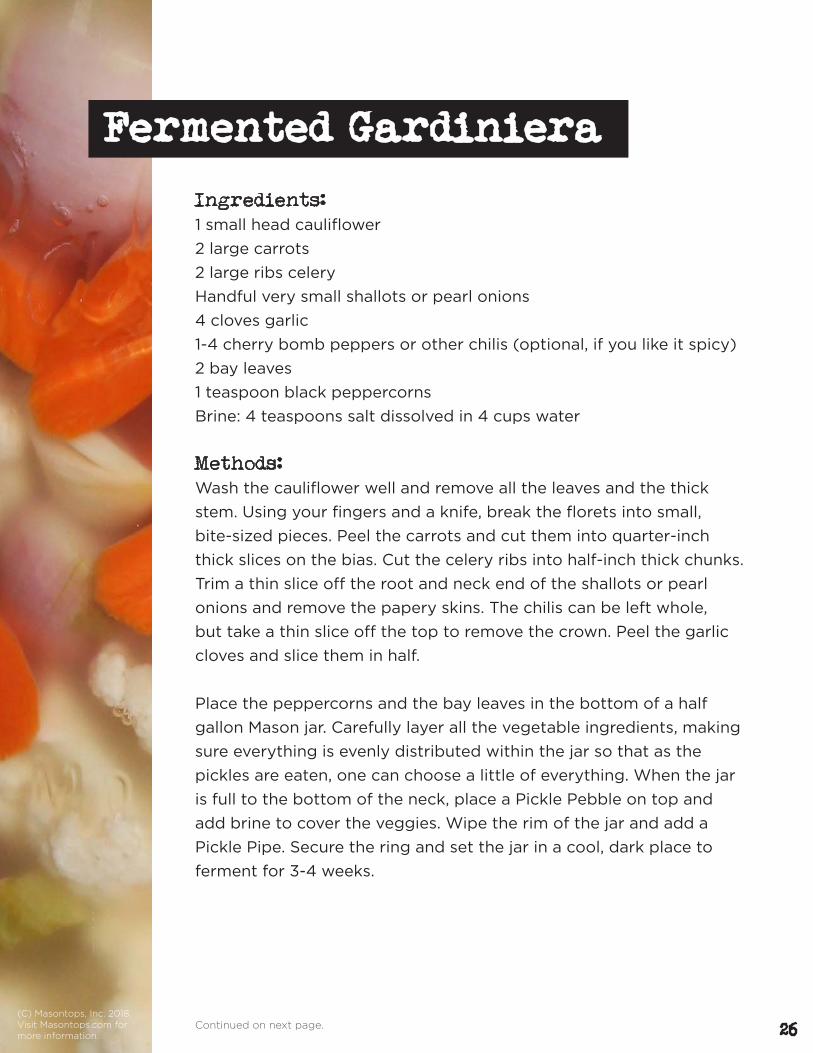
Fermented Gardiniera
Ingredients:1 small head cauliflower
2 large carrots
2 large ribs celery
Handful very small shallots or pearl onions
4 cloves garlic
1-4 cherry bomb peppers or other chilis (optional, if you like it spicy)
2 bay leaves
1 teaspoon black peppercorns
Brine: 4 teaspoons salt dissolved in 4 cups water
Methods:Wash the cauliflower well and remove all the leaves and the thick
stem. Using your fingers and a knife, break the florets into small,
bite-sized pieces. Peel the carrots and cut them into quarter-inch
thick slices on the bias. Cut the celery ribs into half-inch thick chunks.
Trim a thin slice off the root and neck end of the shallots or pearl
onions and remove the papery skins. The chilis can be left whole,
but take a thin slice off the top to remove the crown. Peel the garlic
cloves and slice them in half.
Place the peppercorns and the bay leaves in the bottom of a half
gallon Mason jar. Carefully layer all the vegetable ingredients, making
sure everything is evenly distributed within the jar so that as the
pickles are eaten, one can choose a little of everything. When the jar
is full to the bottom of the neck, place a Pickle Pebble on top and
add brine to cover the veggies. Wipe the rim of the jar and add a
Pickle Pipe. Secure the ring and set the jar in a cool, dark place to
ferment for 3-4 weeks.
Continued on next page. 26(C) Masontops, Inc. 2018.Visit Masontops.com formore information.
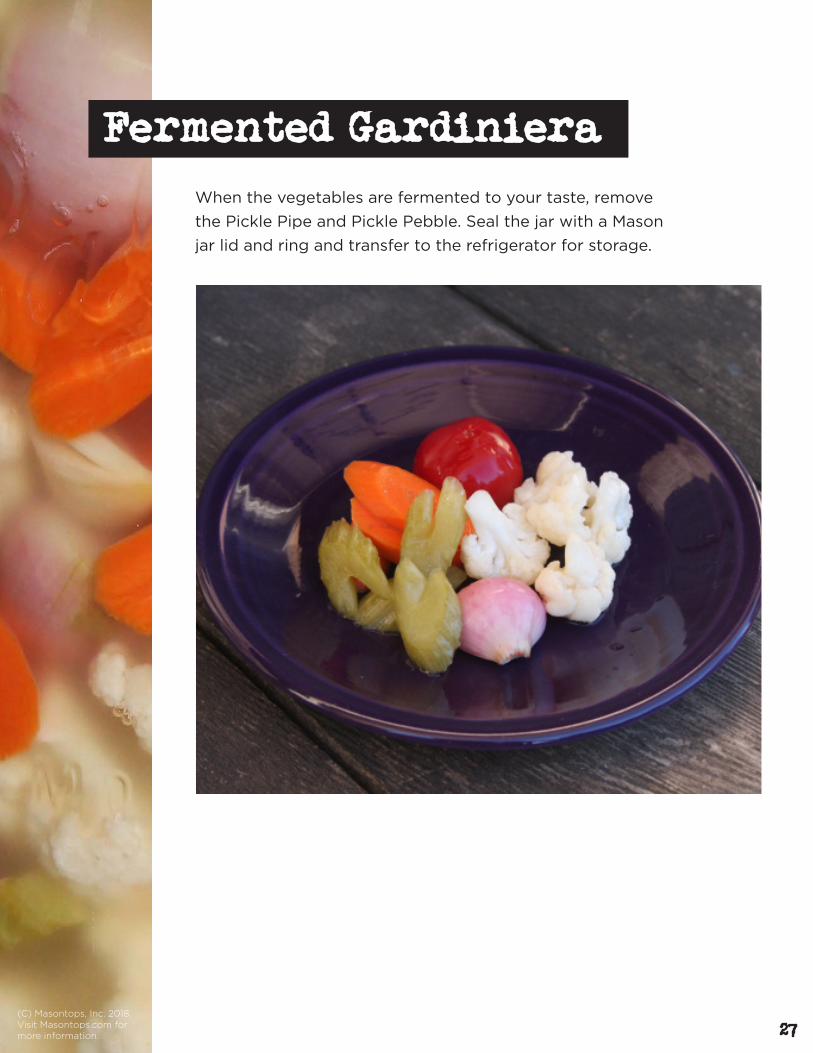
Fermented Gardiniera
When the vegetables are fermented to your taste, remove
the Pickle Pipe and Pickle Pebble. Seal the jar with a Mason
jar lid and ring and transfer to the refrigerator for storage.
27(C) Masontops, Inc. 2018.Visit Masontops.com formore information.
White
KimchiMakes 1 quart
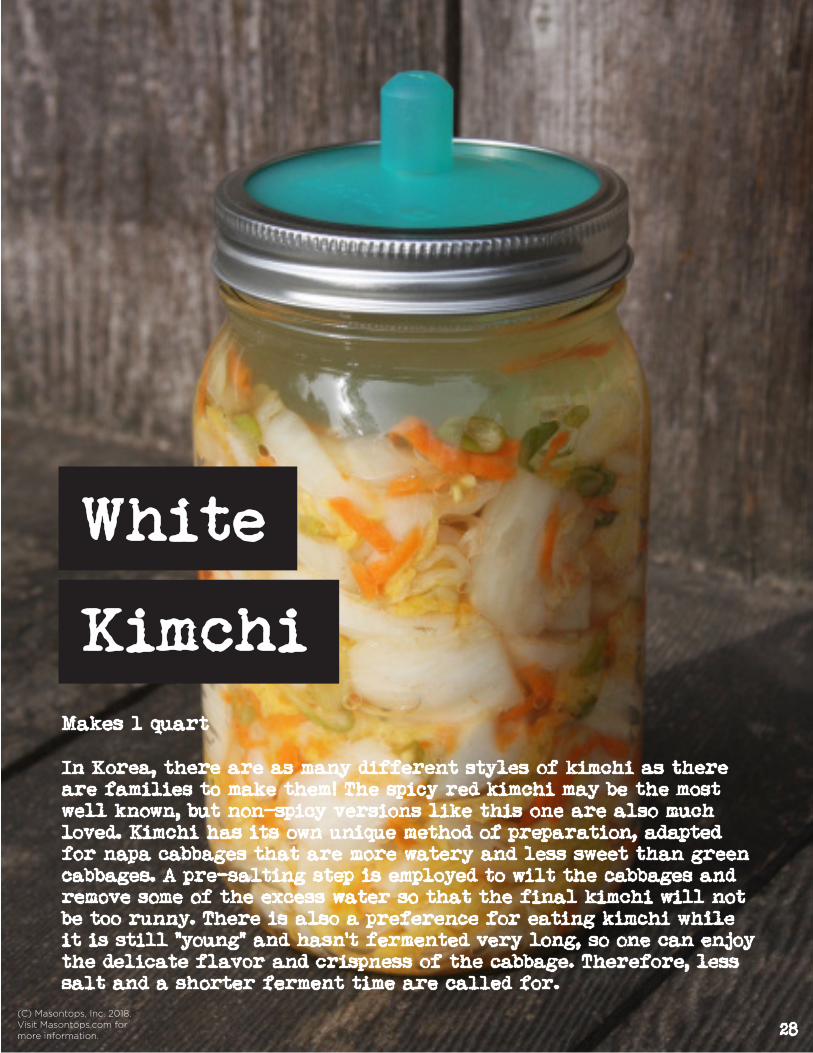
In Korea, there are as many different styles of kimchi as there are families to make them! The spicy red kimchi may be the most well known, but non-spicy versions like this one are also much loved. Kimchi has its own unique method of preparation, adapted for napa cabbages that are more watery and less sweet than green cabbages. A pre-salting step is employed to wilt the cabbages and remove some of the excess water so that the final kimchi will not be too runny. There is also a preference for eating kimchi while it is still “young” and hasn’t fermented very long, so one can enjoy the delicate flavor and crispness of the cabbage. Therefore, less salt and a shorter ferment time are called for.
28(C) Masontops, Inc. 2018.Visit Masontops.com formore information.
White Kimchi
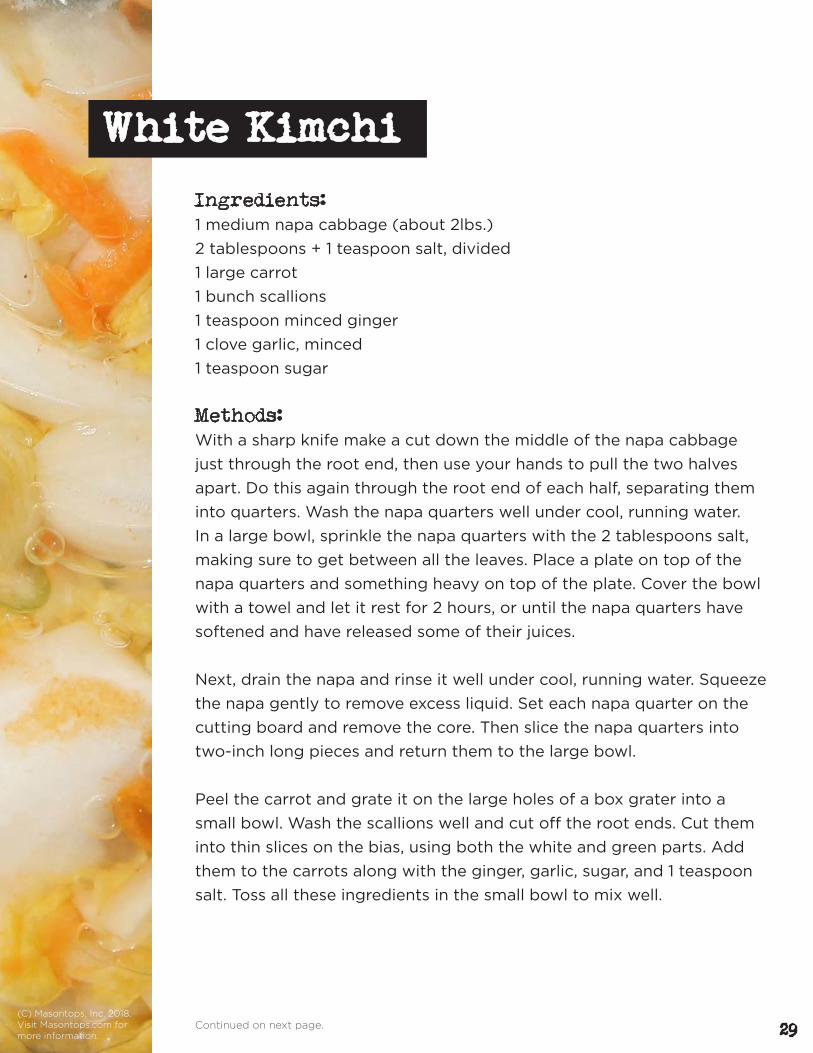
Ingredients:1 medium napa cabbage (about 2lbs.)
2 tablespoons + 1 teaspoon salt, divided
1 large carrot
1 bunch scallions
1 teaspoon minced ginger
1 clove garlic, minced
1 teaspoon sugar
Methods:With a sharp knife make a cut down the middle of the napa cabbage
just through the root end, then use your hands to pull the two halves
apart. Do this again through the root end of each half, separating them
into quarters. Wash the napa quarters well under cool, running water.
In a large bowl, sprinkle the napa quarters with the 2 tablespoons salt,
making sure to get between all the leaves. Place a plate on top of the
napa quarters and something heavy on top of the plate. Cover the bowl
with a towel and let it rest for 2 hours, or until the napa quarters have
softened and have released some of their juices.
Next, drain the napa and rinse it well under cool, running water. Squeeze
the napa gently to remove excess liquid. Set each napa quarter on the
cutting board and remove the core. Then slice the napa quarters into
two-inch long pieces and return them to the large bowl.
Peel the carrot and grate it on the large holes of a box grater into a
small bowl. Wash the scallions well and cut off the root ends. Cut them
into thin slices on the bias, using both the white and green parts. Add
them to the carrots along with the ginger, garlic, sugar, and 1 teaspoon
salt. Toss all these ingredients in the small bowl to mix well.
Continued on next page. 29(C) Masontops, Inc. 2018.Visit Masontops.com formore information.

White Kimchi
Now add the aromatics to the large bowl of sliced napa cabbage
and use your hands to toss all the ingredients together and rub the
flavorings into the napa. Pack a 1 quart Mason jar as you would for
sauerkraut, adding a couple handfuls at a time and gently pressing
them down with the Pickle Packer. Stop when the jar is full to the
shoulder. (If there is a little extra, drizzle it with toasted sesame oil for
eating as a fresh salad - YUM!)
Place a Pickle Pebble on top of the kimchi. Wipe the rim and put the
Pickle Pipe on top, then secure the ring. Set in a cool, dark place to
ferment for a short time. Kimchi is best enjoyed fairly fresh, while the
cabbage is still crisp and retains a bit of its sweetness. Napa can turn
soft quickly, so don’t let it go too long. 3-5 days of fermentation is
usually sufficient.
30(C) Masontops, Inc. 2018.Visit Masontops.com formore information.

About
The
AuthorAt Masontops, we are experts at creating high quality
products at affordable prices. We wanted to make sure this
guide was written with the same expertise and attention
to detail that we put into our products. That’s why we’ve
enlisted the help of Sarah Miller of Killer Pickles.
Sarah Miller enjoys writing about fermentation and sharing
made from scratch recipes on her blog KillerPickles.com.
She also runs the Wild Fermentation Facebook group,
with more than 50,000 worldwide members. When she
is not busy fermenting all the things, Sarah can be found
cataloguing the insects in her garden or joining her two
boys and her husband in epic coloring sessions at their
home in Portland, Oregon.
31(C) Masontops, Inc. 2018.Visit Masontops.com formore information.
Masontops was started with a simple mission: to help people
get the most out of their Mason jars by creating innovative, high
quality products, sold at an affordable price.
Since you start with what you know, and since we loved
fermenting our own foods, one of the first product categories
we addressed was Mason jar fermentation. We had originally
planned on making a couple fermentation products, and then
moving on to another product category. What we discovered
was an incredibly rich and vibrant community of fermenters, with
a passion to learn, explore, and most importantly, share their
experiences with others. We were hooked instantly, and nearly
all of our product development to date has been focused on
enhancing the Mason jar fermenting experience.
We believe strongly that fermenting should be accessible,
affordable, and simple! Fermenting in Mason jars allows you to
experiment in small batches with a fermenting vessel that you
probably already have in your home – and we hope that our tools
will help make this amazing food practice simple and fun, and
appeal to more people who can enjoy it themselves, and share it
with family and friends.
Thank you for letting us into your kitchen,
Phil Baron,
Founder of Masontops
About
Masontops
32(C) Masontops, Inc. 2018.Visit Masontops.com formore information.