Embed Size (px)
Citation preview
FCS Networker Account Creator User Manual
SECTIONS
Click For Video Tutorials- Account Creator
• Account Creator Options• Hotmail Creator• Email Verifier
- Settings
- Troubleshooting
Account Creator
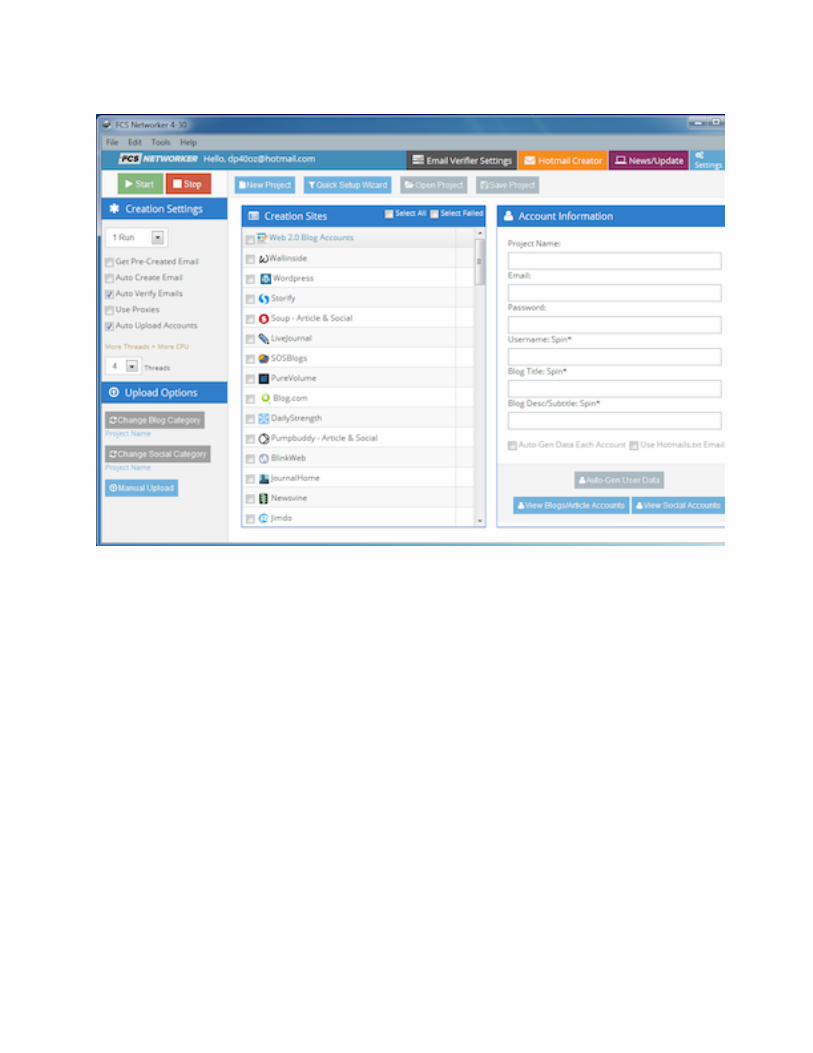
Account Creator Options
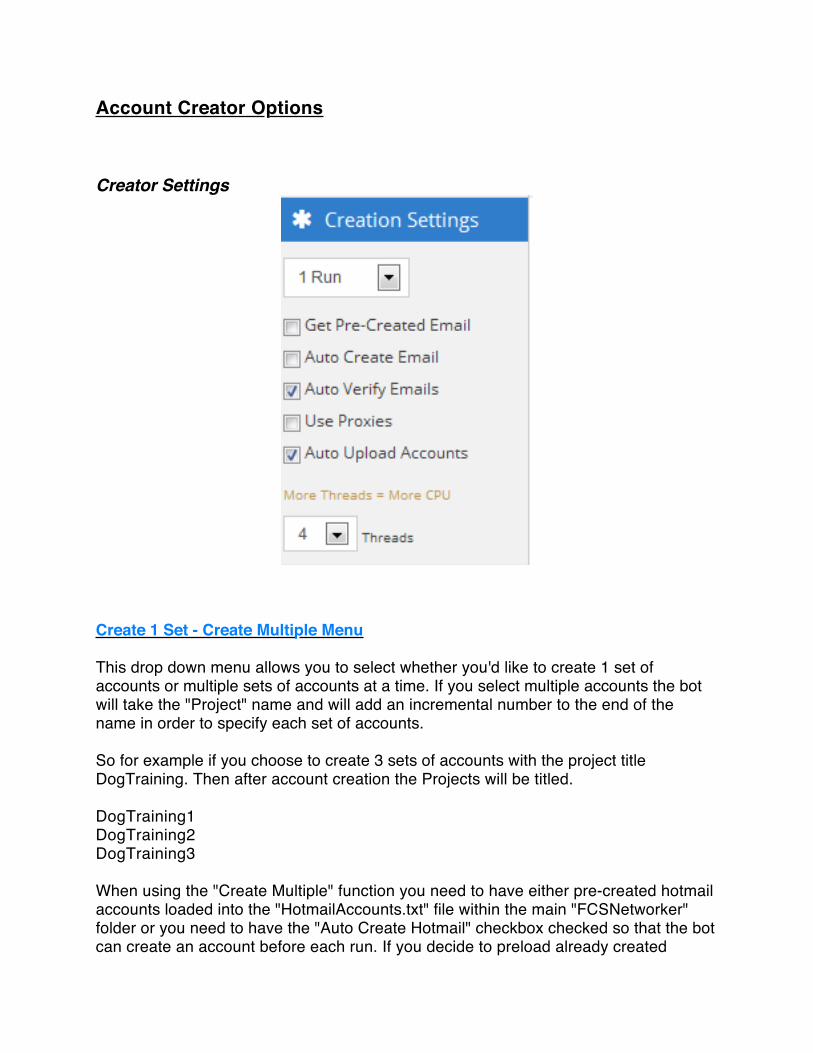
Creator Settings
Create 1 Set - Create Multiple Menu
This drop down menu allows you to select whether you'd like to create 1 set of accounts or multiple sets of accounts at a time. If you select multiple accounts the bot will take the "Project" name and will add an incremental number to the end of the name in order to specify each set of accounts.
So for example if you choose to create 3 sets of accounts with the project title DogTraining. Then after account creation the Projects will be titled.
DogTraining1DogTraining2DogTraining3
When using the "Create Multiple" function you need to have either pre-created hotmail accounts loaded into the "HotmailAccounts.txt" file within the main "FCSNetworker" folder or you need to have the "Auto Create Hotmail" checkbox checked so that the bot can create an account before each run. If you decide to preload already created
hotmail accounts into the "HotmailAccounts.txt" folder then the proper format is:
Email,Password,available
Notice the commas. Also you need to put the word "available" after the 2nd comma. This is to let the bot know the email account is unused. Once the bot uses the email it will change the word "available" to "used".
Grab Pre-Created Email
This checkbox sets the bot to automatically grab one of our already pre-created email accounts for you to use during account creation. This way you don't need to bother creating your own accounts. Each user gets 10 pre-created email accounts per day.
Auto Create Email
This checkbox sets the bot to automatically create an outlook.com account to use for account creation. Once you hit the "Create Accounts" button the bot will automatically create a hotmail account and then automatically load its information into the account information text box as well as the proper settings in the email verifier tab.
Auto Verify Emails
This checkbox sets the bot to automatically verify emails after account creation has been finished. There is a 2 minute delay set between account creation and email verification. This is to ensure that all emails have had time to reach the inbox.
Use Proxies
This checkbox enables proxies for account creation. You can load your proxies into the "Proxies" box within the account settings, you can test them there as well. The proper format is
IP:PORT:USER:PASS
The bot will randomly select proxies to use.
Please keep in mind that the use of proxies and/or VPN's are recommended when creating bulk account batches within a short period of time but they will most likely lead to lower success rates seeing as many of these sites have filters to block such things.
Threads
This dropdown sets the bot to use multiple threads rather than one thread. This option is automatically defaulted to using 3 threads. Increasing threads will increase the
speed of account creation but may also increase the strain on your computer. If performance is not stable then it may also may lead to slightly lower success rates at times. If you find performance issues than set the dropdown to 1 or 2 threads.
The thread setting you set during account creation will be the same used here.
Start Button
This button starts the account creation process.
Stop Button
This button stops any process running.
Account Information
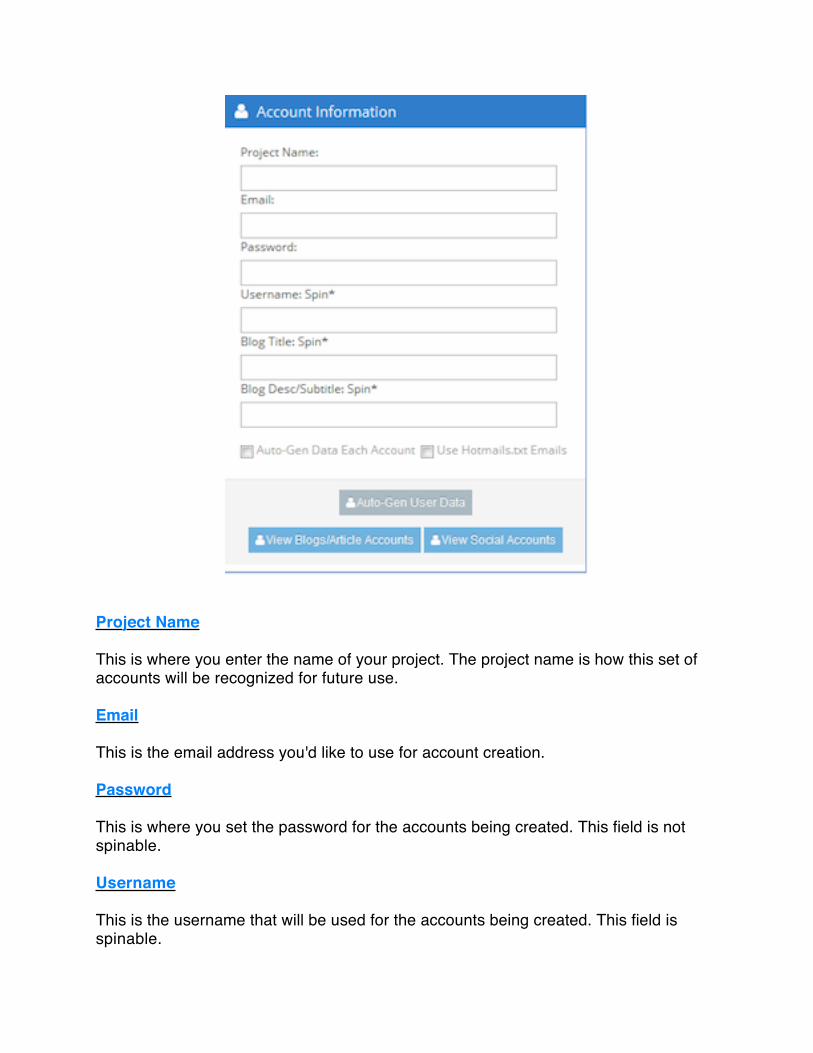
Project Name
This is where you enter the name of your project. The project name is how this set of accounts will be recognized for future use.
This is the email address you'd like to use for account creation.
Password
This is where you set the password for the accounts being created. This field is not spinable.
Username
This is the username that will be used for the accounts being created. This field is spinable.
Blog Title
This is the Blog Title that will be used for the accounts created that support this. This field is spinable.
Blog Desc/Subtitle
This is the Blog Description or Subtitle that will be used for the accounts being created that support this. This field is spinable.
Auto-Gen Data Each Account
This will generate a new username for each account created.
Use HotmailAccounts.txt Emails
This button will load the next available email account within the "HotmailAccounts.txt" file. It will also automatically add the proper settings to the email verifier. When the bot creates hotmail accounts it adds them to the "HotmailAccounts.txt" file like this.
Email,Password,available
Notice the commas. The word "available" after the 2nd comma lets he bot know the email account is unused. Once the bot uses the email it will change the word "available" to "used". You can edit the "HotmailAccounts.txt" file yourself and add in your own accounts just be sure to add them in the proper format with the word available at the end.Auto-Gen User Data Button
This button automatically generates account information data for:- Password- Username- Blog Title- Blog Desc/Subtitle
Open Web 2.0 Account File
This button will open the projects Web 2.0 account file that resides in the "ProjectAccounts" folder
Open Web Social Account File
This button will open the projects Social account file that resides in the "Social" folder.
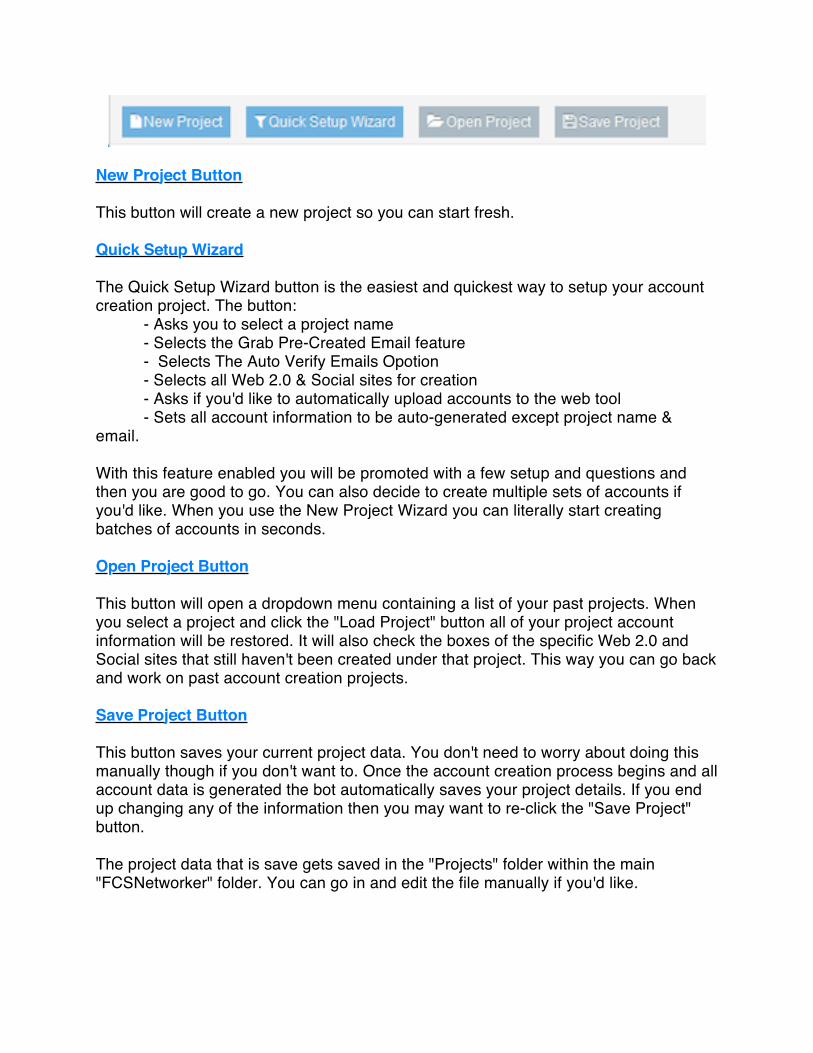
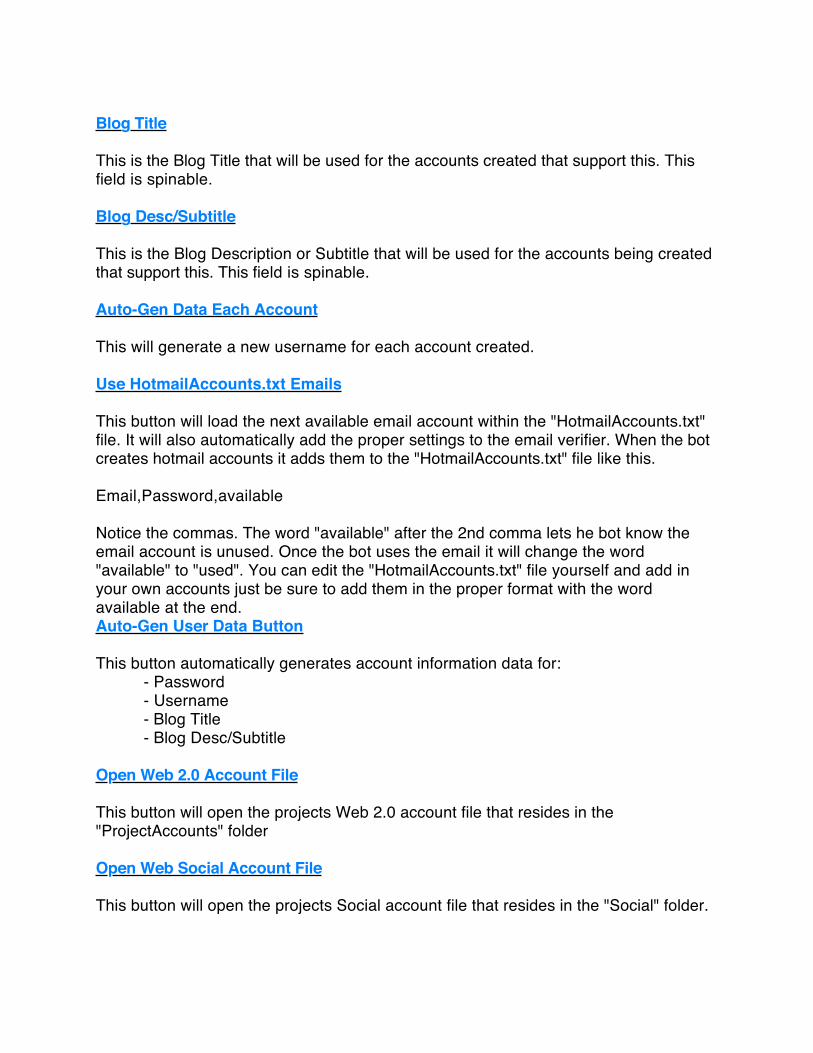
New Project Button
This button will create a new project so you can start fresh.
Quick Setup Wizard
The Quick Setup Wizard button is the easiest and quickest way to setup your account creation project. The button:
- Asks you to select a project name- Selects the Grab Pre-Created Email feature- Selects The Auto Verify Emails Opotion- Selects all Web 2.0 & Social sites for creation- Asks if you'd like to automatically upload accounts to the web tool- Sets all account information to be auto-generated except project name &
email.
With this feature enabled you will be promoted with a few setup and questions and then you are good to go. You can also decide to create multiple sets of accounts if you'd like. When you use the New Project Wizard you can literally start creating batches of accounts in seconds.
Open Project Button
This button will open a dropdown menu containing a list of your past projects. When you select a project and click the "Load Project" button all of your project account information will be restored. It will also check the boxes of the specific Web 2.0 and Social sites that still haven't been created under that project. This way you can go back and work on past account creation projects.
Save Project Button
This button saves your current project data. You don't need to worry about doing this manually though if you don't want to. Once the account creation process begins and all account data is generated the bot automatically saves your project details. If you end up changing any of the information then you may want to re-click the "Save Project" button.
The project data that is save gets saved in the "Projects" folder within the main "FCSNetworker" folder. You can go in and edit the file manually if you'd like.
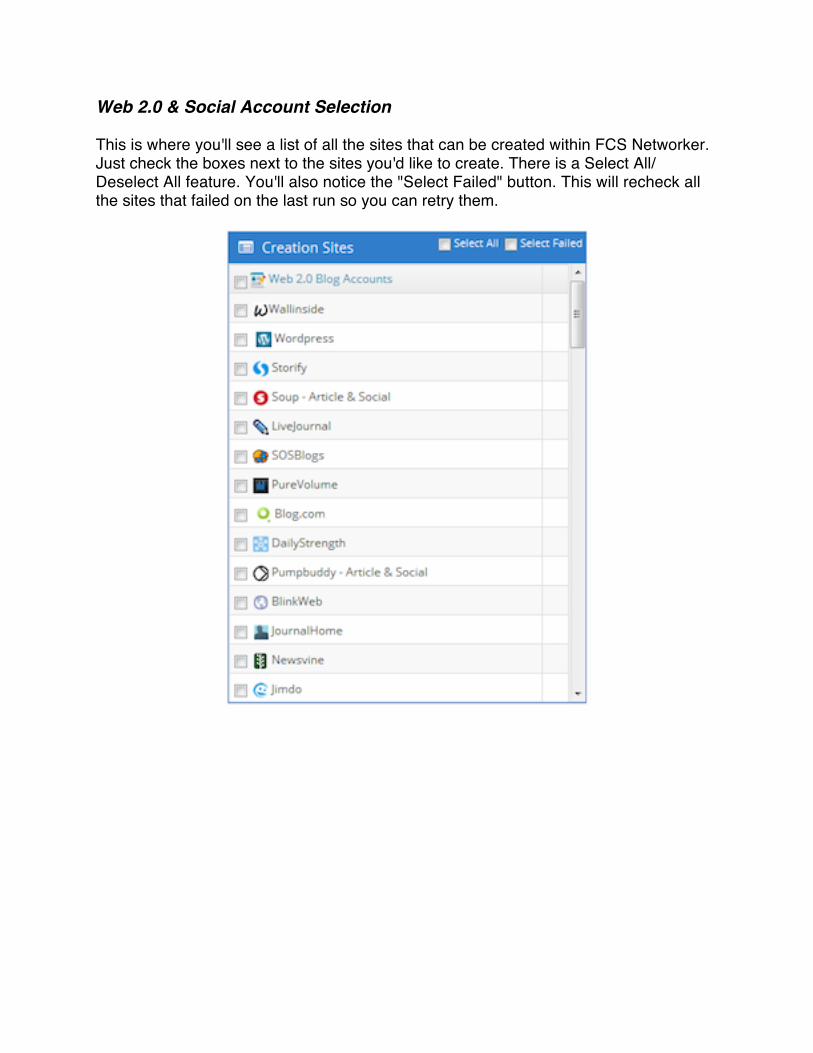
Web 2.0 & Social Account Selection
This is where you'll see a list of all the sites that can be created within FCS Networker. Just check the boxes next to the sites you'd like to create. There is a Select All/Deselect All feature. You'll also notice the "Select Failed" button. This will recheck all the sites that failed on the last run so you can retry them.

Email Verifier
This tab is where you can verify all the emails that were sent after account creation. The easiest way to do this is to check the "Auto Verify Emails" checkbox when creating accounts which will take care of the verification process automatically.
If you choose to do this manually than the email verifier provides you with all the necessary options and settings for virtually any type of email. If you are using Hotmail, Aol or Gmail then just select those from the options menu and the bot will automatically select the appropriate settings. You'll just need to add in your email username and password.
If you are using the "Get Pre-Created Email" or "Auto Create Hotmail" checkboxes or loading your own emails from the HotmailAccounts.txt or features than all settings are automatically loaded into the verifier including the emails username and password.
You can also choose to use email accounts from your own domains or other 3rd party email providers. You'll just need to fill in the appropriate POP settings.
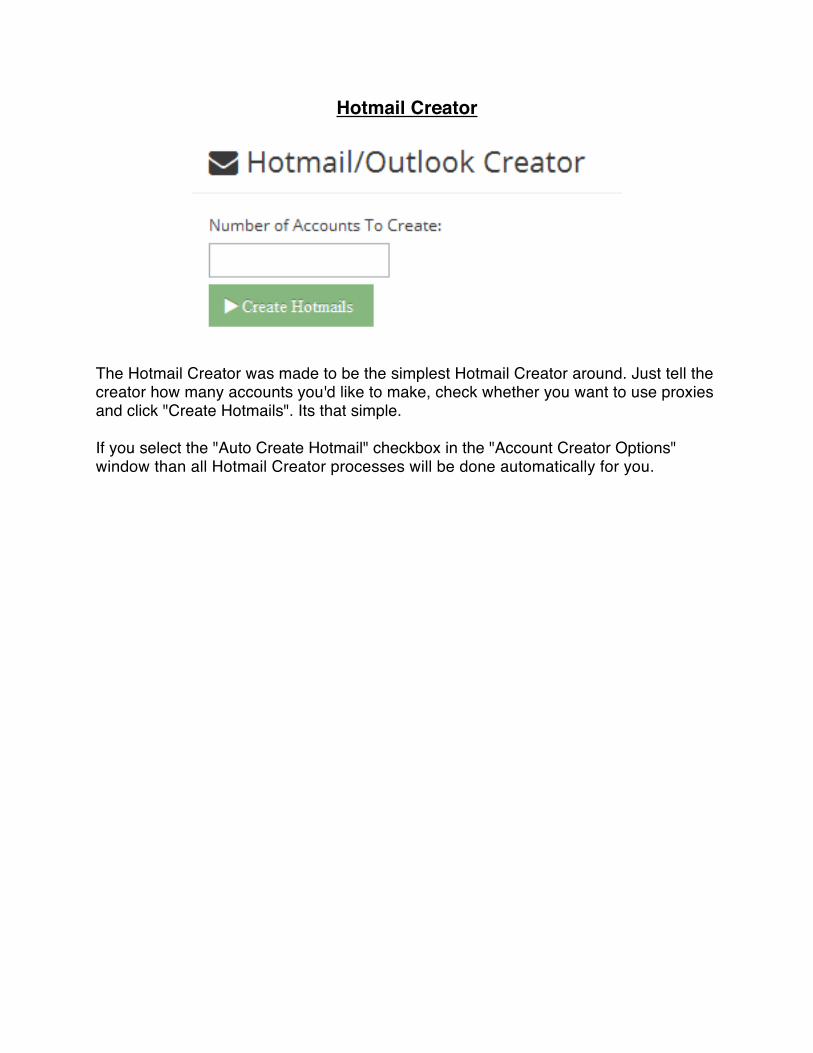
Hotmail Creator
The Hotmail Creator was made to be the simplest Hotmail Creator around. Just tell the creator how many accounts you'd like to make, check whether you want to use proxies and click "Create Hotmails". Its that simple.
If you select the "Auto Create Hotmail" checkbox in the "Account Creator Options" window than all Hotmail Creator processes will be done automatically for you.
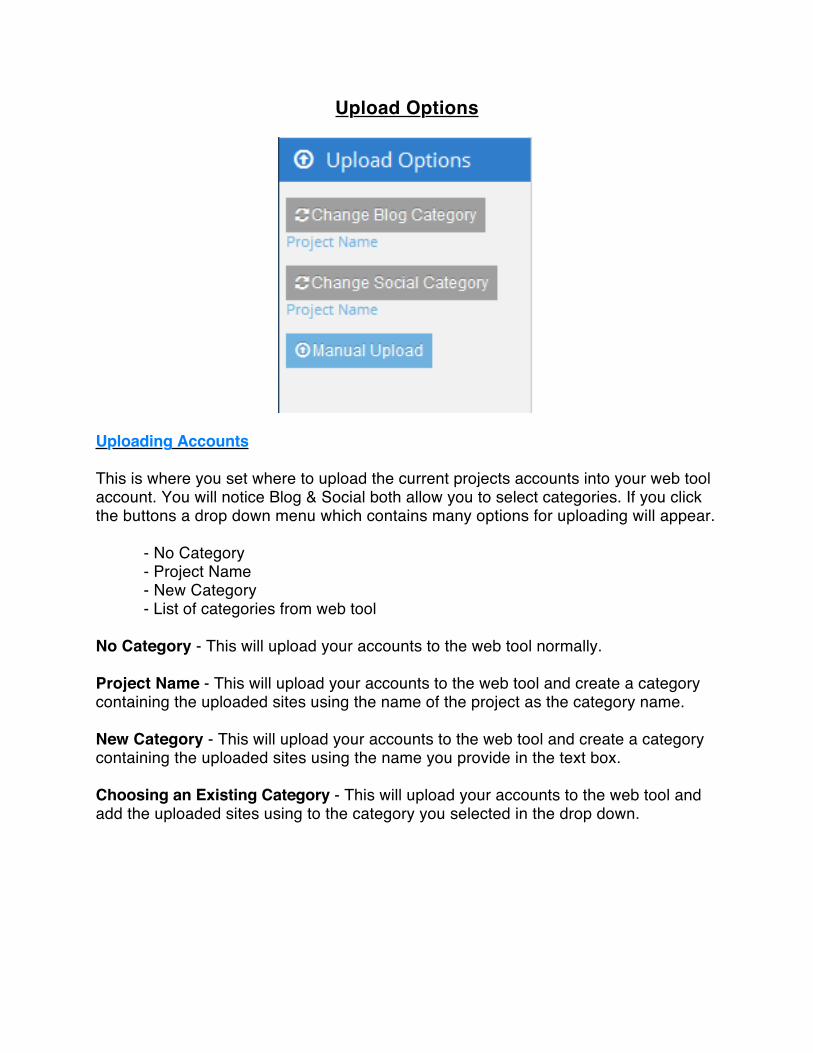
Upload Options
Uploading Accounts
This is where you set where to upload the current projects accounts into your web tool account. You will notice Blog & Social both allow you to select categories. If you click the buttons a drop down menu which contains many options for uploading will appear.
- No Category- Project Name- New Category- List of categories from web tool
No Category - This will upload your accounts to the web tool normally.
Project Name - This will upload your accounts to the web tool and create a category containing the uploaded sites using the name of the project as the category name.
New Category - This will upload your accounts to the web tool and create a category containing the uploaded sites using the name you provide in the text box.
Choosing an Existing Category - This will upload your accounts to the web tool and add the uploaded sites using to the category you selected in the drop down.
Working With Accounts
Accounts Format & Location
You can find your created accounts inside the "ProjectAccounts" or the "Social" folder. They are grouped by project name. The format of the accounts is.
Web2.0 Site,Email,Username,Password,HomepageLink
These files are easily editable. Since they are txt files you can manual create files and add/subtract from them. They can also be pasted as is into the "Bulk Account Importer" for both Article/Blog & Social Sites for importing manually.
Tools Menu
Web Based Submitter
This will open the web based tool in a window inside the software. This way you can work within the web based tool right from the bot.
Captcha Service Accounts
This is where you can set which captcha services you'd like to use and enter your captcha service account details.
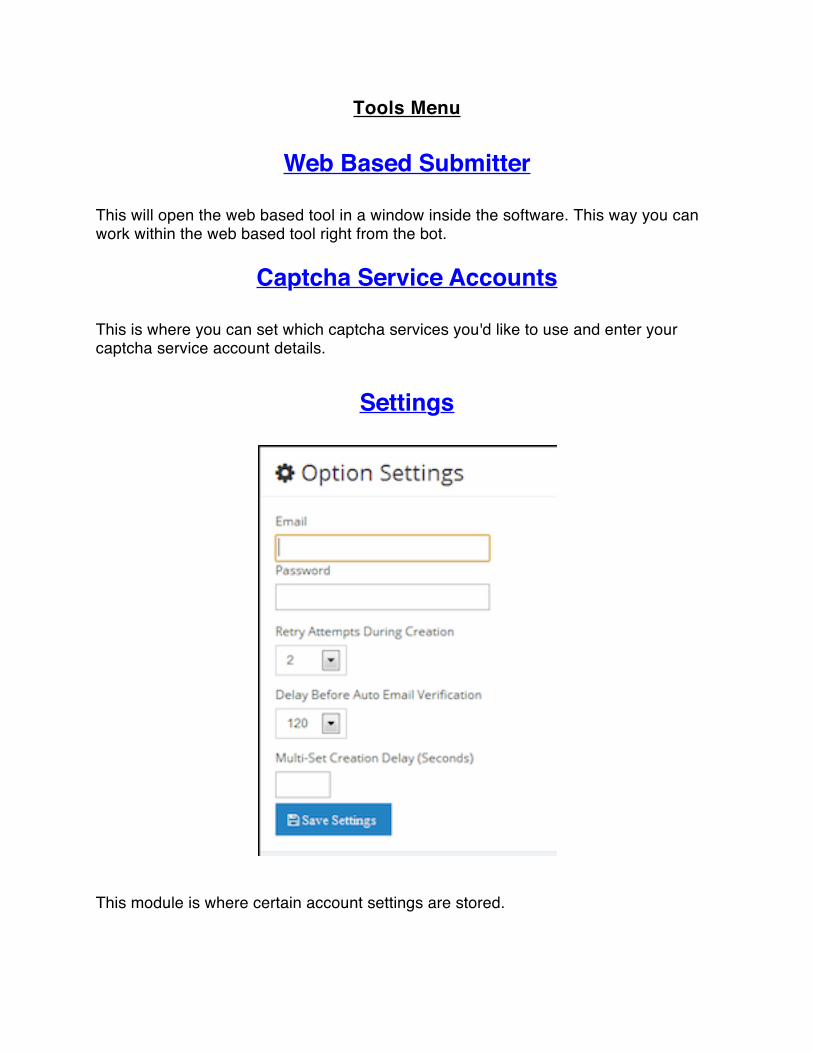
Settings
This module is where certain account settings are stored.
FCS Networker Web Based Login
This is where you should enter you login details for the FCS Networker web based tool. This way the software can interact seamlessly with the web based tool.
Retry Attempts During Creation
This sets how many times the bot will attempt to create an account at a particular site before moving on to the next site.
Multi-Set Creation Delay
This sets how many seconds the bot will wait in between creating multiple sets of accounts.
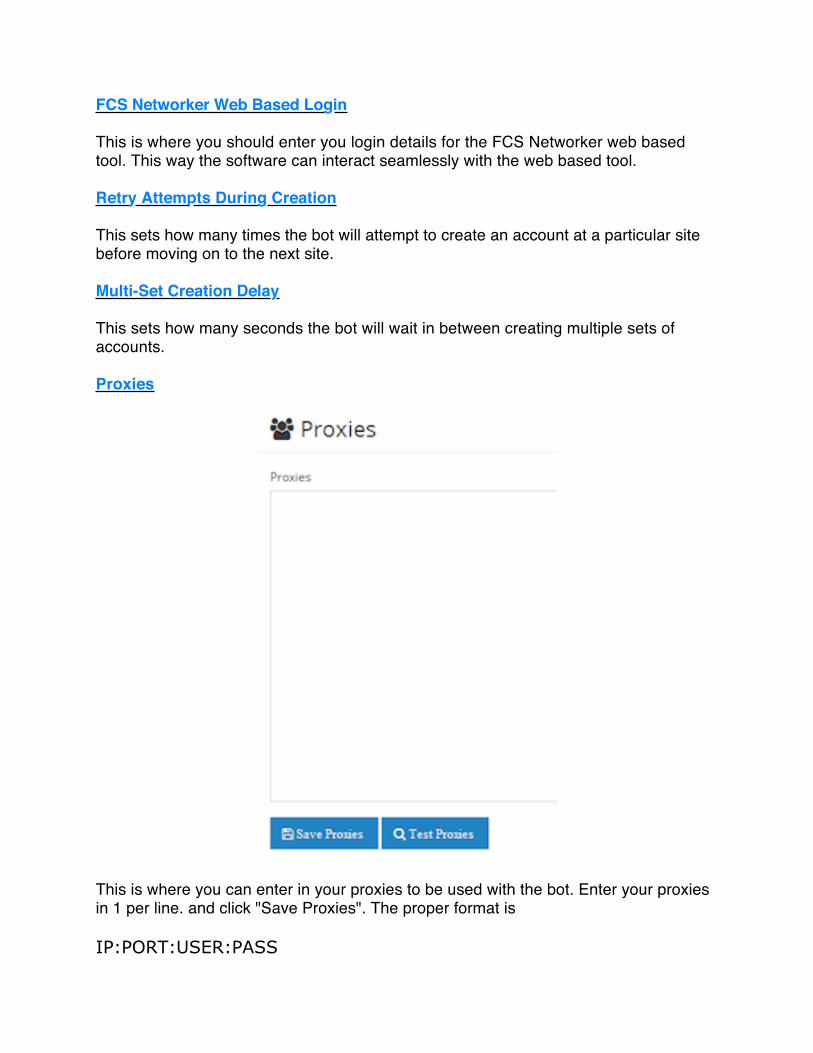
Proxies
This is where you can enter in your proxies to be used with the bot. Enter your proxies in 1 per line. and click "Save Proxies". The proper format is
IP:PORT:USER:PASS
The bot will randomly select proxies to use.
You can also test proxies here. After testing you will be asked if you'd like to remove the non-working proxies. If you choose yes you must re-save the proxies after the non-working proxies are removed.
You can also manually edit your proxy information using the Proxies.txt file within the FCSNetworker folder.
Please keep in mind that use of proxies and/or VPN's are recommended when creating bulk account batches within a short period of time but they will most likely lead to lower success rates seeing as many of these sites have filters to block such things.
TroubleshootingAccount Creation Success Rates Are Low
- If you are seeing low success rates make sure you try the bot without using any proxies whatsoever. That includes VPN services like HMA. If you then see higher success rates that means that your proxies or VPS are being blocked by certain sites. Proxies will almost always lead to lower success rates with account creation and submission.
- Your captcha service is failing or you are using automated captcha solvers like GSA or Captcha Sniper. These services don't solve Recaptcha which is what 90% of the captchas are for this site. These captcha solvers do not work well on these sites.
- If you are not in the United States and you are seeing low success rates you may want to try using US proxies. FCS Networker is built mainly for US traffic so the scripts are coded around US based versions of the sites.
- You have used a custom username that is already taken. Please make sure your custom usernames are very unique. Its best to use numbers in the username to ensure this. Also be sure the usernames are less than 15 characters.
License is Not Working
- You can reset your license by going to the Tools/Settings menu in the web tool. Then the Reset License option. If you are still having trouble please contact us at the support desk.
http://fcsnetworker.freshdesk.com/helpdesk
Bot is Not Working or is Having Issues
- Make sure you have Microsoft .NET Framework 4 installed. Download it here.
http://www.microsoft.com/en-us/download/details.aspx?id=17851
- If you are having any issues with the bot try restarting your computer and trying it again before submitting a support email.
If you are still having trouble contact us at the support desk
http://fcsnetworker.freshdesk.com/helpdesk