Embed Size (px)
Citation preview
Family and Consumer Sciences
Kitchen Conveniences
Gwinnett County Public SchoolsMiddle School
Family and Consumer Sciences2007
Modules/Kitchen Conveniences Revised July, 2007 1
Family and Consumer Sciences
Kitchen ConveniencesStudent manual
Gwinnett County Public Schools
Middle SchoolFamily and Consumer Sciences
2007Modules/Kitchen Conveniences Revised July, 2007 2
INTRODUCTION
The use of small electrical appliances makes tasks in the home easier and less time consuming. They can be found in every room in the house; from the kitchen to the garage
OBJECTIVES 1. To understand appliances and their use in the home
2. To understand the care of appliances
3. To understand the importance of reading the care and use manuals that accompany appliances
4. To prepare several recipes using several different appliances
MATERIALS Video TextbookWaffle mix BreadAmerican cheese ButterEspresso Ice creamMilk
EQUIPMENT TV/VCR HeadphonesElectric skillet BlenderWaffle Iron
AKS: #5, #10
ESSENTIAL QUESTIONS:
1. What are some advantages of using kitchen conveniences?2. Explain what kitchen conveniences are.3. When buying kitchen conveniences, what should you consider?
Modules/Kitchen Conveniences Revised July, 2007 3
Activity One
1. Locate the pretest and complete it according to the instructions before you go to the next step.
2. Review the following vocabulary words before you begin the module. When you find the words in the reading material or videos as you come to them during the next four days; define them on your own paper.
Appliances Toaster Range Broiler Convection oven Slow Cooker Electric Skillet Blender Food Processor UL label
3. Locate the video “Small Appliances A - Z” and the worksheet that goes with it, as you are viewing the video, complete the worksheet. Rewind the tape and return it to its proper place.
4. Clean up your module area and make sure everything is returned to its proper location.
Modules/Kitchen Conveniences Revised July, 2007 4
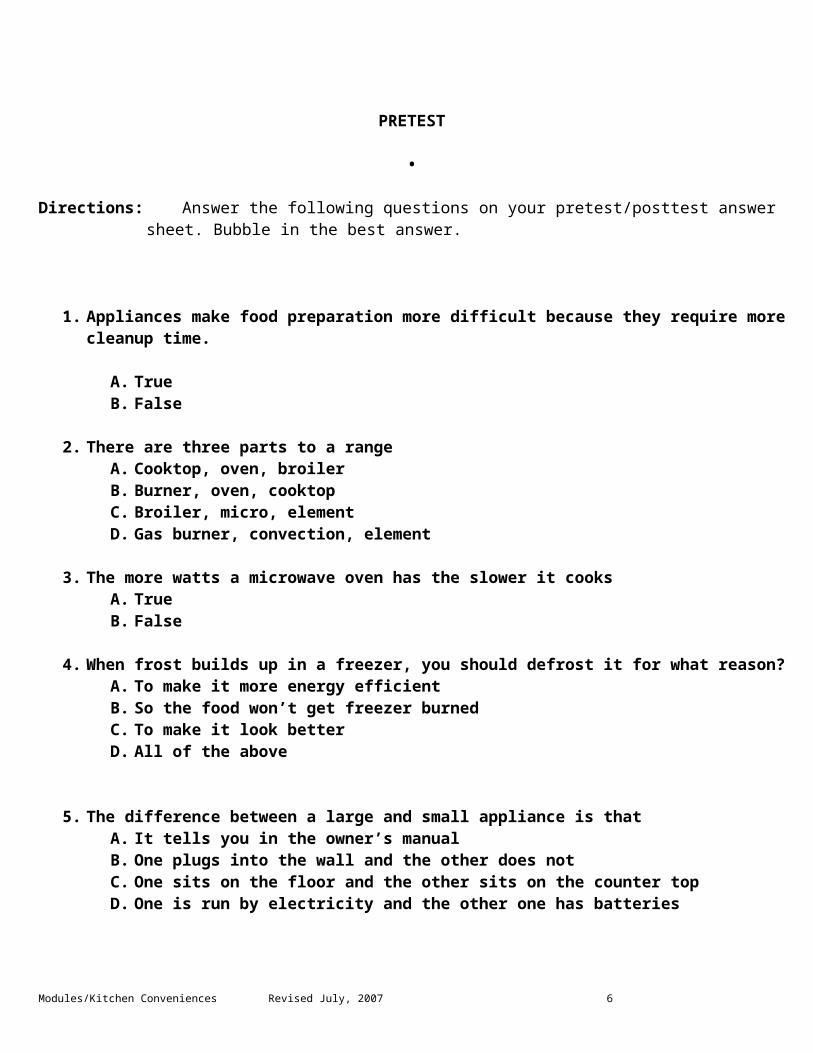
PRETEST
•
Directions: Answer the following questions on your pretest/posttest answer sheet. Bubble in the best answer.
1. Appliances make food preparation more difficult because they require more cleanup time.
A. TrueB. False
2. There are three parts to a rangeA. Cooktop, oven, broilerB. Burner, oven, cooktopC. Broiler, micro, elementD. Gas burner, convection, element
3. The more watts a microwave oven has the slower it cooksA. TrueB. False
4. When frost builds up in a freezer, you should defrost it for what reason?A. To make it more energy efficientB. So the food won’t get freezer burnedC. To make it look betterD. All of the above
5. The difference between a large and small appliance is thatA. It tells you in the owner’s manualB. One plugs into the wall and the other does notC. One sits on the floor and the other sits on the counter topD. One is run by electricity and the other one has batteries
Modules/Kitchen Conveniences Revised July, 2007 5
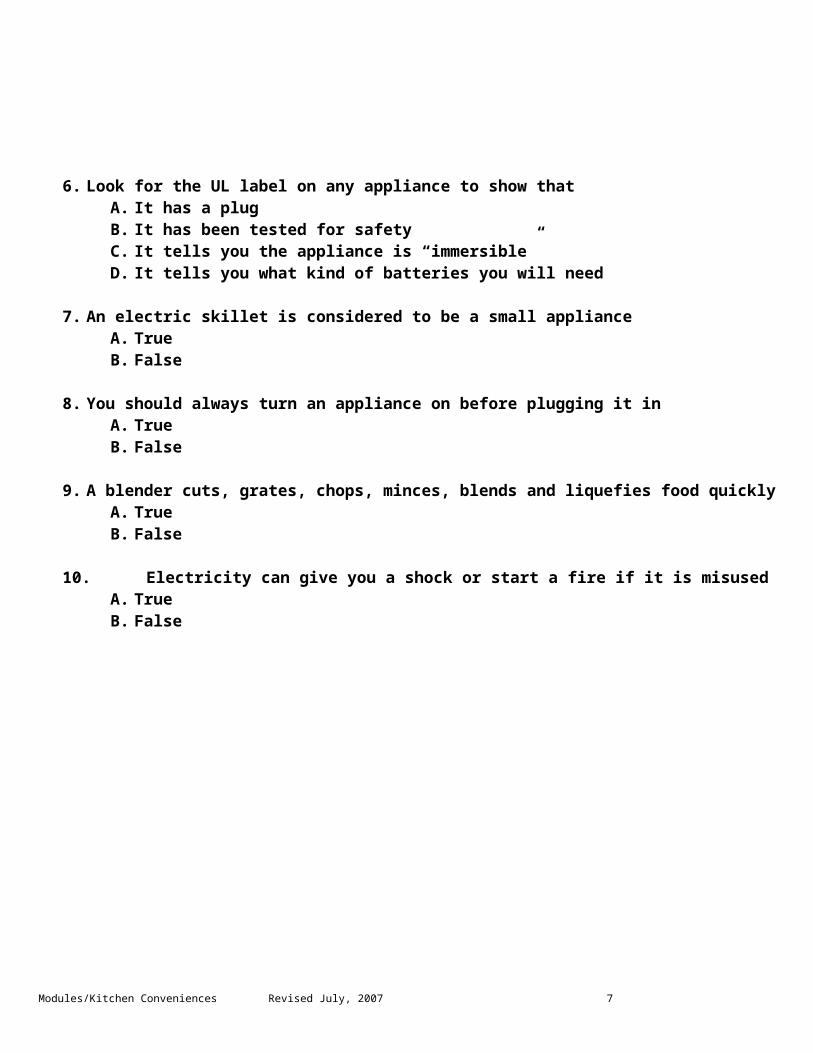
6. Look for the UL label on any appliance to show thatA. It has a plugB. It has been tested for safetyC. It tells you the appliance is “immersible”D. It tells you what kind of batteries you will need
7. An electric skillet is considered to be a small applianceA. TrueB. False
8. You should always turn an appliance on before plugging it inA. TrueB. False
9. A blender cuts, grates, chops, minces, blends and liquefies food quicklyA. TrueB. False
10. Electricity can give you a shock or start a fire if it is misusedA. TrueB. False
Modules/Kitchen Conveniences Revised July, 2007 6
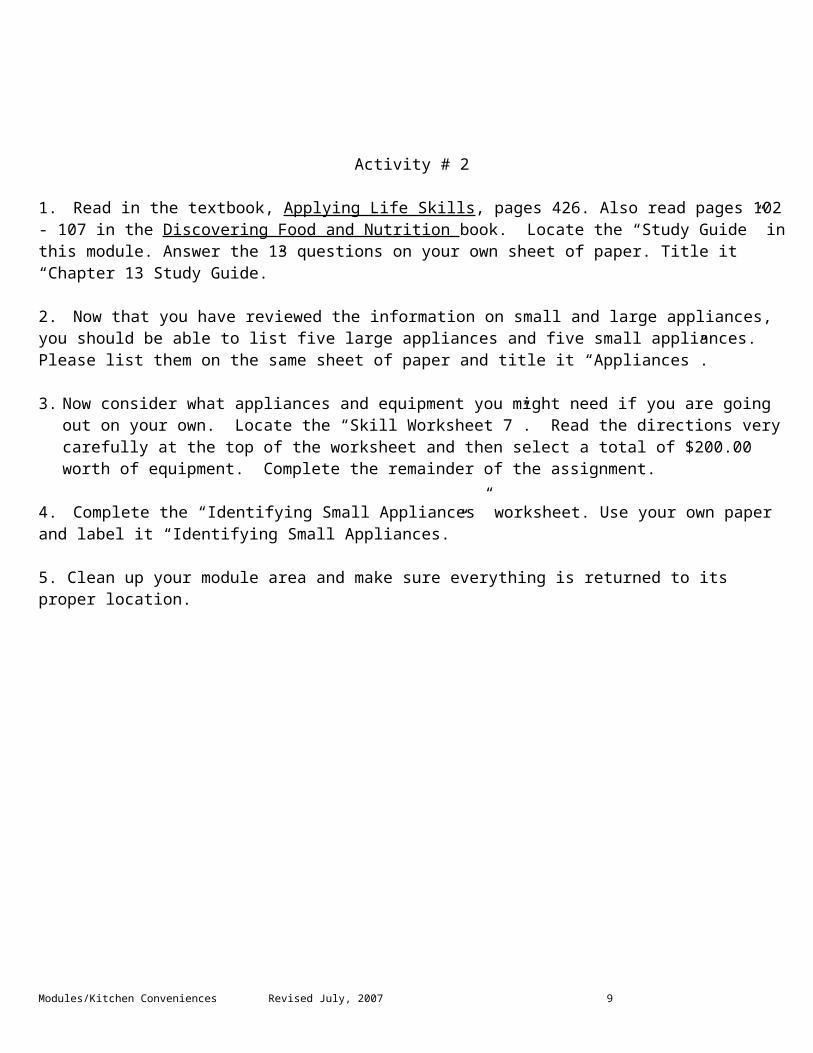
Activity # 2
1. Read in the textbook, Applying Life Skills, pages 426. Also read pages 102 - 107 in the Discovering Food and Nutrition book. Locate the “Study Guide” in this module. Answer the 13 questions on your own sheet of paper. Title it “Chapter 13 Study Guide.”
2. Now that you have reviewed the information on small and large appliances, you should be able to list five large appliances and five small appliances. Please list them on the same sheet of paper and title it “Appliances”.
3. Now consider what appliances and equipment you might need if you are going out on your own. Locate the “Skill Worksheet 7”. Read the directions very carefully at the top of the worksheet and then select a total of $200.00 worth of equipment. Complete the remainder of the assignment.
4. Complete the “Identifying Small Appliances” worksheet. Use your own paper and label it “Identifying Small Appliances.”
5. Clean up your module area and make sure everything is returned to its proper location.
Modules/Kitchen Conveniences Revised July, 2007 7

NAME _______________________________
Skill Worksheet # 7
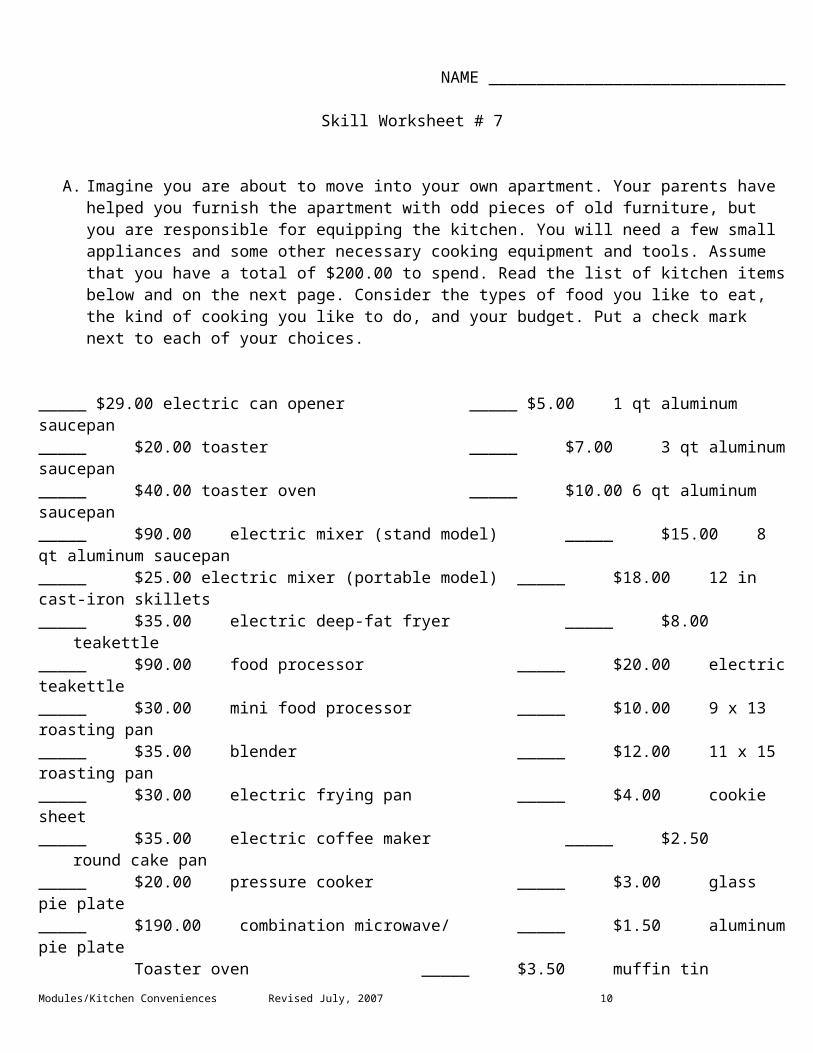
A. Imagine you are about to move into your own apartment. Your parents have helped you furnish the apartment with odd pieces of old furniture, but you are responsible for equipping the kitchen. You will need a few small appliances and some other necessary cooking equipment and tools. Assume that you have a total of $200.00 to spend. Read the list of kitchen items below and on the next page. Consider the types of food you like to eat, the kind of cooking you like to do, and your budget. Put a check mark next to each of your choices.
_____ $29.00 electric can opener _____ $5.00 1 qt aluminum saucepan_____ $20.00 toaster _____ $7.00 3 qt aluminum saucepan_____ $40.00 toaster oven _____ $10.00 6 qt aluminum saucepan_____ $90.00 electric mixer (stand model) _____ $15.00 8 qt aluminum saucepan_____ $25.00 electric mixer (portable model) _____ $18.00 12 in cast-iron skillets_____ $35.00 electric deep-fat fryer _____ $8.00 teakettle_____ $90.00 food processor _____ $20.00 electric teakettle_____ $30.00 mini food processor _____ $10.00 9 x 13 roasting pan_____ $35.00 blender _____ $12.00 11 x 15 roasting pan_____ $30.00 electric frying pan _____ $4.00 cookie sheet_____ $35.00 electric coffee maker _____ $2.50 round cake pan_____ $20.00 pressure cooker _____ $3.00 glass pie plate_____ $190.00 combination microwave/ _____ $1.50 aluminum pie plate
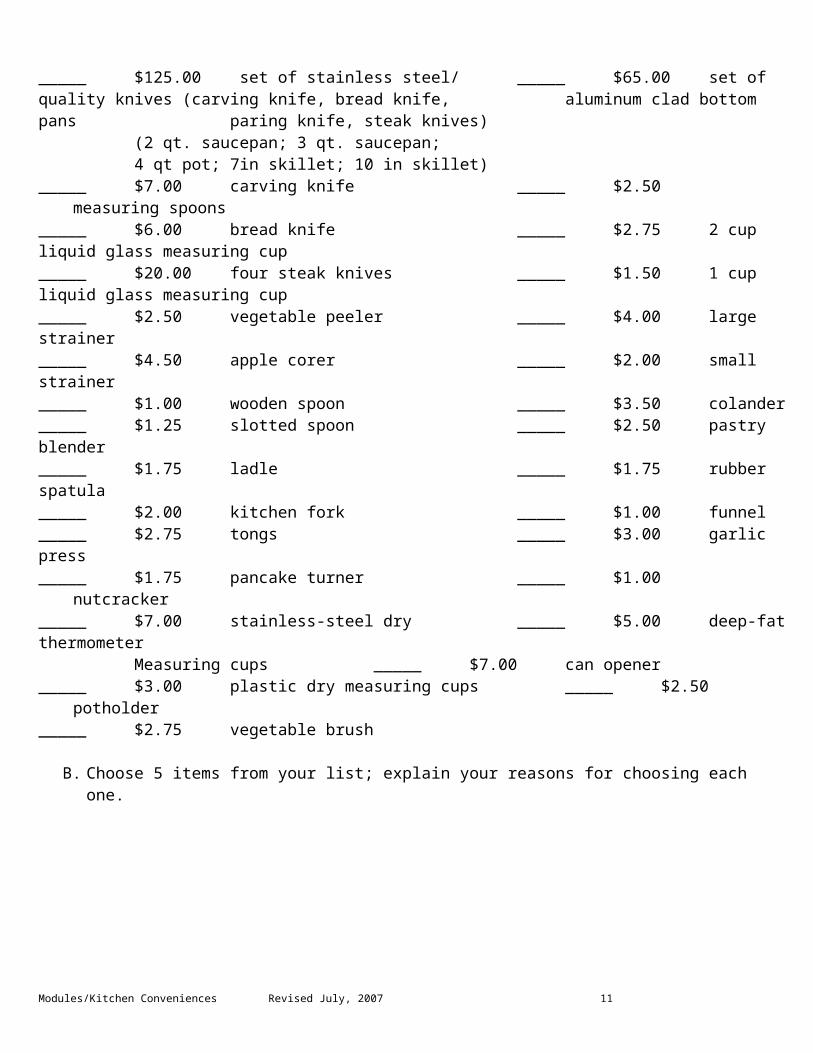
Toaster oven _____ $3.50 muffin tin_____ $125.00 set of stainless steel/ _____ $65.00 set of quality knives (carving knife, bread knife,
aluminum clad bottom pans paring knife, steak knives)(2 qt. saucepan; 3 qt. saucepan;4 qt pot; 7in skillet; 10 in skillet)
_____ $7.00 carving knife _____ $2.50 measuring spoons_____ $6.00 bread knife _____ $2.75 2 cup liquid glass measuring cup_____ $20.00 four steak knives _____ $1.50 1 cup liquid glass measuring cup_____ $2.50 vegetable peeler _____ $4.00 large strainer_____ $4.50 apple corer _____ $2.00 small strainer_____ $1.00 wooden spoon _____ $3.50 colander_____ $1.25 slotted spoon _____ $2.50 pastry blender_____ $1.75 ladle _____ $1.75 rubber spatula_____ $2.00 kitchen fork _____ $1.00 funnel_____ $2.75 tongs _____ $3.00 garlic press_____ $1.75 pancake turner _____ $1.00 nutcracker_____ $7.00 stainless-steel dry _____ $5.00 deep-fat thermometer
Measuring cups _____ $7.00 can opener_____ $3.00 plastic dry measuring cups _____ $2.50 potholder_____ $2.75 vegetable brush
B. Choose 5 items from your list; explain your reasons for choosing each one.
Modules/Kitchen Conveniences Revised July, 2007 8
NAME________________________
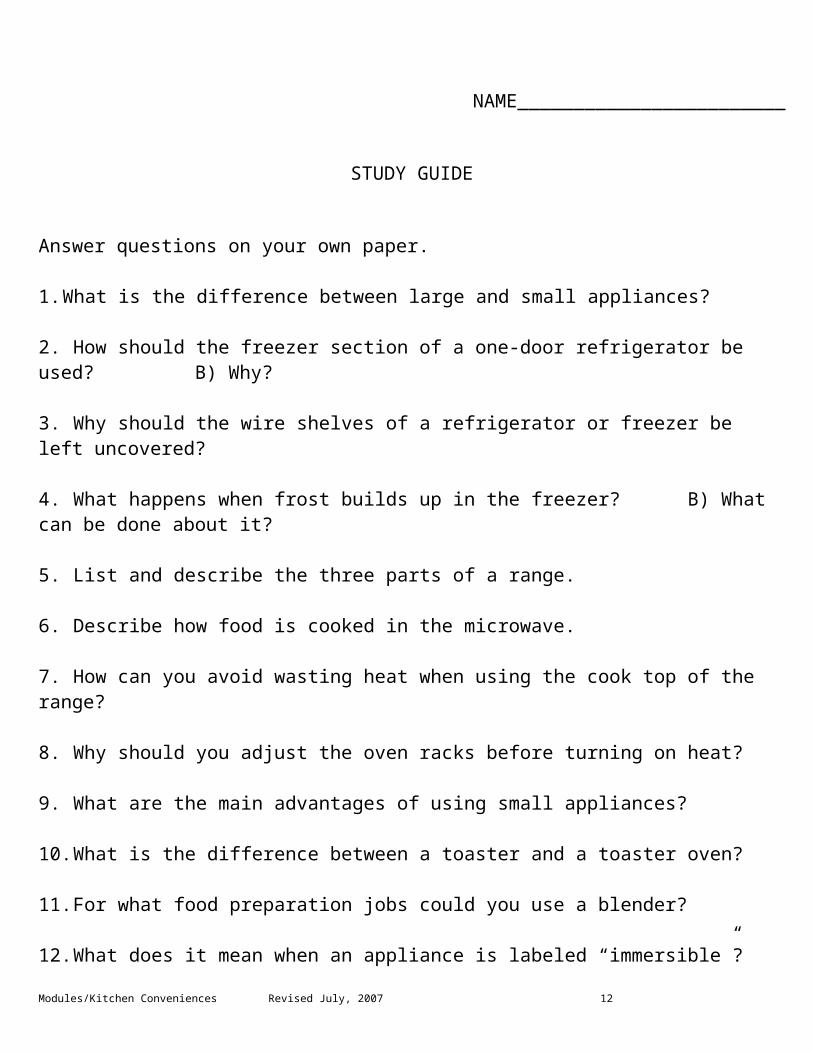
STUDY GUIDE
Answer questions on your own paper.
1. What is the difference between large and small appliances?
2. How should the freezer section of a one-door refrigerator be used? B) Why?
3. Why should the wire shelves of a refrigerator or freezer be left uncovered?
4. What happens when frost builds up in the freezer? B) What can be done about it?
5. List and describe the three parts of a range.
6. Describe how food is cooked in the microwave.
7. How can you avoid wasting heat when using the cook top of the range?
8. Why should you adjust the oven racks before turning on heat?
9. What are the main advantages of using small appliances?
10. What is the difference between a toaster and a toaster oven?
11. For what food preparation jobs could you use a blender?
12. What does it mean when an appliance is labeled “immersible”?
13. What does the symbol mean on an appliance?
Modules/Kitchen Conveniences Revised July, 2007 9
Activity # 3
1. Read very carefully through the following information before preparing for this grilled cheese lab.
a. Read “Small Electrical Appliance Care.”b. Read “Small Electrical Appliance Cleaning.”c. When you plug in a new electrical appliance, some smoking may occur. This is normal for newly
manufactured appliances and will not happen after the first few uses.d. Never immerse an electric skillet into a sink full of water unless it has the word “immersible” on it.
Use hot running water and wash over the sink and then dry thoroughly before putting away.
Grilled Cheese Sandwich Recipe
2. Work in Kitchen #2.Get out a plastic wide spatula (turner), electric skillet, lid and electrical cord. Make sure that the knob on the
electric skillet is in the OFF position before plugging into the wall outlet. Once the skillet is plugged in, turn the indicator knob to 350 degrees. Your skillet can be preheating while you are getting your supplies ready. Remember the skillet will remain hot as long as it is plugged in and if it begins to smoke you should turn it off until you have your other supplies ready. Be careful so you don’t get burned.
3. Get two pieces of bread, tub butter and one slice of American cheese per student from the student refrigerator. Unwrap the cheese slices and set aside. Then butter each piece of bread on one side only.
4. Place the “buttered” side down into the electric skillet. Then place one slice of cheese onto the bread. Cover your cheese with the other piece of bread with the “buttered” side facing up ward. It will only take a few minutes for bread to start browning. Check bread using the turner to peek under the bread for brownness. Flip your sandwich over to brown the other side of the sandwich. When the process is complete, remove the sandwich with the turner, cut sandwich in half, and place it on a paper plate or paper towel. Be sure to turn OFF the electric skillet and unplug it. Sit down at your assigned table to eat your sandwich.
5. Wash and dry all the equipment you used. Return equipment to their proper location. Make sure you leave the kitchen area very clean!!
6. Evaluate your lab by writing a summary. Describe how you made a grilled cheese sandwich using the electric skillet. How did you clean the skillet? Title this assignment “Grilled Cheese Sandwich”.
Modules/Kitchen Conveniences Revised July, 2007 10
Small Electrical Appliance Cleaning
Unplug and cool appliance before cleaning. Wipe with a damp cloth and dry with soft cloth or paper towel. If grease or food spills on exteriors, use sudsy cloth, followed by damp cloth. Do not get any moisture into electrical parts. Do NOT immerse any appliance or parts in water unless specifically labeled “immersible” in the care guide.
Wash interiors of appliances used for food preparation such as inside of fry pans, slow cookers, etc. taking care not to get electrical part wet.
Do NOT wash waffle irons.
Clean bottom of fry pans, deep fat fryers, etc., after each use to avoid grease buildup. Use fine soap-filled steel wool for stubborn grease.
Follow special label or care guide instructions with appliance for specific parts or materials.
(Information provided by Michigan Sate University Extension)
Modules/Kitchen Conveniences Revised July, 2007 11
Small Electrical Appliance Care
If the cord is detachable, unplug the cord from the wall outlet before removing it from the appliance.
Unplug small electrical appliances, such as toasters, blenders, toaster ovens, etc. after using them. Do not leave them on the counter plugged in. Fires can start if an electrical component malfunctions.
Do not put plugged-in electrical appliances where they could drop or be pulled into water, as in the kitchen sink, bathroom lavatory or tub. Drain all water before plugging in the appliance nearby. Electrical appliances are “electrically alive” when plugged in even though switch is off. If it falls into water, you could be electrocuted if you touch it.
Never plug in an electrical appliance either “on” or “off” anywhere near water, or go away and leave it if there are children around who could pull it into the water and be electrocuted.
Never wrap a cord around a hot appliance (this includes an iron). Do not wrap a cord too tightly around anything. Coil loosely, and keep free from kinks and knots which will break wires. Plug only one heating appliance into a circuit at a time, unless the circuit is a heavy-duty appliance one.
(Information provided by Michigan State University Extension)
Modules/Kitchen Conveniences Revised July, 2007 12
Activity # 4
1. Reread the directions very carefully about the safety use of a small appliance. Remember the waffle iron, which you will be using today, only needs to be wiped off with a damp dishrag after it has completely cooled. You can also use a pastry brush to remove crumbs inside the grids. Never immerse it into a sink of water.
Waffles Recipe
2. Today you will be making waffles by using the waffle mix found in the pantry. Before mixing your batter, you will take the waffle iron and plug it in. This appliance needs to preheat before using it to make waffles.
3. Now you are ready to mix your waffle batter. Using the metal type cup, measure ¾ cup of waffle mix into a large glass mixing bowl. Using a glass type cup, measure ½ cup of cold water into the large glass mixing bowl. Use a large spoon or a whisk to stir those two ingredients together.
4. By now the waffle iron should be preheated and ready to use. The light has turned green. It will be very HOT, so be careful so you don’t burn yourself. Pour your waffle batter from the glass mixing bowl into the middle (center) of the hot waffle iron. You will pour the batter slowly until the batter is about ½ inch from the sides of the waffle iron. Now close the lid gently.
5. You will know the waffle is baking when the lid starts to rise. Wait a couple minutes and then try very gently to lift the lid. If the waffle seems to want to stick to the waffle iron leave the waffle to cook a few minutes longer. The lid will lift easily when the waffle is done baking. This entire process will take approximately 3-4 minutes. Good Luck! Call your teacher over if you are concerned or having any problems with the waffle iron. Remember this appliance gets very HOT all over so be sure to only touch it on the handle.
6. When done, put the waffles on a plate. Each of you gets 2 squares. Sit down at your table to eat. You may get syrup and butter from the refrigerator to put on your waffles.
7. After eating, clean the waffle iron. Wash and dry any equipment and utensils you used. Return them to their proper location. (Remember to get all the syrup off the table.)
See next page
Modules/Kitchen Conveniences Revised July, 2007 13
Activity #4 Continued
8. Write a summary on how you prepared your waffles and how to use and clean a waffle iron. Title this page “Waffle Summary”.
9. Locate and complete the posttest for this module.
10. Get out a piece of notebook paper and make your cover sheet. Place your name, class and student number in the top right hand corner. Place your module name on the top blue line. Copy the following list and gather the assignments in order. Place the list on top and staple together. Place your posttest on top and paperclip it.
Vocabulary Words Small Appliances A-Z Worksheet Study Guide Questions List of 5 small and 5 large appliances Skill worksheet 7 Identifying Small Appliances worksheet Grilled Cheese Sandwich Summary Waffle Summary Frappuccino Questions A.B.C.
Modules/Kitchen Conveniences Revised July, 2007 14
Modules/Kitchen Conveniences Revised July, 2007 15

POSTTEST
Directions: Answer the following questions on your pretest/posttest answer sheet. Bubble in the best answer.
1. A basic range contains a . . .a. Cooktop, oven and broilerb. Cooktop, and ovenc. Cooktop and broilerd. Broiler and oven
2. To avoid getting your fingers caught in a mixer . . .a. Remove the beaters as soon as you turn the mixer offb. Remove the beaters after you have pulled the electric plugc. Turn the beaters towards you when removing themd. All of the above
3. Broiling involves cooking by . . .a. Hot air circulating around the foodb. Hot air circulated by a high-speed fanc. Direct heat flowing up from the bottom of the ovend. Direct heat flowing downward from the top of the oven
4. When washing the blender you put the mixing bowl part of the blender in the dishwashera. Trueb. False
5. The waffle iron should be soaked in warm soapy watera. Trueb. False
Modules/Kitchen Conveniences Revised July, 2007 16
6. An electric skillet is used for only grilled cheese sandwichesa. Trueb. False
7. When unplugging any small appliance you should unplug it by jerking gently on the cord.a. Trueb. False
8. A food processor does the following functions . . .a. Cooks slowly on lowb. Bakes, broils, toastc. Cuts, slices, mixes and kneads breadd. Cuts, slices and liquefies
9. A slow cooker does the following functionsa. Beats and mixesb. Cuts, minces, liquefiesc. Cooks slowly on lowd. Bakes, broils, toasts
10. When making a food item in the electric skillet you should adjust the temperature of the heat before plugging it in
a. Trueb. False
Modules/Kitchen Conveniences Revised July, 2007 17

Activity # 5 (Extra Credit)
1. If time allows, you might enjoy this extra activity, be sure that you have all of your other work complete.
2. Read very carefully the directions for the Frappuccino lab. You are going to make one recipe of the Frappuccino for you and your partner. Check that all of your ingredients are available before beginning your lab. Remember the safety tips for using small appliances.
3. Sit down and enjoy your Frappuccino!!!
4. Clean up your lab using the tip at the bottom of your Frappuccino recipe.
5. Evaluate your lab on a separate sheet of paper by answering the following questions. ( Must Answer to get the extra credit points.)
A. Name five important safety tips that you used when conducting this lab.B. Explain the cleaning procedures of the blender.C. In one sentence, what was your opinion of the drink.
Modules/Kitchen Conveniences Revised July, 2007 18
Kitchen Conveniences
Frappuccino
Yields: 2 servings
2 Tablespoons espresso powder½ cup hot tap water½ cup milk3 Tablespoons sugar2 cups ice cubes½ cup vanilla ice cream
Steps:
1. Dissolve expresso powder in hot water. Allow to slightly cool to room temperature. The quickest way is to mix the ingredients in a small bowl or glass liquid cup and swirl around a few times with a spoon.
2. In the blender, put the milk, sugar, ice cubes, ice cream and espresso solution.
3. Blend on the highest speed for one minute.
4. Take off the lid and stir it with a spoon. There should not be any visible chunks of ice cubes left. If you can still see ice cubes, blend for 30 more seconds.
5. Serve in glasses. Enjoy. Drink slowly so you don’t get a headache for the cold ice.
Tip for cleaning the blender: Rinse the blender thoroughly, then fill ¾ of the way with warm soapy water before turning the blender on for a few minutes. Turn on blender and let this mix for several minutes, then rinse thoroughly until soap is completely gone. Slightly dry the blender with a towel, wiping the blender base free of any food also.
Modules/Kitchen Conveniences Revised July, 2007 19
Kitchen Conveniences
Pre and Post Test Answers
Pre-Test1. B2. A3. B4. D5. C6. B7. A8. B9. A10. A
Post –test1. A2. B3. D4. B5. B6. B7. B8. C9. C10. B
Modules/Kitchen Conveniences Revised July, 2007 20


![3 Couches Minces Aspects pratiques.pptx [Lecture seule]](https://img.pdfslide.us/doc/110x75/62ad6111233fa340093d1228/3-couches-minces-aspects-lecture-seule.jpg)