Embed Size (px)
Citation preview
1
April 20, 2012
Excel 2010 Cheat Sheet
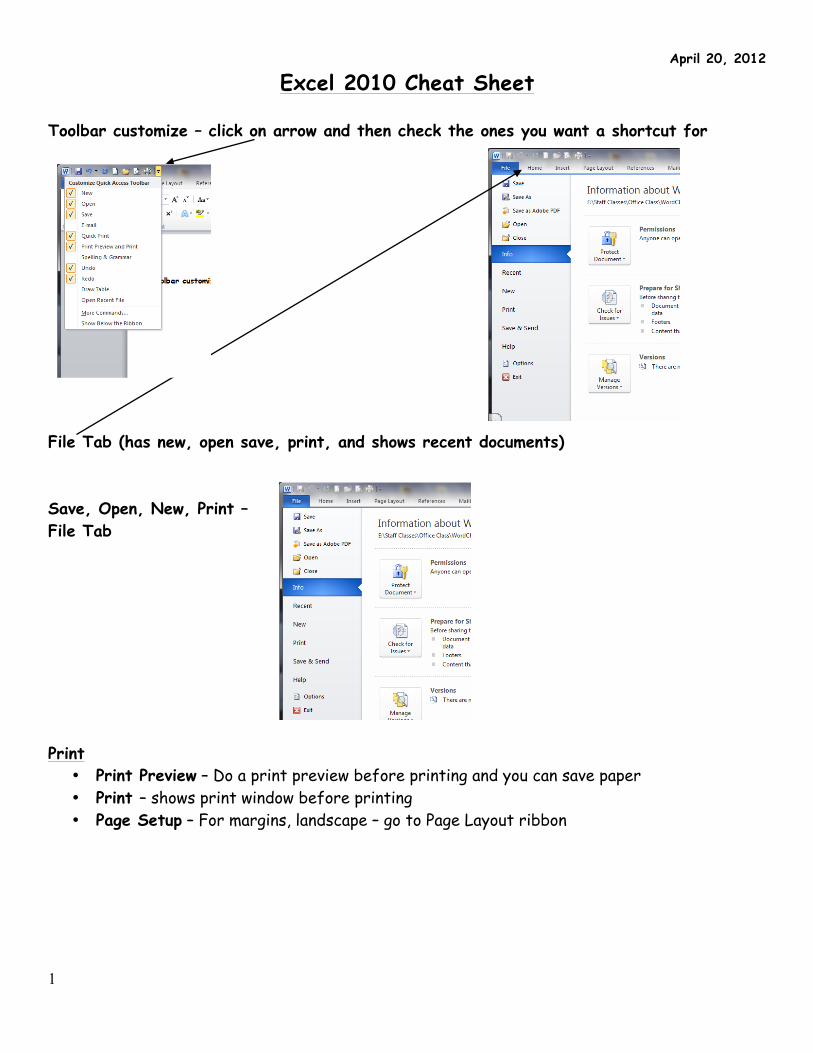
Toolbar customize – click on arrow and then check the ones you want a shortcut for File Tab (has new, open save, print, and shows recent documents) Save, Open, New, Print – File Tab Print
• Print Preview – Do a print preview before printing and you can save paper • Print – shows print window before printing • Page Setup – For margins, landscape – go to Page Layout ribbon
2
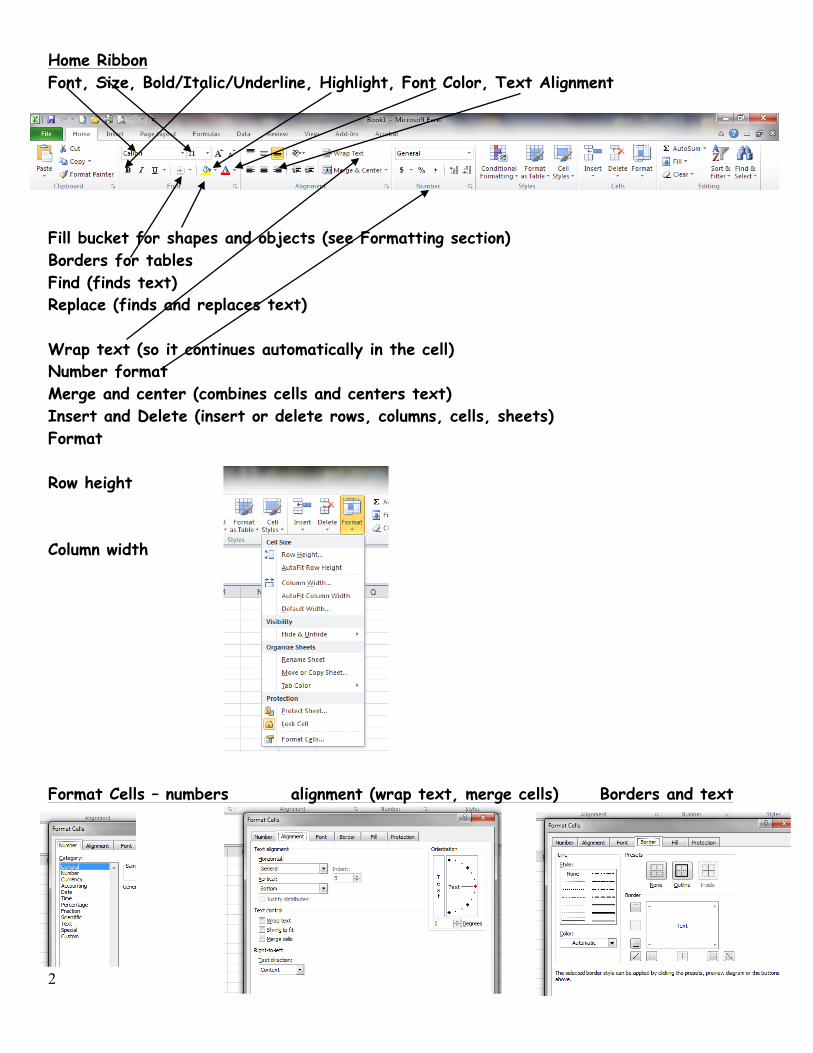
Home Ribbon Font, Size, Bold/Italic/Underline, Highlight, Font Color, Text Alignment Fill bucket for shapes and objects (see Formatting section) Borders for tables Find (finds text) Replace (finds and replaces text) Wrap text (so it continues automatically in the cell) Number format Merge and center (combines cells and centers text) Insert and Delete (insert or delete rows, columns, cells, sheets) Format Row height Column width Format Cells – numbers alignment (wrap text, merge cells) Borders and text
3
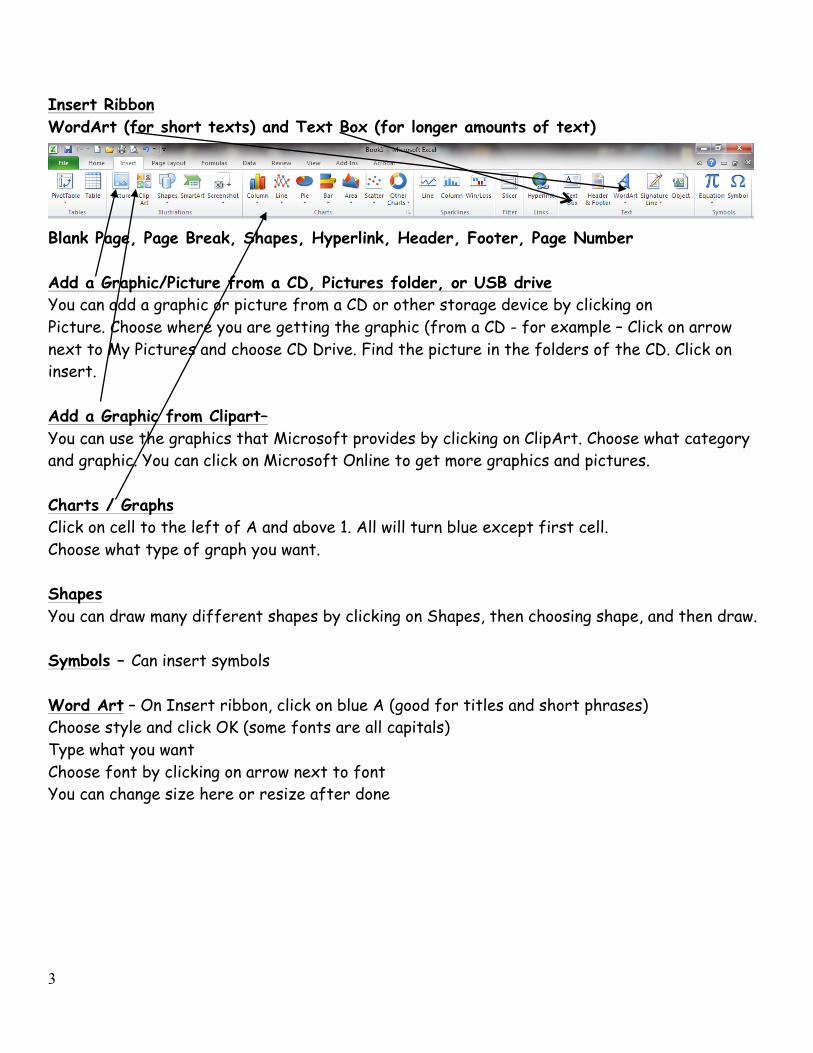
Insert Ribbon WordArt (for short texts) and Text Box (for longer amounts of text) Blank Page, Page Break, Shapes, Hyperlink, Header, Footer, Page Number Add a Graphic/Picture from a CD, Pictures folder, or USB drive You can add a graphic or picture from a CD or other storage device by clicking on Picture. Choose where you are getting the graphic (from a CD - for example – Click on arrow next to My Pictures and choose CD Drive. Find the picture in the folders of the CD. Click on insert. Add a Graphic from Clipart– You can use the graphics that Microsoft provides by clicking on ClipArt. Choose what category and graphic. You can click on Microsoft Online to get more graphics and pictures. Charts / Graphs Click on cell to the left of A and above 1. All will turn blue except first cell. Choose what type of graph you want. Shapes You can draw many different shapes by clicking on Shapes, then choosing shape, and then draw. Symbols – Can insert symbols Word Art – On Insert ribbon, click on blue A (good for titles and short phrases) Choose style and click OK (some fonts are all capitals) Type what you want Choose font by clicking on arrow next to font You can change size here or resize after done
4
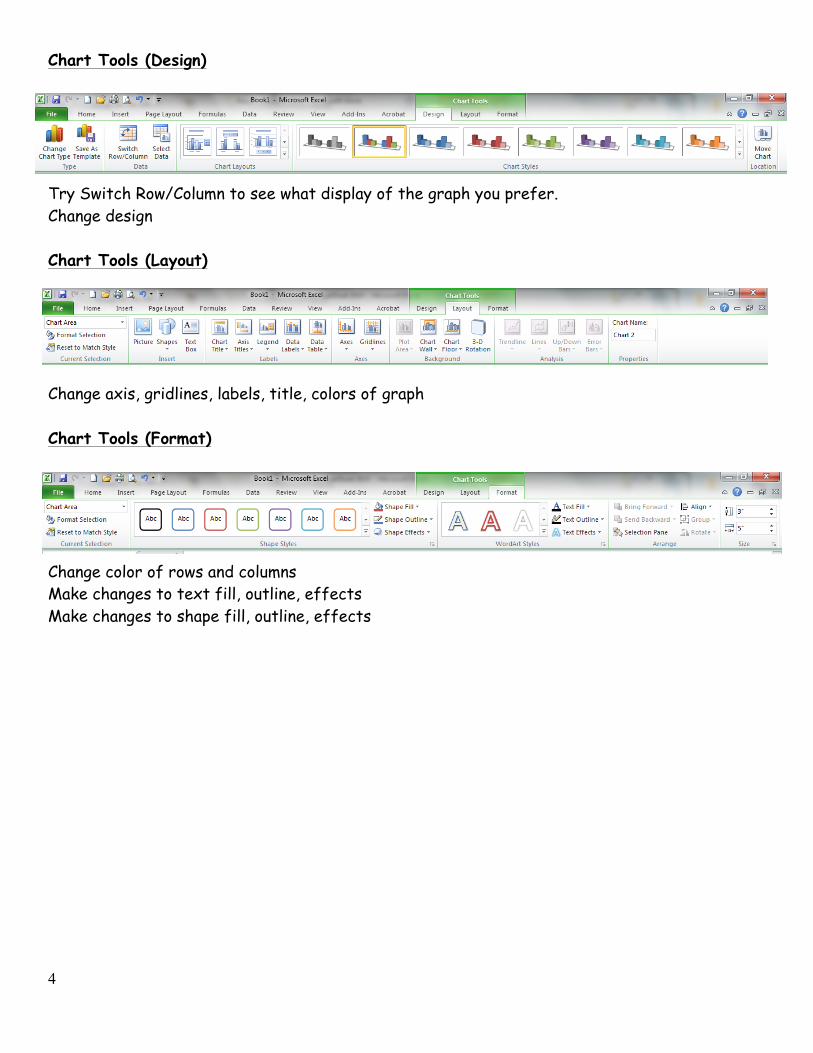
Chart Tools (Design) Try Switch Row/Column to see what display of the graph you prefer. Change design Chart Tools (Layout) Change axis, gridlines, labels, title, colors of graph Chart Tools (Format) Change color of rows and columns Make changes to text fill, outline, effects Make changes to shape fill, outline, effects
5
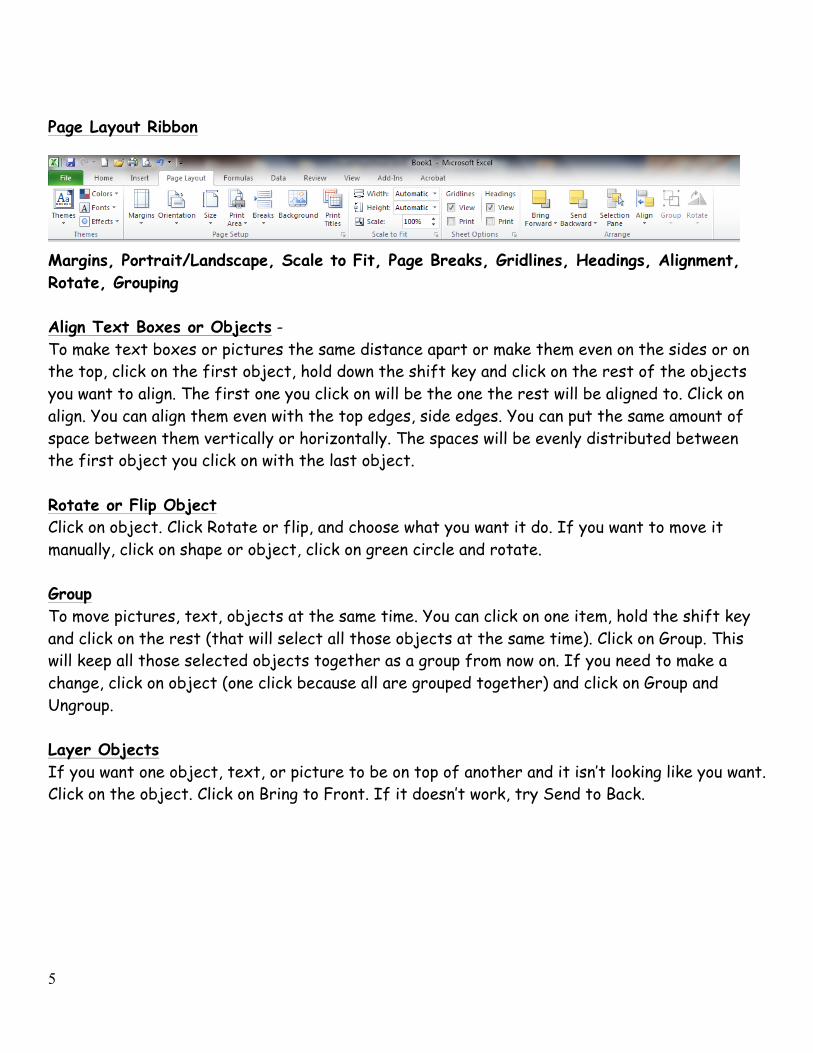
Page Layout Ribbon Margins, Portrait/Landscape, Scale to Fit, Page Breaks, Gridlines, Headings, Alignment, Rotate, Grouping Align Text Boxes or Objects - To make text boxes or pictures the same distance apart or make them even on the sides or on the top, click on the first object, hold down the shift key and click on the rest of the objects you want to align. The first one you click on will be the one the rest will be aligned to. Click on align. You can align them even with the top edges, side edges. You can put the same amount of space between them vertically or horizontally. The spaces will be evenly distributed between the first object you click on with the last object. Rotate or Flip Object Click on object. Click Rotate or flip, and choose what you want it do. If you want to move it manually, click on shape or object, click on green circle and rotate. Group To move pictures, text, objects at the same time. You can click on one item, hold the shift key and click on the rest (that will select all those objects at the same time). Click on Group. This will keep all those selected objects together as a group from now on. If you need to make a change, click on object (one click because all are grouped together) and click on Group and Ungroup. Layer Objects If you want one object, text, or picture to be on top of another and it isn’t looking like you want. Click on the object. Click on Bring to Front. If it doesn’t work, try Send to Back.
6
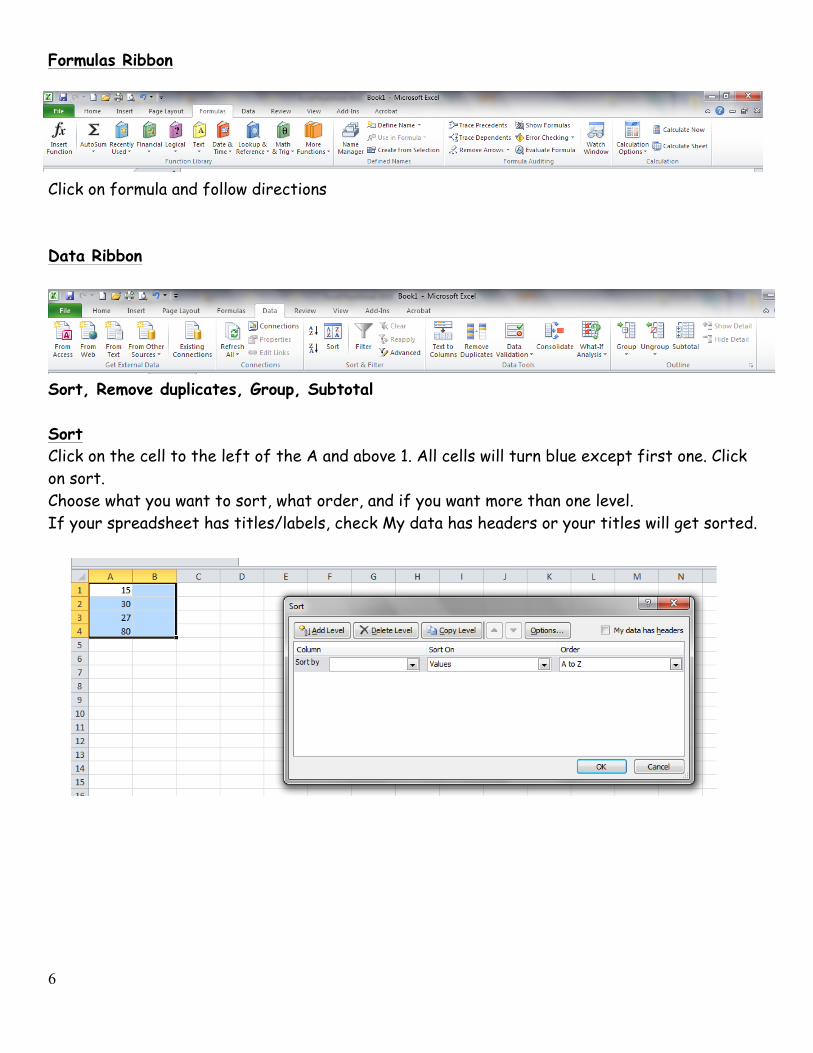
Formulas Ribbon Click on formula and follow directions Data Ribbon Sort, Remove duplicates, Group, Subtotal Sort Click on the cell to the left of the A and above 1. All cells will turn blue except first one. Click on sort. Choose what you want to sort, what order, and if you want more than one level. If your spreadsheet has titles/labels, check My data has headers or your titles will get sorted.
7
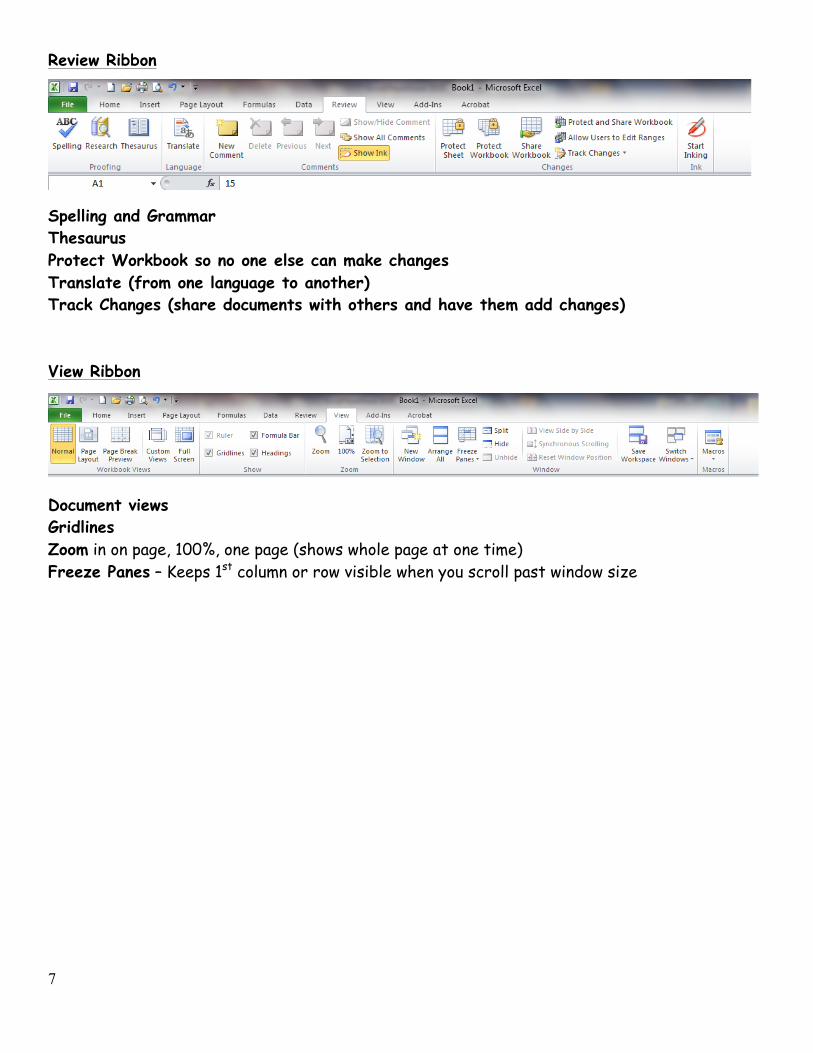
Review Ribbon : Spelling and Grammar Thesaurus Protect Workbook so no one else can make changes Translate (from one language to another) Track Changes (share documents with others and have them add changes) View Ribbon Document views Gridlines Zoom in on page, 100%, one page (shows whole page at one time) Freeze Panes – Keeps 1st column or row visible when you scroll past window size
8
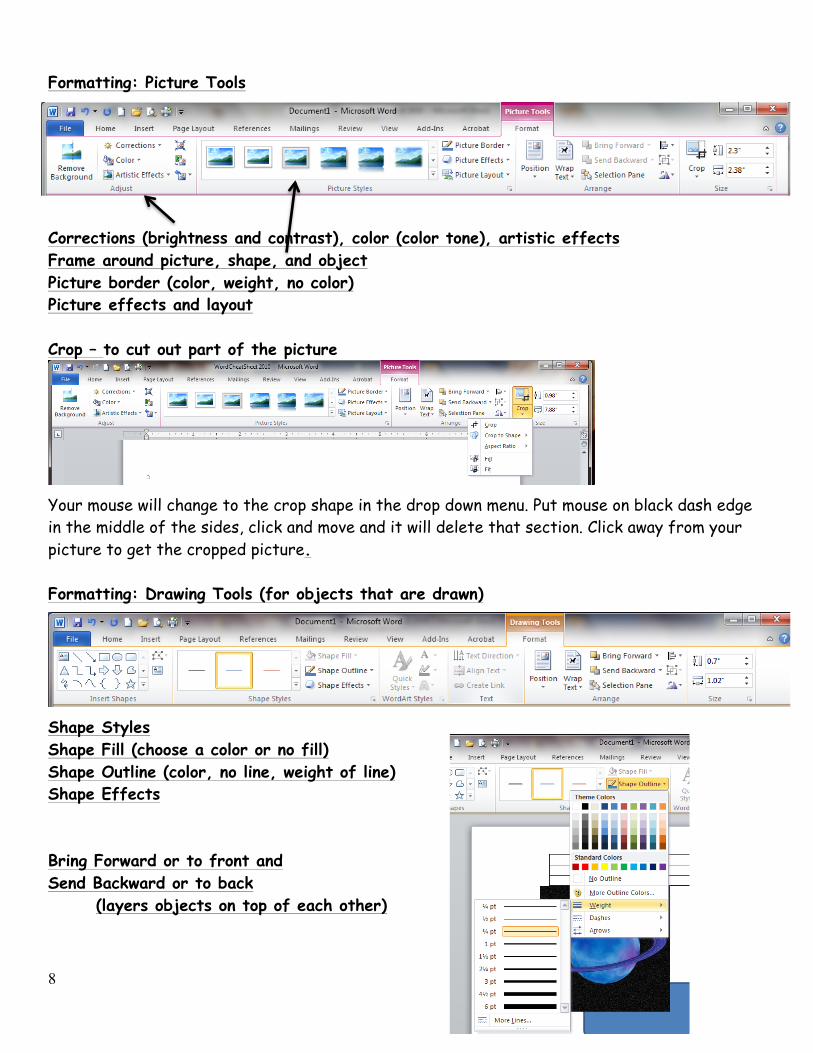
Formatting: Picture Tools Corrections (brightness and contrast), color (color tone), artistic effects Frame around picture, shape, and object Picture border (color, weight, no color) Picture effects and layout Crop – to cut out part of the picture Your mouse will change to the crop shape in the drop down menu. Put mouse on black dash edge in the middle of the sides, click and move and it will delete that section. Click away from your picture to get the cropped picture. Formatting: Drawing Tools (for objects that are drawn) Shape Styles Shape Fill (choose a color or no fill) Shape Outline (color, no line, weight of line) Shape Effects Bring Forward or to front and Send Backward or to back
(layers objects on top of each other)
9
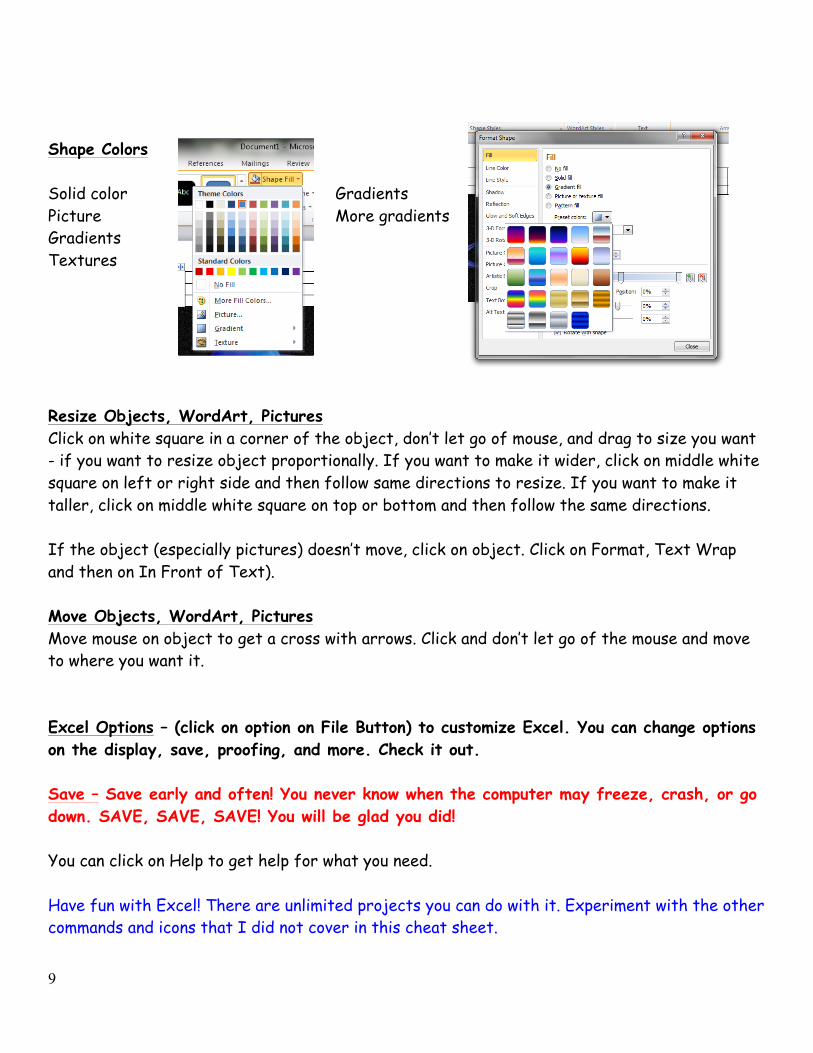
Shape Colors Solid color Gradients Picture More gradients Gradients Textures Resize Objects, WordArt, Pictures Click on white square in a corner of the object, don’t let go of mouse, and drag to size you want - if you want to resize object proportionally. If you want to make it wider, click on middle white square on left or right side and then follow same directions to resize. If you want to make it taller, click on middle white square on top or bottom and then follow the same directions.
If the object (especially pictures) doesn’t move, click on object. Click on Format, Text Wrap and then on In Front of Text). Move Objects, WordArt, Pictures Move mouse on object to get a cross with arrows. Click and don’t let go of the mouse and move to where you want it. Excel Options – (click on option on File Button) to customize Excel. You can change options on the display, save, proofing, and more. Check it out. Save – Save early and often! You never know when the computer may freeze, crash, or go down. SAVE, SAVE, SAVE! You will be glad you did! You can click on Help to get help for what you need. Have fun with Excel! There are unlimited projects you can do with it. Experiment with the other commands and icons that I did not cover in this cheat sheet.