Embed Size (px)
Citation preview

European Computer Driving Licence
Module 4 – Spreadsheets
Chapter 4.1 – First Steps
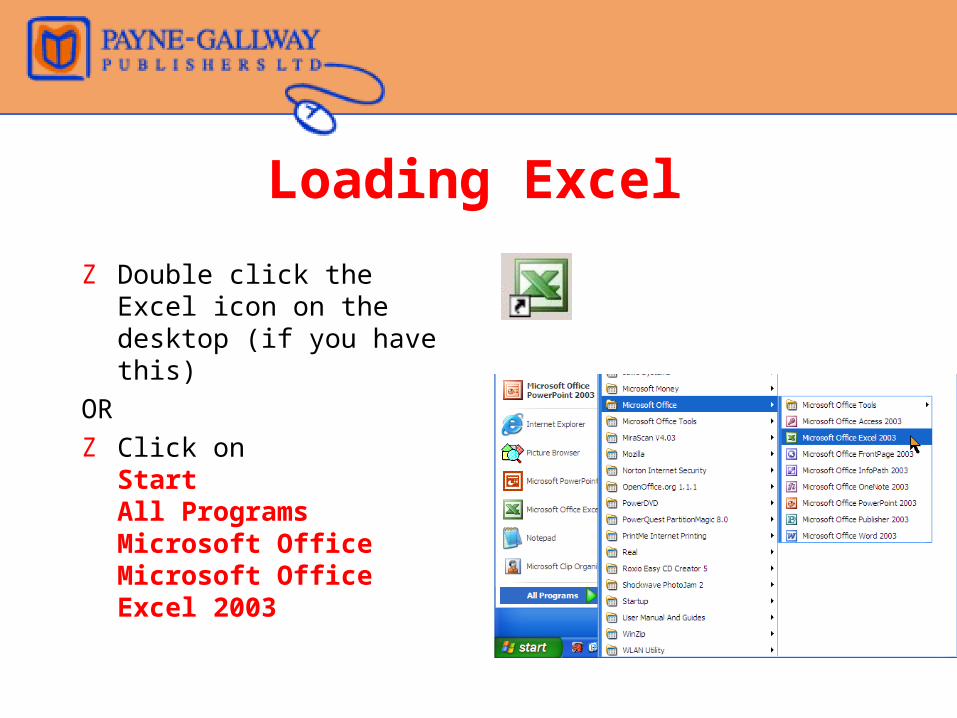
Loading Excel
Z Double click the Excel icon on the desktop (if you have this)
ORZ Click on
Start All ProgramsMicrosoft OfficeMicrosoft Office Excel 2003
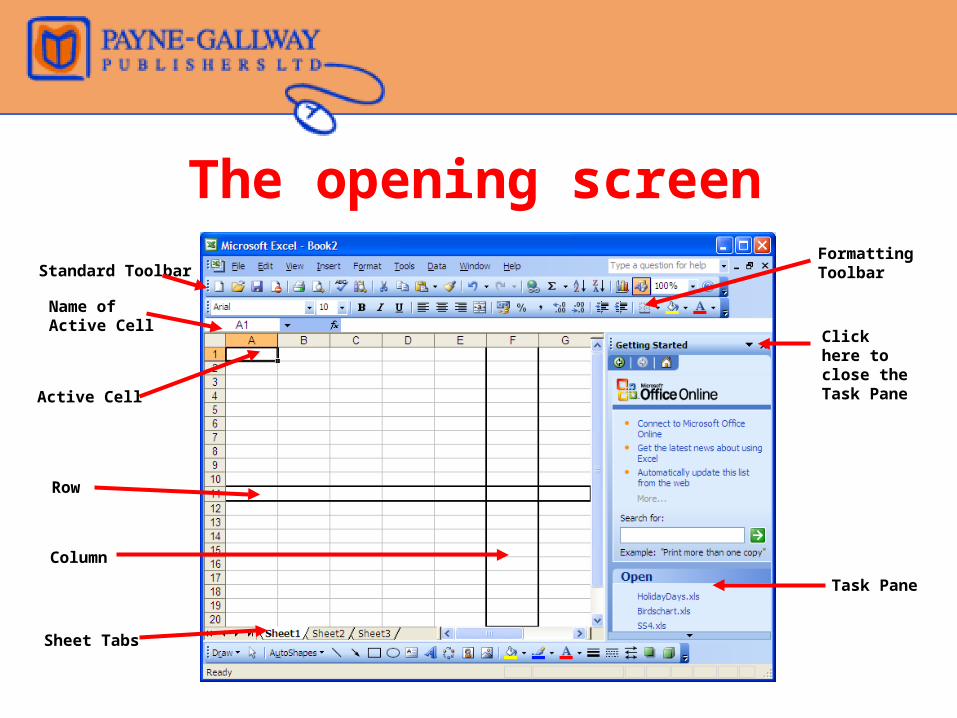
The opening screen
Row
Task Pane
Click here to close the Task Pane
Active Cell
Name of Active Cell
Column
Sheet Tabs
Standard ToolbarFormatting Toolbar
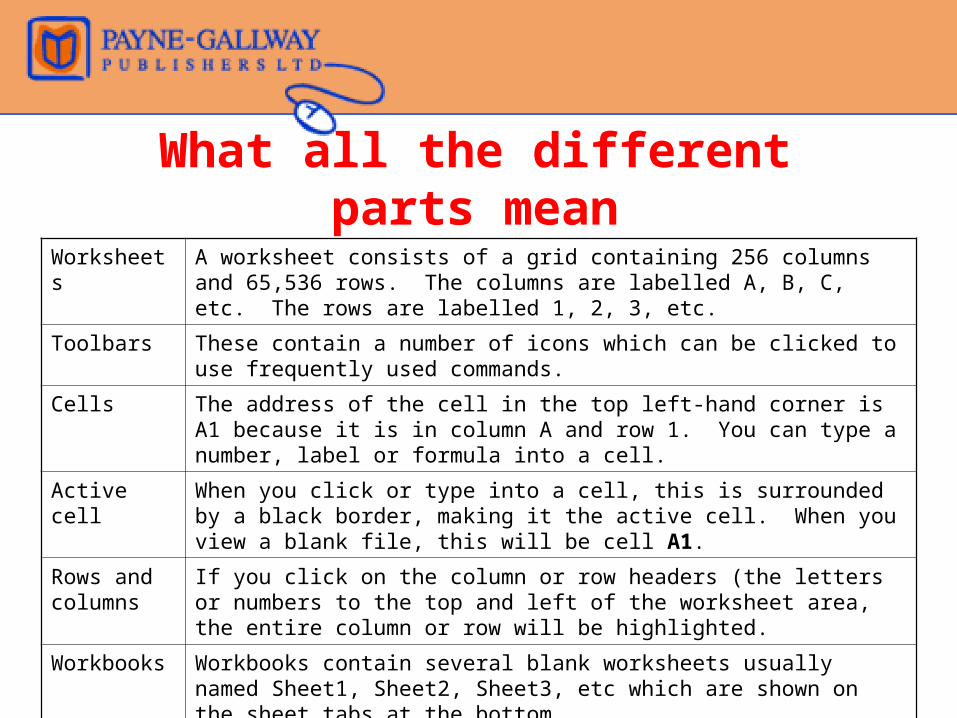
What all the different parts mean
Worksheets A worksheet consists of a grid containing 256 columns and 65,536 rows. The columns are labelled A, B, C, etc. The rows are labelled 1, 2, 3, etc.
Toolbars These contain a number of icons which can be clicked to use frequently used commands.
Cells The address of the cell in the top left-hand corner is A1 because it is in column A and row 1. You can type a number, label or formula into a cell.
Active cell When you click or type into a cell, this is surrounded by a black border, making it the active cell. When you view a blank file, this will be cell A1.
Rows and columns
If you click on the column or row headers (the letters or numbers to the top and left of the worksheet area, the entire column or row will be highlighted.
Workbooks Workbooks contain several blank worksheets usually named Sheet1, Sheet2, Sheet3, etc which are shown on the sheet tabs at the bottom.
Task pane This area lists workbooks recently opened and other options. You can close this by clicking on the Close icon in the top right hand corner.
Moving around the worksheet
Z You can move the pointer using the mouse and clicking the left mouse button in the cell you want.
Z You can use the Page Up or Page Down keys to move up and down the spreadsheet.
Z You can press the Tab key to move right and hold down the Shift key and press the Tab key to move back to the left.
Z If you hold down the Ctrl key and press the Home key from anywhere in the spreadsheet, this will take you back to cell A1.
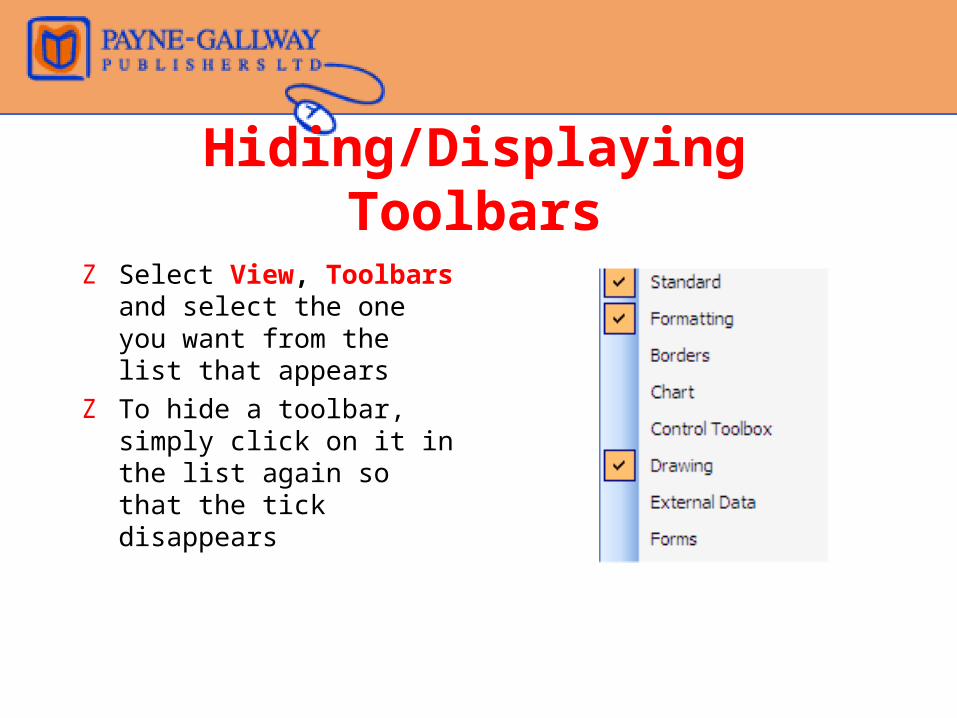
Hiding/Displaying Toolbars
Z Select View, Toolbars and select the one you want from the list that appears
Z To hide a toolbar, simply click on it in the list again so
that the tick disappears
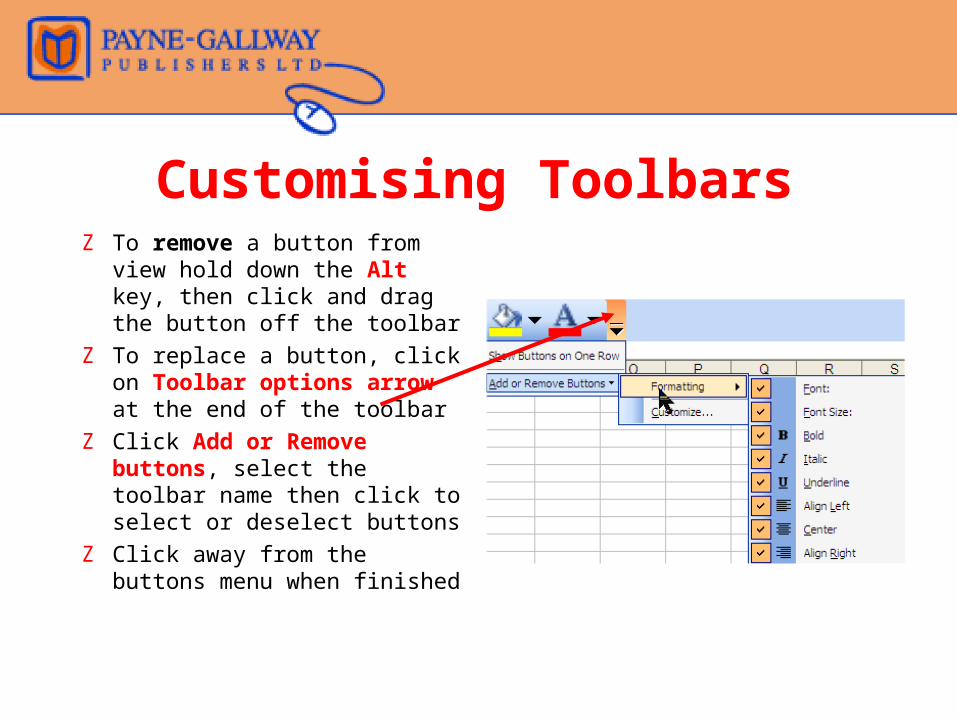
Customising ToolbarsZ To remove a button from
view hold down the Alt key, then click and drag the button off the toolbar
Z To replace a button, click on Toolbar options arrow at the end of the toolbar
Z Click Add or Remove buttons, select the toolbar name then click to select or deselect buttons
Z Click away from the buttons menu when finished
Changing defaults and preferences
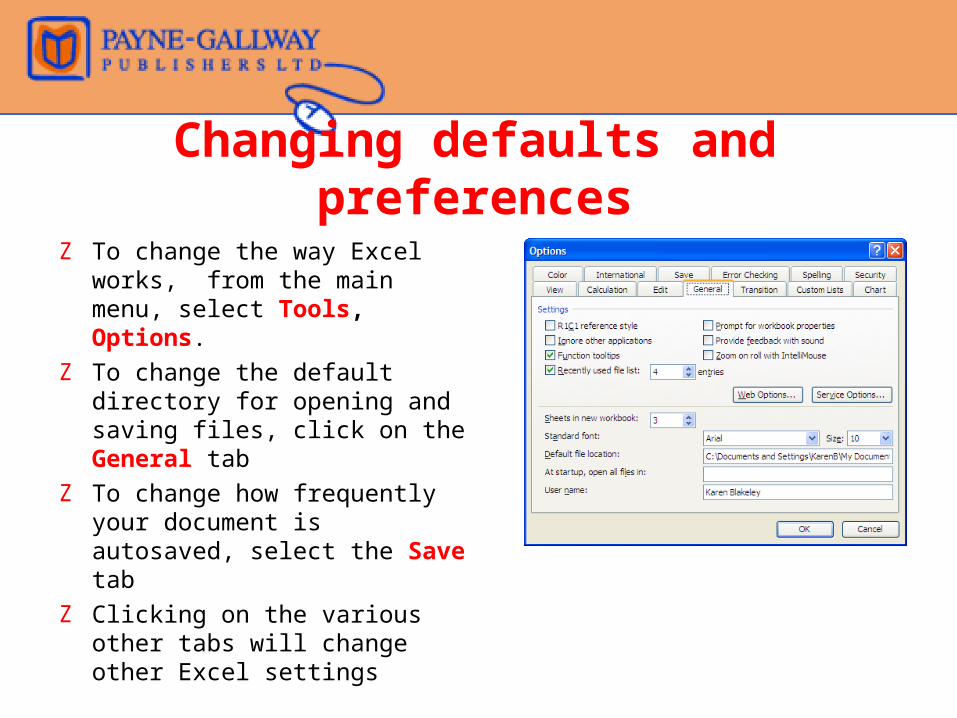
Z To change the way Excel works, from the main menu, select Tools, Options.
Z To change the default directory for opening and saving files, click on the General tab
Z To change how frequently your document is autosaved, select the Save tab
Z Clicking on the various other tabs will change other Excel settings
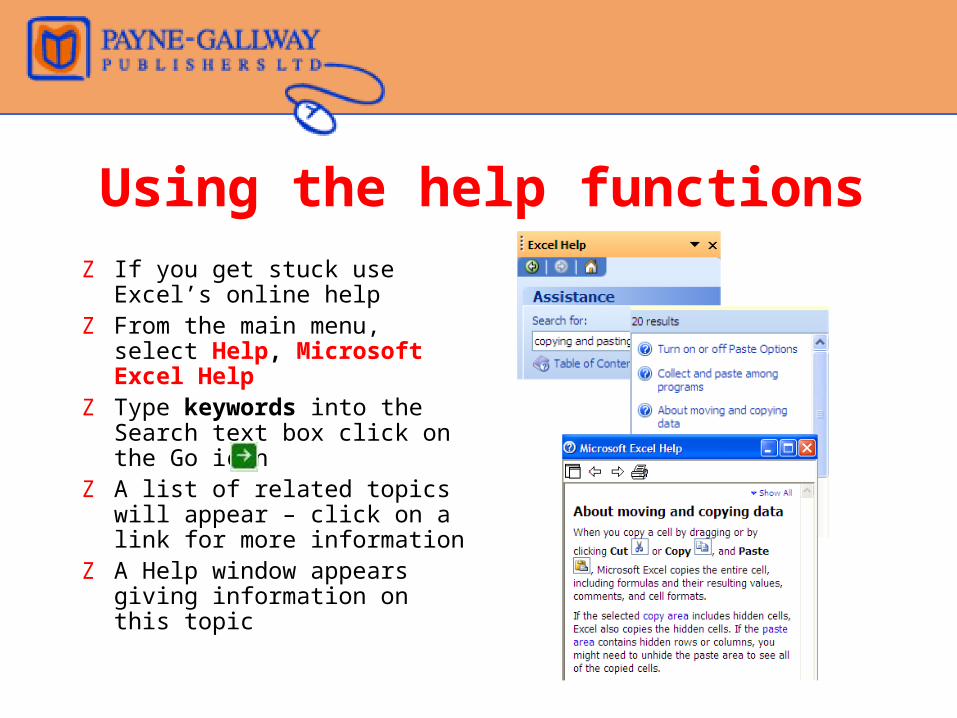
Using the help functionsZ If you get stuck use Excel’s
online helpZ From the main menu, select
Help, Microsoft Excel HelpZ Type keywords into the
Search text box click on the Go icon
Z A list of related topics will appear – click on a link for more information
Z A Help window appears giving information on this topic
Entering data
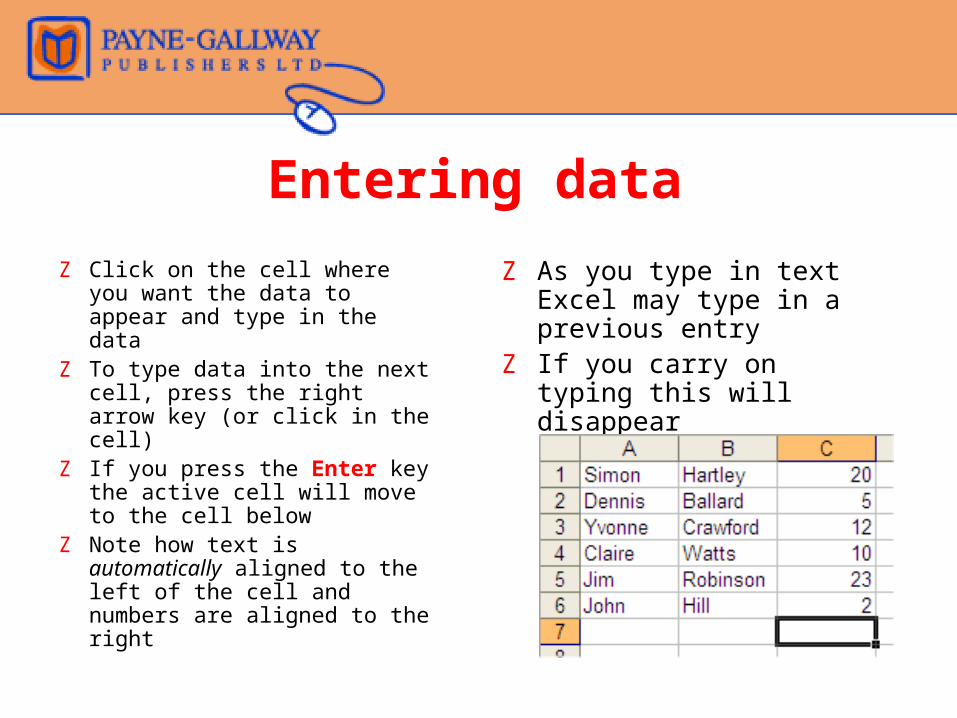
Z Click on the cell where you want the data to appear and type in the data
Z To type data into the next cell, press the right arrow key (or click in the cell)
Z If you press the Enter key the active cell will move to the cell below
Z Note how text is automatically aligned to the left of the cell and numbers are aligned to the right
Z As you type in text Excel may type in a previous entry
Z If you carry on typing this will disappear
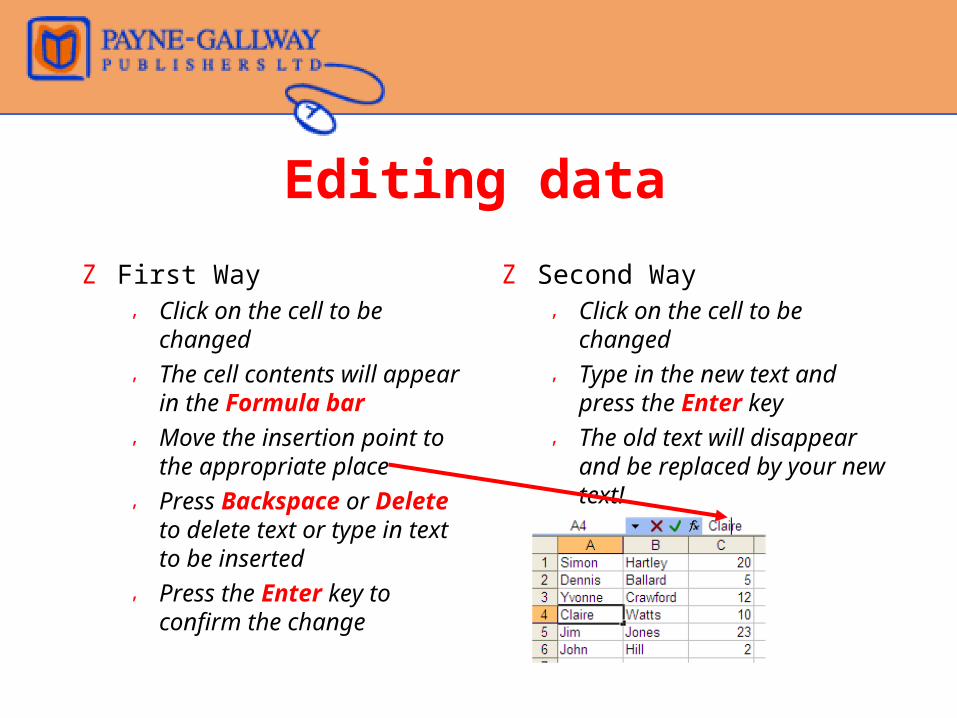
Editing data
Z First Way, Click on the cell to be
changed, The cell contents will appear
in the Formula bar, Move the insertion point to
the appropriate place, Press Backspace or Delete
to delete text or type in text to be inserted
, Press the Enter key to confirm the change
Z Second Way, Click on the cell to be
changed, Type in the new text and
press the Enter key, The old text will disappear
and be replaced by your new text!
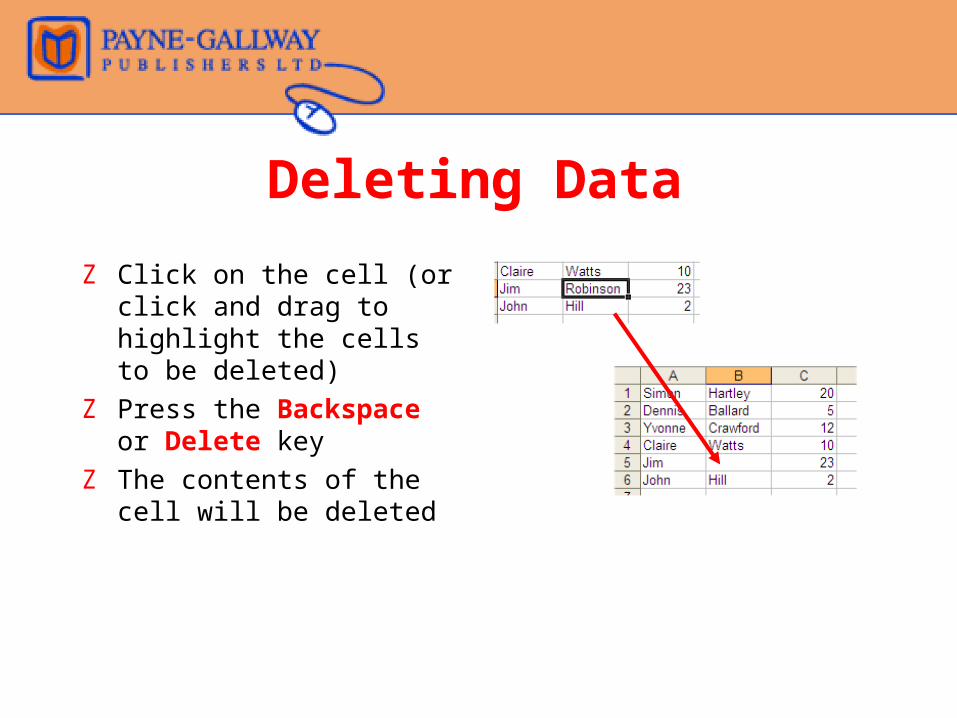
Deleting Data
Z Click on the cell (or click and drag to highlight the cells to be deleted)
Z Press the Backspace or Delete key
Z The contents of the cell will be deleted
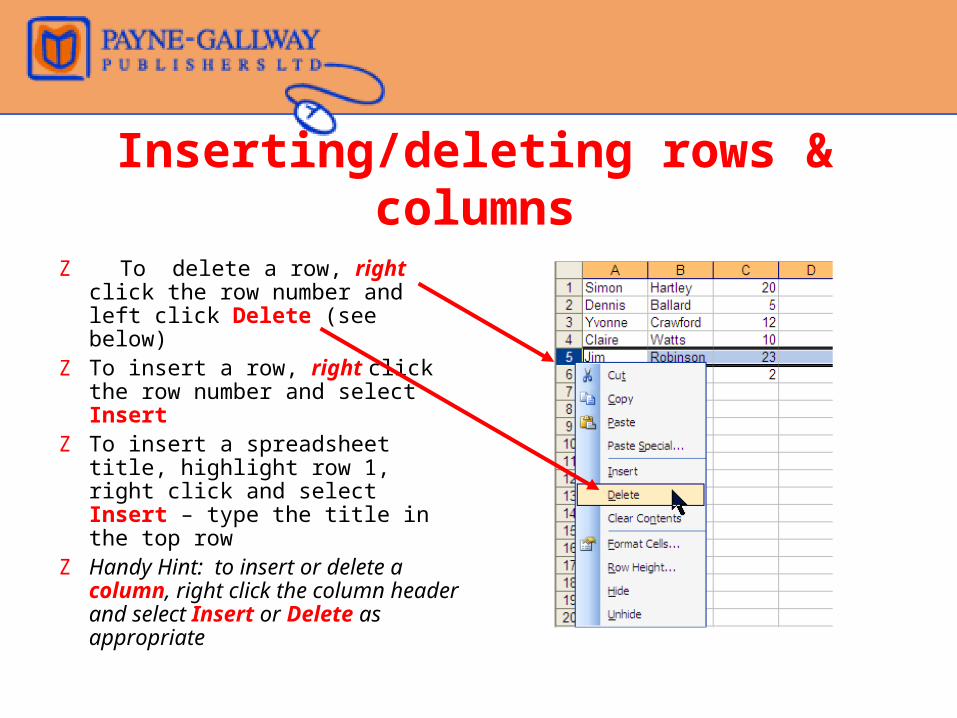
Inserting/deleting rows & columns
Z To delete a row, right click the row number and left click Delete (see below)
Z To insert a row, right click the row number and select Insert
Z To insert a spreadsheet title, highlight row 1, right click and select Insert – type the title in the top row
Z Handy Hint: to insert or delete a column, right click the column header and select Insert or Delete as appropriate
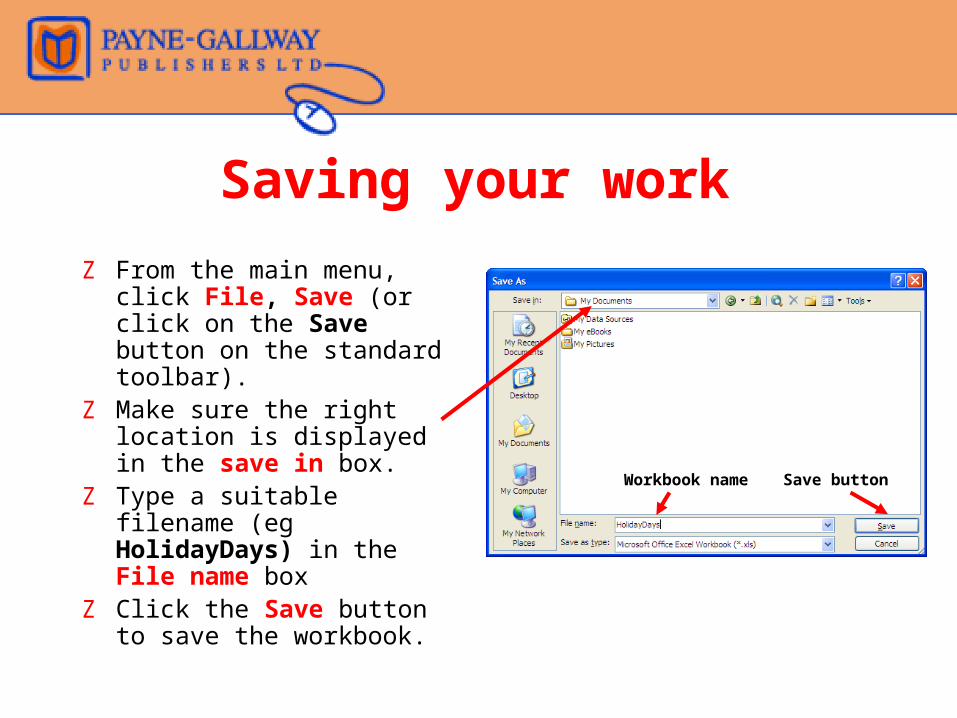
Saving your work
Z From the main menu, click File, Save (or click on the Save button on the standard toolbar).
Z Make sure the right location is displayed in the save in box.
Z Type a suitable filename (eg HolidayDays) in the File name box
Z Click the Save button to save the workbook.
Workbook name Save button
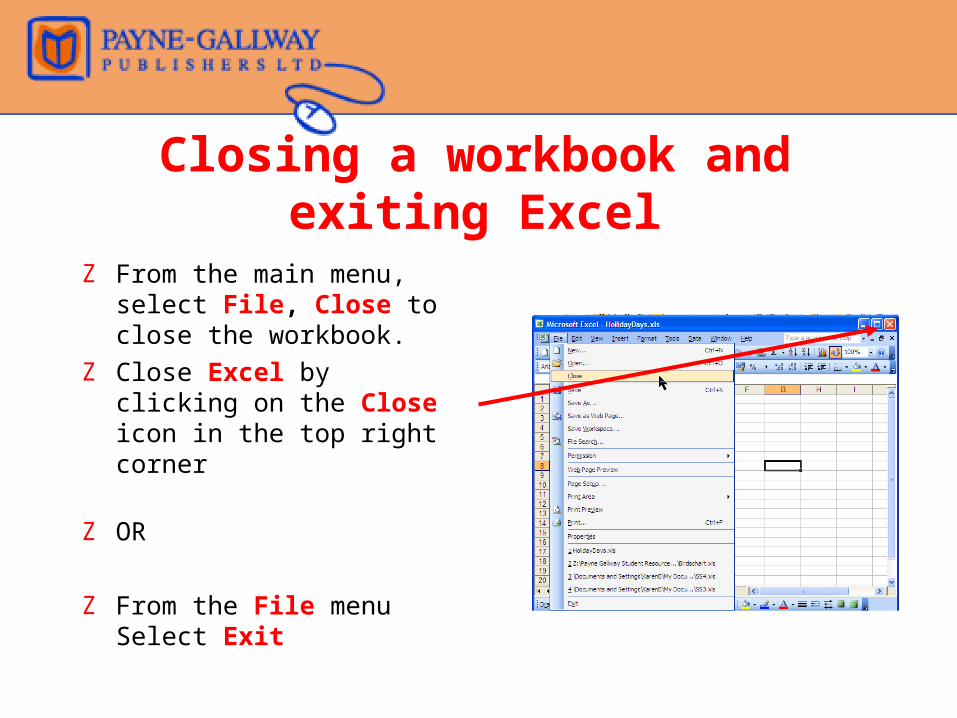
Closing a workbook and exiting Excel
Z From the main menu, select File, Close to close the workbook.
Z Close Excel by clicking on the Close icon in the top right corner
Z OR
Z From the File menu Select Exit