Embed Size (px)
Citation preview
UpToUs – Start Your Group
Establish your classroom, sports team and other trusted communities
1. Sign up
2. Establish a community for your group
3. Invite members and assign additional administrators
4. Populate your community and take advantage of the UpToUs tools (ongoing)
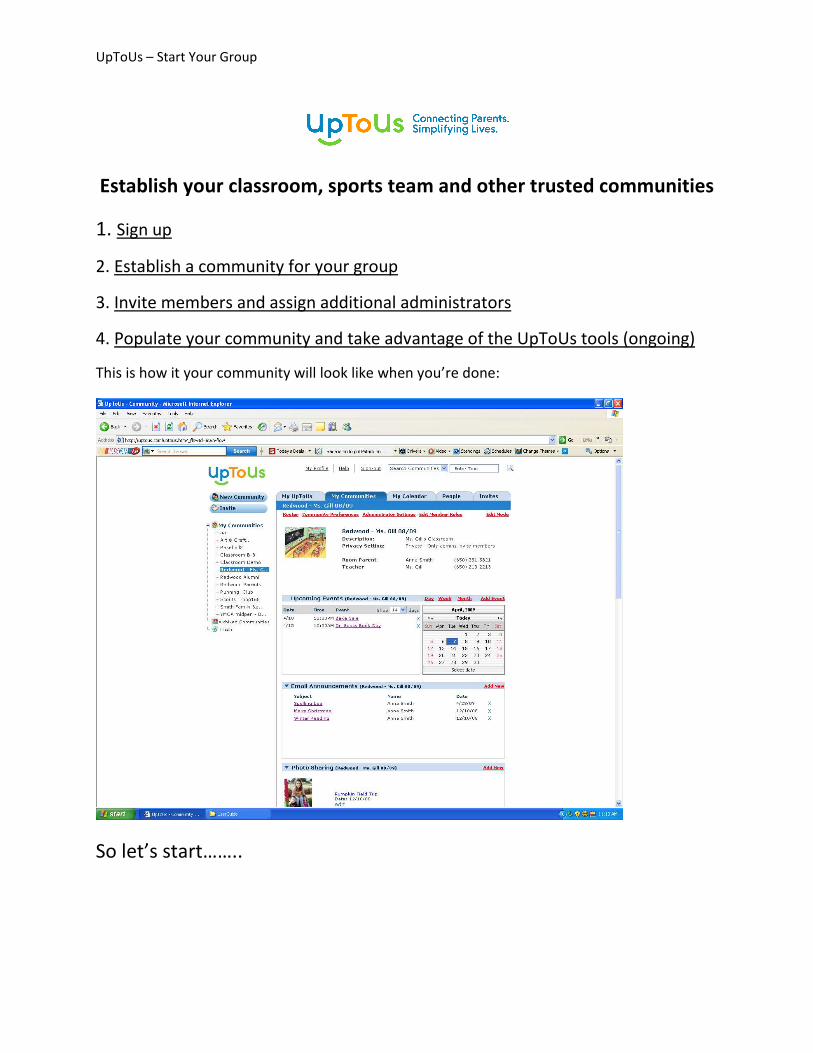
This is how it your community will look like when you’re done:
So let’s start……..
UpToUs – Start Your Group
1. Get started
a. Not an UpToUs member?
a1. Go to www.uptous.com and click “Start a Group”
a2. Click Join and follow the sign up process (2 screens)
a3. Continue to Section 2.
b. Member already?
b1. Login
b2. Click “New Community” on the left end side of the screen.
b3. Continue to Section 2.
c. Member already? Then, you have another option.
a1. Go to www.uptous.com and click “Start a Group”
a2. Login
a3. Continue to Section 2.
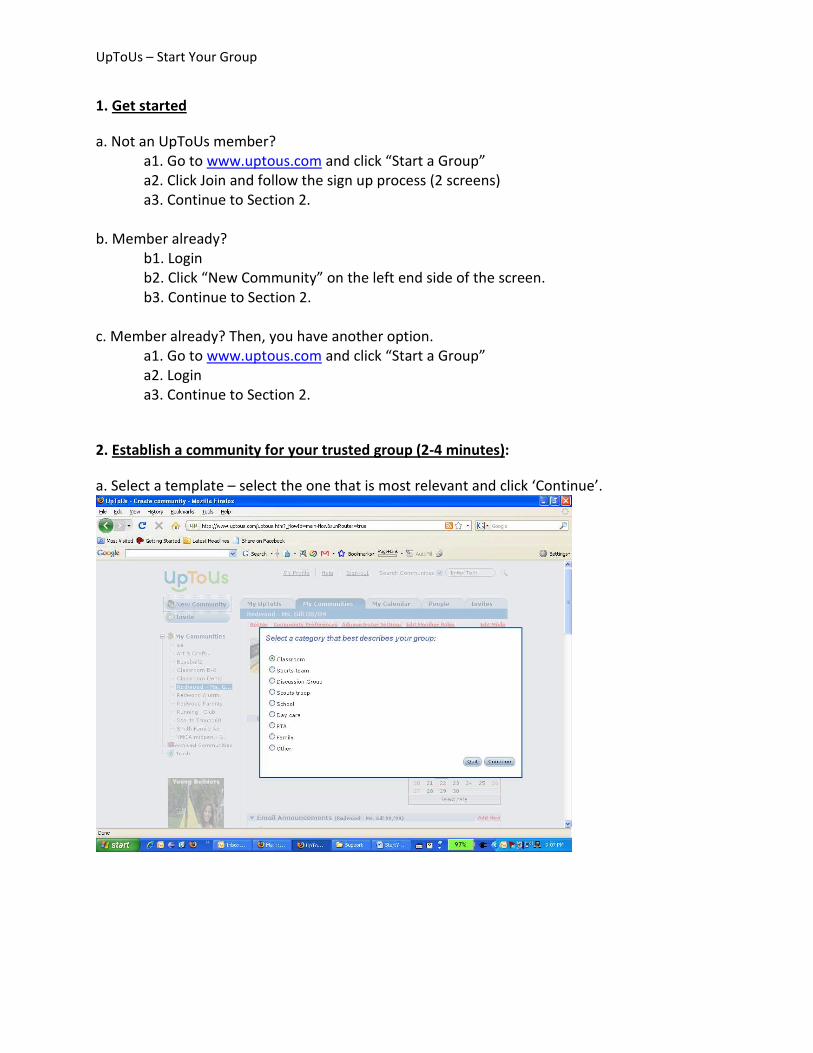
2. Establish a community for your trusted group (2-4 minutes):
a. Select a template – select the one that is most relevant and click ‘Continue’.
UpToUs – Start Your Group
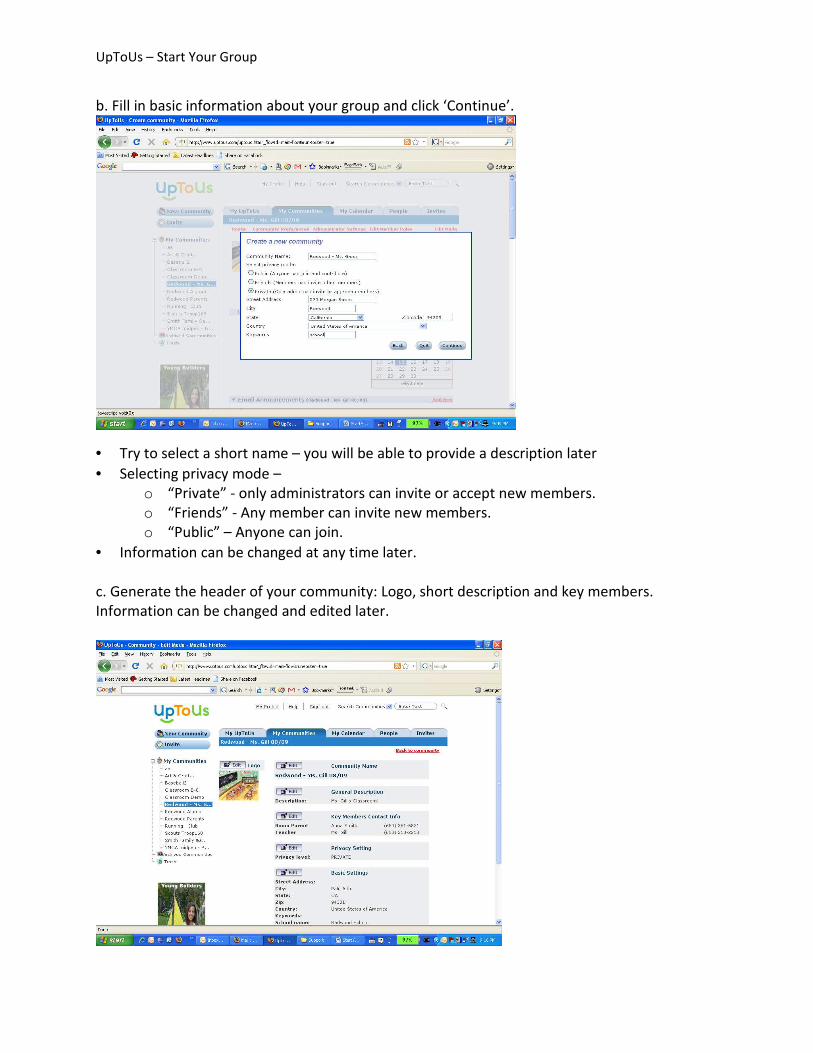
b. Fill in basic information about your group and click ‘Continue’.
• Try to select a short name – you will be able to provide a description later
• Selecting privacy mode –
o “Private” - only administrators can invite or accept new members.
o “Friends” - Any member can invite new members.
o “Public” – Anyone can join.
• Information can be changed at any time later.
c. Generate the header of your community: Logo, short description and key members.
Information can be changed and edited later.
UpToUs – Start Your Group
d. Press the back to community link to finish. You can always switch back to edit mode in order
to add or change community details.
3. Invite members and assign additional administrators (5 minutes):
Important: Even if people do not join, you can still send them announcements from the
community. They will receive these messages via email. So you can manage everything in one
place even if some people have not responded. There’s no need to email them separately.
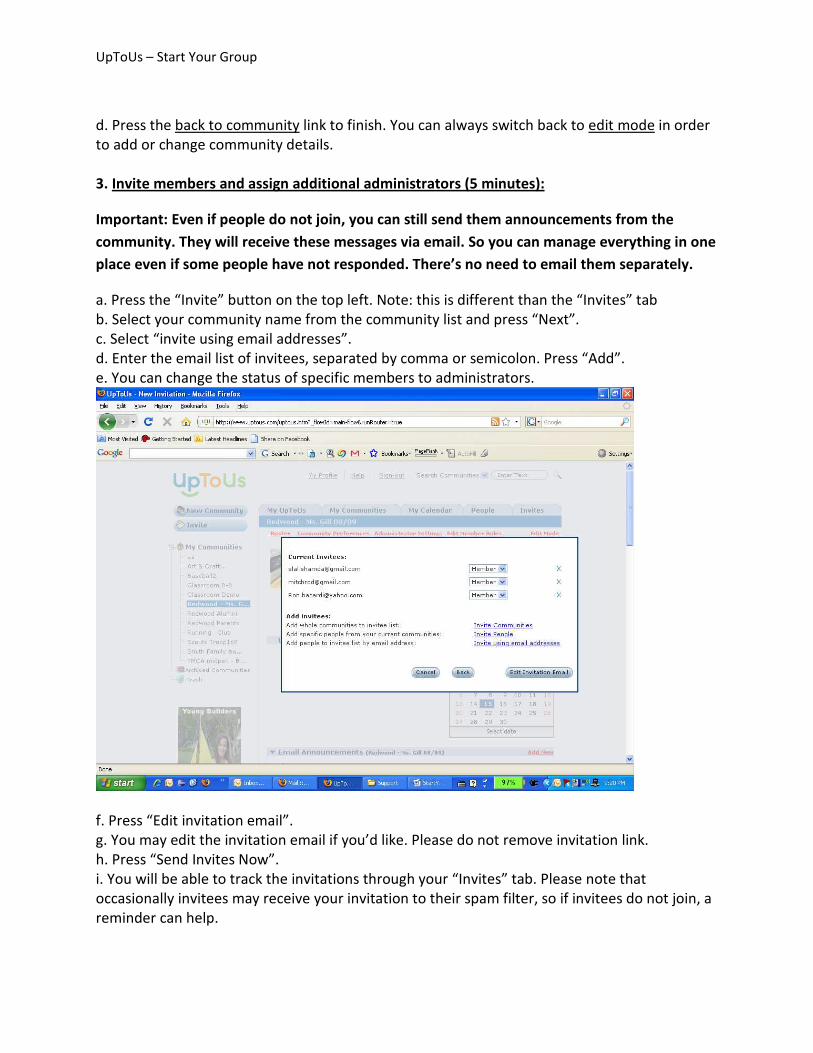
a. Press the “Invite” button on the top left. Note: this is different than the “Invites” tab
b. Select your community name from the community list and press “Next”.
c. Select “invite using email addresses”.
d. Enter the email list of invitees, separated by comma or semicolon. Press “Add”.
e. You can change the status of specific members to administrators.
f. Press “Edit invitation email”.
g. You may edit the invitation email if you’d like. Please do not remove invitation link.
h. Press “Send Invites Now”.
i. You will be able to track the invitations through your “Invites” tab. Please note that
occasionally invitees may receive your invitation to their spam filter, so if invitees do not join, a
reminder can help.
UpToUs – Start Your Group
4. Populate the community and take advantage of the UpToUs tools (ongoing):
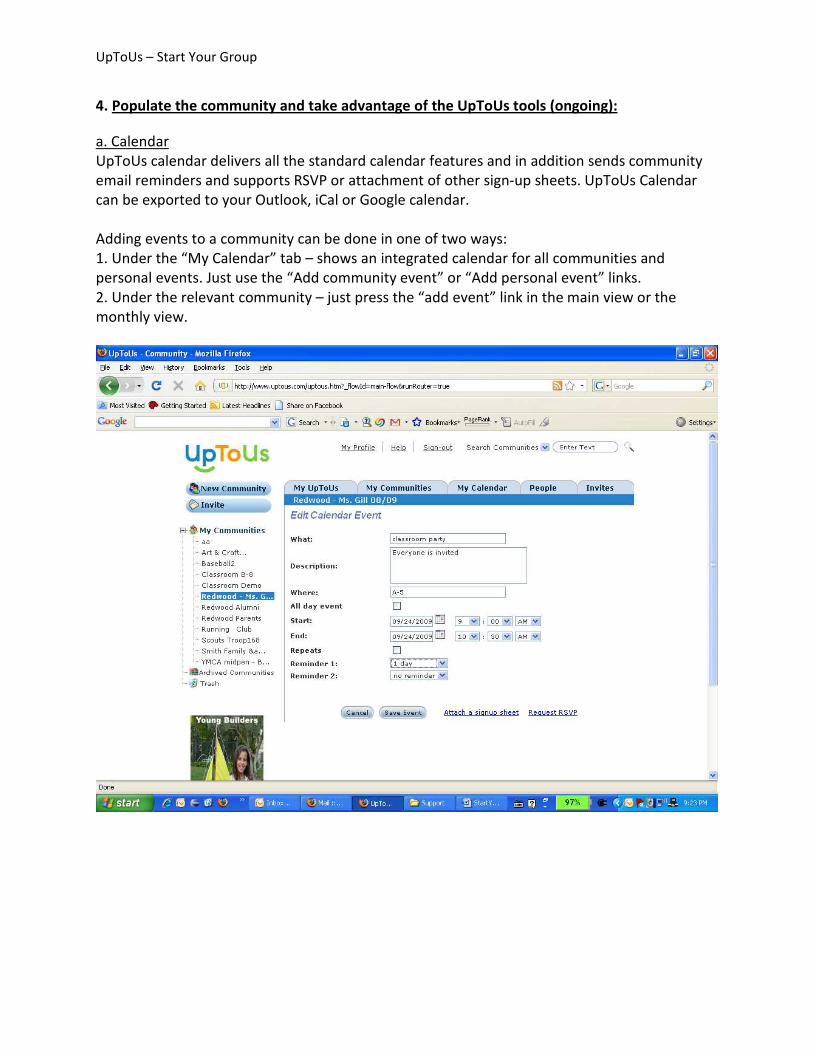
a. Calendar
UpToUs calendar delivers all the standard calendar features and in addition sends community
email reminders and supports RSVP or attachment of other sign-up sheets. UpToUs Calendar
can be exported to your Outlook, iCal or Google calendar.
Adding events to a community can be done in one of two ways:
1. Under the “My Calendar” tab – shows an integrated calendar for all communities and
personal events. Just use the “Add community event” or “Add personal event” links.
2. Under the relevant community – just press the “add event” link in the main view or the
monthly view.
UpToUs – Start Your Group
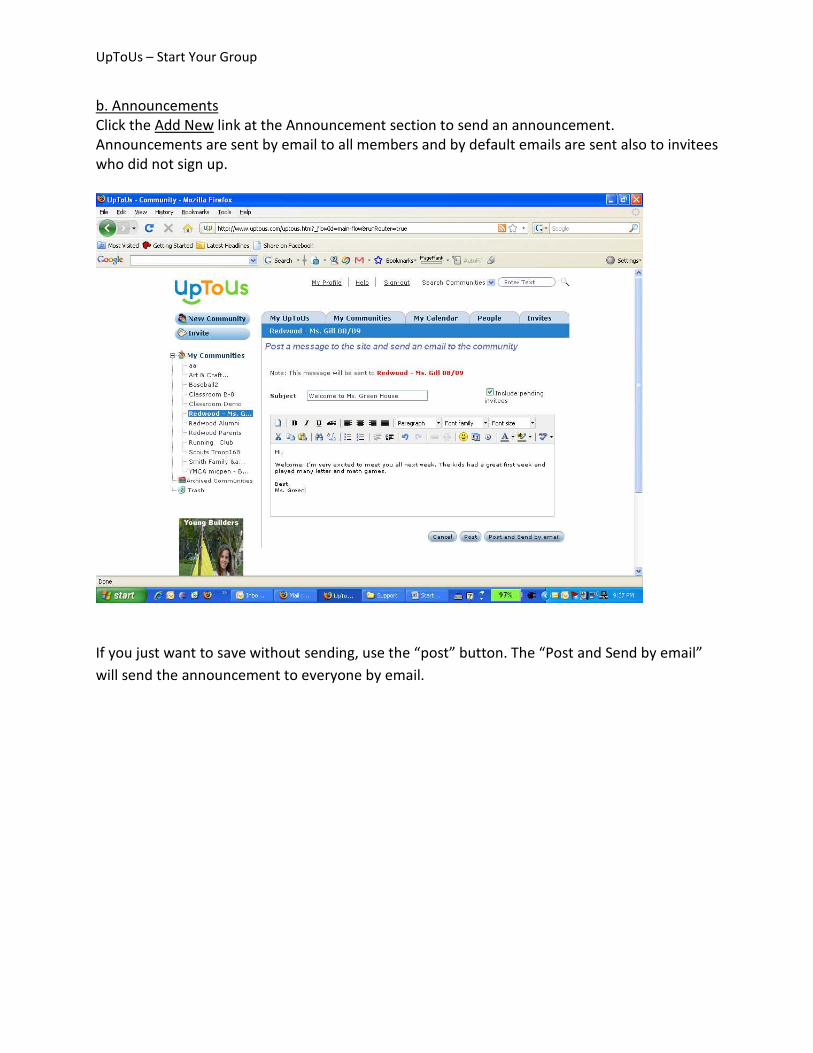
b. Announcements
Click the Add New link at the Announcement section to send an announcement.
Announcements are sent by email to all members and by default emails are sent also to invitees
who did not sign up.
If you just want to save without sending, use the “post” button. The “Post and Send by email”
will send the announcement to everyone by email.
UpToUs – Start Your Group
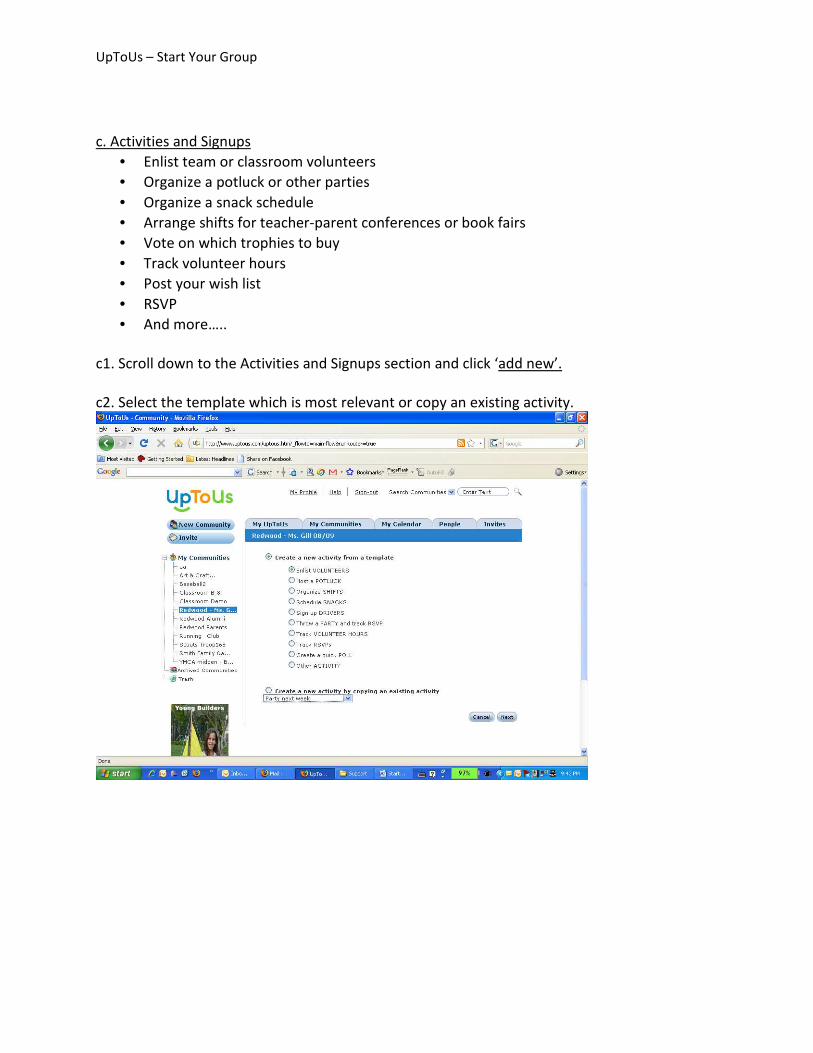
c. Activities and Signups
• Enlist team or classroom volunteers
• Organize a potluck or other parties
• Organize a snack schedule
• Arrange shifts for teacher-parent conferences or book fairs
• Vote on which trophies to buy
• Track volunteer hours
• Post your wish list
• RSVP
• And more…..
c1. Scroll down to the Activities and Signups section and click ‘add new’.
c2. Select the template which is most relevant or copy an existing activity.
UpToUs – Start Your Group
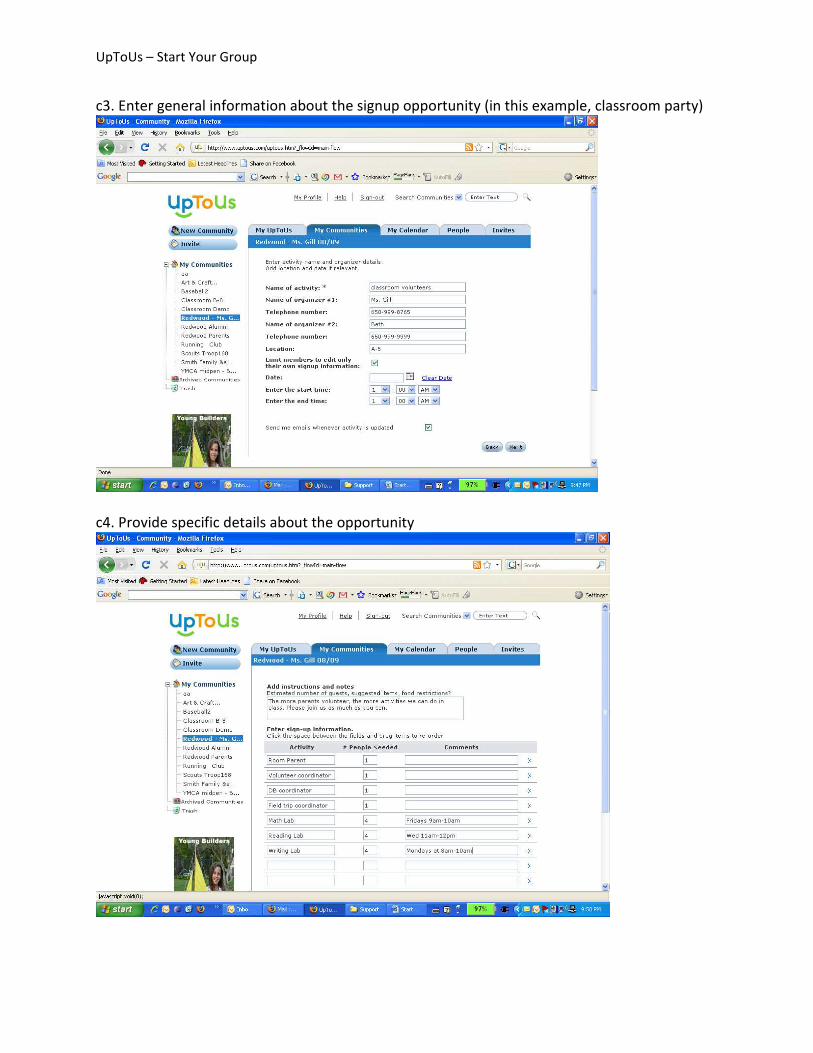
c3. Enter general information about the signup opportunity (in this example, classroom party)
c4. Provide specific details about the opportunity
UpToUs – Start Your Group
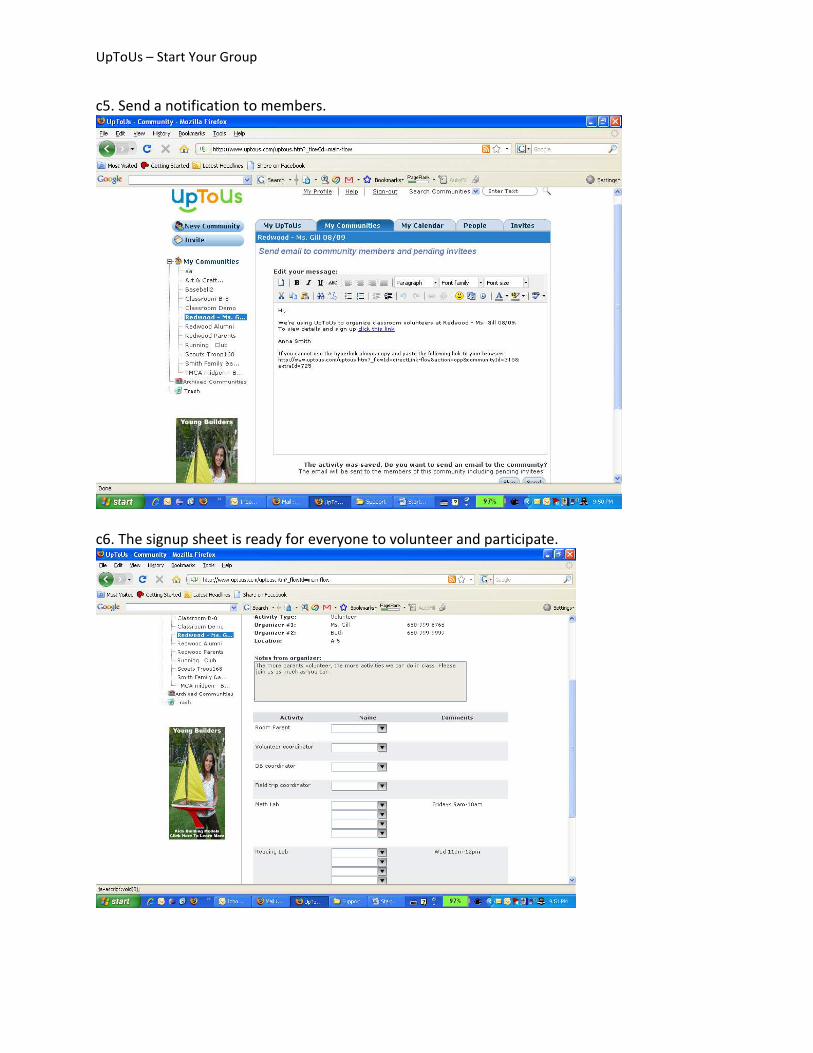
c5. Send a notification to members.
c6. The signup sheet is ready for everyone to volunteer and participate.
UpToUs – Start Your Group
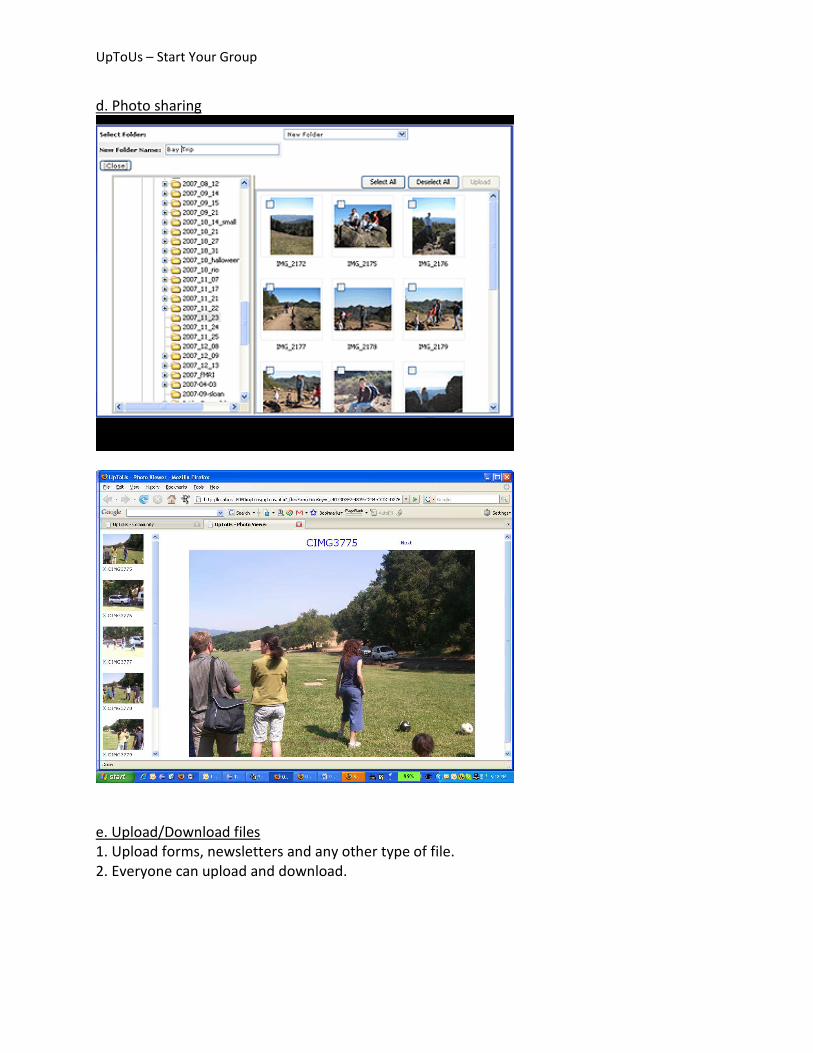
d. Photo sharing
e. Upload/Download files
1. Upload forms, newsletters and any other type of file.
2. Everyone can upload and download.
UpToUs – Start Your Group
f. Links
1. Add a link to your organization website.
2. Add links to other related websites.
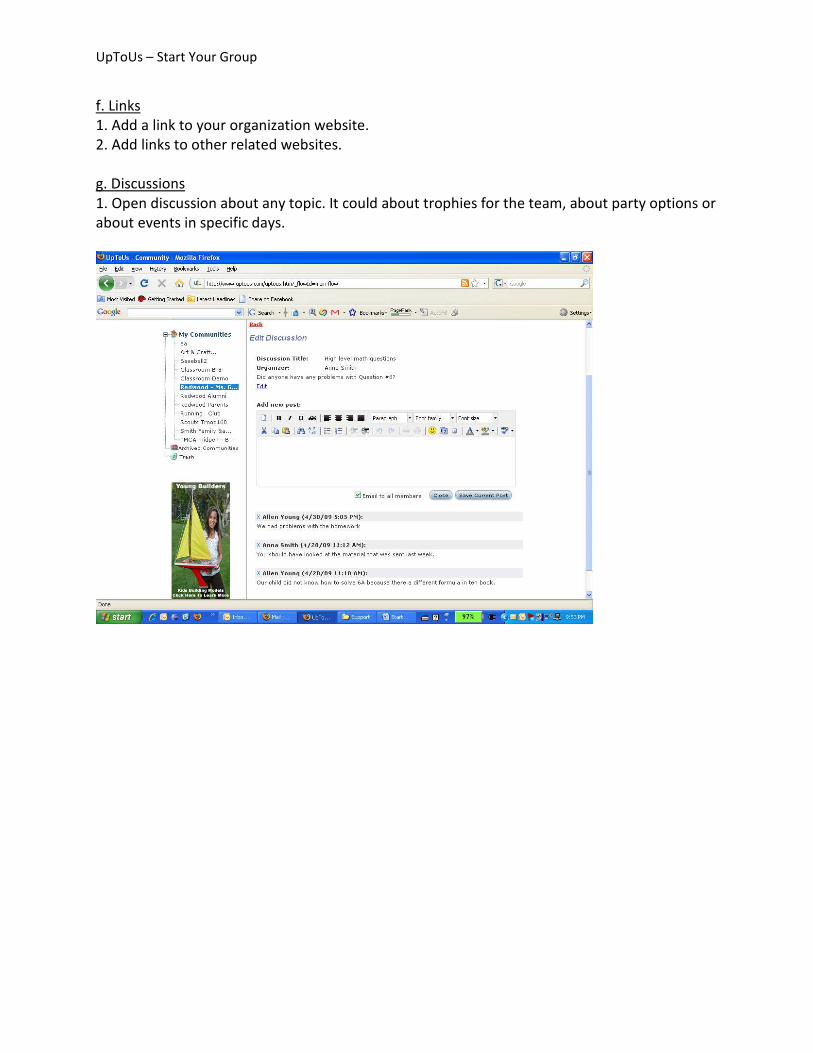
g. Discussions
1. Open discussion about any topic. It could about trophies for the team, about party options or
about events in specific days.