Embed Size (px)
Citation preview
J. H. broderi
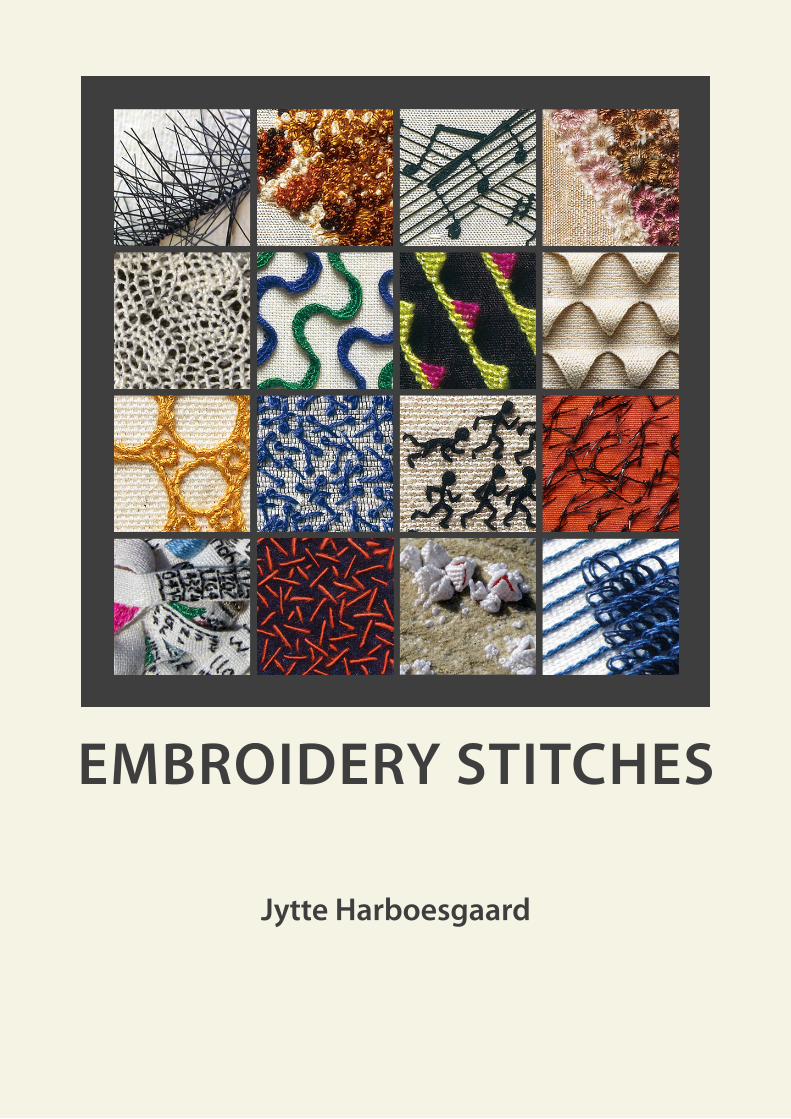
EMBROIDERY STITCHES
Jytte Harboesgaard
J. H. broderi
Contents
Foreword 4
Introduction 5
Alphabetical index 7
Register of embroidery stitches 12
Diagrams of stitches 27
Beginning and ending a row of stitching 187
Advice for joining a round of stitching 188
Literature list 189
3
J. H. broderi
Foreword
There are many considerations involved in the decision to republish a book and I would like to explain my considerations in the republishing of EMBROIDERY STITCHES.
30 years have now elapsed since the first edition of EMBROIDERY STITCHES from the Danish publishers, Borgens Forlag, and during this period, embroi-dery has changed significantly.In the late1960’s when I was studying embroidery at the Danish college, Håndarbejdets Fremmes Seminarium, where I later became a teacher, there were clearly defined regulations regarding the knowledge and skills required to master the craft. One of the essential abilities was to become familiar with a wide spectrum of stitches that were considered fundamental knowledge for embroidery.
Today, an education in embroidery has changed radically in Denmark, and nowadays it is more or less the responsibility of the individual student to seek relevant information. The same applies to anyone else interested in embroidery.
In the1970’s, when I was gathering material for the first publication of my book of embroidery stitches, BRODERISTING, I systematically searched all re-levant literature, most of which was found in libraries. Some of the literature was available to loan for private study at home, but some had to be studied in the library. Of particular interest were the pre 1950 publications.Over the years, many of the publications have disappeared and several libraries have disposed of important publications, because they did not comply with present day expectations regarding paper, quality and colour. There are of course adequate books available today, but the comprehensive expertise encountered in my old favourites will never be seen again.
EMBROIDERY STITCHES is a comprehensive encyclopaedia of embroidery stitches, with a range of content that is quite unique and can be of signifi-cant importance to all who are involved with embroidery.
The first edition of embroidery stitches, BRODERISTING, has been sold out from the publisher for many years. I have often been requested to publish a new edition and therefore, I realise that there is a demand for the book.Embroidery is a niche, the magnitude of which is unknown. It is my wish that those who are associated with this niche should not be deprived of informa-tion and so for their sake, the Danish reprint and English version of EMBROIDERY STITCHES.
Jytte Harboesgaard 2010
4
J. H. broderi
Introduction
Embroidery stitches can be divided into 2 groups. One group contains stitches that are sewn on counted threads and the other group contains stitches with a specific structure or a feature that forms a pattern. The latter group is used to embroider contours on a drawn pattern. My book proposes to document this latter group of stitches.
The stitches are accounted for systematically and whenever possible, they are presented in groups throughout the book.
Each stitch is illustrated to demonstrate the direction of sewing: upwards, downwards, right to left etc. The book begins with the most elementary stitches and as the technical difficulty increases, more illustrations and text are provided.
When information is provided regarding the properties of the stitch, its ability to cover a marked line is mentioned. This property is only of importance when the line is drawn with a colour that cannot be washed out of the fabric. If the colour cannot be washed out then the stitch has to cover the marked line.
Each stitch has clear instructions for sewing, but the size of the stitch can vary from the instructions. All the stitches can be made longer or shorter, wider or narrower than described.
For some of the stitches, a specified thread is recommended and this is essential for a satisfactory appearance of the stitch.
Instructions for sewing a corner are provided for some of the stitches. This information is not provided for all the stitches, partly because of lack of space and partly because it is impossible to illustrate the technique.
Should a stitch be required to edge an item such as a napkin, it requires an invisible join of the round of stitches. The method is described on page 188 in the final section of the book
An example of the correct method of starting and ending a row of stitches is described for fishbone stitch, raised. The system used to select the correct method is described on page 187.Fillings for leaf forms are included in the instructions when the specific stitch is considered suitable.
5

J. H. broderi
The numerous knots described in the book can be sewn as described or enlarged in different proportions to those illustrated. In this way they can form individual stitches, similar to the stitches in the final section of the book. They can be used in various ways: they can be sewn as individual stitches in a row, or they can be placed at random as a filling for large or small areas.
6
J. H. broderi
Register of embroidery stitches
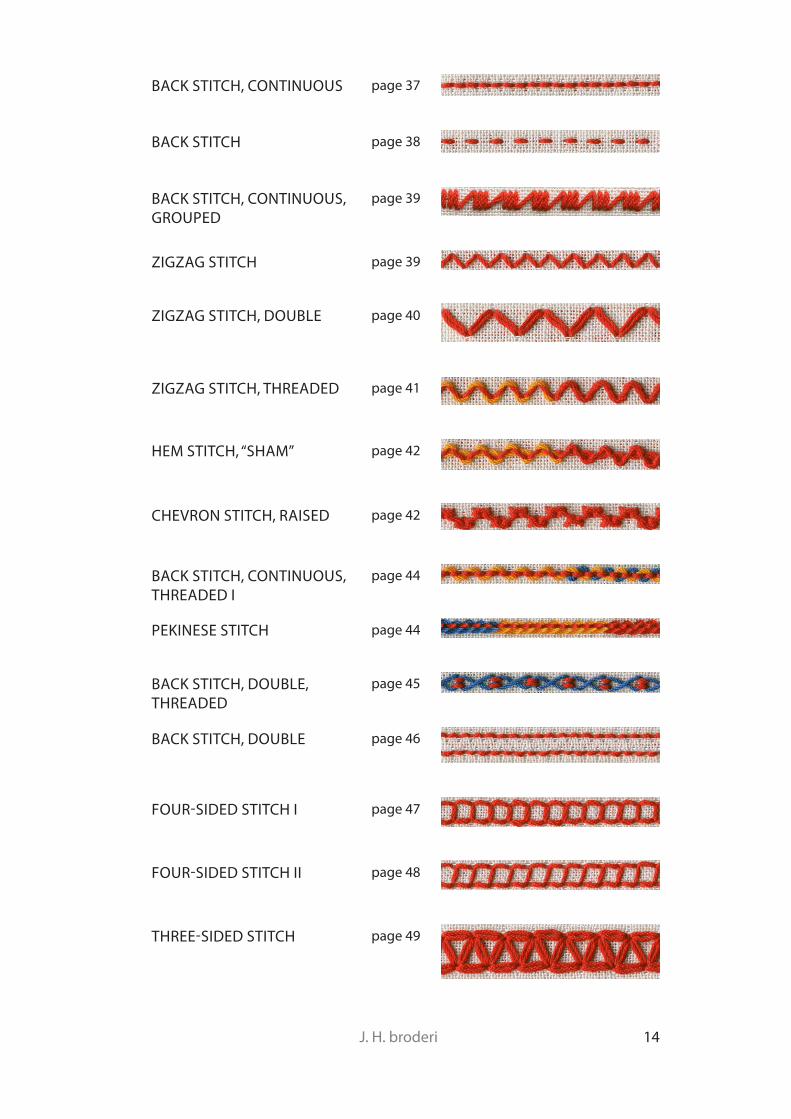
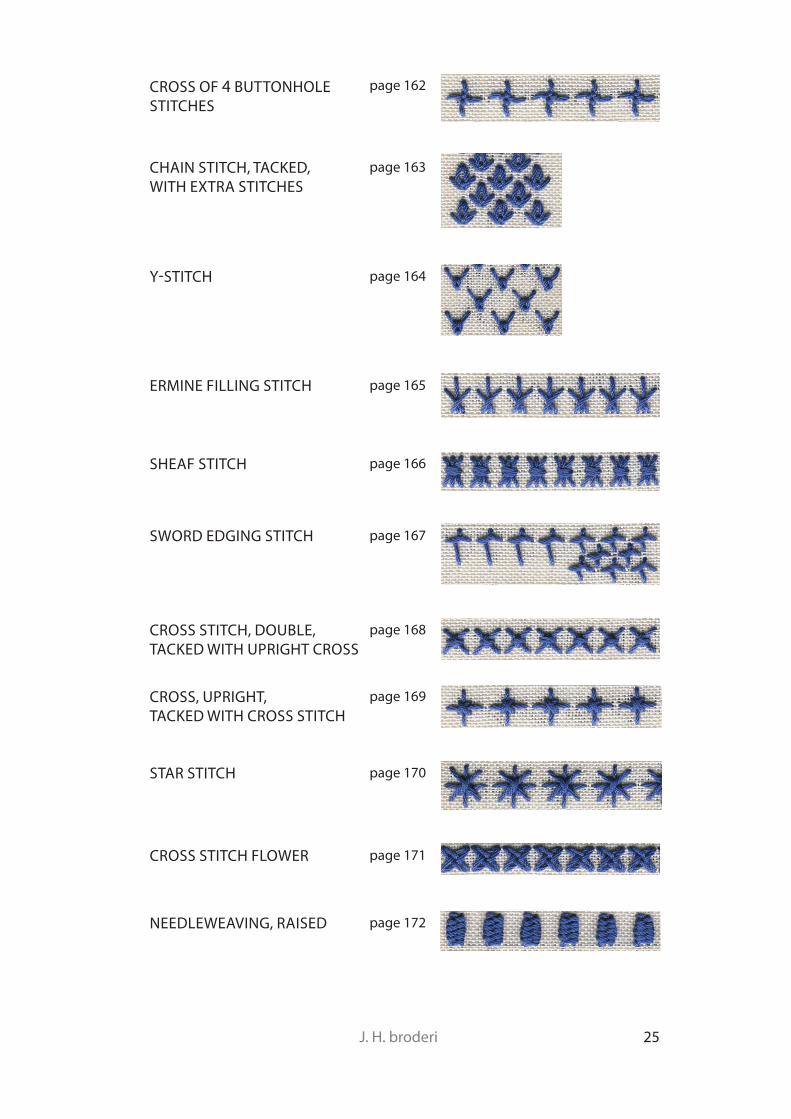
In the register, the stitches are listed in their order of appearance throughout the book with an embroidered example of each stitch. Each stitch has a page reference, where there can be found instructions in the form of text and diagrams.
With a left click on the stitch or the embroidered example, sewing instructions appear on the screen. Another left click on “back,” will remove the instructions and return to the specific stitch in the register.
The register is not as extensive as the alphabetical list, because not all the variations of each sewing technique are mentioned in the register.
12
J. H. broderi
BACK STITCH, CONTINUOUS page 37
BACK STITCH page 38
BACK STITCH, CONTINUOUS, GROUPED
page 39
ZIGZAG STITCH page 39
ZIGZAG STITCH, DOUBLE page 40
ZIGZAG STITCH, THREADED page 41
HEM STITCH, “SHAM” page 42
CHEVRON STITCH, RAISED page 42
BACK STITCH, CONTINUOUS, THREADED I
page 44
PEKINESE STITCH page 44
BACK STITCH, DOUBLE, THREADED
page 45
BACK STITCH, DOUBLE page 46
FOUR-SIDED STITCH I page 47
FOUR-SIDED STITCH II page 48
THREE-SIDED STITCH page 49
14
J. H. broderi
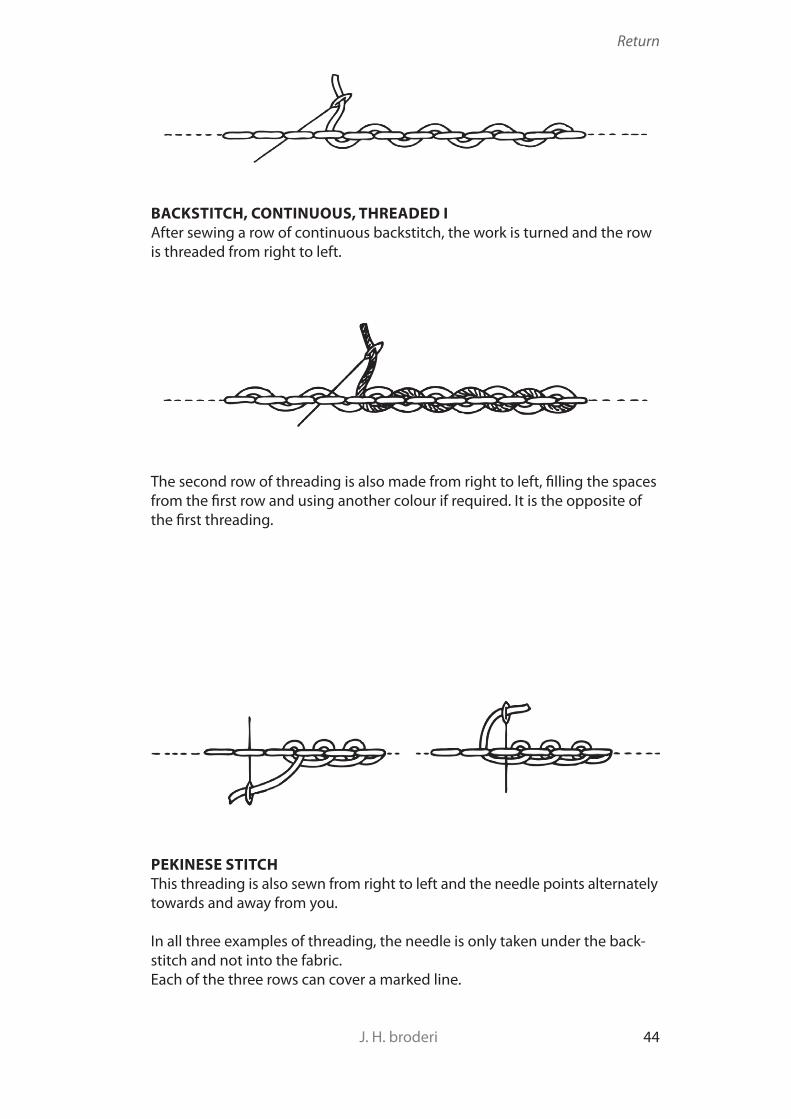
BACKSTITCH, CONTINUOUS, THREADED IAfter sewing a row of continuous backstitch, the work is turned and the row is threaded from right to left.
The second row of threading is also made from right to left, filling the spaces from the first row and using another colour if required. It is the opposite of the first threading.
PEKINESE STITCHThis threading is also sewn from right to left and the needle points alternately towards and away from you.
In all three examples of threading, the needle is only taken under the back-stitch and not into the fabric.Each of the three rows can cover a marked line.
44
Return
J. H. broderi
CROSS OF 4 BUTTONHOLE STITCHES
page 162
CHAIN STITCH, TACKED, WITH EXTRA STITCHES
page 163
Y-STITCH page 164
ERMINE FILLING STITCH page 165
SHEAF STITCH page 166
SWORD EDGING STITCH page 167
CROSS STITCH, DOUBLE, TACKED WITH UPRIGHT CROSS
page 168
CROSS, UPRIGHT, TACKED WITH CROSS STITCH
page 169
STAR STITCH page 170
CROSS STITCH FLOWER page 171
NEEDLEWEAVING, RAISED page 172
25

J. H. broderi
CHAIN STITCH, TACKED, WITH EXTRA STITCHESFirstly sew a tacked chain stitch. Sew 2 diagonal stitches out from the tack, as in the diagram.See Chain Stitch, tacked.
163
Return