Embed Size (px)
Citation preview
Elementary Science Cart
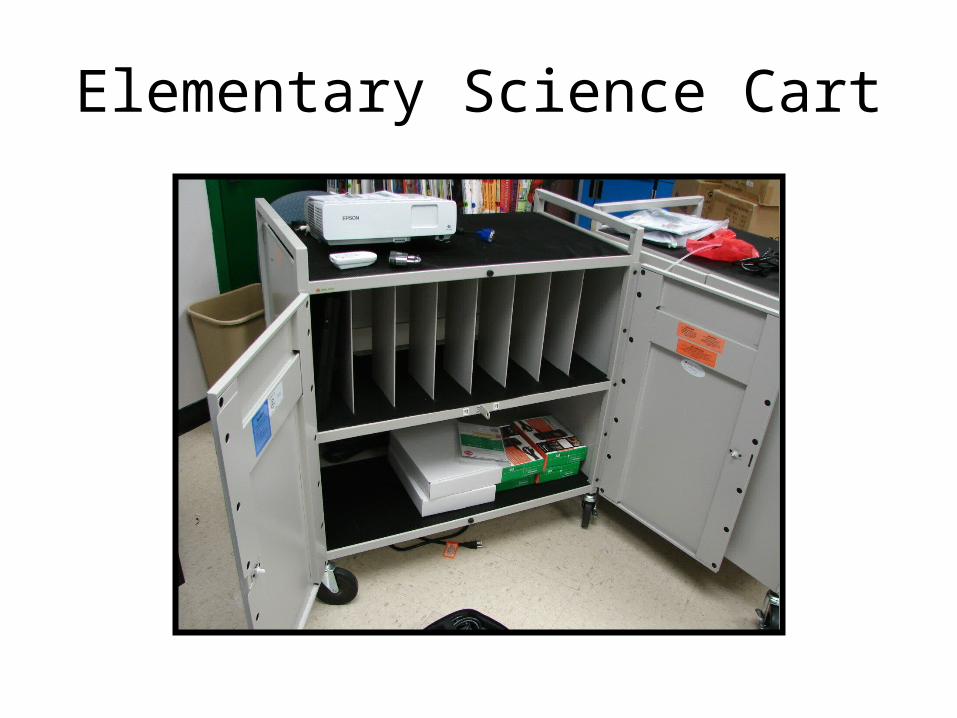
8 Laptops
1 Projector
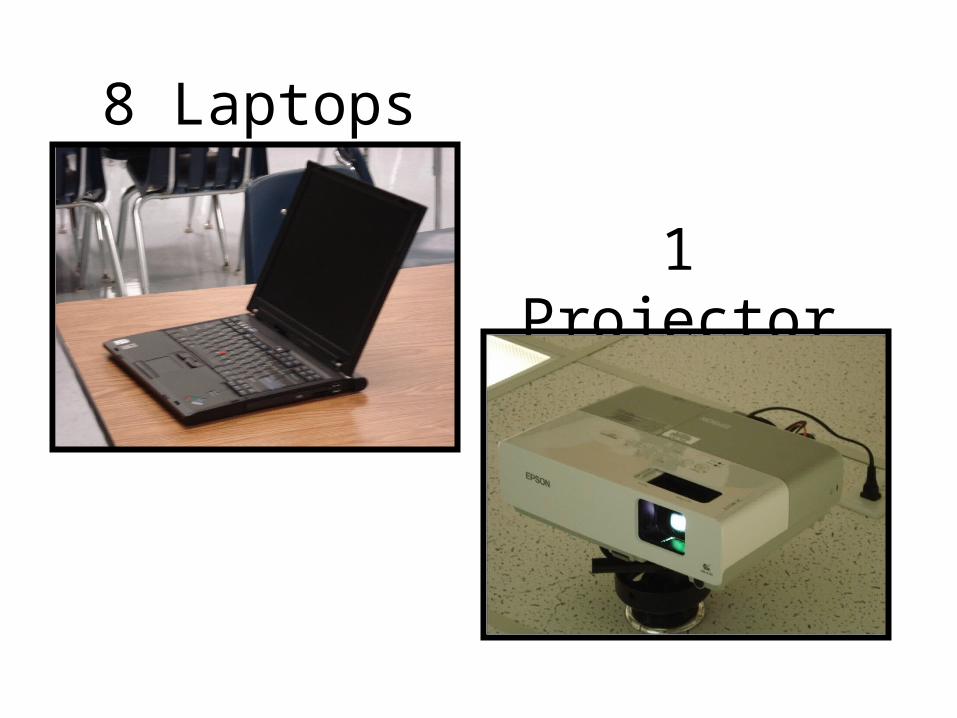
Computer to Projector
Connect to laptop
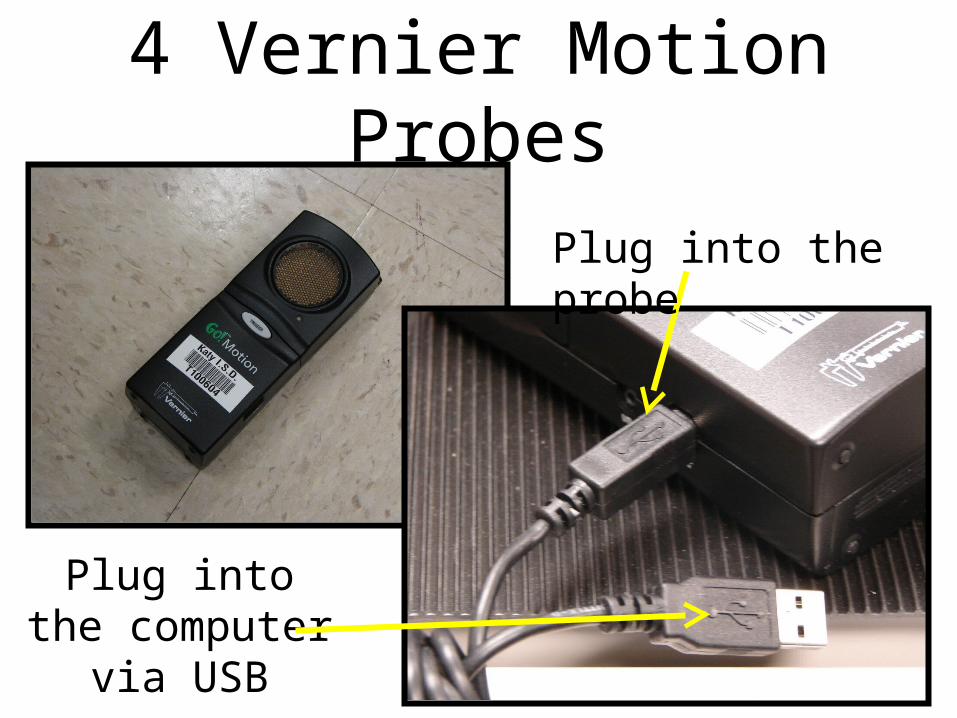
4 Vernier Motion Probes
Plug into the computer via
USB
Plug into the probe
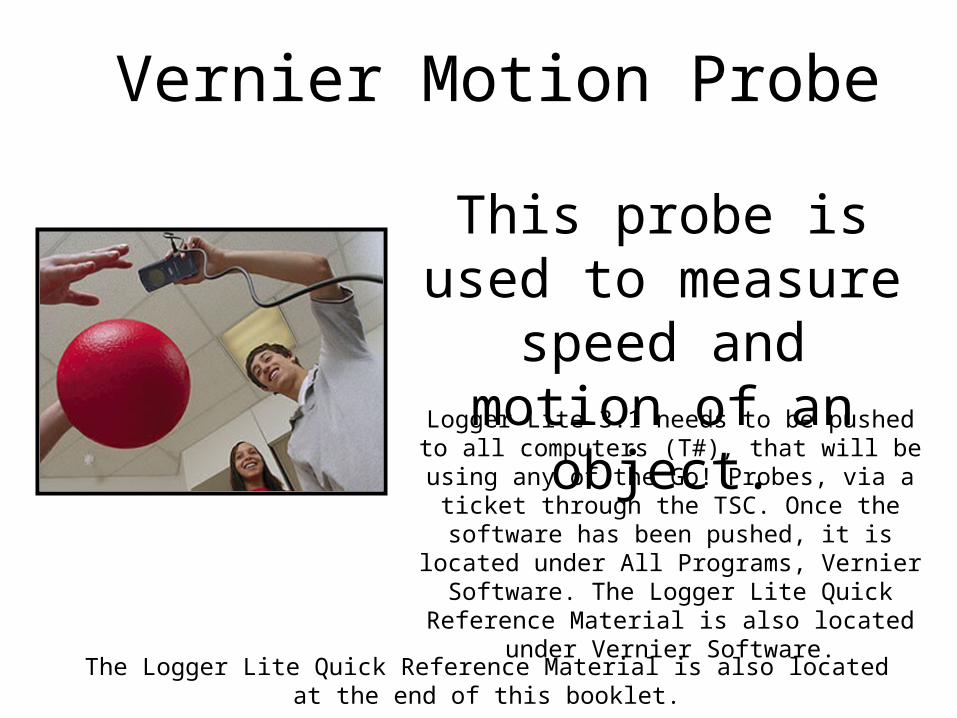
Vernier Motion Probe
This probe is used to measure speed and
motion of an object.Logger Lite 3.1 needs to be pushed to all computers (T#), that will be using any of the Go! Probes, via a ticket through the TSC. Once the software has been
pushed, it is located under All Programs, Vernier Software. The Logger Lite Quick Reference
Material is also located under Vernier Software.
The Logger Lite Quick Reference Material is also located at the end of this booklet.
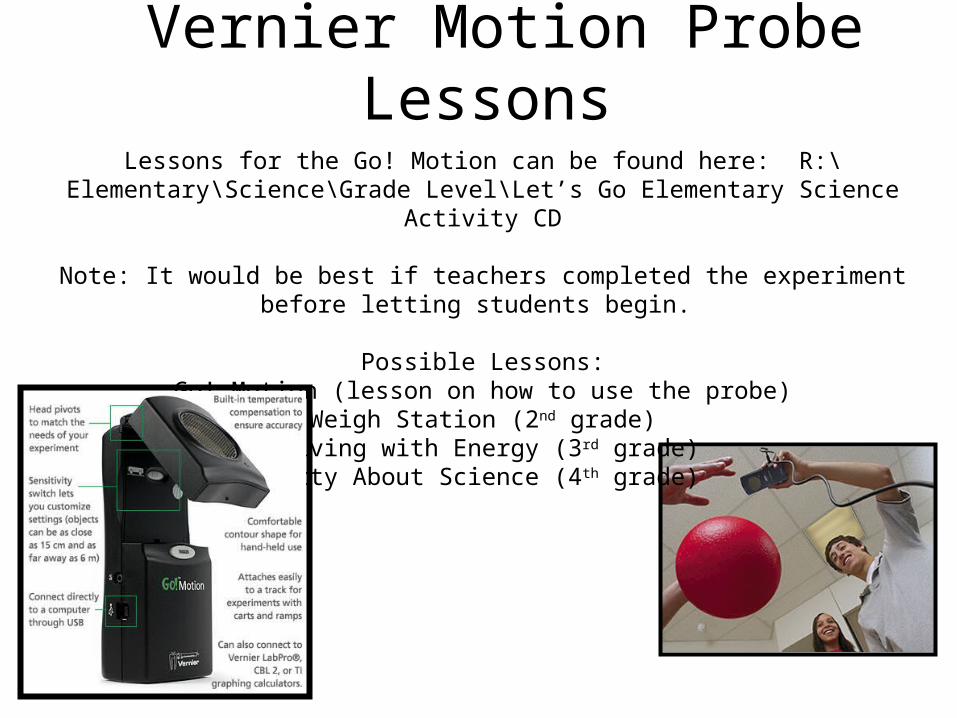
Vernier Motion Probe Lessons
Lessons for the Go! Motion can be found here: R:\Elementary\Science\Grade Level\Let’s Go Elementary Science Activity CD
Note: It would be best if teachers completed the experiment before letting students begin.
Possible Lessons:Go! Motion (lesson on how to use the probe)
Weigh Station (2nd grade)Driving with Energy (3rd grade)Batty About Science (4th grade)
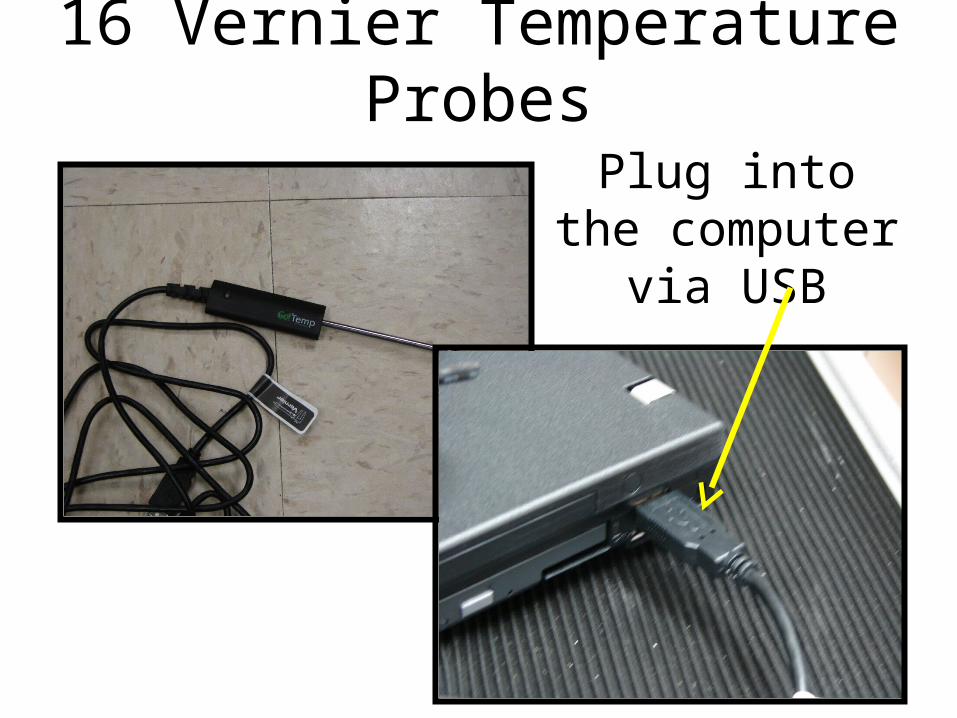
Plug into the computer via
USB
16 Vernier Temperature Probes
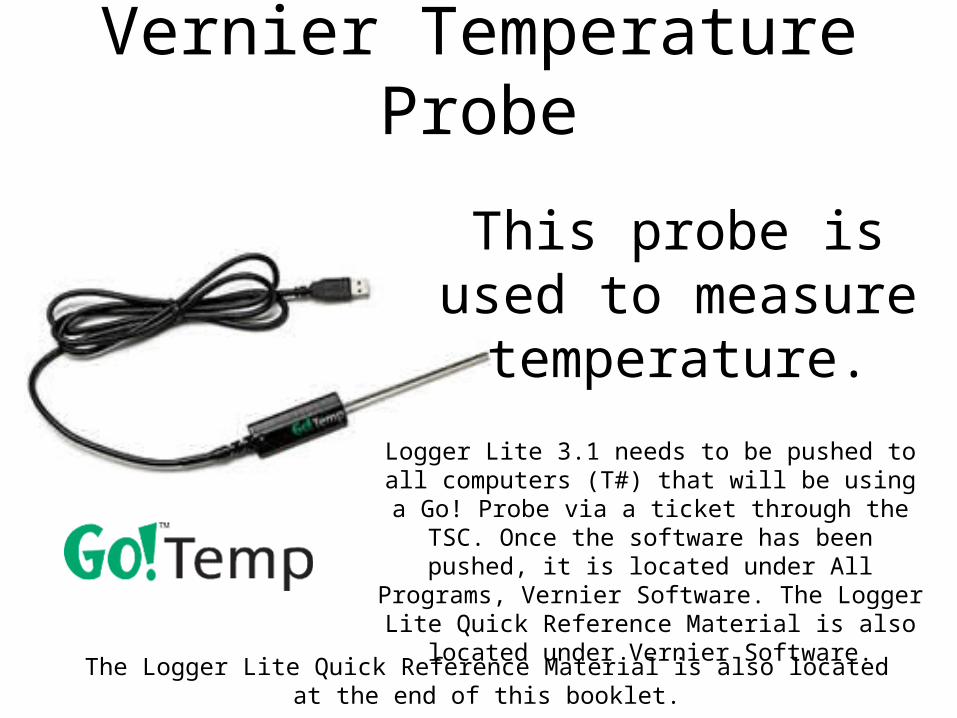
Vernier Temperature Probe
This probe is used to measure temperature.
Logger Lite 3.1 needs to be pushed to all computers (T#) that will be using a Go! Probe via a ticket through
the TSC. Once the software has been pushed, it is located under All Programs, Vernier Software. The
Logger Lite Quick Reference Material is also located under Vernier Software.
The Logger Lite Quick Reference Material is also located at the end of this booklet.
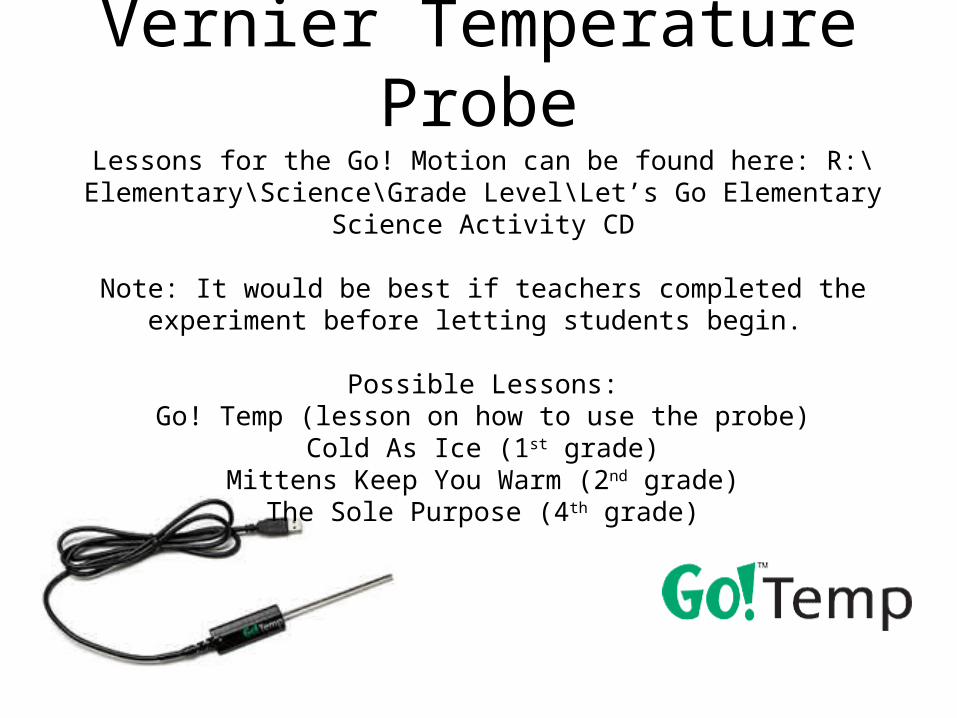
Vernier Temperature Probe
Lessons for the Go! Motion can be found here: R:\Elementary\Science\Grade Level\Let’s Go Elementary Science Activity CD
Note: It would be best if teachers completed the experiment before letting students begin.
Possible Lessons:Go! Temp (lesson on how to use the probe)
Cold As Ice (1st grade)Mittens Keep You Warm (2nd grade)
The Sole Purpose (4th grade)
Aver Media Document Camera
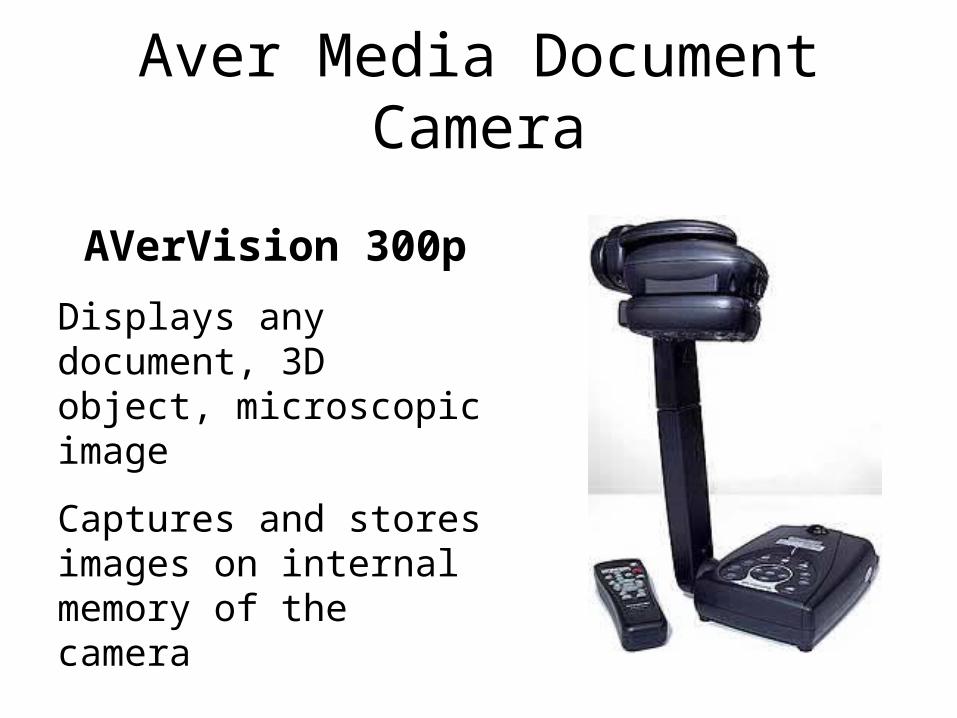
AVerVision 300p
Displays any document, 3D object, microscopic image
Captures and stores images on internal memory of the camera
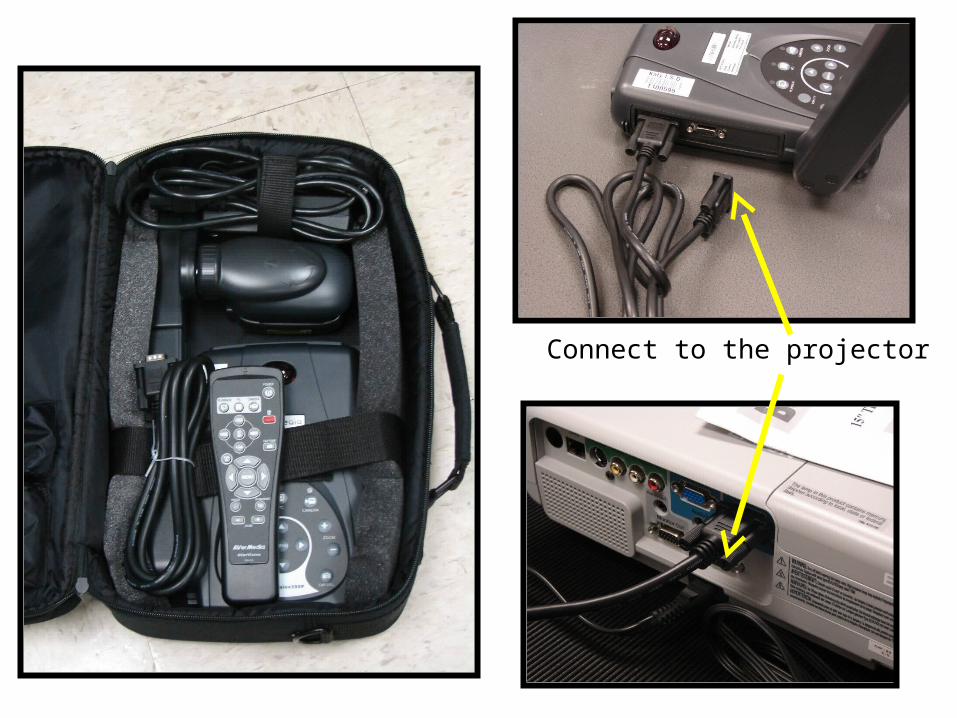
Connect to the projector
Aver Media Document Camera
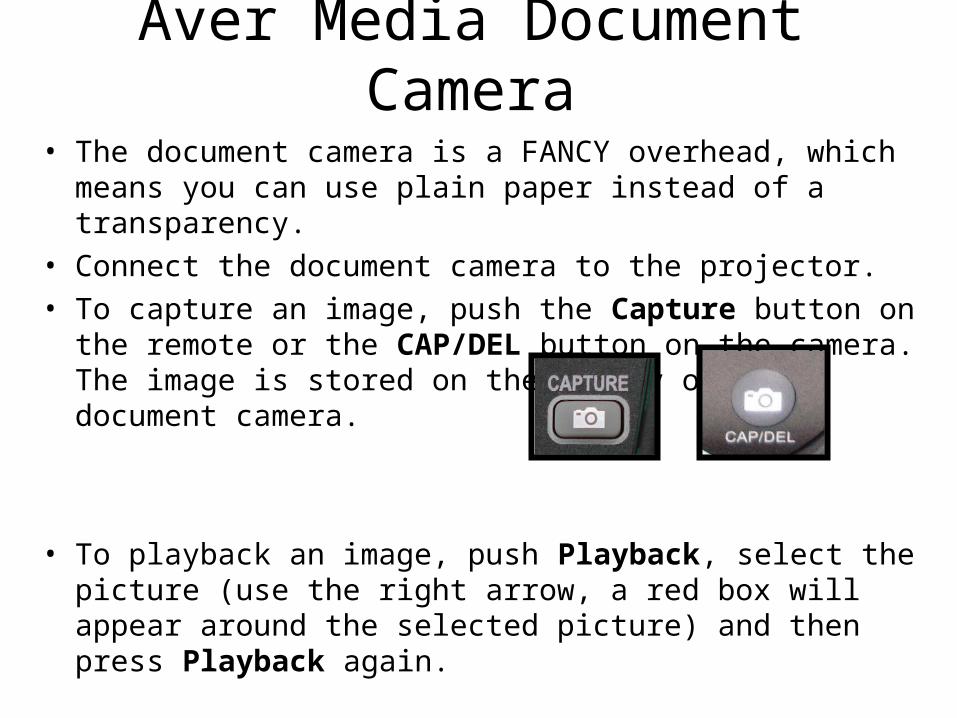
• The document camera is a FANCY overhead, which means you can use plain paper instead of a transparency.
• Connect the document camera to the projector. • To capture an image, push the Capture button on the remote or
the CAP/DEL button on the camera. The image is stored on the memory of the document camera.
• To playback an image, push Playback, select the picture (use the right arrow, a red box will appear around the selected picture) and then press Playback again.
Aver Media Document Camera
Advanced Features:• The document camera has a built-in timer. On the remote, push
Menu, go down to Timer, use the right arrow to change the minutes, press Menu again. Press the Hour Glass button on the remote 2 times to start the timer.
• Connect the camera, the projector and laptop at the same time. This way the user can download and save the captured images onto the computer. Please see your ITF for assistance.
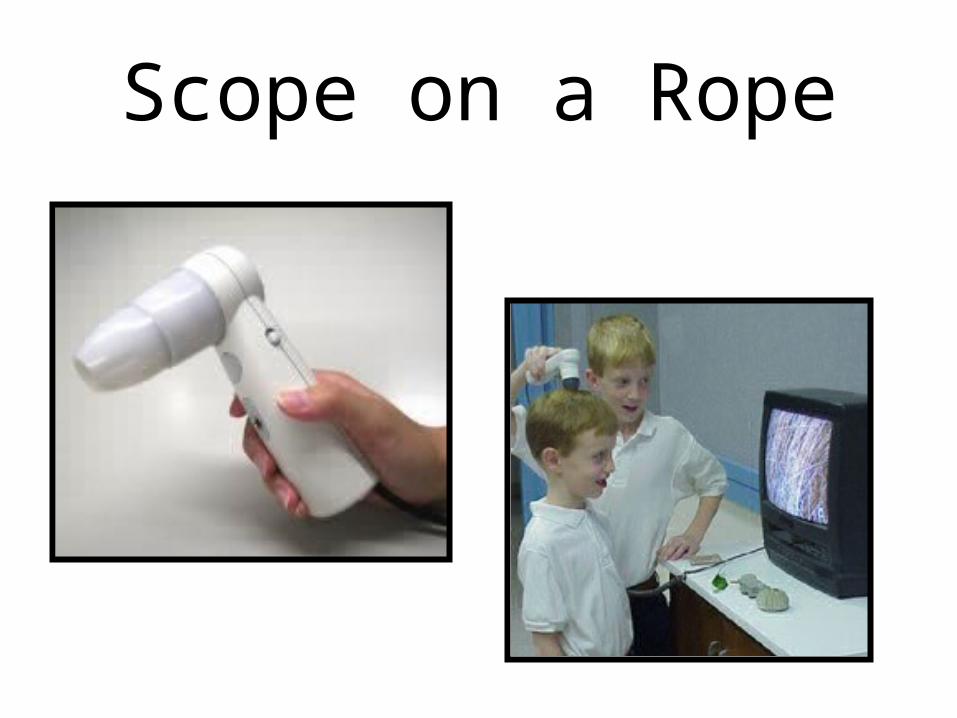
Scope on a Rope
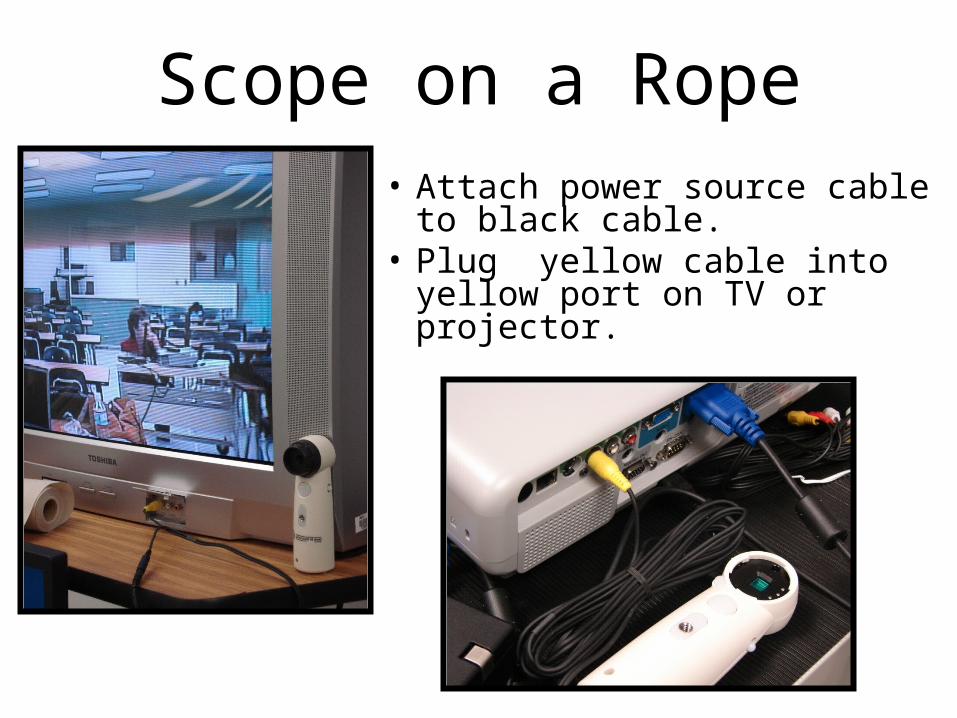
Scope on a Rope• Attach power source cable to
black cable.• Plug yellow cable into yellow
port on TV or projector.
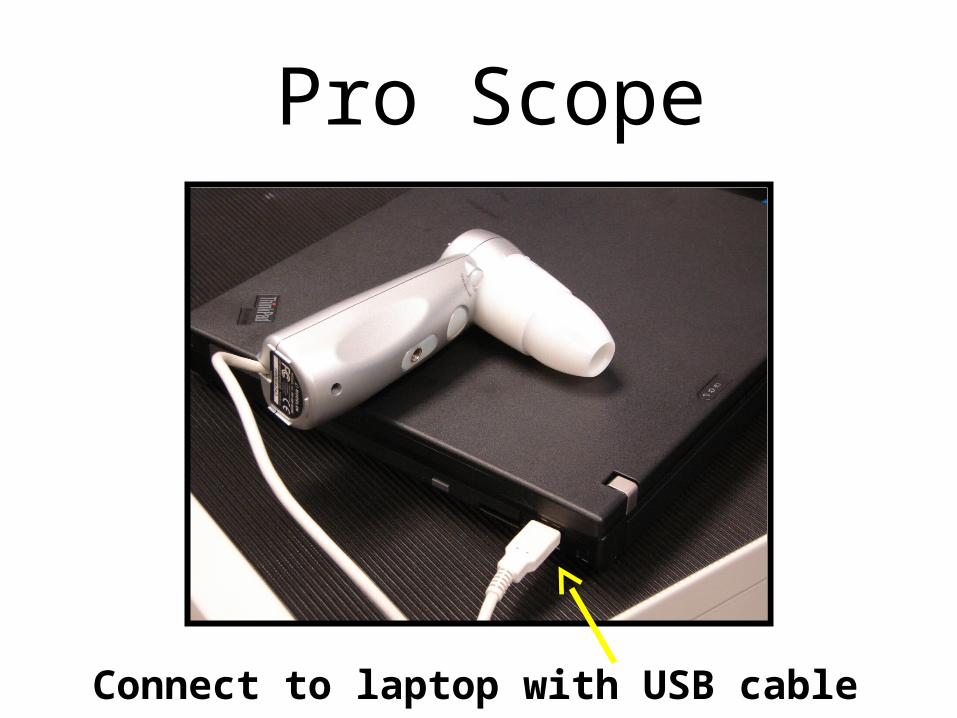
Connect to laptop with USB cable
Pro Scope
Pro Scope• Attach USB cable to computer.• Navigate to My Computer. Pro Scope will be located under
Scanners and Cameras as “USB Video Device”• Locate and focus object with Pro Scope. To capture a picture,
click Take a new picture.• Picture will appear in bottom window. • To save a picture, double click the picture. In picture view, click
the blue disc to save. Save as type – change from BMP to JPEG. Navigate to the desired location. Click Save.
• Delete pictures by clicking on Delete all pictures on camera.
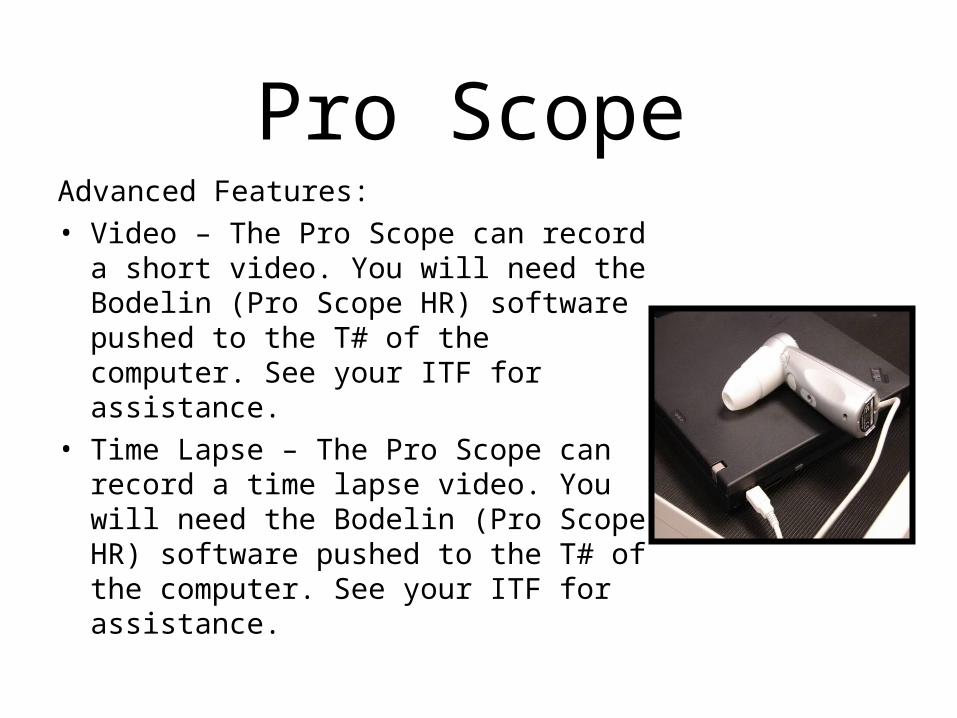
Pro ScopeAdvanced Features:• Video – The Pro Scope can record a short
video. You will need the Bodelin (Pro Scope HR) software pushed to the T# of the computer. See your ITF for assistance.
• Time Lapse – The Pro Scope can record a time lapse video. You will need the Bodelin (Pro Scope HR) software pushed to the T# of the computer. See your ITF for assistance.
Commonalities of Scopes
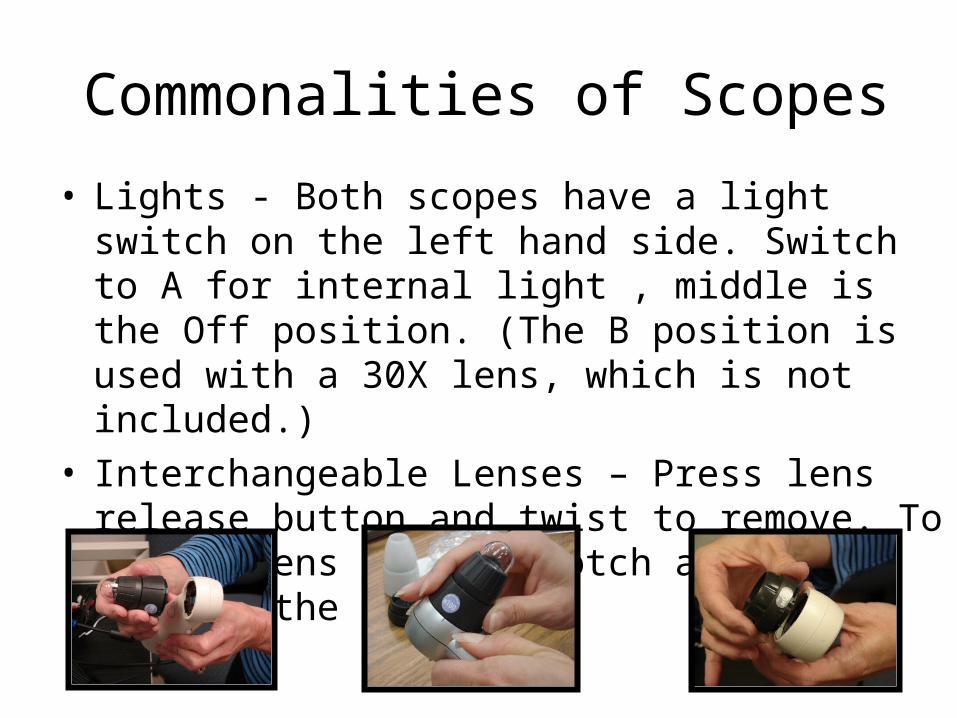
• Lights - Both scopes have a light switch on the left hand side. Switch to A for internal light , middle is the Off position. (The B position is used with a 30X lens, which is not included.)
• Interchangeable Lenses – Press lens release button and twist to remove. To insert lens line up notch and gently turn to the right.
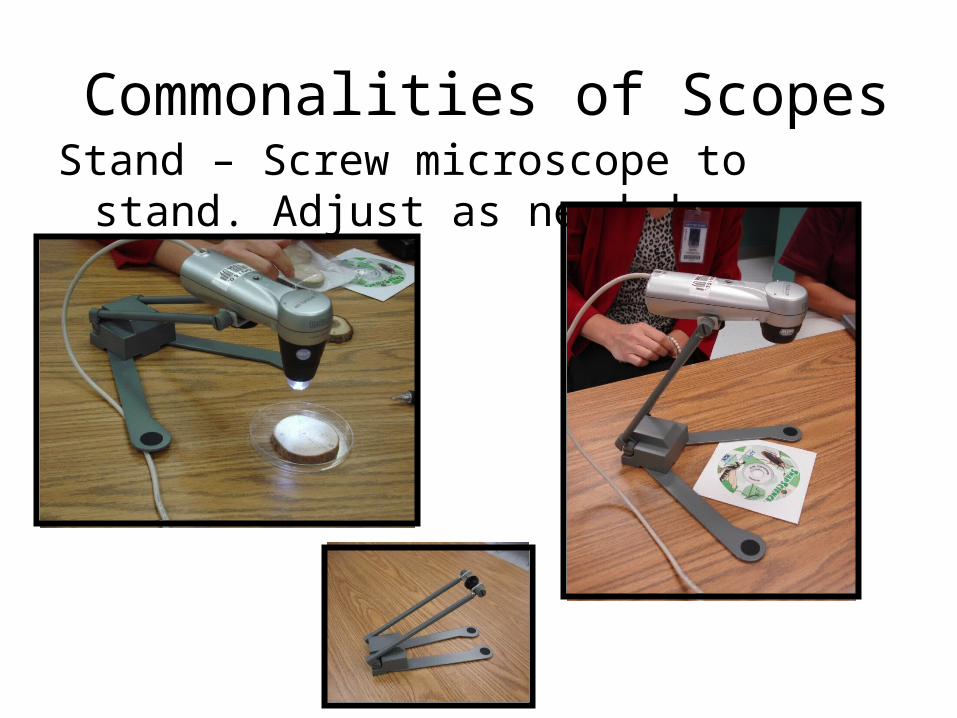
Stand – Screw microscope to stand. Adjust as needed.
Commonalities of Scopes
Suggested Use of the Science Equipment
Go! Motion Probe• Potential/Kinetic Energy• Weight of different object affects speed• Force – push/pull
Suggested Use of the Science Equipment
Go! Temp Probe• Measure different temperatures of water• Difference between conductor and insulator• Freezing/melting point (C⁰/F⁰)• Body Temperature• Room Temperature
Suggested Use of the Science Equipment
Document Camera• Diagram of the scientific process – display
during a lab experiment• Food Chain – display an example• Live animals• Share/Display student items• Picture/Writing samples
Suggested Use of the Science Equipment
Scope of a Rope• Mealworms• Leaves/plants• Matter – observe the 3 stages• Silkworm stages• Compare cellular structure• Observe types of soil – clay, sand, soil• Fossils
Suggested Use of the Science Equipment
Pro Scope• Texture of seeds• Silkworm stages• Observe cotton (Ft. Bend Co. Museum)• What is this? (Mystery objects)• Use time lapse for growing seeds to plants
and caterpillars to butterflies