Embed Size (px)
Citation preview

FLH-747 – FLH-747B REV. 04-20-15 pw Page 1
HARLEY DAVIDSON 1995 – UP DRESSER & ROAD KING INSTALLATION INSTRUCTIONS PART# FLH-747 and FLH-747B
Congratulations on owning a Genuine set of Bassani Xhaust Pipes. Bassani Pipes are designed for maximum sound and performance. Please follow the instructions below for installation. If you have any questions please call our tech line at 714-630-1821. Thank you!
CAUTION: WRAPPING of Pipe with Heat Tape may adversely affect the pipe & will Void Warranty!
T
OO
LS R
EQ
UIR
ED
5/16” Nut Driver
1/2” & 9/16” Sockets
Snap Ring Pliers
½”, 9/16”, 7/8” & 13mm Wrenches
⅜” Ratchet with Extension
Flat Head Screwdriver
⅜” Socket Swivel
⅜” & 5/16” Allen
Socket
READ ALL INSTRUCTIONS BEFORE BEGINNING INSTALLATION
P
AR
TS L
IST
1 = ⅜-16” Serrated Flange Nut
2 = ⅜”-16 x 1” Hex Head Bolts
1 = ⅜” Spring Lock
Washer
2 = 12mm 0² Plugs
2 = 18mm 0² Plugs
2 = ⅜” Flat Washers
1 = TB-238 Breeze T-Bolt Clamp
7 = # 24 Hose Clamps
1 = # 36 Hose Clamp
1 = Mounting Bracket Extension BKT-F07
1 = 5 Speed Mounting Bracket BKT-F01
BASSANI ROAD RAGE II – B4 HIGH PERFORMANCE EXHAUST SYSTEM
EX
HA
UST
SY
ST
EM
1. Front Heat Shield
2. Rear Upper Heat Shield
3. Rear Lower Heat Shield
4. Collector Heat Shield
5. Front and Rear Head
Pipe Assembly
6. Megaphone Muffler
Housing with Baffle
(B25195) and Black
Anodized Billet End Cap
(BELMR)
Now Available to Customize your Bassani Exhaust System
End Caps: BELMT ENDCAP-LM BELMU
Shhhhhhh!! Designed for those who need a Quieter baffle
2¼” ID x 19½” long - Wrapped in woven roven fiberglass is removable
and serviceable. …………………………...…….….B22195 2” ID x 19½” long - Wrapped in woven roven fiberglass is removable
and serviceable…………………………….............……………B20195
POWER YOU CAN FEEL
1
2
4
3
5
6
FLH-747B will have Black
Ceramic Heat Shields and Muffler

FLH-747 – FLH-747B REV. 04-20-15 pw Page 2
HARLEY DAVIDSON 1995 – UP DRESSER & ROAD KING INSTALLATION INSTRUCTIONS PART# FLH-747 and FLH-747B
If you have any questions please call our tech line at 714-630-1821. Thank you!
STOCK EXHAUST REMOVAL INSTRUCTIONS
1. Unclip 0² sensor wires from the front and rear cylinder
connections. Carefully remove the 0² sensors from the front and rear head pipes, using 0² sensor socket or a
⅞” wrench. (Label them to identify which is for the front pipe and which is for the rear pipe.)
2. Remove the heat shields. 3. Remove stock right side saddlebag; loosen the clamp
at the muffler inlet with a 9/16” socket. With a ½”
socket remove the two hex head bolts at the rear of the muffler. Slide the mufflers off, keeping the two hex
head bolts, as you will re-use them. 4. Remove the right side forward floorboard. Use a ⅜”
allen socket on both bolts that hold the mounting
brackets in place. 2009 models have the bolts are on the outside of the frame.
5. Remove left down pipe from rear head pipe. Remove
“P” Clamp from front head pipe using a 9/16” socket. (A flat head screwdriver inserted between the open
ends of the clamp with a twist, will cause the flat blade to open the clamp. Now slide the clamp off the head
pipe) 6. Remove the front and rear flange nuts from the head
pipes with the ½” socket. Remove both head pipes
and save the flange nuts, flanges, and the cir-clips for reuse.
7. With our new style formed head pipe end, on the 2009 and later models it is no longer necessary to replace your stock
exhaust port gasket with a “flat” gasket. On the other year
models {2008 and earlier} you may use the stock gasket or a gasket of your choice.
INSTALLATION OF BASSANI EXHAUST SYSTEM
1. Remove the right side forward floorboard. Use a ⅜”
allen socket on both bolts that hold the mounting brackets in place. On the 2009 models the bolts are on
the outside of the frame. 2. Thread one of the supplied hex head bolts through a
spring lock washer, a flat washer and into the nut on
the rear of the extension bracket. Secure loosely. 3. On the earlier model 5 speed bikes, remove the stock
bracket mounted to the transmission and replace it with the supplied 5-speed bracket using the stock
hardware. If you have a 6 speed, you will use the
stock-mounting bracket. 4. Install the stock flanges and carefully fit the cir-clips
onto the head pipes using a snap ring pliers. (Fig. 1) Slide the head pipe assembly up into the ports and
using the stock hardware bolt up to the heads loosely. (Fig. 2) On the 6-speed bike, using the other supplied
hex head bolt, a flat washer, and the serrated flange
nut, loosely fastens the mounting bracket extension to the stock-mounting bracket. (Fig. 3) On the 5 speed
models attach it to the supplied 5-speed bracket. 5. Spray lubricant onto the muffler inlet and slide the T-
Bolt clamp over the muffler. Slide the muffler over
the collector on the head pipes, (Fig. 4) sliding forward so the mounting location at the rear of the
muffler lines up with the bracket on the bike. (Fig. 5) Tighten down the collector clamp, but do not
fully tighten. Install the stock muffler mounting bolts and also leave loose.
6. Install the 0² sensors in the pipes, using the 0² sensor
socket or a ⅞” wrench. There are two different
locations with different size sensors installed on your
bike. Plug the two unused sensor sockets with the plugs supplied. Use a small amount of anti-seize
compound on the threads, then feed the wires (that you marked with “front” or “rear” before installation) into
their appropriate locations and plug in.
7. Thread the appropriate hose clamps, according to the diagram in Fig. 6 through the brackets on the inside of
the heat shields. When doing so keep in mind that you will want the adjustment screw to be accessible once
the shields are installed on the bike.
8. Attach the #1: front heat shield (Fig. 7) to the front head pipe. Attach the #3 (lower-rear) shield to the
bottom area of the rear head pipe. (Fig. 8) Next attach the #2 (upper-rear) so that the #2 shield will overlap
the #3 shield. Finally mount the collector shield #4 overlapping the two head pipe shields. (Fig. 9) Slide
the two tabs inside the collector shield (circled) under
the head pipes’ shields. 9. Starting at the front cylinder and moving back and
forth, tighten down all the hardware a little at a time, while checking for adequate clearance between the
exhaust and engine parts. This will help to align the
header pipes for a proper seal. Reattach the saddlebag and the forward floorboard.
10. Before starting the motorcycle, clean and wipe down the pipes with a non-residue or similar type of cleaner
and a soft clean cloth. Removal of fingerprints and any oil base residue is necessary to avoid staining the finish
when the exhaust system heats up.
POWER YOU CAN FEEL

FLH-747 – FLH-747B REV. 04-20-15 pw Page 3
HARLEY DAVIDSON 1995 – UP DRESSER & ROAD KING INSTALLATION INSTRUCTIONS PART# FLH-747 and FLH-747B
Note: Any modification to the factory (stock) installed intake or exhaust system alters the air/fuel Ratio. Modifications result in
the air fuel ratio becoming dangerously lean (too much air, not
Enough fuel). This condition can be harmful to your engine. This can be corrected by installing, an aftermarket fuel module
sometimes referred to as a program or programmer. Bassani recommends you take your motorcycle to a qualified technician/
tuner for this work. INSTALLATION PHOTOS FOR BASSANI EXHAUST SYSTEM
POWER YOU CAN FEEL
Figure 1
102708KG
Figure 2 Figure 3
Figure 4 Figure 5 Figure 6
Figure 9 Figure 8 Figure 7
HS # 1
HS # 2
HS # 3
HS #4 #24
#24
#24
#36
#24
#24
#24
#24
FLH-747 – FLH-747B REV. 04-20-15 pw Page 4
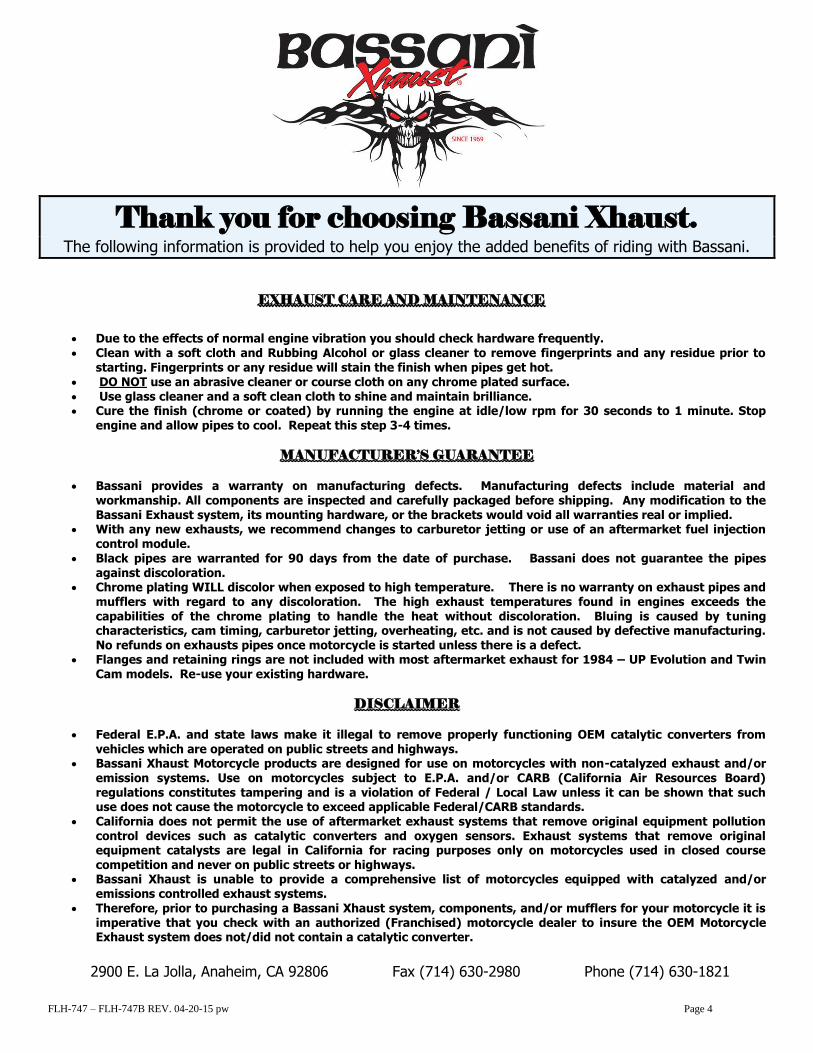
Thank you for choosing Bassani Xhaust. The following information is provided to help you enjoy the added benefits of riding with Bassani.
EXHAUST CARE AND MAINTENANCE
Due to the effects of normal engine vibration you should check hardware frequently. Clean with a soft cloth and Rubbing Alcohol or glass cleaner to remove fingerprints and any residue prior to
starting. Fingerprints or any residue will stain the finish when pipes get hot. DO NOT use an abrasive cleaner or course cloth on any chrome plated surface. Use glass cleaner and a soft clean cloth to shine and maintain brilliance. Cure the finish (chrome or coated) by running the engine at idle/low rpm for 30 seconds to 1 minute. Stop
engine and allow pipes to cool. Repeat this step 3-4 times.
MANUFACTURER’S GUARANTEE
Bassani provides a warranty on manufacturing defects. Manufacturing defects include material and workmanship. All components are inspected and carefully packaged before shipping. Any modification to the Bassani Exhaust system, its mounting hardware, or the brackets would void all warranties real or implied.
With any new exhausts, we recommend changes to carburetor jetting or use of an aftermarket fuel injection control module.
Black pipes are warranted for 90 days from the date of purchase. Bassani does not guarantee the pipes against discoloration.
Chrome plating WILL discolor when exposed to high temperature. There is no warranty on exhaust pipes and mufflers with regard to any discoloration. The high exhaust temperatures found in engines exceeds the capabilities of the chrome plating to handle the heat without discoloration. Bluing is caused by tuning characteristics, cam timing, carburetor jetting, overheating, etc. and is not caused by defective manufacturing. No refunds on exhausts pipes once motorcycle is started unless there is a defect.
Flanges and retaining rings are not included with most aftermarket exhaust for 1984 – UP Evolution and Twin Cam models. Re-use your existing hardware.
DISCLAIMER Federal E.P.A. and state laws make it illegal to remove properly functioning OEM catalytic converters from
vehicles which are operated on public streets and highways. Bassani Xhaust Motorcycle products are designed for use on motorcycles with non-catalyzed exhaust and/or
emission systems. Use on motorcycles subject to E.P.A. and/or CARB (California Air Resources Board) regulations constitutes tampering and is a violation of Federal / Local Law unless it can be shown that such use does not cause the motorcycle to exceed applicable Federal/CARB standards.
California does not permit the use of aftermarket exhaust systems that remove original equipment pollution control devices such as catalytic converters and oxygen sensors. Exhaust systems that remove original equipment catalysts are legal in California for racing purposes only on motorcycles used in closed course competition and never on public streets or highways.
Bassani Xhaust is unable to provide a comprehensive list of motorcycles equipped with catalyzed and/or emissions controlled exhaust systems.
Therefore, prior to purchasing a Bassani Xhaust system, components, and/or mufflers for your motorcycle it is imperative that you check with an authorized (Franchised) motorcycle dealer to insure the OEM Motorcycle Exhaust system does not/did not contain a catalytic converter.
2900 E. La Jolla, Anaheim, CA 92806 Fax (714) 630-2980 Phone (714) 630-1821