Embed Size (px)
Citation preview
8/12/2019 DVR Forensic Analysis
http://slidepdf.com/reader/full/dvr-forensic-analysis 1/12
Abstract
The midterm allowed us the freedom to choose any embedded device we wanted from our hometo investigate. After careful thought, the Dish VIP622 DVR was selected as the device. This was
because it’s something that is used every day in the home and can contain interesting information
about people, including a connection to their network or a phone line connected with it. Anotherreason that it was chosen was because after searching, no previous work on it could be found, so
this would be a new opportunity for forensic research.
The Linux distribution, Kali Linux, was used to create the image of the DVR’s hard drive. A
large external hard drive was used to store the image as it ended up being 320GB in size. After it
was completed, AccessData’s FTK Imager was used to perform the examination as it allows for
the mounting and searching of the image file. PhotoRec was also used to carve for any deletedfiles to see what would come up.
Procedures for Disassembling the DVR
The first step in the examination process is to actually gain access to the hard drive bytaking the DVR apart. This was a relatively easy process and the only tools required were a #2
Phillips screwdriver and a flat screwdriver.
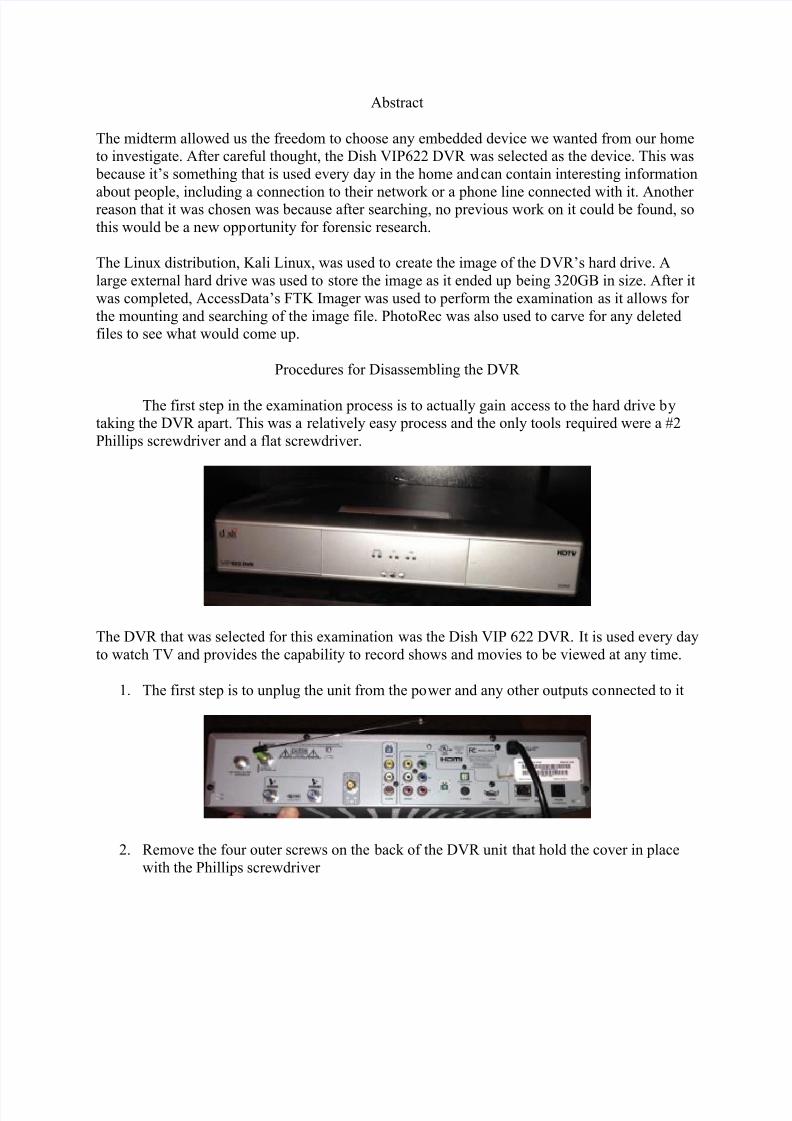
The DVR that was selected for this examination was the Dish VIP 622 DVR. It is used every day
to watch TV and provides the capability to record shows and movies to be viewed at any time.
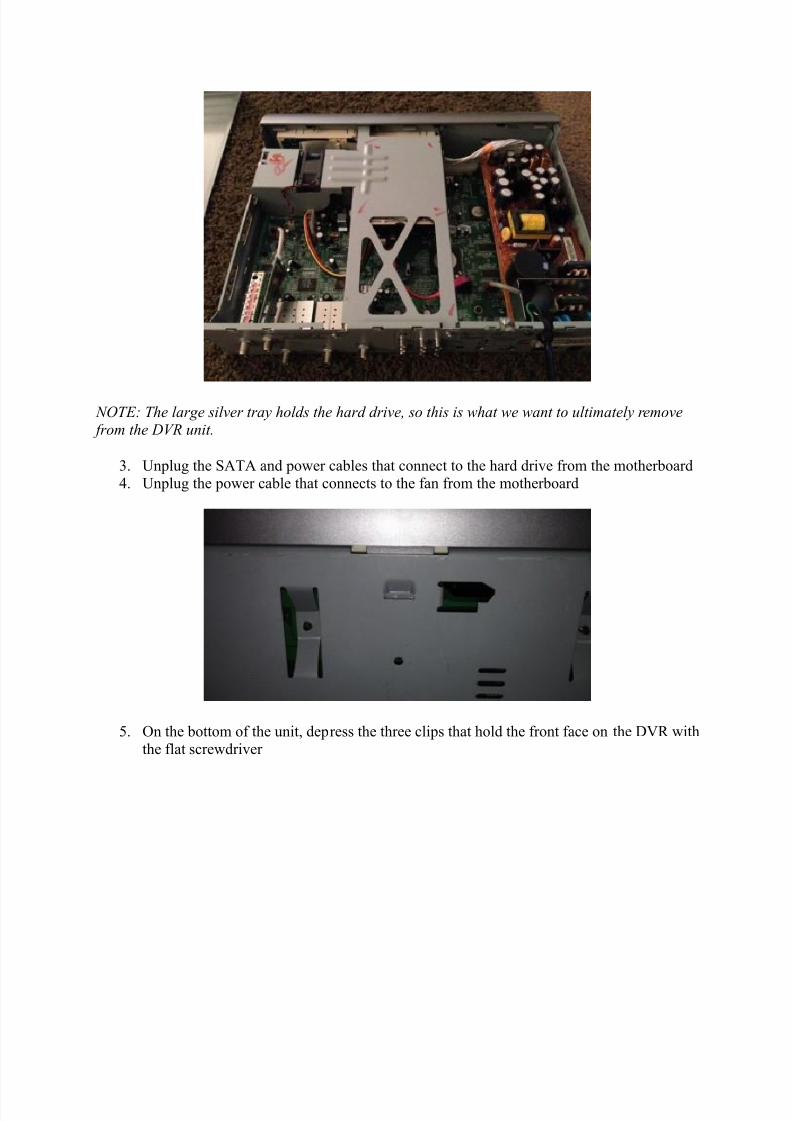
1. The first step is to unplug the unit from the power and any other outputs connected to it
2. Remove the four outer screws on the back of the DVR unit that hold the cover in place
with the Phillips screwdriver
8/12/2019 DVR Forensic Analysis
http://slidepdf.com/reader/full/dvr-forensic-analysis 2/12
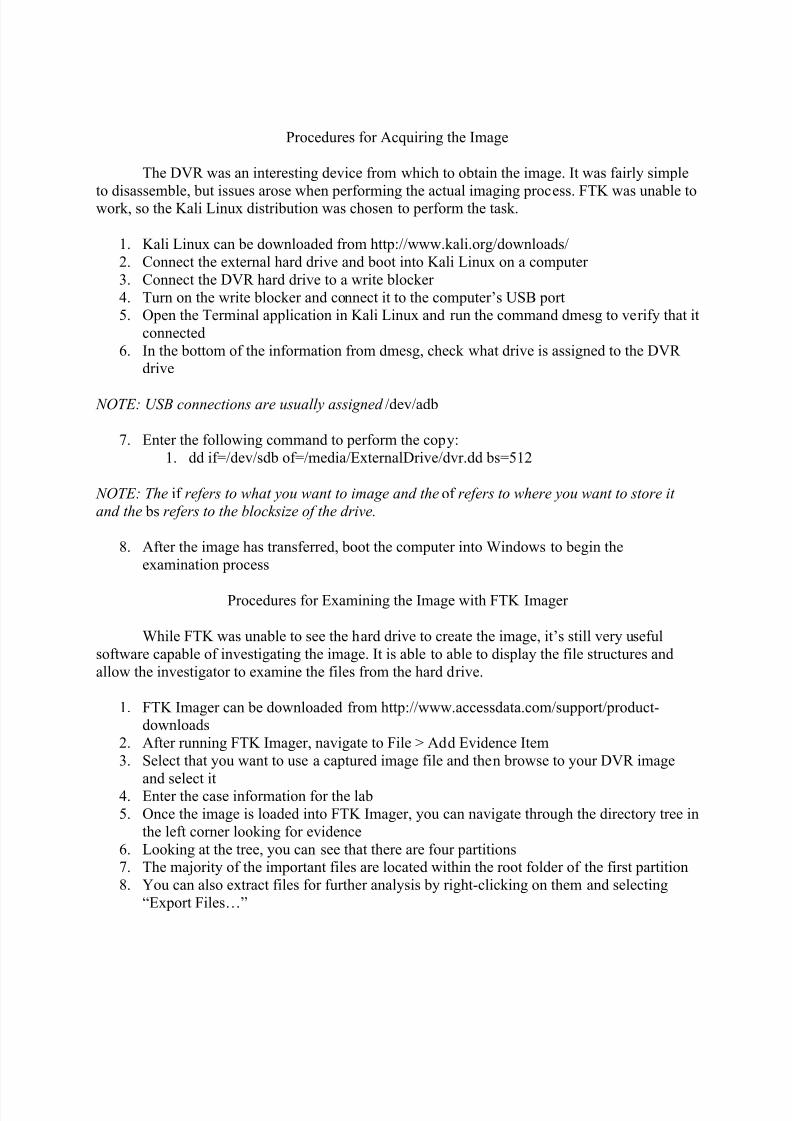
NOTE: The large silver tray holds the hard drive, so this is what we want to ultimately remove from the DVR unit.
3. Unplug the SATA and power cables that connect to the hard drive from the motherboard4. Unplug the power cable that connects to the fan from the motherboard
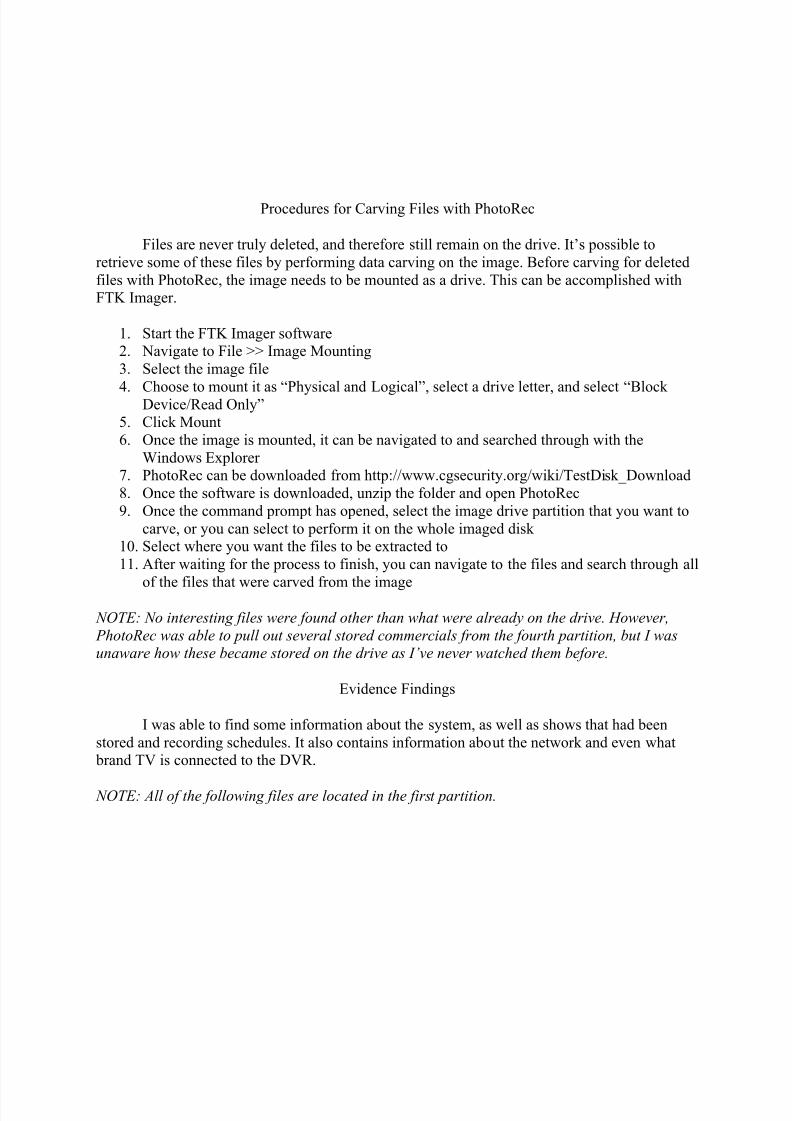
5. On the bottom of the unit, depress the three clips that hold the front face on the DVR withthe flat screwdriver

8/12/2019 DVR Forensic Analysis
http://slidepdf.com/reader/full/dvr-forensic-analysis 3/12
6. Remove the two screws from the front and the two screws in the back of the device
which are holding the hard drive tray
7. Remove the final screw from the side of the hard drive tray
8. The final step in obtaining the hard drive is to remove the four screws holding it to the
tray
8/12/2019 DVR Forensic Analysis
http://slidepdf.com/reader/full/dvr-forensic-analysis 4/12
Procedures for Acquiring the Image
The DVR was an interesting device from which to obtain the image. It was fairly simple
to disassemble, but issues arose when performing the actual imaging process. FTK was unable towork, so the Kali Linux distribution was chosen to perform the task.
1. Kali Linux can be downloaded from http://www.kali.org/downloads/
2. Connect the external hard drive and boot into Kali Linux on a computer
3. Connect the DVR hard drive to a write blocker
4. Turn on the write blocker and connect it to the computer’s USB port 5. Open the Terminal application in Kali Linux and run the command dmesg to verify that it
connected
6. In the bottom of the information from dmesg, check what drive is assigned to the DVRdrive
NOTE: USB connections are usually assigned /dev/adb
7. Enter the following command to perform the copy:
1. dd if=/dev/sdb of=/media/ExternalDrive/dvr.dd bs=512
NOTE: The if refers to what you want to image and the of refers to where you want to store it
and the bs refers to the blocksize of the drive.
8. After the image has transferred, boot the computer into Windows to begin the
examination process
Procedures for Examining the Image with FTK Imager
While FTK was unable to see the hard drive to create the image, it’s still very useful
software capable of investigating the image. It is able to able to display the file structures and
allow the investigator to examine the files from the hard drive.
1. FTK Imager can be downloaded from http://www.accessdata.com/support/product-downloads
2. After running FTK Imager, navigate to File > Add Evidence Item
3. Select that you want to use a captured image file and then browse to your DVR image
and select it4. Enter the case information for the lab
5. Once the image is loaded into FTK Imager, you can navigate through the directory tree in
the left corner looking for evidence
6. Looking at the tree, you can see that there are four partitions7. The majority of the important files are located within the root folder of the first partition
8. You can also extract files for further analysis by right-clicking on them and selecting
“Export Files…”
8/12/2019 DVR Forensic Analysis
http://slidepdf.com/reader/full/dvr-forensic-analysis 5/12
Procedures for Carving Files with PhotoRec
Files are never truly deleted, and therefore still remain on the drive. It’s possible to
retrieve some of these files by performing data carving on the image. Before carving for deleted
files with PhotoRec, the image needs to be mounted as a drive. This can be accomplished withFTK Imager.
1. Start the FTK Imager software2. Navigate to File >> Image Mounting
3. Select the image file
4.
Choose to mount it as “Physical and Logical”, select a drive letter, and select “BlockDevice/Read Only” 5. Click Mount
6. Once the image is mounted, it can be navigated to and searched through with the
Windows Explorer7. PhotoRec can be downloaded from http://www.cgsecurity.org/wiki/TestDisk_Download
8. Once the software is downloaded, unzip the folder and open PhotoRec
9. Once the command prompt has opened, select the image drive partition that you want to
carve, or you can select to perform it on the whole imaged disk10. Select where you want the files to be extracted to
11. After waiting for the process to finish, you can navigate to the files and search through all
of the files that were carved from the image
NOTE: No interesting files were found other than what were already on the drive. However,
PhotoRec was able to pull out several stored commercials from the fourth partition, but I wasunaware how these became stored on the drive as I’ve never watched them before.
Evidence Findings
I was able to find some information about the system, as well as shows that had been
stored and recording schedules. It also contains information about the network and even what brand TV is connected to the DVR.
NOTE: All of the following files are located in the first partition.
8/12/2019 DVR Forensic Analysis
http://slidepdf.com/reader/full/dvr-forensic-analysis 6/12
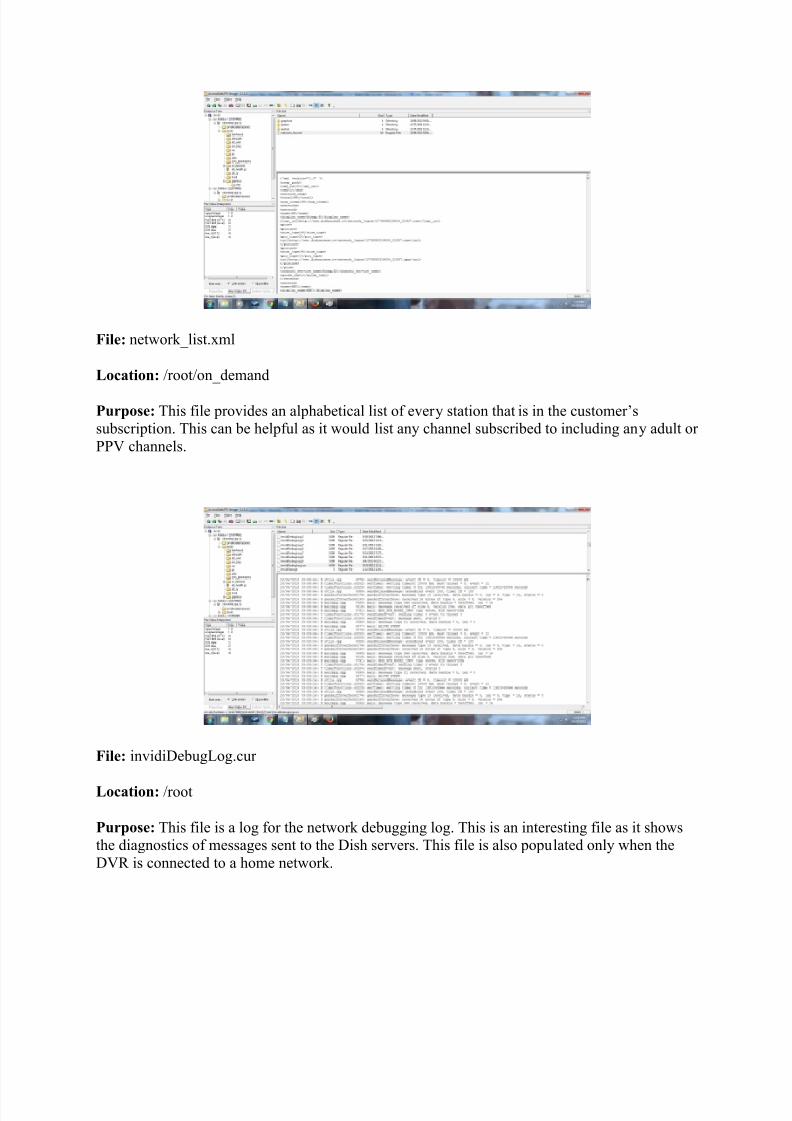
File: network_list.xml
Location: /root/on_demand
Purpose: This file provides an alphabetical list of every station that is in the customer’ssubscription. This can be helpful as it would list any channel subscribed to including any adult or
PPV channels.
File: invidiDebugLog.cur
Location: /root
Purpose: This file is a log for the network debugging log. This is an interesting file as it showsthe diagnostics of messages sent to the Dish servers. This file is also populated only when the
DVR is connected to a home network.
8/12/2019 DVR Forensic Analysis
http://slidepdf.com/reader/full/dvr-forensic-analysis 7/12
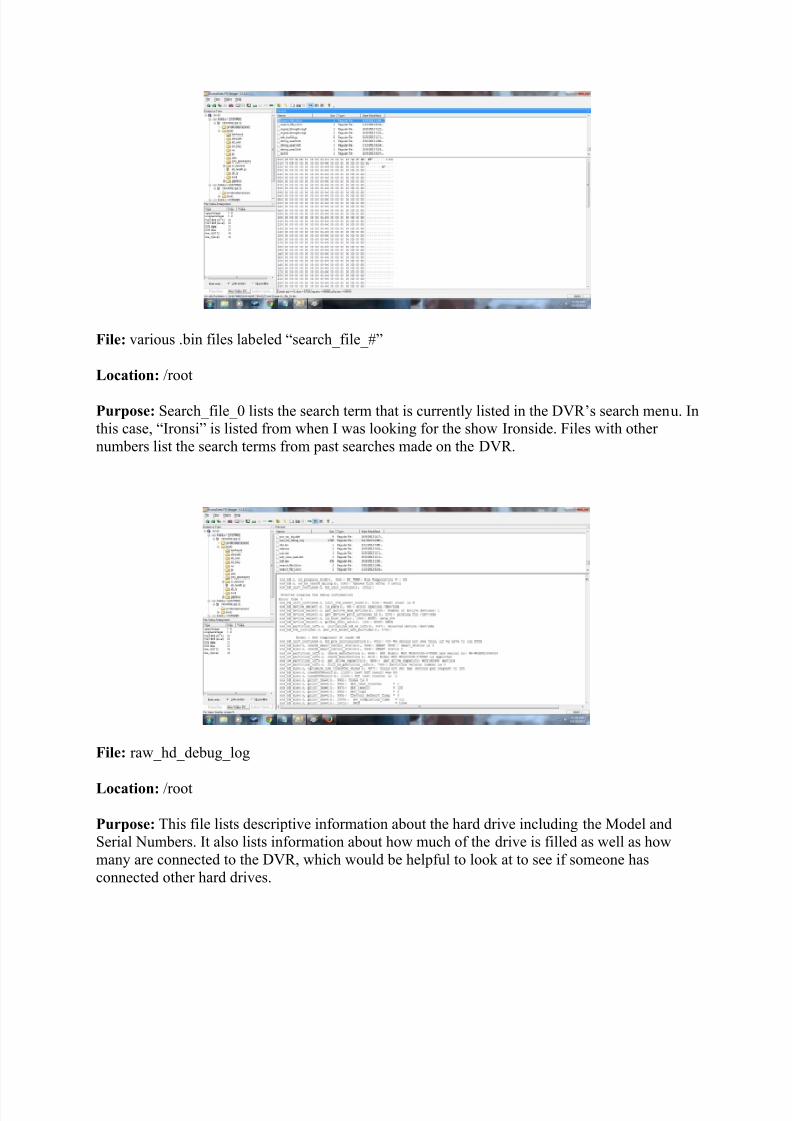
File: various .bin files labeled “search_file_#”
Location: /root
Purpose: Search_file_0 lists the search term that is currently listed in the DVR’s search menu. Inthis case, “Ironsi” is listed from when I was looking for the show Ironside. Files with other
numbers list the search terms from past searches made on the DVR.
File: raw_hd_debug_log
Location: /root
Purpose: This file lists descriptive information about the hard drive including the Model and
Serial Numbers. It also lists information about how much of the drive is filled as well as how
many are connected to the DVR, which would be helpful to look at to see if someone has
connected other hard drives.

8/12/2019 DVR Forensic Analysis
http://slidepdf.com/reader/full/dvr-forensic-analysis 8/12
File: EXT_mini_wtch_log
Location: /root
Purpose: This file details if an external hard drive was connected to the DVR. I’m not sure whatinformation that would include, but it could still be important to an investigator.
File: sdt.raw
Location: /root
Purpose: This is another file that lists information about the channel subscription. However, it
also goes back and details the messages I received when my free HBO subscriptions wereexpiring from joining Dish. This is important because it provides a history of channel
subscriptions.
8/12/2019 DVR Forensic Analysis
http://slidepdf.com/reader/full/dvr-forensic-analysis 9/12
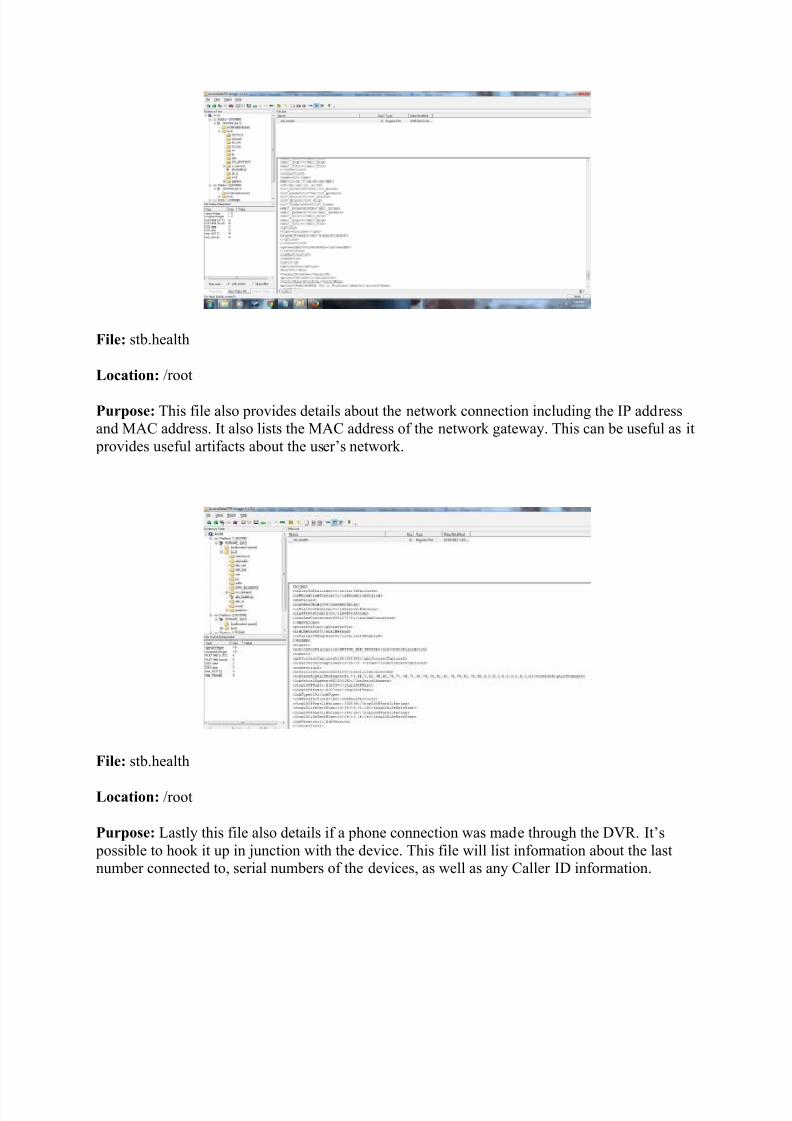
File: stb.health
Location: /root
Purpose: This file also provides details about the network connection including the IP addressand MAC address. It also lists the MAC address of the network gateway. This can be useful as it
provides useful artifacts about the user’s network.
File: stb.health
Location: /root
Purpose: Lastly this file also details if a phone connection was made through the DVR. It’s
possible to hook it up in junction with the device. This file will list information about the lastnumber connected to, serial numbers of the devices, as well as any Caller ID information.
8/12/2019 DVR Forensic Analysis
http://slidepdf.com/reader/full/dvr-forensic-analysis 10/12
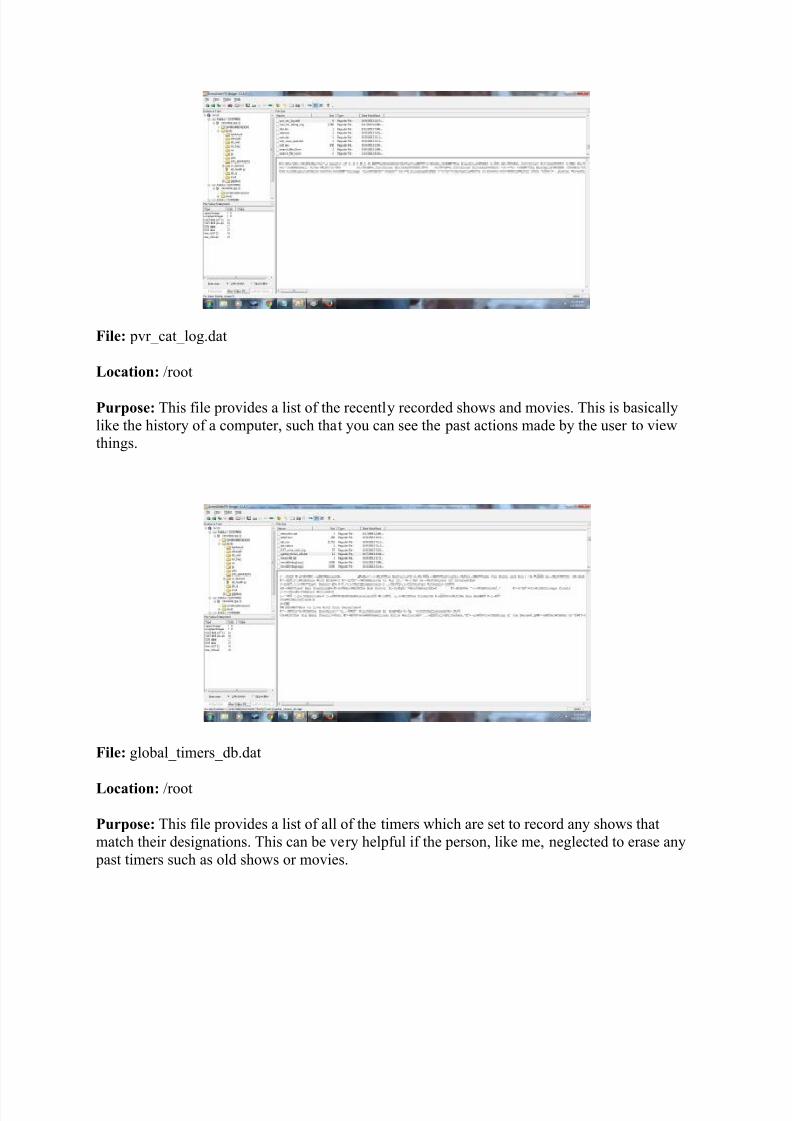
File: pvr_cat_log.dat
Location: /root
Purpose: This file provides a list of the recently recorded shows and movies. This is basically
like the history of a computer, such that you can see the past actions made by the user to viewthings.
File: global_timers_db.dat
Location: /root
Purpose: This file provides a list of all of the timers which are set to record any shows that
match their designations. This can be very helpful if the person, like me, neglected to erase any
past timers such as old shows or movies.
8/12/2019 DVR Forensic Analysis
http://slidepdf.com/reader/full/dvr-forensic-analysis 11/12
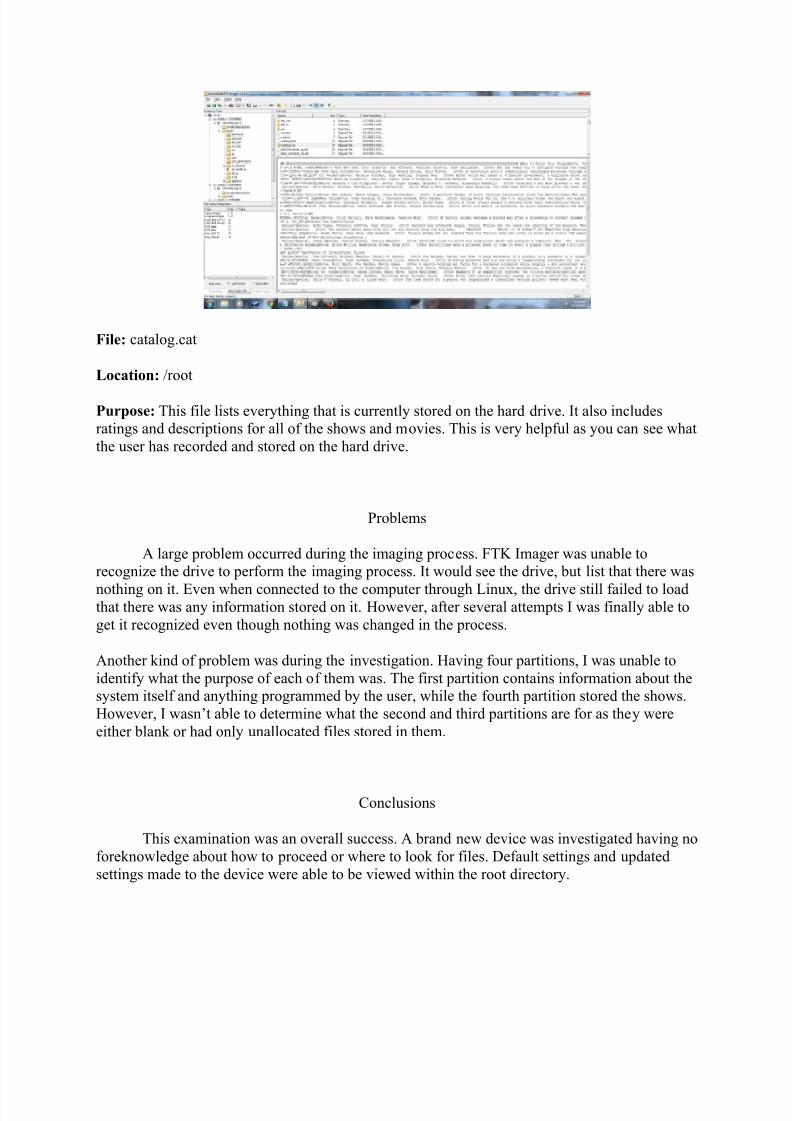
File: catalog.cat
Location: /root
Purpose: This file lists everything that is currently stored on the hard drive. It also includesratings and descriptions for all of the shows and movies. This is very helpful as you can see what
the user has recorded and stored on the hard drive.
Problems
A large problem occurred during the imaging process. FTK Imager was unable torecognize the drive to perform the imaging process. It would see the drive, but list that there was
nothing on it. Even when connected to the computer through Linux, the drive still failed to loadthat there was any information stored on it. However, after several attempts I was finally able to
get it recognized even though nothing was changed in the process.
Another kind of problem was during the investigation. Having four partitions, I was unable to
identify what the purpose of each of them was. The first partition contains information about thesystem itself and anything programmed by the user, while the fourth partition stored the shows.
However, I wasn’t able to determine what the second and third partitions are for as they were
either blank or had only unallocated files stored in them.
Conclusions
This examination was an overall success. A brand new device was investigated having no
foreknowledge about how to proceed or where to look for files. Default settings and updated
settings made to the device were able to be viewed within the root directory.
8/12/2019 DVR Forensic Analysis
http://slidepdf.com/reader/full/dvr-forensic-analysis 12/12
The file structure was easy to navigate to search for evidence files using FTK Imager. Files were
found that were able to show what users had searched for and scheduled to be recorded, as well
as what was stored on the hard drive. Photo Rec was able to carve numerous files fromunallocated space on the drive. However, most of them were text files and various code snippets,
although there were also a couple of commercial videos.
References
(2013). In Kali Linux. Retrieved September 13, 2013, from http://www.kali.org/
AccessData FTK Imager (2012, March 21). In AccessData. Retrieved August 27, 2013, from
http://marketing.accessdata.com/acton/attachment/4390/f-000d/1/-/-/-/-/file.pdf
Angeli, E., Wagner, J., Lawrick, E., Moore, K., Anderson, M., Soderlund, L., & Brizee, A.
(2010, May 5). General format . Retrieved September 1, 2013 fromhttp://owl.english.purdue.edu/owl/resource/560/01/
Dish Network User’s Guide. (2010). N.p.: EchoStar Technologies.
PhotoRec (2011). In cgsecurity. Retrieved September 19, 2013, from
http://www.cgsecurity.org/wiki/PhotoRec