Embed Size (px)
DESCRIPTION
OVO
Citation preview

DB SPI Configuration in UNIX
- 24.08.11
Before starting the DB SPI configuration need to get the
User ID and password (hp_dbspi) Oracle Home directory Oracle SID/ Instance name Oracle log file name and path by mailing the DB team in the below format.
Dear DB team,
Please share the following details for below 4 servers
1. Create user(hp_dbspi) with following permissions
CREATE USER hp_dbspi PROFILE DEFAULT IDENTIFIED BY hp_dbspi DEFAULT TABLESPACE users TEMPORARY TABLESPACE TEMP ACCOUNT UNLOCK; GRANT ALTER SESSION TO hp_dbspi; GRANT CREATE SESSION TO hp_dbspi; GRANT SELECT ANY DICTIONARY TO hp_dbspi; GRANT EXECUTE ON SYS.DBMS_SPACE_ADMIN TO hp_dbspi;
2. Oracle Home director3. Oracle SID/ instance name4. Oracle log file name and path
Servers list:-
< List of servers >
Will receive the response from DB team as below.
SERVER_NAME ORACLE_SID INSTANCE_NAME ORACLE_HOME LOGFILE_NAME LOGFILE_LOCATIONorgprodapp1 ORGPLSPR ORGPLSPR E:\oracle\product\10.2.0 alert_orgplspr.log E:\ORACLE\PRODUCT\ADMIN\ORGPLSPR\BDUMPbacprodapp2 BACPR BACPR C:\oracle\product\11.2.0 alert_bacpr.log c:\oracle\admin\diag\rdbms\bacpr\bacpr\trace
SMPRORPT1 HPDCPR HPDCPRD:\oracle\product\10.2.0 alert_hpdcpr.log D:\ORACLE\PRODUCT\ADMIN\HPDCPR\BDUMP
Once received the requested information from DB team, can start configuring DB SPI.
On Managed Node
Need to get the “Root” credentials from the System admin team and login to the node.
Navigate to the instrumentation directory and open “dbspicfg.sh” script file

/var/opt/OV/bin/instrumentation
When we run the script it will open a file in vi editor containing configuration part. Need to edit the file in the below format
SYNTAX_VERSION 4
ORACLE
HOME “< Oracle Home Path >”
DATABASE < Instance 1 > CONNECT “< DBSPI Username >/< DBSPI Password >@< TNS Service Name >”
LOGFILE “< Instance 1 Alert Log Path >”
DATABASE < Instance 2 > CONNECT “< DBSPI Username >/< DBSPI Password >@< TNS Service Name >”
LOGFILE “< Instance 2 Alert Log Path >”
In our case it is as follows
SYNTAX_VERSION 4
ORACLE
HOME "<ORACLE_HOME>"
DATABASE "<db name>" CONNECT "dbspi/password@<TNS Service Name>"
LOGFILE "<log file path>"
TNS Service Name = ORACLE_SID (Provided by DB team)
For rest of the lines if any exists prior to the above editing in the file comment them. (###)
After editing the file with the above entries, save the file with the [ESC]:wq and script will prompt to save the file. Provide Yes to save the file.
NO to re-edit
Script provides whether the connection is successful or not.
Need to verify using./dbspiverify under /var/opt/OV/bin/instrumentation . Attached the snapshots below.

Add the node to DB SPI Node Group from GUI:-
Go to the node where we already added for OVO agent installation such as (backup-srv in IT-Solaris node group) copy that and paste it in DB SPI custom Node Group(s).
From node group bank window.
By this step all the templates that are existing for DB SPI custom will be assigned to the node added.
Creation of Template:-
Once the connection is successful, can distribute the templates from GUI as below.
For this new node we have to create a new template for the log file monitoring by Copying the template as below.
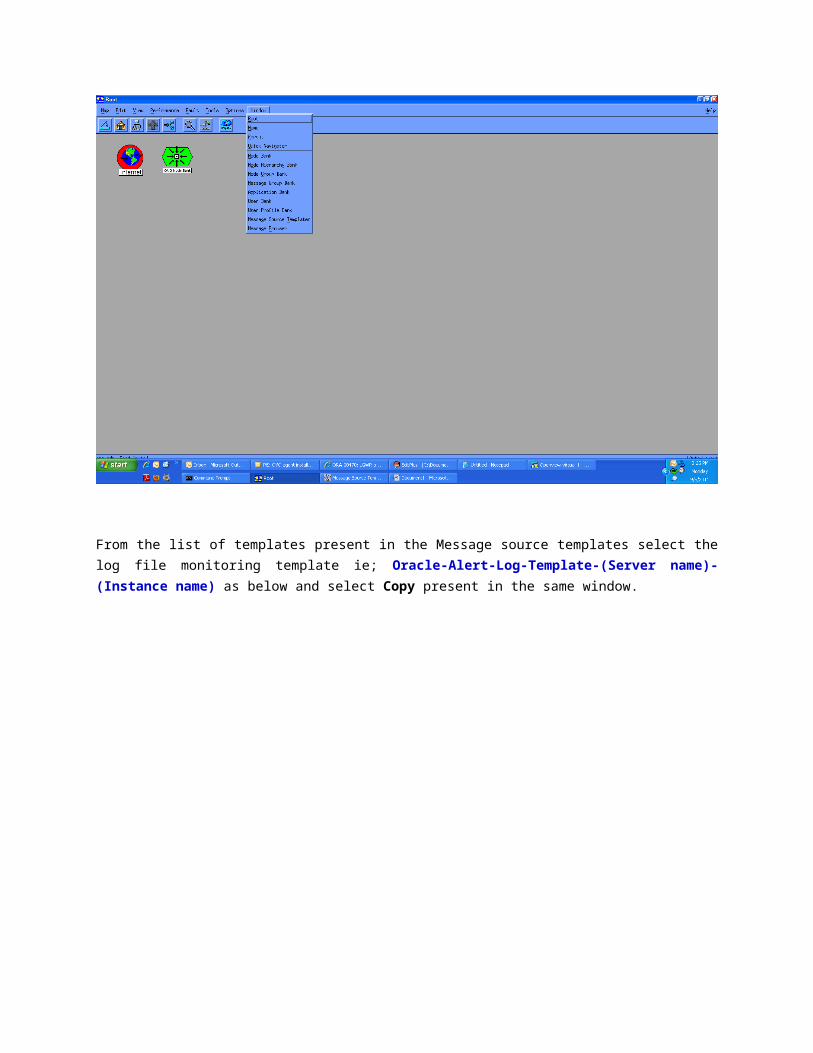
Login to the GUI select Message Source Templates under Window tab.
From the list of templates present in the Message source templates select the log file monitoring template ie; Oracle-Alert-Log-Template-(Server name)-(Instance name) as below and select Copy present in the same window.
From the Copy Log file window change the template name as
Oracle-Alert-Log-Template-(Server name)-(Instance name) and Log file as
Log file Path/Log file name as below and select OK

Assigning the Template:-
Then go to the Node Group bank window from Root Window Node Group Bank

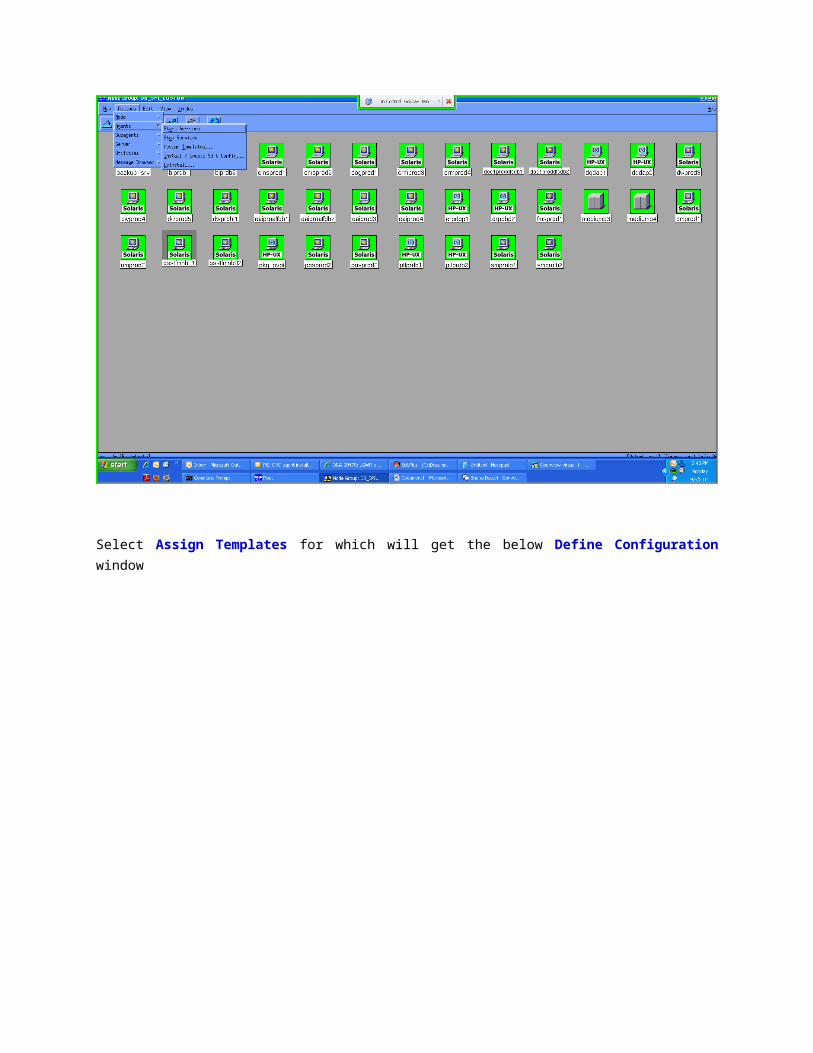
From Node Group Bank DB SPI Custom window and the select the node for which the new template created need to be assigned as below.
Select Assign Templates for which will get the below Define Configuration window

Select the Add button present in the window so that can get the Add configuration window
Select Open Template Window button to get the list of templates present
Select the template created previously as below

Then, go to the Add Configuration window and select the Get Template Selections as below and press OK.
Distributing the Template:-
Go to the DB SPI Custom node Group and select Install/ Update SW & Config under the path
Actions Agents Install/ Update SW & Config as follows

Then, in the Install/Update CW & Config window select the below and press OK
Templates Force Update
Get the node to be displayed in the Nodes in list from Get Map Selections as below


