Embed Size (px)
Citation preview
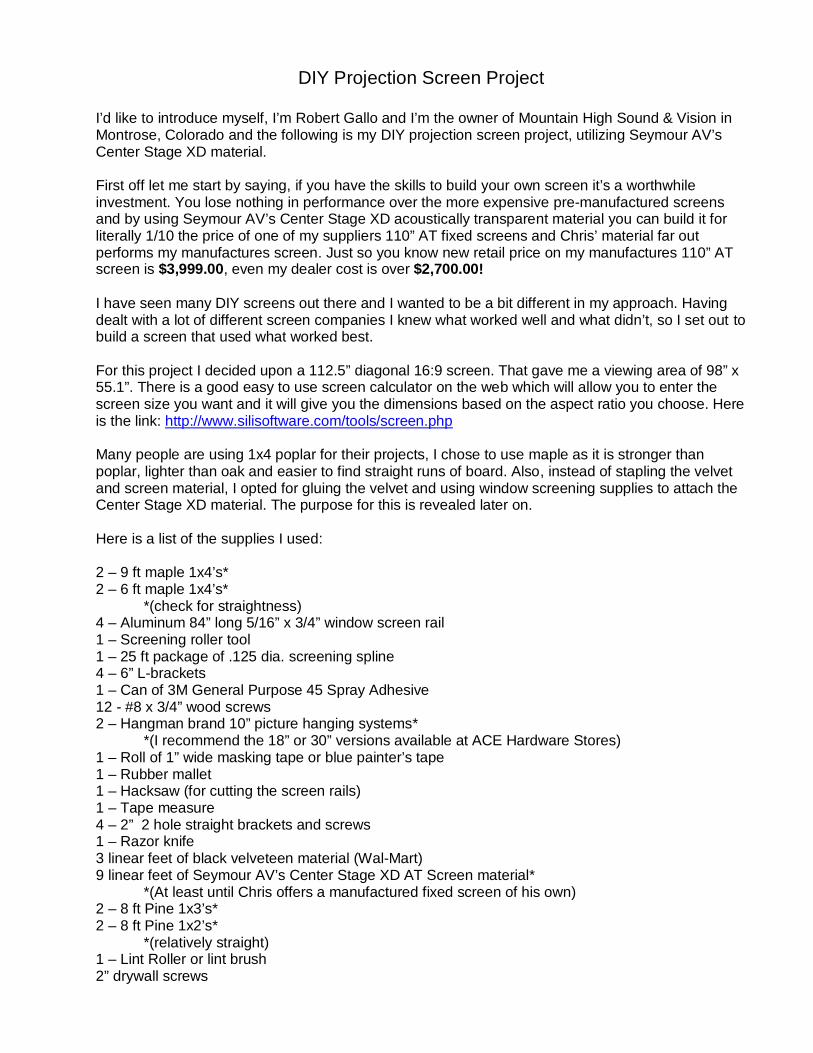
DIY Projection Screen Project
I’d like to introduce myself, I’m Robert Gallo and I’m the owner of Mountain High Sound & Vision in Montrose, Colorado and the following is my DIY projection screen project, utilizing Seymour AV’s Center Stage XD material. First off let me start by saying, if you have the skills to build your own screen it’s a worthwhile investment. You lose nothing in performance over the more expensive pre-manufactured screens and by using Seymour AV’s Center Stage XD acoustically transparent material you can build it for literally 1/10 the price of one of my suppliers 110” AT fixed screens and Chris’ material far out performs my manufactures screen. Just so you know new retail price on my manufactures 110” AT screen is $3,999.00, even my dealer cost is over $2,700.00! I have seen many DIY screens out there and I wanted to be a bit different in my approach. Having dealt with a lot of different screen companies I knew what worked well and what didn’t, so I set out to build a screen that used what worked best. For this project I decided upon a 112.5” diagonal 16:9 screen. That gave me a viewing area of 98” x 55.1”. There is a good easy to use screen calculator on the web which will allow you to enter the screen size you want and it will give you the dimensions based on the aspect ratio you choose. Here is the link: http://www.silisoftware.com/tools/screen.php Many people are using 1x4 poplar for their projects, I chose to use maple as it is stronger than poplar, lighter than oak and easier to find straight runs of board. Also, instead of stapling the velvet and screen material, I opted for gluing the velvet and using window screening supplies to attach the Center Stage XD material. The purpose for this is revealed later on. Here is a list of the supplies I used: 2 – 9 ft maple 1x4’s* 2 – 6 ft maple 1x4’s*
*(check for straightness) 4 – Aluminum 84” long 5/16” x 3/4” window screen rail 1 – Screening roller tool 1 – 25 ft package of .125 dia. screening spline 4 – 6” L-brackets 1 – Can of 3M General Purpose 45 Spray Adhesive 12 - #8 x 3/4” wood screws 2 – Hangman brand 10” picture hanging systems*
*(I recommend the 18” or 30” versions available at ACE Hardware Stores) 1 – Roll of 1” wide masking tape or blue painter’s tape 1 – Rubber mallet 1 – Hacksaw (for cutting the screen rails) 1 – Tape measure 4 – 2” 2 hole straight brackets and screws 1 – Razor knife 3 linear feet of black velveteen material (Wal-Mart) 9 linear feet of Seymour AV’s Center Stage XD AT Screen material*
*(At least until Chris offers a manufactured fixed screen of his own) 2 – 8 ft Pine 1x3’s* 2 – 8 ft Pine 1x2’s*
*(relatively straight) 1 – Lint Roller or lint brush 2” drywall screws
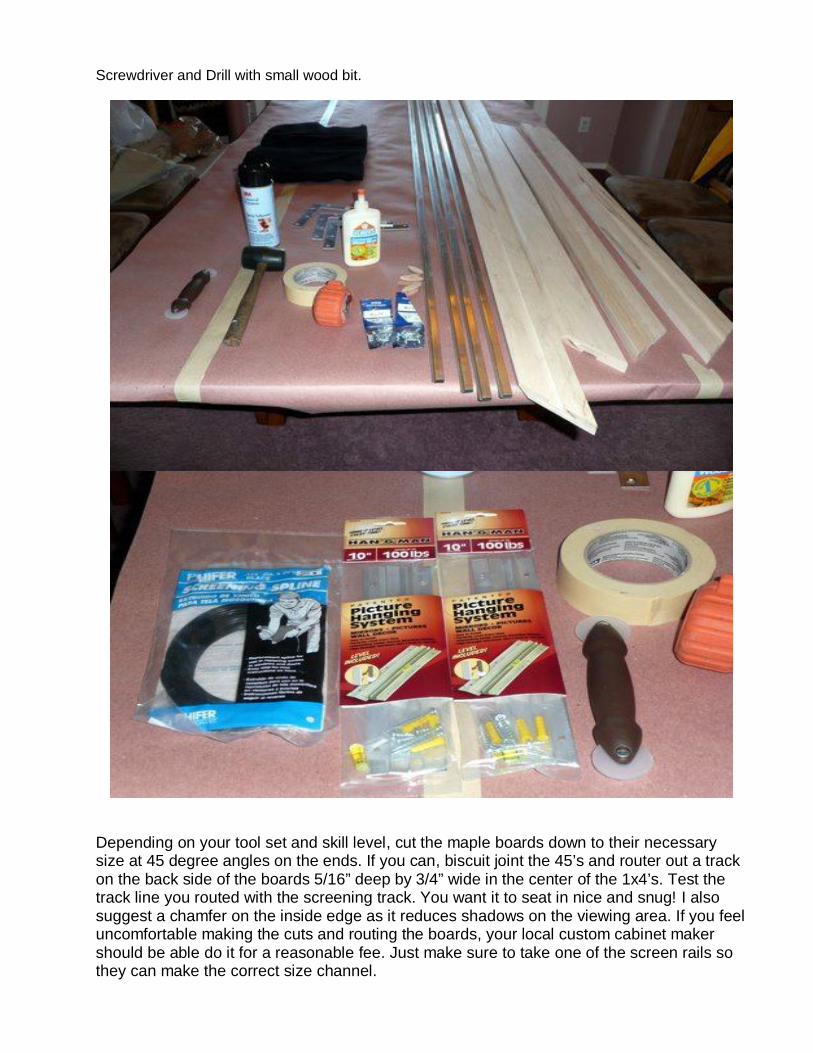
Screwdriver and Drill with small wood bit.
Depending on your tool set and skill level, cut the maple boards down to their necessary size at 45 degree angles on the ends. If you can, biscuit joint the 45’s and router out a track on the back side of the boards 5/16” deep by 3/4” wide in the center of the 1x4’s. Test the track line you routed with the screening track. You want it to seat in nice and snug! I also suggest a chamfer on the inside edge as it reduces shadows on the viewing area. If you feel uncomfortable making the cuts and routing the boards, your local custom cabinet maker should be able do it for a reasonable fee. Just make sure to take one of the screen rails so they can make the correct size channel.
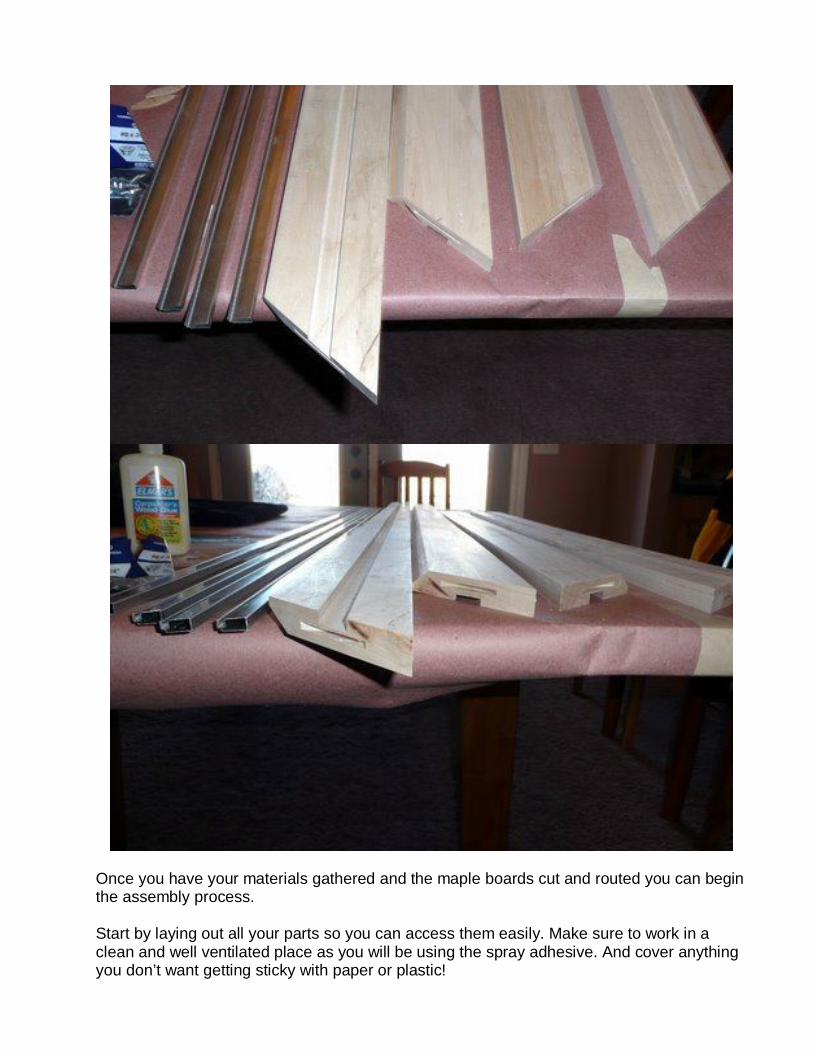
Once you have your materials gathered and the maple boards cut and routed you can begin the assembly process. Start by laying out all your parts so you can access them easily. Make sure to work in a clean and well ventilated place as you will be using the spray adhesive. And cover anything you don’t want getting sticky with paper or plastic!
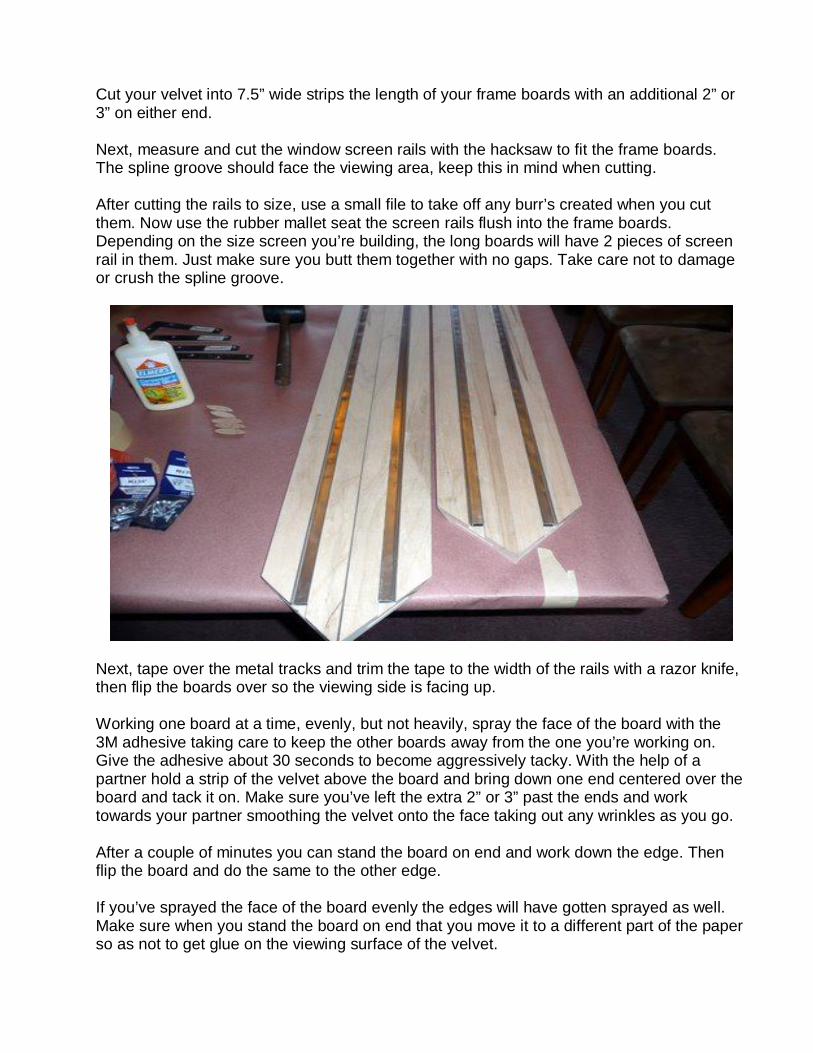
Cut your velvet into 7.5” wide strips the length of your frame boards with an additional 2” or 3” on either end. Next, measure and cut the window screen rails with the hacksaw to fit the frame boards. The spline groove should face the viewing area, keep this in mind when cutting. After cutting the rails to size, use a small file to take off any burr’s created when you cut them. Now use the rubber mallet seat the screen rails flush into the frame boards. Depending on the size screen you’re building, the long boards will have 2 pieces of screen rail in them. Just make sure you butt them together with no gaps. Take care not to damage or crush the spline groove.
Next, tape over the metal tracks and trim the tape to the width of the rails with a razor knife, then flip the boards over so the viewing side is facing up. Working one board at a time, evenly, but not heavily, spray the face of the board with the 3M adhesive taking care to keep the other boards away from the one you’re working on. Give the adhesive about 30 seconds to become aggressively tacky. With the help of a partner hold a strip of the velvet above the board and bring down one end centered over the board and tack it on. Make sure you’ve left the extra 2” or 3” past the ends and work towards your partner smoothing the velvet onto the face taking out any wrinkles as you go. After a couple of minutes you can stand the board on end and work down the edge. Then flip the board and do the same to the other edge. If you’ve sprayed the face of the board evenly the edges will have gotten sprayed as well. Make sure when you stand the board on end that you move it to a different part of the paper so as not to get glue on the viewing surface of the velvet.
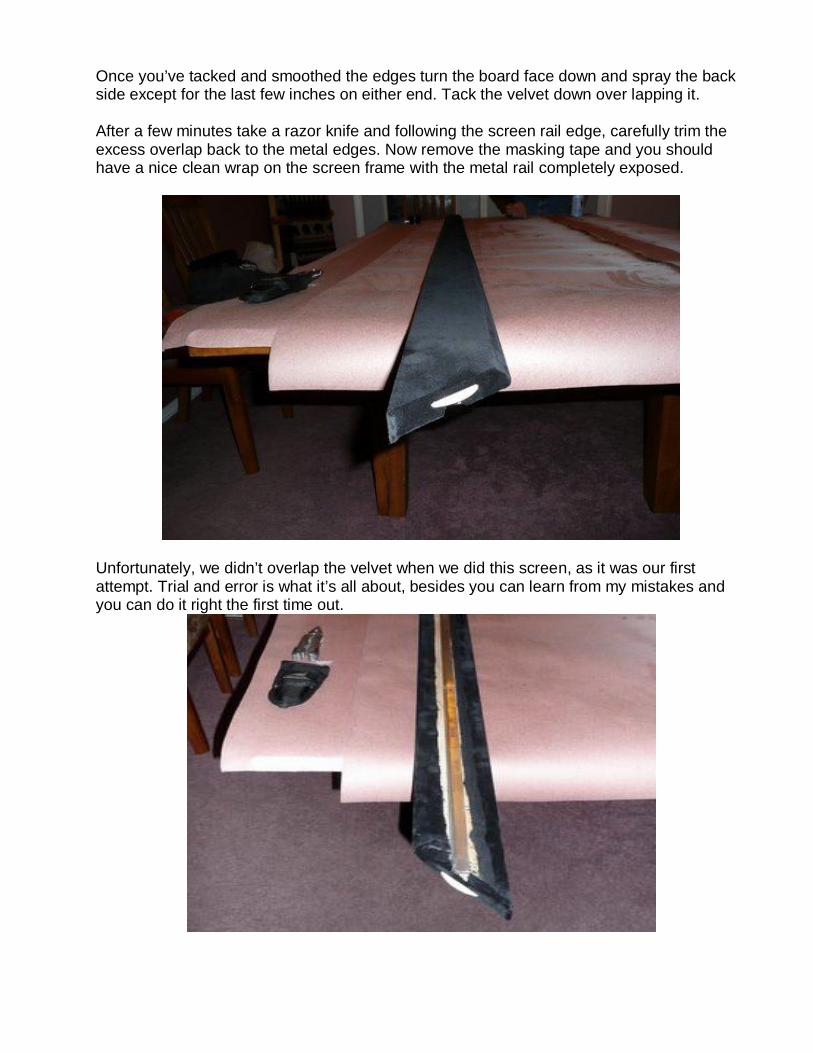
Once you’ve tacked and smoothed the edges turn the board face down and spray the back side except for the last few inches on either end. Tack the velvet down over lapping it. After a few minutes take a razor knife and following the screen rail edge, carefully trim the excess overlap back to the metal edges. Now remove the masking tape and you should have a nice clean wrap on the screen frame with the metal rail completely exposed.
Unfortunately, we didn’t overlap the velvet when we did this screen, as it was our first attempt. Trial and error is what it’s all about, besides you can learn from my mistakes and you can do it right the first time out.
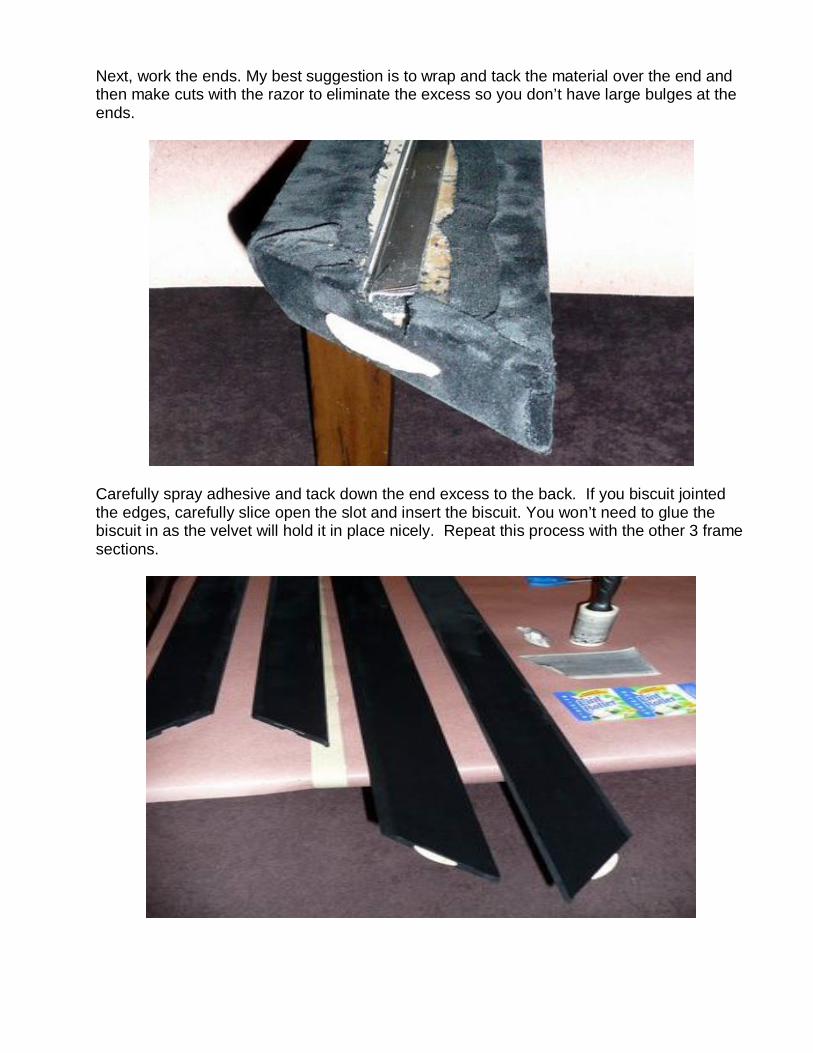
Next, work the ends. My best suggestion is to wrap and tack the material over the end and then make cuts with the razor to eliminate the excess so you don’t have large bulges at the ends.
Carefully spray adhesive and tack down the end excess to the back. If you biscuit jointed the edges, carefully slice open the slot and insert the biscuit. You won’t need to glue the biscuit in as the velvet will hold it in place nicely. Repeat this process with the other 3 frame sections.
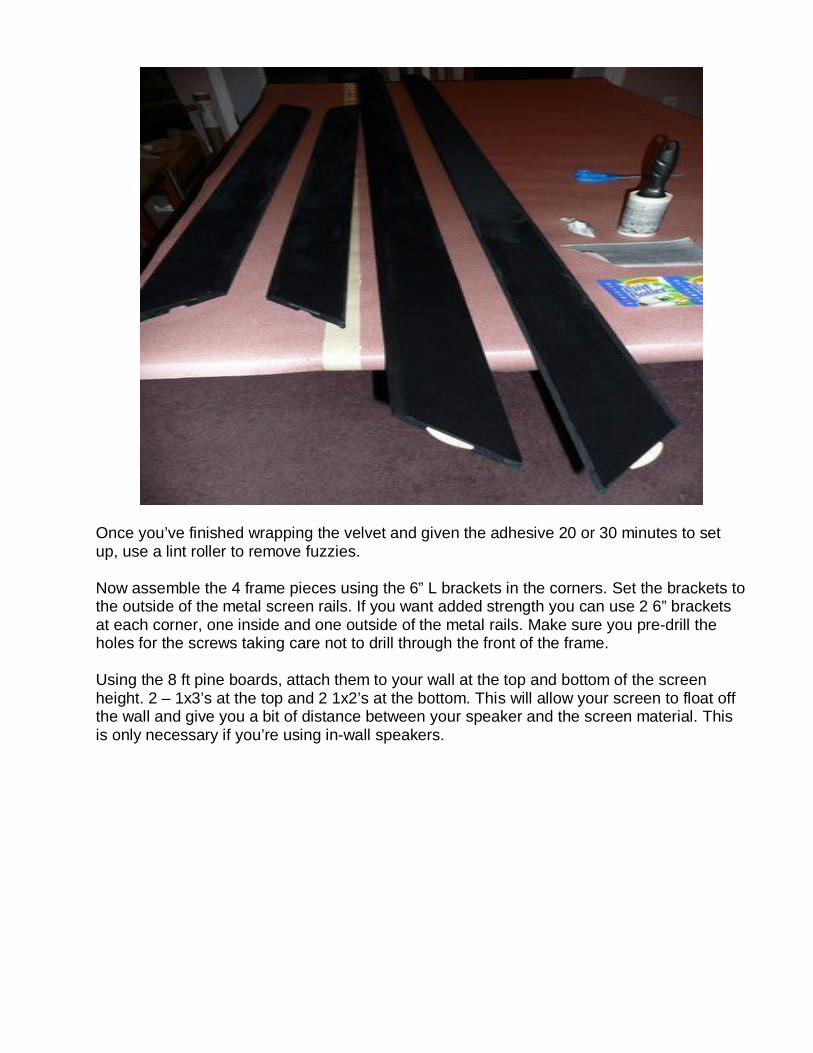
Once you’ve finished wrapping the velvet and given the adhesive 20 or 30 minutes to set up, use a lint roller to remove fuzzies. Now assemble the 4 frame pieces using the 6” L brackets in the corners. Set the brackets to the outside of the metal screen rails. If you want added strength you can use 2 6” brackets at each corner, one inside and one outside of the metal rails. Make sure you pre-drill the holes for the screws taking care not to drill through the front of the frame. Using the 8 ft pine boards, attach them to your wall at the top and bottom of the screen height. 2 – 1x3’s at the top and 2 1x2’s at the bottom. This will allow your screen to float off the wall and give you a bit of distance between your speaker and the screen material. This is only necessary if you’re using in-wall speakers.
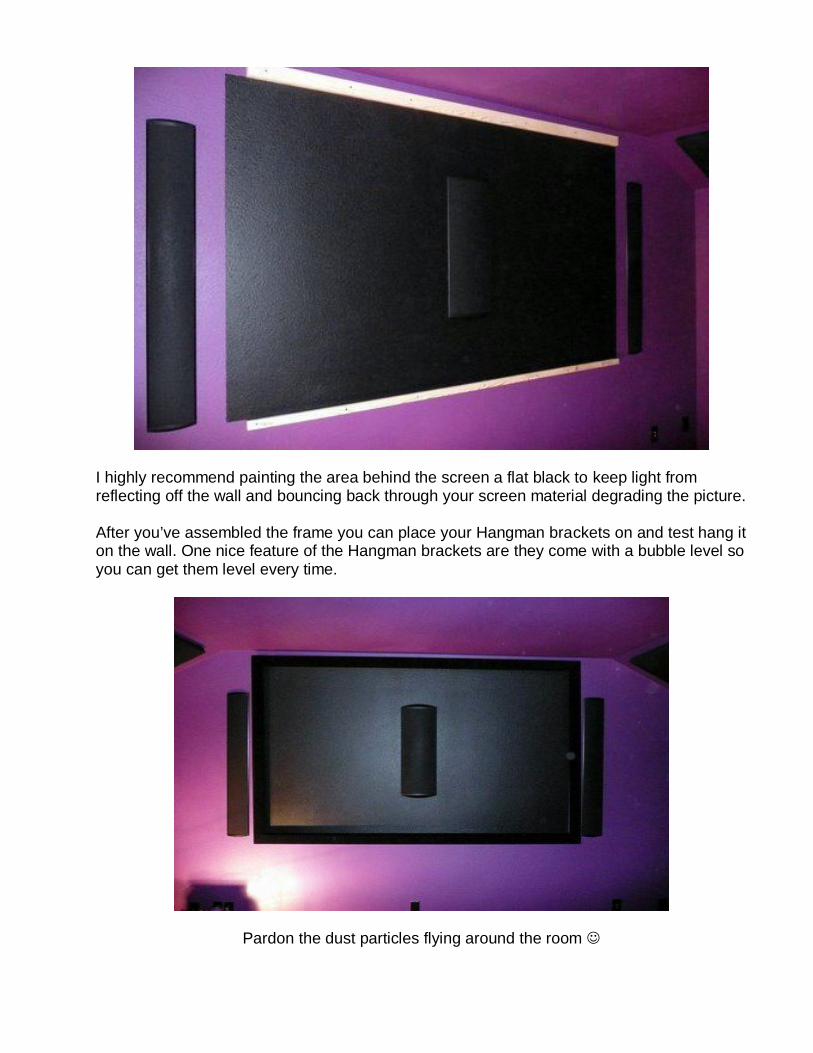
I highly recommend painting the area behind the screen a flat black to keep light from reflecting off the wall and bouncing back through your screen material degrading the picture. After you’ve assembled the frame you can place your Hangman brackets on and test hang it on the wall. One nice feature of the Hangman brackets are they come with a bubble level so you can get them level every time.
Pardon the dust particles flying around the room
You’re now ready to seat the screen material. This is probably the most difficult and time consuming part of the process, but when you’re done, you will have a perfectly tensioned screen. Plus, if for some reason your screen material gets damaged or dirty beyond cleaning you can easily remove it and replace just the material. Or if new screen material is developed, as in the case of the Center Stage XD replacing the Center Stage, you can upgrade your fabric without having to build a new screen.
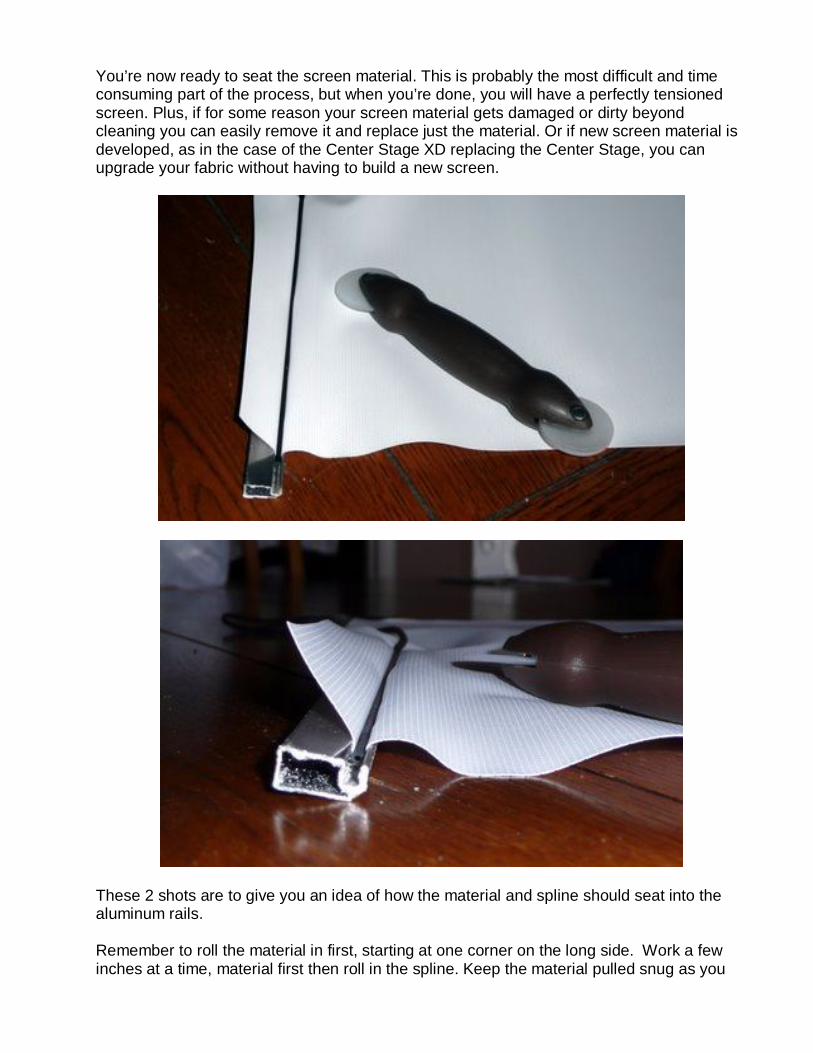
These 2 shots are to give you an idea of how the material and spline should seat into the aluminum rails. Remember to roll the material in first, starting at one corner on the long side. Work a few inches at a time, material first then roll in the spline. Keep the material pulled snug as you

go. When you get about 1/3 of the way, go back to the corner and start down the short side doing the same thing, pulling the screen material towards the opposite corner. Keep switching back and forth working towards the far corner.
Once you’ve made it all the way to the far corner and the material is seated, look to see if you have any bulges or ripples. If you do, pull some of the spline and re-work the material to remove the imperfections. You may need to do this several times in order to take out all the ripples, but once done you will have a perfectly tensioned screen across the entire surface. And if it ever sags you can easily re-tension it. The final step once you hang the screen on the wall is to attach the 4 – 2” 2 hole brackets on the bottom to keep the frame flush on the wall and help prevent warping.
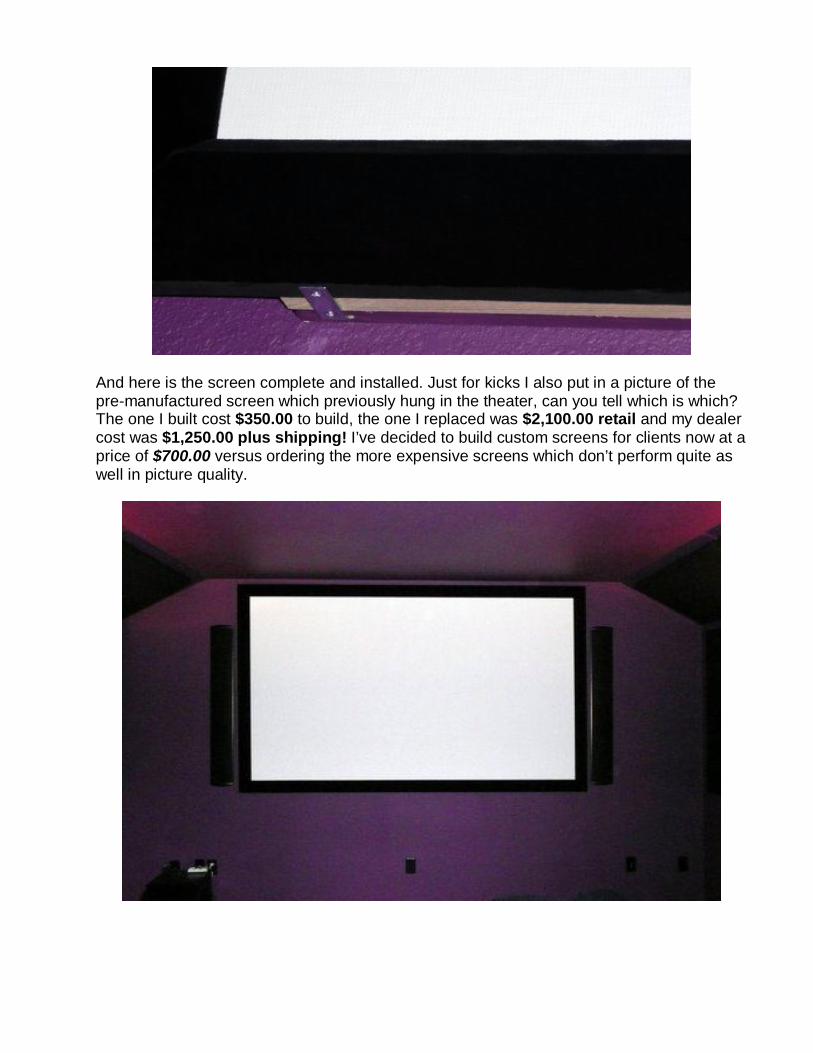
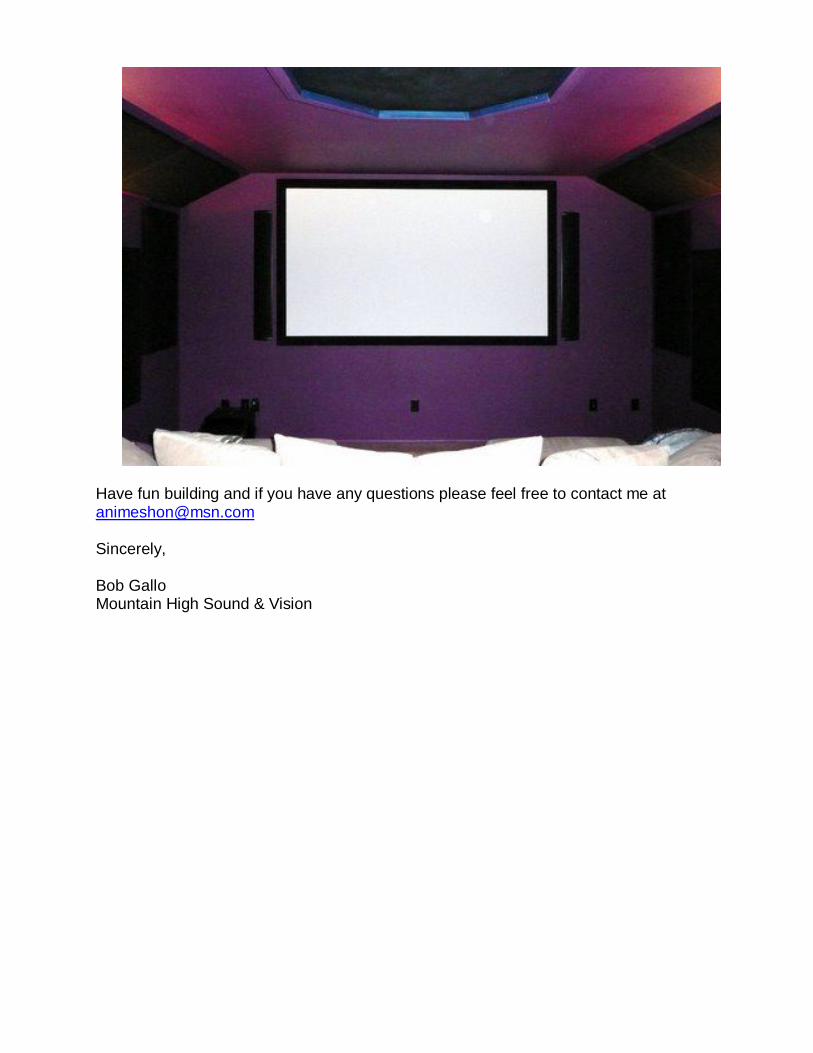
And here is the screen complete and installed. Just for kicks I also put in a picture of the pre-manufactured screen which previously hung in the theater, can you tell which is which? The one I built cost $350.00 to build, the one I replaced was $2,100.00 retail and my dealer cost was $1,250.00 plus shipping! I’ve decided to build custom screens for clients now at a price of $700.00 versus ordering the more expensive screens which don’t perform quite as well in picture quality.
Have fun building and if you have any questions please feel free to contact me at [email protected] Sincerely, Bob Gallo Mountain High Sound & Vision