Embed Size (px)
DESCRIPTION
Home Improvement: Considering a Bathroom Installation?I am a hundred percent sure that most of you always look for some home improvements. In fact, this idea occurs every day. However, most of us seldom focus our home improvements outside the home but rather inside, and the usual spot for such activity by most people is the bathroom. Well, for some reasons, the improvement involved in the bathroom is really important as we spend much time in that place. In this article, I would be dealing with some tips and techniques for improving the looks of your bathroom. The main focus here is mainly on bathroom installation, particularly on shower or bathtub installation, bathtub enclosure and bathtub surround installation. Free home renovating report brought to you by:http://RubberFlooringDirect.com
Citation preview
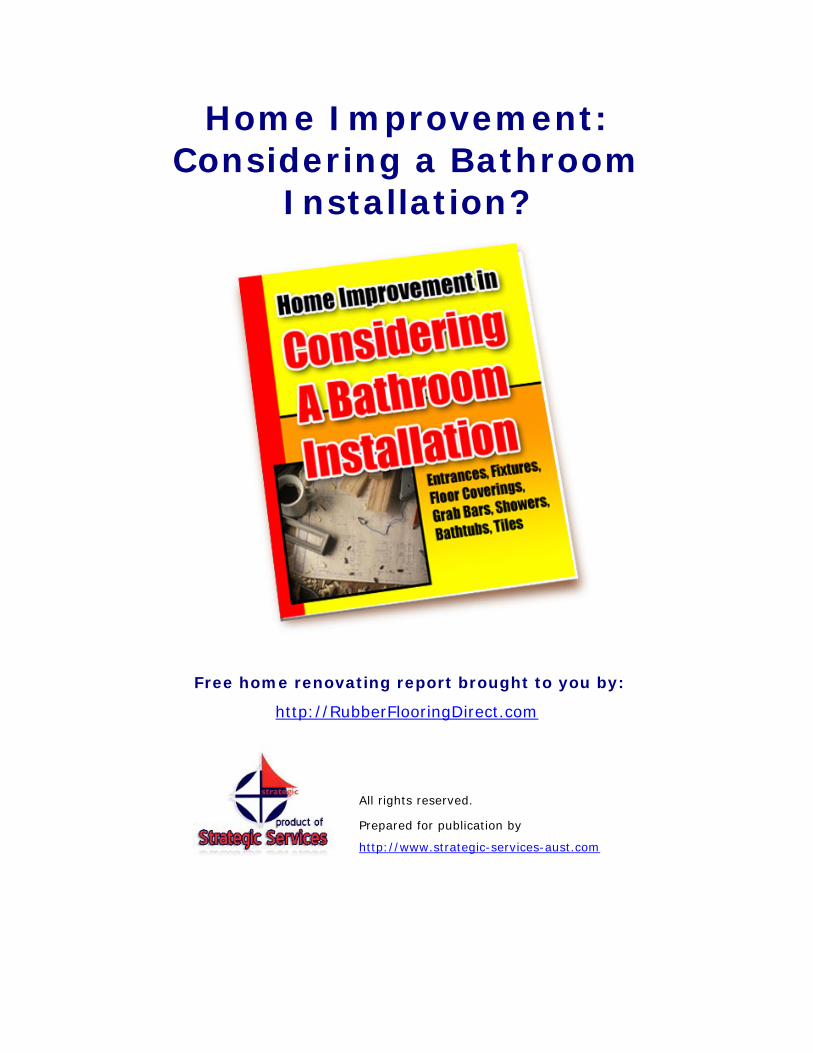
Home Improvement: Considering a Bathroom
Installation?
Free home renovating report brought to you by:
http://RubberFlooringDirect.com
All rights reserved.
Prepared for publication by
http://www.strategic-services-aust.com
I am a hundred percent sure that most of you always look for some
home improvements. In fact, this idea occurs every day.
However, most of us seldom focus our home improvements outside
the home but rather inside, and the usual spot for such activity by
most people is the bathroom. Well, for some reasons, the
improvement involved in the bathroom is really important as we spend
much time in that place.
In this article, I would be dealing with some tips and techniques for
improving the looks of your bathroom. The main focus here is mainly
on bathroom installation, particularly on shower or bathtub
installation, bathtub enclosure and bathtub surround installation.
But before anything else, let us look at some common mistakes and
recommended guidelines involved with bathroom installation.
Most Common Mistakes and Guidelines for Bathroom
Installation
There are a number of common errors observed from most of the
bathroom installation. Here is a list of those errors:
• Ignoring or violating local code restrictions
• Employing pipes that are too small
• Attaching copper to galvanized without employing a brass or
dielectric fitting between the two
• Not considering Teflon tape or pipe compound especially at
threaded joints
• Not installing an air gap filling for fixtures
• Not properly aligning tubing into fitting or stop valves
• Cutting supply stub outs too short to install the shutoff valves
onto after the finished wall is in place
• Not leveling fixtures when installing them
Now, after knowing those errors, I think it is best for you to know
some of the standards developed by the federal government for those
who are thinking of a bathroom improvement.
Note that these standards are highly applicable whether you are
planning of designing a bathroom for wheelchair or just to make the
room more comfortable and functional for anyone with limited
mobility. Here are some of the recommended guidelines:
Entrances
Starting with your entrance into the room, I know that you want to
make sure that the door is at least 32 inches wide. If you find that
the doorway is located off a hallway and you have a wheelchair that
must turn from the hall into the doorway, then the door width must be
adjusted to about 36 inches.
Also if possible, avoid putting a threshold in the doorway. However, if
a particular threshold is needed, you try to choose a flat one that is no
more than ¼ inch high, or perhaps one that is beveled on both sides
and no greater than ¾ inch high.
In case you have a member in the family with limited hand strength, a
standard door knob can be very difficult to grip. So, what is commonly
advised is to select a lever handle, instead of a knob. The height of
this handles must be at 48 inches or less above the floor.
Bathroom Fixtures
As opposed to a conventional toilet which is about 14 to 15 inches
above the floor, you can employ accessible toilets which are designed
and developed so that the seat is between 17 to 19 inches above the
floor. For the sink, you may want to make sure that the rim is no
higher than 34 inches above the floor.
Aside from that, the sinks should extend out at least 17 inches from
the rear wall, and the area under the sink must be opened with a
clearance of at least 29 inches starting from the floor to the bottom of
the sink.
If in case you want your sink to be installed in a countertop, consider
putting it no more than 2 inches from the side of the counter.
According to some experts, this promotes maximum accessibility.
In addition, you can employ a protective boot over the water lines and
trap underneath the sink to prevent contact. Use a single-handle,
lever-style faucet that is easily operated with one closed fist.
Floor Covering
Many homeowners considered the sheet vinyl flooring as the best
choice. The main reason for this could be its smooth quality and its
being easy to clean.
However, if you are using a ceramic tile, try to choose large and
smooth tiles so to lessen the grout lines and some surface
irregularities. Also look for a non-slip surface texture. And, if you are
considering floor carpeting, stick with naps that are ½ inch high or
less.
Interior Clearances
This is another advice for those who are wheelchaired. Well, for you
to make a 180-degree turn, a wheelchair needs at least 60 inches,
which is 5 feet, of clearance. Note that this amount of clear space is
oftentimes difficult to achieve, but consider a T-shaped space instead.
Each side of the T must be at least 36 inches wide. According to some
experts this configuration will allow space for a wheelchair to be able
to comfortably make a three-point turn rather than having to
maneuver in a complete circle.
Along with this consideration, try to make pathways to any fixtures at
least 36 inches wide. And, when it comes to the sink, it should have a
clear space in front of it.
Grab Bars
Perhaps one of the wonderful features in just about any bathroom is
the grab bars. These even make the bathroom safer and more
convenient for anyone to use.
Well, it is worth noting that if you are installing a horizontal grab bar,
it should be positioned on the wall behind the toilet. You can install
another one on the closet sidewall adjacent to the toilet. Also, the
grab bars should be placed inside bathtub as well as shower
enclosures.
If you are remodeling or installing new and the walls in the room are
open, make sure to provide wood blocking in the walls. This will allow
simplification of the grab bars’ attachment.
Okay, enough about those guidelines. Let us now proceed to some
steps to install your shower or bathtub.
How to Install Shower and Bathtub
When thinking for installing a shower or bathtub, it is very important
to note that the pipes required include the hot as well as cold supply
lines, other than a pipe leading to a shower head. Also, many experts
often suggest a blending valve and shower head for the installation,
including air chambers.
Usually, the bath or shower fixtures rate low in fixture units. So they
are often placed on the branch drains and wet or back vented as are
the sinks.
Accordingly, both the shower stalls and tubs enter the stack at floor
level or below due to the angle of which the floor drain trap is
positioned.
When it comes to faucet and shower head assembly, one should note
that it requires an open wall for installation. Also worthy of
consideration is that, bathtubs and shower stalls may need support
framing.
One of the common ideas here is that a bathtub filled with water is
extremely heavy; therefore, it is important to examine first the
building codes, including the framing support prior to the bathtub
installation. There is also a required floor area for a shower stall.
According to some experts, a minimum area required is 1,024 square
inches, but you should also allow 24 inches from the stall itself to any
other fixture or wall.
Here are the basic guidelines:
1. All piping should be installed before installing the tub itself.
2. Lower the tub into place. This will allow a continuous flange to
fit against the wall studs and rests on 1 x 4 or 2 x 4 supports.
In relation to this, don’t forget to anchor the tub to the enclosure
with nails or screws ensconced through the flanges into the
studs.
3. Put together the drain connections. This can be done by way of
attaching the tub overflow with the tub drain above the trap, and
not beyond it. Note that the trap will have a compression fitting
that screw over the arm of the overflow assembly.
4. Run the hot and cold water lines to the tub or shower mixing
valve where they are attached. You can do this by sweating
these directly into the hot and cold ports of the mixing valve.
5. Run a pipe up the wall for the shower head. Note however that
on the top of this pipe, you should sweat on a brass female
threaded winged fitting that is nailed or screwed into a framing
support.
6. A piece of 1/2” pipe should be extended, but this must be in
accordance to the instructions provided by the manufacturer, for
the tub spout. Also sweat on a male threaded fitting at the end
of the pipe or employ a brass nipple of the proper length as well
as a 1/2” cap.
7. At this time, you will need to have your rough plumbing checked.
8. Restore water pressure and inspect the drain connection,
including the supply pipes for any leaks.
9. Replace the wall with moisture resistant drywall as a base for
your wall covering. Also important to note is to seal joints
between the wall and your new tub perhaps with silicone caulk.
This caulk will serve as protection against water seepage.
10. It is now time to install the handles, shower head and
Spout. Note that the shower head screws onto the shower arm
stub out. And, whether you are installing a new shower head or
replacing an old one, always clean the pipe threads and apply a
new pipe joint compound. You can also consider a Teflon tape or
both to prevent leaks.
Installing a Bathtub Surround
As you may know, a bathtub surround (commonly known as wall kit) is
an easy way to provide a handsome, watertight and easy-to-maintain
barrier around a tub or shower alcove. These surrounds can be put up
over plaster, tile, drywall or any solid and flat wall.
Well, there some surround kits in the market these days. Most kits
contain either three or five pieces that overlap to account for different
dimensions. Also, these kits include instructions, which you should
consider reading before you leave the store.
When installing a bathtub surround, you may require an adhesive as
well as color-matched caulk, so consider buying these from the store.
Now, you want to know the basics for installing a tub surround in your
home? Here are the steps:
Step 1: Prepare Walls
Before anything else, it is important for you to save carton to use as a
template. Then, start preparing the walls of the alcove by first
removing the faucet spout and handles.
You can remove these by trimming with screwdrivers, adjustable
wrench or Allen wrench, as needed. Proceed to removing any soap
dish or other obstacles.
Then make any needed repairs to ensure that the existing surface is
solid and secure. However, if the surface is slick, such as ceramic tile,
consider sanding it with coarse sandpaper. Clean and re-caulk the
tub joint.
One particular tip for this step is to consider installing support
handrails to make your tub safer, especially if the framing is exposed.
Also the rails must be anchored into framing or to wood blocking
between studs about 21 inches above.
Step 2: Consider Measuring
Many experts suggest measuring the spout and faucet locations and
transfer measurements onto a cardboard template that you cut from
the shipping carton. Also, position the template on the wall and make
any necessary modifications before tracing the openings onto the end
wall panel.
The main tip here is to write “wall” on one side just to remind you
which way the template must be positioned, especially when tracing
cutouts onto the end panel.
Step 3: Create Cuts
As traced in the second step, you should cut the appropriate size holes
in the panel by using a hole saw bit in an electric drill. How to do
this? Okay! Place the panel face up on a scrap of plywood or other
surface employed for drilling.
The tip here is to employ a jigsaw with fine-tooth blade to cut the
large hole for a single valve control. Also, you can consider boring
3/8-inch starter hole for the saw blade anywhere inside the cutout
area.
Step 4: Consider Trial-Fitting
Before considering trial-fitting, you should mark centerlines and level
top lines on the walls and panels. If done, trial fit the sections of the
wall in the order directed by the manufacturer.
Also consider examining the tops and centerlines if aligned, or if the
tops are leveled. Then, secure them with masking tape and trace the
top edges on the wall with a pencil before removing the panels.
The tip for this fourth step is, if you need to cut a penal, employ the
tool recommended by the manufacturer of the kit. Several of them
can be cut with a number passes of a utility knife guided by a
straightedge. Note that such toll produces the cleanest cut. And, a
jigsaw with a fine-tooth blade may also be used.
Step 5: Fix Panels
You can fix panels by applying adhesive in beads with a caulking gun
or spread with notched trowel, as recommended by the kit
manufacturer. Also note that some of the panels may have peel-and-
stick tape.
You can also press the panels into place on your pencil lines. Some
makers however suggest that you brace the walls with lumber until the
adhesive has cured.
Step 6: Finishing Touches
After applying adhesives, allow it to cure for up to 24 hours before you
apply a finish bead of caulk to all joints. This must be done in
accordance to what is directed by the manufacturer. Then, replace the
faucet spout and handles. Also allow caulk to cure as directed by the
manufacturer before using the tub.
The idea here is to cut the tip of the caulk tube at a 45-degree angle
and start with a small hole. Also, you can make it larger but not
smaller.
Materials You Will Need
Based on the given steps for installing a bathroom surround, here is a
list of the materials you will need:
• Tape measure
• Level ( 2-ft. min.)
• Hole saw bits
• Utility knife
• Adhesive
• Allen wrench
• Bathtub surround kit
• V-notched trowel or caulking gun
• Pencil
• Electric drill
• Jigsaw
• Roofing cement
• Adjustable wrench
• Caulk
• Lumber to brace walls
• Standard and Phillips screwdrivers
Installing a Bathtub Enclosure
Bathtub enclosures in the first place are a necessary finishing touch to
a drop-in tub or a whirlpool tub. So, if you are considering any of
those kinds of tub, then consider installing an enclosure.
Installing a bathtub enclosure is actually not as difficult as it looks.
You can build it even with a little skill and of course with the right
materials. Consider the following:
Types and Sizes
One of the most important considerations when it comes to building a
bathtub enclosure is the type of the tub. In particular, the drop-in
bathtubs that are made specifically for bathtub enclosures are said to
be the best to build around. But, the whirlpool bathtubs are also great
for building enclosures around.
An enclosure is basically necessary to hide the water pipes on both the
drop-in and whirlpool tubs. So, it is important that when you consider
building one, make sure to work around the plumbing as well as the
draining systems to avoid interfering with pipes.
Here are the most recommended steps on how to build a bathtub
enclosure:
Step 1: Building a Tub Frame
You can start building a tub enclosure by framing your tub. Construct
a frame out of 2 x 4 lumber for every side of the tub not connected to
the wall. Every side of the frame should compose of 2 pieces of wood
the length of the side it is adjacent to.
The two long pieces are supported by 2 x 4 studs placed every 16
inches. Then, the frame should be about 3/4-inch below the rim of the
tub, just enough for the plywood and the tile to fit under the rim.
Proceed by nailing the frames together and then attach each frame to
the wall and floor with nails and construction adhesive of your choice.
Step 2: Attaching the Frame to the Wall and Floor
As often recommended, you can make the ledge of your enclosure as
wide as you want. To extend your ledge on both sides, construct a
second frame a few inches longer than the first and then install it
parallel to the first frame.
If in case you want your ledge to be wider than 16 inches, then build a
third frame. Proceed by anchoring these additional extensions to the
wall and floor parallel to the previously installed frames.
Step 3: Covering and Sealing the Frame
How to cover the frame? Simply attach ½ inch CDX plywood to the
sides and tops of the frame with nails. There is also an alternative for
that. Just use a moisture resistant wallboard.
Also, use a caulk to seal all of the joints between the bathtub and the
covered frame. Coat the wallboard or plywood with moisture resistant
primer in order to seal it. And, let the primer dry completely.
Step 4: Tiling of the Tub Enclosure
You can cover the plywood or wallboard with a tile, wood or any
finishing material once it is dry. Then, seal the finishing material well
with tile grout, and proceed by caulking all the joints to prevent water
damage.
Step 5: Caulking of the Joints
Once the tile or finishing material has been caulked and dried, you can
apply a layer of caulk around the bathtub. Simply line all the edges of
the tub with masking tape to make a straight line with the caulk.
Then, apply the caulk to the edges of the tub and smooth it with your
finger. Let it dry thoroughly and remove the tape.
That’s simply it! So, good luck with your bathroom installation project.
Home Renovation ideas for your flooring:
When renovating your home or commercial properties, you definitely
should look at all the floor covering options available to you, including
rubber flooring.
It is available for both residential and commercial purposes, and can
have corporate branding embedded in the design when manufactured,
for larger orders.
Many of the rubber flooring options available nowadays are made from
recycled auto tires, so when you shop wisely you can be helping the
environment and ‘living green’ while also getting the ideal floor
covering for your requirements!
Rubber Flooring Guide
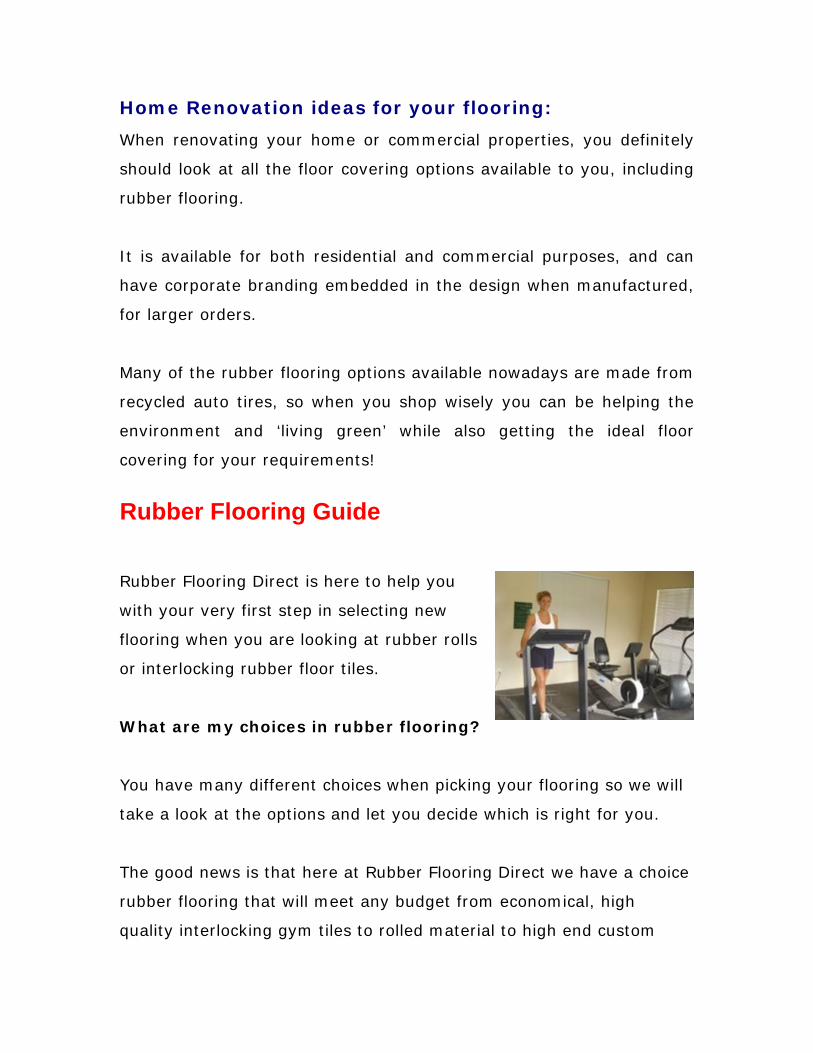
Rubber Flooring Direct is here to help you
with your very first step in selecting new
flooring when you are looking at rubber
or interlocking rubber floor tiles
rolls
.
What are my choices in rubber flooring?
You have many different choices when picking your flooring so we will
take a look at the options and let you decide which is right for you.
The good news is that here at Rubber Flooring Direct we have a choice
rubber flooring that will meet any budget from economical, high
quality interlocking gym tiles to rolled material to high end custom
tiles and even carpet tiles that are specially designed and made for a
number of flooring applications. This can be for a workout area,
garage, child recreation, pet flooring, and of course, commercial sports
flooring.
No matter how tight your budget is or how custom you want to go, we
have the rubber flooring that will meet your needs.
To read the 4 Easy Steps to Choosing your Rubber Floor Click Here
So where do we begin?
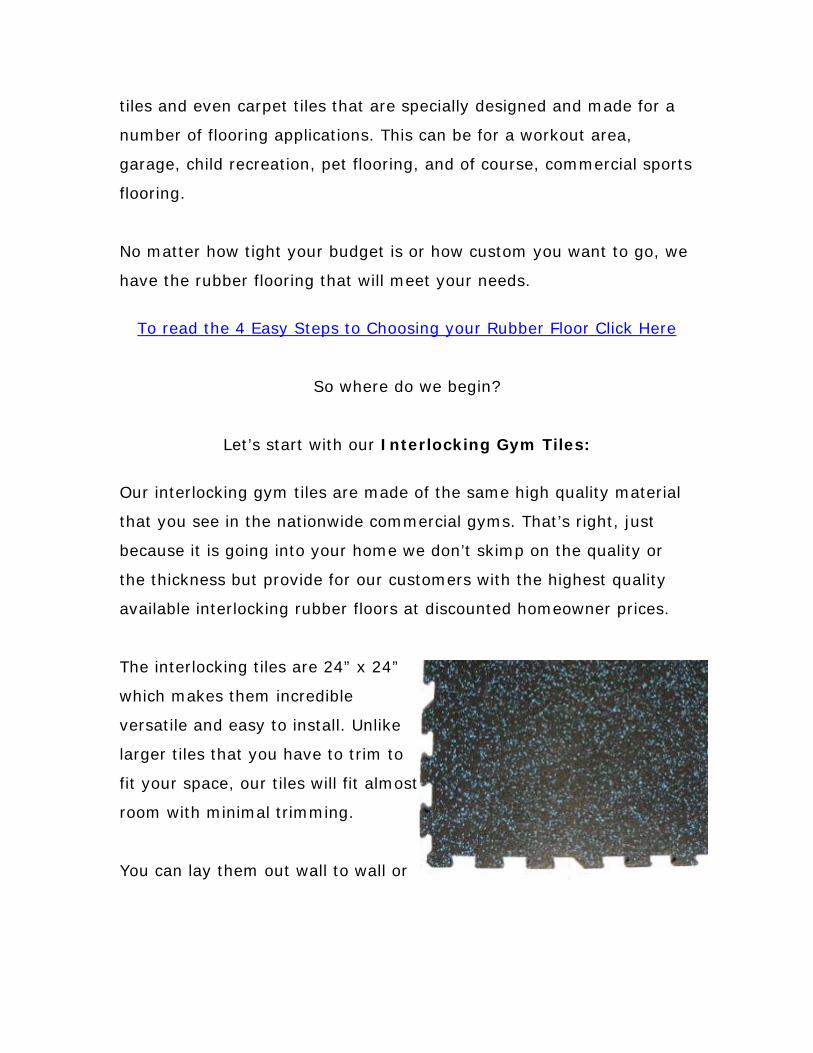
Let’s start with our Interlocking Gym Tiles:
Our interlocking gym tiles are made of the same high quality material
that you see in the nationwide commercial gyms. That’s right, just
because it is going into your home we don’t skimp on the quality or
the thickness but provide for our customers with the highest quality
available interlocking rubber floors at discounted homeowner prices.
The interlocking tiles are 24” x 24”
which makes them incredible
versatile and easy to install. Unlike
larger tiles that you have to trim to
fit your space, our tiles will fit almost
room with minimal trimming.
You can lay them out wall to wall or
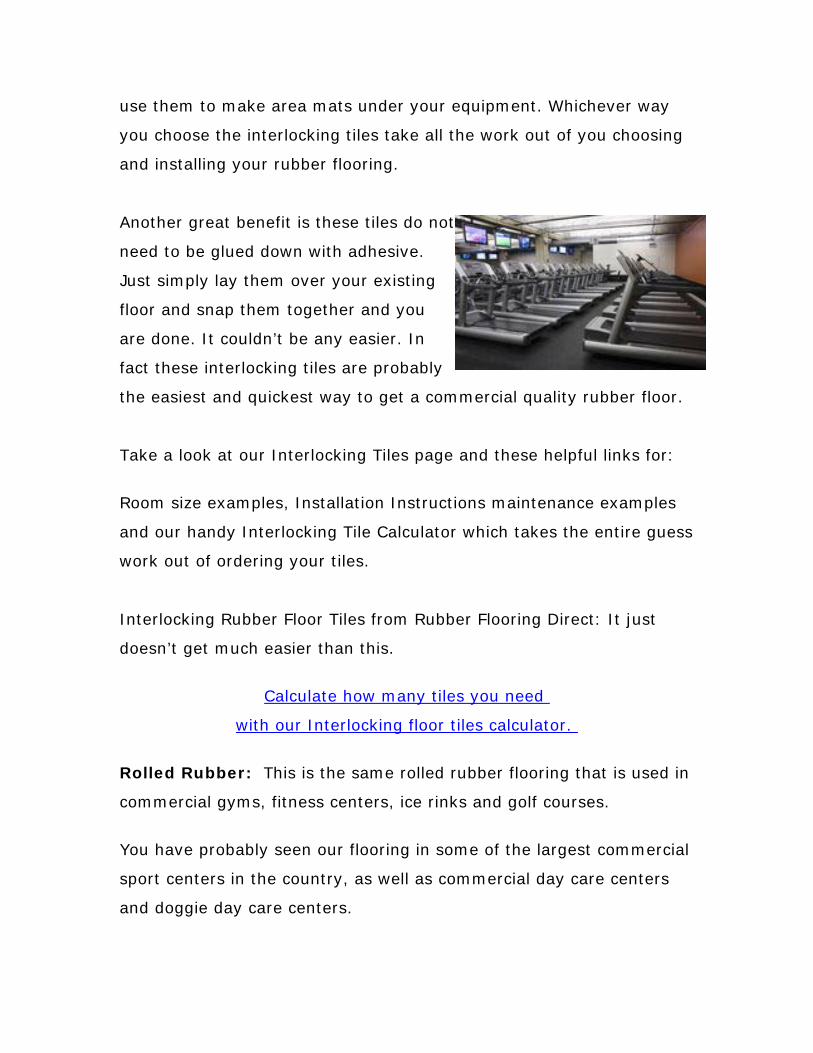
use them to make area mats under your equipment. Whichever way
you choose the interlocking tiles take all the work out of you choosing
and installing your rubber flooring.
Another great benefit is these tiles do n
need to be glued down with adhe
Just simply lay them over your existing
floor and snap them together and you
are done. It couldn’t be any easier. In
fact these interlocking tiles are probably
the easiest and quickest way to get a commercial quality rubber flo
T
ot
sive.
or.
ake a look at our Interlocking Tiles page and these helpful links for:
Room size examples, Installation Instructions maintenance examples
s
terlocking Rubber Floor Tiles from Rubber Flooring Direct: It just
Calculate how many tiles you need
and our handy Interlocking Tile Calculator which takes the entire gues
work out of ordering your tiles.
In
doesn’t get much easier than this.
wit r. h our Interlocking floor tiles calculato
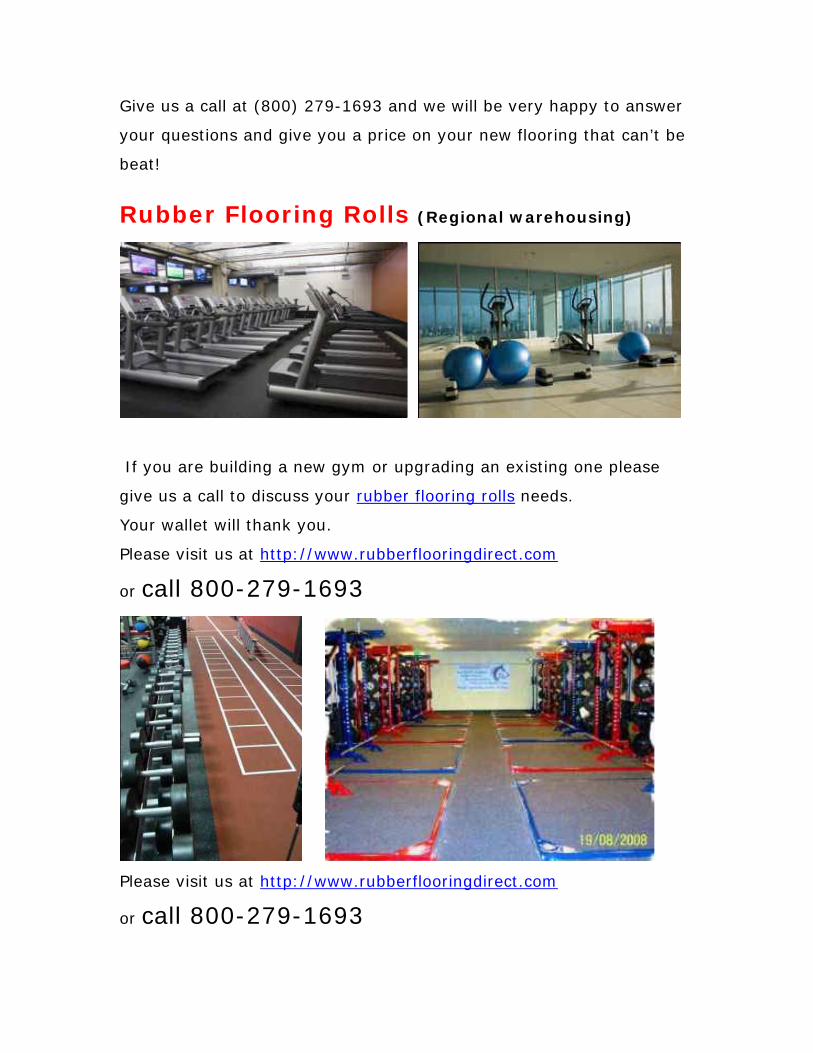
Rolled Rubber: This is the same rolled rubber flooring that is used in
You have probably seen our flooring in some of the largest commercial
commercial gyms, fitness centers, ice rinks and golf courses.
sport centers in the country, as well as commercial day care centers
and doggie day care centers.
These rolls are 4’ wide and are the perfect answer for larger areas or
anywhere that you want more of a seamless look. The rolls can be
either glued down, taped down with double faced carpet tape or they
can be loose laid in non commercial applications. Do you want to cover
a garage or basement with rubber flooring? If so, this is the product
for you.
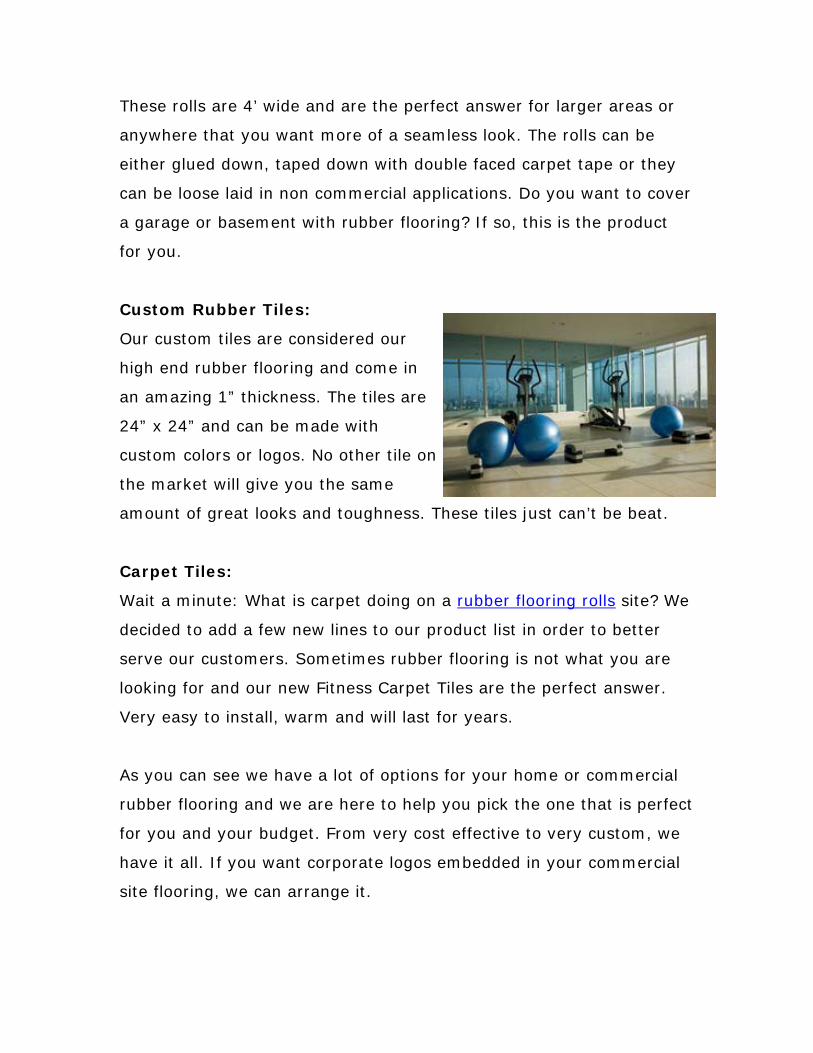
Custom Rubber Tiles:
Our custom tiles are considered our
high end rubber flooring and come in
an amazing 1” thickness. The tiles are
24” x 24” and can be made with
custom colors or logos. No other tile on
the market will give you the same
amount of great looks and toughness. These tiles just can’t be beat.
Carpet Tiles:
Wait a minute: What is carpet doing on a rubber flooring rolls site? We
decided to add a few new lines to our product list in order to better
serve our customers. Sometimes rubber flooring is not what you are
looking for and our new Fitness Carpet Tiles are the perfect answer.
Very easy to install, warm and will last for years.
As you can see we have a lot of options for your home or commercial
rubber flooring and we are here to help you pick the one that is perfect
for you and your budget. From very cost effective to very custom, we
have it all. If you want corporate logos embedded in your commercial
site flooring, we can arrange it.
Give us a call at (800) 279-1693 and we will be very happy to answer
your questions and give you a price on your new flooring that can’t be
beat!
Rubber Flooring Rolls (Regional warehousing)
If you are building a new gym or upgrading an existing one please
give us a call to discuss your rubber flooring rolls needs.
Your wallet will thank you.
Please visit us at http://www.rubberflooringdirect.com
or call 800-279-1693
Please visit us at http://www.rubberflooringdirect.com
or call 800-279-1693

DISCLAIMER: This information is provided "as is". The author, publishers and marketers of this information disclaim any loss or liability, either directly or indirectly as a consequence of applying the information presented herein, or in regard to the use and application of said information. No guarantee is given, either expressed or implied, in regard to the merchantability, accuracy, or acceptability of the information. Further, this information is not presented by a medical practitioner and is for educational and informational purposes only. The content is not intended to be a substitute for professional medical advice, diagnosis, or treatment. Always seek the advice of your physician or other qualified health provider with any questions you may have regarding a medical condition. Never disregard professional medical advice or delay in seeking it because of something you have read The reader should not regard the recommendations, ideas and techniques expressed and described in this book as substitutes for the advice of a qualified medical practitioner or other qualified professional. Any use to which the recommendations, ideas and techniques are put is at the reader’s sole discretion and risk.
Free report brought to you by: http://RubberFlooringDirect.comYou may distribute this ebook from your website as long as the content and links remain intact and unchanged. 2009 All rights reserved. Prepared for publication by http://www.strategic-services-aust.com