Embed Size (px)
Citation preview
Direction and Suggestions for
Installing 55,6,7 Chevy Trunk Panel Kit
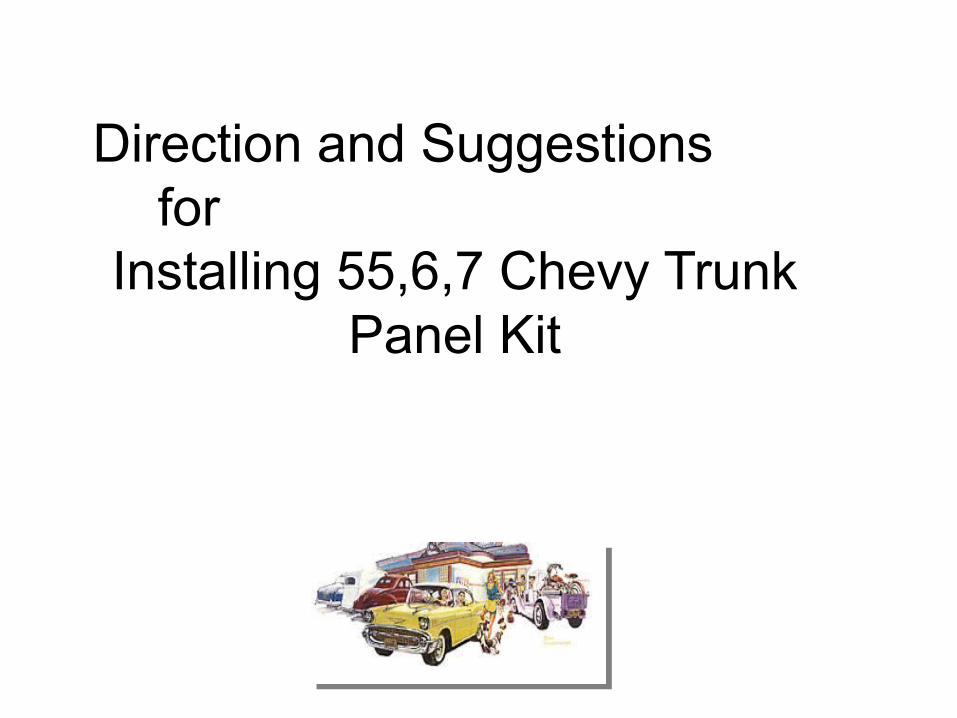
Based on your particular car, you may find it necessary to custom-trim here and there, depending upon the material you choose to cover theMasonite panels, how much foam you add or how you decide to custom-finish your panels. But if you find it necessary, a quick trim using an electric sander with 80 grit paper or a rasp file is all that will be required.For installation, aside from the cutoff wheel, it will be necessary to remove the spare tire hold-down brackets, and you will need aPhillips screwdriver.A typical stock trunk area is on all sedans and hardtops.This is where the new panels are to be installed, and the installation process is the same, regardless.For the convertible, it will be necessary to trim the side panels.
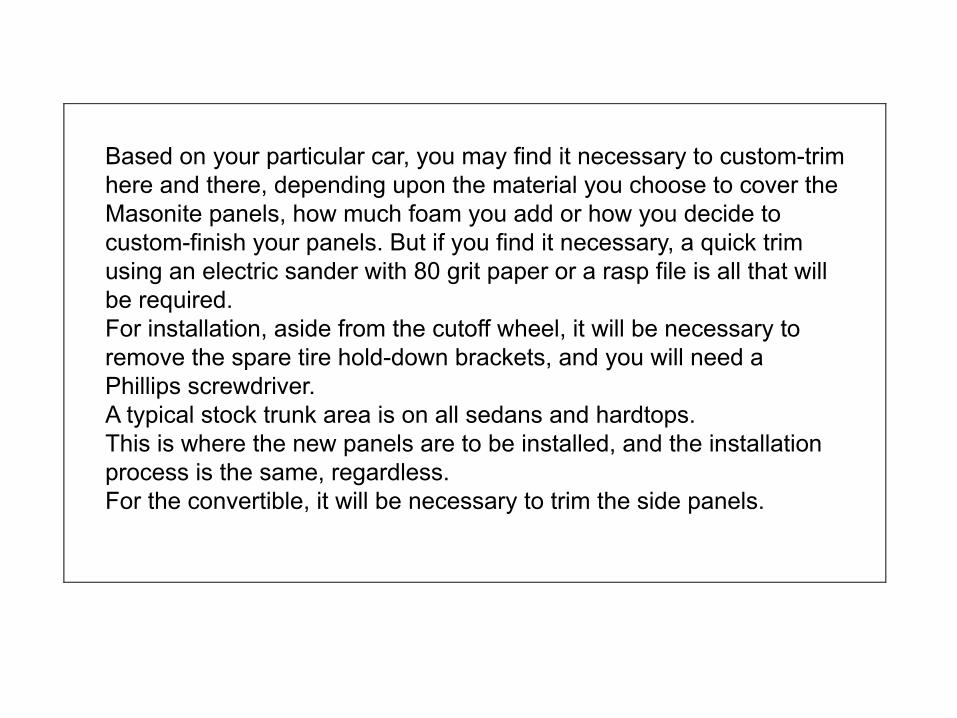
Here’s where trimming the floor panelcomes in. The removal of the rear mountingpocket for the bumper jack as well as thetab for the spare tire hold-down bolt will benecessary. To do this, simply cut using anair-powered cutoff wheel. This step shouldtake only a few minutes and will allow thebottom trunk panel to lay flat against thefloor.

Prior to installing the frontpanel, first remove the small cover over thedriver’s-side trunk hinge. This will allow theinstallation of the forward trunk panel. The forward trunk panel is trapped betweenthe inner lip of the trunk and rear windowupper panel and the trunk floor panel. Thisinstallation will provide you with a 16-inchgap between the rear of the backseat andthe trunk panel. Considering the options,you can hide amps, a remote CD player oreven a toolbox. For easier access to theseitems, a custom removable panel or doorcan be cut into this panel. Use the cutoutpiece for the door.

This is a picture of the bottom floor panel for the 55, 56, 57 Chevy. The panel is big and needs to be placed in the trunk tilted right side down and in first. Set the panel on the floor of the trunk then slide it back toward the trunk latch. The tail light wires should be moved out of the way or wire tied up in order to seat the panel properly in the trunk.
Right Side
Trunk Latch Cutout
Right Side
Trunk Latch Cutout
Front of Trunk

These are the next panels to go into the trunk. Put the left side in by matching the cutout with the hump near the bottom of the wheel well tub. Be careful not to break the panel by forcing the piece into place. Start by sliding the front of the panel under the edge of the trunk fender then slide the cutout into place. The panels should fit under the edge of the trunk lip. The side panels should be on top of the floor panel on both sides.
The panels are designed to have enough clearance to upholster and fit snug under the edge of the fender. Please Note:Adjustments to the panels fit can be made with a rasp file or a sander using 80 grit sanding paper if needed.
Left Side Right Side
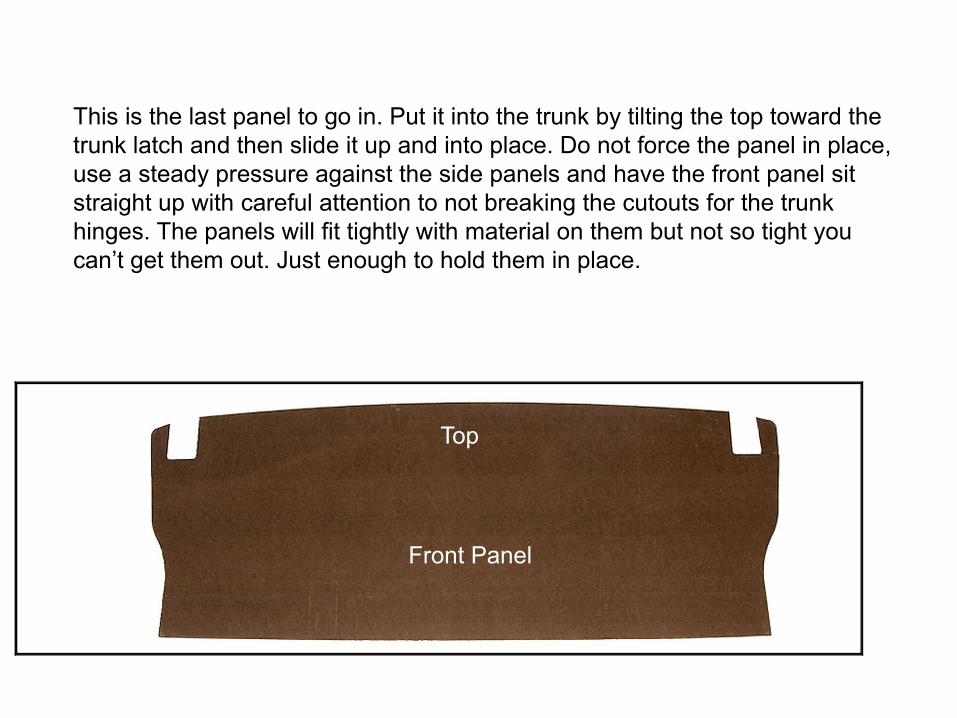
This is the last panel to go in. Put it into the trunk by tilting the top toward the trunk latch and then slide it up and into place. Do not force the panel in place, use a steady pressure against the side panels and have the front panel sit straight up with careful attention to not breaking the cutouts for the trunk hinges. The panels will fit tightly with material on them but not so tight you can’t get them out. Just enough to hold them in place.
Front Panel
Top

Now Available for Most Chevy’s Trunk Panel Kits for Finishing and Trunk Upholstery
• Camaro 1967,68,69 Panel Kit No. 317-4
• Chevelle 1968-72 Panel Kit No. 517-4
• Chevy Impala 1962-64 Panel Kit No.917-4• Nova 1968-72 Panel Kit No. 817-4
Save time and money using our trunk panel kits from
www.customtrunkpanels.com