Embed Size (px)
Citation preview

Digital Painting FIMA Mrs. Mendola

● Go to www.designmendola.com ● Choose 1 of the 4 sandstone rock
photos○ Copy and Paste the image into a PS
document and name it ROCK REFERENCE
● Create a new 10” X 10” document in PS ○ Name it ROCK PAINTING
● Move the ROCK REFERENCE tab onto your new document and make it smaller (You should be able to see the entire photo still)○ This will allow you to see the reference
photo and your painting at the same time
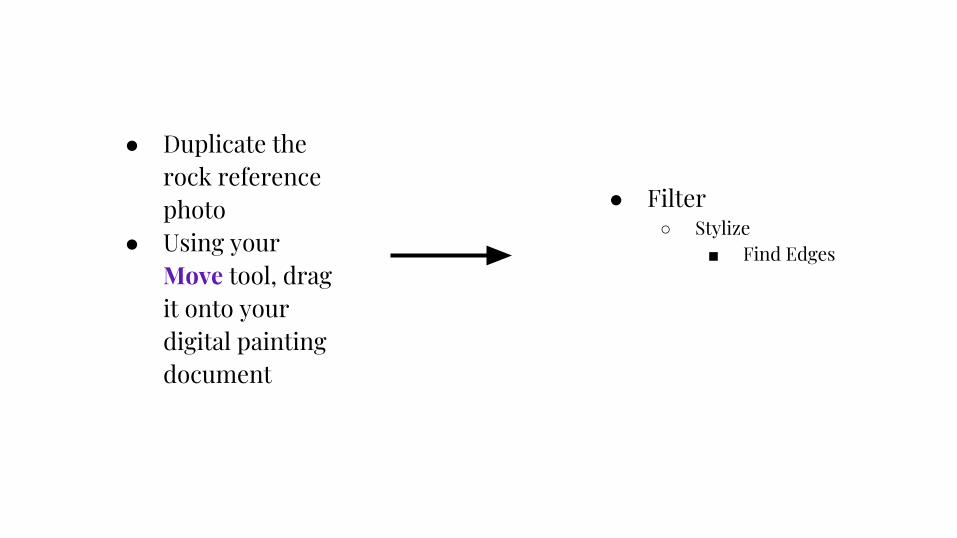
● Duplicate the rock reference photo
● Using your Move tool, drag it onto your digital painting document
● Filter ○ Stylize
■ Find Edges

● Image ○ Brightness/Contrast
■ Make so lines are crisp & clear
** Label this layer LINES **

● Make a new Layer● Set up the document as follows:
○ Top Layer: Lines ■ LOCK THIS LAYER!
○ Middle Layer: Painting○ Bottom Layer: Background
● Select your PAINTING layer ● Begin painting using your reference
photo next your active document ○ Use a hard, round brush to begin
■ You will need to alter the sizes at various points● One hand should be
on the mouse painting
● The other hand should be on the keyboard
** ALT = eyedropper toggle [ ] = brush size **
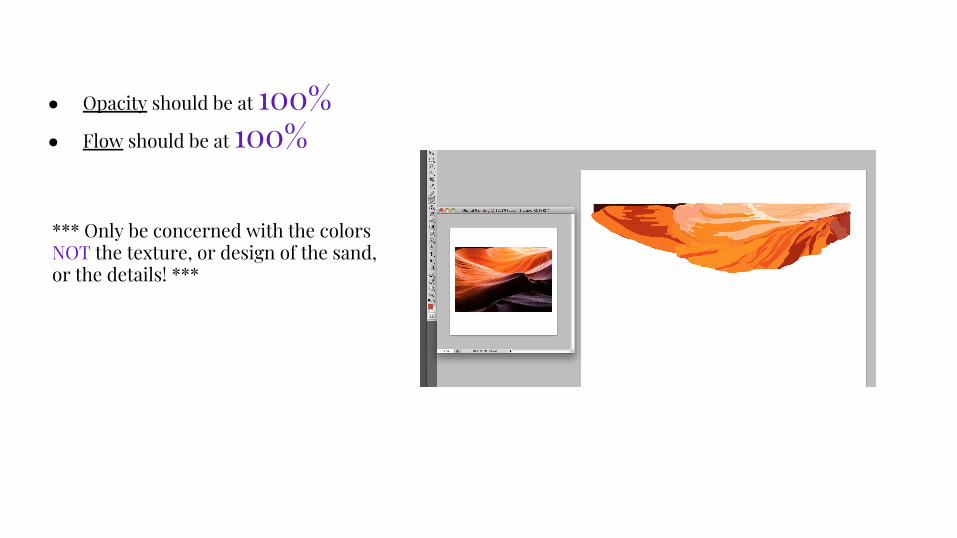
● Opacity should be at 100%● Flow should be at 100%
*** Only be concerned with the colorsNOT the texture, or design of the sand, or the details! ***

● Every so often, turn OFF the eyeball on the LINES layer to see your progress
● Continue blocking your colors, changing the size of your brush as needed
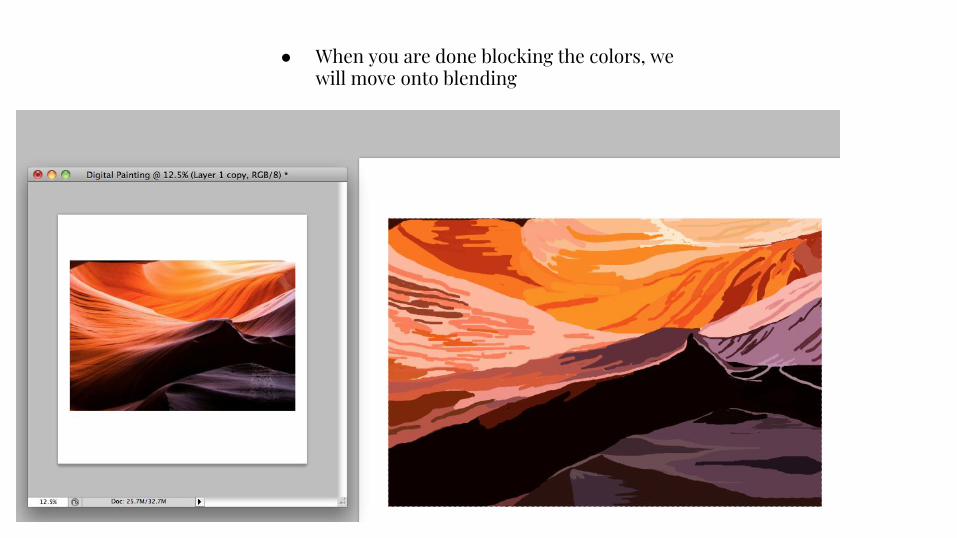
● When you are done blocking the colors, we will move onto blending

BLENDING
BLENDING:
● On the same Photoshop document, duplicate your painting layer and label it BLENDS
● Change your OPACITY to 30% or below ○ Remember, 0% will be invisible so it needs
to be higher than 0% ■ You may need to change the opacity
multiple times depending on the look you are trying to achieve
● Change the HARDNESS of your brush to ZERO
● Once you have completed your color blocking, SAVE your work TWICE! ○ SAVE AS rock painting
and a Photoshop document
○ SAVE AS rock painting and a JPEG
● Upload the work into your digital portfolio○ Title the work Rock
Painting without Blends

BLENDING:
● For this project, you do not need to blend everything!
***Use your reference photos and determine where the colors transition into one another smoothly and that is where you are going to blend your colors.
***If the colors change abruptly, you do not need to blend in those areas
● Select the colors and brush over the edges of the color blocking (where two colors meet)○ Keep painting over the edges until it appears smooth
** It may be helpful to use either your Lasso Tool OR your Poly Lasso Tool
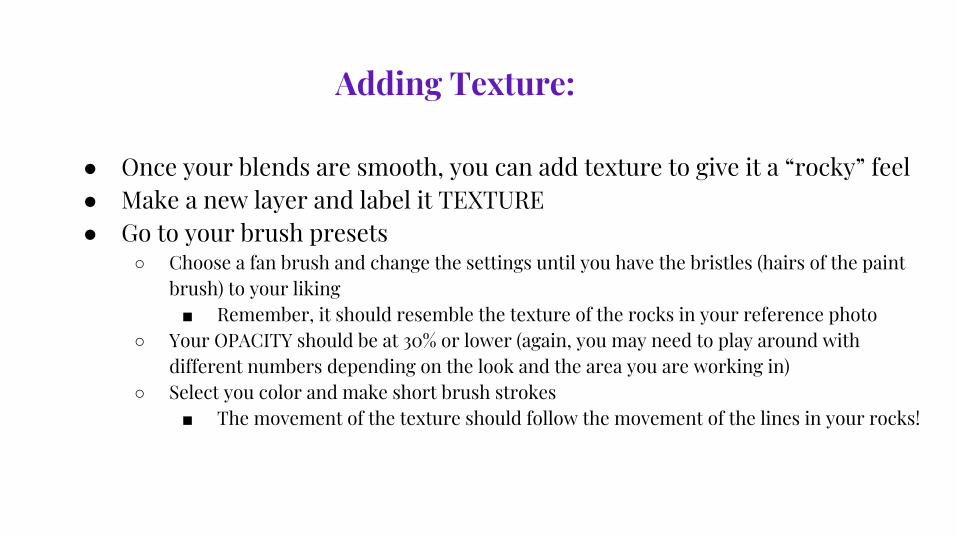
Adding Texture:
● Once your blends are smooth, you can add texture to give it a “rocky” feel● Make a new layer and label it TEXTURE ● Go to your brush presets
○ Choose a fan brush and change the settings until you have the bristles (hairs of the paint brush) to your liking ■ Remember, it should resemble the texture of the rocks in your reference photo
○ Your OPACITY should be at 30% or lower (again, you may need to play around with different numbers depending on the look and the area you are working in)
○ Select you color and make short brush strokes ■ The movement of the texture should follow the movement of the lines in your rocks!
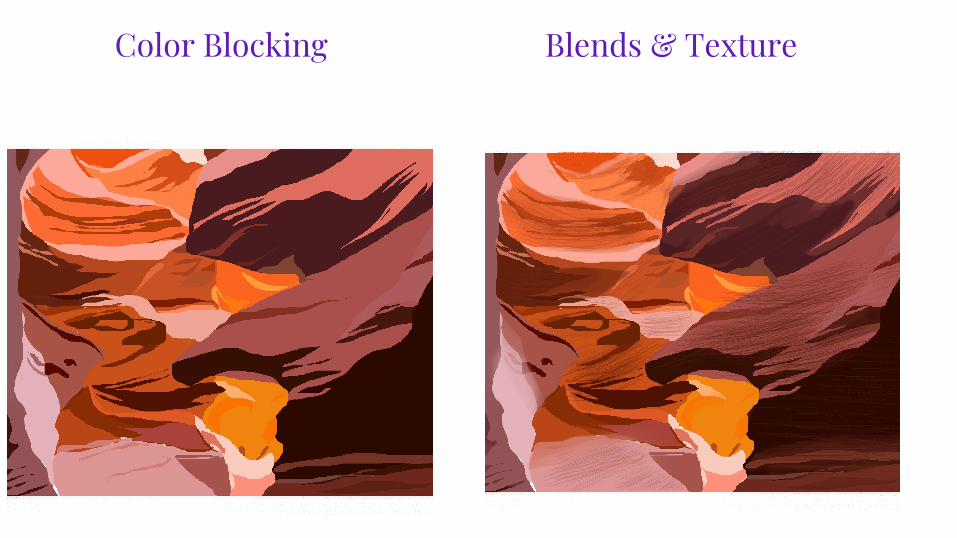
Color Blocking Blends & Texture