Embed Size (px)
Citation preview
Diabetes Care Manager
Refresher Training

Legal Background
• NC SB 911 established the legislation
which provided guidelines for supporting
students with Diabetes in the public school
setting.
• Trained Diabetes Care Managers are
required to be on the staff at all public
schools.
Who is involved?
• Health Care Management Team:
– School Nurse
– Parent
– Student
– Diabetes Care Manager
– All School Personnel who work with the
student
Responsibilities of the School
Health Nurse
• Provide forms
• Provide training
• Act as a resource
• Continuing education
• Assist in monitoring and guidance
• Assist in development of Individual Health
Care Plan
Responsibilities of the Parent
• Provide current accurate contact information
• Provide supplies
• Provide snacks
• Provide documentation for school absences
• Make a care plan request
• Assist with development of care plan
• Provide medication forms as required
• Provide diet information
• Provide medic alert ID information if needed
Responsibilities of the Student
• Participate in self care as much as
possible depending upon the child’s
– Maturity level
– Responsibility
– Age
• Follow the Health Care Plan

Responsibilities of the DCM
• Receive appropriate training
• Maintain documentation of training
• Participate in Individual Health Plan
conferences
• Have ready access to the student’s IHP
• Be readily reached in case of a diabetes
emergency
Responsibilities of the DCM
• Communicate with students/parents/all
school personnel as indicated or
necessary
• Assist the student with diabetes care as
indicated in the IHP
• Be available to go with the student on field
trips or to school-sponsored extracurricular
activities as indicated in the IHP
Who are All School Personnel?
• Administrators
• Front Office Staff
• Guidance Counselors
• Primary Teachers
• Resource Teachers
• Cafeteria Staff
• Bus Drivers
• First Responders
• SST
• Resource Officers
Guidelines for Bus Drivers
• If the student is acting in an unusual manner, contact the school for assistance in contacting parents
• Students may carry monitor, insulin, glucagon, and snacks on the bus.
• The student, teacher and parent should communicate with the bus driver.
• Bus driver may consider carrying extra snacks in case of bus breakdown, traffic jam, etc. (if needed)
Liability Protection for DCM
• The state of North Carolina requires this
program and has directed all schools in the state
to adopt the approach.
• You have received training for the position.
• You will continue to receive updated training.
• You have resources to call upon if needed.
• NC General Statute 90-21.14 provides:
– Immunity for rescuers
– Immunity for acquirers and enablers

What is Diabetes?
• “Diabetes Mellitus is a group of metabolic
diseases characterized by hyperglycemia
(high blood sugar) resulting from defects in
insulin secretion, insulin action, or both.”
– (Diabetes Care, Supplement 1, 26:1, January,
2003, p. S5.)
What is Insulin?
• Insulin is a hormone produced in the beta
or islet cells in the pancreas.
• It is necessary to move the sugar or
glucose from the blood stream to the cells.
• Glucose is necessary to keep the cells in
the body.
Types of Diabetes
• Type 1 diabetes
– The body makes little or no insulin as the
body has destroyed the insulin making cells.
• Type 2 diabetes
– The pancreas doesn’t make enough insulin or
the body is unable to use the insulin it does
make.
Management of Type 1 diabetes
• Daily Insulin– An insulin pump
– An insulin pen
– An insulin injection
• Healthy meal plan– Keeps blood sugar within a healthy range
• Physical activity– Uses extra sugar in the blood stream
– Aids in fighting long-term complications of diabetes
• Regular monitoring of blood sugar– Guides the care management plan
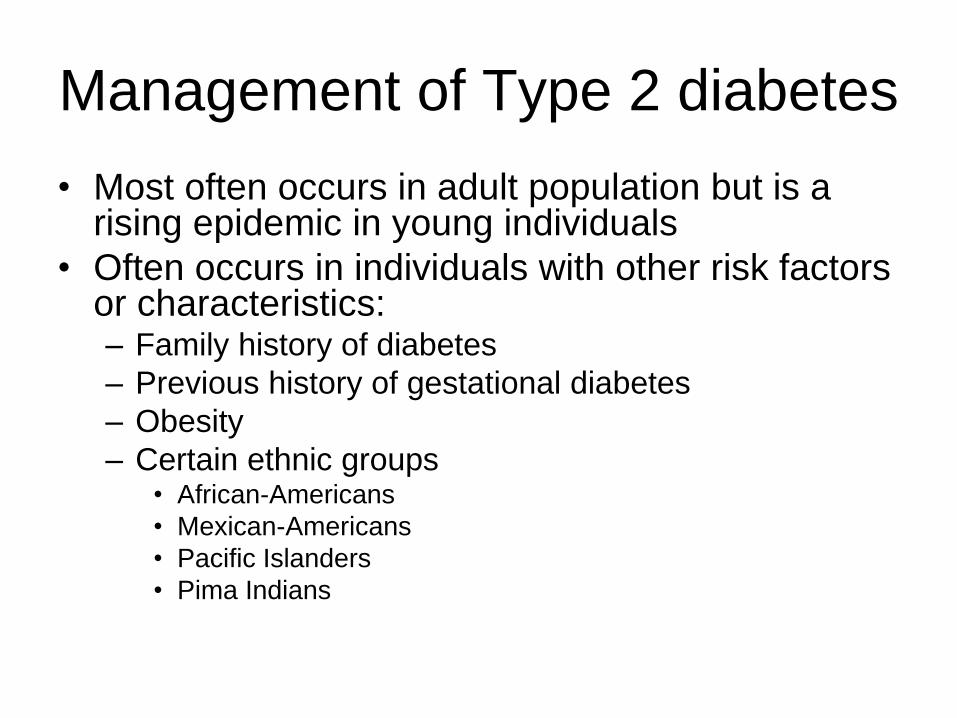
Management of Type 2 diabetes
• Most often occurs in adult population but is a rising epidemic in young individuals
• Often occurs in individuals with other risk factors or characteristics:– Family history of diabetes
– Previous history of gestational diabetes
– Obesity
– Certain ethnic groups• African-Americans
• Mexican-Americans
• Pacific Islanders
• Pima Indians
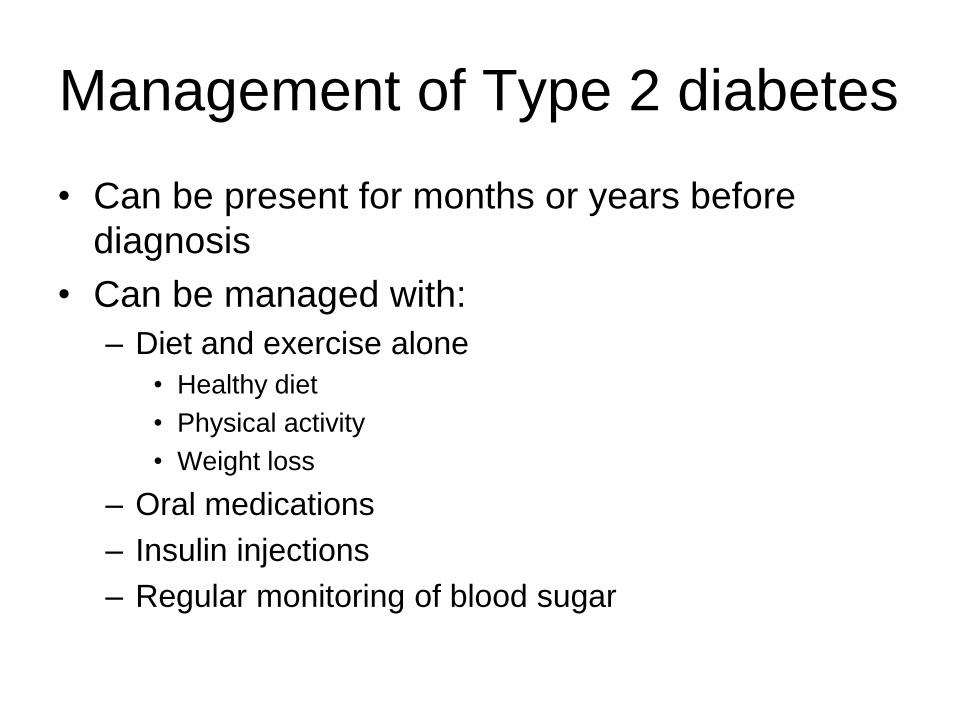
Management of Type 2 diabetes
• Can be present for months or years before
diagnosis
• Can be managed with:
– Diet and exercise alone
• Healthy diet
• Physical activity
• Weight loss
– Oral medications
– Insulin injections
– Regular monitoring of blood sugar
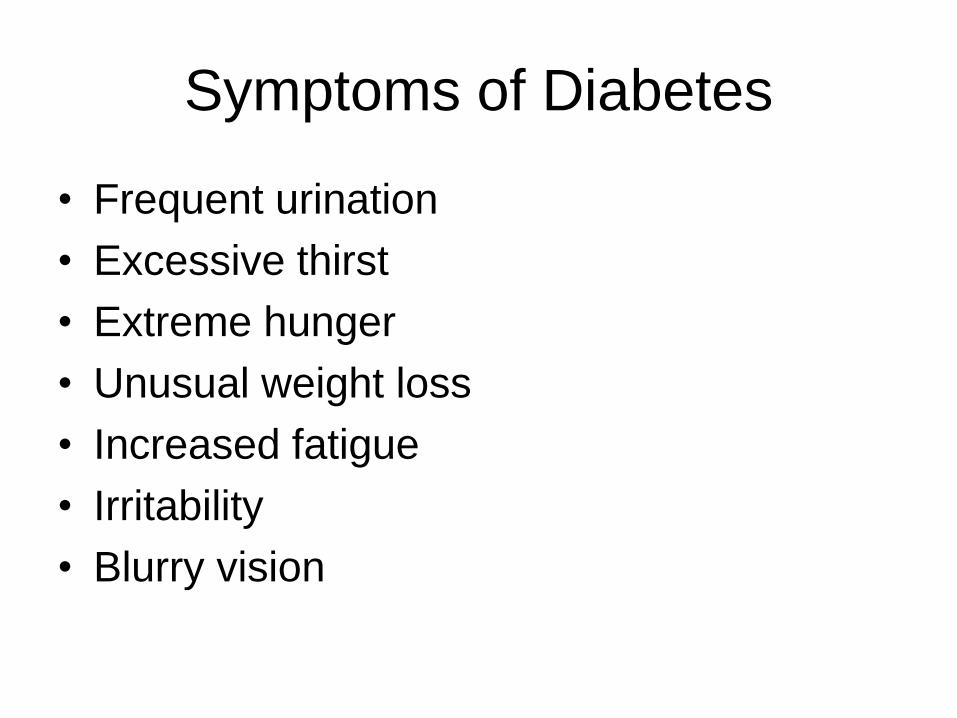
Symptoms of Diabetes
• Frequent urination
• Excessive thirst
• Extreme hunger
• Unusual weight loss
• Increased fatigue
• Irritability
• Blurry vision
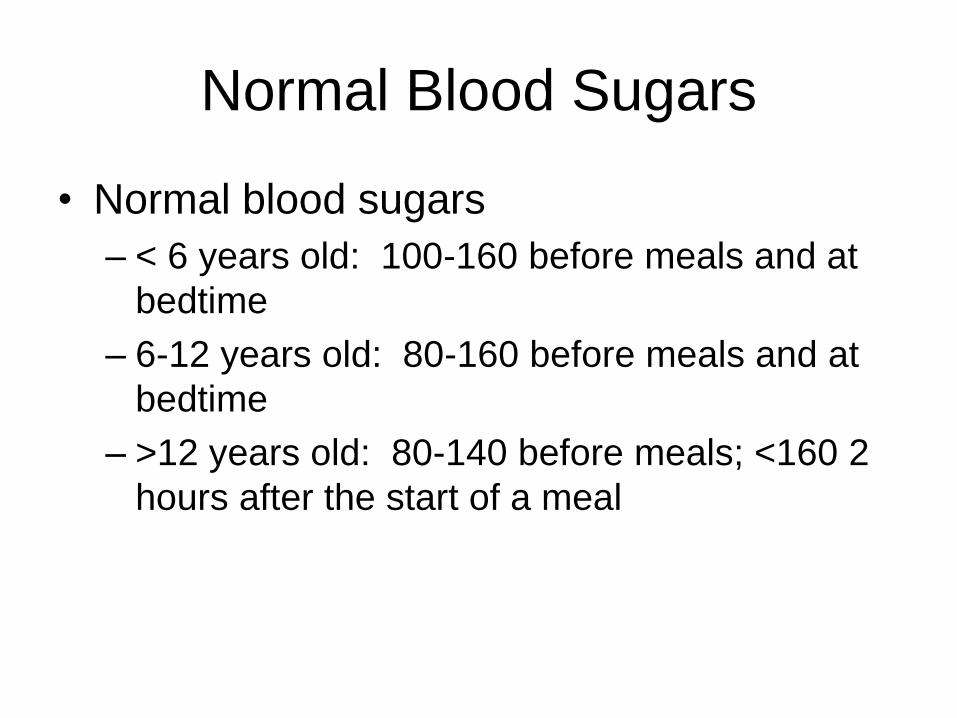
Normal Blood Sugars
• Normal blood sugars
– < 6 years old: 100-160 before meals and at
bedtime
– 6-12 years old: 80-160 before meals and at
bedtime
– >12 years old: 80-140 before meals; <160 2
hours after the start of a meal
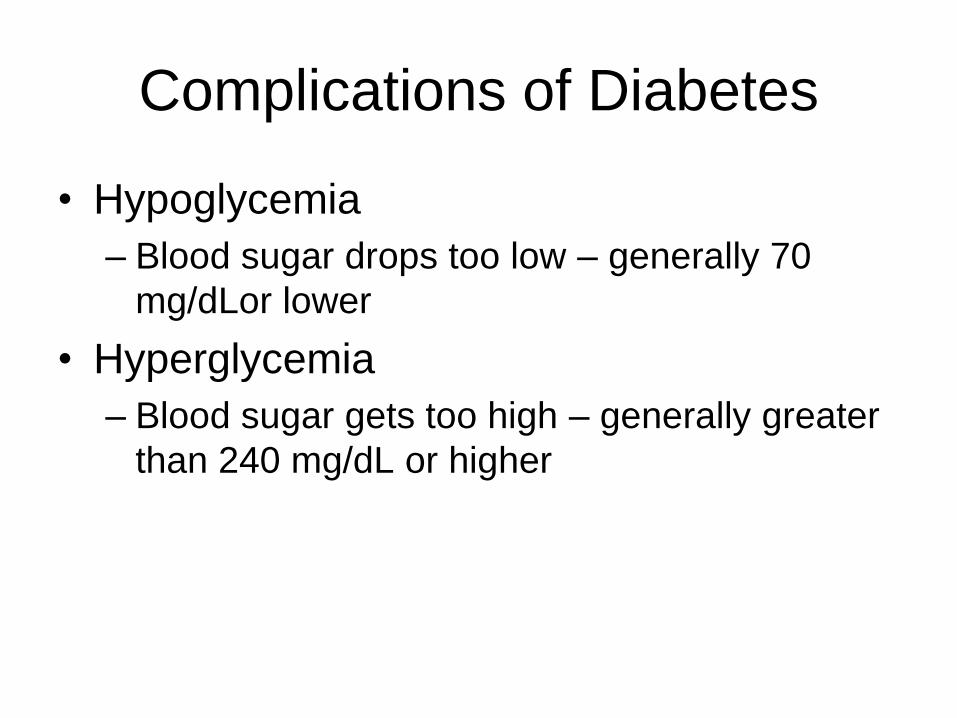
Complications of Diabetes
• Hypoglycemia
– Blood sugar drops too low – generally 70
mg/dLor lower
• Hyperglycemia
– Blood sugar gets too high – generally greater
than 240 mg/dL or higher
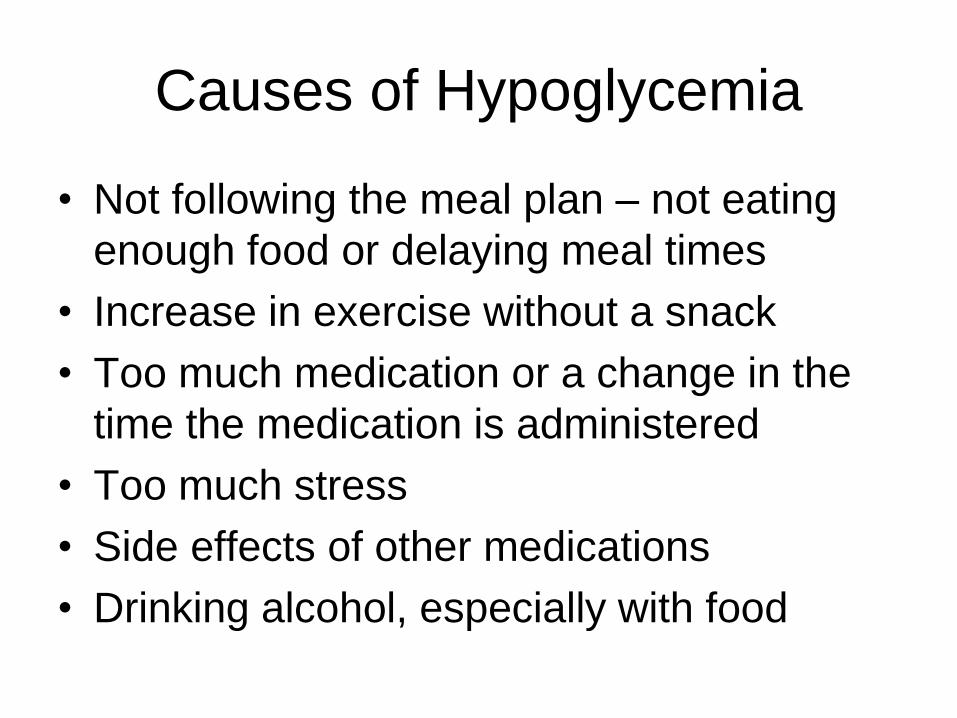
Causes of Hypoglycemia
• Not following the meal plan – not eating
enough food or delaying meal times
• Increase in exercise without a snack
• Too much medication or a change in the
time the medication is administered
• Too much stress
• Side effects of other medications
• Drinking alcohol, especially with food
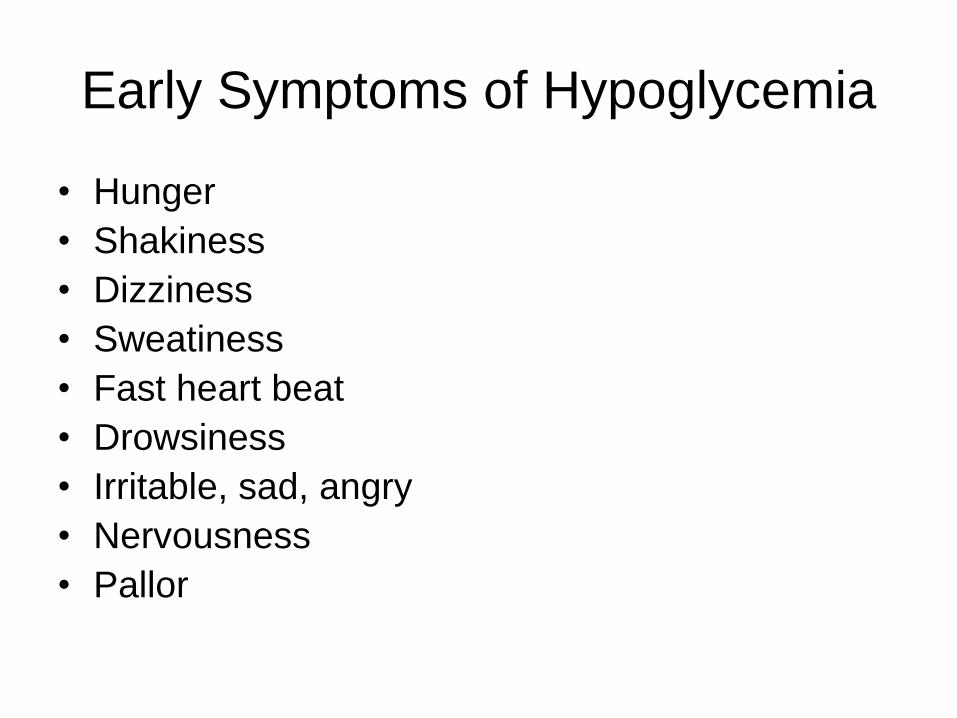
Early Symptoms of Hypoglycemia
• Hunger
• Shakiness
• Dizziness
• Sweatiness
• Fast heart beat
• Drowsiness
• Irritable, sad, angry
• Nervousness
• Pallor
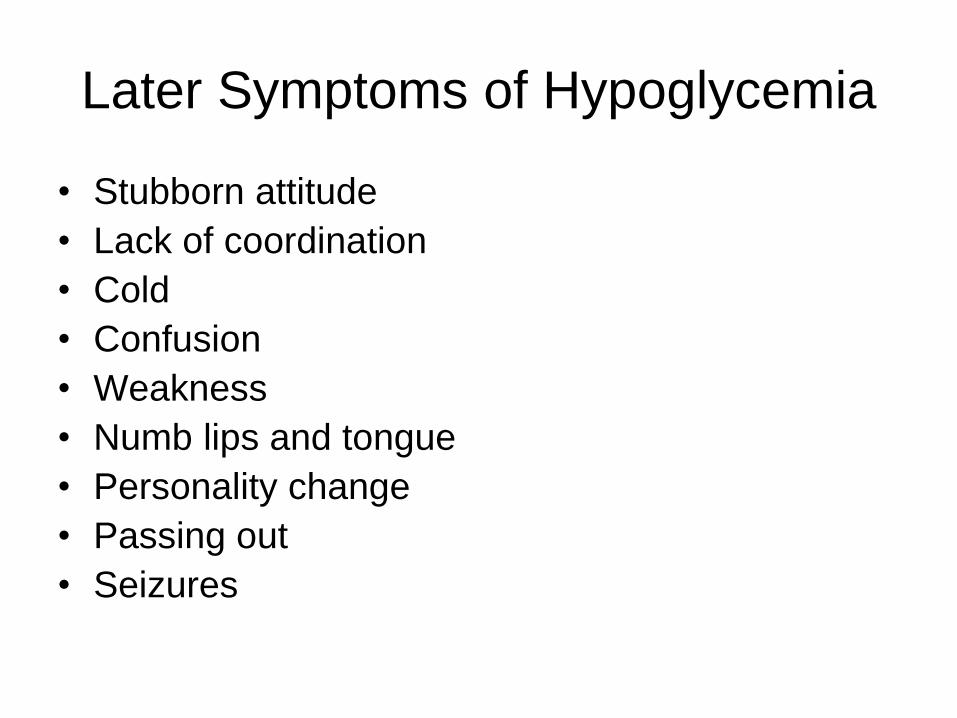
Later Symptoms of Hypoglycemia
• Stubborn attitude
• Lack of coordination
• Cold
• Confusion
• Weakness
• Numb lips and tongue
• Personality change
• Passing out
• Seizures
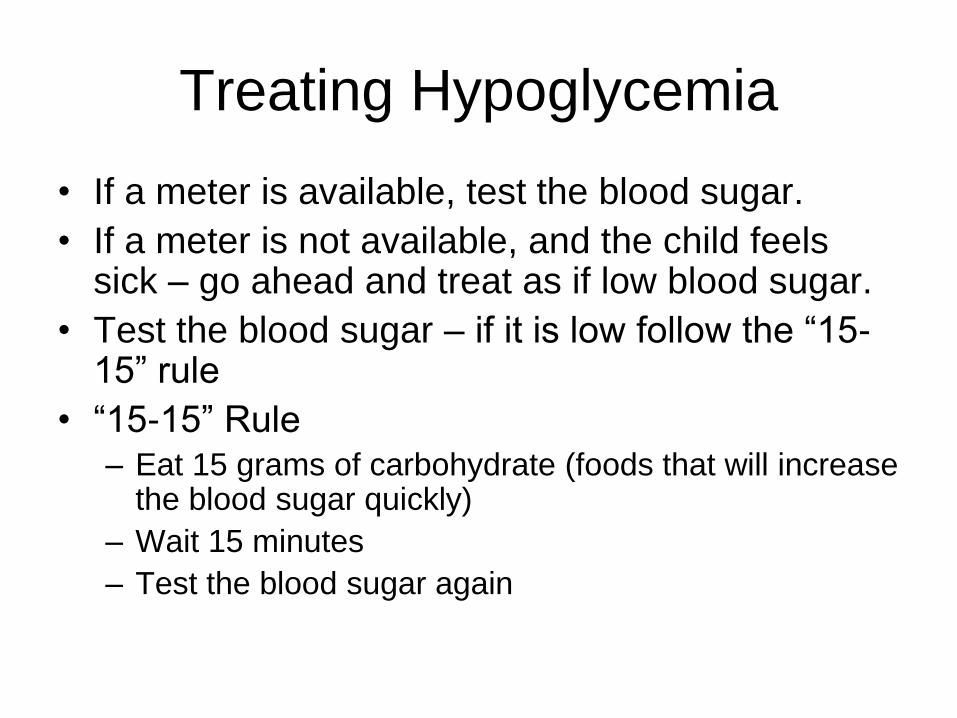
Treating Hypoglycemia
• If a meter is available, test the blood sugar.
• If a meter is not available, and the child feels sick – go ahead and treat as if low blood sugar.
• Test the blood sugar – if it is low follow the “15-15” rule
• “15-15” Rule– Eat 15 grams of carbohydrate (foods that will increase
the blood sugar quickly)
– Wait 15 minutes
– Test the blood sugar again
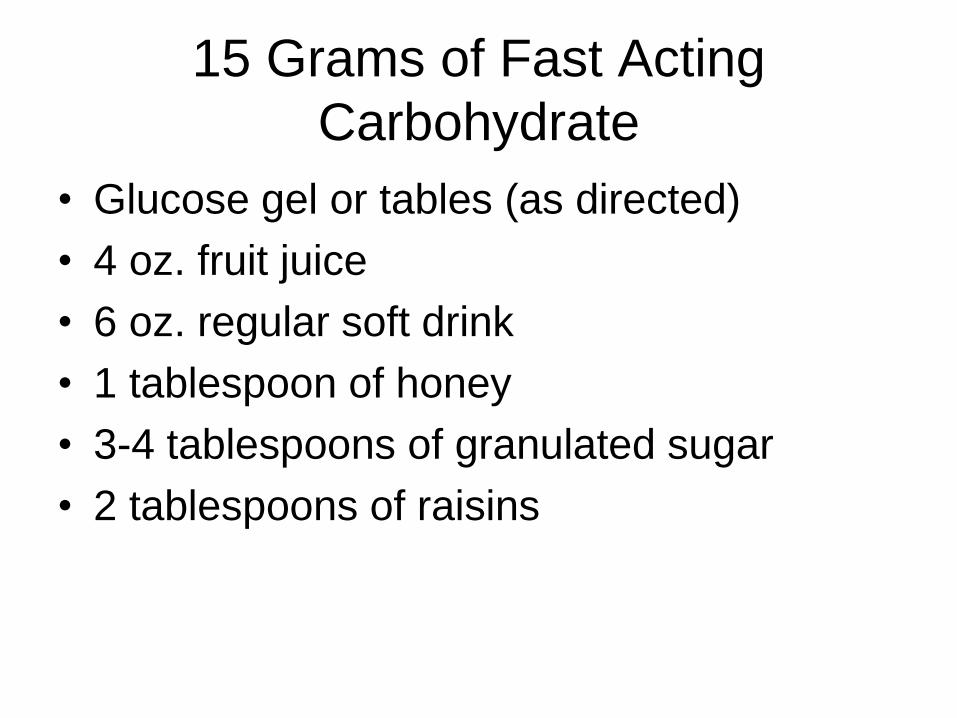
15 Grams of Fast Acting
Carbohydrate
• Glucose gel or tables (as directed)
• 4 oz. fruit juice
• 6 oz. regular soft drink
• 1 tablespoon of honey
• 3-4 tablespoons of granulated sugar
• 2 tablespoons of raisins
Follow up
• If a student is not expected to have a meal
within 30 minutes of experiencing low
blood sugar, follow up with a snack, such
as half a sandwich and a glass of milk or
several crackers/cheese (i.e. Nabs)
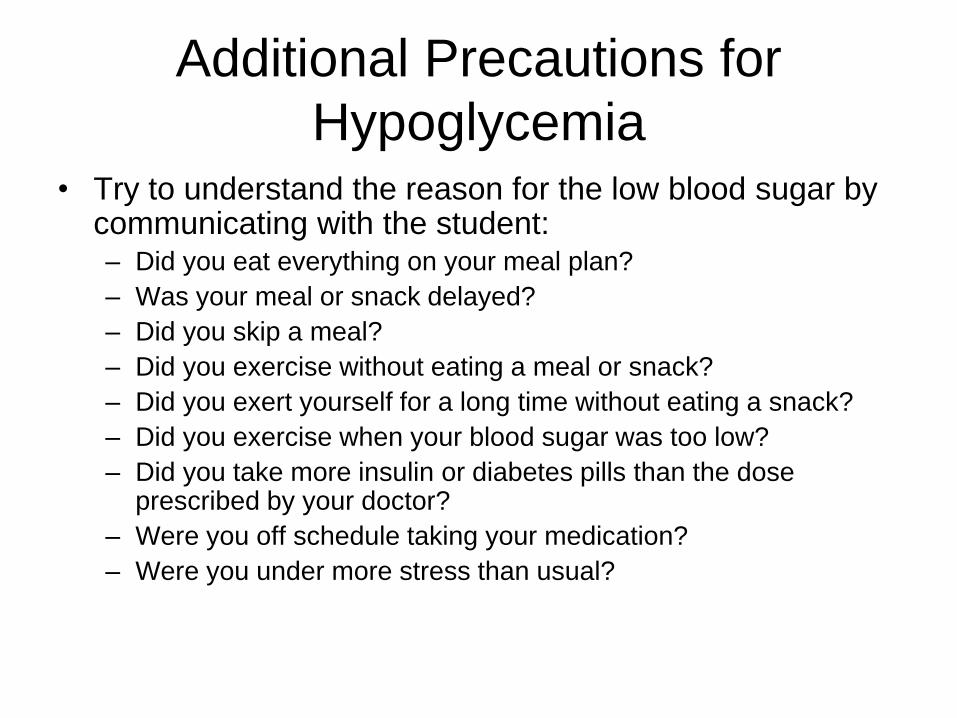
Additional Precautions for
Hypoglycemia• Try to understand the reason for the low blood sugar by
communicating with the student:– Did you eat everything on your meal plan?
– Was your meal or snack delayed?
– Did you skip a meal?
– Did you exercise without eating a meal or snack?
– Did you exert yourself for a long time without eating a snack?
– Did you exercise when your blood sugar was too low?
– Did you take more insulin or diabetes pills than the dose prescribed by your doctor?
– Were you off schedule taking your medication?
– Were you under more stress than usual?
Additional Precautions for
Hypoglycemia
• Notify the School Health Nurse if:
– The student has three or four low blood
sugars within one week.
– The student has low blood sugar twice or
more in 24 hours.
– The student has low blood sugar the same
time for several days in a row.
– The blood sugar dipped below 50 mg/dL.

Treating Unconscious Students
• IF ORDERED AND ON THE CARE PLAN, give an immediate injection of Glucagon to raise the blood sugar level.
• If Glucagon is not on the care plan, a single tube of cake gel may be given to the student (see slide 38 for directions on administration of cake gel.)
• Call 911 to transport the student to the hospital.
• Notify parents.
• Notify central office of transport.
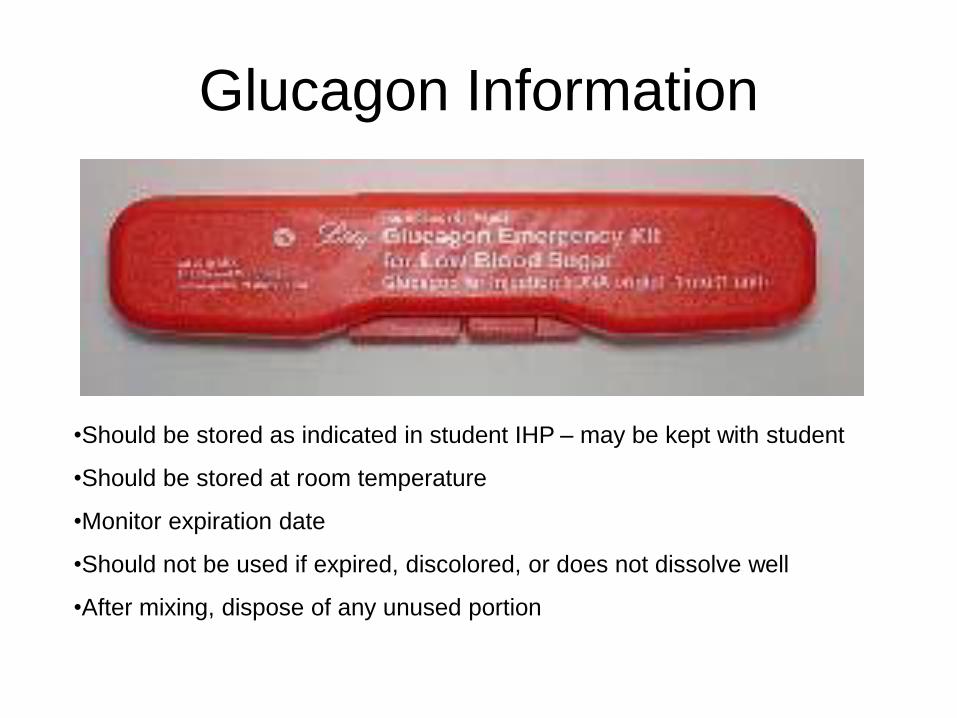
Glucagon Information
•Should be stored as indicated in student IHP – may be kept with student
•Should be stored at room temperature
•Monitor expiration date
•Should not be used if expired, discolored, or does not dissolve well
•After mixing, dispose of any unused portion
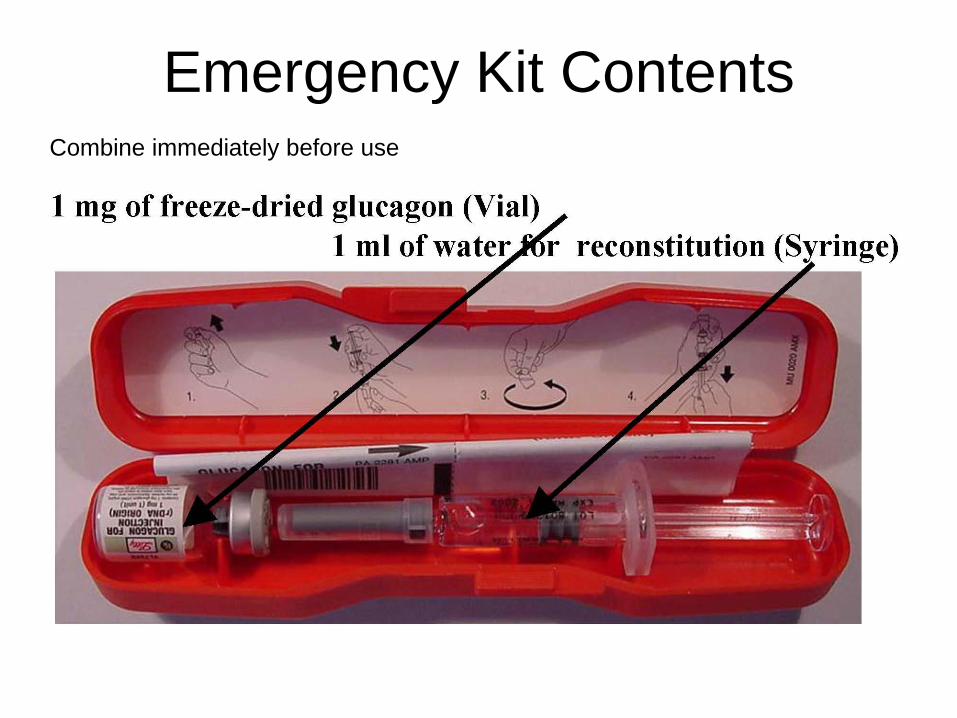
Emergency Kit ContentsCombine immediately before use
Administration of Glucagon
• Glucagon must be injected
• Review instructions provided within the
emergency kit
• The emergency kit includes:
– A syringe pre-filled with saline
– A vial of powdered glucagon
• Combine the glucagon for injection
immediately before use
Reminders on when to give
Glucagon
• If authorized by the student’s care plan
and the student exhibits:
– Unconsciousness or unresponsiveness
– Convulsions or seizures
– Inability to safely eat or drink
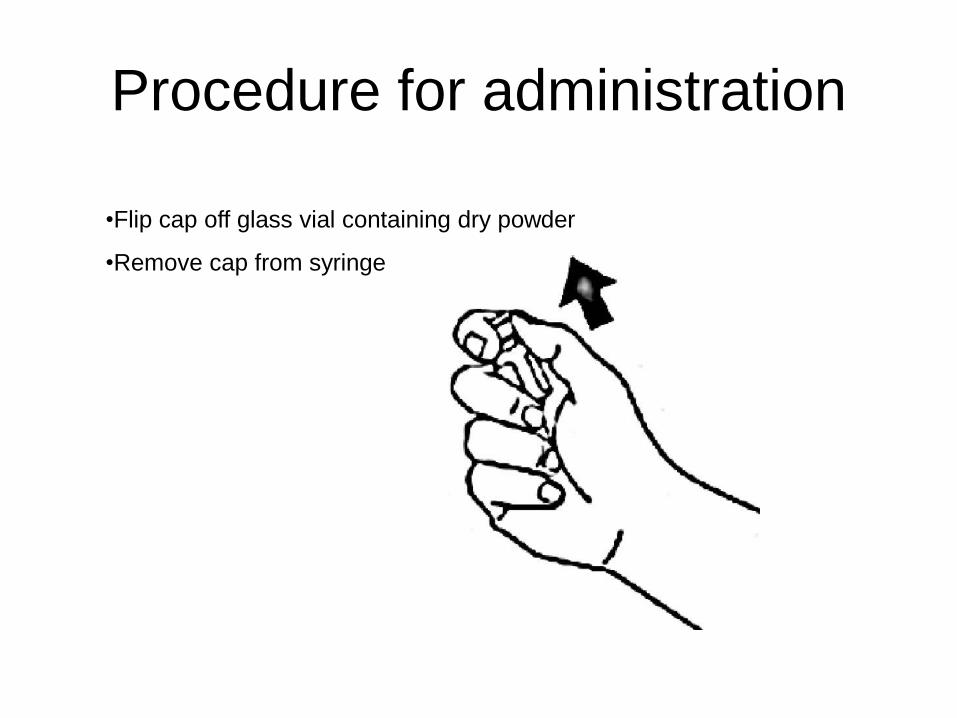
Procedure for administration
•Flip cap off glass vial containing dry powder
•Remove cap from syringe
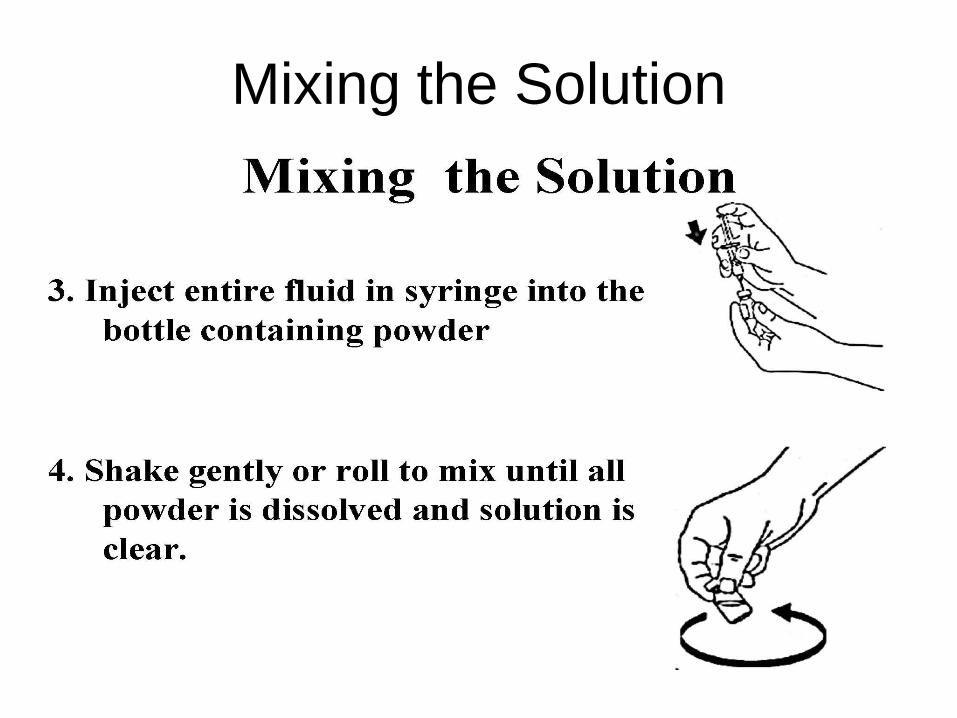
Mixing the Solution
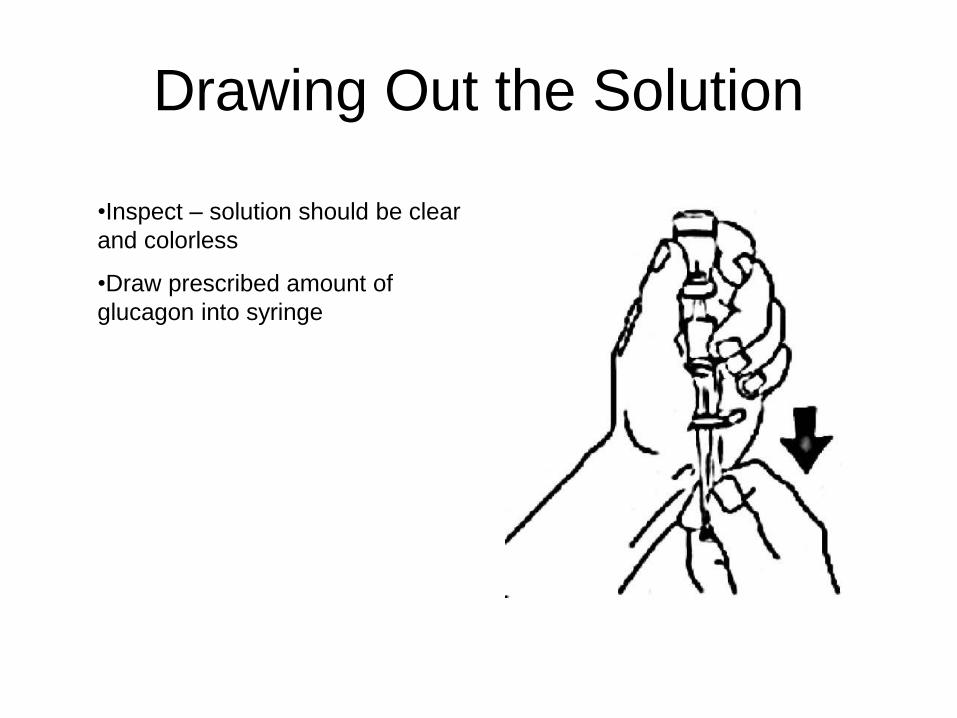
Drawing Out the Solution
•Inspect – solution should be clear
and colorless
•Draw prescribed amount of
glucagon into syringe
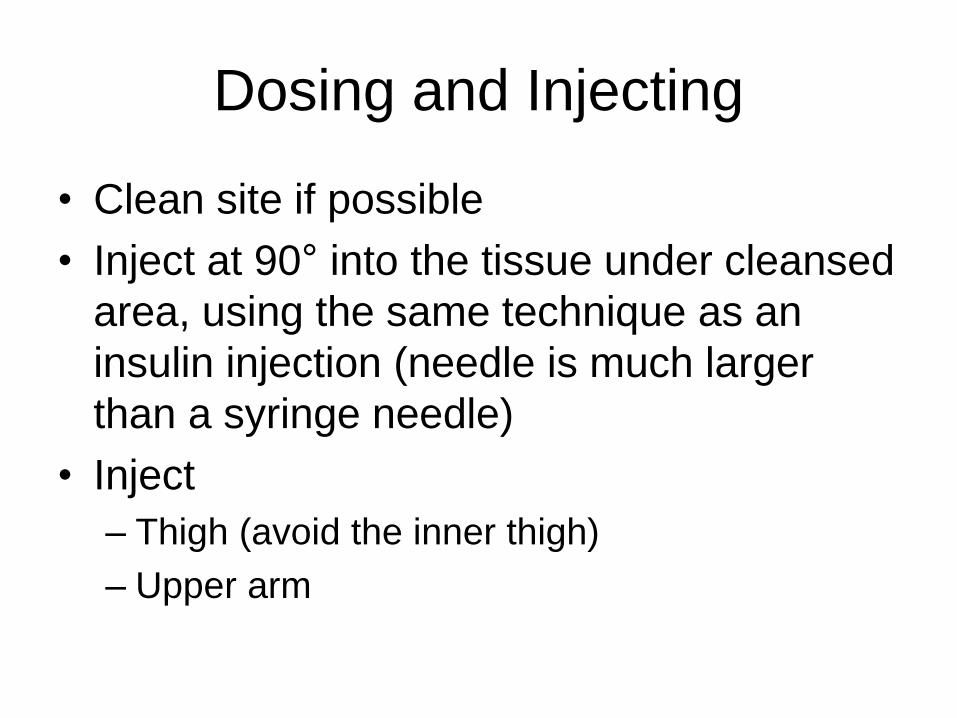
Dosing and Injecting
• Clean site if possible
• Inject at 90° into the tissue under cleansed
area, using the same technique as an
insulin injection (needle is much larger
than a syringe needle)
• Inject
– Thigh (avoid the inner thigh)
– Upper arm
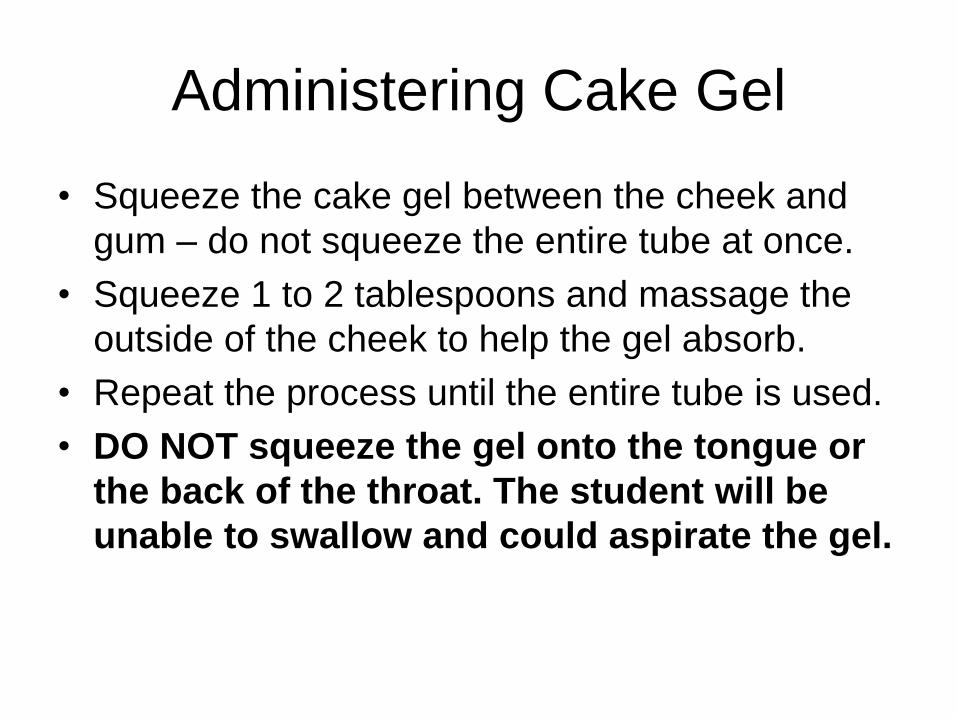
Administering Cake Gel
• Squeeze the cake gel between the cheek and
gum – do not squeeze the entire tube at once.
• Squeeze 1 to 2 tablespoons and massage the
outside of the cheek to help the gel absorb.
• Repeat the process until the entire tube is used.
• DO NOT squeeze the gel onto the tongue or
the back of the throat. The student will be
unable to swallow and could aspirate the gel.
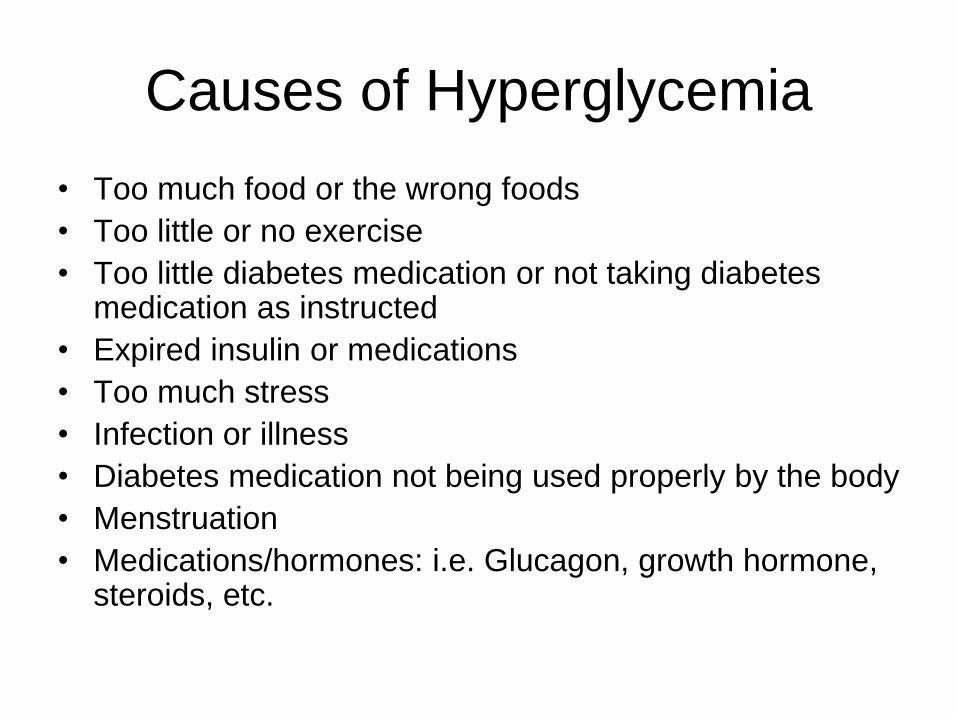
Causes of Hyperglycemia
• Too much food or the wrong foods
• Too little or no exercise
• Too little diabetes medication or not taking diabetes medication as instructed
• Expired insulin or medications
• Too much stress
• Infection or illness
• Diabetes medication not being used properly by the body
• Menstruation
• Medications/hormones: i.e. Glucagon, growth hormone, steroids, etc.
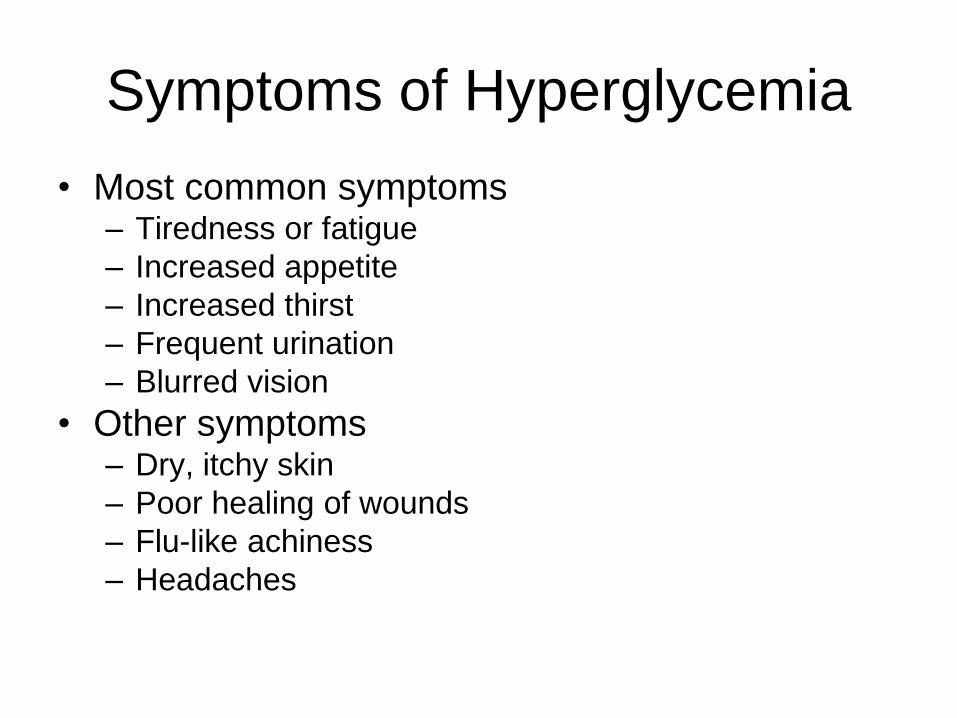
Symptoms of Hyperglycemia
• Most common symptoms– Tiredness or fatigue
– Increased appetite
– Increased thirst
– Frequent urination
– Blurred vision
• Other symptoms– Dry, itchy skin
– Poor healing of wounds
– Flu-like achiness
– Headaches
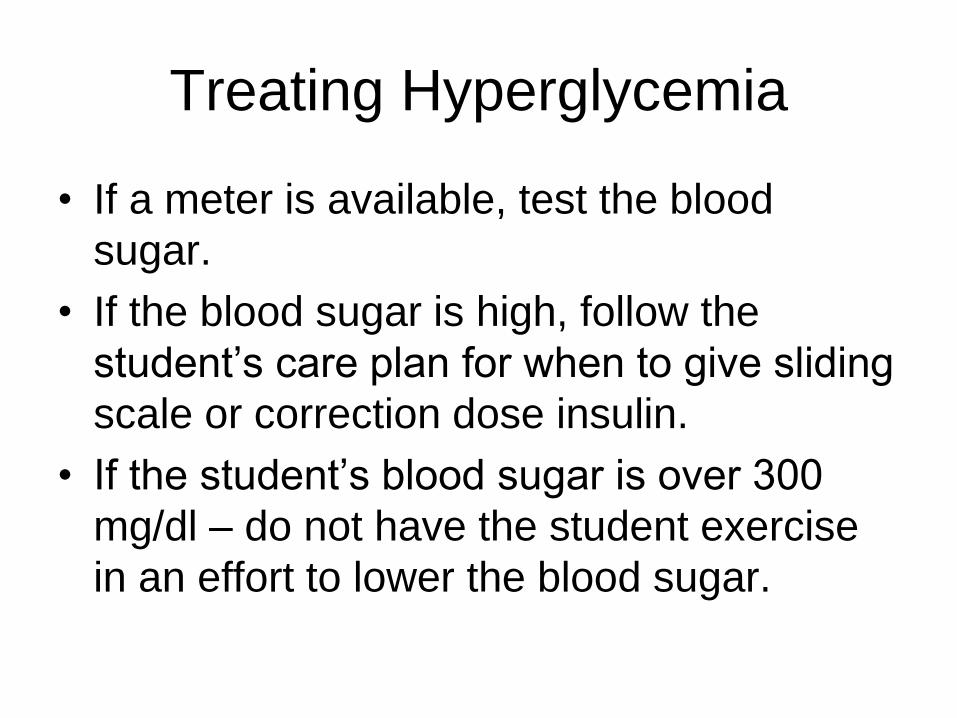
Treating Hyperglycemia
• If a meter is available, test the blood
sugar.
• If the blood sugar is high, follow the
student’s care plan for when to give sliding
scale or correction dose insulin.
• If the student’s blood sugar is over 300
mg/dl – do not have the student exercise
in an effort to lower the blood sugar.
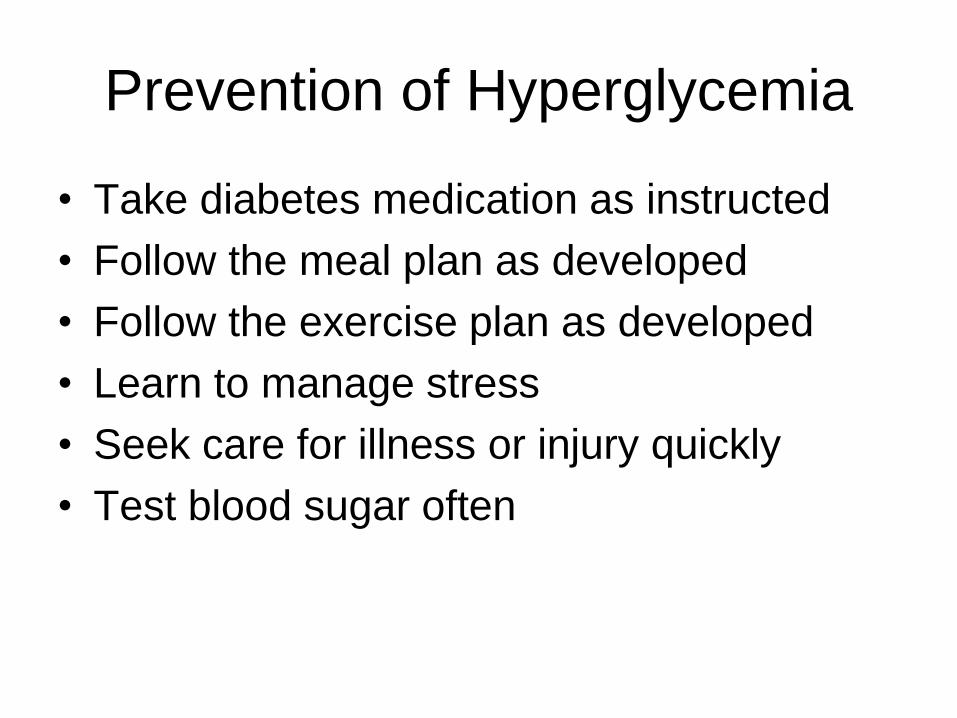
Prevention of Hyperglycemia
• Take diabetes medication as instructed
• Follow the meal plan as developed
• Follow the exercise plan as developed
• Learn to manage stress
• Seek care for illness or injury quickly
• Test blood sugar often
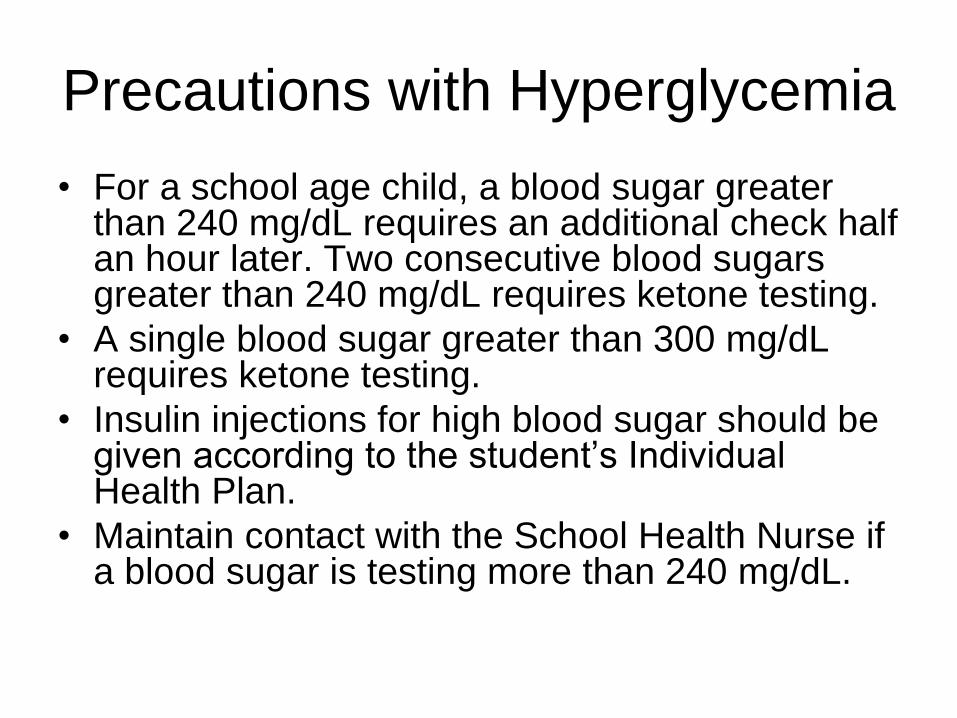
Precautions with Hyperglycemia
• For a school age child, a blood sugar greater than 240 mg/dL requires an additional check half an hour later. Two consecutive blood sugars greater than 240 mg/dL requires ketone testing.
• A single blood sugar greater than 300 mg/dL requires ketone testing.
• Insulin injections for high blood sugar should be given according to the student’s Individual Health Plan.
• Maintain contact with the School Health Nurse if a blood sugar is testing more than 240 mg/dL.

Testing for Ketones
• Ketones are waste products produced in
the body and excreted in the urine.
• A buildup of ketones can cause diabetic
ketoacidosis (DKA) which can be deadly.
• The majority of students will not test for
ketones at school and those that do
should have procedures listed in the
Individual Health Plan.
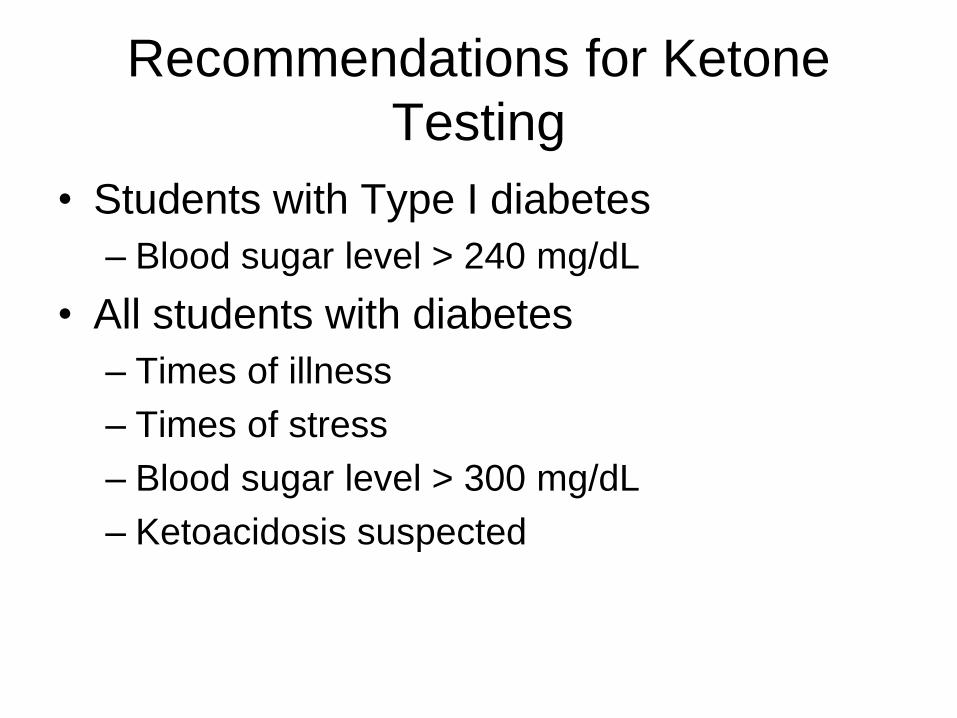
Recommendations for Ketone
Testing
• Students with Type I diabetes
– Blood sugar level > 240 mg/dL
• All students with diabetes
– Times of illness
– Times of stress
– Blood sugar level > 300 mg/dL
– Ketoacidosis suspected
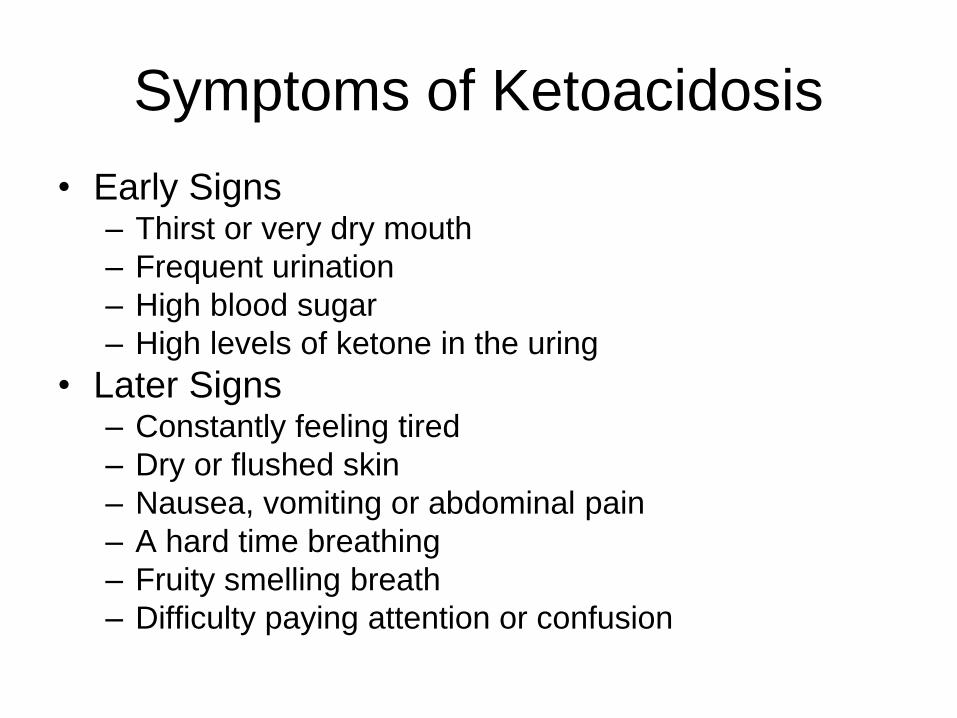
Symptoms of Ketoacidosis
• Early Signs– Thirst or very dry mouth
– Frequent urination
– High blood sugar
– High levels of ketone in the uring
• Later Signs– Constantly feeling tired
– Dry or flushed skin
– Nausea, vomiting or abdominal pain
– A hard time breathing
– Fruity smelling breath
– Difficulty paying attention or confusion
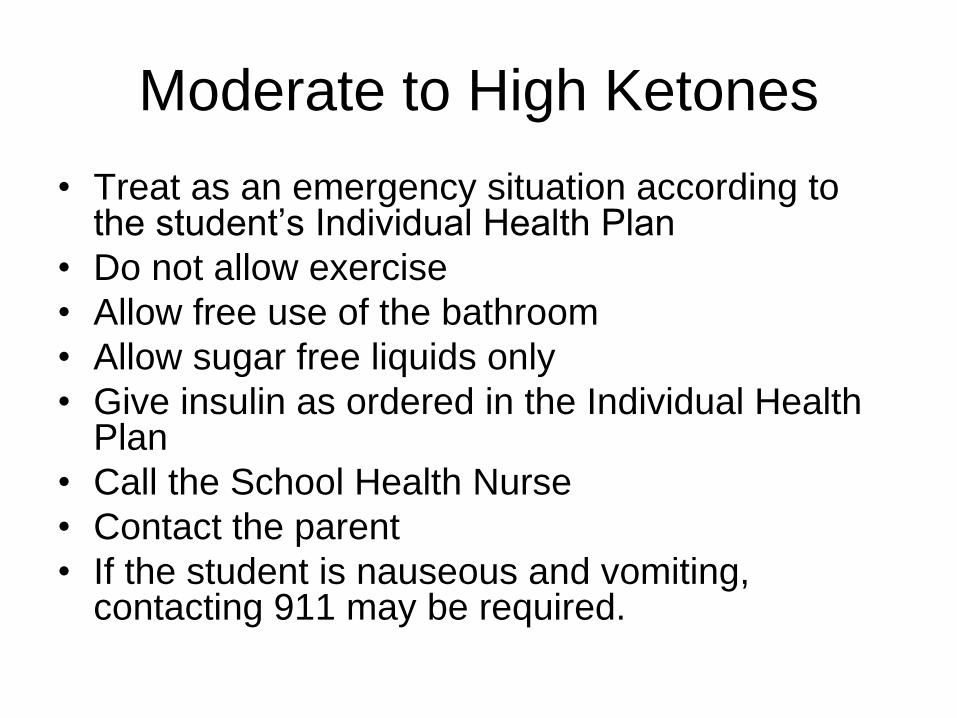
Moderate to High Ketones
• Treat as an emergency situation according to the student’s Individual Health Plan
• Do not allow exercise
• Allow free use of the bathroom
• Allow sugar free liquids only
• Give insulin as ordered in the Individual Health Plan
• Call the School Health Nurse
• Contact the parent
• If the student is nauseous and vomiting, contacting 911 may be required.
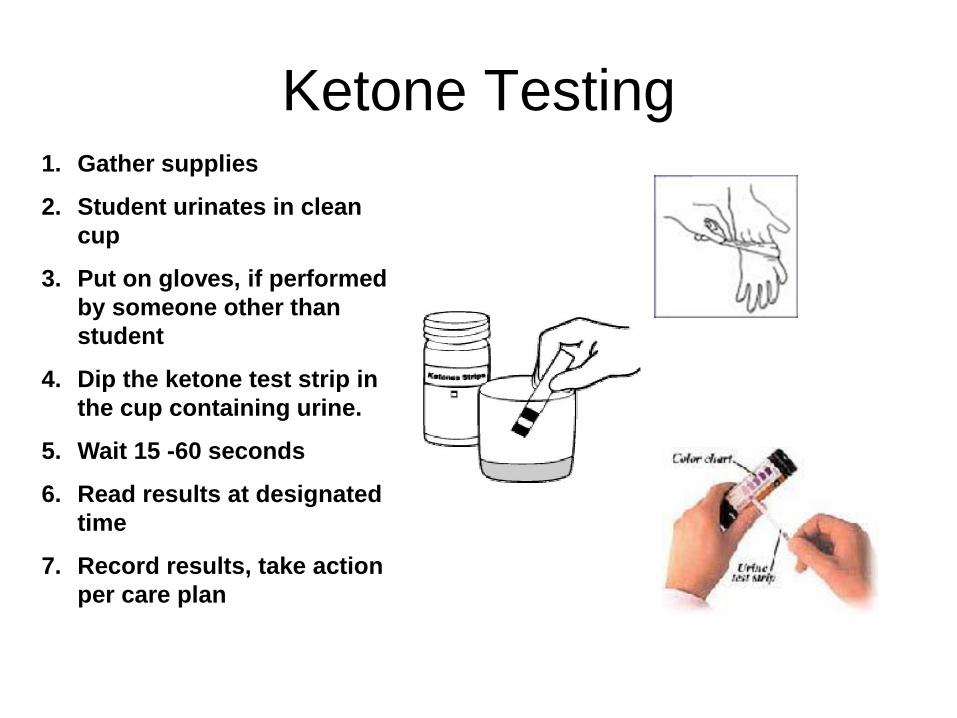
Ketone Testing1. Gather supplies
2. Student urinates in clean
cup
3. Put on gloves, if performed
by someone other than
student
4. Dip the ketone test strip in
the cup containing urine.
5. Wait 15 -60 seconds
6. Read results at designated
time
7. Record results, take action
per care plan

Blood Sugar Testing
• Regular self monitoring using a
glucometer
• A1C test – administered by a doctor every
few months for long term monitoring
(sometimes called a hemoglobin A1C or
HgA1c test)

Blood Sugar Testing
• Type 1diabetes – 3 or more times per day
• Type 2 diabetes – as recommended by doctor
• Goal
– <6 years old: 100-160 before meals & bedtime
– 6-12 years old: 80-160 before meals & bedtime
– >12 years old: 80-140 before meals; <160 2 hours
after the start of a meal
Rationale for monitoring
• Avoidance of blood sugar highs and lows
that can affect the student’s overall health
and well-being
• Delay or prevent long-term health
problems caused by high blood sugar
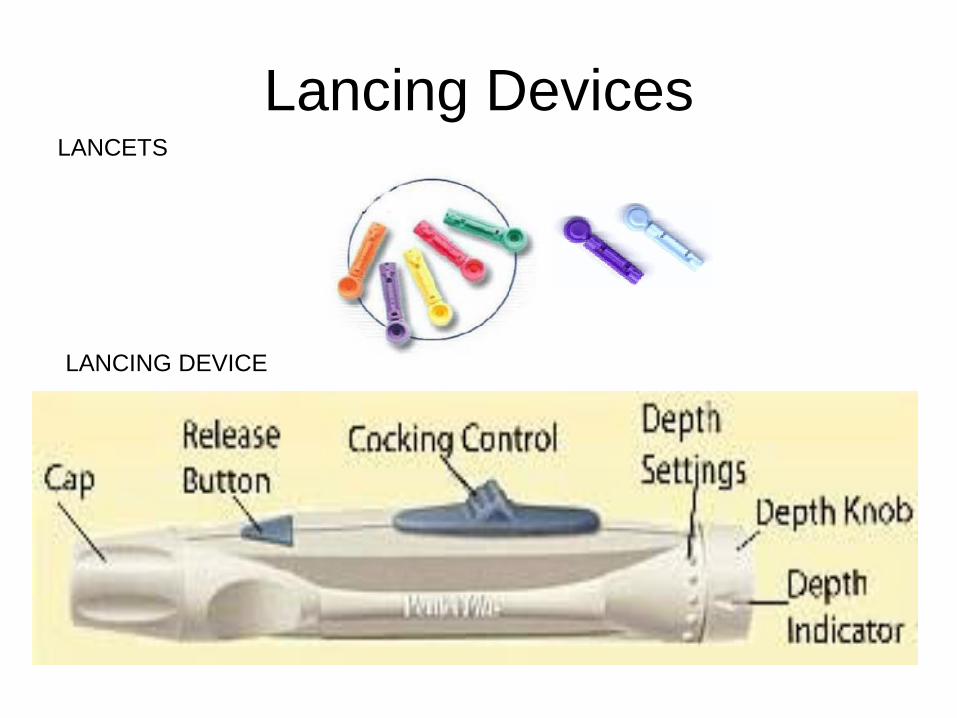
Lancing DevicesLANCETS
LANCING DEVICE
Lancing Devices
• Requires a lancet – sharp steel blade in a plastic case
• Lancet is inserted in the lancing device
• Some lancing devices have an adjustment for depth of puncture
• Depth of puncture should not cause bruising or pain
• Lancets should be disposed of in a sharps container according to local policy
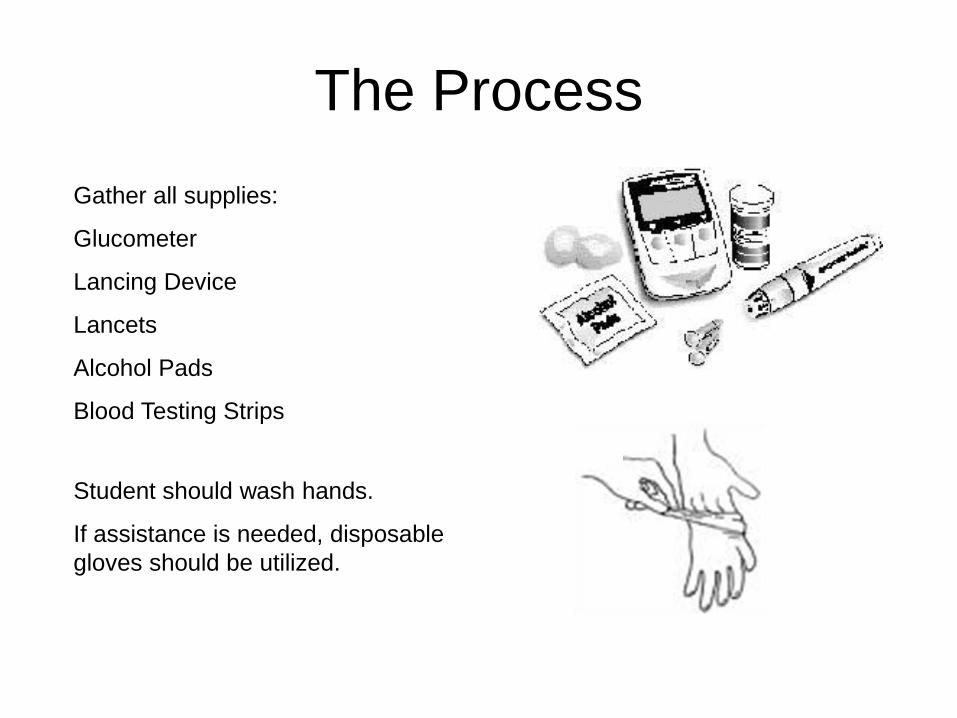
The Process
Gather all supplies:
Glucometer
Lancing Device
Lancets
Alcohol Pads
Blood Testing Strips
Student should wash hands.
If assistance is needed, disposable
gloves should be utilized.
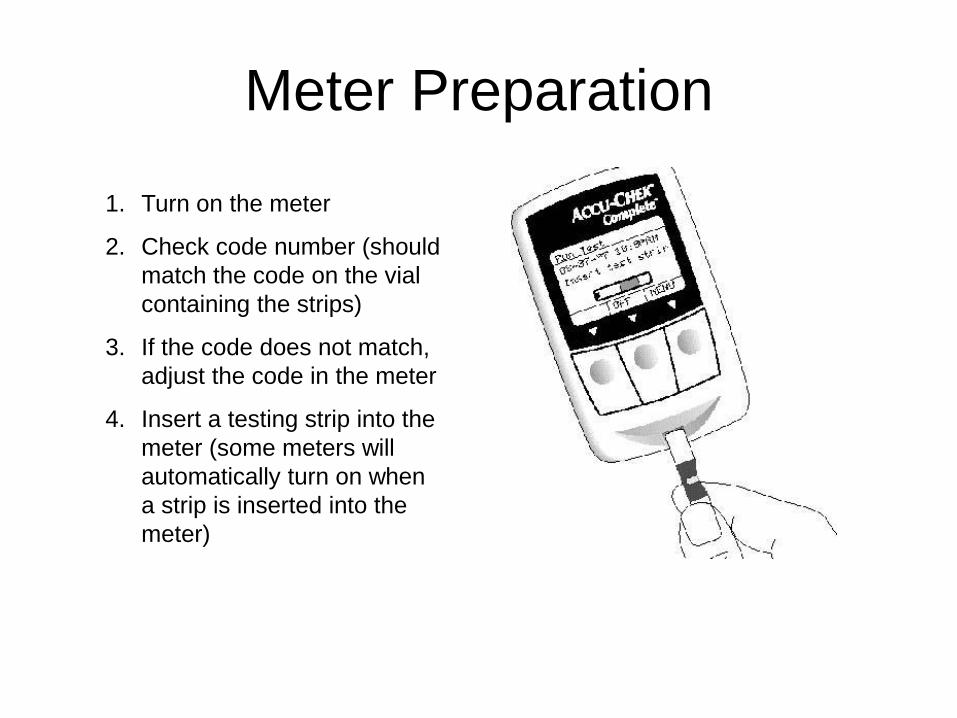
Meter Preparation
1. Turn on the meter
2. Check code number (should
match the code on the vial
containing the strips)
3. If the code does not match,
adjust the code in the meter
4. Insert a testing strip into the
meter (some meters will
automatically turn on when
a strip is inserted into the
meter)
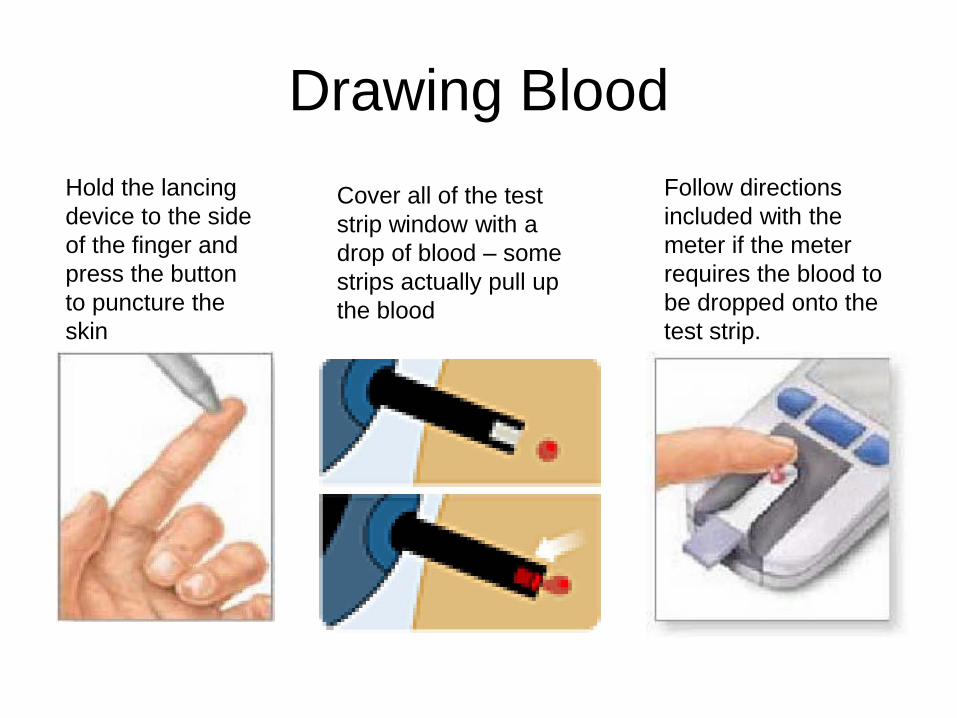
Drawing Blood
Hold the lancing
device to the side
of the finger and
press the button
to puncture the
skin
Cover all of the test
strip window with a
drop of blood – some
strips actually pull up
the blood
Follow directions
included with the
meter if the meter
requires the blood to
be dropped onto the
test strip.
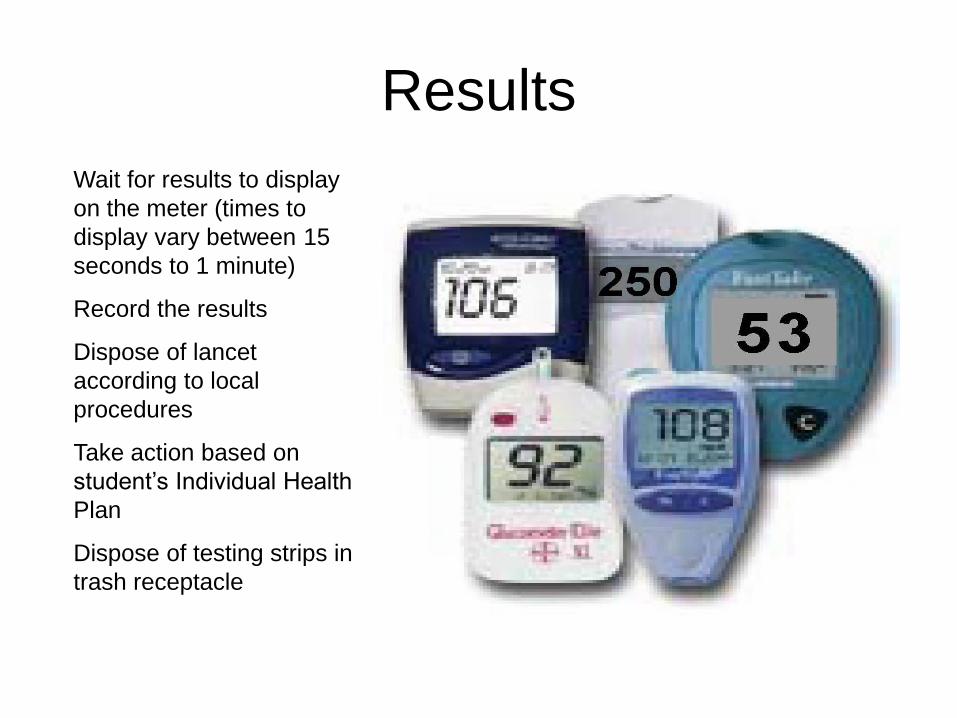
Results
Wait for results to display
on the meter (times to
display vary between 15
seconds to 1 minute)
Record the results
Dispose of lancet
according to local
procedures
Take action based on
student’s Individual Health
Plan
Dispose of testing strips in
trash receptacle

Interpreting Results
• May be displayed in numbers – refer to
student’s target numbers for blood sugar
level
• May be displayed in words relative to
student’s programmed target range – i.e.
high, low, moderate
• May display an “error code” – consult the
meter manual for information

Response to Results
• Respond to the results as to whether or
not the blood sugar level is within target
range for the individual student
• Consult the Individual Health Plan
• Consider the student’s feelings when
responding
• Contact the School Health Nurse if there
are any questions
Effect of Diet on Diabetes
• Food eaten turns into sugar in the
bloodstream
• Without insulin, the sugar remains in the
bloodstream and cannot get to the cells
where it is needed
• Insulin is often needed near mealtimes to
help the sugar move from the bloodstream
to the cells
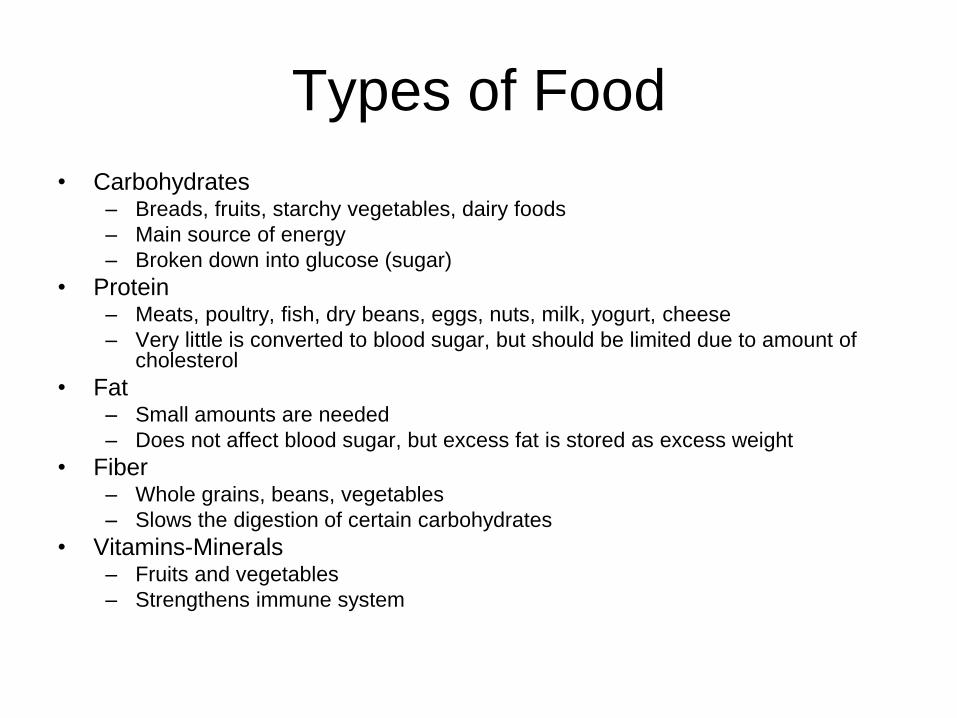
Types of Food
• Carbohydrates– Breads, fruits, starchy vegetables, dairy foods
– Main source of energy
– Broken down into glucose (sugar)
• Protein– Meats, poultry, fish, dry beans, eggs, nuts, milk, yogurt, cheese
– Very little is converted to blood sugar, but should be limited due to amount of cholesterol
• Fat– Small amounts are needed
– Does not affect blood sugar, but excess fat is stored as excess weight
• Fiber– Whole grains, beans, vegetables
– Slows the digestion of certain carbohydrates
• Vitamins-Minerals– Fruits and vegetables
– Strengthens immune system
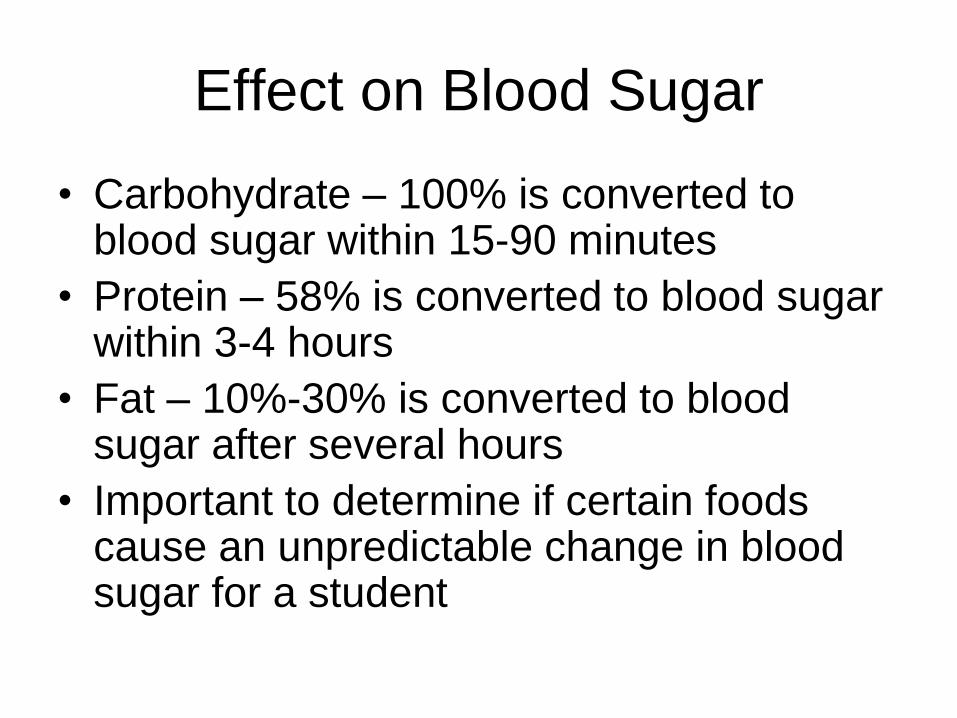
Effect on Blood Sugar
• Carbohydrate – 100% is converted to blood sugar within 15-90 minutes
• Protein – 58% is converted to blood sugar within 3-4 hours
• Fat – 10%-30% is converted to blood sugar after several hours
• Important to determine if certain foods cause an unpredictable change in blood sugar for a student
Developing a Meal Plan
• Healthy foods for all individuals are
healthy foods for diabetics
• Meals and snacks need to be balanced
with exercise and medications
• Balancing insulin or medications with
carbohydrate intake allows students to
have control over food choices and
portions
Types of Meal Plans
• Exchange System for Meal Planning
– Equivalent food choices can be chosen within
a developed plan
• Basic Carbohydrate Counting
– Total carbohydrates are counted as eaten
• Insulin to Carb ratio
– Rapid insulin is given to cover the amount of
carbohydrate consumed at a meal
Carbohydrate Counting
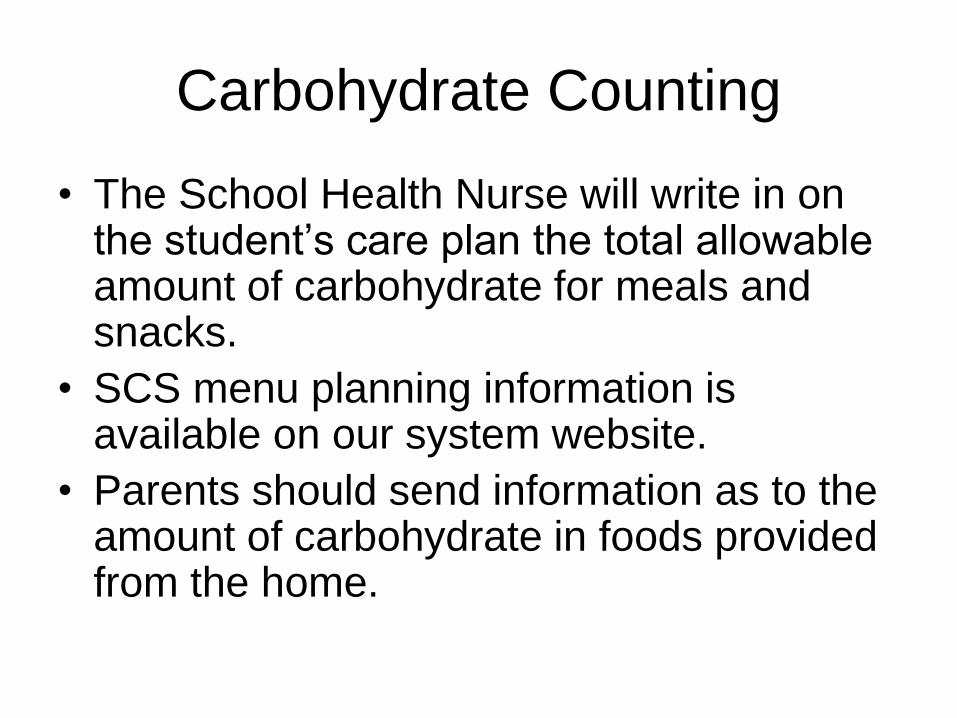
• The School Health Nurse will write in on the student’s care plan the total allowable amount of carbohydrate for meals and snacks.
• SCS menu planning information is available on our system website.
• Parents should send information as to the amount of carbohydrate in foods provided from the home.
Example
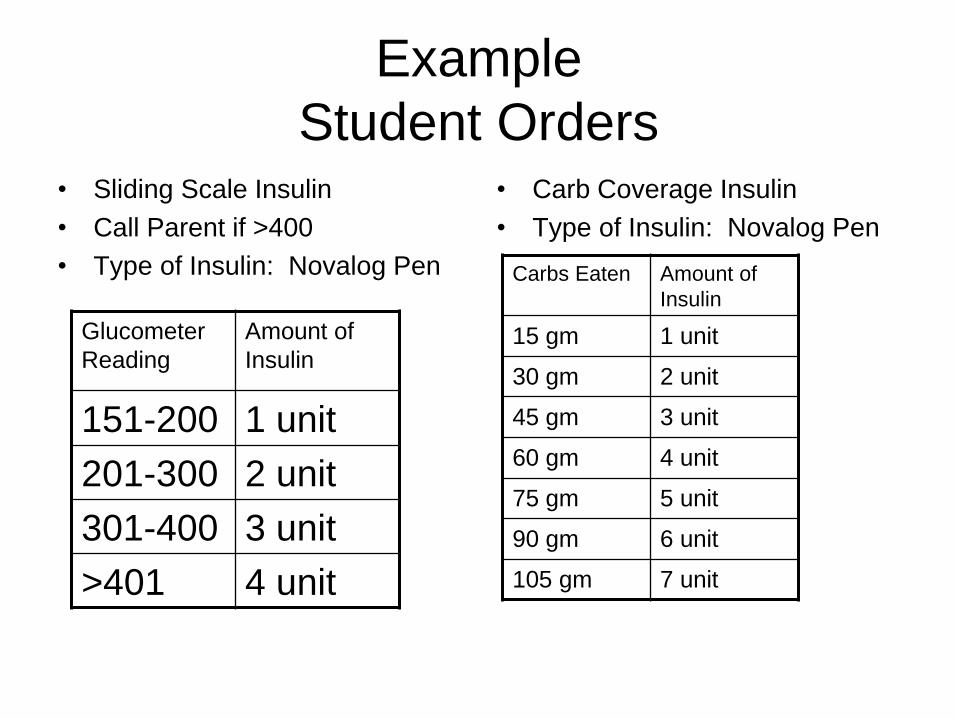
Student Orders• Sliding Scale Insulin
• Call Parent if >400
• Type of Insulin: Novalog Pen
• Carb Coverage Insulin
• Type of Insulin: Novalog Pen
Glucometer
Reading
Amount of
Insulin
151-200 1 unit
201-300 2 unit
301-400 3 unit
>401 4 unit
Carbs Eaten Amount of
Insulin
15 gm 1 unit
30 gm 2 unit
45 gm 3 unit
60 gm 4 unit
75 gm 5 unit
90 gm 6 unit
105 gm 7 unit
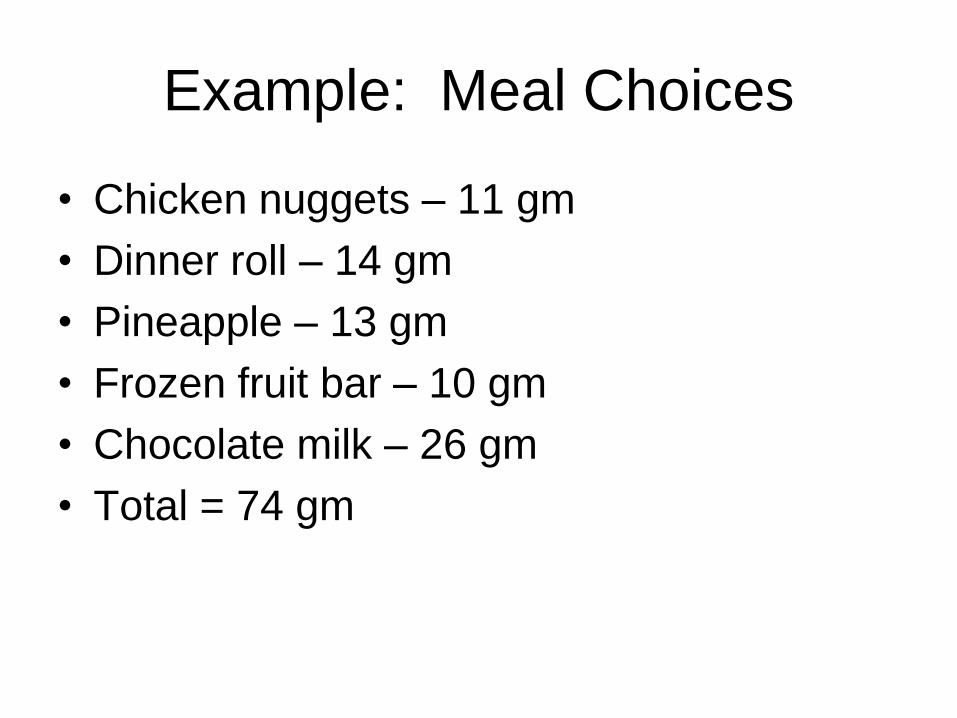
Example: Meal Choices
• Chicken nuggets – 11 gm
• Dinner roll – 14 gm
• Pineapple – 13 gm
• Frozen fruit bar – 10 gm
• Chocolate milk – 26 gm
• Total = 74 gm
Results
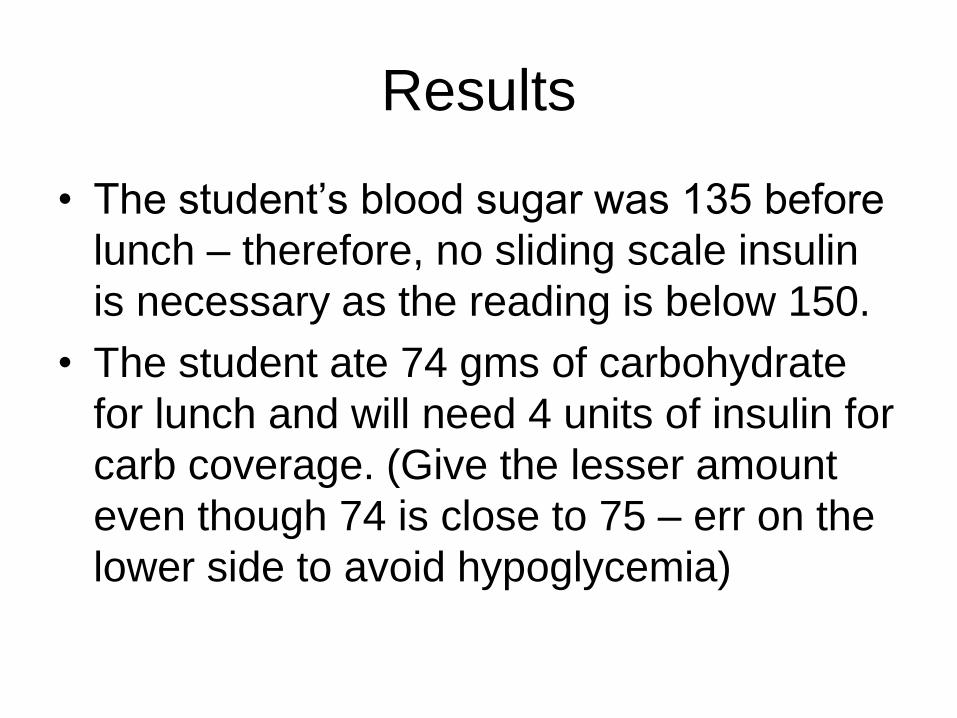
• The student’s blood sugar was 135 before
lunch – therefore, no sliding scale insulin
is necessary as the reading is below 150.
• The student ate 74 gms of carbohydrate
for lunch and will need 4 units of insulin for
carb coverage. (Give the lesser amount
even though 74 is close to 75 – err on the
lower side to avoid hypoglycemia)
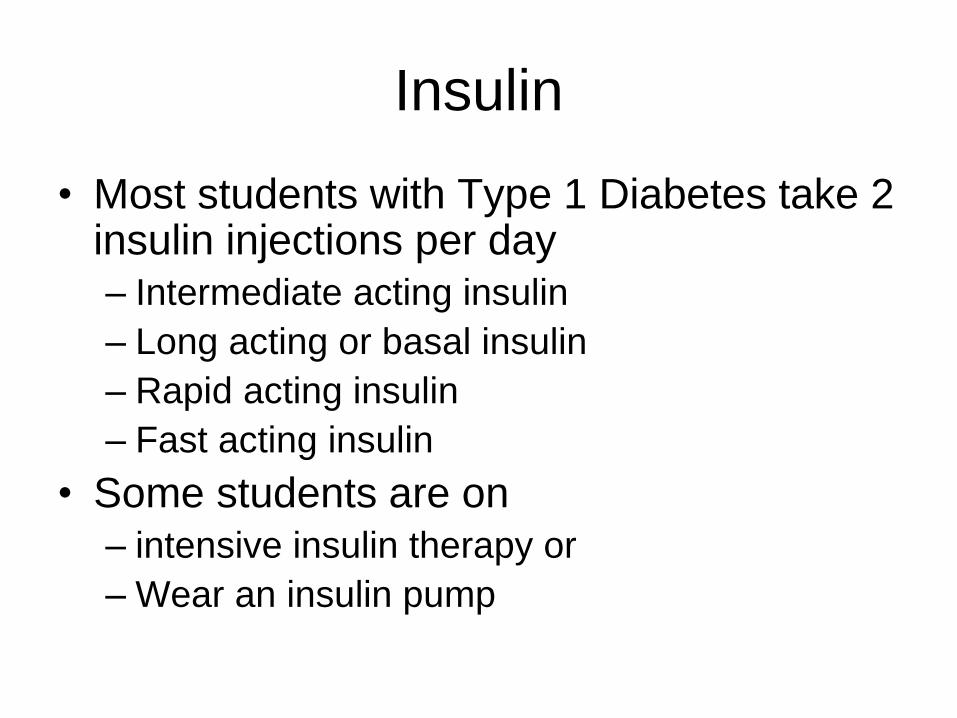
Insulin
• Most students with Type 1 Diabetes take 2 insulin injections per day
– Intermediate acting insulin
– Long acting or basal insulin
– Rapid acting insulin
– Fast acting insulin
• Some students are on
– intensive insulin therapy or
– Wear an insulin pump
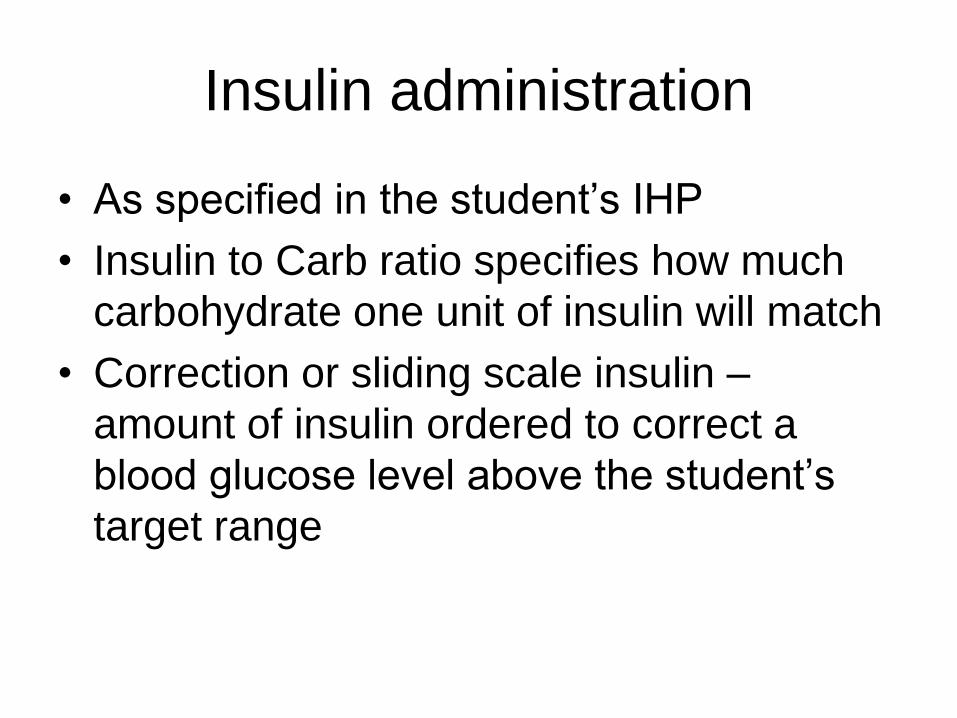
Insulin administration
• As specified in the student’s IHP
• Insulin to Carb ratio specifies how much
carbohydrate one unit of insulin will match
• Correction or sliding scale insulin –
amount of insulin ordered to correct a
blood glucose level above the student’s
target range
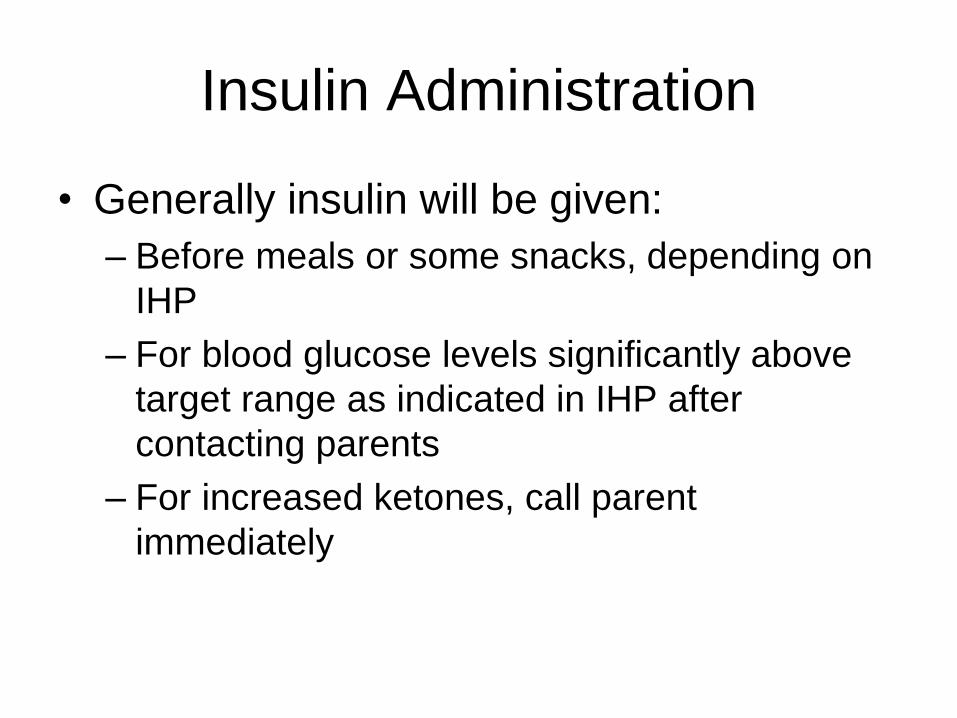
Insulin Administration
• Generally insulin will be given:
– Before meals or some snacks, depending on
IHP
– For blood glucose levels significantly above
target range as indicated in IHP after
contacting parents
– For increased ketones, call parent
immediately
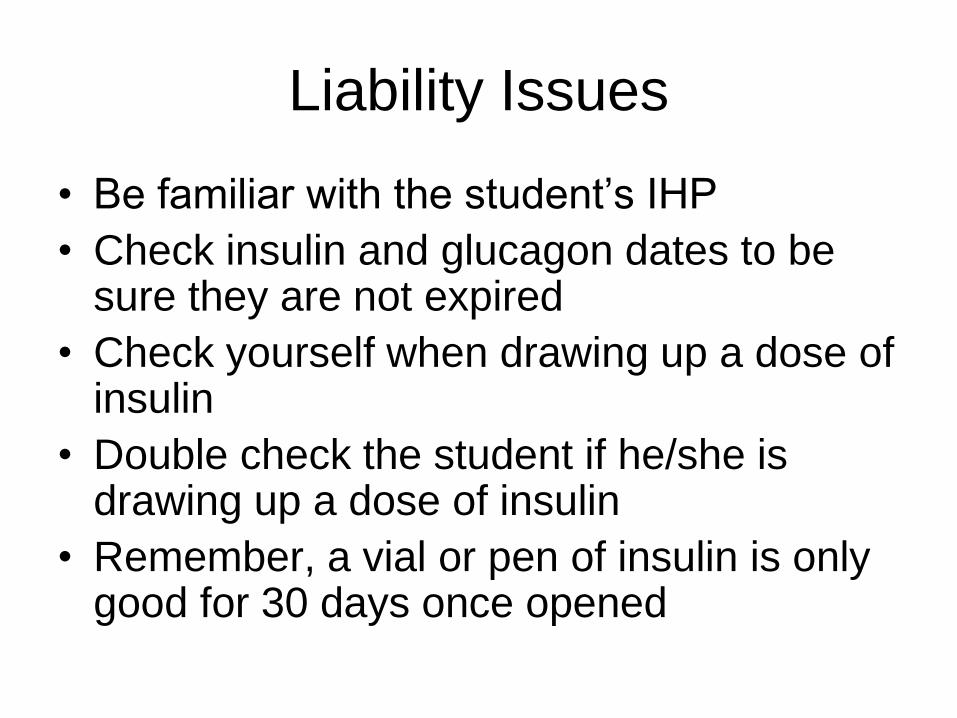
Liability Issues
• Be familiar with the student’s IHP
• Check insulin and glucagon dates to be sure they are not expired
• Check yourself when drawing up a dose of insulin
• Double check the student if he/she is drawing up a dose of insulin
• Remember, a vial or pen of insulin is only good for 30 days once opened
Types of Incidents
• Giving too much insulin
– Notify the child’s health care team
– Test blood sugar at least every hour for the
rest of the day
– Notify the parent/guardian to let them know of
the procedure you have taken
– Provide extra food/juice for the child
– Alert the teacher
– Notify the School Health Nurse
Types of Incidents
• Too little insulin or leakage from the site of
injection
– Blood sugars may run a little higher if insulin
leaks from the site.
– If this is a common problem, take more time
with the injection and count 10 seconds
before withdrawing the needle.
• Child refuses insulin injection
– Document and contact parents immediately.
Insulin Administration
• Insulin syringes
– Different sizes are available
– Dispose of according to Universal Precautions
• Pre-filled pens
– Built in insulin cartridge
• Reusable pens
– Insulin cartridge is inserted
– Disposable needle
• Insulin pumps
Insulin Pumps
• Delivers small amounts of insulin all the
time (basal insulin) – consistent delivery
not affected by activity
• Allows for extra insulin at mealtime (bolus
insulin)
• Contains a reservoir of insulin
• Requires programming, close monitoring,
frequent blood glucose tests
Insulin Pumps
• Supplies involved & provided by parent
– Infusion set
– Reservoir
– Insulin
– Skin prep items
– Alcohol wipes to clean top of insulin vial
– Syringe (in case of malfunction)
– Pump batteries
– Inserter (if used)
– Manufacturer’s manual, alarm card
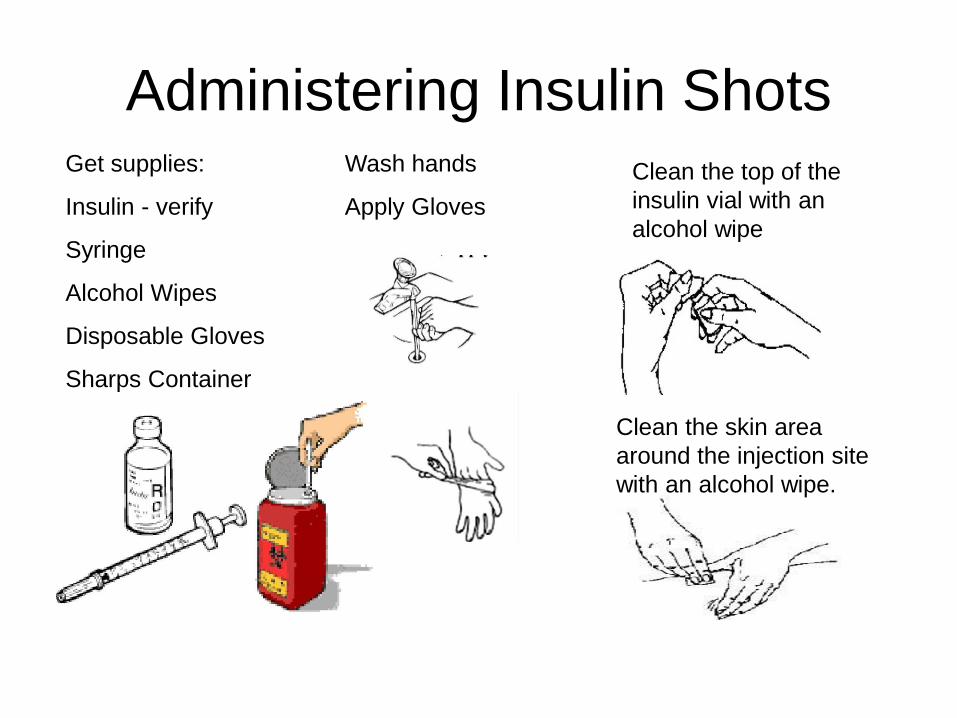
Administering Insulin ShotsGet supplies:
Insulin - verify
Syringe
Alcohol Wipes
Disposable Gloves
Sharps Container
Wash hands
Apply Gloves
Clean the top of the
insulin vial with an
alcohol wipe
Clean the skin area
around the injection site
with an alcohol wipe.
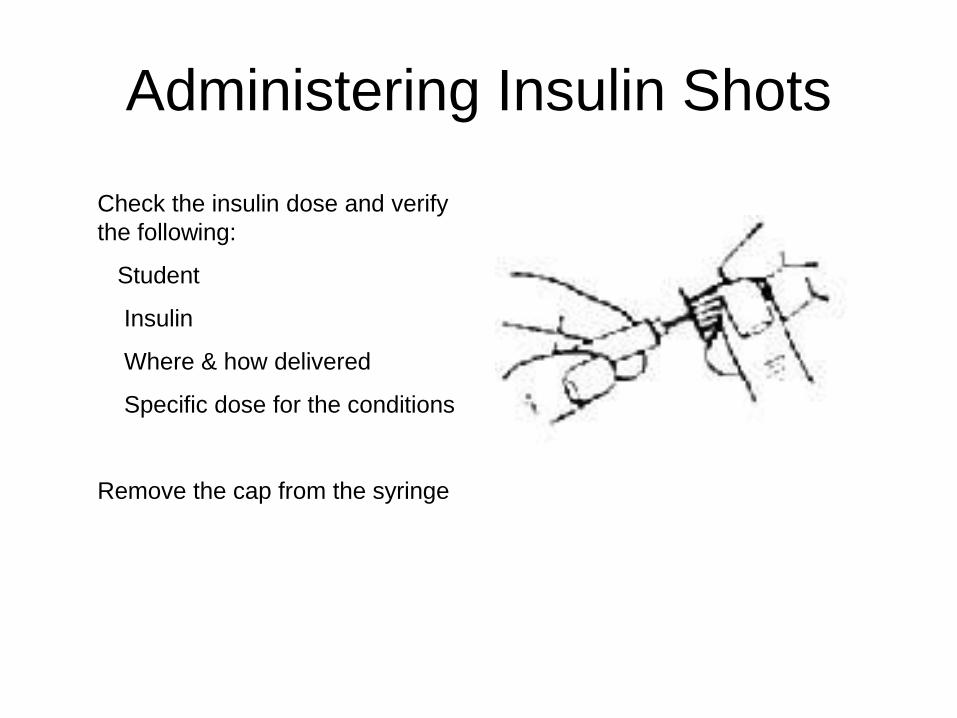
Administering Insulin Shots
Check the insulin dose and verify
the following:
Student
Insulin
Where & how delivered
Specific dose for the conditions
Remove the cap from the syringe
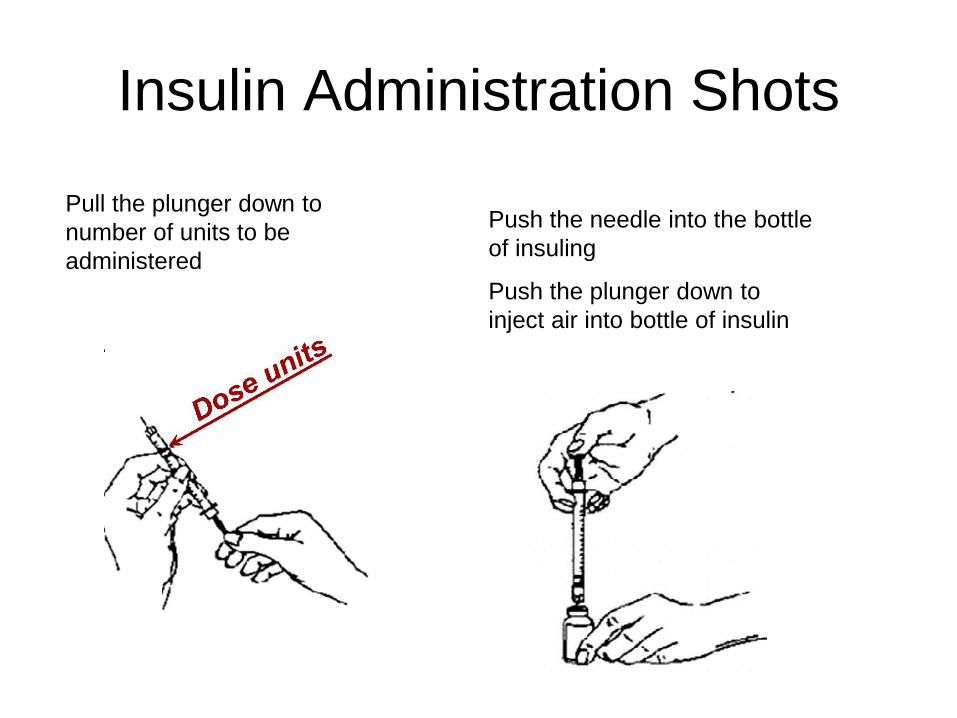
Insulin Administration Shots
Pull the plunger down to
number of units to be
administered
Push the needle into the bottle
of insuling
Push the plunger down to
inject air into bottle of insulin
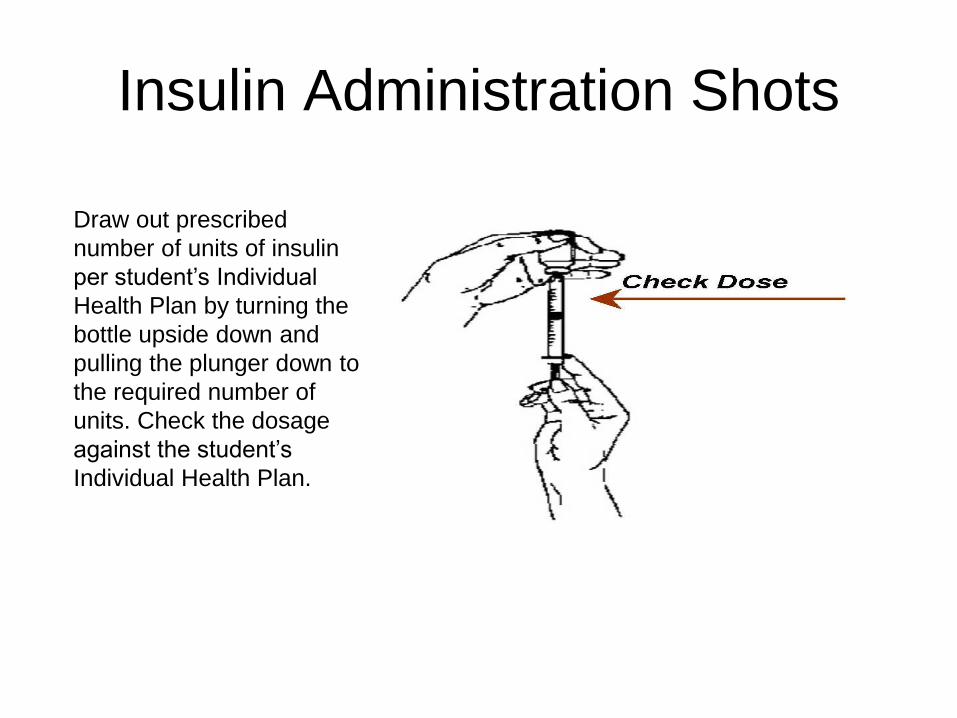
Insulin Administration Shots
Draw out prescribed
number of units of insulin
per student’s Individual
Health Plan by turning the
bottle upside down and
pulling the plunger down to
the required number of
units. Check the dosage
against the student’s
Individual Health Plan.
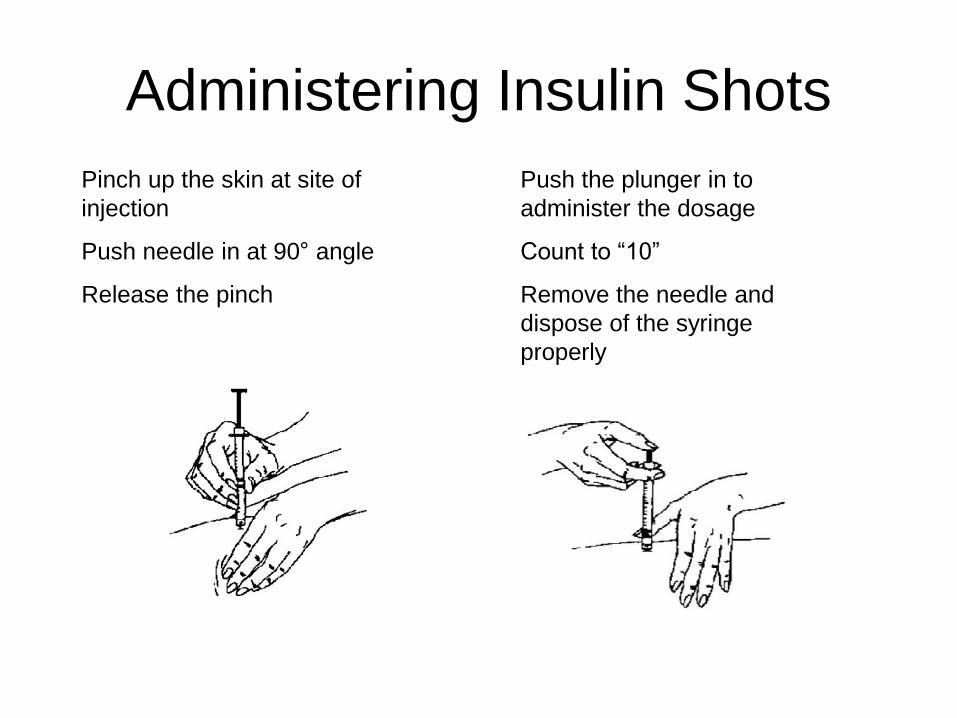
Administering Insulin Shots
Pinch up the skin at site of
injection
Push needle in at 90° angle
Release the pinch
Push the plunger in to
administer the dosage
Count to “10”
Remove the needle and
dispose of the syringe
properly
Administering Insulin from an
Insulin Pen
• Gather supplies (verify type of insulin)
– Insulin pen with cartridge
– Pen needle
– Alcohol wipes
– Sharps container
• Wash hands and apply disposable gloves
• Choose & Clean the injection site
• Screw on pen needle
Administering Insulin from an
Insulin Pen
• Prime the pen by dialing 2 units
• Remove air by pressing the plunger
• Repeat the “prime” process if no insulin
shows
• Dial the number of units as prescribed in
the student’s Individual Health Plan
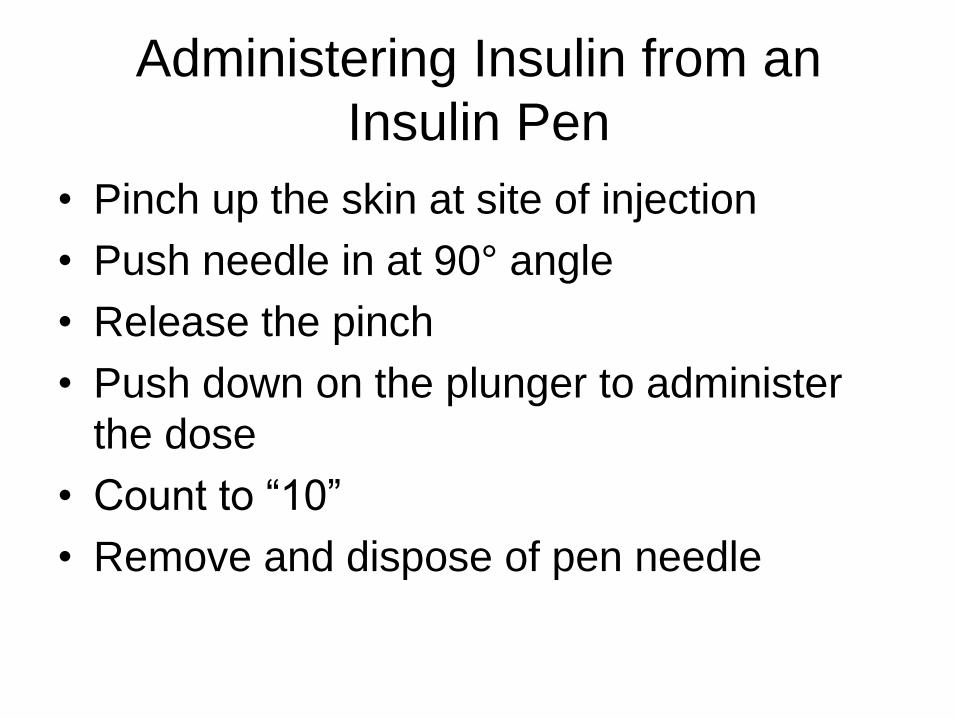
Administering Insulin from an
Insulin Pen
• Pinch up the skin at site of injection
• Push needle in at 90° angle
• Release the pinch
• Push down on the plunger to administer
the dose
• Count to “10”
• Remove and dispose of pen needle
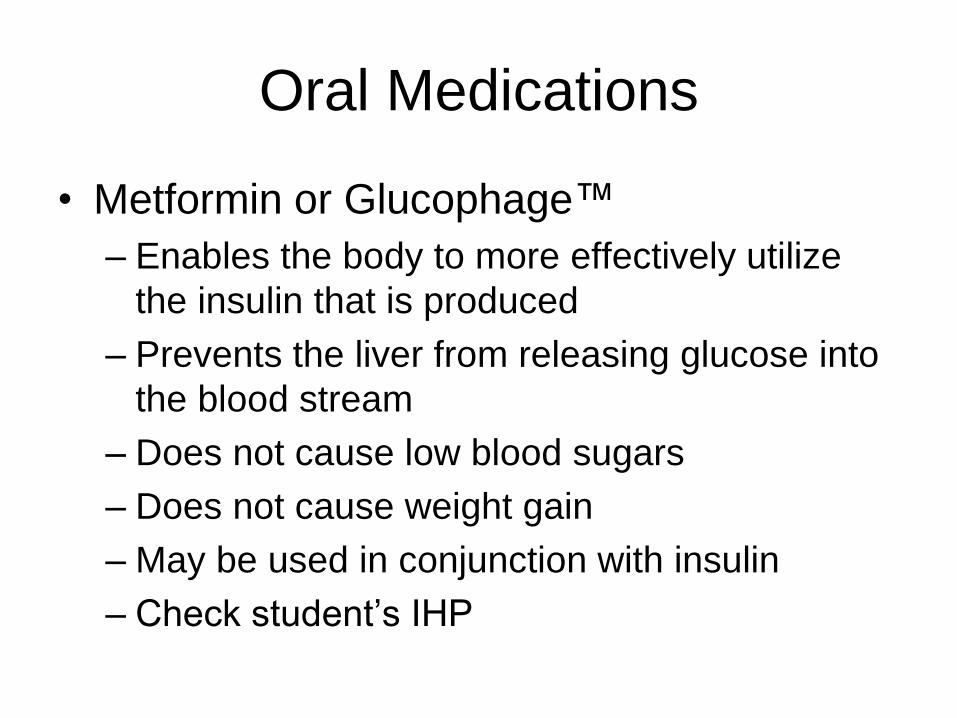
Oral Medications
• Metformin or Glucophage™
– Enables the body to more effectively utilize
the insulin that is produced
– Prevents the liver from releasing glucose into
the blood stream
– Does not cause low blood sugars
– Does not cause weight gain
– May be used in conjunction with insulin
– Check student’s IHP
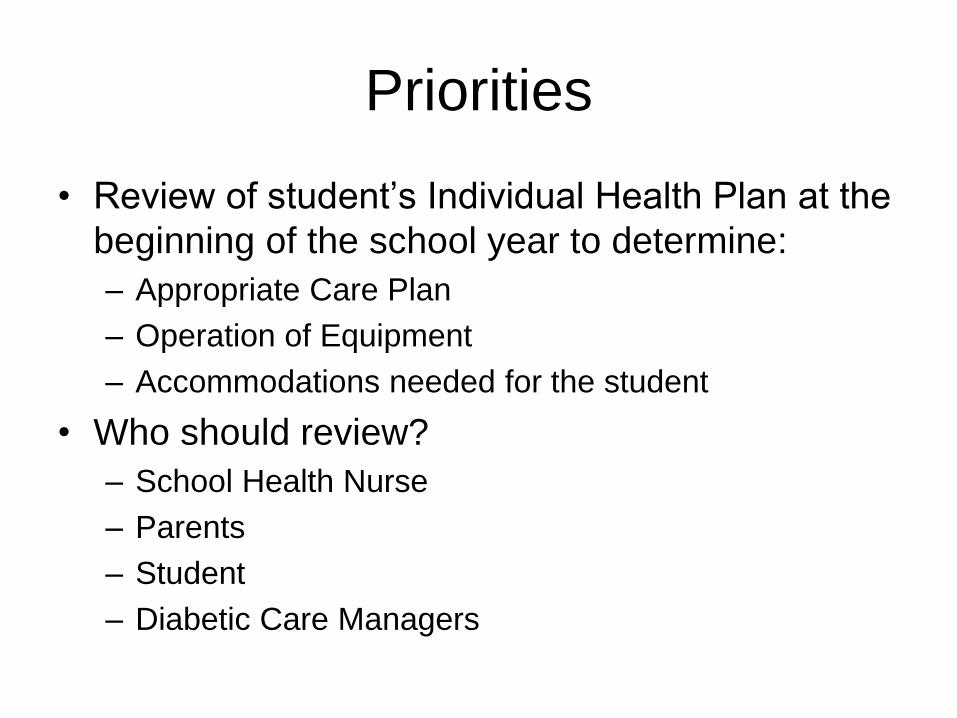
Priorities
• Review of student’s Individual Health Plan at the
beginning of the school year to determine:
– Appropriate Care Plan
– Operation of Equipment
– Accommodations needed for the student
• Who should review?
– School Health Nurse
– Parents
– Student
– Diabetic Care Managers
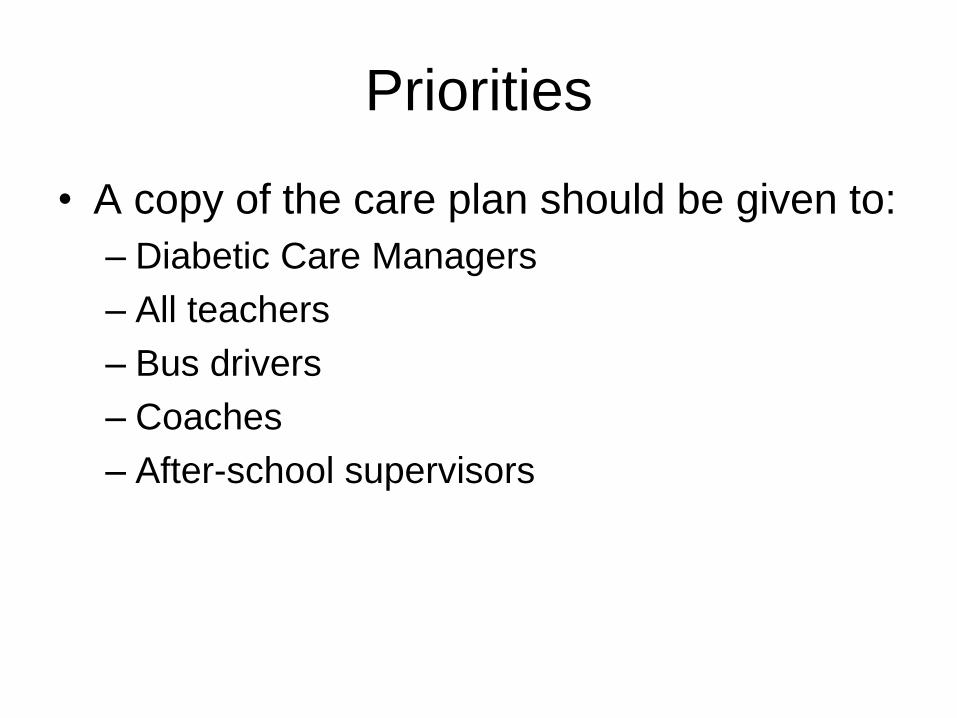
Priorities
• A copy of the care plan should be given to:
– Diabetic Care Managers
– All teachers
– Bus drivers
– Coaches
– After-school supervisors
Priorities
• The student should have immediate
access to:
– Glucometer
– Emergency Snacks
• The parent has the responsibility of
providing all necessary equipment,
supplies, and emergency food or drink for
diabetes care during the day.
Classroom Testing Implications
• Students should test blood glucose levels before
and after testing (stress situations) if specified in
their care plan or if a situation occurs.
• Students should have access to food/drink
during the testing sessions (does not require a
504 plan.)
• Students should be excused from testing, with
an option for a retest if a serious high or low
blood glucose episode occurs.
Review with Teachers
• Students should always be given adequate time
for taking medication, checking blood glucose
levels, and eating snacks or completing meals.
• Eliminate barriers to snacking, blood glucose
testing, and access to water and bathrooms.
• Avoid making judgments about blood glucose
levels outside of the target range. Focus on
actions that will correct the situation by following
the Individual Health Plan.
Questions or Concerns
• If you need additional review or have questions or concerns, please contact your School Health Nurse.
• You may download this presentation to keep for future reference and review.
• If you have completed the review, please follow the link to complete the quiz and receive credit for the review:– Go to www.surry.k12.nc.us
– Go to Employee Extranet
– Go to the Resources division of the website
– Go to Forms and Documents
– Go to Student Services Forms
– Click on Returning Diabetes Care Manager Quiz
– Complete the quiz and submit electronically.