Embed Size (px)
Citation preview
SunPower by EmPower Solar | empower-solar.com | 516.837.3459 | [email protected] 1
Key Considerations and Guidelines for Builders, Contractors, Architects, and Engineers.
Guidance Document and Checklist
Designing + Building
Solar Ready
SunPower by EmPower Solar | empower-solar.com | 516.837.3459 | [email protected] 2
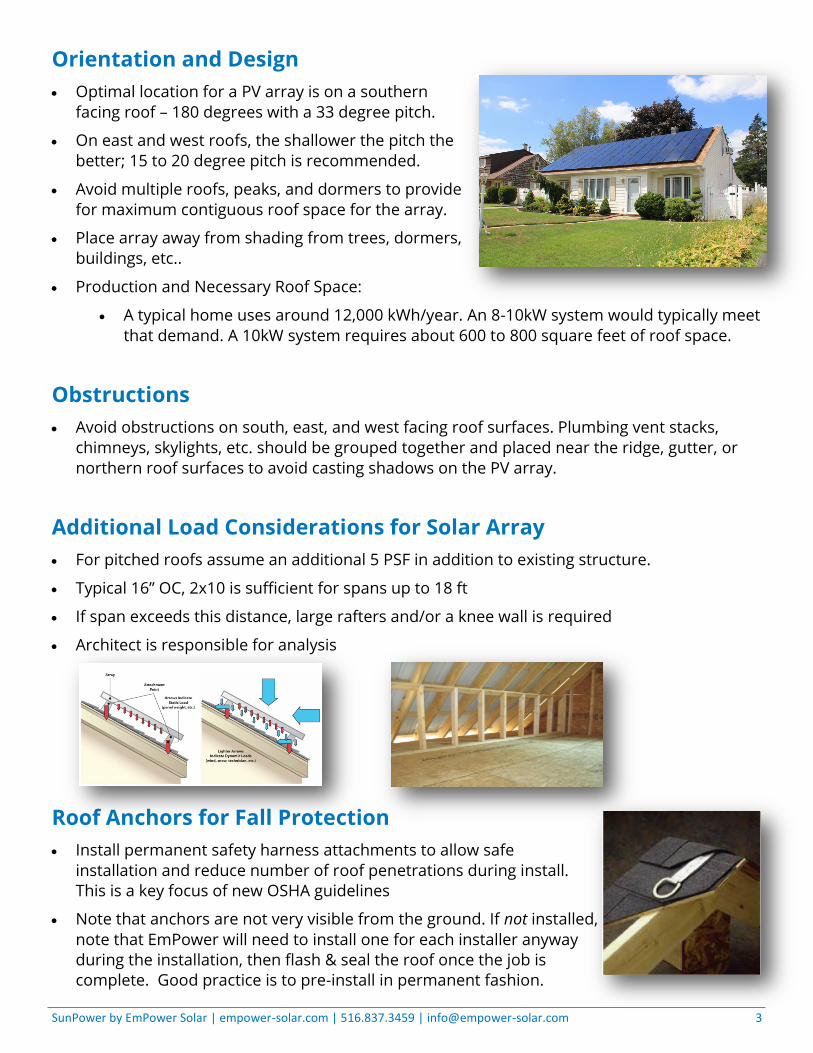
Sunset Green Home—Quogue, NY
2015—LEED Certified
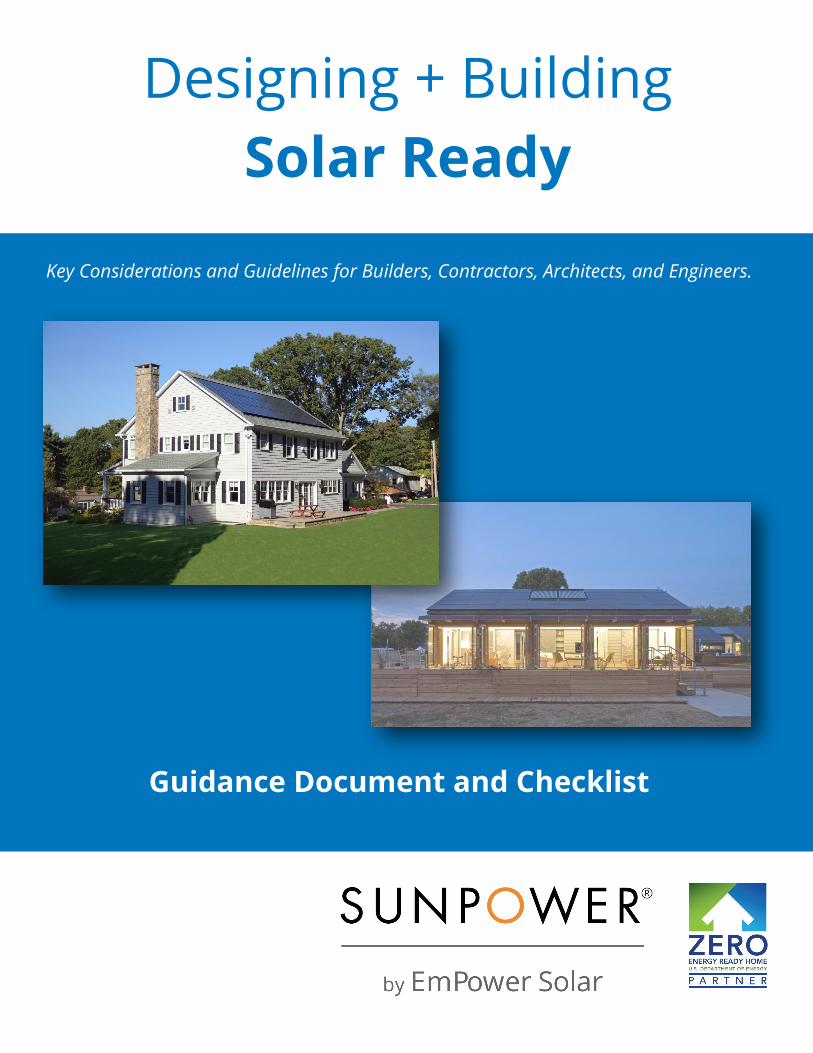
Building Solar Ready Guidance Resource—2017
Written by: SunPower by EmPower Solar, Island Park, NY
SunPower by EmPower Solar is a DOE Zero Energy Ready Homes partner and has worked on several net zero homes including three U.S. DOE Solar Decathlon projects. After Superstorm Sandy, EmPower architects and engineers partnered with dozens of contractors to help rebuild Long Island homes to be solar ready and optimize roof design to support high performing solar PV systems.
________________
EmPower is the preferred solar provider of over 1,500 New Yorkers and a proud partner to one of the world’s most innovative and sustainable energy companies, SunPower Corporation, leveraging 30 years of industry experience and record-setting technology.
As the only Long Island-based SunPower Master Dealer, SunPower by EmPower Solar is dedicated to maintaining exceptional customer satisfaction ratings, and is the proud recipient of the Building Inspectors Association of Nassau County Industry Leadership Award and the Angie’s List Super Service Award, several years in a row.
To learn more about EmPower Solar and building solar ready, visit:
empower-solar.com/net-zero-and-solar-ready
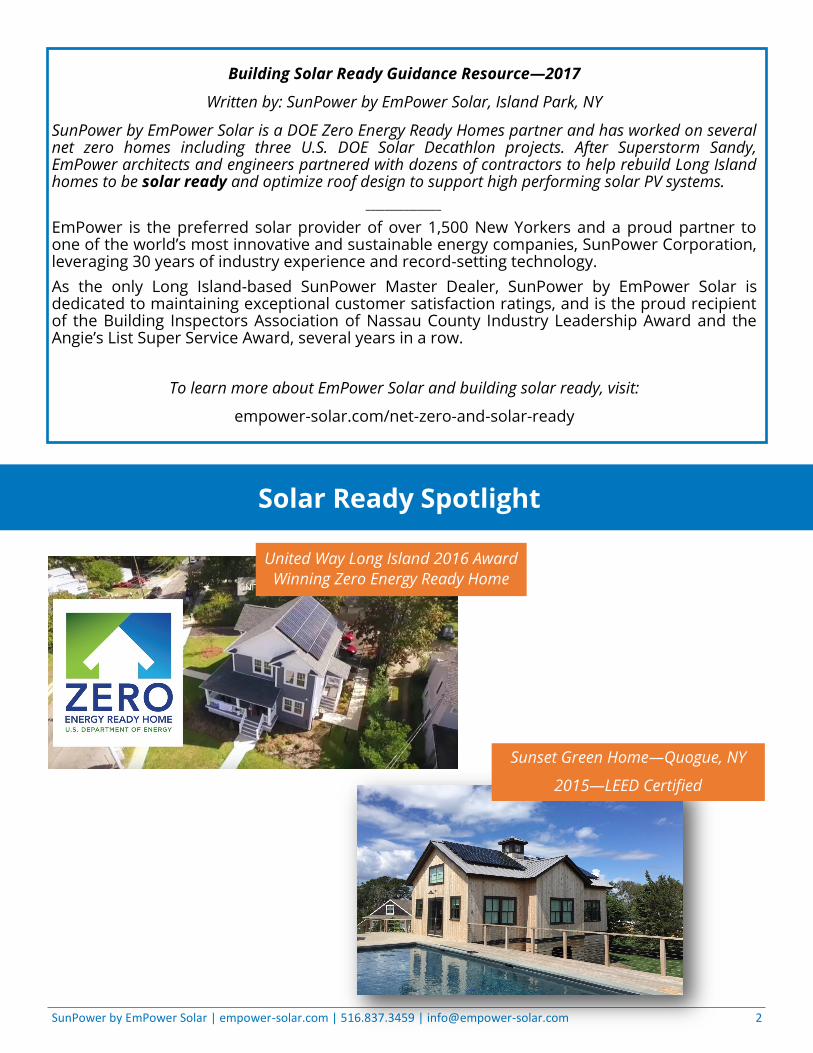
Solar Ready Spotlight
United Way Long Island 2016 Award
Winning Zero Energy Ready Home
SunPower by EmPower Solar | empower-solar.com | 516.837.3459 | [email protected] 3
Orientation and Design
• Optimal location for a PV array is on a southern
facing roof – 180 degrees with a 33 degree pitch.
• On east and west roofs, the shallower the pitch the
better; 15 to 20 degree pitch is recommended.
• Avoid multiple roofs, peaks, and dormers to provide
for maximum contiguous roof space for the array.
• Place array away from shading from trees, dormers,
buildings, etc..
• Production and Necessary Roof Space:
• A typical home uses around 12,000 kWh/year. An 8-10kW system would typically meet
that demand. A 10kW system requires about 600 to 800 square feet of roof space.
Obstructions
• Avoid obstructions on south, east, and west facing roof surfaces. Plumbing vent stacks,
chimneys, skylights, etc. should be grouped together and placed near the ridge, gutter, or
northern roof surfaces to avoid casting shadows on the PV array.
Additional Load Considerations for Solar Array
• For pitched roofs assume an additional 5 PSF in addition to existing structure.
• Typical 16” OC, 2x10 is sufficient for spans up to 18 ft
• If span exceeds this distance, large rafters and/or a knee wall is required
• Architect is responsible for analysis
Roof Anchors for Fall Protection
• Install permanent safety harness attachments to allow safe
installation and reduce number of roof penetrations during install.
This is a key focus of new OSHA guidelines
• Note that anchors are not very visible from the ground. If not installed,
note that EmPower will need to install one for each installer anyway
during the installation, then flash & seal the roof once the job is
complete. Good practice is to pre-install in permanent fashion.
SunPower by EmPower Solar | empower-solar.com | 516.837.3459 | [email protected] 4
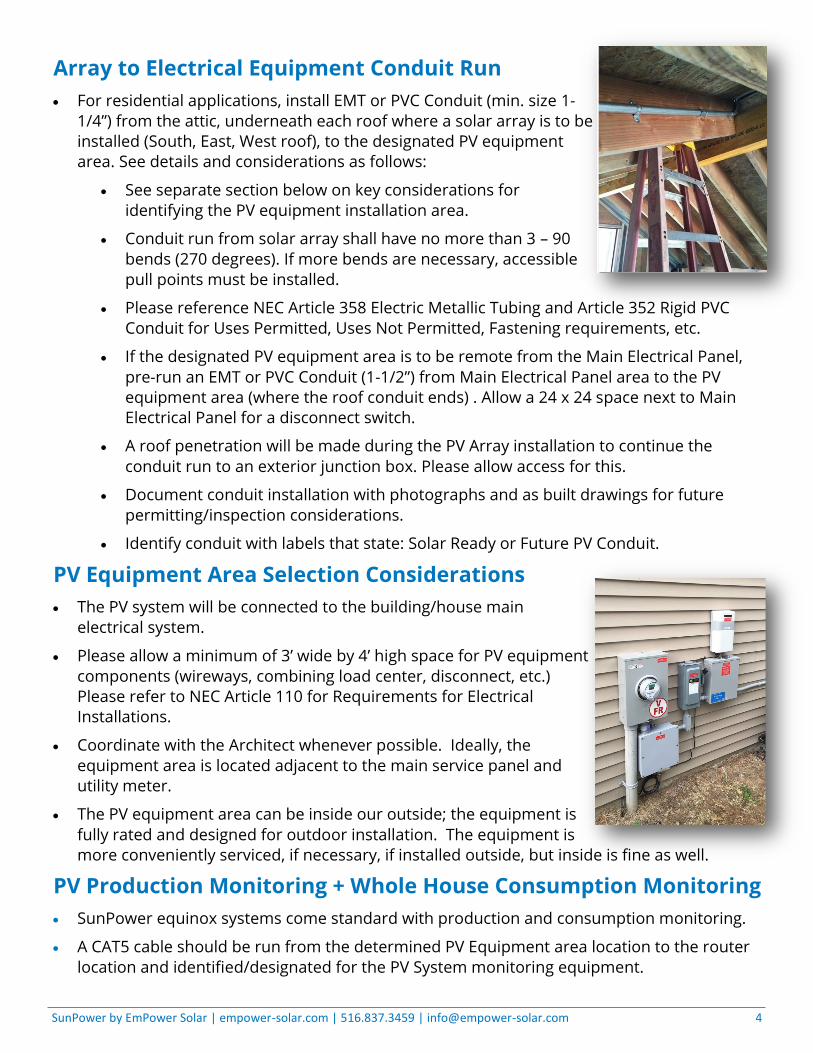
Array to Electrical Equipment Conduit Run
• For residential applications, install EMT or PVC Conduit (min. size 1-
1/4”) from the attic, underneath each roof where a solar array is to be
installed (South, East, West roof), to the designated PV equipment
area. See details and considerations as follows:
• See separate section below on key considerations for
identifying the PV equipment installation area.
• Conduit run from solar array shall have no more than 3 – 90
bends (270 degrees). If more bends are necessary, accessible
pull points must be installed.
• Please reference NEC Article 358 Electric Metallic Tubing and Article 352 Rigid PVC
Conduit for Uses Permitted, Uses Not Permitted, Fastening requirements, etc.
• If the designated PV equipment area is to be remote from the Main Electrical Panel,
pre-run an EMT or PVC Conduit (1-1/2”) from Main Electrical Panel area to the PV
equipment area (where the roof conduit ends) . Allow a 24 x 24 space next to Main
Electrical Panel for a disconnect switch.
• A roof penetration will be made during the PV Array installation to continue the
conduit run to an exterior junction box. Please allow access for this.
• Document conduit installation with photographs and as built drawings for future
permitting/inspection considerations.
• Identify conduit with labels that state: Solar Ready or Future PV Conduit.
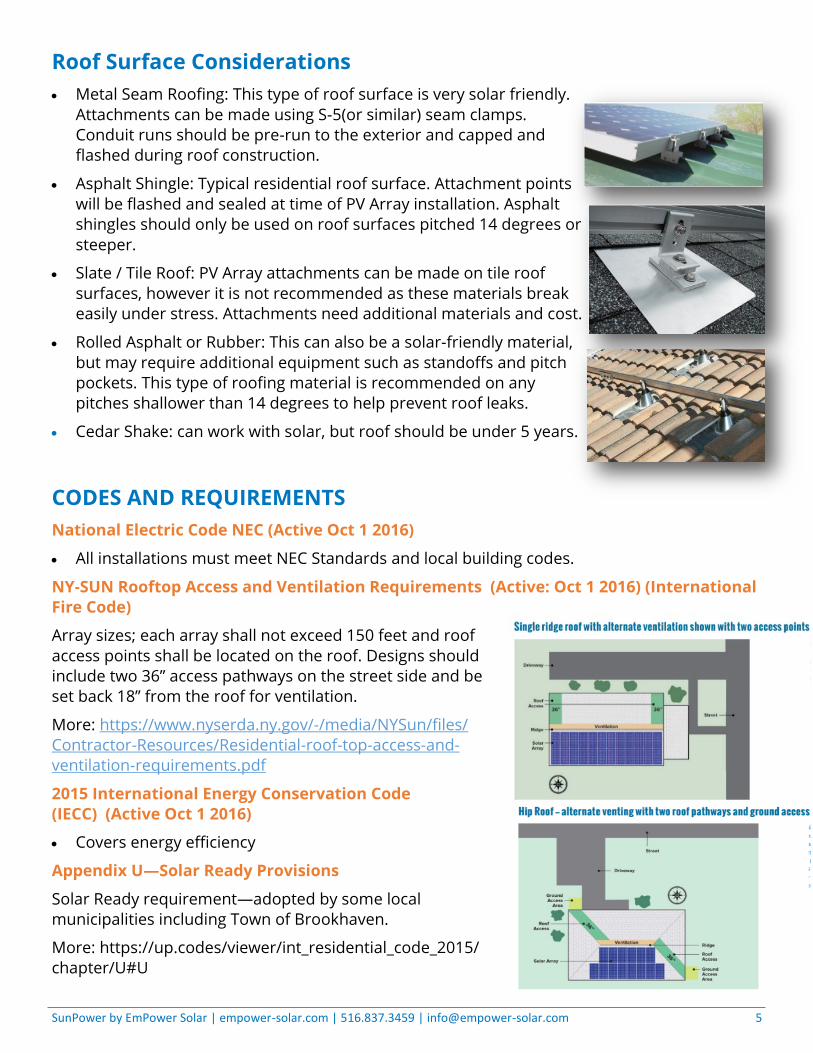
PV Equipment Area Selection Considerations
• The PV system will be connected to the building/house main
electrical system.
• Please allow a minimum of 3’ wide by 4’ high space for PV equipment
components (wireways, combining load center, disconnect, etc.)
Please refer to NEC Article 110 for Requirements for Electrical
Installations.
• Coordinate with the Architect whenever possible. Ideally, the
equipment area is located adjacent to the main service panel and
utility meter.
• The PV equipment area can be inside our outside; the equipment is
fully rated and designed for outdoor installation. The equipment is
more conveniently serviced, if necessary, if installed outside, but inside is fine as well.
PV Production Monitoring + Whole House Consumption Monitoring
• SunPower equinox systems come standard with production and consumption monitoring.
• A CAT5 cable should be run from the determined PV Equipment area location to the router
location and identified/designated for the PV System monitoring equipment.
SunPower by EmPower Solar | empower-solar.com | 516.837.3459 | [email protected] 5
Roof Surface Considerations
• Metal Seam Roofing: This type of roof surface is very solar friendly.
Attachments can be made using S-5(or similar) seam clamps.
Conduit runs should be pre-run to the exterior and capped and
flashed during roof construction.
• Asphalt Shingle: Typical residential roof surface. Attachment points
will be flashed and sealed at time of PV Array installation. Asphalt
shingles should only be used on roof surfaces pitched 14 degrees or
steeper.
• Slate / Tile Roof: PV Array attachments can be made on tile roof
surfaces, however it is not recommended as these materials break
easily under stress. Attachments need additional materials and cost.
• Rolled Asphalt or Rubber: This can also be a solar-friendly material,
but may require additional equipment such as standoffs and pitch
pockets. This type of roofing material is recommended on any
pitches shallower than 14 degrees to help prevent roof leaks.
• Cedar Shake: can work with solar, but roof should be under 5 years.
CODES AND REQUIREMENTS
National Electric Code NEC (Active Oct 1 2016)
• All installations must meet NEC Standards and local building codes.
NY-SUN Rooftop Access and Ventilation Requirements (Active: Oct 1 2016) (International
Fire Code)
Array sizes; each array shall not exceed 150 feet and roof
access points shall be located on the roof. Designs should
include two 36” access pathways on the street side and be
set back 18” from the roof for ventilation.
More: https://www.nyserda.ny.gov/-/media/NYSun/files/
Contractor-Resources/Residential-roof-top-access-and-
ventilation-requirements.pdf
2015 International Energy Conservation Code
(IECC) (Active Oct 1 2016)
• Covers energy efficiency
Appendix U—Solar Ready Provisions
Solar Ready requirement—adopted by some local
municipalities including Town of Brookhaven.
More: https://up.codes/viewer/int_residential_code_2015/
chapter/U#U
SunPower by EmPower Solar | empower-solar.com | 516.837.3459 | [email protected] 6
1 2 3 4
Aesthetic and Power Production and Savings Comparisons
Consider the same house (same sq. footage and same monthly electric bill of $285/month with
four different roof designs when it comes to aesthetics, energy production and electric bill savings:
Aesthetics Total kW size Annual kWh
produced
Annual Electric Bill Savings
(LI, NYC @ .20 cents/kwh)
% Annual Bill Offset
(17,000 kWh / year)
House 1 Excellent 13.5 kW 17,945 kWh $3,589 106%
House 2 Fair 6.9 kW 9,203 kWh $1,840 54%
House 3 Fair 5.5 kW 7,283 kWh $1,456 43%
House 4 Good 9.7 kW 14,827 kWh $2,965 87%
Residential and Commercial Solar Ready Examples
• Proper solar ready design allows for better looking and higher producing solar PV systems.
• Design is arguably the biggest role in being solar ready. Most other items can be retrofitted
with relatively minimal costs and modifications, but reconstructing and entire roof is not
often practical, so it is critical that the roof design is considered from the beginning.
• In the example above, home 1 has great aesthetics and provides for 75% more energy
production and electric bill offset than homes 2 and 3. It also allows for a lifetime savings of
over $100,000 in avoided utility costs.
SunPower by EmPower Solar | empower-solar.com | 516.837.3459 | [email protected] 7
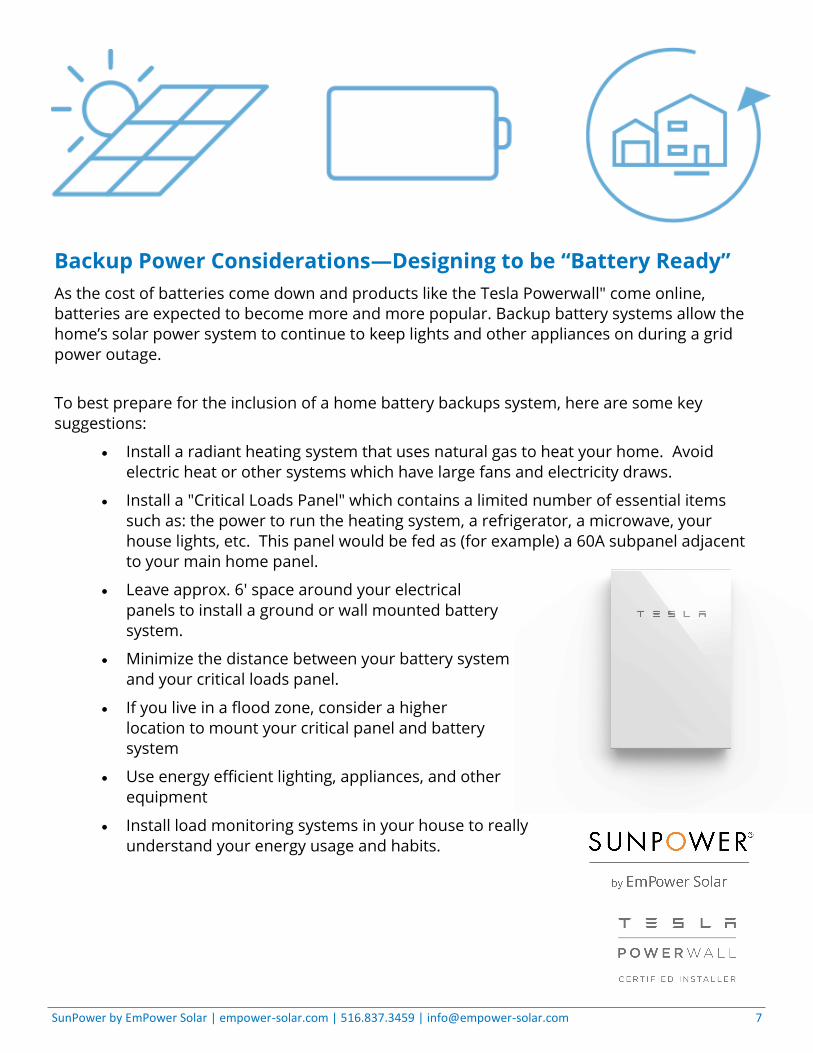
Backup Power Considerations—Designing to be “Battery Ready”
As the cost of batteries come down and products like the Tesla Powerwall" come online,
batteries are expected to become more and more popular. Backup battery systems allow the
home’s solar power system to continue to keep lights and other appliances on during a grid
power outage.
To best prepare for the inclusion of a home battery backups system, here are some key
suggestions:
• Install a radiant heating system that uses natural gas to heat your home. Avoid
electric heat or other systems which have large fans and electricity draws.
• Install a "Critical Loads Panel" which contains a limited number of essential items
such as: the power to run the heating system, a refrigerator, a microwave, your
house lights, etc. This panel would be fed as (for example) a 60A subpanel adjacent
to your main home panel.
• Leave approx. 6' space around your electrical
panels to install a ground or wall mounted battery
system.
• Minimize the distance between your battery system
and your critical loads panel.
• If you live in a flood zone, consider a higher
location to mount your critical panel and battery
system
• Use energy efficient lighting, appliances, and other
equipment
• Install load monitoring systems in your house to really
understand your energy usage and habits.
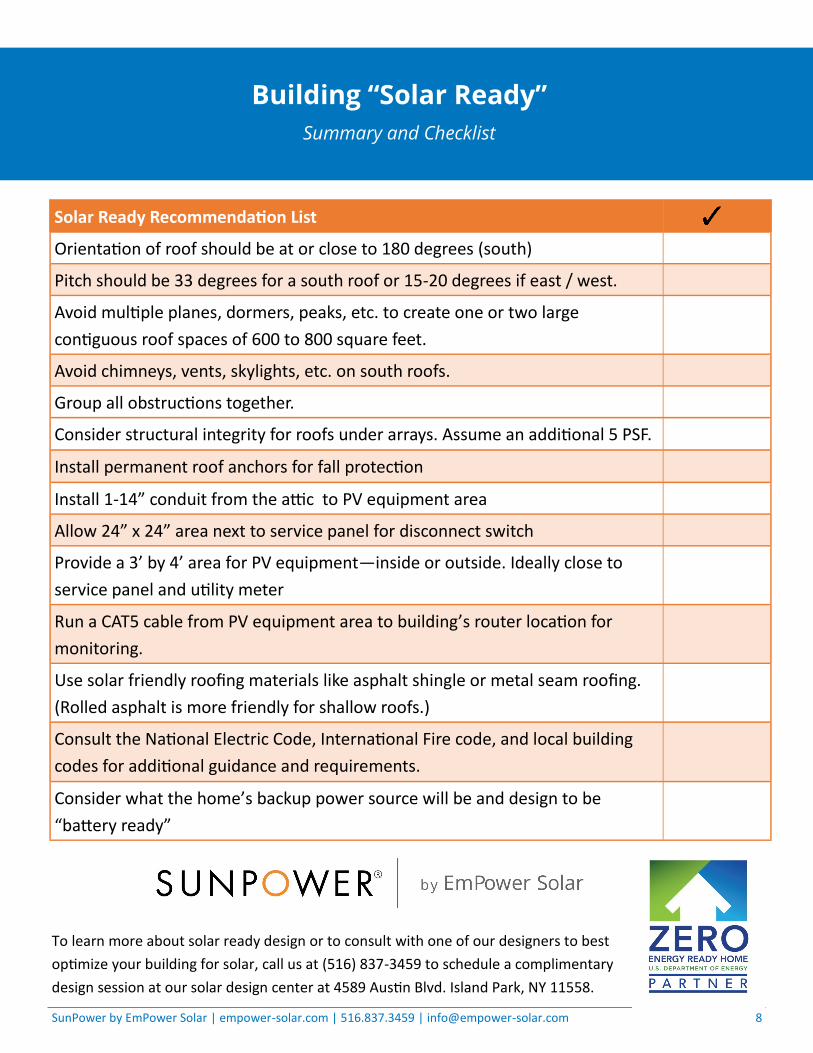
SunPower by EmPower Solar | empower-solar.com | 516.837.3459 | [email protected] 8
To learn more about solar ready design or to consult with one of our designers to best
optimize your building for solar, call us at (516) 837-3459 to schedule a complimentary
design session at our solar design center at 4589 Austin Blvd. Island Park, NY 11558.
Solar Ready Recommendation List
Orientation of roof should be at or close to 180 degrees (south)
Pitch should be 33 degrees for a south roof or 15-20 degrees if east / west.
Avoid multiple planes, dormers, peaks, etc. to create one or two large
contiguous roof spaces of 600 to 800 square feet.
Avoid chimneys, vents, skylights, etc. on south roofs.
Group all obstructions together.
Consider structural integrity for roofs under arrays. Assume an additional 5 PSF.
Install permanent roof anchors for fall protection
Install 1-14” conduit from the attic to PV equipment area
Allow 24” x 24” area next to service panel for disconnect switch
Provide a 3’ by 4’ area for PV equipment—inside or outside. Ideally close to
service panel and utility meter
Run a CAT5 cable from PV equipment area to building’s router location for
monitoring.
Use solar friendly roofing materials like asphalt shingle or metal seam roofing.
(Rolled asphalt is more friendly for shallow roofs.)
Consult the National Electric Code, International Fire code, and local building
codes for additional guidance and requirements.
Consider what the home’s backup power source will be and design to be
“battery ready”
Building “Solar Ready”
Summary and Checklist