Embed Size (px)
Citation preview
February Edition
Decoupage Some Fabric! By Jill Finley of Jillily Studio
You can decorate almost anything with fabric using decoupage. Technically, decoupage is usually done with papers, but fabric is even better because it comes much larger than paper and has a nice texture. Besides that, we love fabric--we are fabric people, right?! You just need a few supplies and some of your favorite fabric. I decided to cover some old hat boxes I found with some of my fabrics from the “Beyond the Gate” collection. I purchased these large hat boxes at a discount store. They were all dirty and damaged, so I got them for very cheap! Here’s how I did it: Supplies: Mod Podge or white glue, diluted Sponge brush Fabric Scissors Item to be covered! (Hat boxes) Mod Podge Matte Sealer or other top coat product

Start by inspecting your item to cover. Mine had purple stripes and dots that would show through the light fabrics, so I painted those pieces white with a craft paint. You may need to seal the paint before decoupaging. When everything is dry, begin the decoupage: 1. Measure your box height and around. Add an extra 1” in height and 2” in length to wrap around the box. Cut your fabric strip this size. 2. Using the foam brush, paint a coat of Mod Podge or glue solution on the box. Do just about 10” at a time so it stays wet while you position the fabric. 3. Position the fabric strip with about 1/4” overlap on the bottom edge and 3/4” extra on the top edge. 4. Continue painting and placing fabric until it reaches around and overlaps the starting edge. Don’t worry about folding under the raw edge. Just paint some glue on the fabric to adhere it. It will all be covered with glue, so it won’t show or fray.
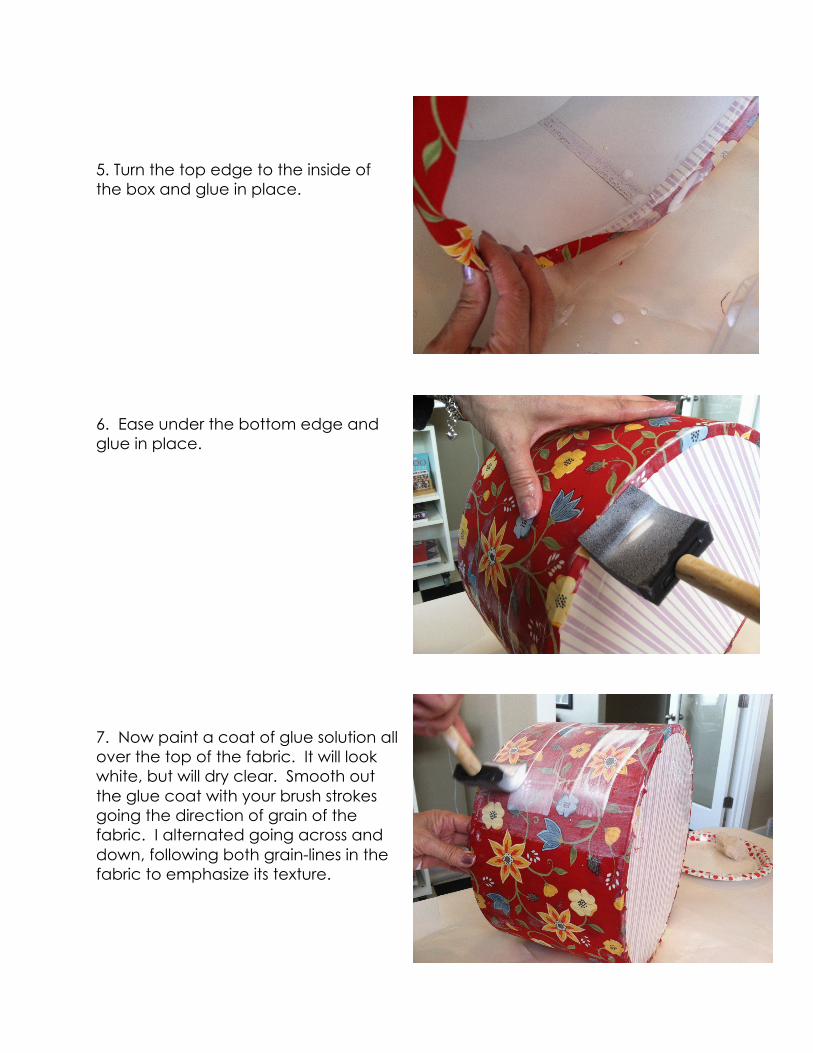
5. Turn the top edge to the inside of the box and glue in place. 6. Ease under the bottom edge and glue in place. 7. Now paint a coat of glue solution all over the top of the fabric. It will look white, but will dry clear. Smooth out the glue coat with your brush strokes going the direction of grain of the fabric. I alternated going across and down, following both grain-lines in the fabric to emphasize its texture.
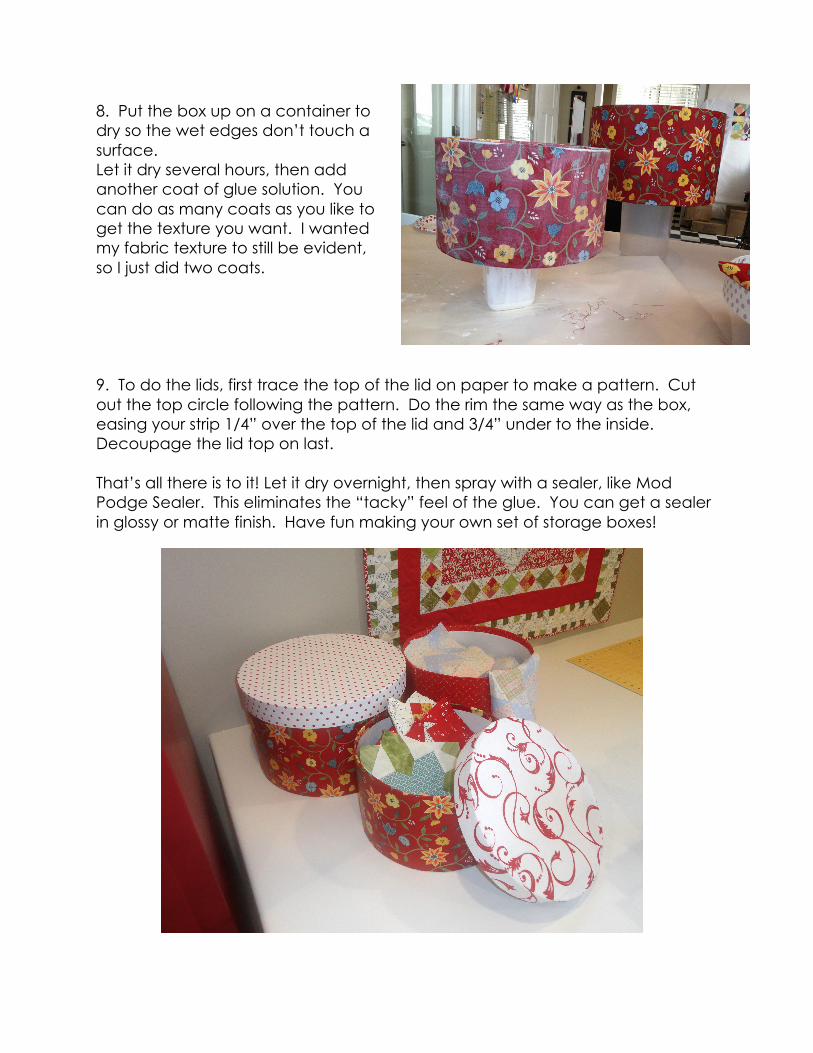
8. Put the box up on a container to dry so the wet edges don’t touch a surface. Let it dry several hours, then add another coat of glue solution. You can do as many coats as you like to get the texture you want. I wanted my fabric texture to still be evident, so I just did two coats. 9. To do the lids, first trace the top of the lid on paper to make a pattern. Cut out the top circle following the pattern. Do the rim the same way as the box, easing your strip 1/4” over the top of the lid and 3/4” under to the inside. Decoupage the lid top on last. That’s all there is to it! Let it dry overnight, then spray with a sealer, like Mod Podge Sealer. This eliminates the “tacky” feel of the glue. You can get a sealer in glossy or matte finish. Have fun making your own set of storage boxes!